If your hot water has been getting cranky, popping, or running lukewarm faster than it used to, there’s a good chance sediment is building up in the bottom of your tank. Flushing a water heater is one of those “boring” maintenance jobs that pays you back in real comfort: faster recovery, quieter operation, and a longer lifespan.
I grew up as the kid holding the flashlight for my dad, and I can tell you this is the kind of job that feels intimidating until you’ve done it once. Then it’s just a checklist.
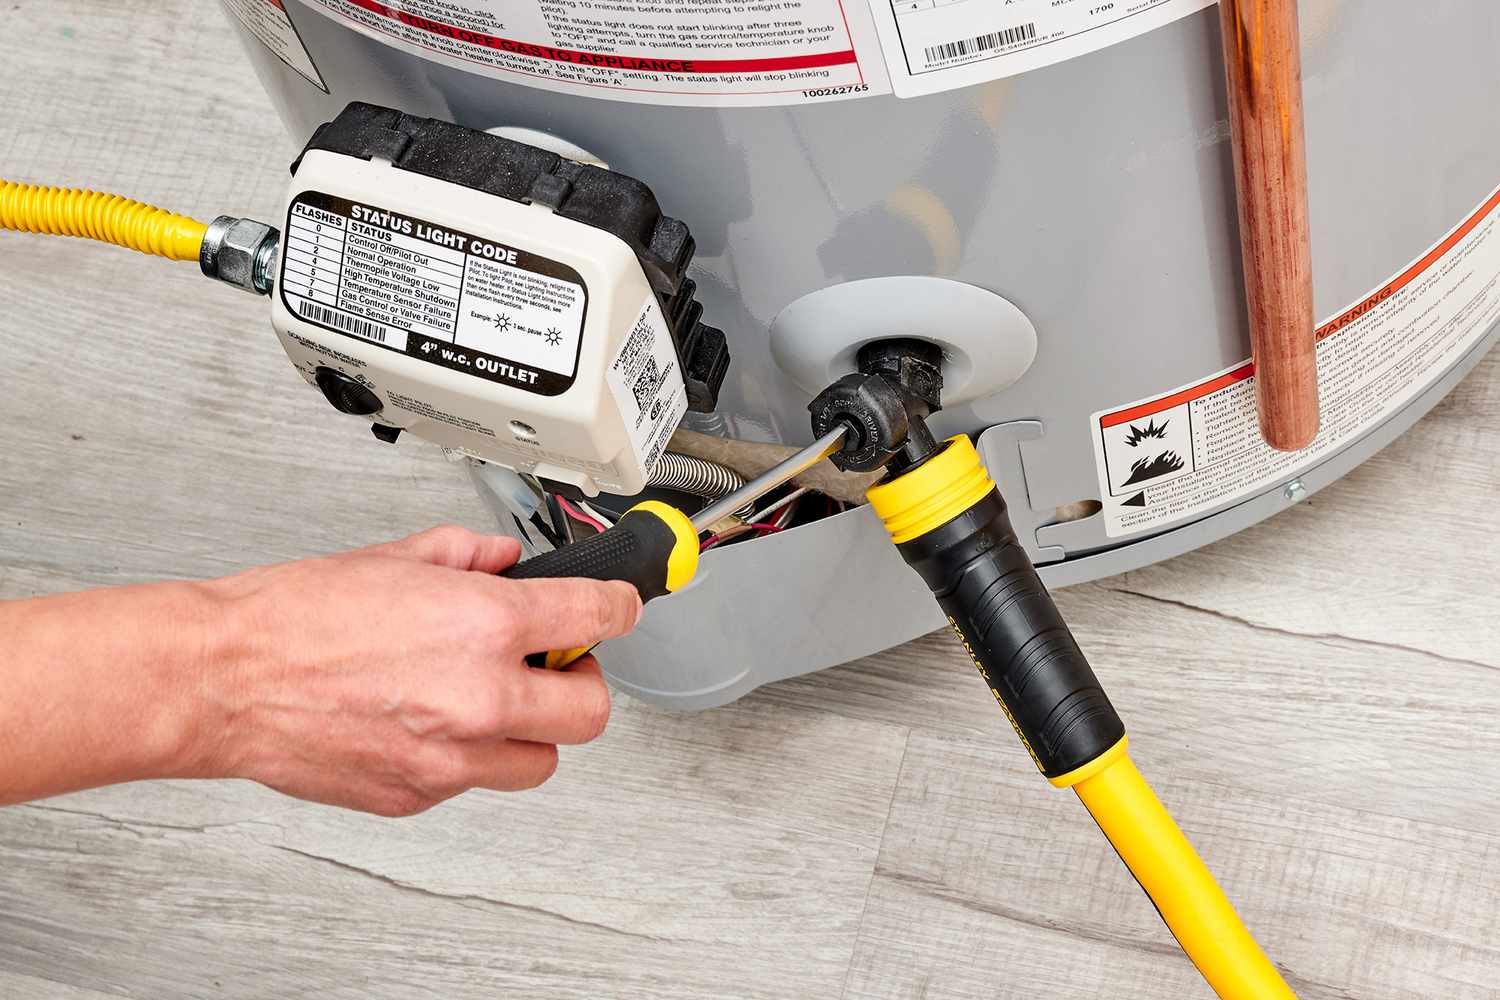
Why flushing matters
Most water supplies carry dissolved minerals like calcium and magnesium. As water heats up, some of those minerals precipitate out and settle in the bottom of the tank as gritty sediment. (Well water is often worse, but plenty of city water will do it too.) Over time, that layer can:
- Reduce efficiency by insulating the burner or heating elements from the water.
- Cause rumbling or popping noises as water boils under the sediment layer.
- Shorten tank life by creating hot spots and accelerating corrosion.
- Clog the drain valve, making future maintenance harder.
If you flush once a year (or every 6 months with very hard water), you’ll usually see better performance and fewer “why is the water heater doing that?” moments.
Before you start
Know what you have
- Gas water heater: has a burner compartment and a vent flue on top. You will be turning the gas control down per the label on the unit.
- Electric water heater: has access panels on the side for heating elements. You must shut off power at the breaker.
Scalding and flooding are the two real risks
- Hot water burns fast. Let the tank cool a bit and use a hose that can handle hot water. If it is too hot to safely touch the hose, stop and let things cool longer.
- Water finds the lowest point. Make sure your hose is secure and the drain location can handle the flow.
Should you flush an old neglected heater?
If your tank is very old (10 to 15+ years) and has never been flushed, you may hear warnings that flushing can “cause leaks.” What’s really happening is that the tank was already on borrowed time, and disturbing heavy sediment sometimes exposes weak spots.
My pragmatic take: if the heater is old and showing signs of trouble (rusty water, seepage at the base, frequent temperature issues), plan for replacement soon. A gentle drain and refill can still be worthwhile, but don’t be shocked if it reveals the tank’s true condition.
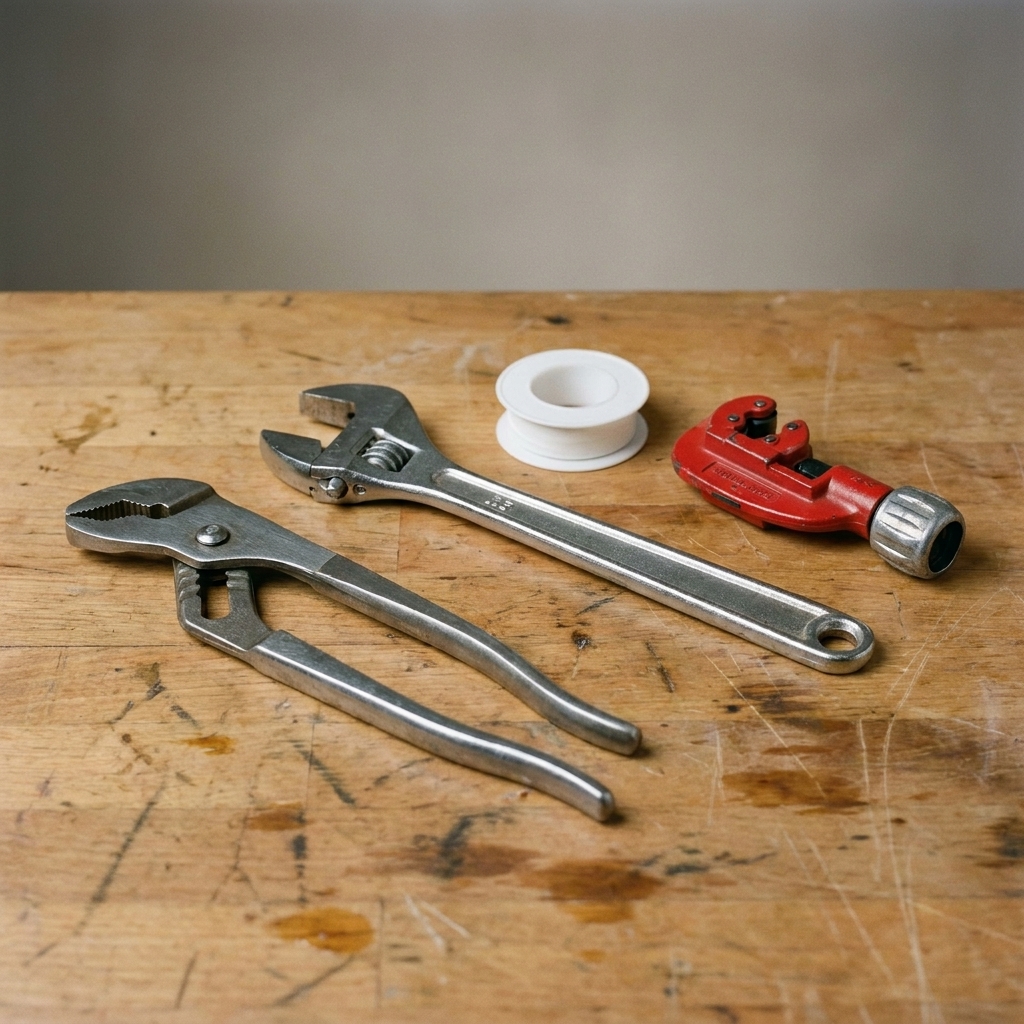
Tools and supplies
- Garden hose (6 to 25 feet, depending on where you can drain)
- Flathead screwdriver (some drain valves)
- Work gloves and eye protection
- Bucket (helpful for testing flow or catching drips)
- Channel-lock pliers (optional, for stubborn hose fittings)
- Small cup and white vinegar (optional, for minor mineral cleanup at fittings)
Drain and flush
1) Turn off the heat source
Gas: Set the gas control to Off or Pilot, depending on what your unit’s label or manual recommends for servicing. The goal is simple: you do not want the burner firing while the tank is empty.
Electric: Turn off the breaker for the water heater at your electrical panel. Double-check you picked the right breaker. If you have a non-contact voltage tester, use it at the heater’s access area, but the breaker-off step is the big one.
2) Shut off the cold water supply
Locate the cold water inlet valve above the heater and turn it off. If you do not see a shutoff right above the tank, look along the cold line for a nearby or remote valve (sometimes it is a few feet away or at a manifold).
3) Let pressure out
Open a hot water faucet somewhere in the house (a bathtub is great). This helps the tank drain smoothly by letting air in as water leaves.
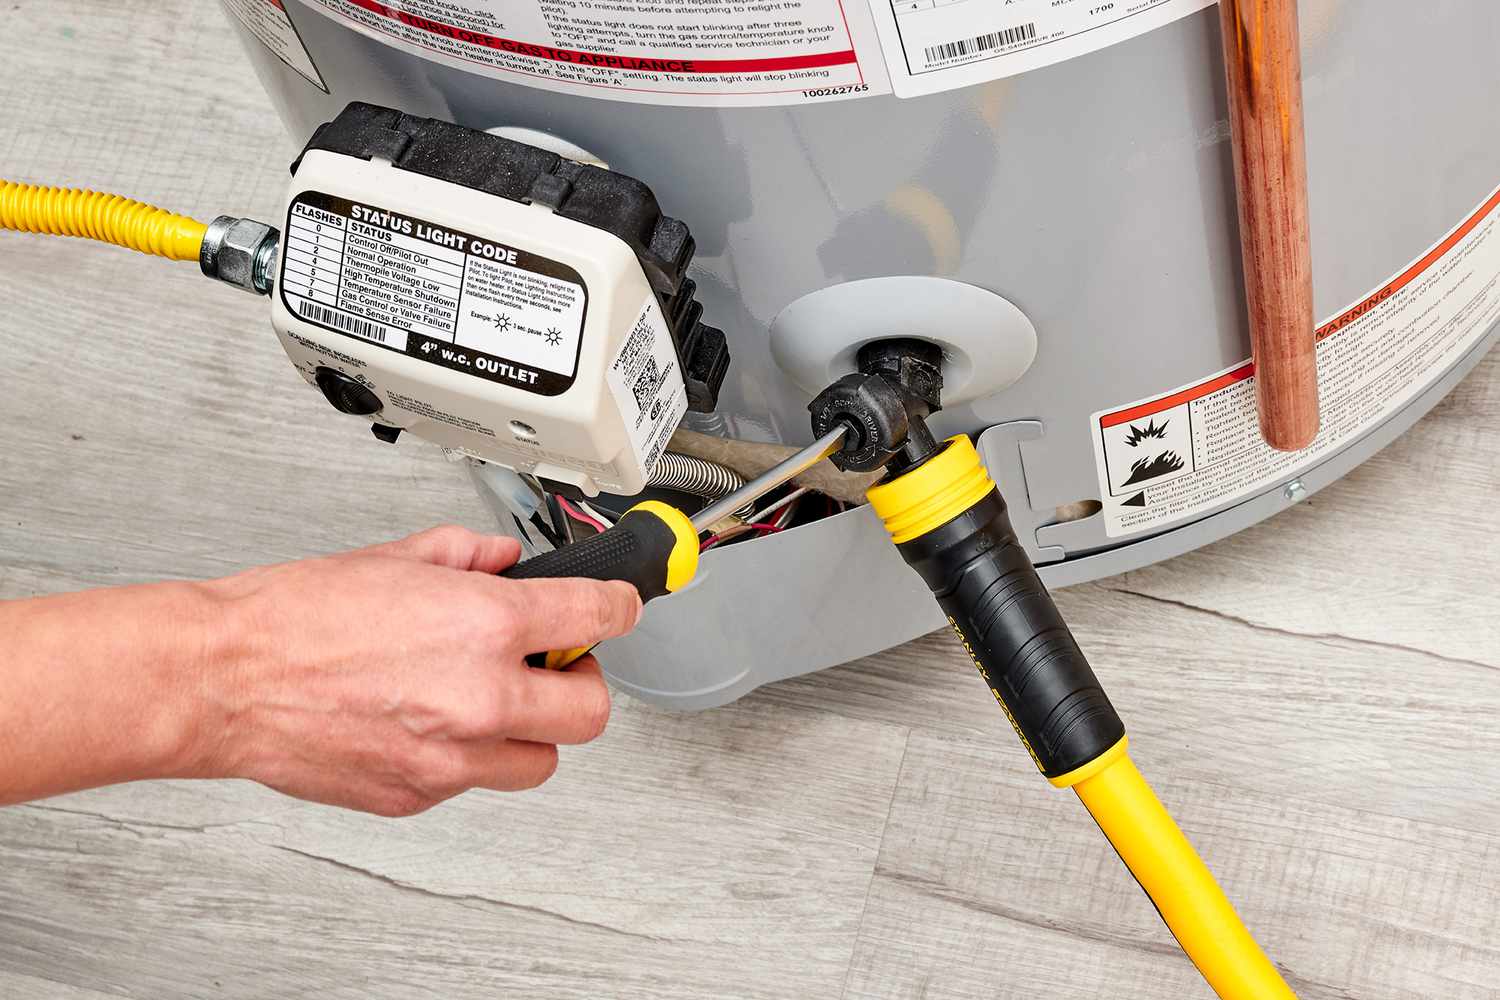
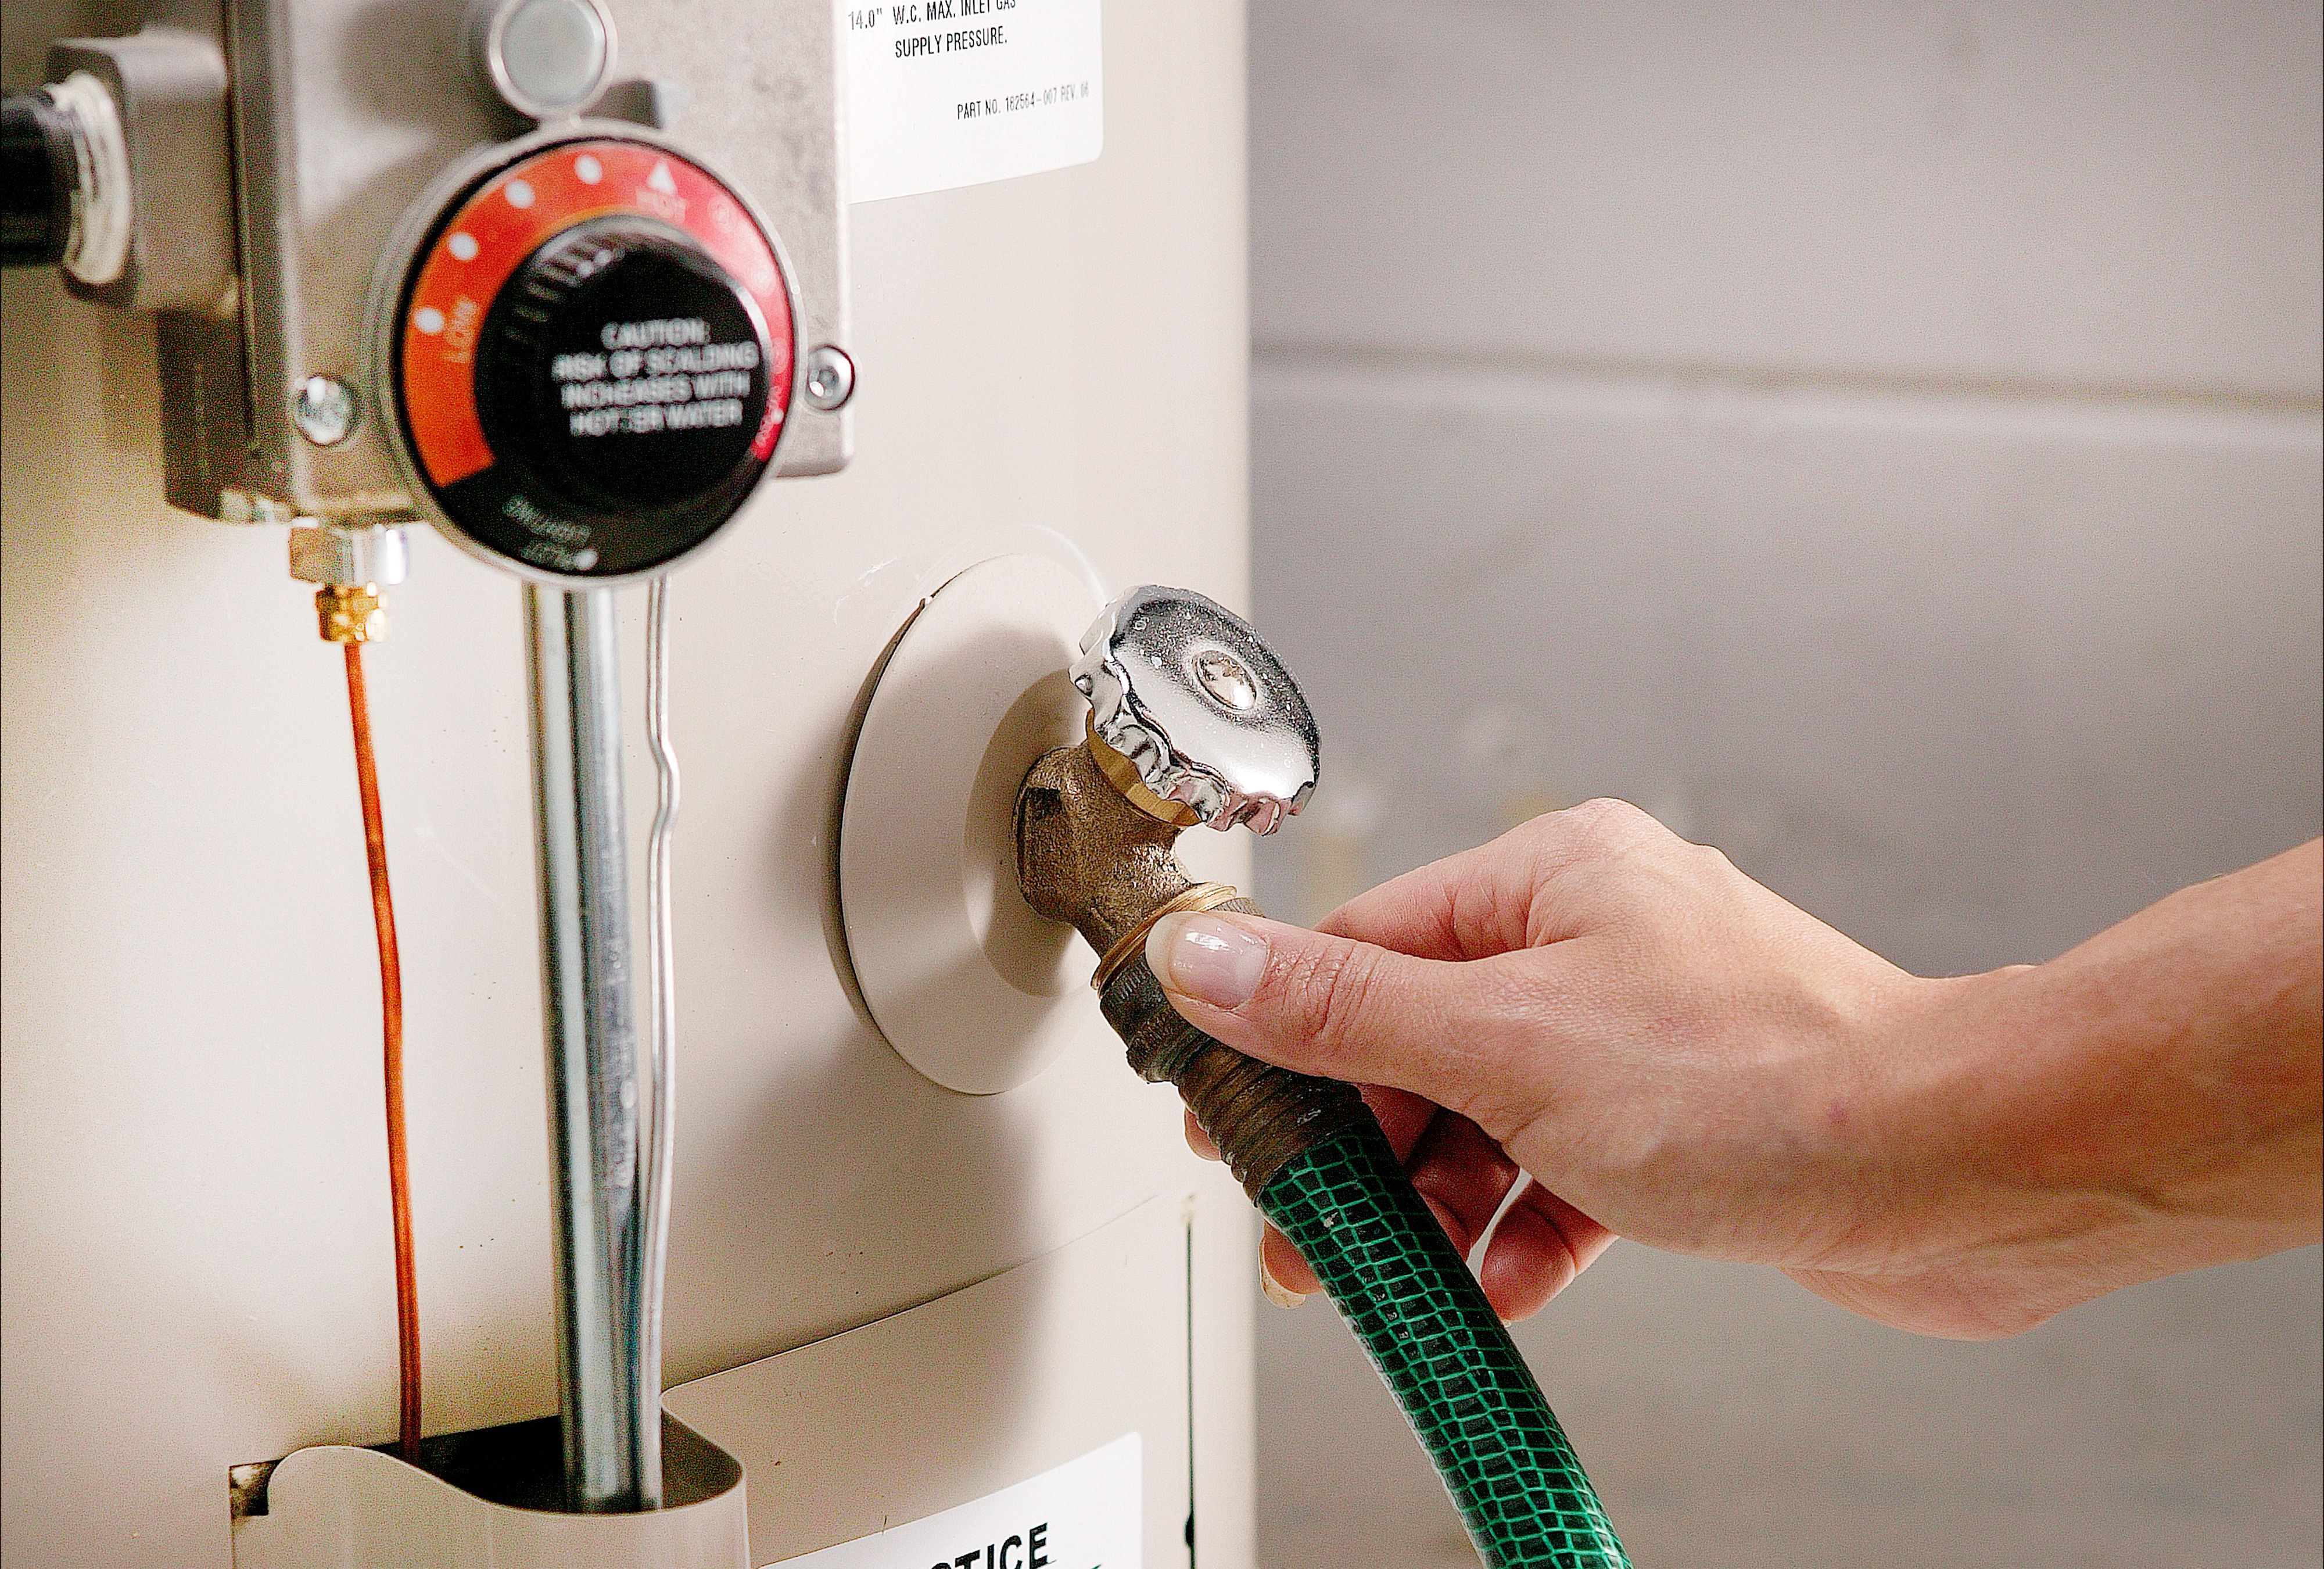
4) Connect a hose to the drain valve
Attach a garden hose to the drain spigot near the bottom of the tank. Run the hose to a safe drain location:
- A floor drain
- A utility sink (only if you can keep the hose sloped down and the water will not scald anything)
- Outside to a spot that can handle hot water and sediment
Two practical rules: keep the hose run as straight as possible, and make sure it runs downhill the whole way. If you have to drain uphill into a sink, you will likely need a pump or a different drain point.
If you drain outside, keep in mind the first water out can be hot enough to damage grass or plants. Either let the tank cool more, or drain to a spot that can take the heat.
5) Open the drain valve and start draining
Slowly open the drain valve. If the water is coming out dangerously hot, close the valve and let the tank cool longer.
Tip: If the tank drains slowly, the drain valve may be partially clogged with sediment. See “The drain valve is clogged” below.
6) Flush the tank
Once the flow slows down and the tank is mostly drained, do a sediment flush:
- Keep the drain valve open.
- Briefly turn the cold water supply on for 10 to 20 seconds to stir up sediment.
- Turn cold water off again and let it drain.
- Repeat until the water runs clearer.
What you’re aiming for is a strong, consistent flow without sandy grit. A little cloudiness is normal, but chunks and heavy grit mean keep flushing.
Refill and restart
1) Close the drain valve and remove the hose
Close the drain valve firmly, but do not over-torque it. Remove the hose and cap the drain outlet if your model has a cap.
2) Refill and purge air
Open the cold water inlet valve to refill the tank. Keep the hot faucet you opened earlier running until water flows smoothly without sputtering. That sputtering is trapped air leaving the system. Once the flow is steady, close the faucet.
3) Restart safely
Gas: Turn the control back to your normal setting. If you turned it fully Off and your unit requires relighting, follow the lighting instructions on the heater’s label exactly.
Electric (very important): Only turn the breaker back on after the tank is completely full and air is purged. Powering dry heating elements can damage them very quickly.
4) Check for leaks
Look at:
- The drain valve
- The temperature and pressure relief (TPR) valve discharge pipe (just in case)
- The cold inlet and hot outlet connections
A slow drip at the drain valve usually means it is not fully closed or the internal washer is worn.
Gas vs. electric notes
Gas water heater
- If your unit has a sealed combustion chamber, avoid opening panels you do not need to touch.
- If you smell gas at any point, stop and ventilate the area. Do not attempt to “DIY through” a gas odor.
Electric water heater
- If you accidentally turned the breaker on while the tank was empty, and now you have no hot water, you may have burned out an element. That’s fixable, but it is a separate repair.
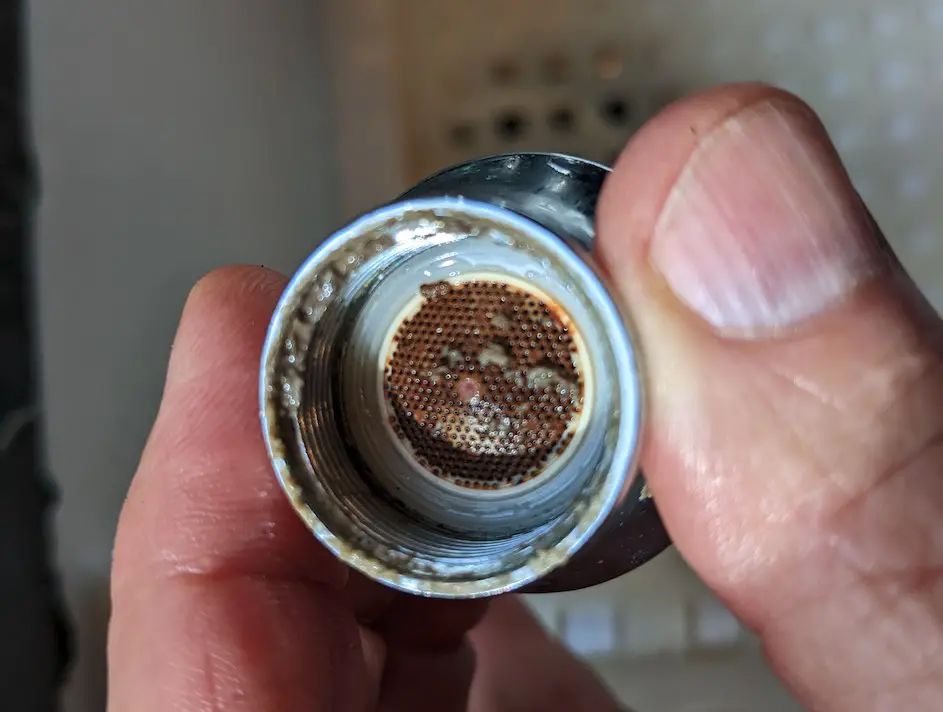
- After flushing, some homes stir up enough mineral debris that a faucet aerator clogs. If a sink has weak flow afterward, remove and rinse the aerator.
Troubleshooting
The drain valve is clogged or barely drips
This is very common on older heaters. Try this sequence:
- Make sure a hot faucet is open to allow air in.
- With the hose connected and aimed at a drain, open and close the drain valve a few times to try to dislodge grit.
- Turn the cold inlet on for 2 to 3 seconds with the drain open to back-flush the sediment toward the outlet, then off again.
If it still won’t flow, the valve itself may be packed with debris. At that point, many homeowners call a plumber, or replace the drain valve with a full-port ball valve during a future service. Do not force a plastic drain valve so hard that you snap it off.
The water won’t run clear
If you live with hard water, you may never get perfectly clear water. What you’re looking for is less grit and stronger flow. If you keep seeing heavy sand-like sediment after several flush cycles, do one longer flush with cold water running steadily for 1 to 2 minutes while the drain is open.
There’s leaking at the drain valve after closing
- Try closing it again firmly.
- Open and close it once more to rinse debris off the seal.
- If it still drips, you may need a new drain valve, or a threaded cap rated for hot water (if your heater’s valve outlet supports it).
Now my hot water smells like rotten eggs
That sulfur smell is usually sulfate-reducing bacteria interacting with sulfate in the water and the anode rod. Magnesium anode rods are common culprits. Flushing can help temporarily, but it is not always the root cause. A longer-term fix can involve disinfecting the tank and switching anode type (for example, to an aluminum or powered anode). If the smell is strong and persistent, that’s the next troubleshooting path.
How often to flush
- Average water conditions: once per year.
- Hard water or lots of sediment: every 6 months.
- Vacation homes: flush annually, and consider a quick drain-and-refill if it sits unused for long stretches.
If your heater is noisy, slow to recover, or you’ve never flushed it, do it now, then set a calendar reminder. Future-you will appreciate it.
Extra lifespan boosters
Test the TPR valve (carefully)
The temperature and pressure relief valve is a key safety device. Many manufacturers recommend periodic testing. If you are comfortable doing it, lift the lever briefly to confirm water discharges through the pipe, then let it snap back.
One honest caution: on older heaters, a TPR valve that has not been moved in years sometimes does not reseat cleanly after testing. If it dribbles afterward or will not stop, it may need replacement. If you are not comfortable with that risk, skip the test and have it checked during professional service. Safety valves are not a place to wing it.
Check the anode rod
The anode rod is a sacrificial metal rod that helps prevent the tank from rusting. Checking or replacing it every few years can dramatically extend tank life, but it can be a tight, stubborn job. If your heater is 3 to 5 years old and you want to keep it for the long haul, this is a smart next project.
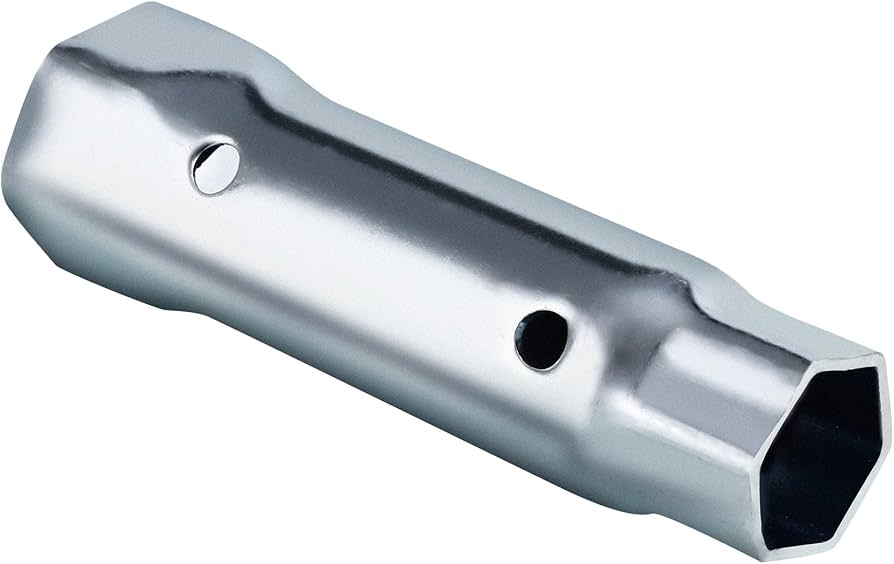
When to call a pro
- You cannot stop a leak at the drain valve or fittings.
- The tank shows corrosion or moisture at the base.
- You smell gas or suspect venting issues on a gas unit.
- The TPR valve is leaking and will not reseat.
- The drain valve is blocked and you are tempted to force it until it breaks.
Flushing is DIY-friendly. Water damage and gas problems are not worth gambling on.
FAQ
Do I need to turn the water heater off to flush it?
Yes. Turn the gas control to Off or Pilot per the unit’s instructions, and shut off the breaker for electric units. Never heat an empty tank, and never power electric elements without the tank full.
Can I flush without draining the whole tank?
You can do a partial drain and refill, and it is better than doing nothing. But a full drain plus a few flush cycles does a much better job removing sediment from the bottom.
Is it normal for the drain water to be brown or gritty?
Yes. Brown discoloration can be rust and mineral sediment. Grit is the whole point of this job. If you see lots of flakes and persistent rust-colored water, keep an eye on the tank’s age and condition.
How long does flushing take?
Plan on 30 to 60 minutes start to finish. The actual time depends on tank size, sediment level, and how fast your drain setup flows.