If you have ever heard the phrase “it’s not the freeze, it’s the thaw,” plumbing is where that really hits home. Pipes often crack during a freeze, then reveal themselves during the thaw when water starts moving again and finds the weak spot. The good news is winterizing is mostly small, boring steps that save you from a very exciting, very expensive indoor water feature.
Below are seven crucial steps I use every fall. Knock these out before the first hard freeze and you will sleep a lot better when the weather turns.
Before you start: safety and supplies
Safety basics
- Know your main water shutoff location (and make sure it turns).
- Use heat sources carefully. No open flame on pipes. Avoid propane torches.
- Watch electrical hazards in basements and crawlspaces. Water and extension cords do not mix.
Common tools and materials
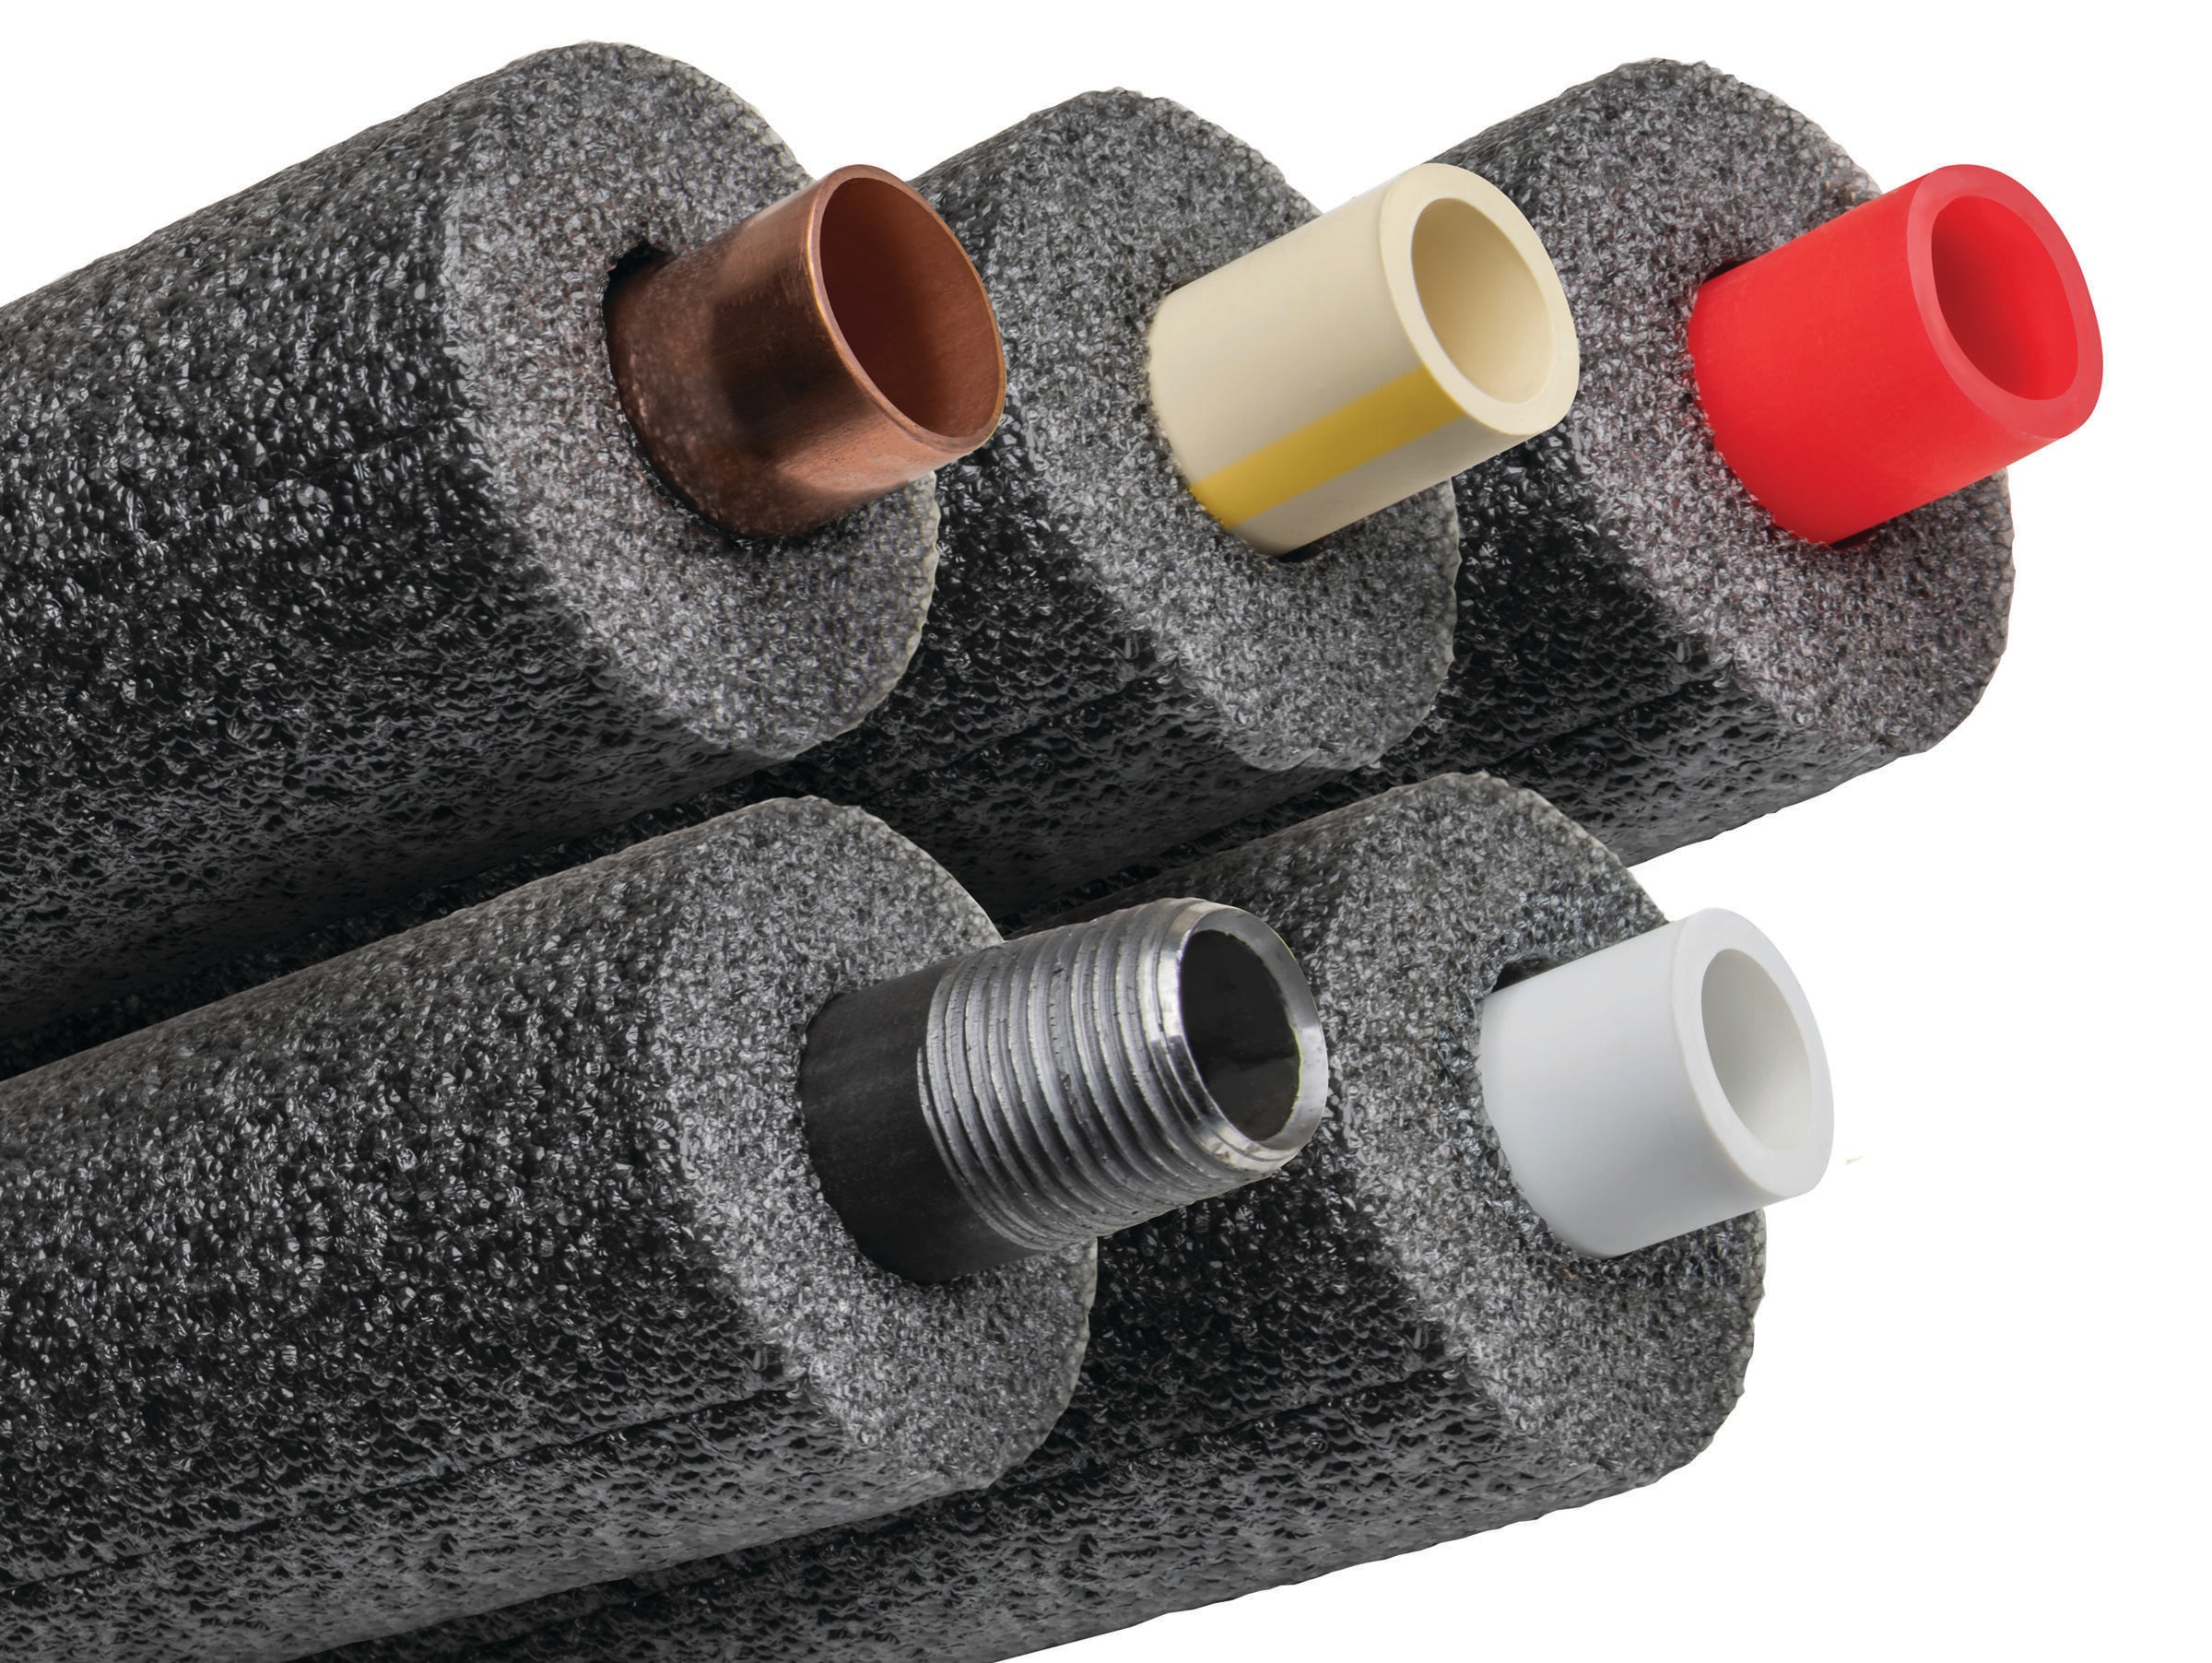
- Foam pipe insulation (various diameters) and/or fiberglass pipe wrap
- Pipe insulation tape or foil HVAC tape
- Caulk and spray foam (fire-rated for larger penetrations where required by code)
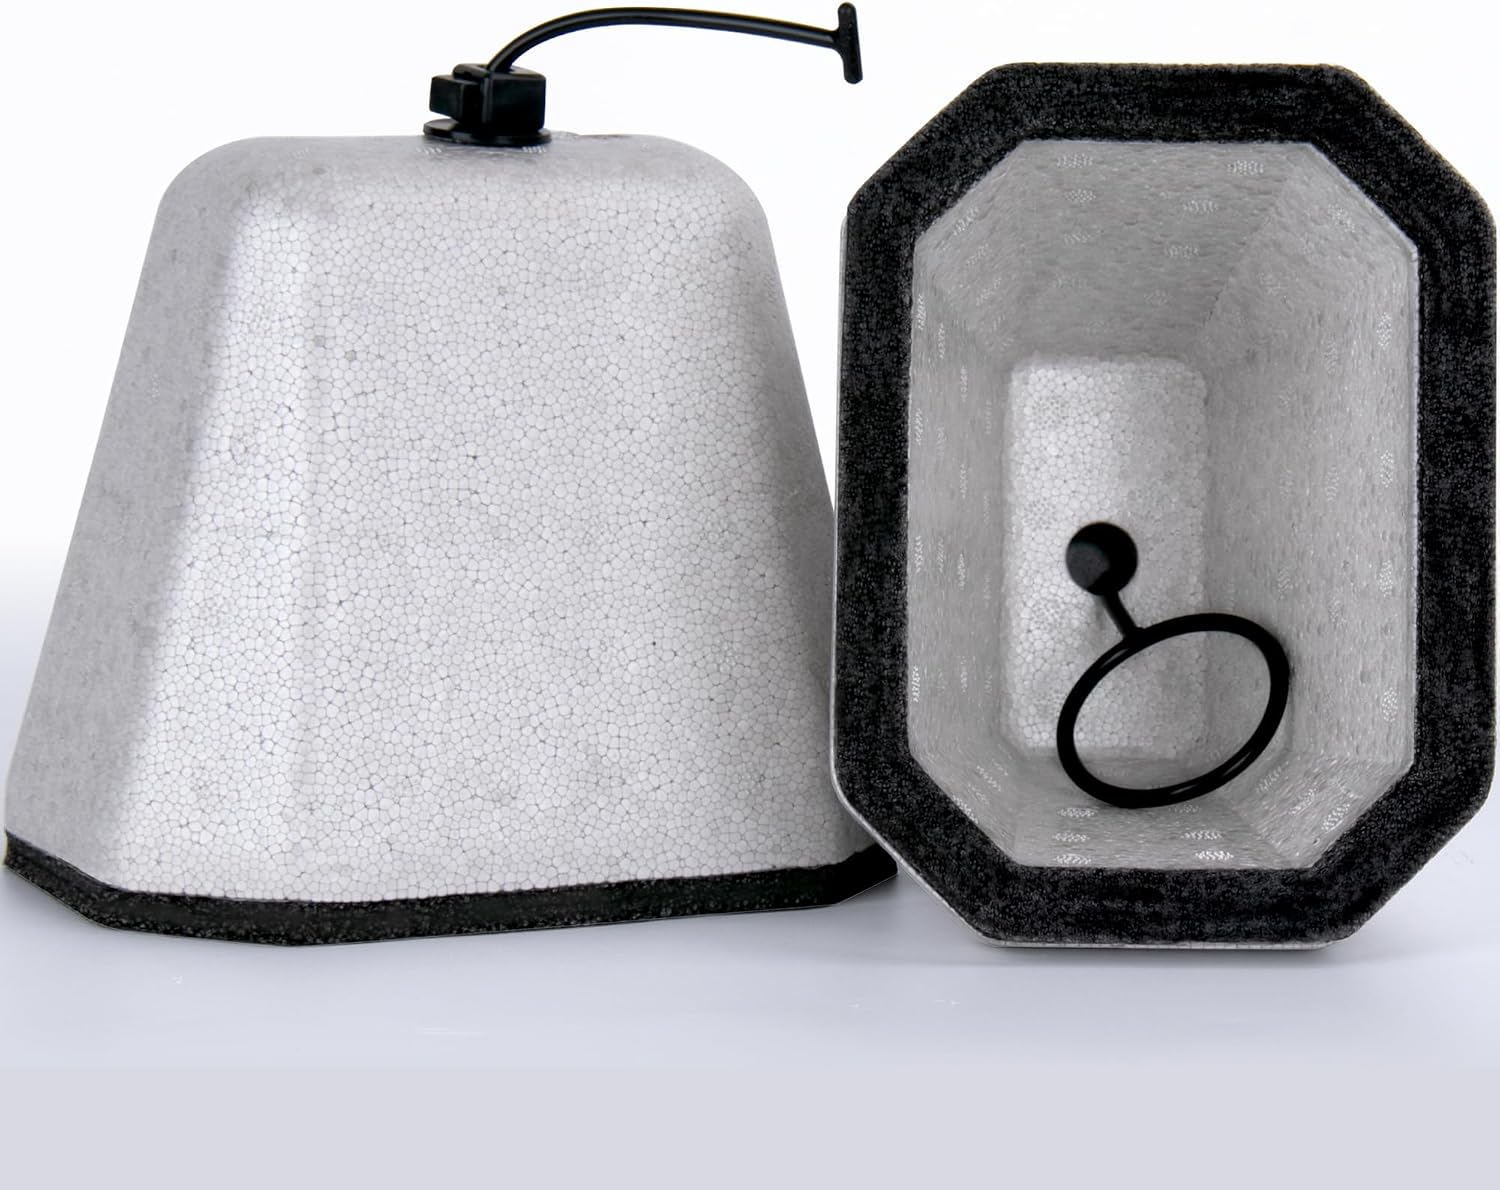
- Exterior hose bib covers (hard foam style) and/or insulating faucet socks
- Adjustable wrench or channel-lock pliers
- Flathead screwdriver (for some shutoff valves)
- Bucket and a couple of old towels
Step 1: Insulate freeze-prone pipes
Start by identifying the lines that are most likely to freeze. In most homes, that is any water line near an exterior wall or in an unheated space.
Where to look
- Crawlspaces, rim joists (band joists), and sill areas
- Unheated garages (especially walls shared with the house)
- Basement ceilings near foundation walls
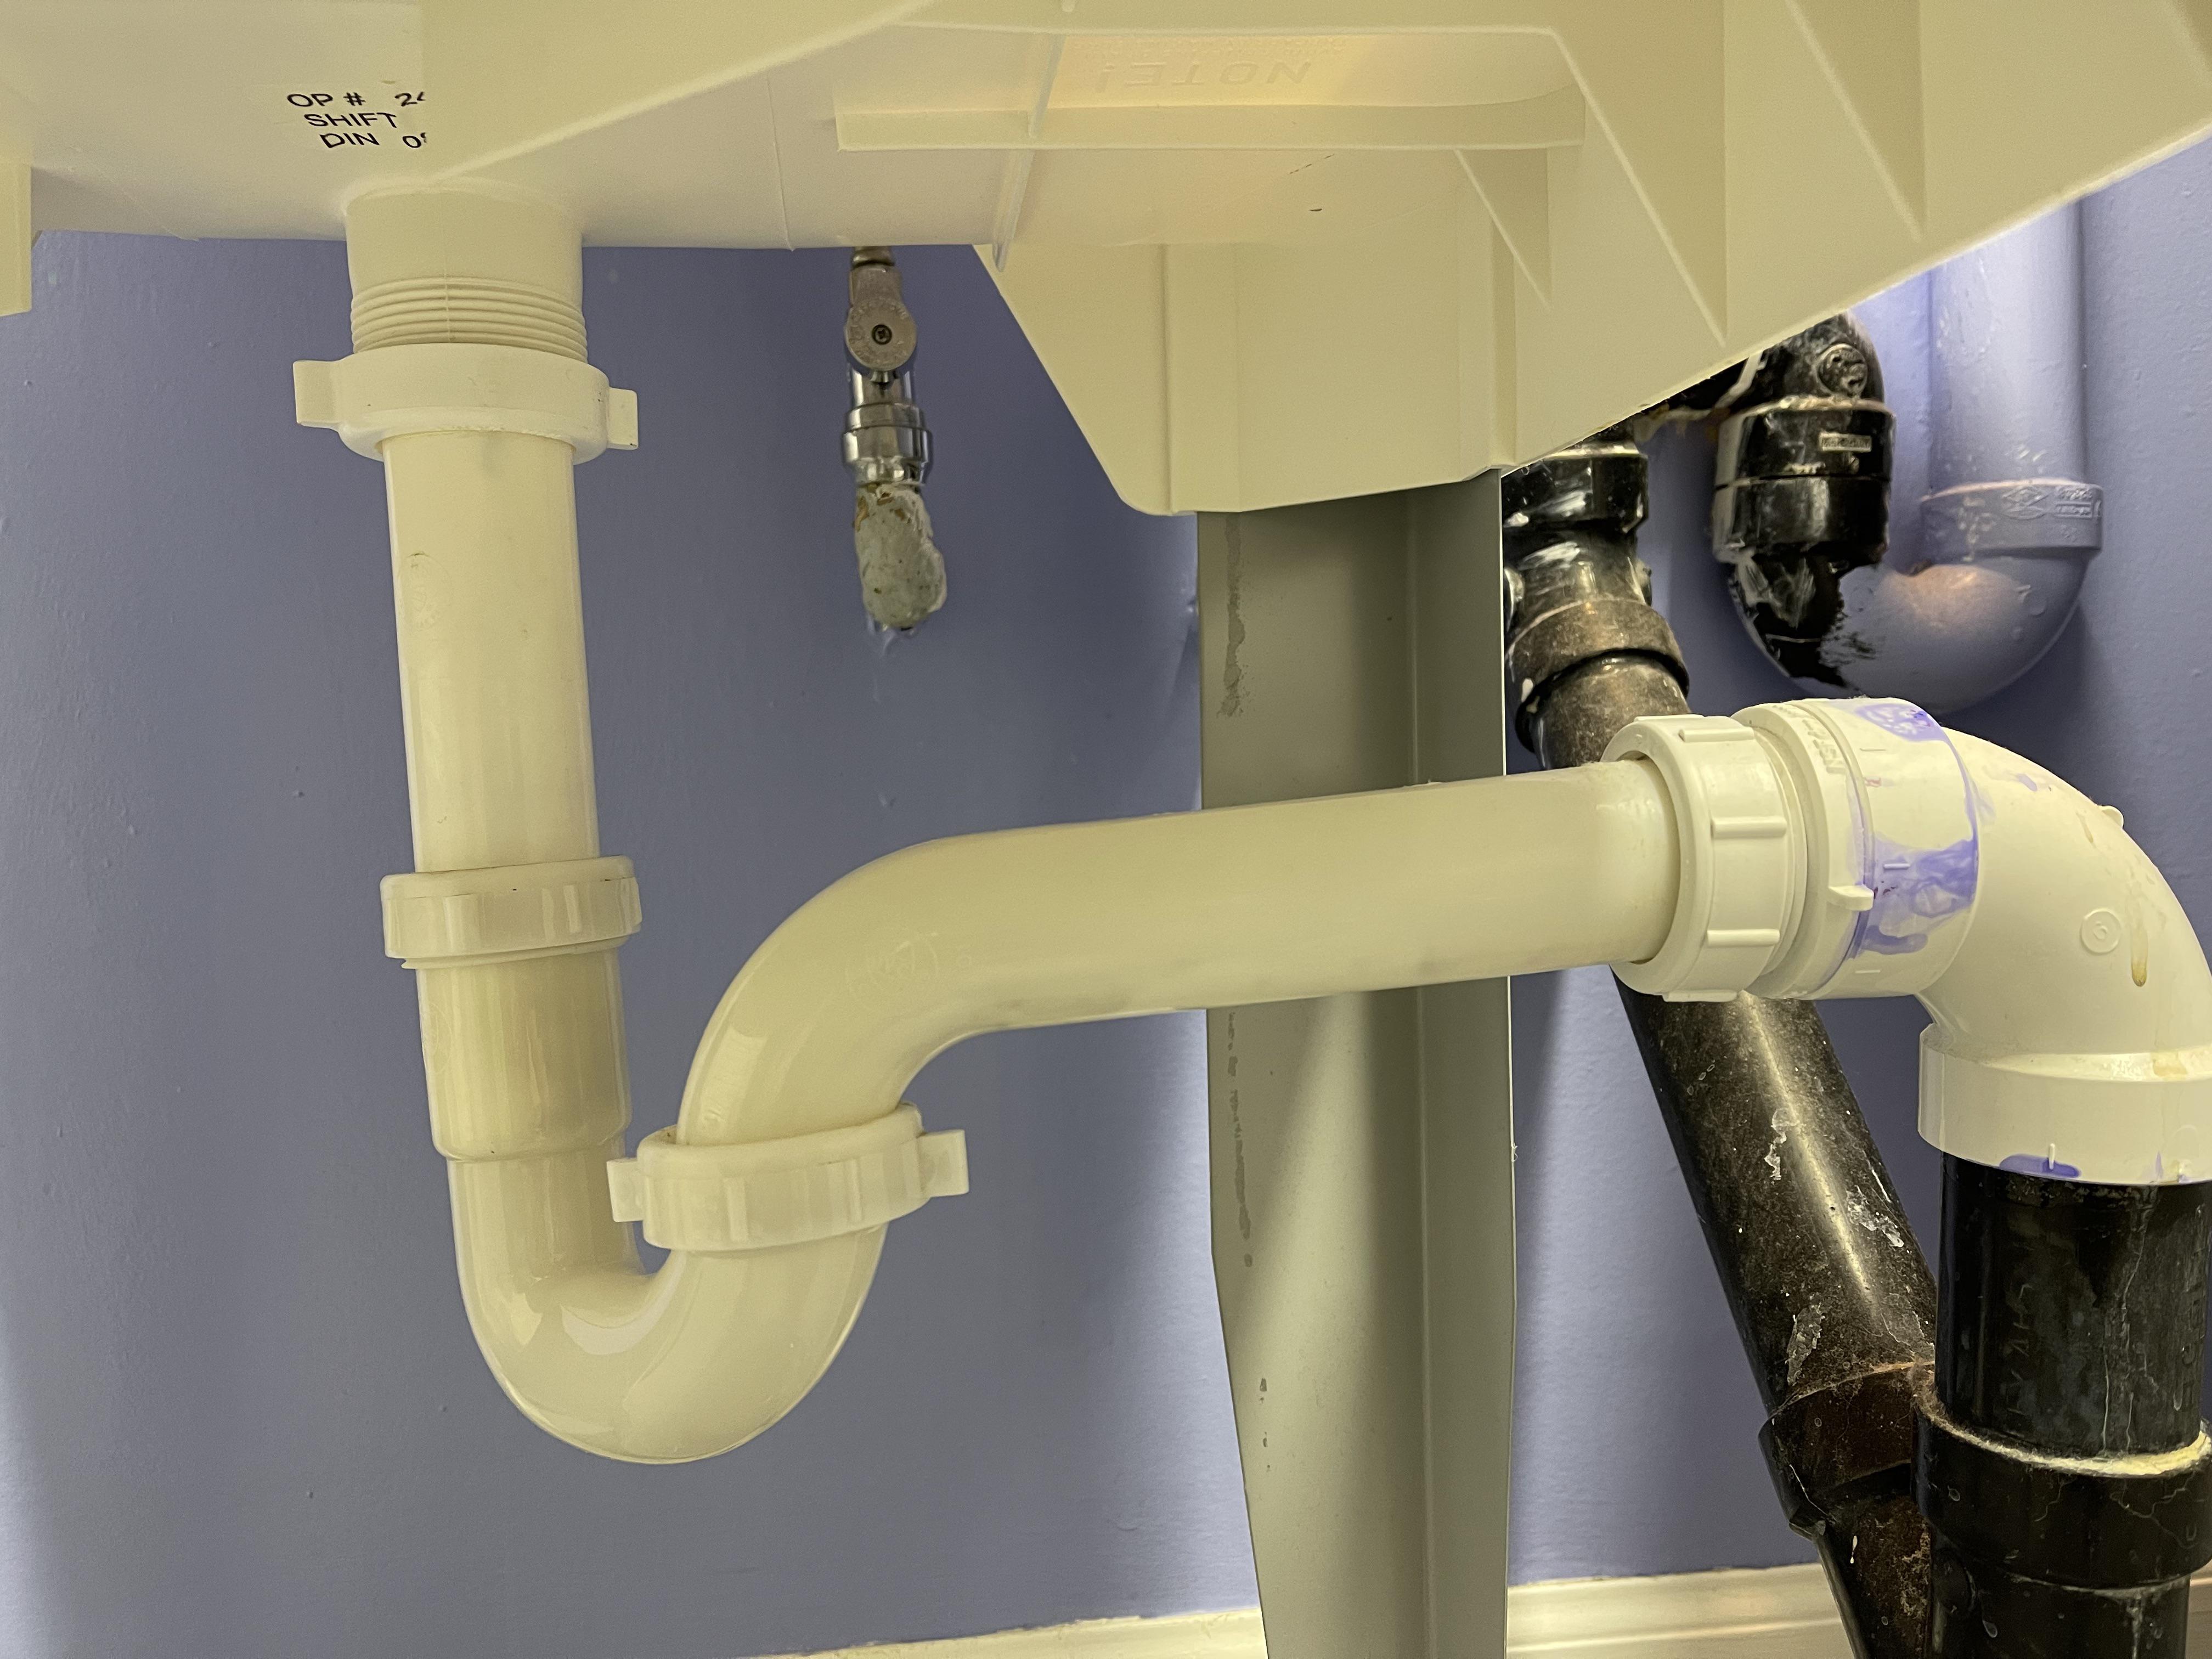
- Under kitchen sinks and bathroom vanities on exterior walls
- Any line near a foundation vent, sill plate gap, or drafty access panel
How to insulate the right way
- Foam sleeves are fast and clean. Measure pipe diameter (most common: 1/2 in or 3/4 in) and buy the matching size.
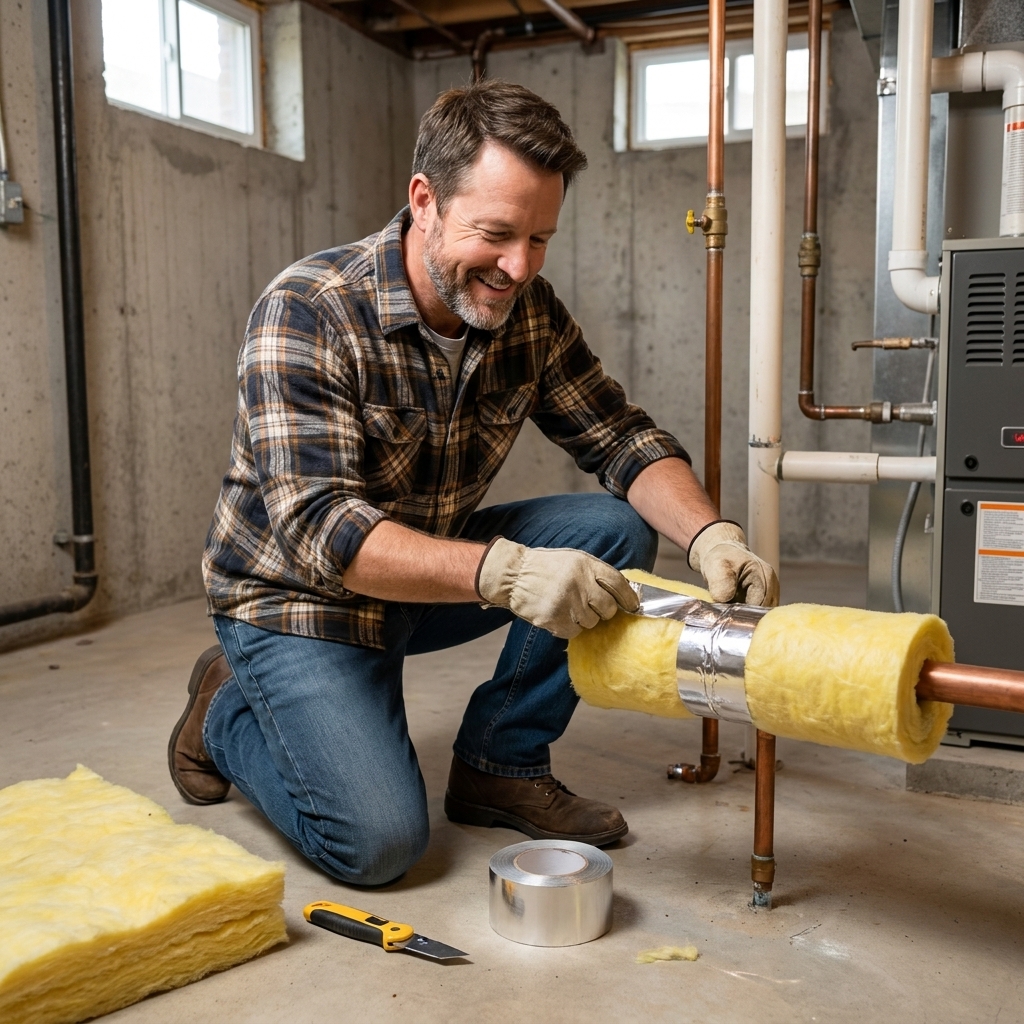
- Seal the seams with insulation tape so cold air cannot snake in through the slit.
- Do not compress fiberglass wrap. It works by trapping air. Wrap it snug, not tight like an ace bandage.
- Leave access to shutoff valves. Insulate around them without burying the handle or packing nut.
Pro tip: If you have copper supply lines, they transfer cold quickly. They also transfer heat quickly, which helps during a cold snap, but only if you can get warm air near them.
Once you have insulation handled, you are ready for the biggest troublemakers: outdoor fixtures and exterior-fed lines.
Step 2: Drain outdoor faucets
Outdoor faucets are the classic freeze point because the plumbing runs through an exterior wall. Even a little water trapped in that short run of pipe inside the wall can split a line in the wall cavity.
What to do (the reliable order)
- Disconnect all hoses and drain them. Store hoses inside if you can.
- Shut off the interior valve feeding each outdoor faucet (often in the basement, crawlspace, or utility room).
- Open the outdoor faucet to let it drain fully.
- Open the bleeder cap on the interior shutoff (if it has one) and catch water in a bucket. Close it when drainage stops.
- Install an insulated faucet cover outside for extra protection.
If you have frost-free sillcocks
Frost-free faucets are great, but they are not magic. They only work if the hose is removed so the faucet can drain. Leave a hose attached and it can still freeze and burst.
Step 3: Winterize irrigation and exterior lines
If you have sprinkler lines, pool supply lines, an exterior kitchen, a hose bib in a detached garage, or anything else that runs outdoors, winterize it intentionally. “It’ll probably be fine” is a springtime plumbing bill waiting to happen.
Sprinkler systems
- Turn off the irrigation supply at the dedicated shutoff.
- Drain the system using the manufacturer method: manual drain, automatic drain, or blow-out.
- Blow-outs are best left to pros if you do not have the right compressor setup. Too much pressure can damage valves and heads.
Other exterior lines
- Shut off the feed inside the home, then open the outside fixture to drain.
- If the line cannot fully drain, consider adding heat cable or rerouting it in the long term.
Seasonal water-fed appliances
If you have a whole-house humidifier, an evaporative cooler, a seasonal outdoor shower, or a similar water-fed add-on, look for its dedicated shutoff and follow the manufacturer shutdown steps. These are easy to forget and annoying to repair.
Step 4: Seal drafts
I have seen plenty of frozen pipes in homes with insulated plumbing because cold air was pouring in through a gap the size of a golf ball. Insulation slows heat loss. Draft sealing stops the cold air highway.
High-impact spots to seal
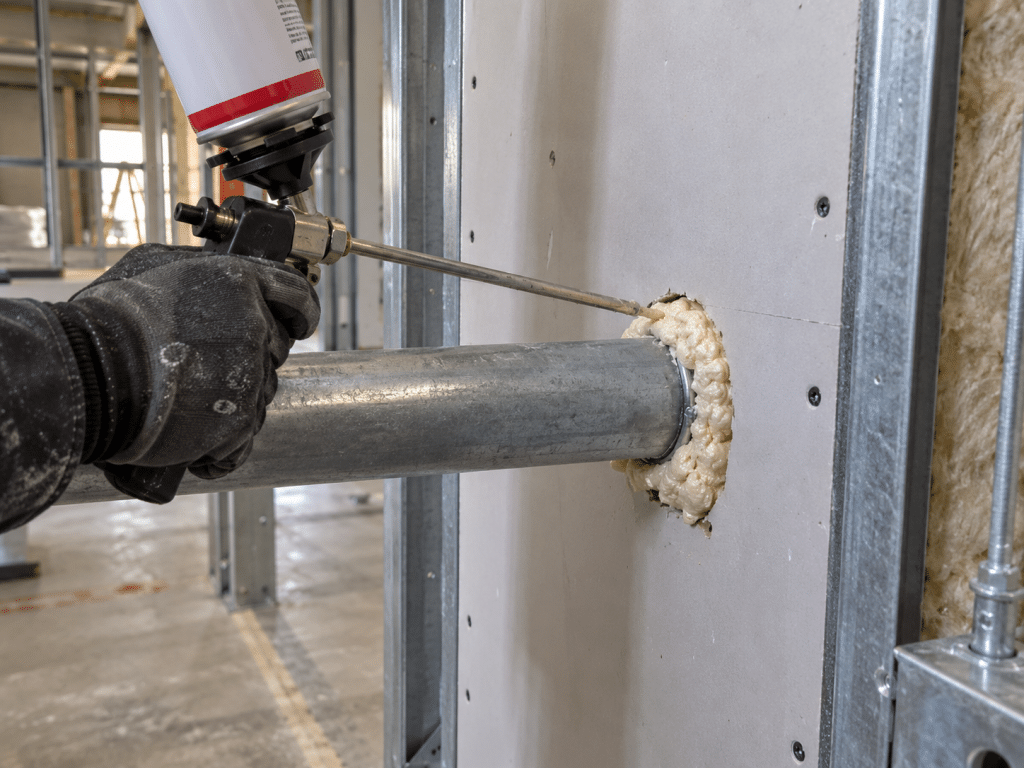
- Where pipes and wires penetrate exterior walls (under sinks, behind toilets, in utility rooms)
- Rim joists and sill plates in basements and crawlspaces
- Access panels to tubs and shower valves on exterior walls
- Foundation vents you can close for winter (only if appropriate for your foundation type and local moisture conditions)
Quick note on vents: Some crawlspaces are designed to stay vented, others are sealed or conditioned. Follow local guidance and what your home is built for, since the wrong move can create moisture and mold problems.
Materials that work
- Caulk for small gaps and trim edges
- Expanding spray foam for larger gaps (use minimally, it expands a lot)
- Rigid foam board for big openings like rim joist bays, sealed at edges
Step 5: Keep areas warm
Your goal is simple: keep pipe temperature above freezing. Sometimes that means letting house heat reach places it normally does not.
Easy habits during cold snaps
- Open sink cabinet doors on exterior walls to let warm air circulate.
- Keep the garage door closed and seal obvious gaps if water lines run through the garage.
- Do not shut heat off completely if you leave town. Set the thermostat to a safe minimum (many homeowners use 55°F, but follow your plumbing layout and local conditions).
- Fix crawlspace access doors that do not latch or seal, and make sure insulation is not falling down.
My rule of thumb: If you would not be comfortable sitting in that space for ten minutes in a t-shirt, your pipes probably are not comfortable either.
Bonus: test shutoffs now
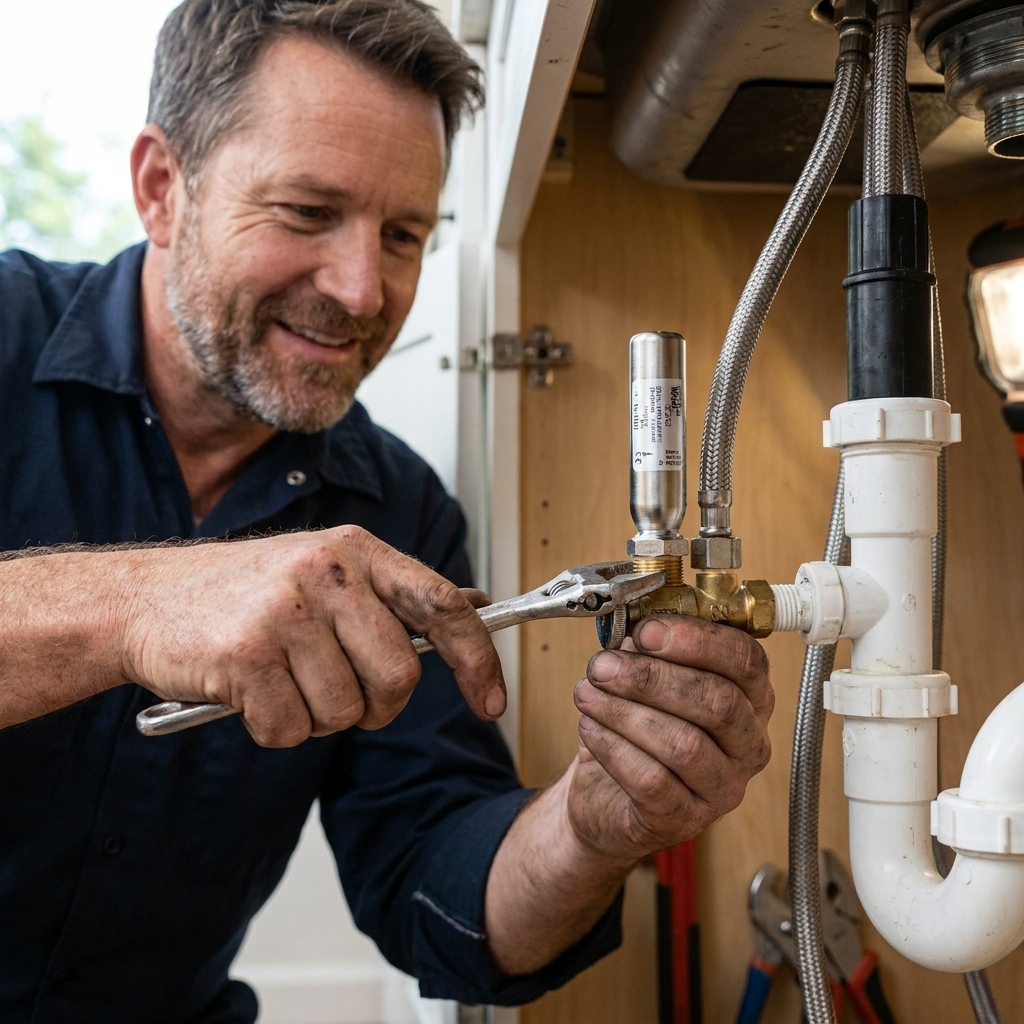
Before winter, take five minutes to locate and test the shutoffs under sinks and behind toilets. A working fixture shutoff can turn a “shut the whole house down” problem into a quick fix.
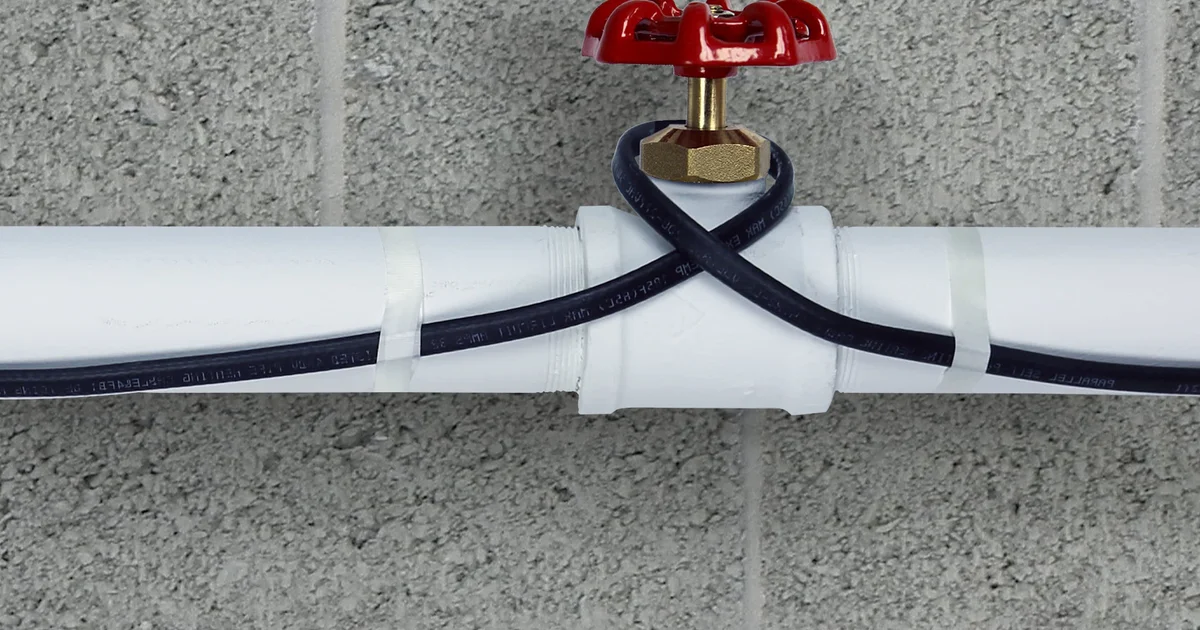
Step 6: Use heat tape correctly
Electric heat tape and heat cable can save the day on a stubborn problem line, but it needs to be installed correctly to be safe and effective.
Where it makes sense
- A short section of pipe in a crawlspace that stays colder than the rest
- A pipe near a drafty foundation area you cannot fully seal yet
- A line that has frozen before, after you have addressed insulation and drafts
Do it safely
- Buy a listed product intended for pipes, ideally with a built-in thermostat.
- Match the rating to your pipe material. Some products are approved for metal only, while others are rated for plastic like PEX or PVC. Use only what the label allows.
- Follow the manufacturer instructions exactly for wrapping pattern, overlap rules, and what materials can cover it.
- Do not wrap heat tape over itself unless the instructions explicitly allow it.
- Protect the cord from water and physical damage, and plug into a GFCI outlet.
- Inspect it yearly. If the outer jacket is cracked or the plug is damaged, replace it.
Step 7: Plan for freezes and outages
Winter weather loves to show up early, late, or at the worst possible time. A little planning makes those surprise cold nights a lot less stressful.
When temperatures drop fast
- Let a faucet drip on the most vulnerable run, often one serving an exterior wall, a crawlspace, or an unheated area. Moving water is harder to freeze.
- Run water briefly through hot and cold lines before bed if the house has been chilly.
- Check known trouble spots like the kitchen sink line and any pipes near garage walls.
If the power goes out
- Keep cabinet doors open and interior doors open to circulate residual warmth.
- If indoor temperatures are dropping quickly, consider shutting off the main water and draining lines (especially if you will not be home or you expect a long outage).
How to shut off and drain fast
- Turn off the main water shutoff.
- Open the lowest faucet in the home (often a basement sink or laundry tub) and let it run.
- Open the highest faucets (upstairs sinks) to let air in and speed draining.
- Flush toilets once to empty tanks as much as possible.
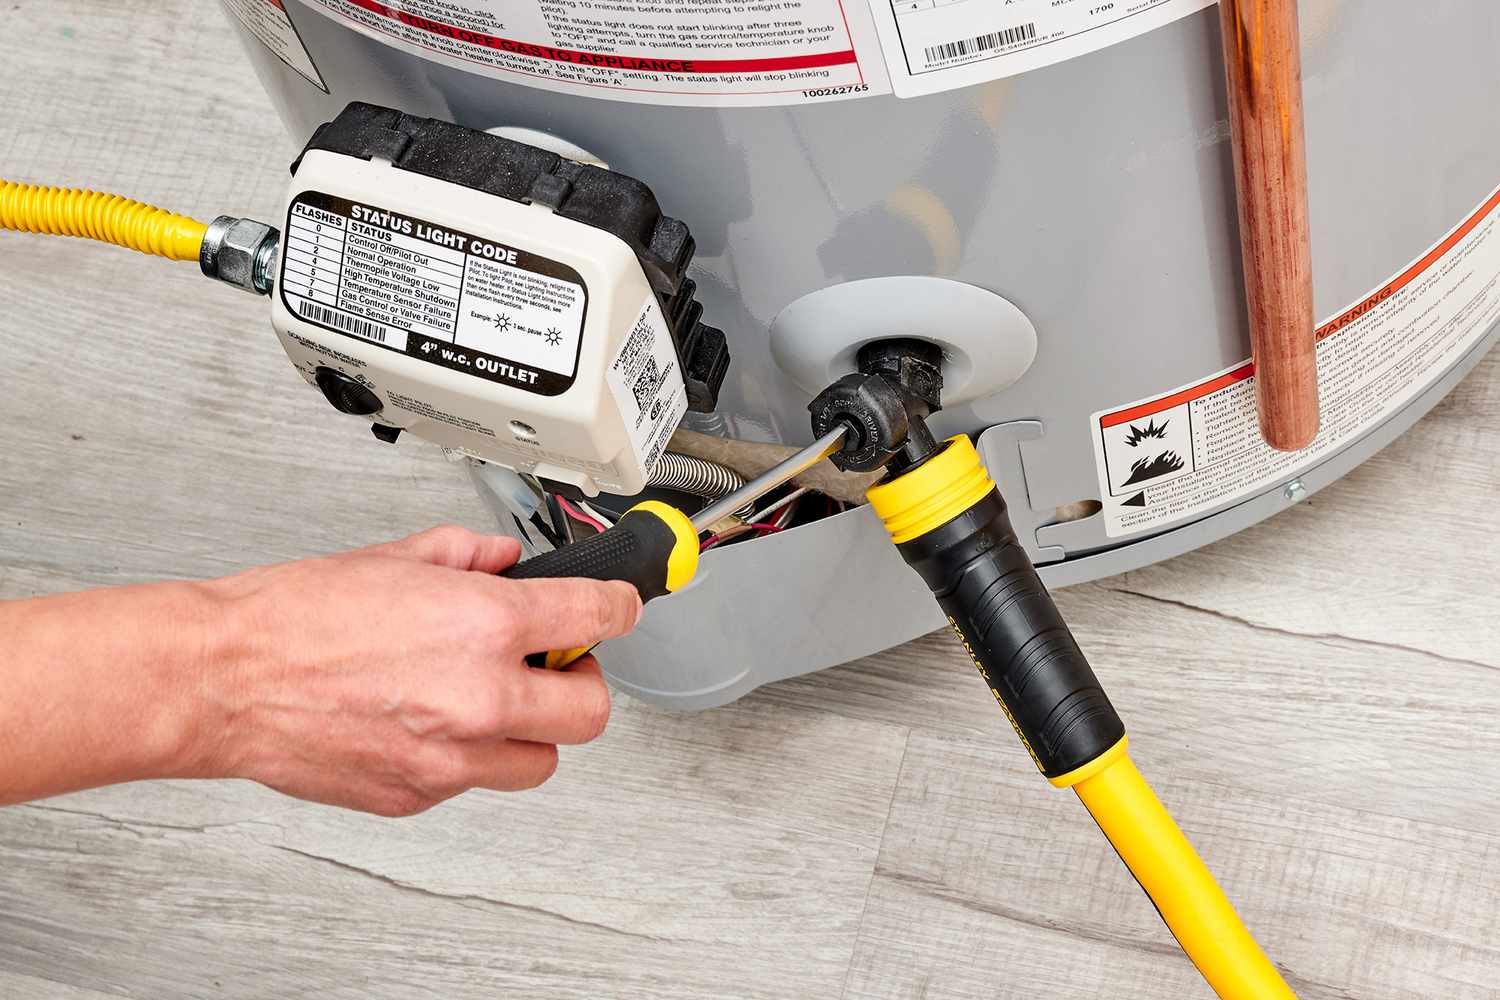
If you fully drain the house for a long vacancy: avoid running a water heater with no water in it. Check your water heater manual for the correct shutdown steps, or call a pro if you are unsure.
If you have a seasonal or vacant home
If the home will sit unheated, plan on a real winterization: shut off water, drain the plumbing, and consider having a plumber winterize the system. In many setups, adding RV antifreeze to traps and toilets is part of that process. Follow product directions and local guidance.
If a pipe freezes: what to do
First, do not panic. Second, do not keep “testing” the faucet every two minutes while you ignore the rest of the situation. Pipes can crack during a freeze and leak quietly behind a wall once they start to thaw.
Signs a pipe is frozen
- No water or a weak trickle from a faucet
- Frost on an exposed pipe
- Odd drain behavior or smells in unheated areas where traps or drain sections can freeze
Safe thawing steps
- Turn off the water at the nearest shutoff if you can, or at the main if you are unsure.
- Open the affected faucet so melting water has somewhere to go.
- Apply gentle heat with a hair dryer, a heating pad, or a space heater aimed at the area (kept safely away from combustibles).
- Start near the faucet and work backward toward the frozen section. This helps pressure and steam escape.
- Watch for leaks as it thaws. Keep a flashlight and towels handy.
Do not do this
- Do not use a blowtorch or open flame.
- Do not crank a space heater against a wall and walk away.
- Do not ignore a suspected burst. If you see water stains, bulging drywall, or hear hissing, shut off the main and call a plumber.
Quick checklist
- Insulate exposed pipes in unheated areas
- Disconnect hoses and drain outdoor faucets
- Shut off and drain irrigation and exterior lines
- Shut down seasonal water-fed appliances per manufacturer steps
- Seal drafts at pipe penetrations and rim joists
- Open cabinets during cold snaps; keep heat at a safe minimum when away
- Install heat tape only where needed and per instructions
- Test fixture shutoffs and know how to shut off the main water fast
If you do these seven steps, you are ahead of most homeowners by a mile. And if you want the real “dad holding the flashlight” pro move, go find your main shutoff today and make sure it turns. The best time to learn that is not at 2 a.m. in January.
FAQ
Should I let faucets drip all winter?
Not usually. Dripping is a good short-term tactic during extreme cold or when you know a specific line is vulnerable. For everyday winter conditions, focus on insulation, draft sealing, and keeping indoor temps stable.
Is it safe to insulate pipes near the water heater?
Generally yes for hot and cold supply lines, but avoid covering critical components you may need to access, and do not insulate over labels, relief valves, burner compartments, or venting. When in doubt, leave a clear space around controls and safety devices.
What temperature do pipes freeze?
Water in pipes can freeze at 32°F, but pipes can freeze even when outdoor temps are a bit higher if wind and drafts are blasting a specific area and the pipe has no heat source nearby.
What if I cannot reach the frozen section?
Shut off the main water, open the affected faucet, and warm the area as safely as you can. If the frozen section is in a wall or ceiling and you cannot access it without opening drywall, it is often time to call a plumber to avoid turning a small issue into major water damage.