Under-sink leaks are sneaky. They drip into the cabinet, swell the particle board, and leave you with that wonderful “What is that smell?” situation a week later. The good news is most leaks under a kitchen or bathroom sink come from a small handful of places, and you can usually fix them with basic tools and a calm, methodical approach.
I grew up as the kid holding the flashlight while my dad muttered at plumbing. As an adult I learned something important: plumbing only feels mysterious until you slow down and follow the water. That’s what we’re doing today.
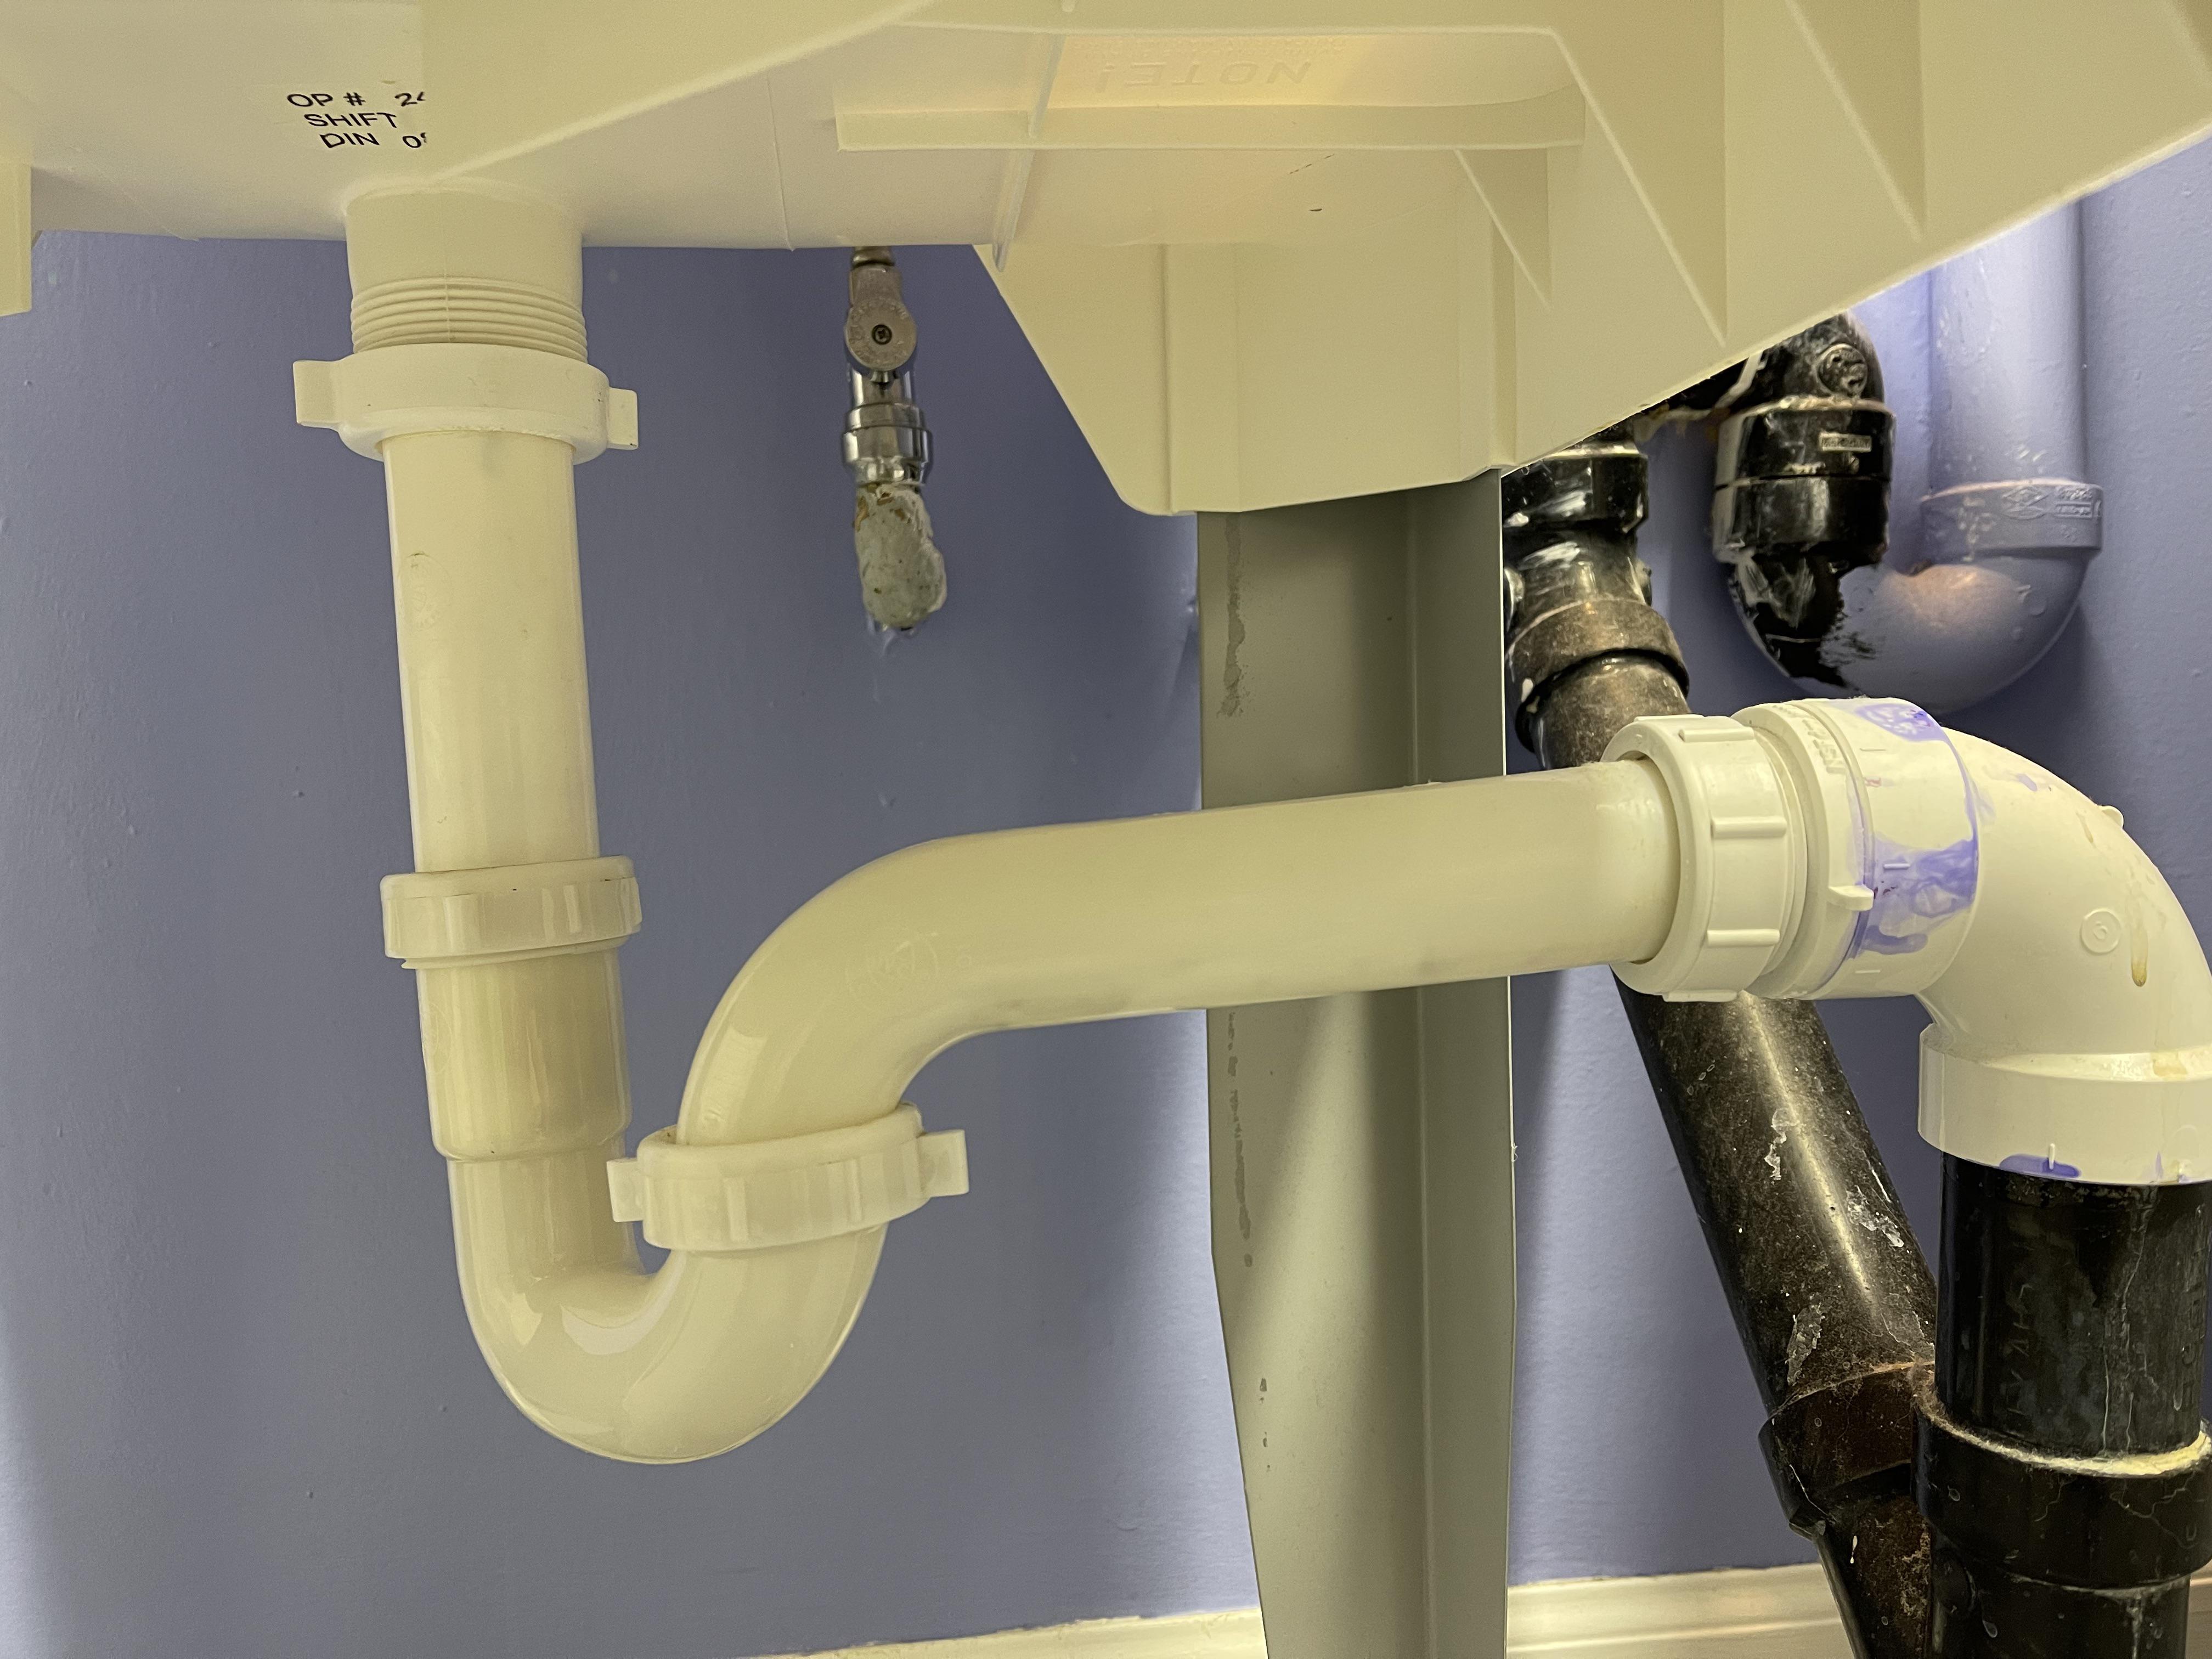
First: make it safe and make it easy to see
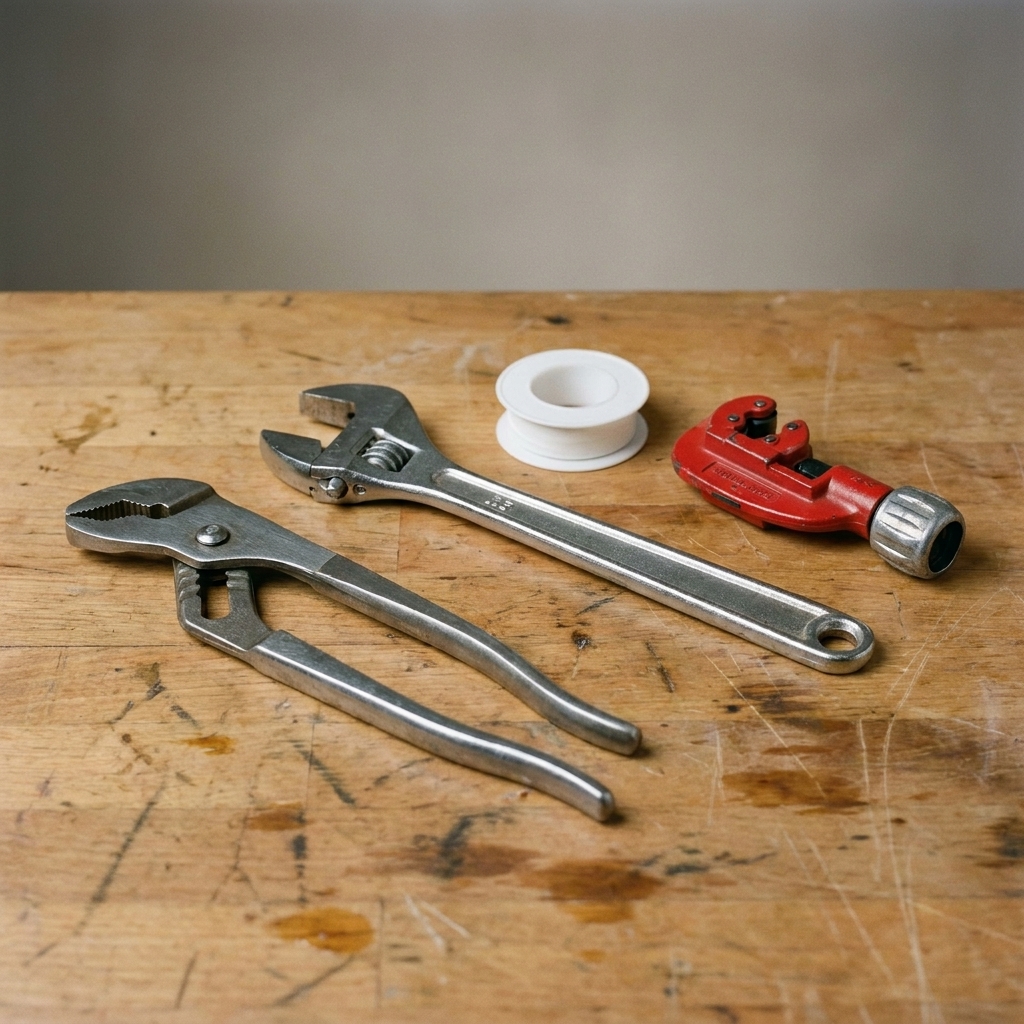
What you need
- Dry paper towels or tissue
- A flashlight or headlamp
- A small bucket or shallow pan
- Adjustable pliers or tongue-and-groove pliers
- Rags
- Optional: a phone camera for before photos
Quick safety notes
- Clear out the cabinet so you can see every joint and you are not soaking cleaning products.
- Electricity check: If there is an outlet, dishwasher plug, or garbage disposal cord in the cabinet and you see standing water, shut off power at the breaker before you start poking around.
- Bucket first: Any time you loosen drain parts, assume water is coming out. Put a bucket under the P-trap.
Pro tip: Wipe everything dry before you diagnose. A wet cabinet makes every part look guilty.
Find the leak: a simple 5-minute diagnostic routine
The goal is to figure out whether the leak is on the drain side (P-trap and drain pipes) or the supply side (hot and cold pressurized lines). The symptoms are different.
Step 1: dry it all out
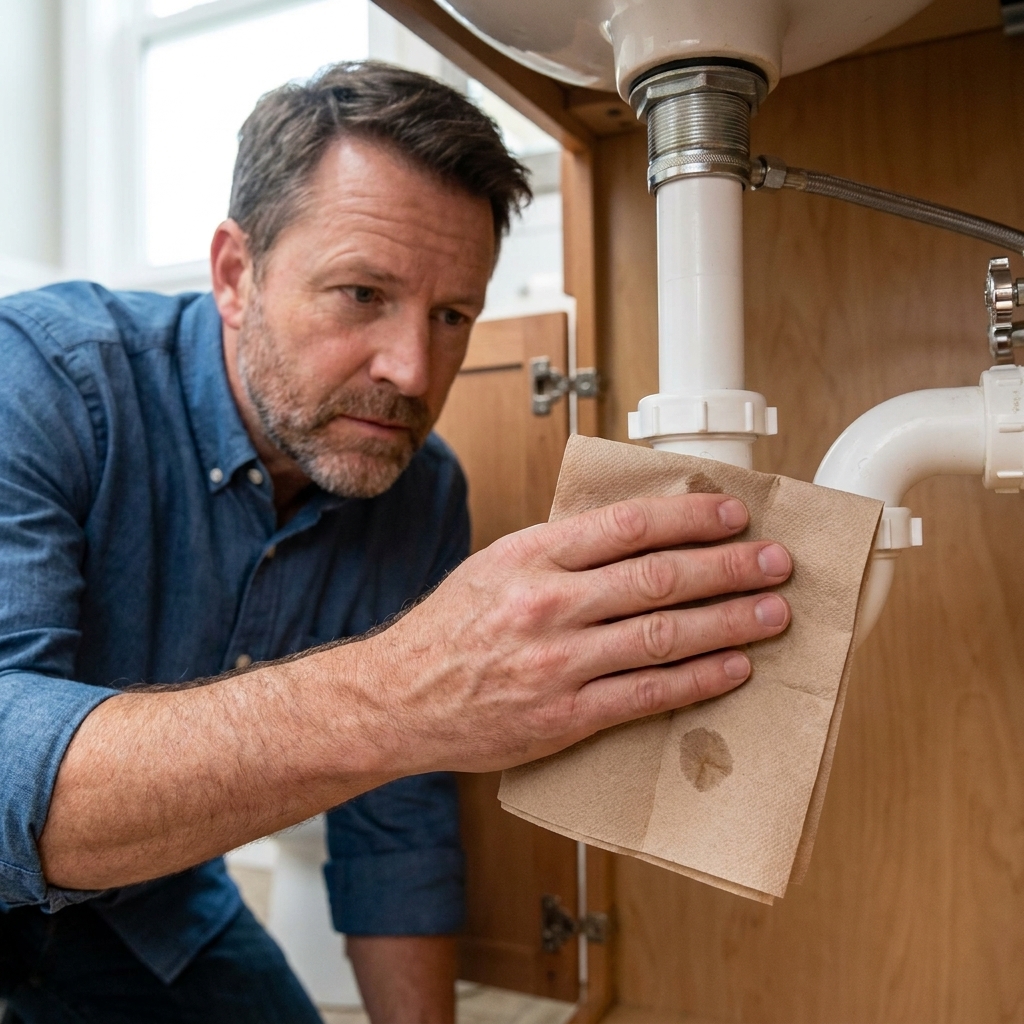
Use a rag to dry the pipes, the trap, the supply lines, and the shutoff valves. Then place a few dry paper towels under the plumbing where you suspect dripping. Paper towels make fresh drips obvious.
Step 2: test the drain side
Put the stopper in, fill the sink several inches (or about halfway for a stronger test), then pull the stopper and let it drain while you watch underneath with a flashlight. Drain leaks usually show up only when water is moving through the pipes.
Step 3: test the supply side
Dry everything again. Now turn on the faucet and let it run for 30 to 60 seconds, using both hot and cold. Then shut it off and watch for another minute. Supply leaks can drip even when the sink is not draining because they are under pressure.
Step 4: use the paper towel touch test
Touch a dry paper towel to each suspect spot in this order:
- Faucet supply connections (up at the underside of the faucet)
- Shutoff valve packing nut and outlet
- Supply line connections (top and bottom)
- P-trap slip nuts and trap bend
- Tailpiece connection (vertical pipe coming down from the sink drain)
- Trap arm connection (pipe going into the wall)
- Bathroom: pop-up pivot rod ball joint nut (the little ball-and-socket on the back of the drain)
- Kitchen: pull-out or pull-down sprayer hose connection and where the hose loops past the weight
Most common drain leak: loose slip nuts on the P-trap
If your leak shows up while draining, the P-trap area is the first place I look. P-traps are designed to be serviceable, which is great. It also means they can loosen over time, especially if someone bumped the trap while shoving stuff into the cabinet.
What it looks like
- Drips forming around a plastic nut (slip nut)
- Water tracks on the outside of the trap
- A puddle directly under the curved part of the trap
How to fix it
- Set a bucket under the trap.
- Hand-tighten first. Many slip nuts only need a firm hand tightening.
- If it still leaks, tighten a quarter-turn with pliers. Do not crank on it. Overtightening can crack the nut or deform the washer.
- Retest by running water and draining the sink.
One more common issue: Cross-threaded slip nuts happen all the time. If the nut feels “crunchy” or won’t start smoothly, back it off and re-thread it by hand before you tighten anything.
My rule: Slip nuts are “snug plus a little,” not “gorilla tight.” I have personally split more than one plastic nut learning that lesson.
If tightening did not work: replace the P-trap washers
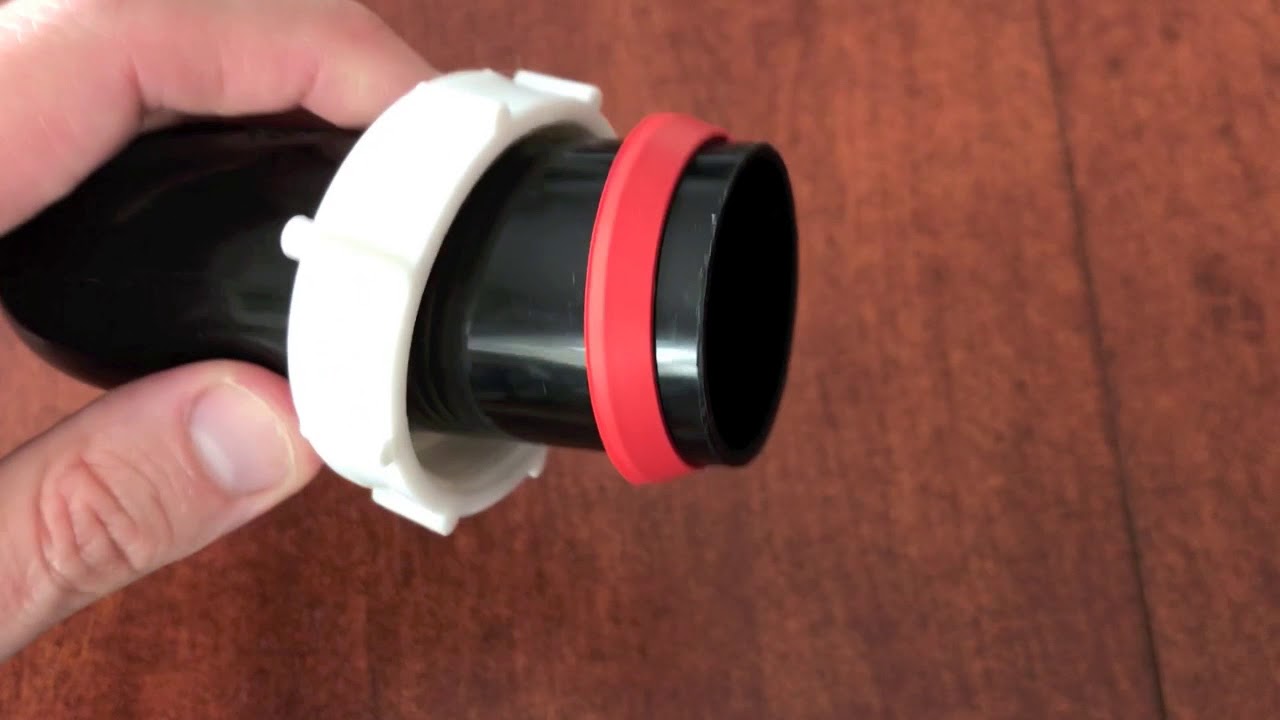
Inside each slip joint is a beveled washer that creates the seal. When that washer gets misaligned, cracked, or flattened, tightening the nut just squeezes a bad seal harder.
Signs the washer is the real problem
- The leak is right at the slip nut seam and returns immediately after tightening
- You see a washer that is split, warped, or brittle
- The trap looks slightly crooked or misaligned
Step-by-step washer replacement
- Put the bucket under the P-trap and loosen the two slip nuts on the trap (one at the tailpiece, one at the trap arm).
- Lower the trap and let the water dump into the bucket.
- Slide off the slip nuts and remove the old washers.
- Match the new washers. Take the old ones to the hardware store if you are unsure. Most bathroom sinks are 1-1/4-inch and many kitchen sinks are 1-1/2-inch, but do not guess.
- Install washers in the correct direction. The tapered side typically faces the fitting it is sealing against. If you put it in backwards, it loves to weep.
- Reassemble and align. Make sure the trap is not under stress. If you have to force it to meet the wall pipe, it will probably leak.
- Hand-tighten, then add a quarter-turn if needed.
- Test with a full drain.
A note on tape and dope: Slip joints seal with the washer, not the threads, so thread tape or pipe dope is generally not needed. If you want to help a stubborn washer seat, a tiny dab of silicone grease on the washer (not on the threads) can help, but correct alignment is still the real fix.
Cracks and corrosion: when the P-trap itself is leaking
If you see water beading from the middle of a pipe section, not from a joint, you are looking at a cracked PVC trap or a corroded metal trap.
Fix
- PVC trap: Replace the trap assembly. They are inexpensive and meant to be swapped.
- Chrome or metal trap: If it is pitted or flaking, replace it. Once corrosion starts, it does not heal.
When you replace a trap, bring the old one with you. There are multiple configurations and sizes, and matching what you have saves a return trip.
Wall connection leaks: trap adapter and stub-out issues
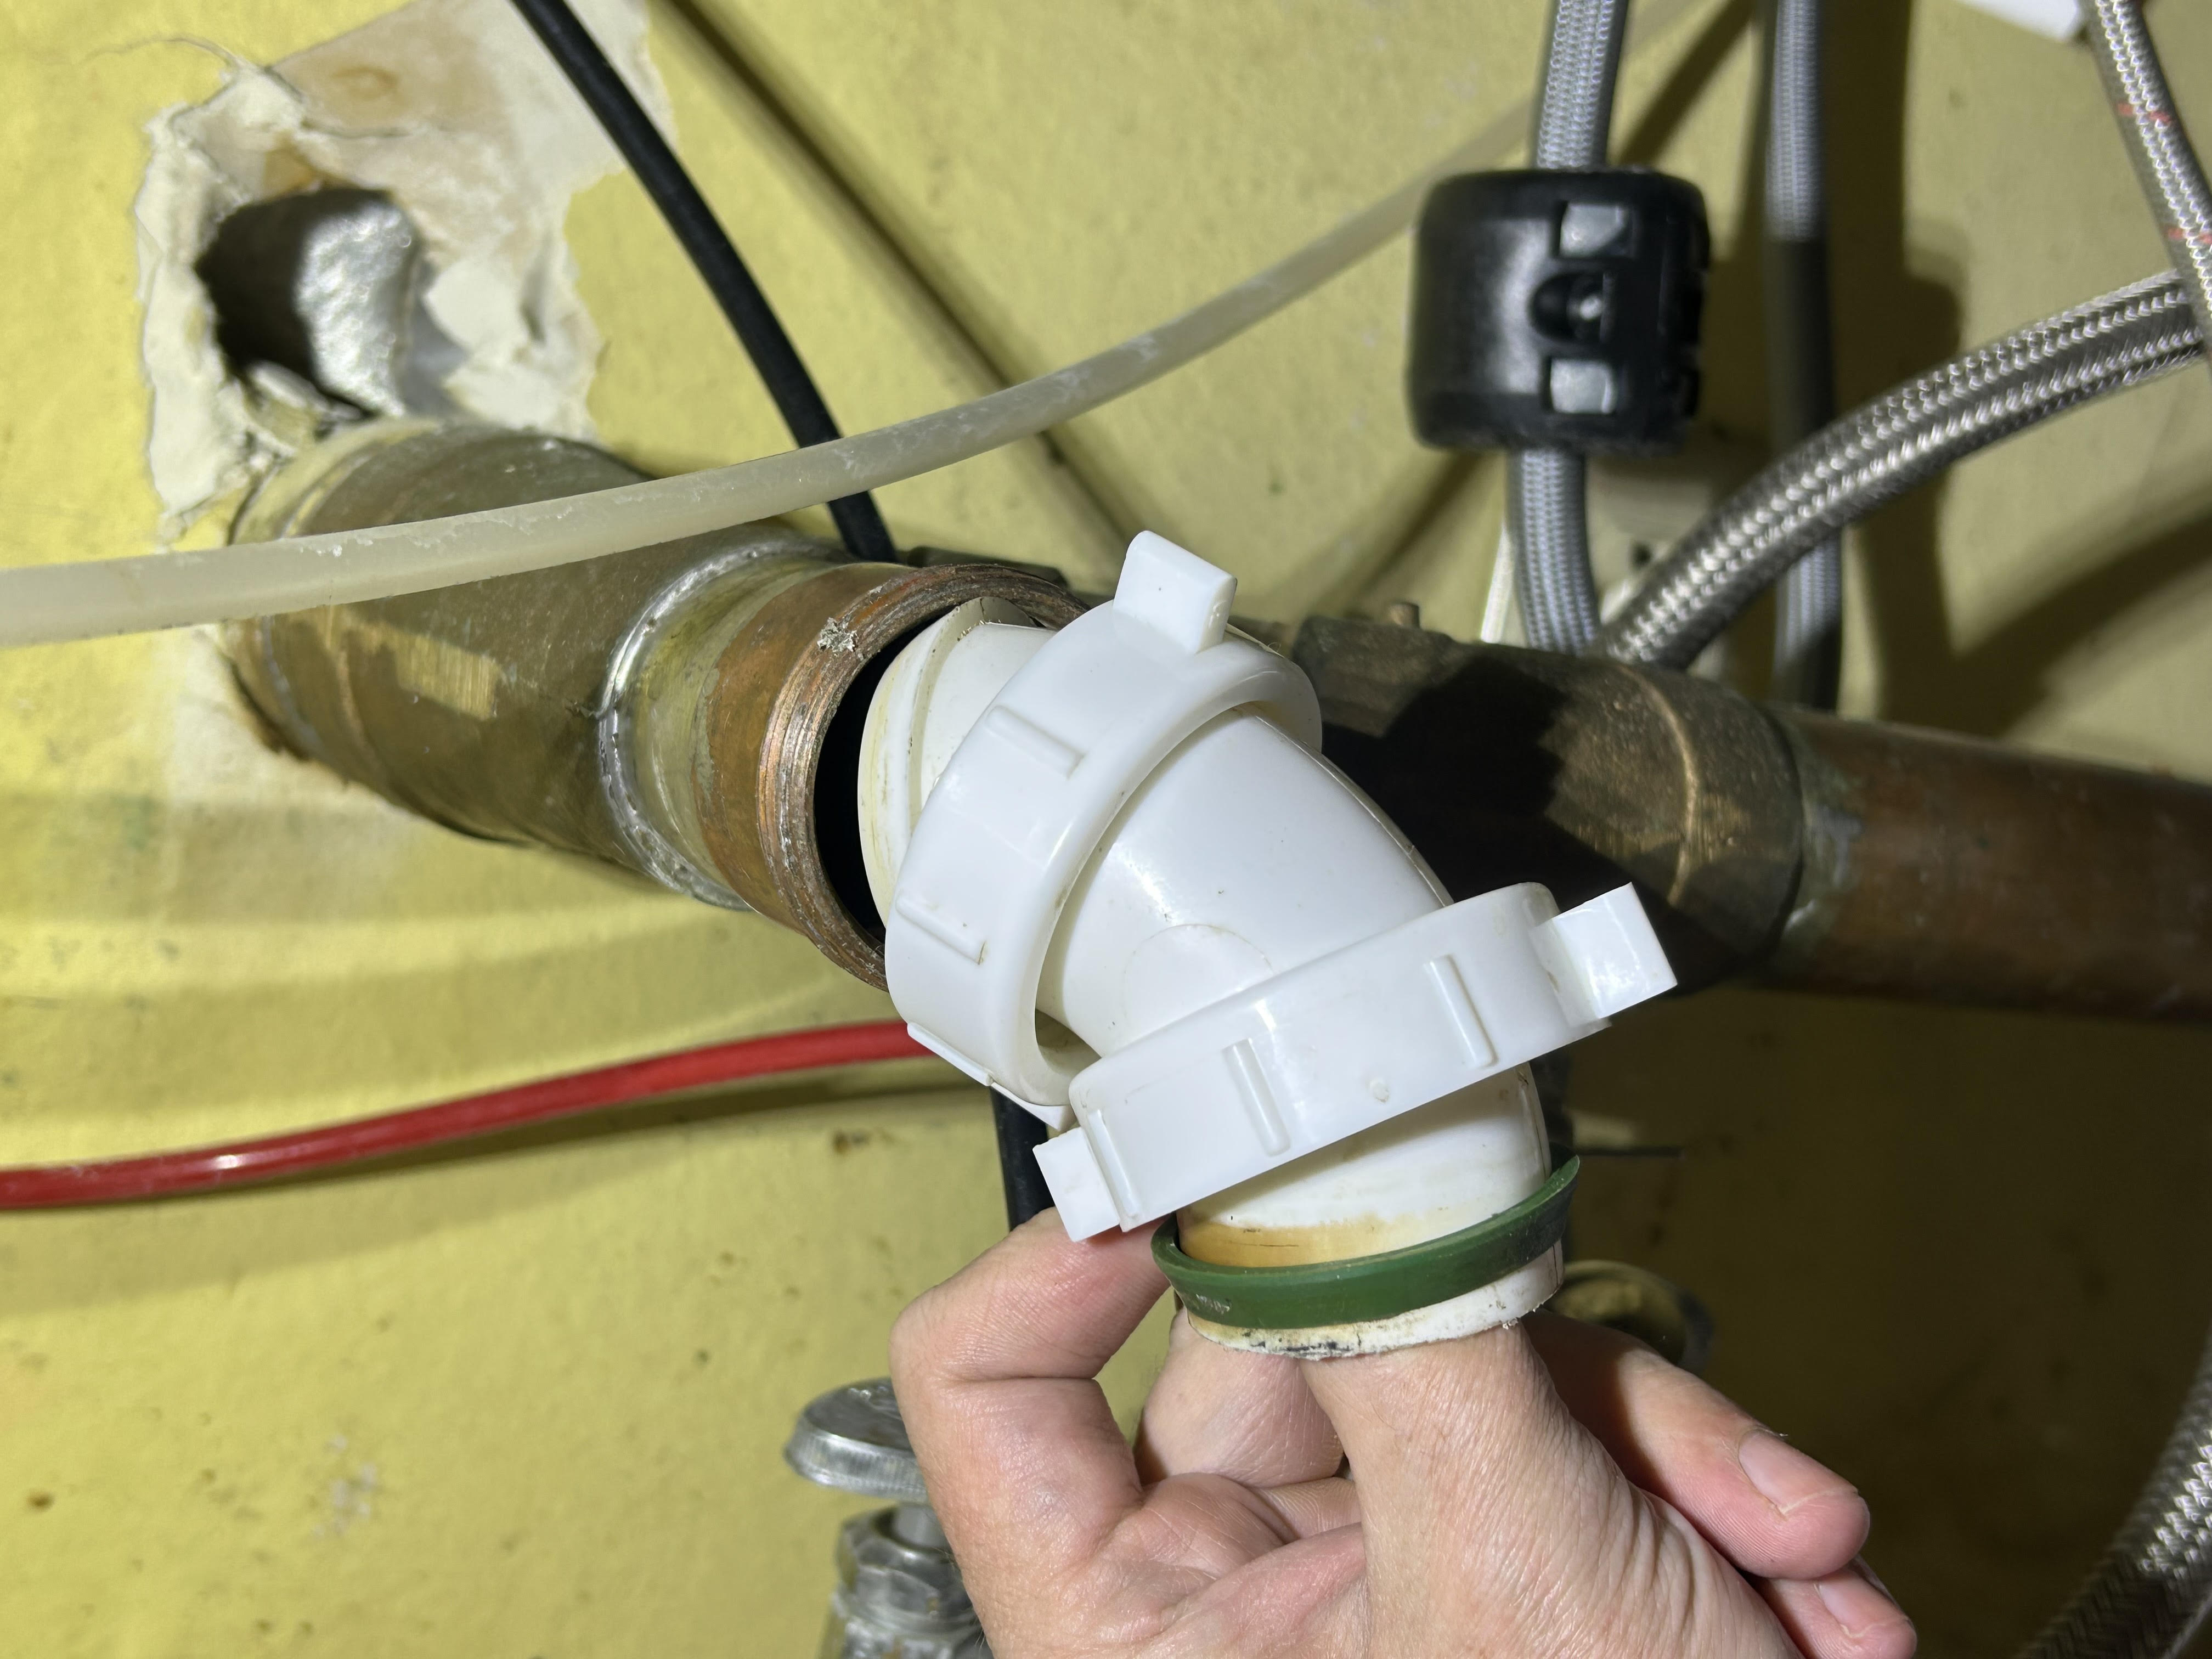
If the wettest area is right where the drain disappears into the wall, do not ignore it. Two common culprits are a loose slip joint at the wall (often a trap adapter) or an older metal stub-out that is corroding.
What to look for
- Moisture around the slip nut at the wall connection
- A cracked plastic trap adapter (especially if the nut has been overtightened)
- Pinholes or heavy corrosion on a metal wall stub-out
Fix
- Try hand-tight plus a quarter-turn on the slip nut and make sure the trap arm is straight and fully seated.
- If the adapter is cracked or the stub-out is badly corroded, that is often a part replacement job. If you are not confident in what is glued vs. threaded at the wall, this is a good place to call a plumber.
Most common supply leak: a dripping supply line connection
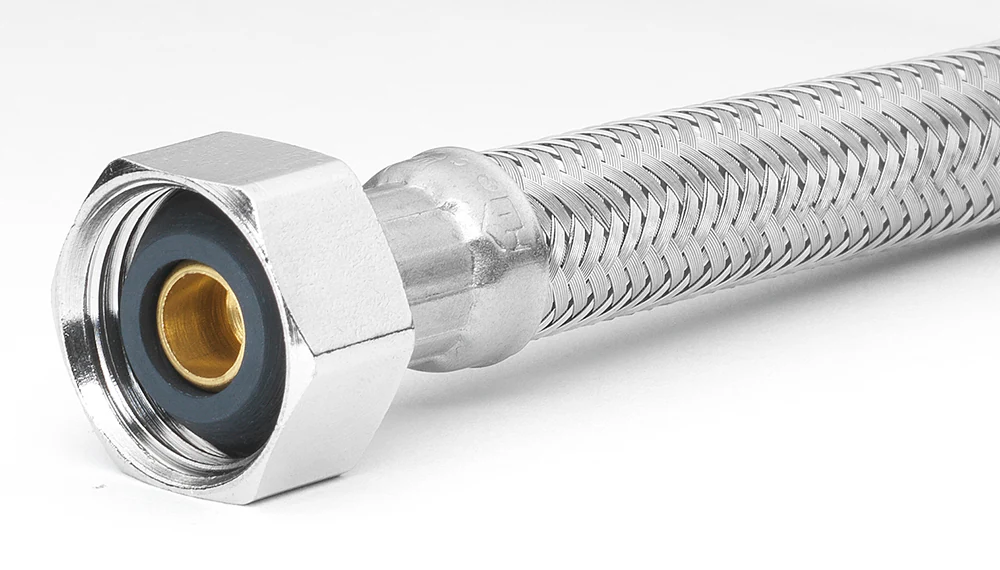
Supply leaks are usually easier to spot because the water is clean and persistent. Look at the flexible braided lines or plastic lines running from the shutoff valves to the faucet.
Where it leaks
- Top connection (where the line connects to the faucet shank)
- Bottom connection (where the line connects to the shutoff valve)
- The line itself (rare, but it happens when lines kink or age out)
How to fix a loose connection
- Turn off the shutoff valve for the leaking line (hot or cold). Most turn off clockwise (righty tighty).
- Relieve pressure by turning on the faucet.
- Dry the fittings and snug the nut using two tools when possible: one to hold the valve steady, one to turn the nut. This helps you avoid twisting the valve or stressing the pipe.
- Turn the water back on and check for drips.
When to replace the supply line
Replace the line if:
- It leaks from the hose body, not the nut
- The nut will not seal even after snugging
- The line is kinked, rusty, or the braid is frayed
Supply line tips: Buy the right length. Too short puts stress on fittings, too long tends to loop and get snagged by stored items. Hand-tighten first, then a small additional turn with a wrench.
Quick thread tape nuance: Many faucet supply connections seal with a rubber washer or a compression seat, not thread tape. If you run into a tapered pipe-thread connection (less common under sinks), tape or pipe dope may be appropriate. When in doubt, check the fitting type before you wrap anything.
Kitchen-only: sprayer hose and quick-connect leaks
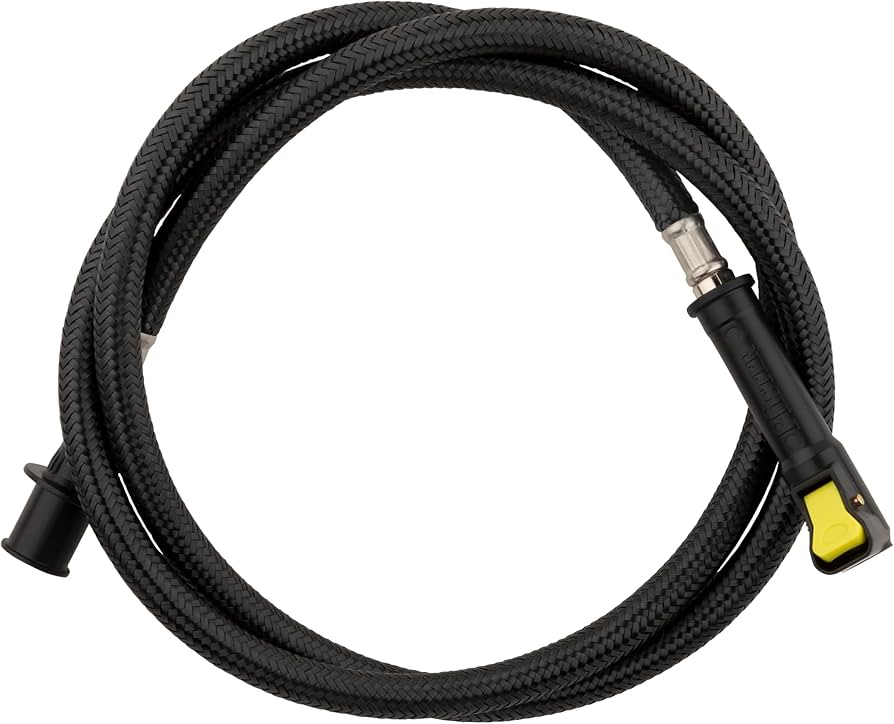
Pull-out and pull-down faucets add one more sneaky leak path: water can drip from a connection above, run down the hose, and only show up later as a mystery puddle.
What to check
- The sprayer hose quick-connect under the faucet
- The hose where it passes through the weight or guide
- Any plastic connector that moves when you pull the sprayer in and out
Fix
- Dry the hose and connectors, then run the faucet and pull the sprayer out and back in a few times while you watch underneath.
- If a quick-connect is dripping, reseat it firmly. Many have a retaining clip that must be fully snapped in.
- If the hose itself is damaged or worn, replace it (and match the exact faucet model parts if possible).
Bathroom-only: pop-up pivot rod leak
If you have a bathroom sink with a pop-up stopper, do not forget the pivot rod. The ball-and-socket nut on the back of the drain can drip intermittently, especially when you move the stopper.
How to spot it
- The back of the drain body is wet
- Drips show up after you lift or lower the stopper
- The leak seems to come and go
Fix
- Put a towel or small cup under the pivot rod area.
- Snug the pivot rod nut gently, usually a small fraction of a turn is enough.
- If it still leaks, you may need to replace the little seal or rebuild that part of the pop-up assembly.
Leaking shutoff valve: packing nut or valve replacement
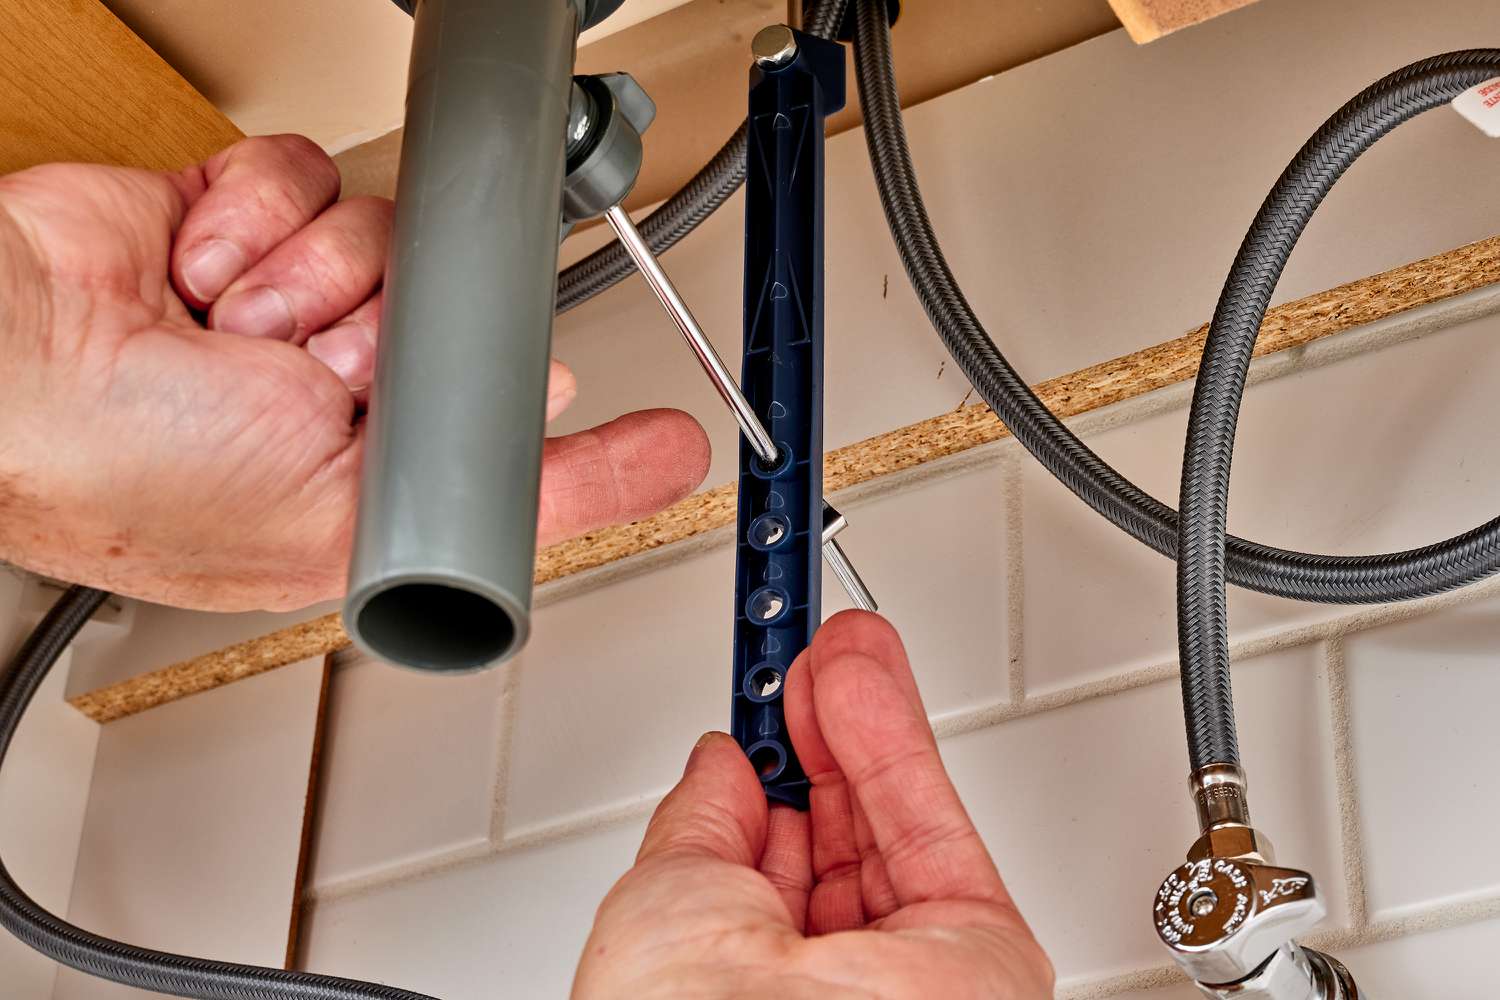
If the drip is coming from the shutoff valve itself, you typically have two scenarios: the packing nut is leaking around the stem, or the valve is failing internally and dripping from the outlet even when off.
Fix 1: snug the packing nut
The packing nut is the small nut behind the handle. If water appears around the stem when the valve is on, try this:
- Dry the valve.
- Snug the packing nut about 1/8 to 1/4 turn.
- Recheck for leaks with the faucet on and off.
Small turns matter here. Overtightening can make the valve hard to turn.
Fix 2: replace the shutoff valve (when necessary)
If the valve will not shut off fully, is heavily corroded, or leaks from the body, replacement is the real fix. Depending on what type you have (compression, soldered, push-to-connect), replacement can be easy or it can be a call a plumber moment.
If you cannot locate or trust your main water shutoff, stop here. Do not start removing valves on a live line unless you enjoy indoor waterfalls.
Leak at the sink drain or faucet base: water from above
Sometimes the plumbing under the sink is innocent. Water can run down from the sink rim, faucet base, soap dispenser, or the countertop and drip into the cabinet.
How to test
- Dry the underside of the sink and the top of the cabinet.
- Run a small stream of water around the faucet base and handles, then check underneath.
- Check the drain flange area by filling the sink and letting it sit without draining. If it leaks before draining, the drain seal may be the culprit.
Common fix: Tighten the drain locknut (under the sink) if it is loose. If the drain seal has failed, the drain often needs to be removed and resealed with plumber's putty (for many sink types) or silicone (often for some bathroom sinks and certain materials).
One important nuance: Plumber’s putty can stain some porous stone countertops and some sink makers prohibit it. If you have stone or you are unsure, use silicone and follow the manufacturer guidance.
Garbage disposal leaks (kitchen sinks)
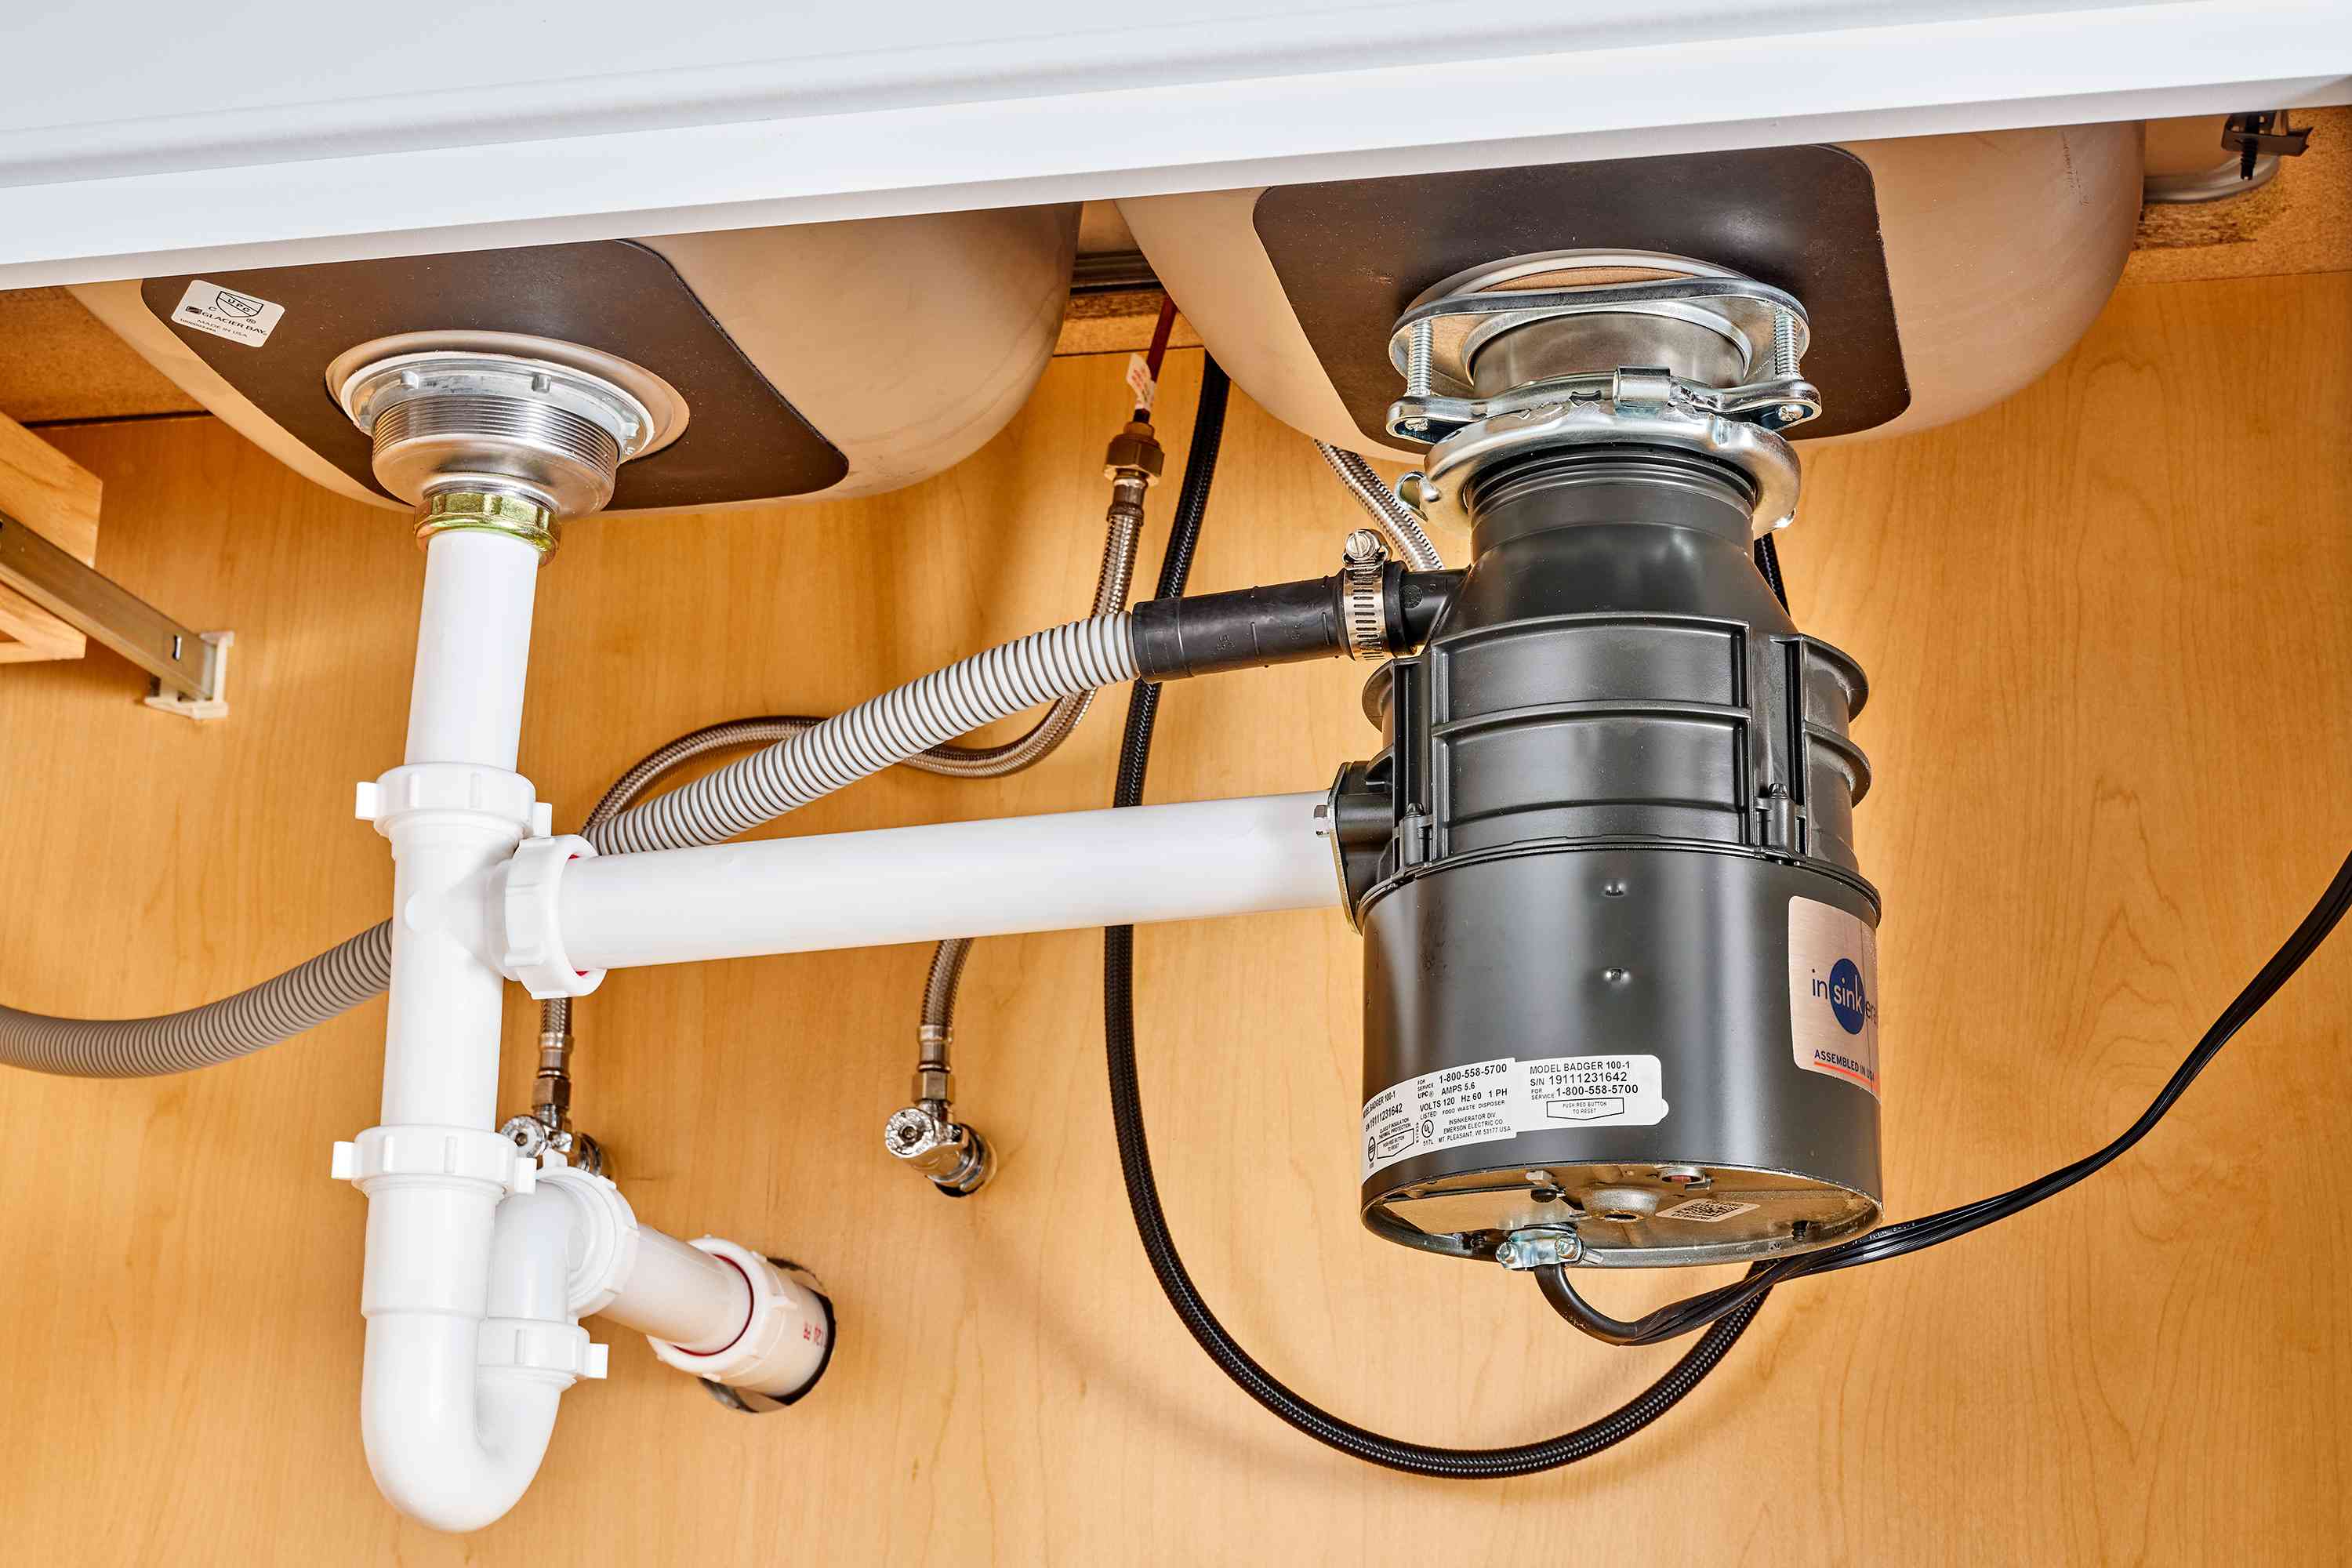
If you have a disposal, you have a few extra leak points.
Common disposal leak locations
- Sink flange (leaks from the top mounting area)
- Dishwasher inlet (small barb fitting on the side of the disposal)
- Discharge tube connection (where the disposal outlet meets the drain pipe)
- Disposal body (rare, but if it is leaking through the housing, replacement is usually the answer)
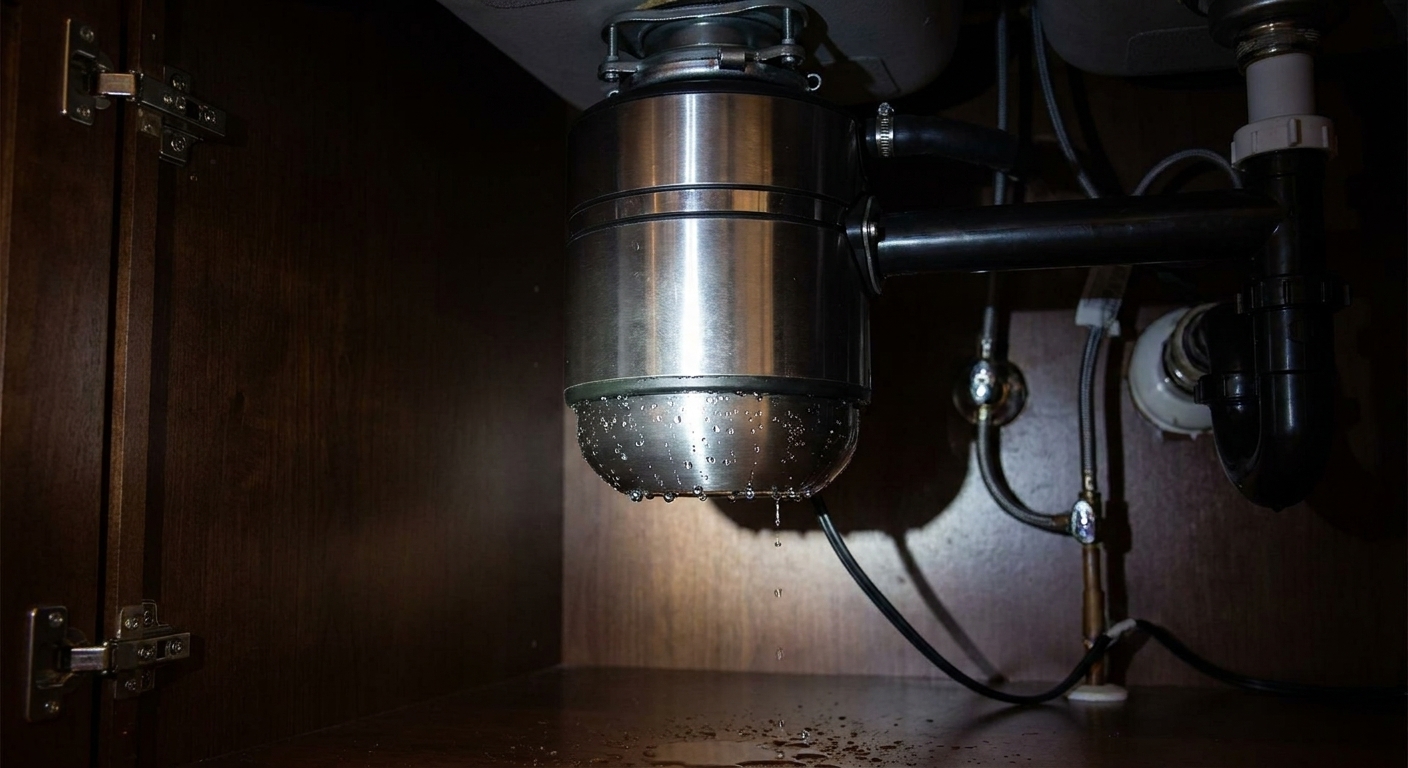
Dry the disposal, then run water and watch each point. A leak at the discharge connection is often a gasket or connection issue. A leak from the body itself typically means the unit is done.
Quick troubleshooting table
| What you see | Most likely cause | Best DIY fix |
|---|---|---|
| Drips only when draining | P-trap slip joint leak | Snug slip nuts, then replace washers if needed |
| Constant slow drip even when sink is off | Supply line or shutoff valve leak | Snug connection, replace supply line, or address valve |
| Puddle forms but joints look dry | Water running down from above | Test from above, tighten drain locknut or reseal as needed |
| Wet around wall pipe area | Wall slip joint or damaged stub-out | Realign and snug slip nut, replace cracked parts, or call a plumber |
| Drip at back of bathroom drain | Pop-up pivot rod ball joint leak | Snug pivot nut or replace seal |
| Mystery drips in kitchen cabinet | Pull-out sprayer hose or quick-connect leak | Reseat connection and clip, replace hose if worn |
| Water on disposal body | Disposal connection leak or housing failure | Tighten connection or replace disposal if housing is leaking |
Dry it out after the repair
Once the leak is fixed, take a few minutes to prevent cabinet damage and odor:
- Dry the cabinet floor completely. Towels plus a fan works great.
- Check for swollen or soft particle board. If it is spongy, consider a cabinet liner after it dries.
- Run your tests again (drain test and supply test) and then check one more time an hour later.
When to call a plumber
I love DIY, but I love not flooding houses more. Call for backup if:
- You cannot shut off the water at the local valve or the main shutoff
- A shutoff valve is leaking from the body and replacement requires soldering
- The drain line in the wall is loose or damaged
- You see signs of mold, repeated soaking, or rotted cabinet bottoms
- You tightened and replaced washers and it still leaks, which can mean misalignment or the wrong parts
FAQ
Should I use Teflon tape on a P-trap slip nut?
Usually no. Slip joints seal with a washer, not the threads. Tape can make it harder to get the washer to seat correctly. Fix the alignment and replace the washer instead.
Why does my P-trap leak only sometimes?
Often it is alignment. If the trap is slightly stressed or bumped, the washer can shift and it will leak only during a heavy drain or when the cabinet gets jostled.
Can I just caulk around a leaking pipe joint under the sink?
I would not. Caulk is not a reliable plumbing seal and it makes future repairs messier. Under-sink plumbing should seal mechanically with washers, gaskets, or proper threaded fittings.
How tight is tight enough for supply lines?
Hand-tight plus a small additional turn is the norm for many modern braided connectors. If you have to muscle it hard, something is wrong: cross-threading, a damaged washer, or the wrong connector.