Hey there, I’m Ben Mitchell, and I’m glad you found your way to Repairza.
If you’ve ever stood in front of a dripping shutoff valve, a door that suddenly won’t latch, or a washer making a brand-new noise, you’re in the right place. I built Repairza for regular homeowners who want straight answers, clear steps, and the confidence to fix things without paying a service fee for every little hiccup.
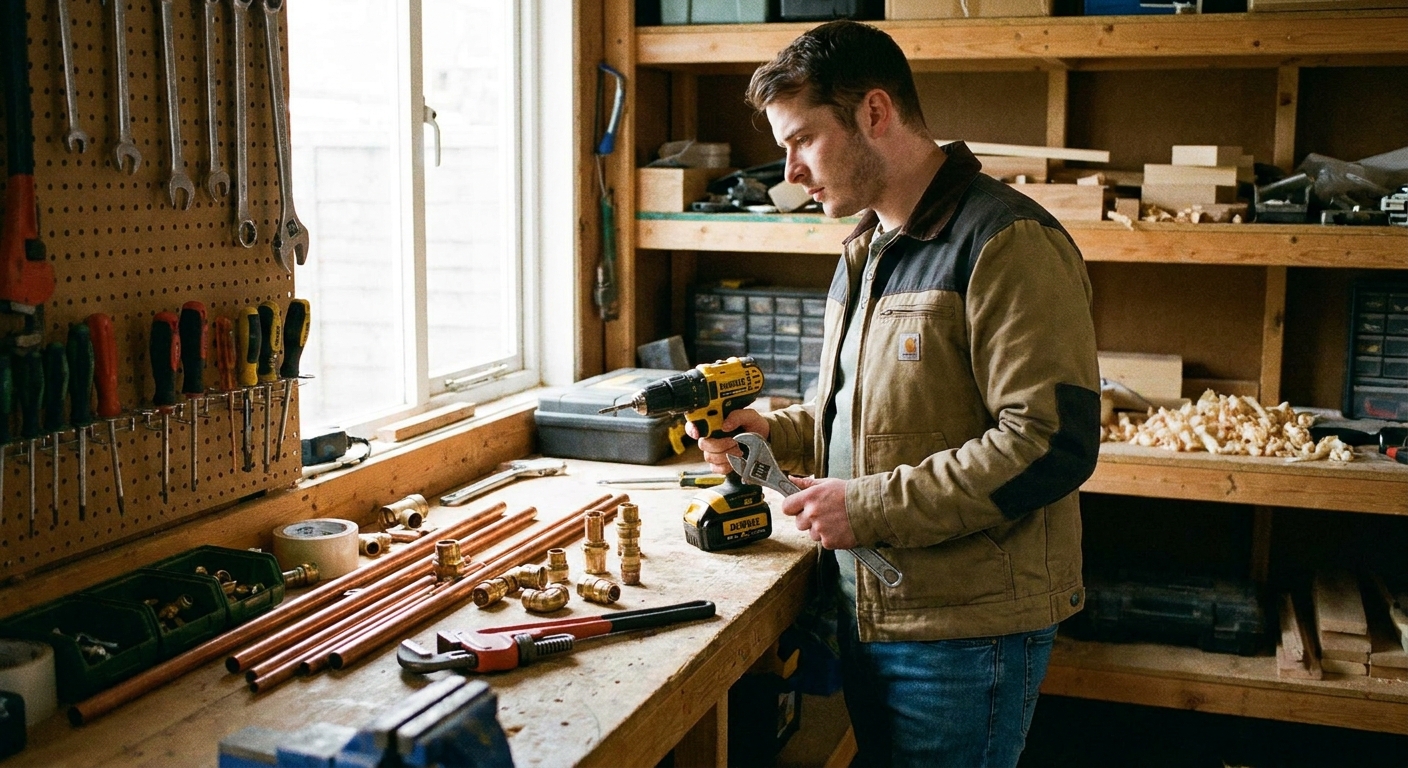
How I got into home repair
I grew up doing what a lot of us did: holding the flashlight for my dad on weekends. Back then, I thought my job was just to point the beam where he needed it. Later, I realized I was learning the best lesson in home repair: slow down, look closely, and don’t force anything until you understand what you’re looking at.
I eventually spent over a decade working in residential construction and repairs. I’ve patched drywall after “tiny” plumbing leaks, replaced more worn-out door hinges than I can count, and spent plenty of evenings chasing down mystery rattles in appliances that only showed up when the customer tried to demonstrate them.
Somewhere along the line, I noticed a pattern: a lot of the stuff homeowners pay for is not complicated. It’s just unfamiliar. And when something is unfamiliar, it feels risky. That’s what I’m here to help with.
Why Repairza exists
Repairza’s mission is simple: take intimidating home maintenance problems and break them into steps that feel doable.
I’m not interested in flexing trade jargon or telling you to “just call a pro” the second a project gets real. I’m interested in helping you diagnose what’s actually happening, understand your options, and choose the safest next move.
Sometimes that next move is a DIY fix you can knock out in an hour. Sometimes it’s recognizing a red flag and bringing in a licensed specialist. Either way, you’ll know why you’re doing what you’re doing, and that’s how you stop feeling stuck.
What to expect
Most Repairza articles follow the same practical rhythm, because it’s the rhythm I used on job sites. I build guides from hands-on experience, careful research, and the kind of real-world troubleshooting that happens when a fix does not work on the first try.
- Start with symptoms. What you’re seeing, hearing, or smelling is a clue, not a mystery punishment from your house. For example, a humming disposal often points to a jam, not a dead unit.
- Work from easy to harder. The boring checks come first because they often solve the problem.
- Use the right tools. Not expensive tools, just the right ones. Even an inexpensive multimeter can save you from guessing.
- Stay safety-first. Water, electricity, gas, ladders, and blades all deserve respect.
- Know the stop signs. I’ll tell you when a repair crosses into call-a-pro territory.
You’ll see plenty of step-by-step troubleshooting for:
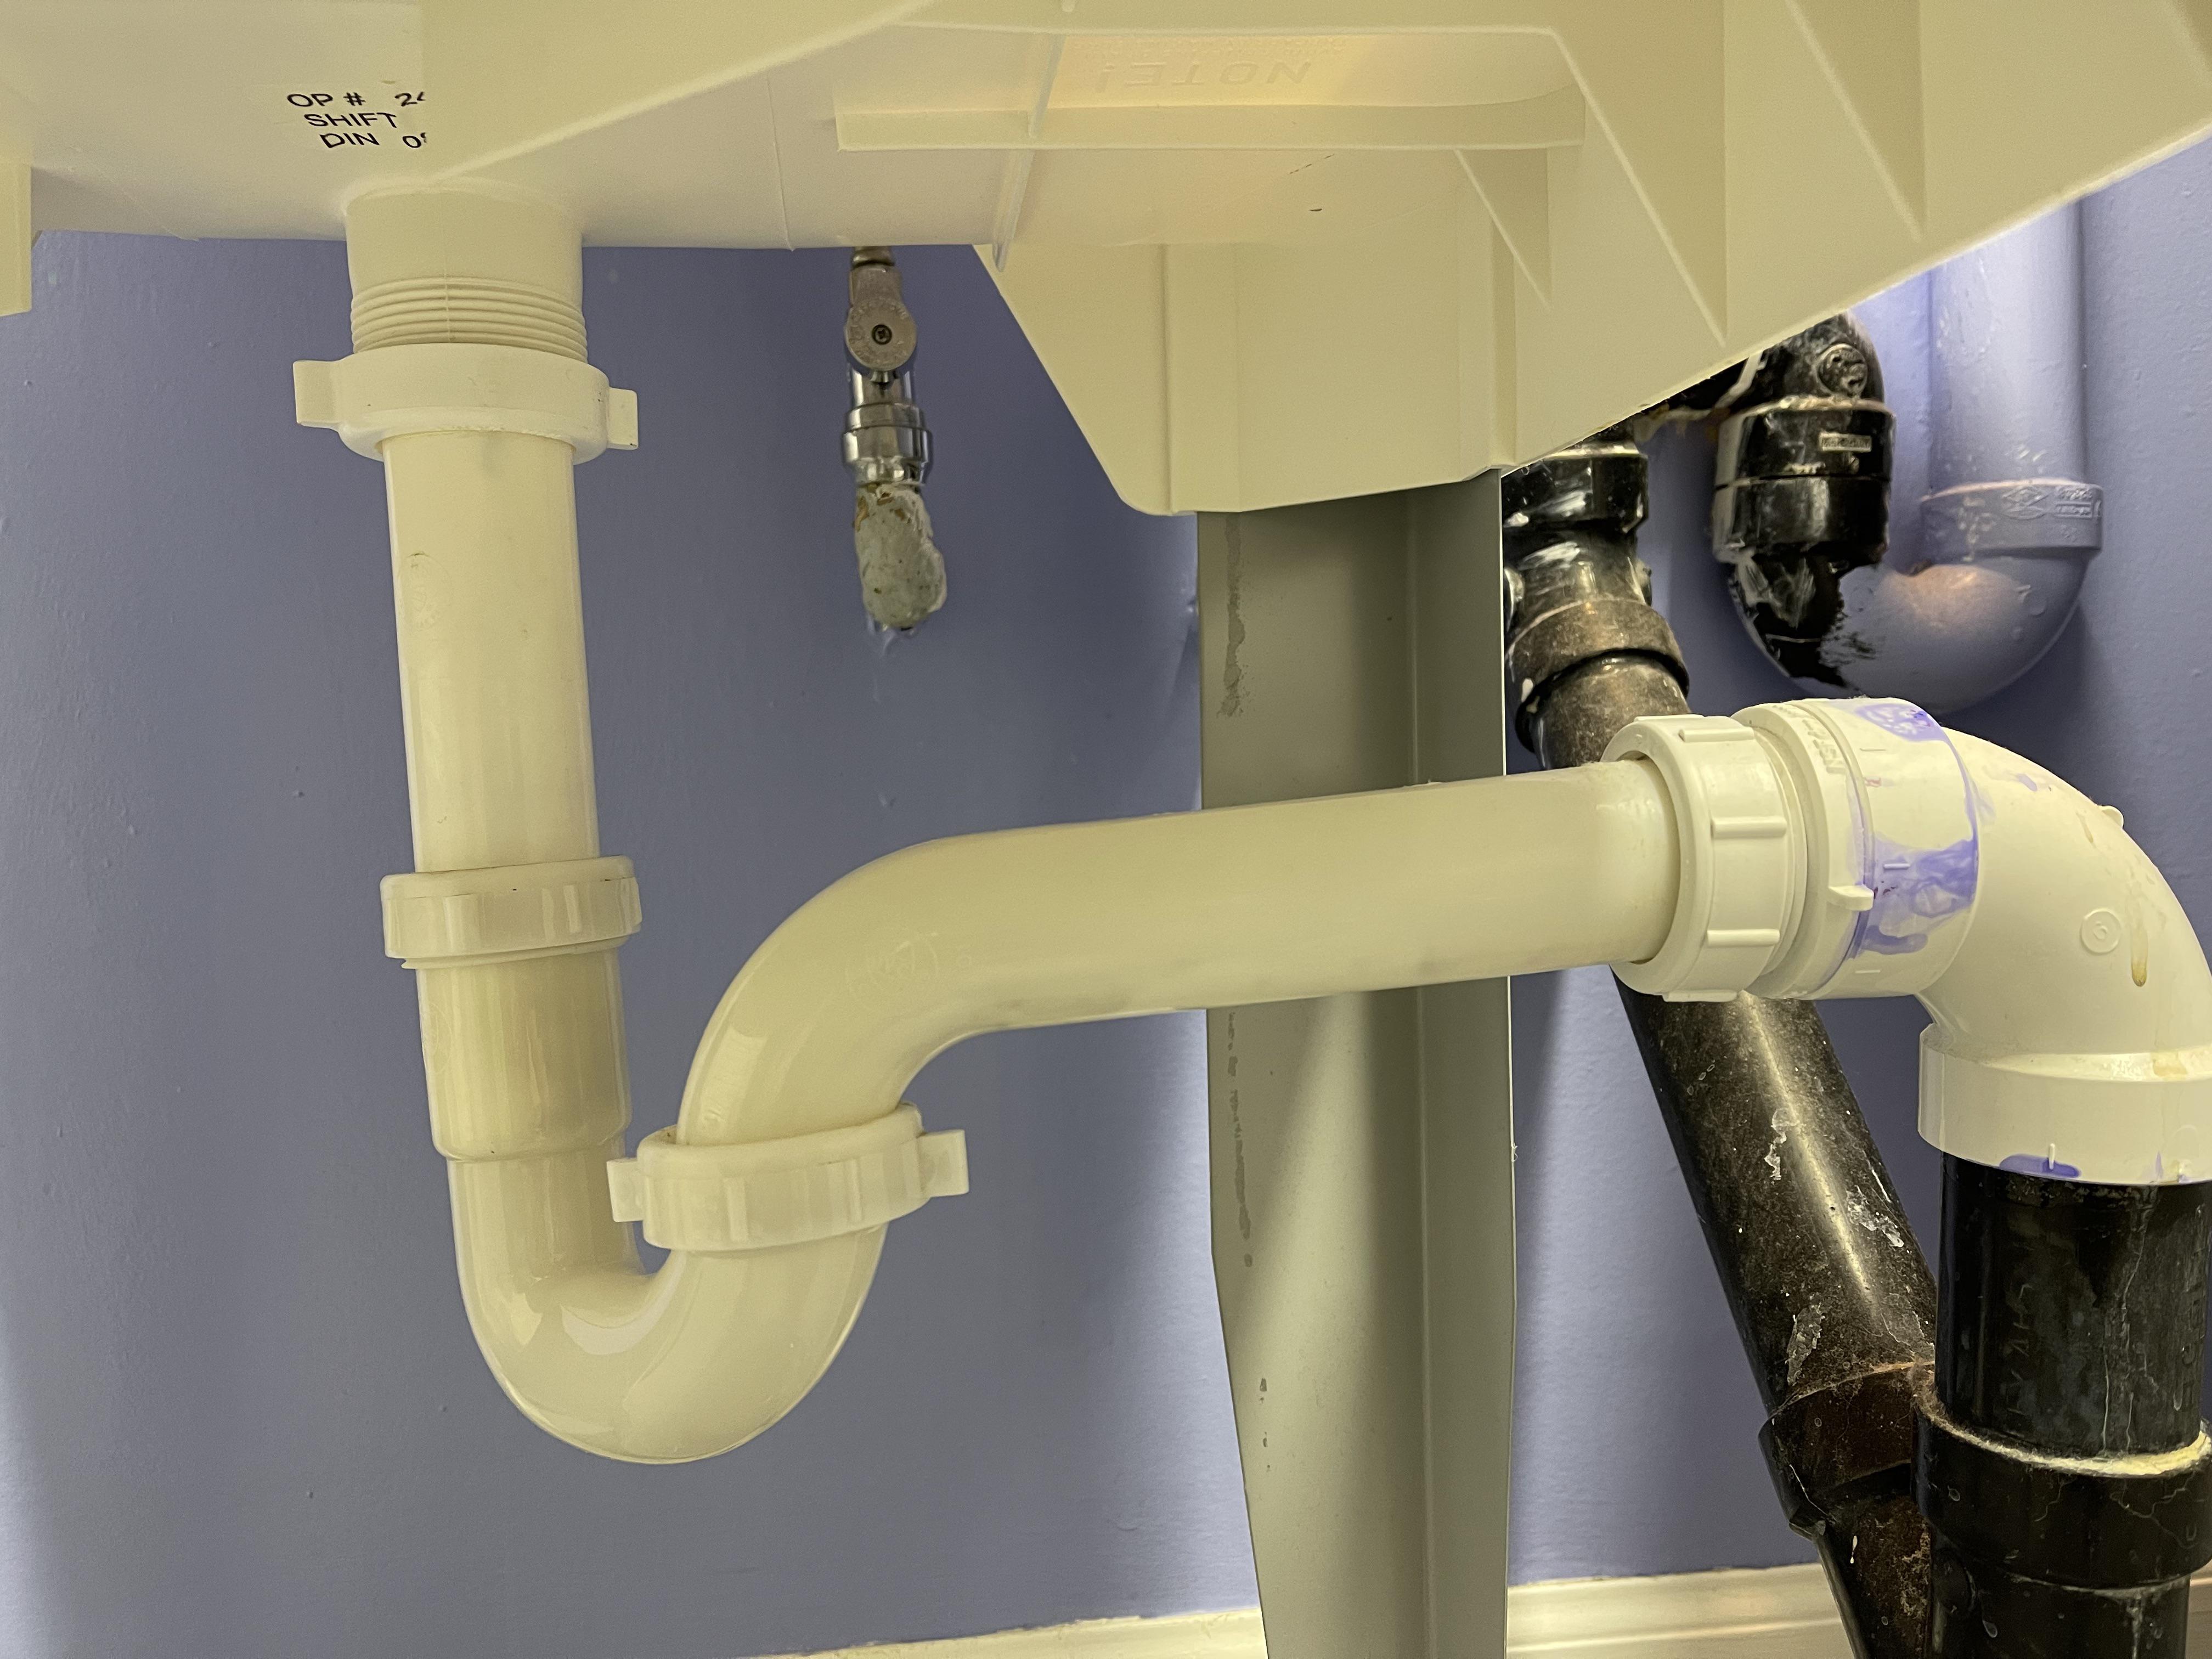
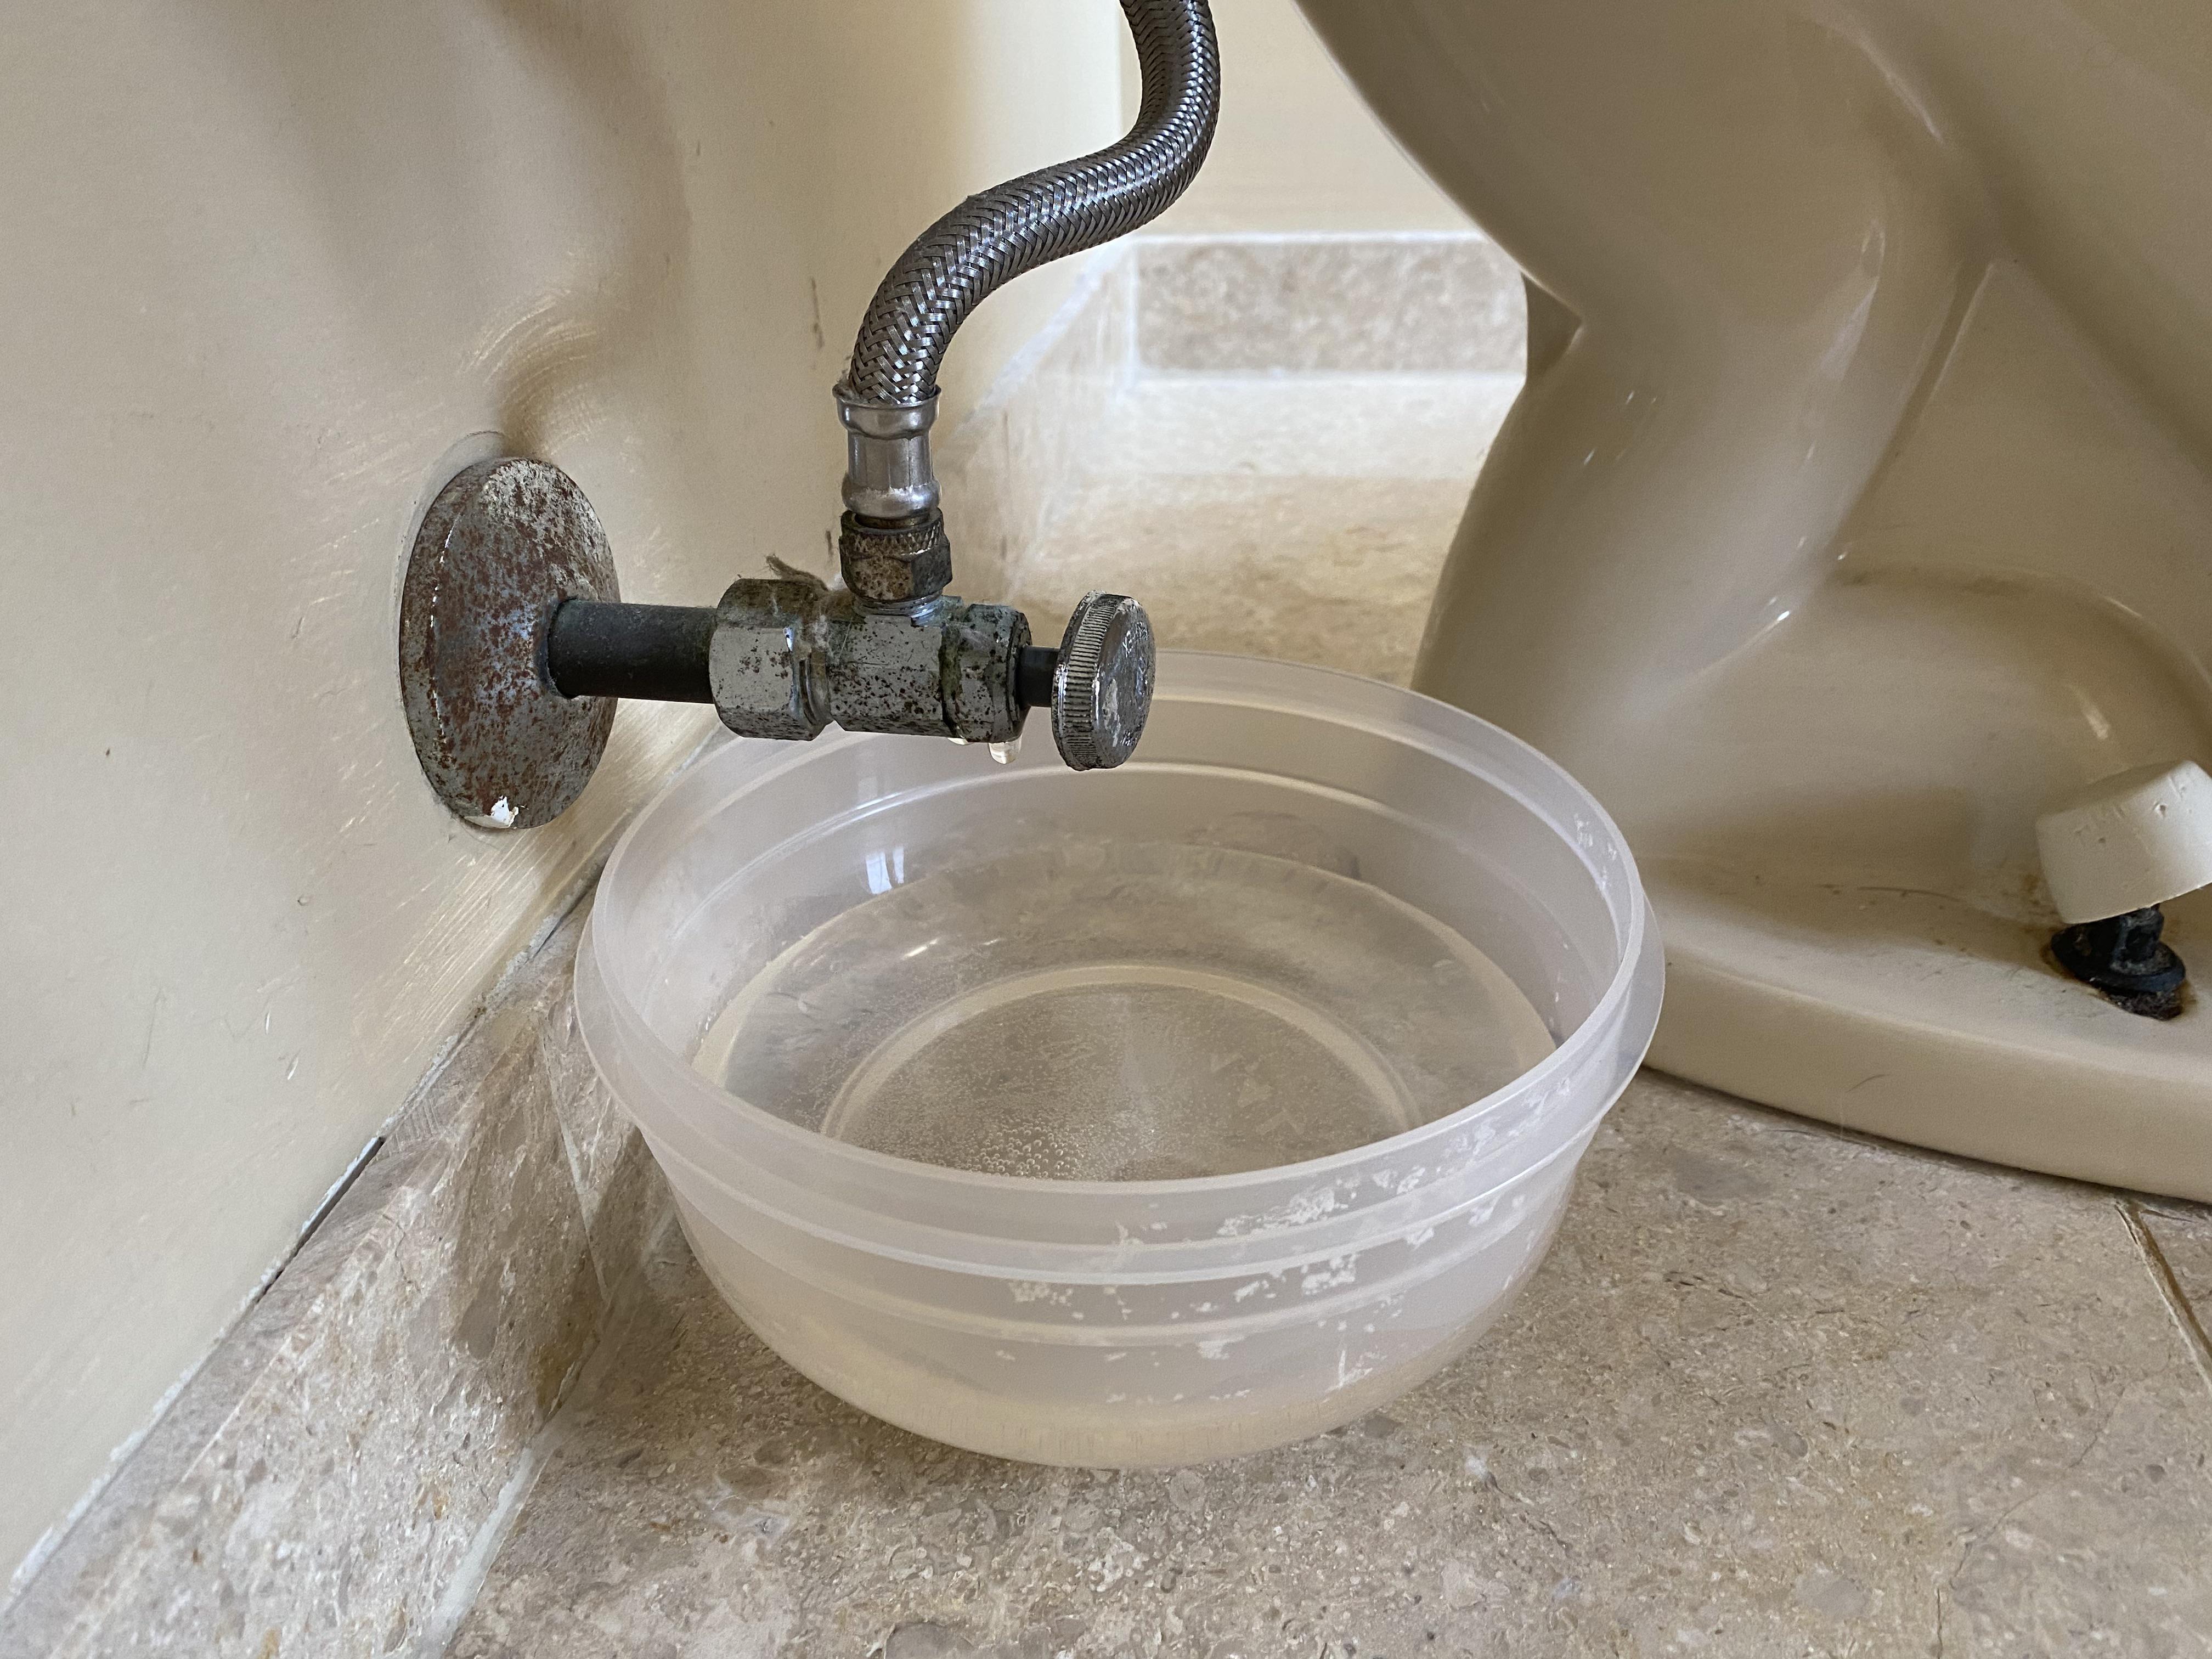
- Plumbing issues like slow drains, running toilets, and leaky shutoff valves
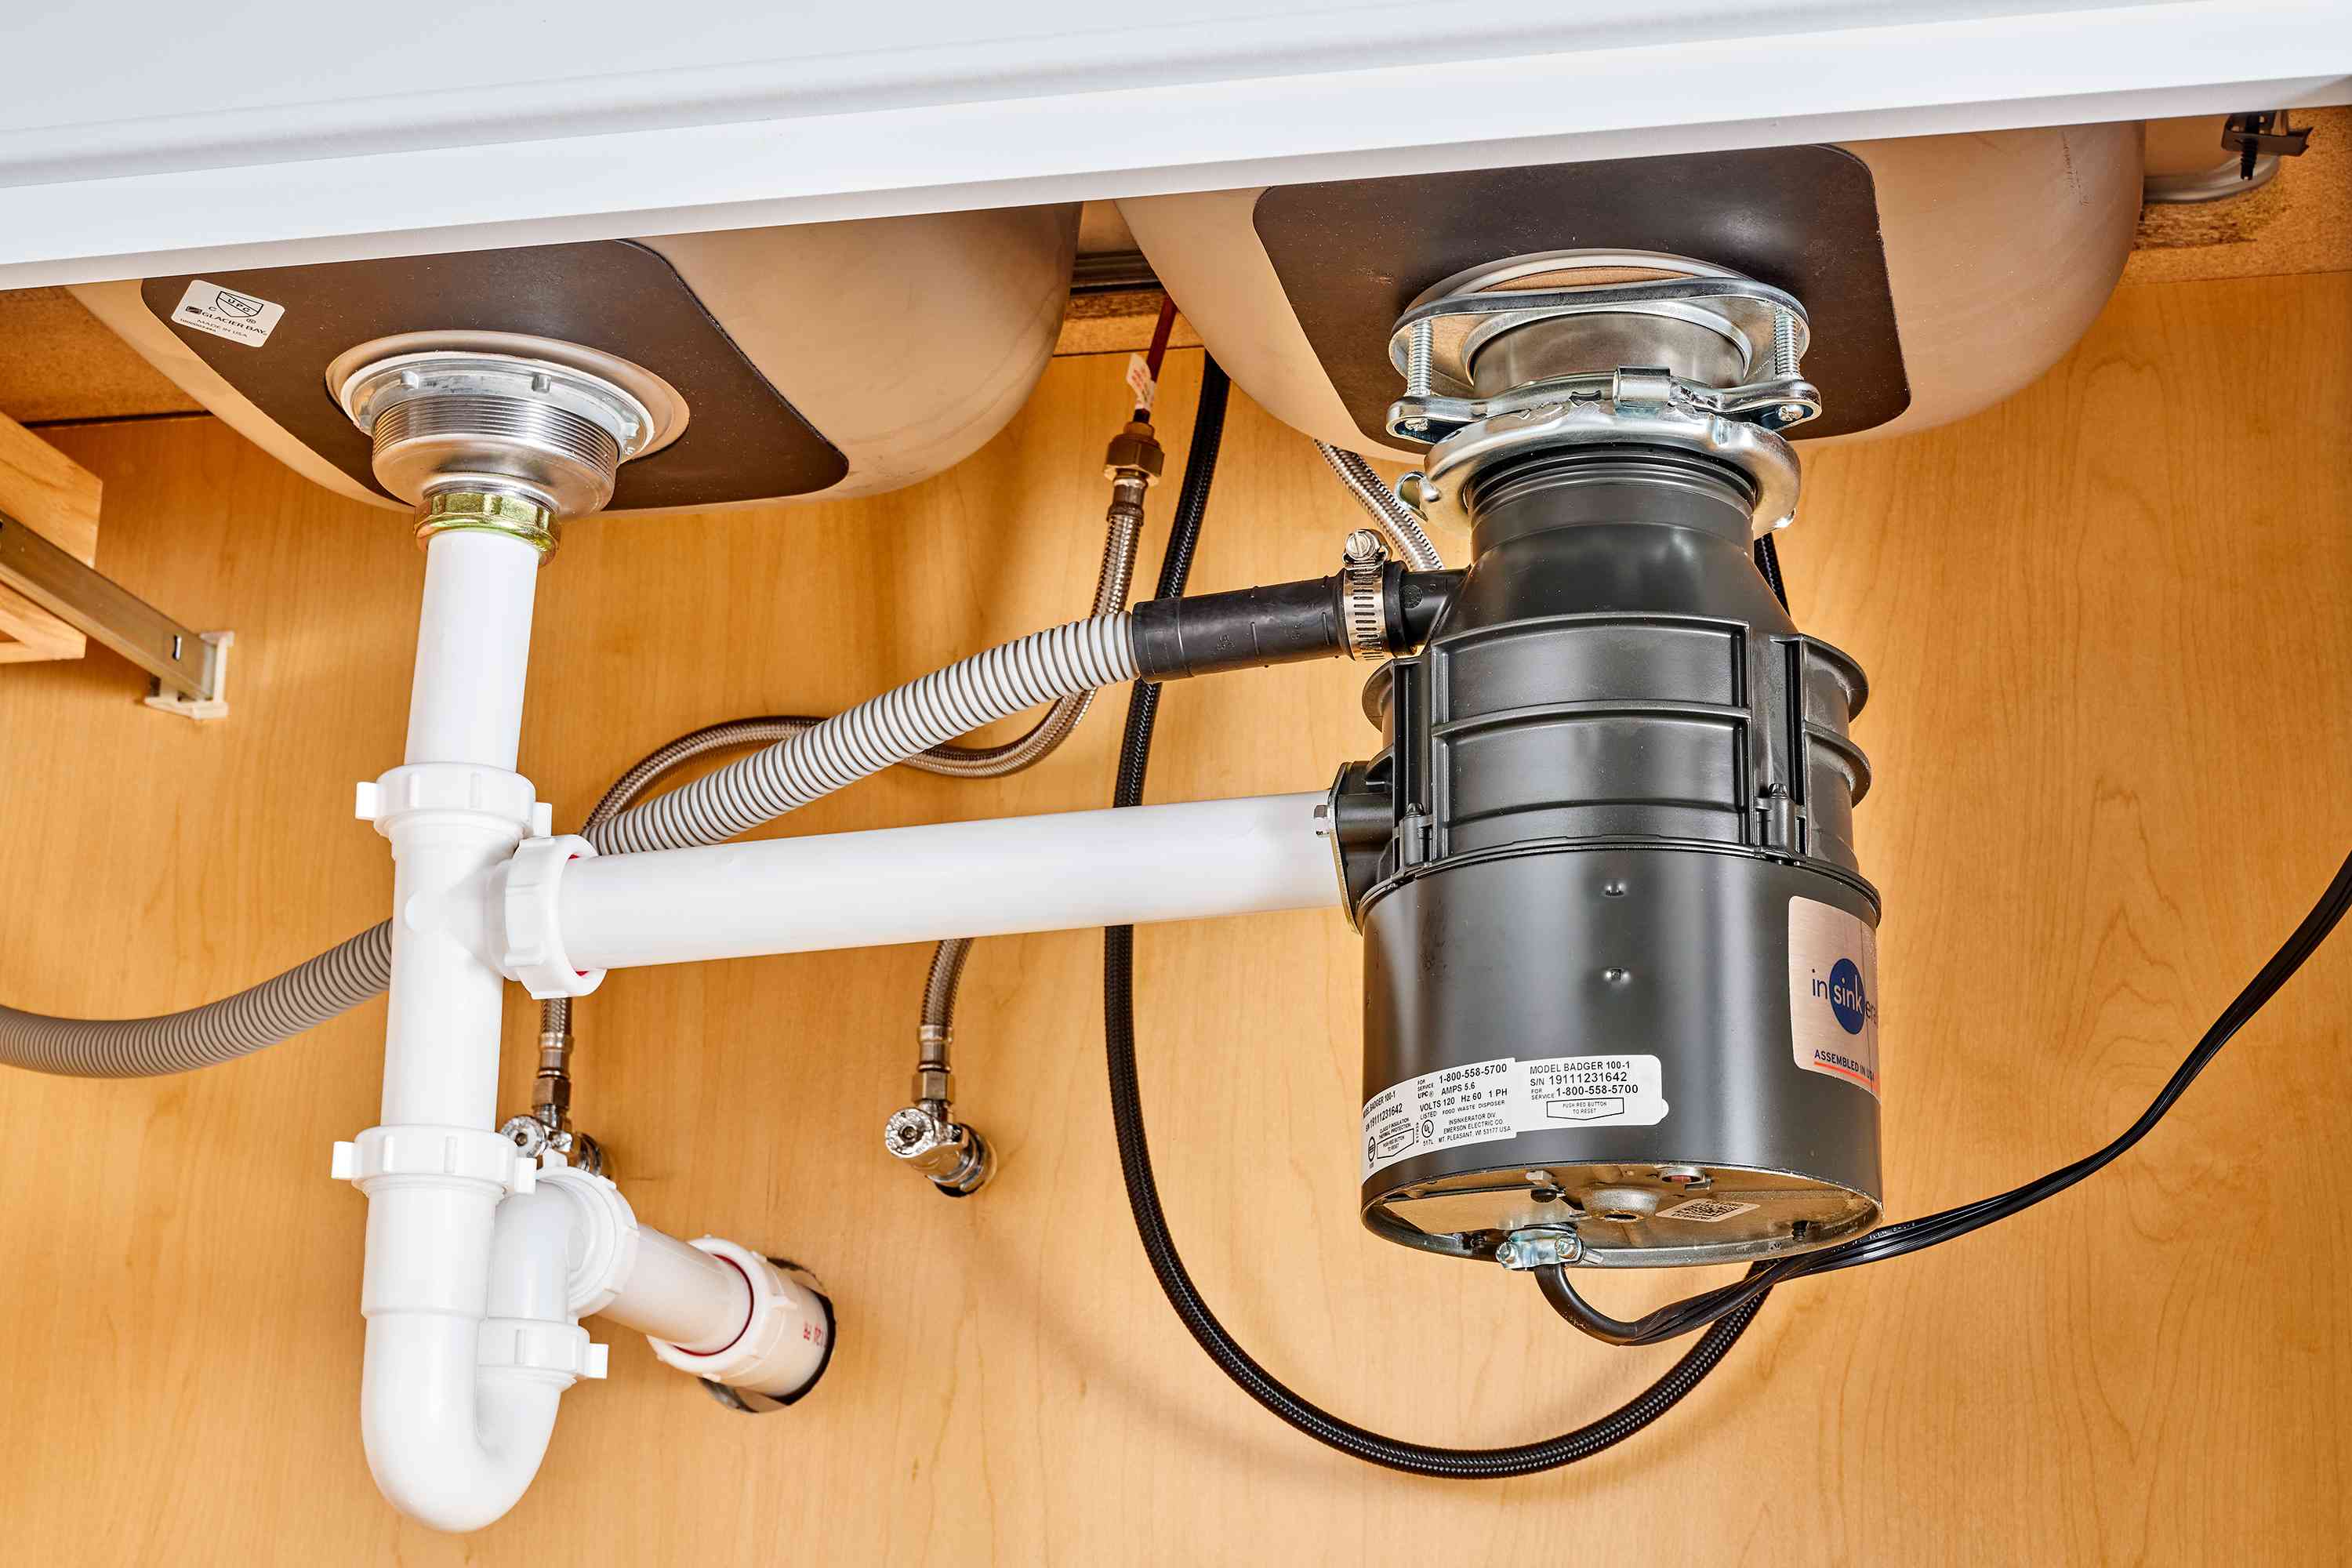
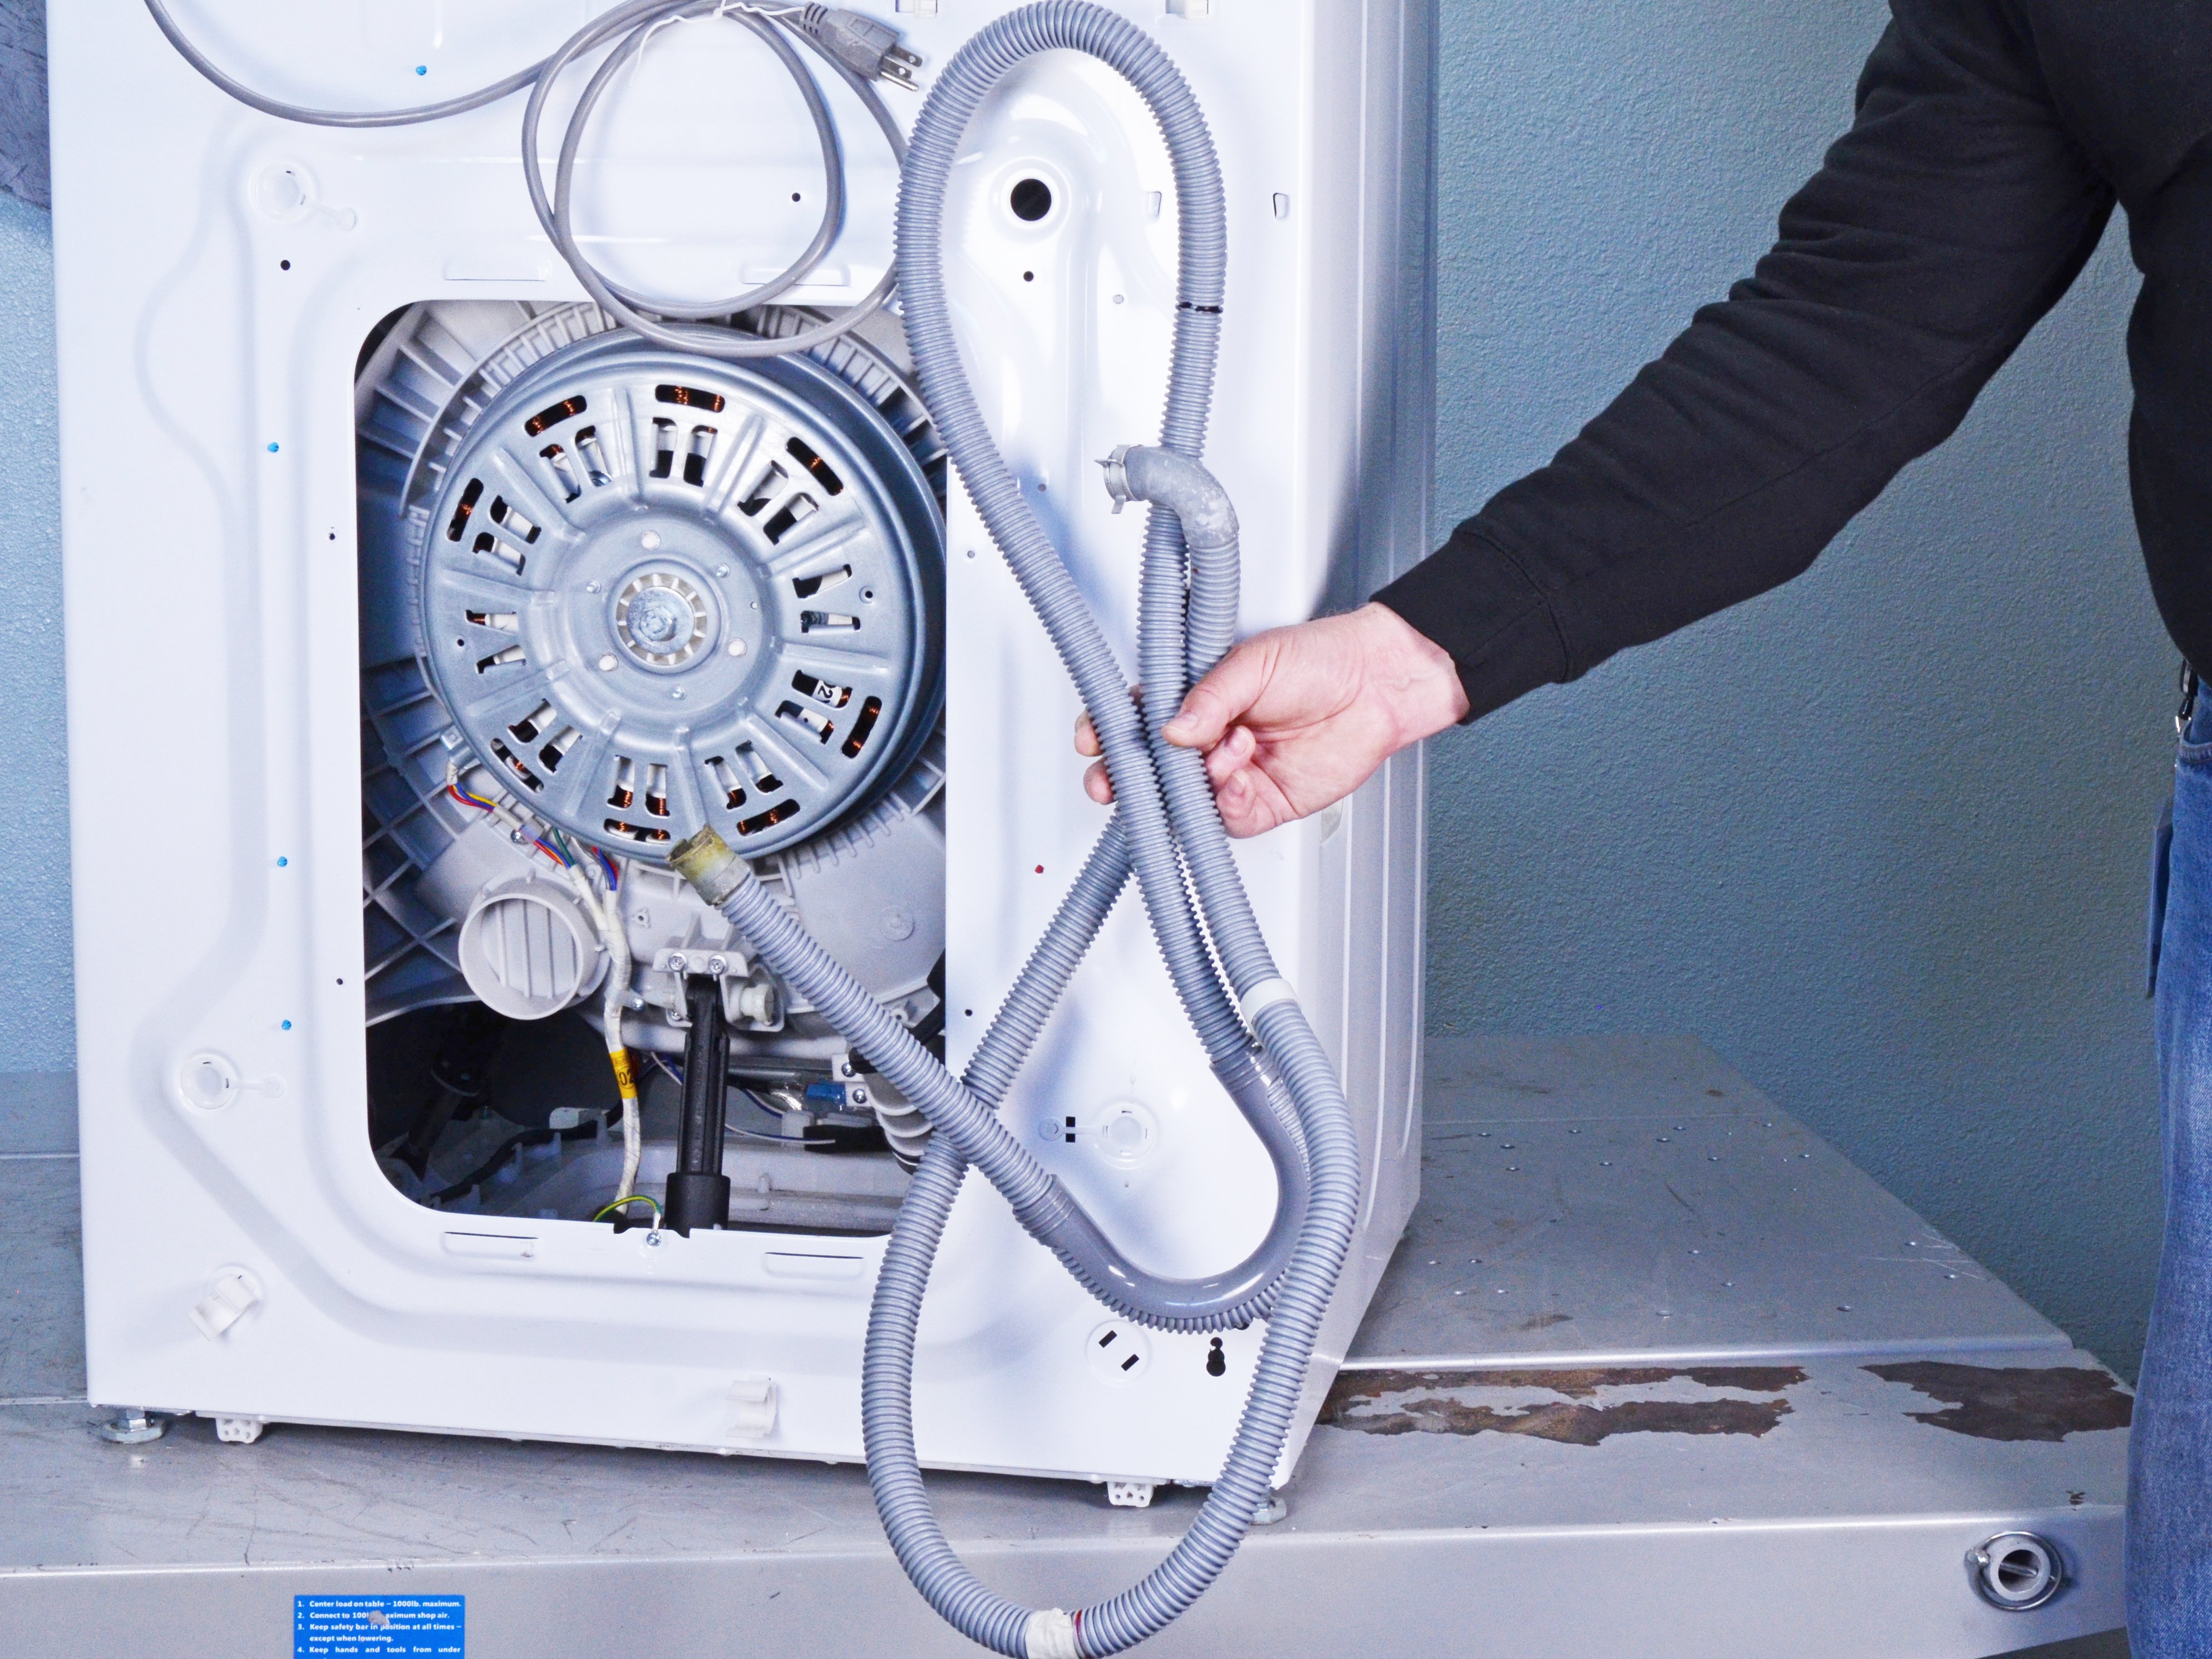
- Appliance headaches like disposals that hum, dryers that won’t heat, or dishwashers that won’t drain
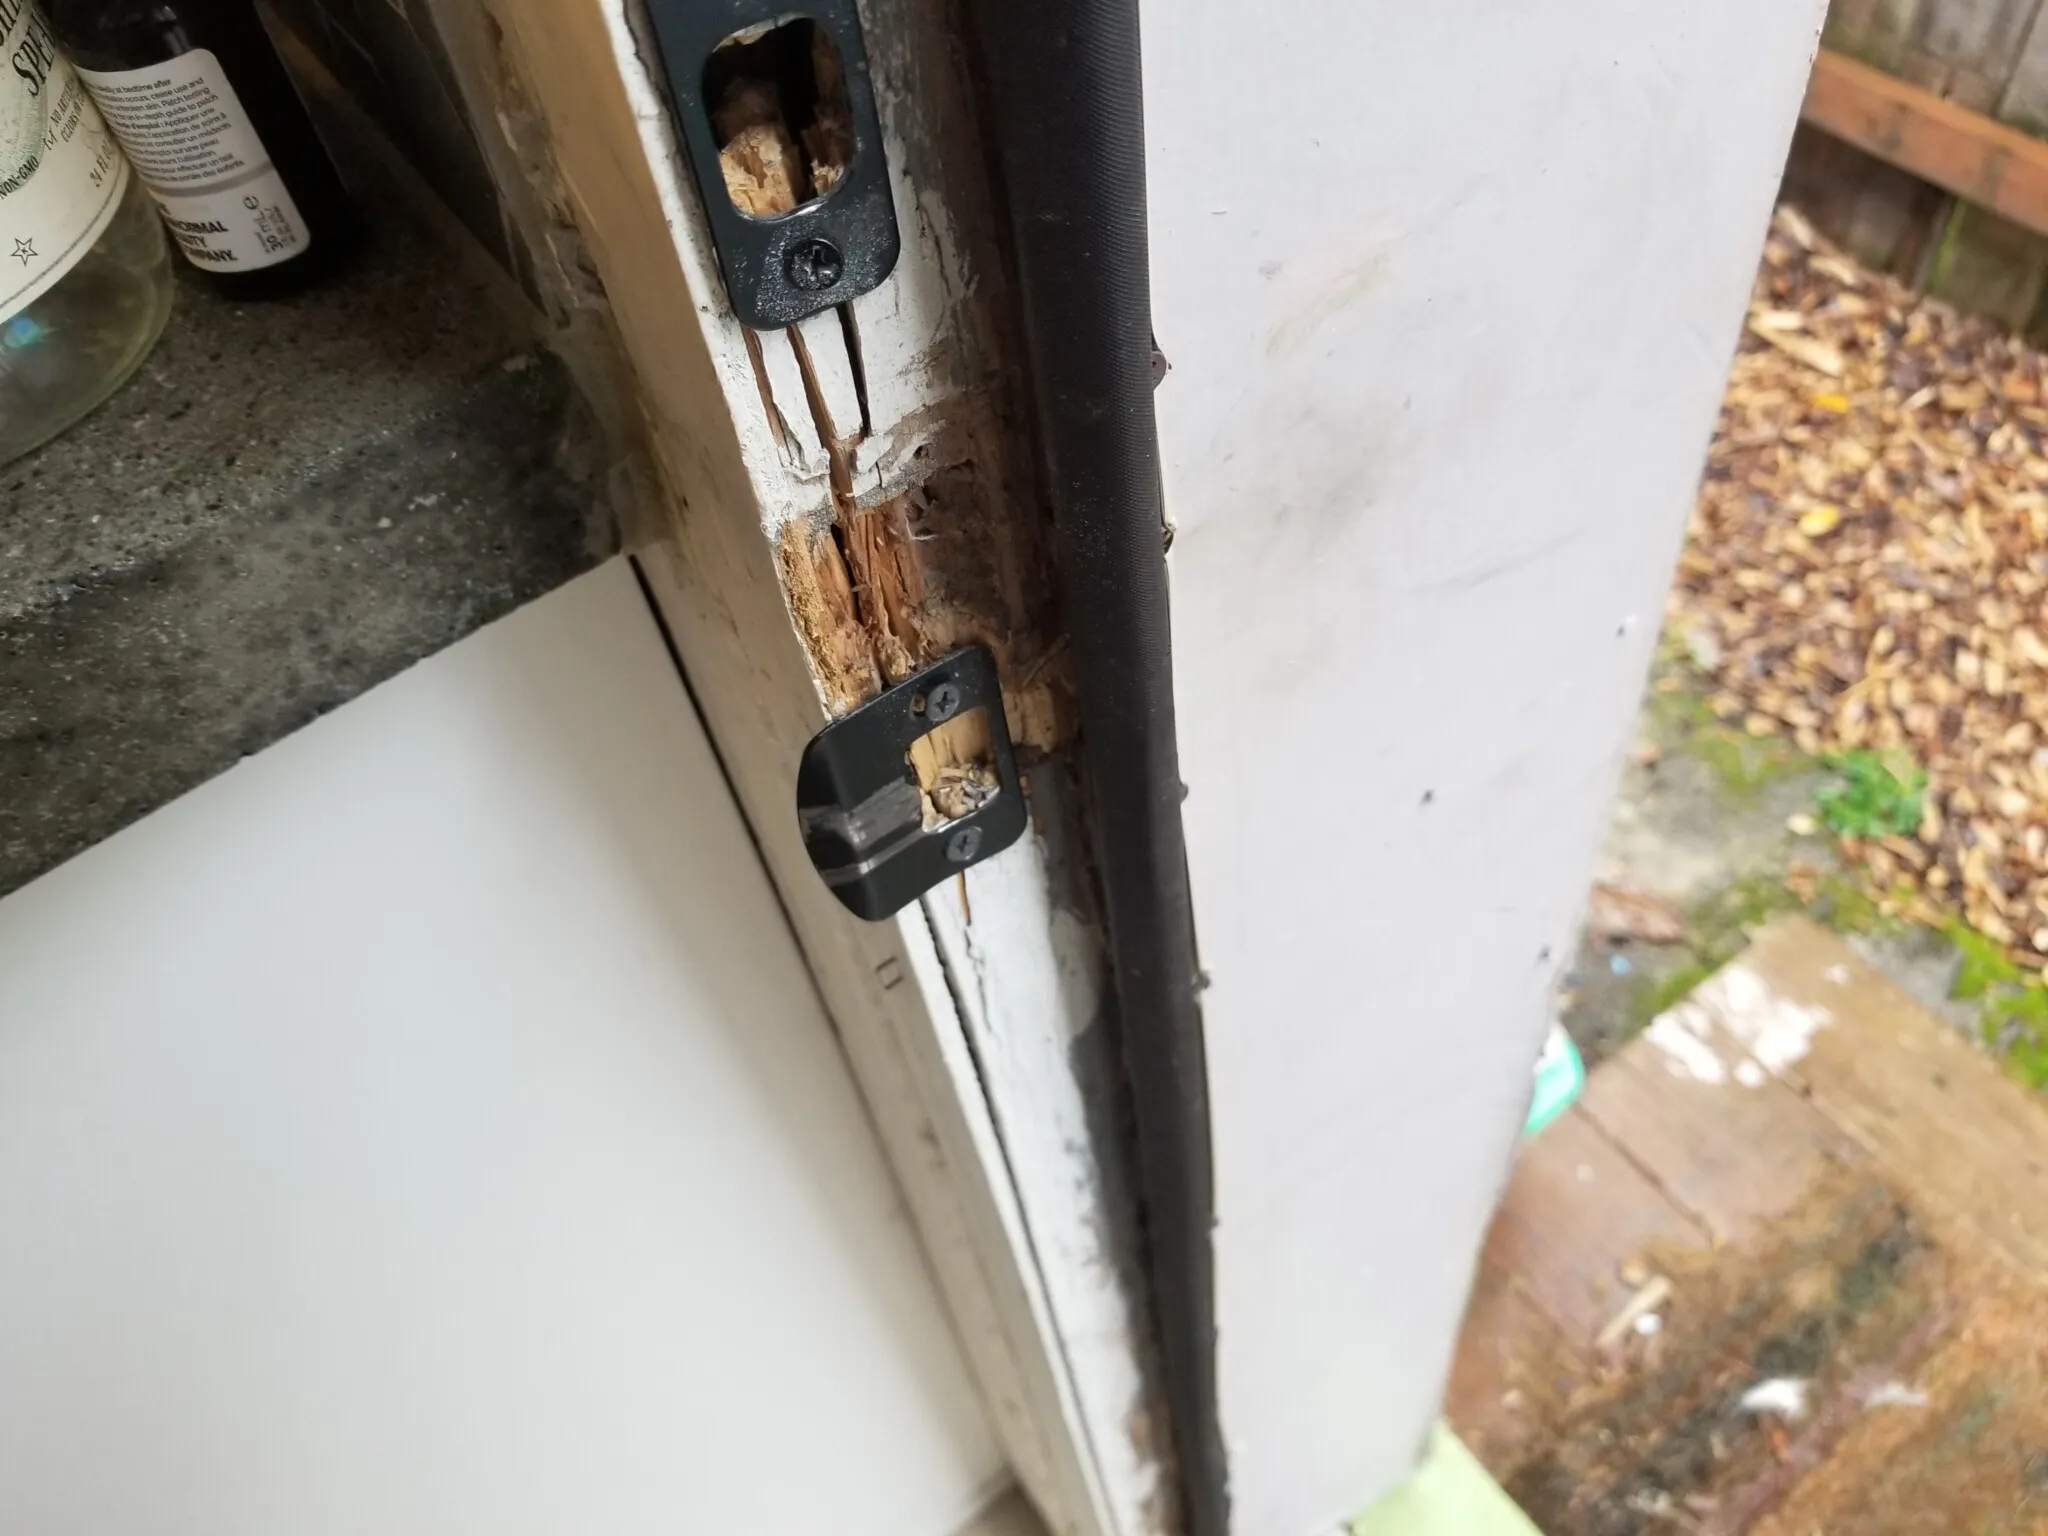
- Doors and windows that stick, draft, rattle, or won’t lock
- Everyday home wear like nail pops, cracked caulk, loose handles, and squeaky floors
Methodical, not macho
I’ve made my share of DIY mistakes. I’ve over-tightened fittings, installed something backwards, and absolutely convinced myself I turned off the right breaker, only to discover I did not. The difference between a frustrating weekend and a satisfying one usually comes down to a few habits:
- Confirm the basics. Is the power actually off? Is the water actually off?
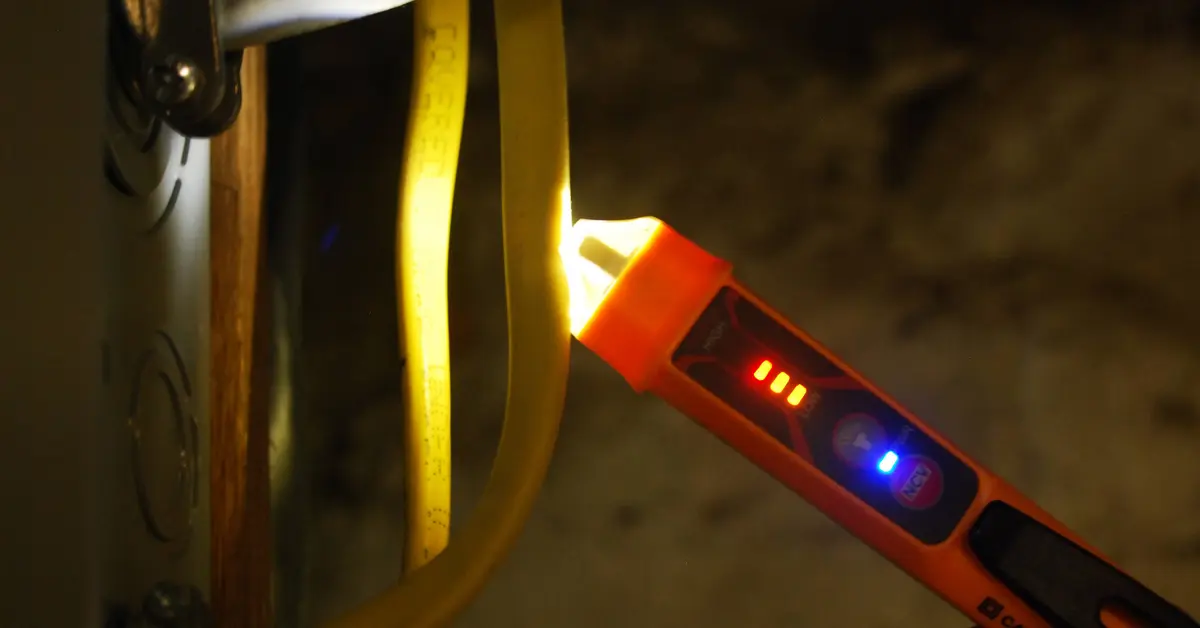
- Test the safe way. For electrical work, I use a properly rated tester or meter, and I verify it on a known live source before and after checking the circuit.
- Take a photo before you touch anything. Future-you will thank you.
- Change one thing at a time. Troubleshooting gets messy when you adjust five variables at once.
- Use parts that match. “Close enough” is how leaks and callbacks are born.
If you’re the type who wants to understand the “why” behind a fix, you’ll feel at home here. And if you just want the quickest safe path to stop the leak and get dinner back on the table, I’m here for that too.
One more thing: codes and best practices vary by location. When something feels out of your depth or safety is in question, bringing in a licensed pro is a smart move, not a defeat.
Tools I trust
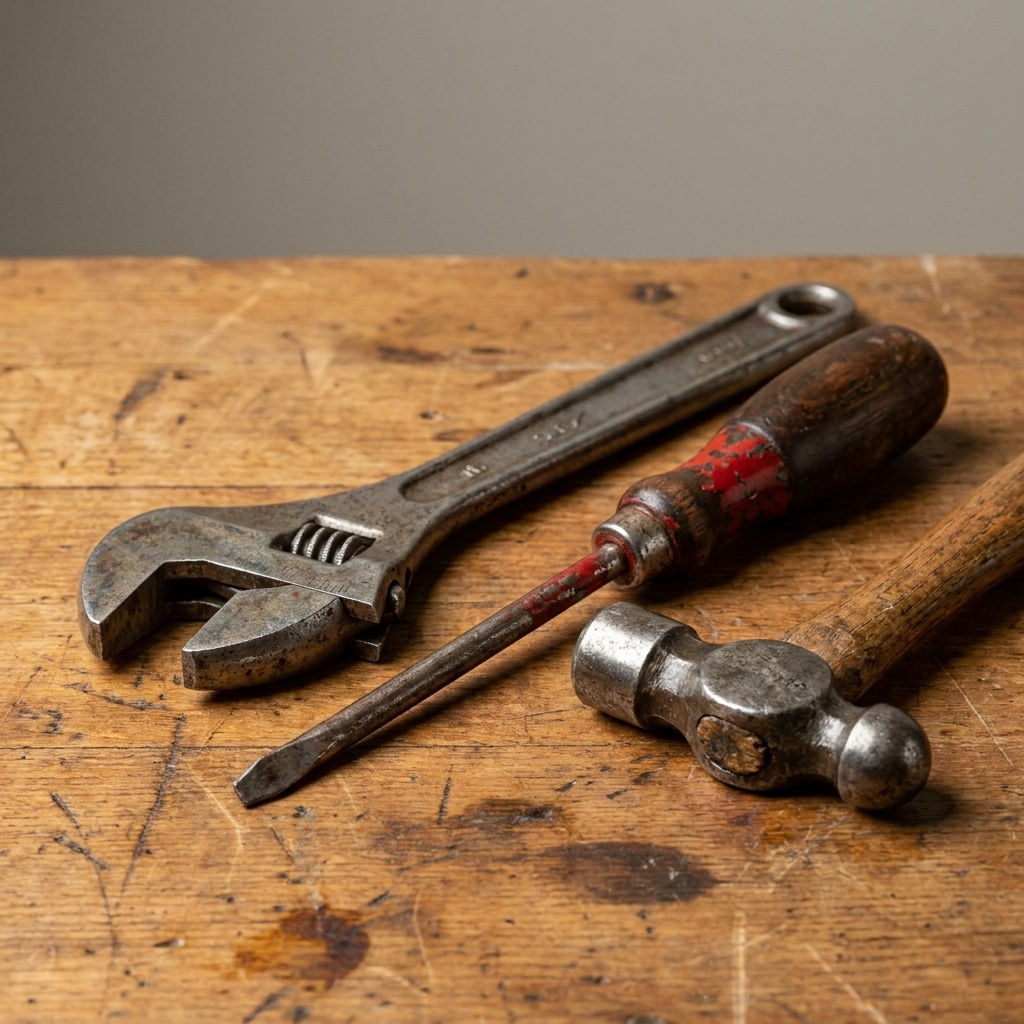
You don’t need a garage full of gadgets to be capable. A small set of dependable basics will handle a surprising amount of home repair. If you hang around Repairza long enough, you’ll notice a few repeat players: a good flashlight, a set of screwdrivers, tongue-and-groove pliers, an adjustable wrench, a utility knife, a tape measure, and a multimeter.
I also have a soft spot for restoring vintage hand tools. There’s something satisfying about bringing an old wrench or plane back to life, and honestly it’s a nice reminder that most home repairs are more about patience than horsepower.
Welcome
If your home is giving you trouble, I want you to know you’re not alone and you’re not “bad at this.” Houses are systems, and systems need occasional troubleshooting. My goal is to help you approach repairs like a calm, capable problem-solver, even if you’re starting from scratch.
So poke around, pick a project, and take it one step at a time. And if you ever find yourself holding a flashlight and wondering how your dad made it look so easy, don’t worry. I’ve been there too. We’ll get you through it.