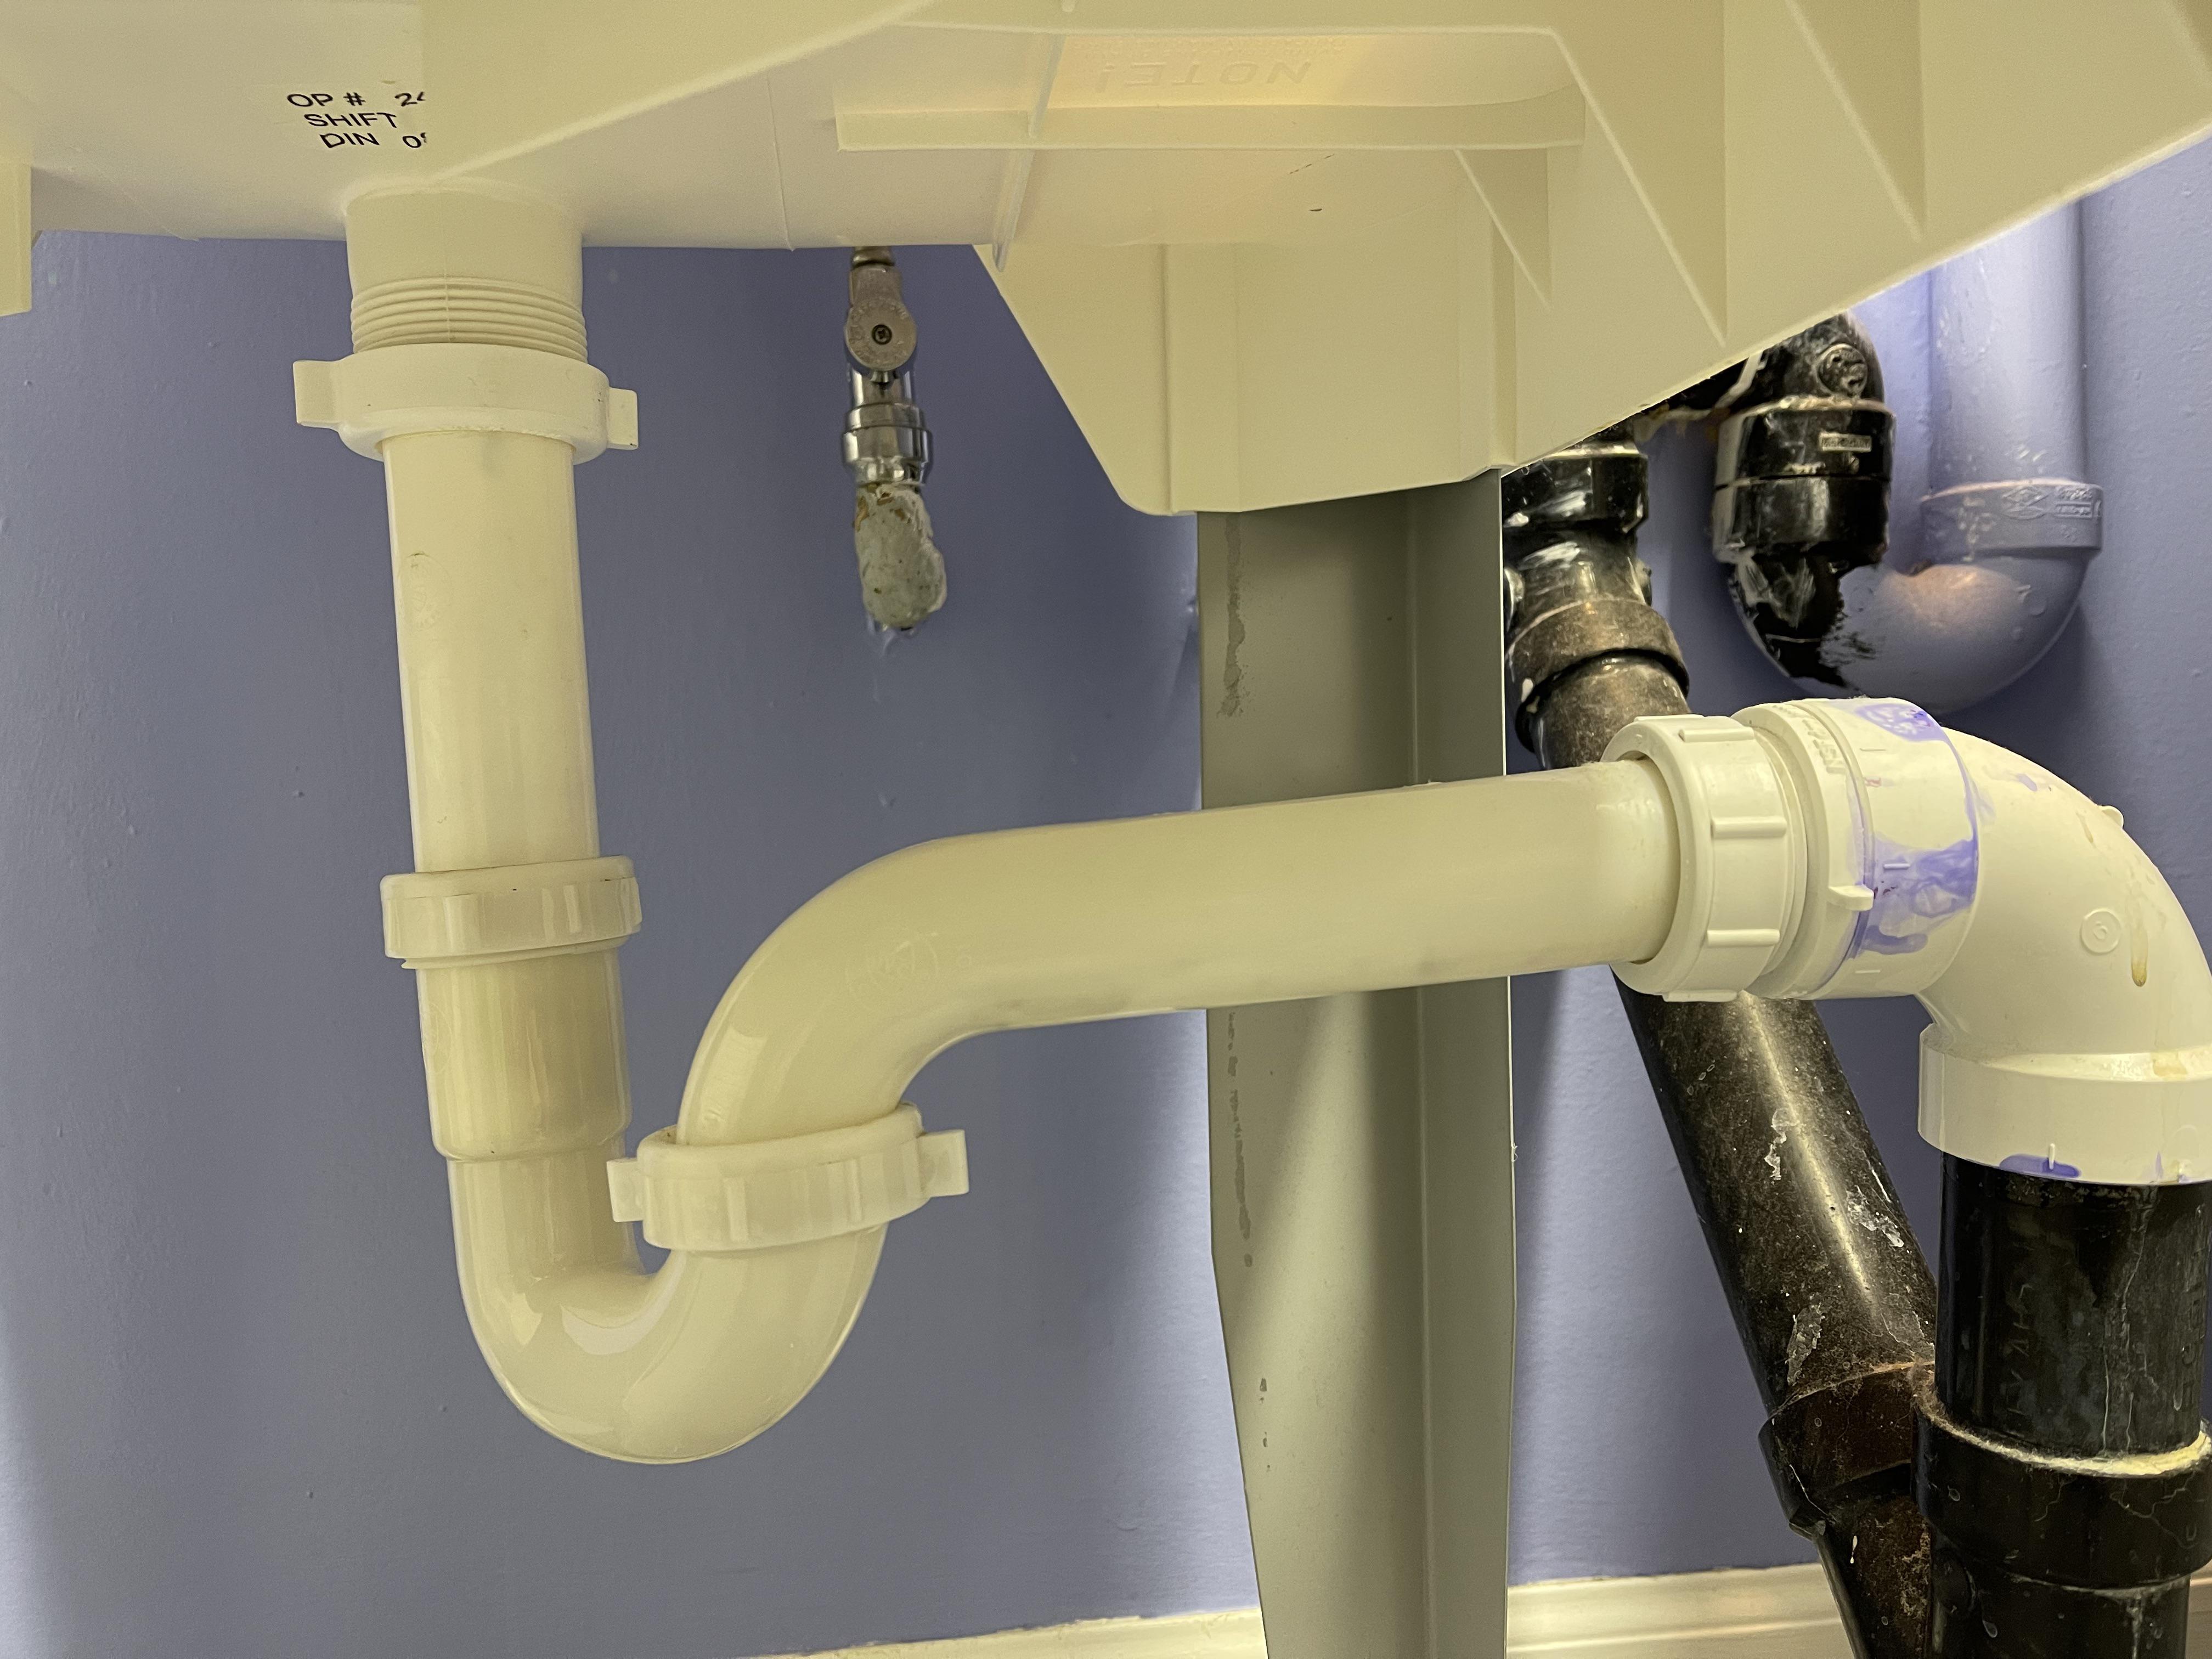
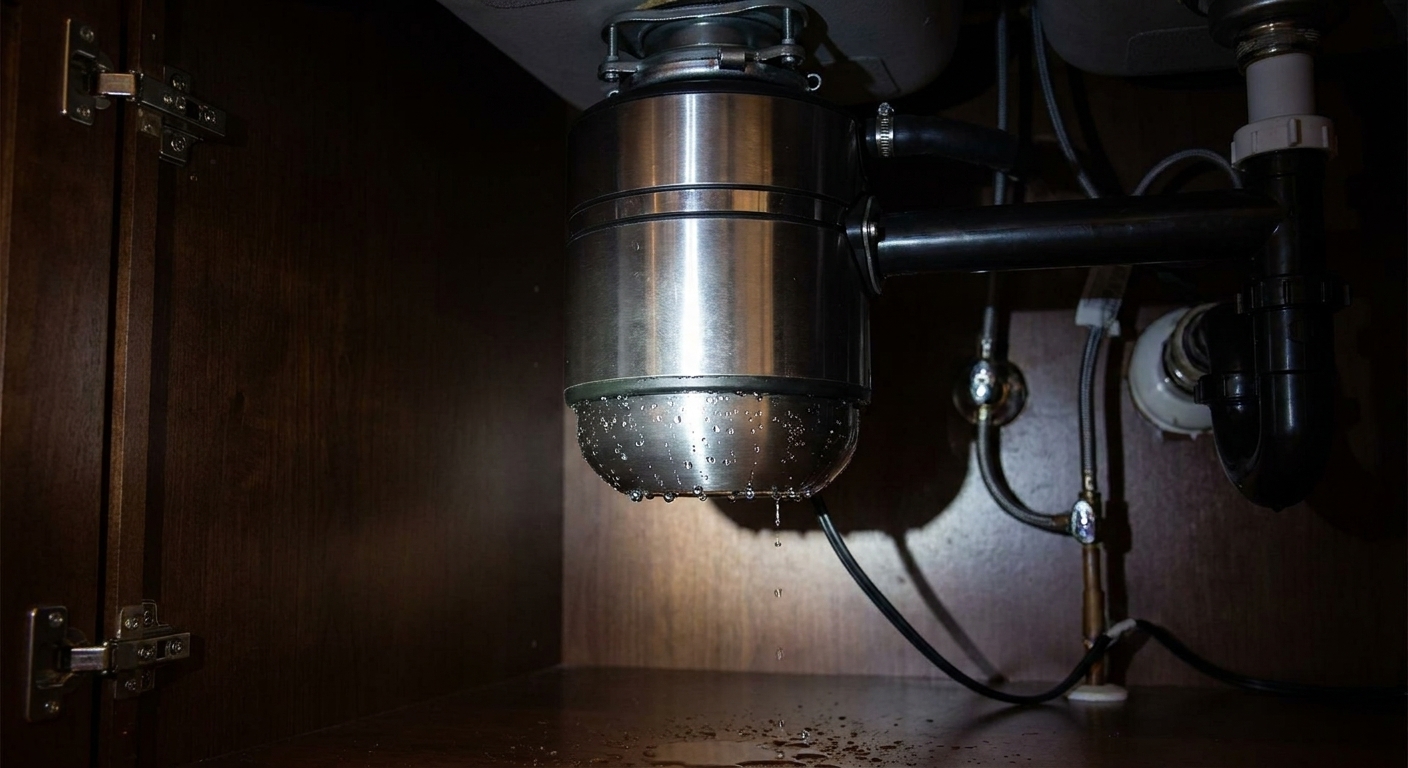
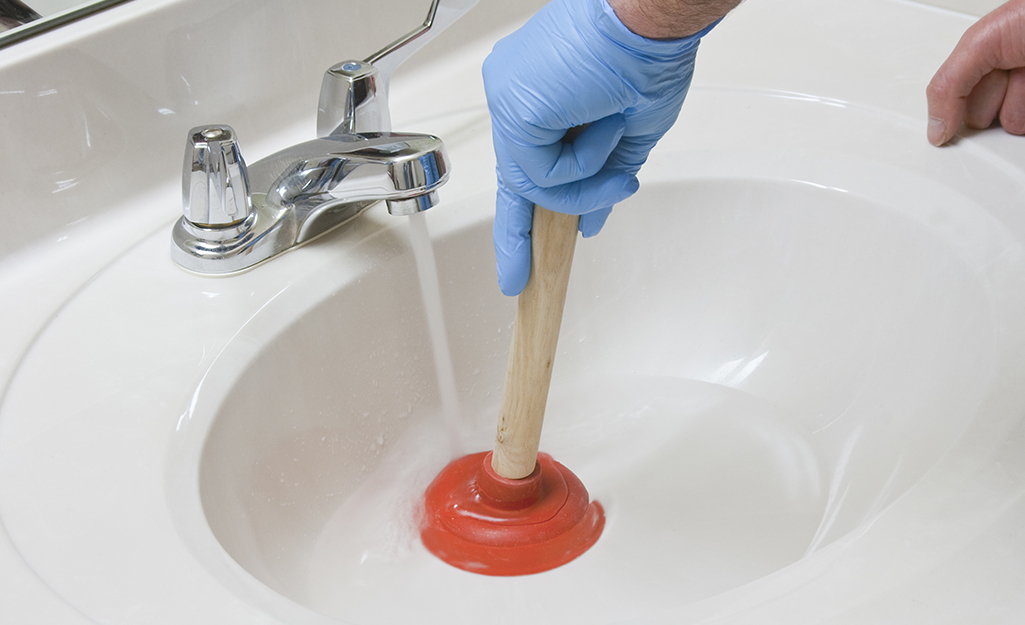
If you have ever stood under a sink with a flashlight in your teeth watching a slow drip form, you already know the truth: many “mystery leaks” are really just the wrong sealant in the wrong spot.
Plumber’s putty and Teflon tape (also called PTFE tape) are both plumbing staples, but they do different jobs. Putty seals flat mating surfaces (think sink strainers and some faucet bases). Teflon tape helps seal threaded pipe connections (think shower arms and threaded adapters). Use the right one and you get a dry cabinet. Use the wrong one and you get to practice your cabinet yoga again tomorrow.
One rule that trumps everything: follow the fixture, drain, and faucet manufacturer instructions first. When the instructions call for a specific gasket or silicone, do not freestyle it.
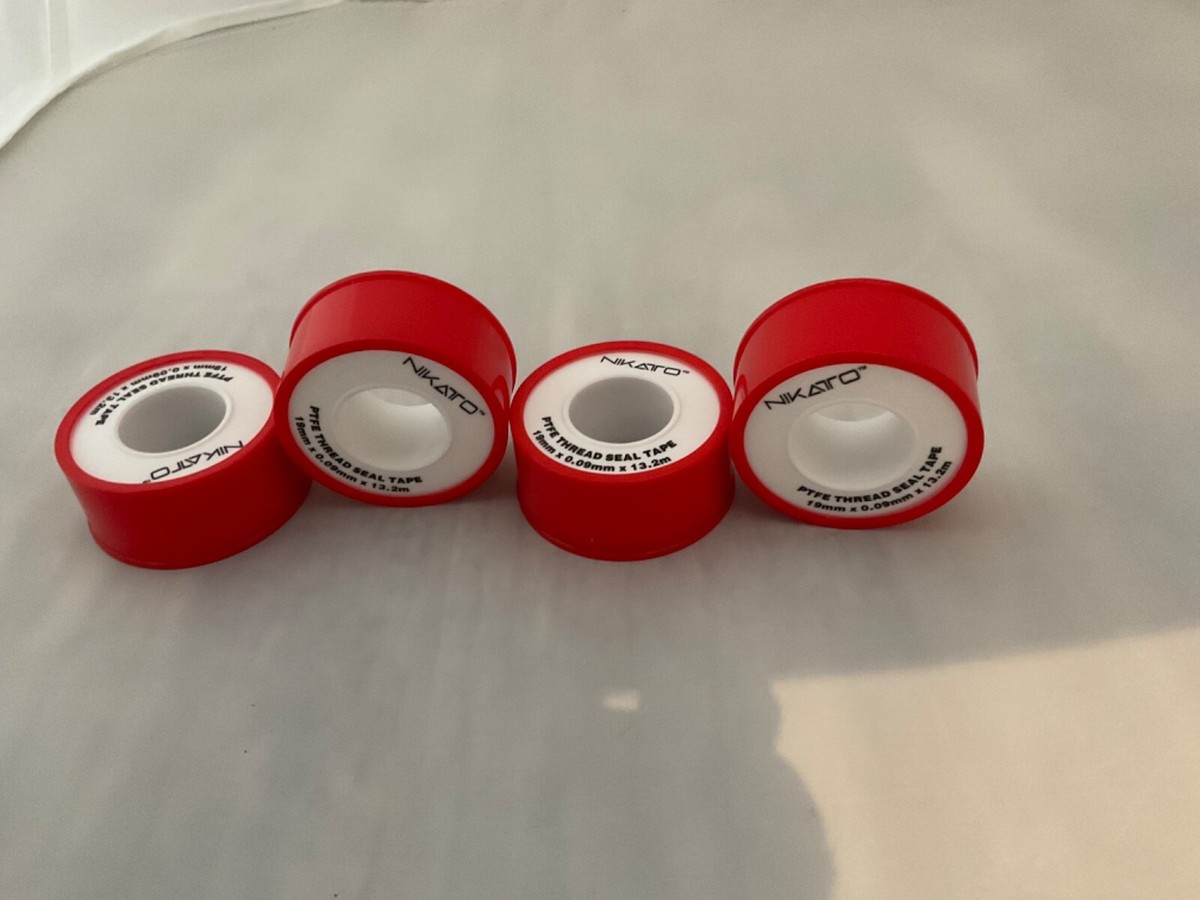
The quick rule: putty for flanges, tape for threads
Here is the simplest way I know to remember it:
- Plumber’s putty goes where two parts press together with a wide, flat contact area, usually tightened by a nut from underneath. It seals by being squished into place.
- Teflon tape goes on male pipe threads where parts screw together. It seals by filling tiny gaps in the threads and helping the joint tighten smoothly.
If you try to use putty on pipe threads, it tends to smear, squeeze out, and leak. If you try to use tape to seal the flange-to-sink surface, it usually does nothing because that seal is not made at a thread interface. (Some assemblies have threads elsewhere, but the leak you see at the top rim is almost always a flange seal issue, not a “needs tape” issue.)
Plumber’s putty: what it is and where it shines
Plumber’s putty is a soft, moldable sealing compound. It stays pliable for a long time, which is perfect for sink fixtures that may need to be removed later.
Best uses for plumber’s putty
- Sink basket strainer flange (kitchen sink drain opening)
- Bathroom sink drain flange (often depends on the drain design and manufacturer instructions)
- Faucet base plates and certain faucet bases where the manufacturer allows it
- Sink sprayer or soap dispenser flange (again, if the manufacturer calls for putty)
When not to use plumber’s putty
- On pipe threads (use PTFE tape or thread sealant instead)
- On natural stone and some engineered surfaces unless the putty specifically says it is stain-free and approved for that material. Some putties can discolor certain tops.
- Where the manufacturer specifies silicone (common for some drains and many faucet installations)
- On plastic parts if the putty label warns against it. Some putties can soften or damage certain plastics over time.
Pro tip from a guy who learned the hard way: if you are working on an expensive vanity top, do not assume “plumber’s putty is plumber’s putty.” Read the tub. Countertop staining is a real heartbreak.
How to apply plumber’s putty
This is the classic plumber’s putty job most homeowners run into.
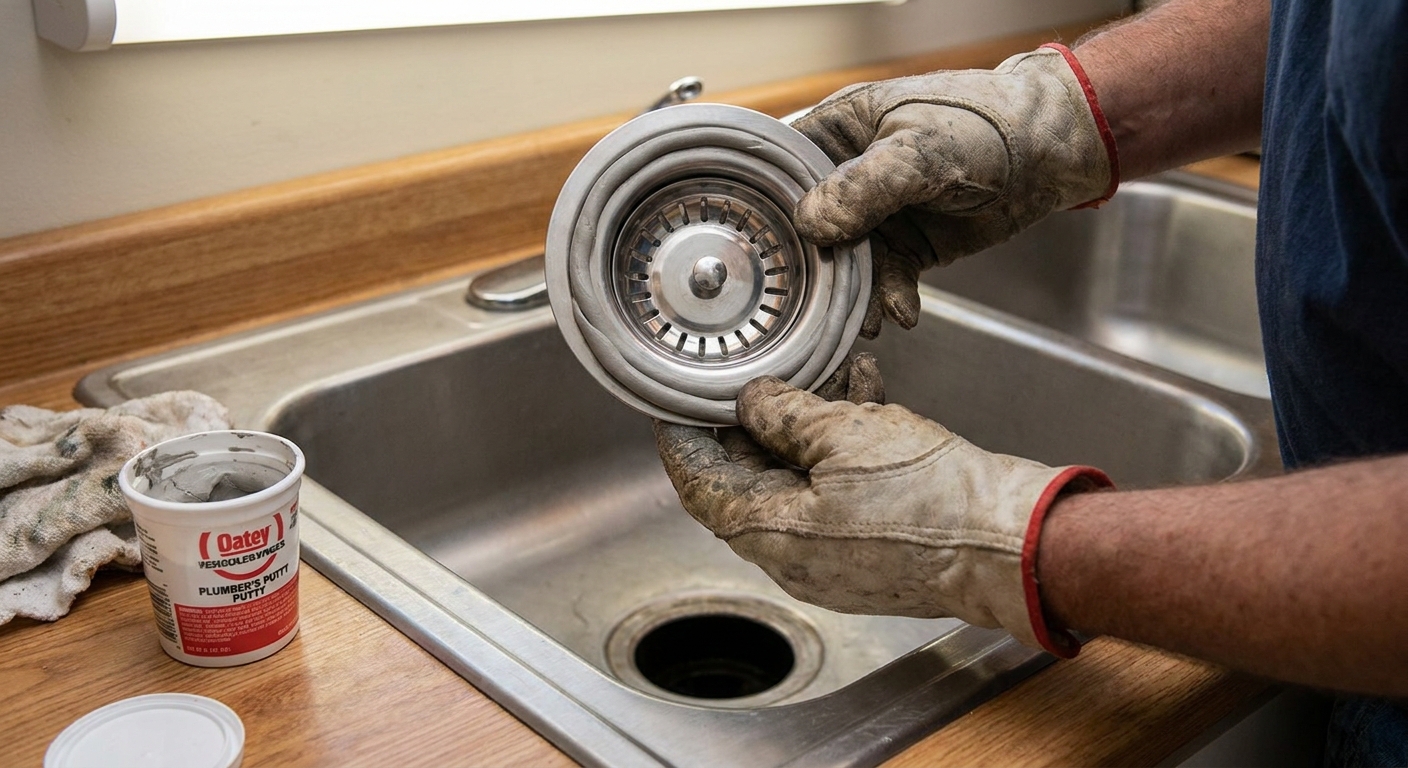
- Clean both surfaces. Remove old putty, silicone, grime, and water spots from the sink opening and the underside of the flange. Dry it well.
- Roll a rope. Pinch off a chunk and roll it between your palms into a rope about pencil thickness.
- Wrap the flange. Press the rope around the underside of the strainer flange (or the fixture flange) in one continuous ring. Overlap the ends slightly so there is no gap.
- Seat the part. Push the strainer straight down into the sink opening. You should see putty squeeze out all the way around.
- Tighten from below. Install the gasket(s) and nut from underneath according to the strainer’s instructions. Tighten evenly until you get consistent squeeze-out, then stop. Firm compression beats “gorilla tight.”
- Clean the squeeze-out. Wipe away the putty that squeezes out. A plastic putty knife or an old credit card works great without scratching.
- Leak test. Fill the sink, then drain it while watching underneath with a bright light. Also run water around the flange to make sure there is no seepage.
Common putty mistake: people tighten the nut first and clean later, but they leave a thin channel where the putty did not fully compress. Tighten, then do a careful wipe, then tighten a final tiny bit if needed.
Teflon tape: what it is and where it shines
Teflon tape is PTFE (polytetrafluoroethylene) thread seal tape. It is slippery, thin, and designed to wrap around threads so the connection tightens smoothly and seals better.
Quick reality check: PTFE tape is mainly for tapered pipe threads (often labeled NPT). Many plumbing connections use straight threads that seal with a gasket or O-ring, and those typically do not need tape on the threads.
Best uses for Teflon tape
- Shower arms (where the shower arm screws into the drop-ear elbow in the wall)
- Threaded supply adapters and nipples with tapered pipe threads (NPT)
- Threaded connections on filters or some water treatment components (if the manufacturer allows)
- Compressed air fittings in the shop (similar concept, different system)
When not to use Teflon tape
- Compression fittings (toilets and many faucet supply lines). These seal via a ferrule or gasket, not thread seal. Tape can interfere.
- Flare fittings (common in gas and some specialty connections). These seal at the flare seat, not the threads.
- Garden hose threads (GHT). Those seal with a rubber washer, not the threads.
- Threads that already have a rubber gasket or O-ring doing the sealing. Follow the product instructions.
- Plastic threads where the manufacturer forbids tape. Some plastic fittings specify paste only, or no sealant at all, depending on the design.
Note on gas lines: many gas piping jobs call for a gas-rated thread sealant paste and or gas-rated PTFE tape (often yellow), and some codes and manufacturers have specific requirements. If you smell gas or you are unsure, stop and call a pro.
How to apply Teflon tape
If you wrap tape the wrong way, it bunches up as you tighten the fitting and you lose the seal. This is one of the most common DIY plumbing oops moments.
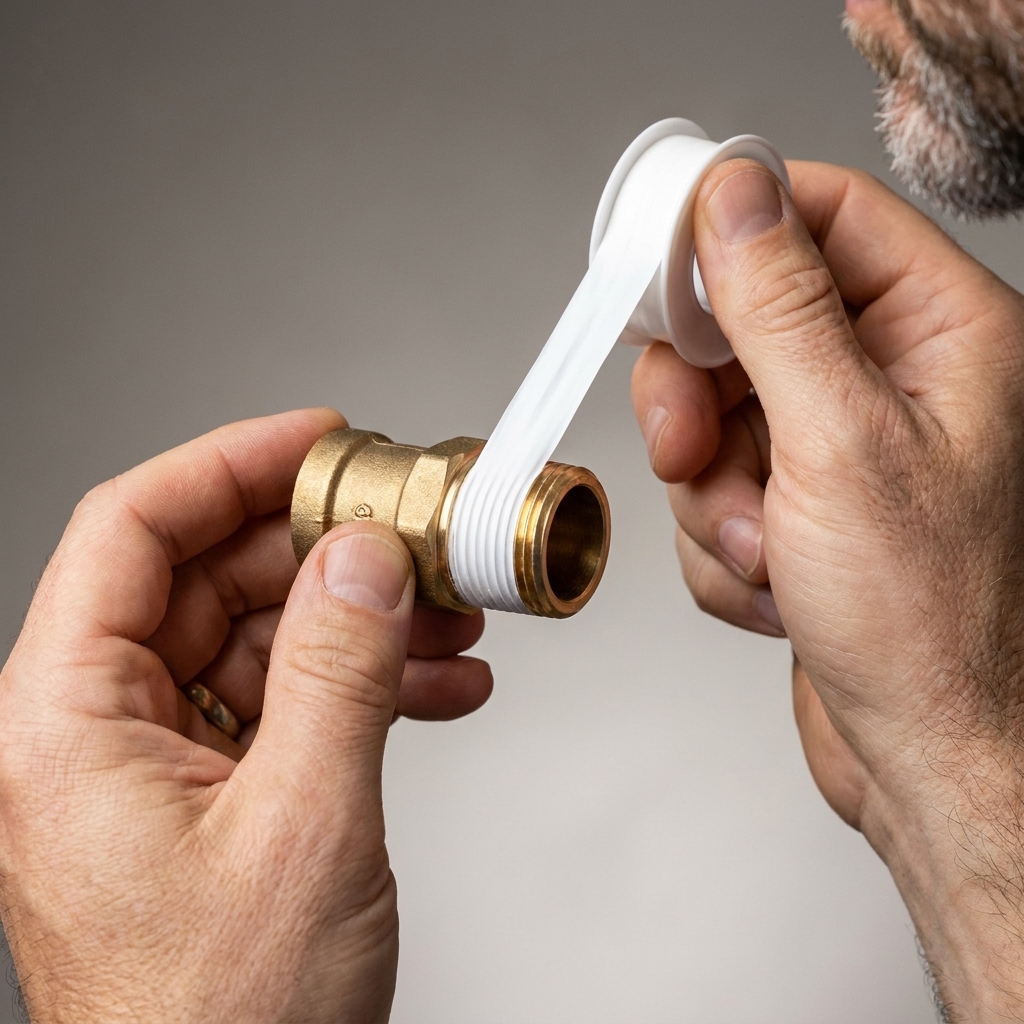
- Confirm it is a threaded pipe connection. Look for tapered pipe threads (NPT) on the male side, not a straight-thread gasket seal.
- Clean the threads. Remove old tape, dried sealant, and grit with a rag or small brush. Debris creates leak paths.
- Start one thread back. Place the tape on the threads leaving the very first thread mostly exposed. This helps keep tape shreds out of the line.
- Wrap in the tightening direction. For standard right-hand threads, wrap clockwise as you look at the end of the male fitting. The tape should follow the direction you will turn the female fitting to tighten.
- Use tension. Pull the tape snug so it molds into the threads, not loose and fluffy.
- Do 3 to 6 wraps. Most household water fittings seal well with 3 to 4 wraps. Big coarse threads may like 5 to 6. Too much tape can prevent full thread engagement and tempt you to over-tighten, which is how plastic fittings get cracked.
- Press it in. Smooth the tape into the threads with your fingers.
- Assemble and tighten. Thread by hand first to avoid cross-threading, then tighten with the appropriate wrench.
Putty vs. tape: pros and cons
| Item | Pros | Cons | Typical jobs |
|---|---|---|---|
| Plumber’s putty | Easy to shape, seals wide surfaces, stays pliable, easy to disassemble later | Can stain some countertops, not for threads, not ideal where movement is expected | Sink strainers, some faucet bases, flanges |
| Teflon (PTFE) tape | Clean, fast, helps threads tighten, great for many NPT threaded joints | Wrong direction fails, can shred into line, not for compression or flare seals | Shower arms, threaded adapters, nipples |
Common mistakes that cause leaks
1) Using putty where silicone is required
Some sink drains and faucets call for silicone because it adheres and handles movement better. If the instructions say silicone, do not freestyle it with putty.
2) Putting tape on compression threads
On a toilet supply line or shutoff valve with a compression nut, the seal is made by the ferrule, not the threads. Tape can stop the nut from tightening properly and you end up chasing a drip.
3) Wrapping PTFE tape backwards
When the female fitting turns, it can unravel the tape instead of tightening it into the threads. Wrap clockwise when looking at the end of the male threads for most household fittings.
4) Over-tightening to “make it seal”
Over-tightening can crack plastic fittings, deform washers, or squeeze all the putty out. If a joint keeps leaking, it usually needs to be redone cleanly, not muscled tighter.
5) Not cleaning old sealant
New putty on top of old putty or tape wrapped over shredded tape creates channels. Clean back to bare surfaces and threads whenever possible.
What about pipe dope?
Good question, because it shows up on a lot of pros’ trucks.
- Thread sealant paste (pipe dope) is for threaded connections, similar purpose as PTFE tape. Many people use one or the other, and some use both depending on the situation and the products involved.
- PTFE tape is cleaner and simpler for most homeowner jobs.
- Paste can be better on slightly damaged threads, vibration-prone connections, or where you want less chance of tape shredding.
If you go the paste route, make sure it is rated for the material and application (water vs. gas, plastic vs. metal).
Troubleshooting: which one do I need?
Leak is at the sink drain flange (top of sink)
Use plumber’s putty or silicone depending on the drain and countertop. If water is seeping from under the flange into the cabinet, you likely need to remove and reseal the flange.
Leak is at a threaded joint (two parts screw together)
Use Teflon tape or thread sealant paste on the male threads, then reassemble.
Leak is at a supply line compression nut
Do not use tape. Make sure the ferrule is seated correctly, the nut is snug, and the tubing is fully inserted. Sometimes replacing the supply line is the fastest fix.
Leak is between two smooth parts with a gasket
Inspect and replace the gasket or O-ring. Sealants are not a substitute for a missing or damaged gasket.
FAQ
Can I use plumber’s putty on plastic?
Sometimes, but check the label. Some putties are not plastic-safe. If you are installing a plastic sink strainer or plastic drain parts, many manufacturers prefer silicone or a rubber gasket-only install.
Is Teflon tape enough by itself?
On many NPT threaded water connections, yes, if the threads are in good shape and you wrap it correctly. If threads are rough or you have repeated seepage, a thread sealant paste may perform better.
How long does plumber’s putty take to set?
It does not cure like silicone. You can usually use the fixture right away after tightening and cleaning the squeeze-out.
What tape color should I buy?
For most homeowner water plumbing, standard white PTFE tape is fine. Thicker, higher-density tapes exist, and gas-rated products are a separate category. The safest move is to match the tape to the application listed on the package.
My leak-free checklist
- Match the sealant to the joint: putty for flanges, PTFE tape for threads.
- Follow the manufacturer instructions, especially when a gasket or silicone is specified.
- Clean and dry surfaces before sealing.
- For tape: wrap the correct direction, start one thread back, and use 3 to 6 tight wraps.
- For putty: use a continuous rope, tighten evenly, and wipe squeeze-out clean.
- Leak test with a bright light and a dry paper towel. It finds drips faster than your eyes.
If you get stuck, take a photo of the exact joint that is leaking and identify whether you are looking at a flange, a compression connection, or pipe threads. Once you know what kind of connection it is, the sealant choice usually becomes obvious.