If you have a cabinet shelf that is starting to look like a banana, you are not alone. I have seen it in brand-new kitchens and in 60-year-old built-ins. Shelves sag for predictable reasons: the span is too long, the shelf material is too weak (hello, particleboard), the shelf pins are flexing, or all three.
The good news is you usually do not need to replace the whole cabinet. If the material is still sound and the sag is mild, you can often coax a shelf closer to flat and then reinforce it so it stays that way under real-world loads like dinner plates, canned goods, and that one stand mixer that could double as a boat anchor.
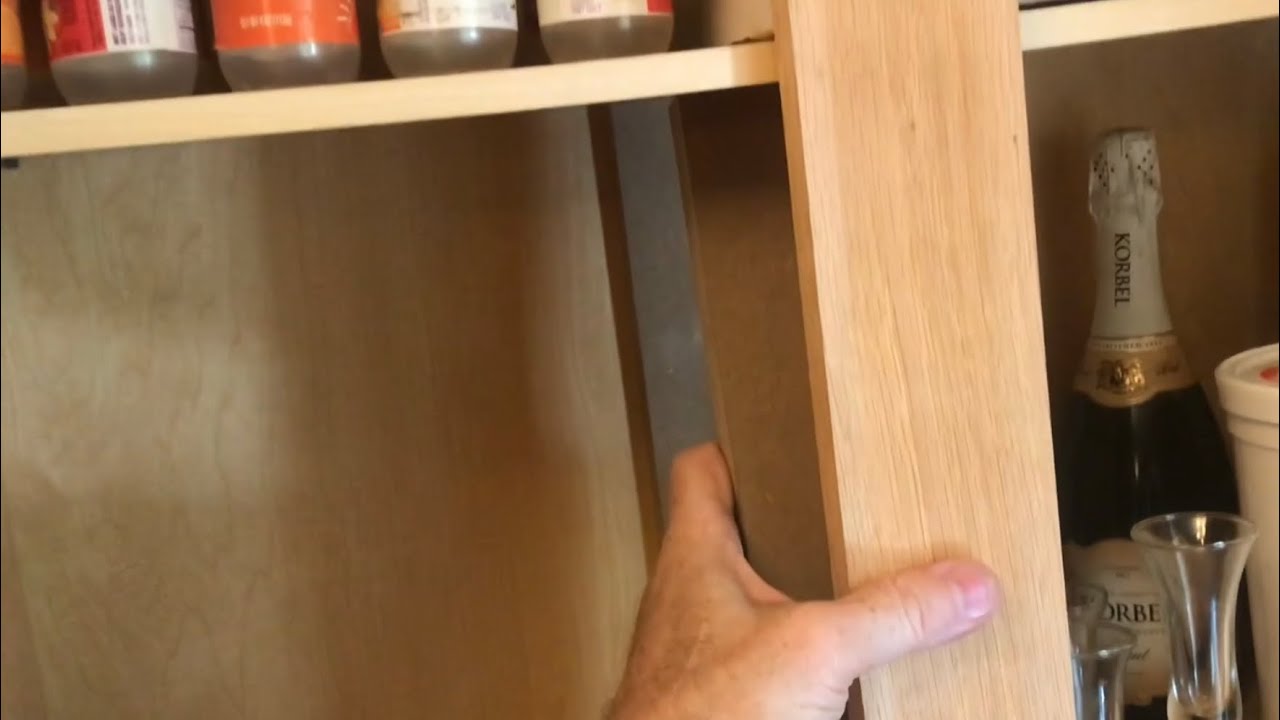
Before you reinforce, check the weak point
Reinforcement works best when you match the fix to the failure. Take everything off the shelf and check these common weak points.
1) The shelf material
- Particleboard or MDF: Sags easily, especially if it has gotten damp. Once it swells, it loses strength fast and it tends to creep back even after you clamp it.
- Plywood: Stronger for the same thickness, usually sags less.
- Solid wood: Can sag too, but it often responds well to stiffening (edging or a metal stiffener).
2) The span and thickness
A long shelf span with a thin shelf is the classic recipe for sag. As a rule, the longer the distance between supports, the more your shelf needs help. If the cabinet is wide and the shelf is only 5/8 inch particleboard, reinforcement is almost guaranteed.
Quick span reality check: If your shelf spans much over 30 inches and it is anything less than 3/4 inch plywood or solid wood, plan on reinforcement or a center support. Over 36 inches, a center support or a serious stiffener is usually the right call, especially for pantry loads.
3) The supports (pins, clips, rails)
Look closely at the shelf pins or clips. If they are bending, sitting crooked, or wallowing out the holes, your shelf can sag even if the panel itself is decent.
Also confirm the basics: all four pins are fully seated, they are in the same height holes on both sides, and the shelf is actually sitting on the pin shoulders. I have seen plenty of “mystery sags” that were just one pin half engaged.
4) Moisture damage
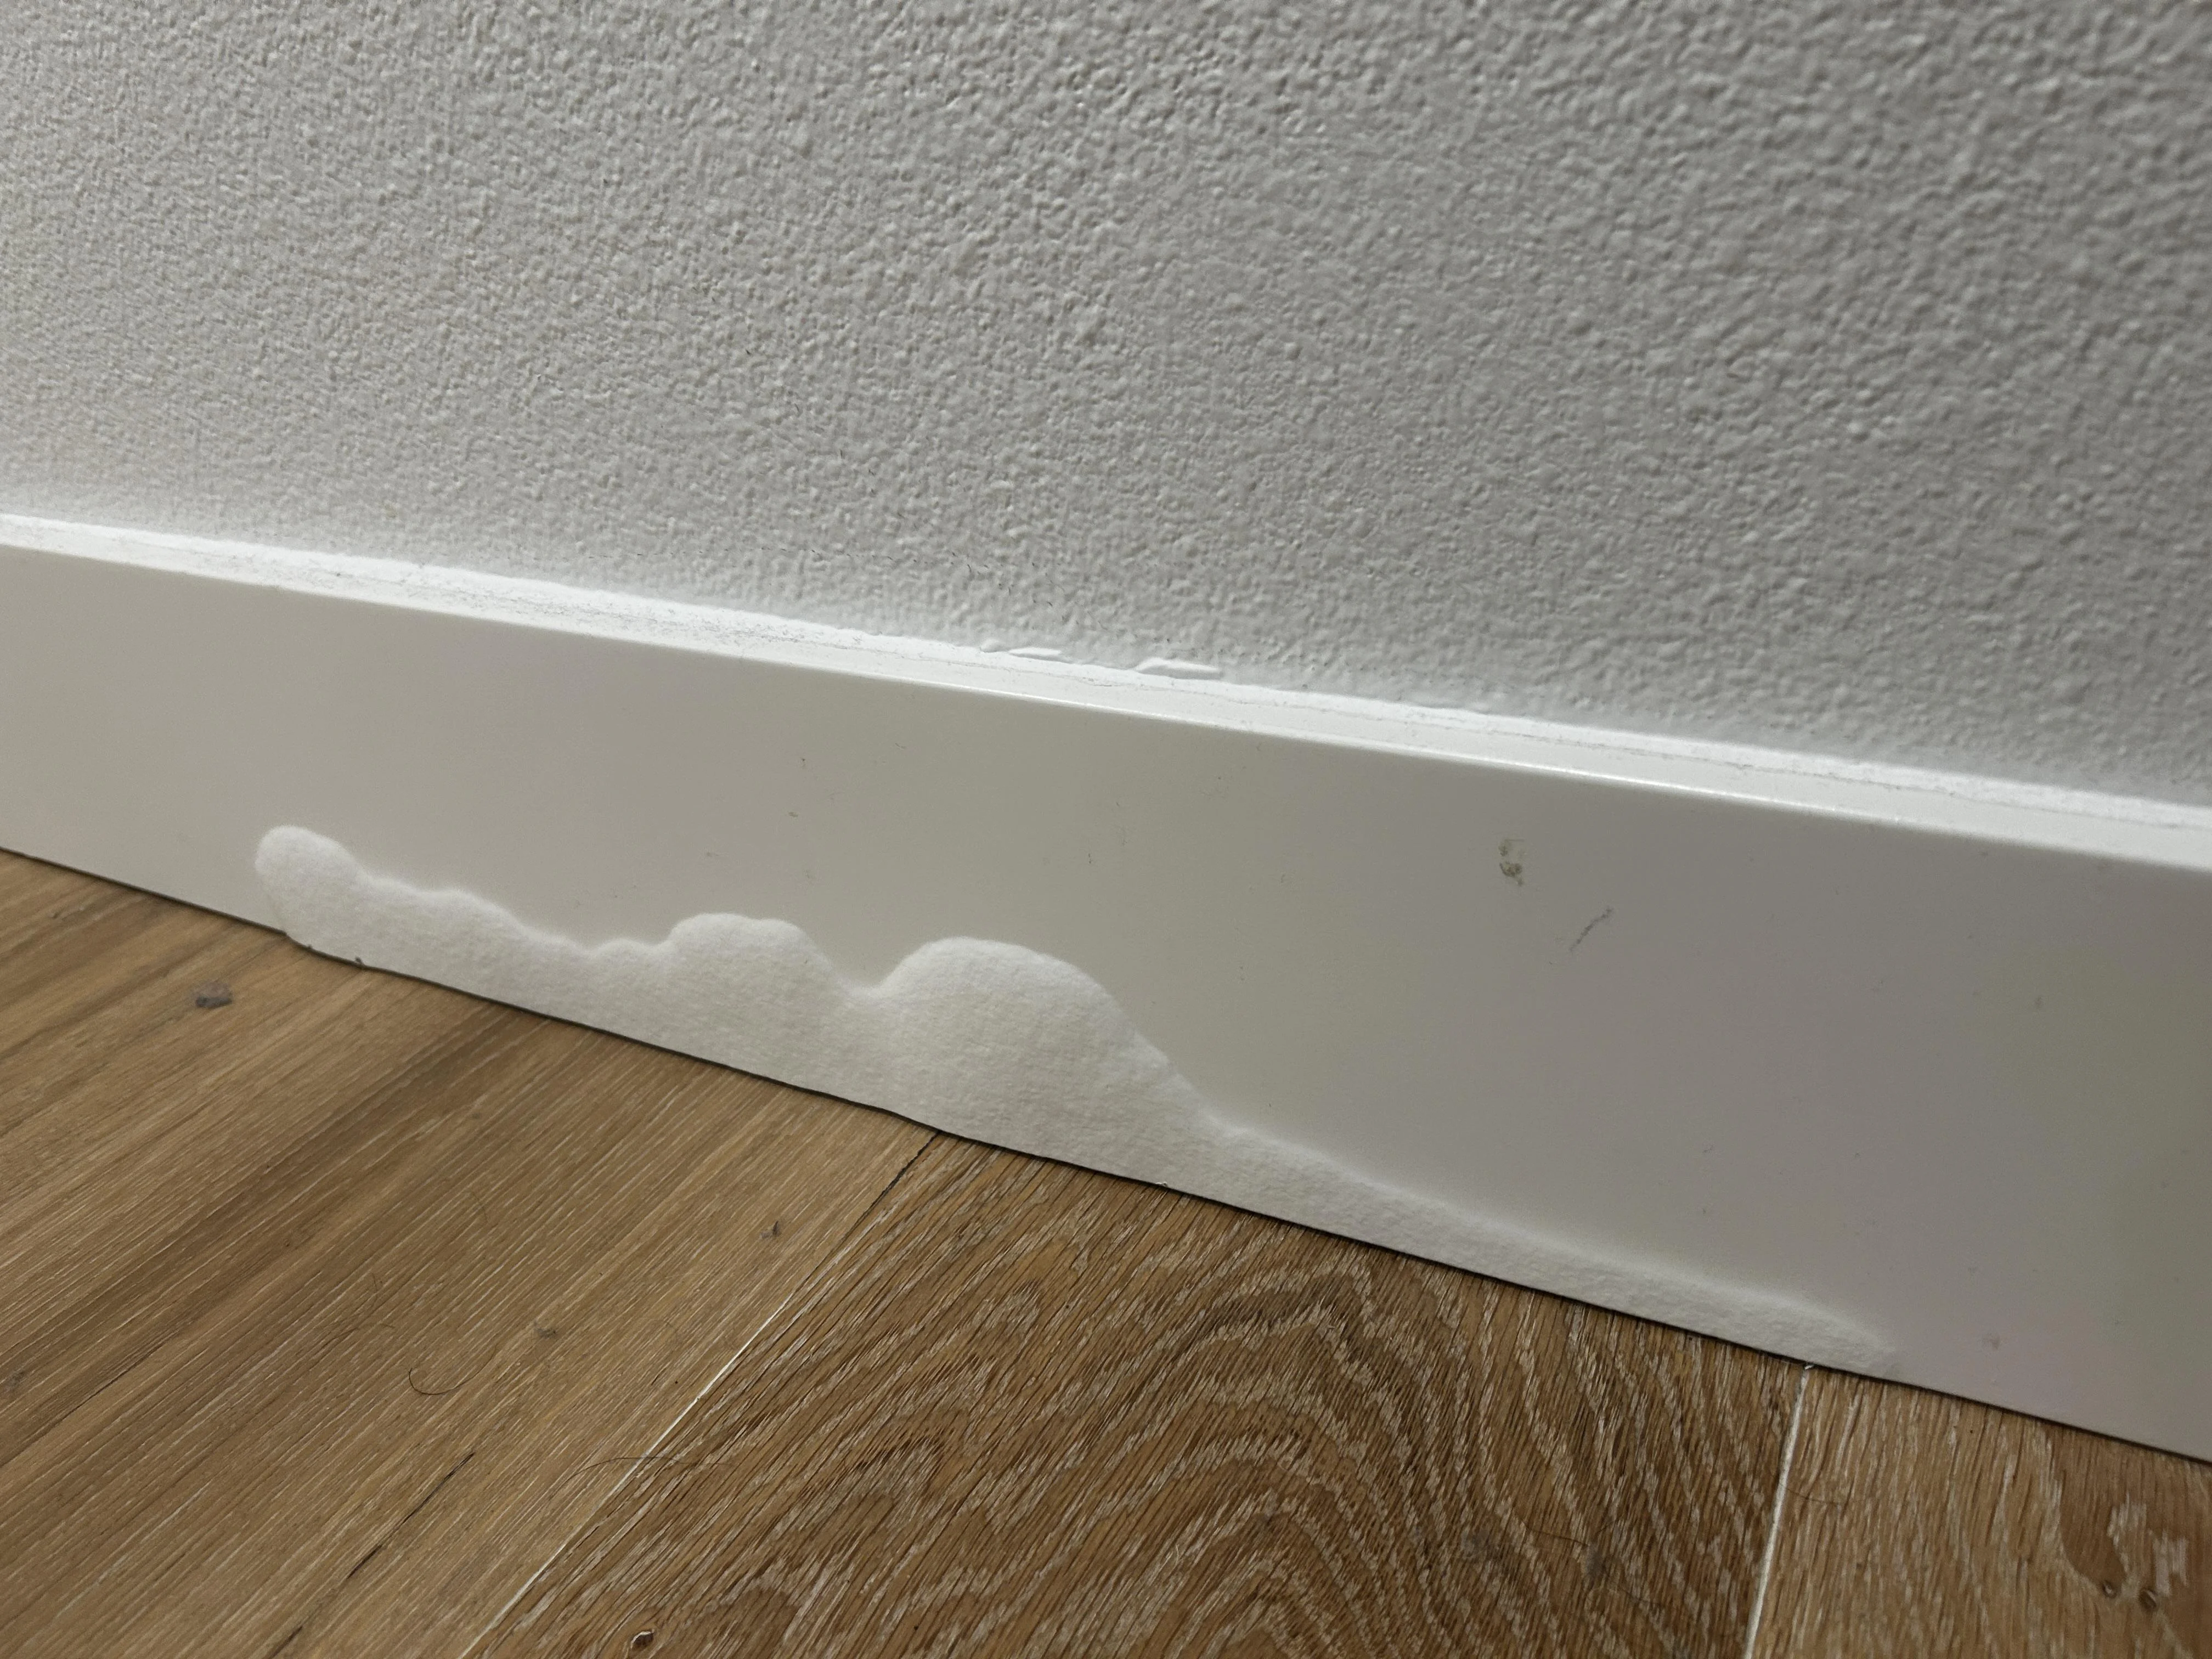
Run your hand along the shelf surface and edges. If it feels rough, puffy, or crumbly, moisture has gotten in. Reinforcing rotten particleboard is like trying to strengthen a cookie with screws. It might hold for a bit, but it will not be trustworthy.
Tools and materials
You can do a basic reinforcement with a drill and a tape measure. These are the items I reach for most often:
- Drill/driver and bits (including a small pilot bit)
- Measuring tape, square, and pencil
- Clamps (helpful for edging and straightening)
- Level or straightedge
- Wood glue (for cleats and hardwood edging)
- 1 1/4 in. to 1 1/2 in. wood screws (common for cabinet sides)
- Angle brackets or flat steel stiffener (depending on method)
- Hardwood strip or plywood strip (for a front edge stiffener)
- Sandpaper or a sanding block
Safety note: If you are drilling into older cabinets, be mindful of hidden wiring for under-cabinet lights and avoid drilling into the cabinet back where plumbing may run.
Straighten the shelf or replace it
If the shelf is only slightly bowed and still structurally sound, you can sometimes coax it closer to flat and then lock in that shape with reinforcement. This works best with solid wood or plywood. Particleboard and MDF often have “memory,” so even if you flatten them temporarily, they may creep again unless you add real stiffness.
When to replace
- The shelf is swollen, crumbly, or delaminating.
- It has a permanent crease or crack.
- The sag is severe and the shelf feels spongy when you press down.
If you replace, use 3/4 in. plywood when possible, and consider adding at least one reinforcement method below anyway. New shelf, same span often leads right back to sag.
Finishing note: If the shelf is visible, seal raw plywood edges with iron-on edge banding, a thin hardwood edge, or a couple coats of finish. It looks better and it helps keep moisture out.
How to straighten a sound shelf
- Remove everything and take the shelf out if it is adjustable.
- Lay it on a flat surface with the sag facing up.
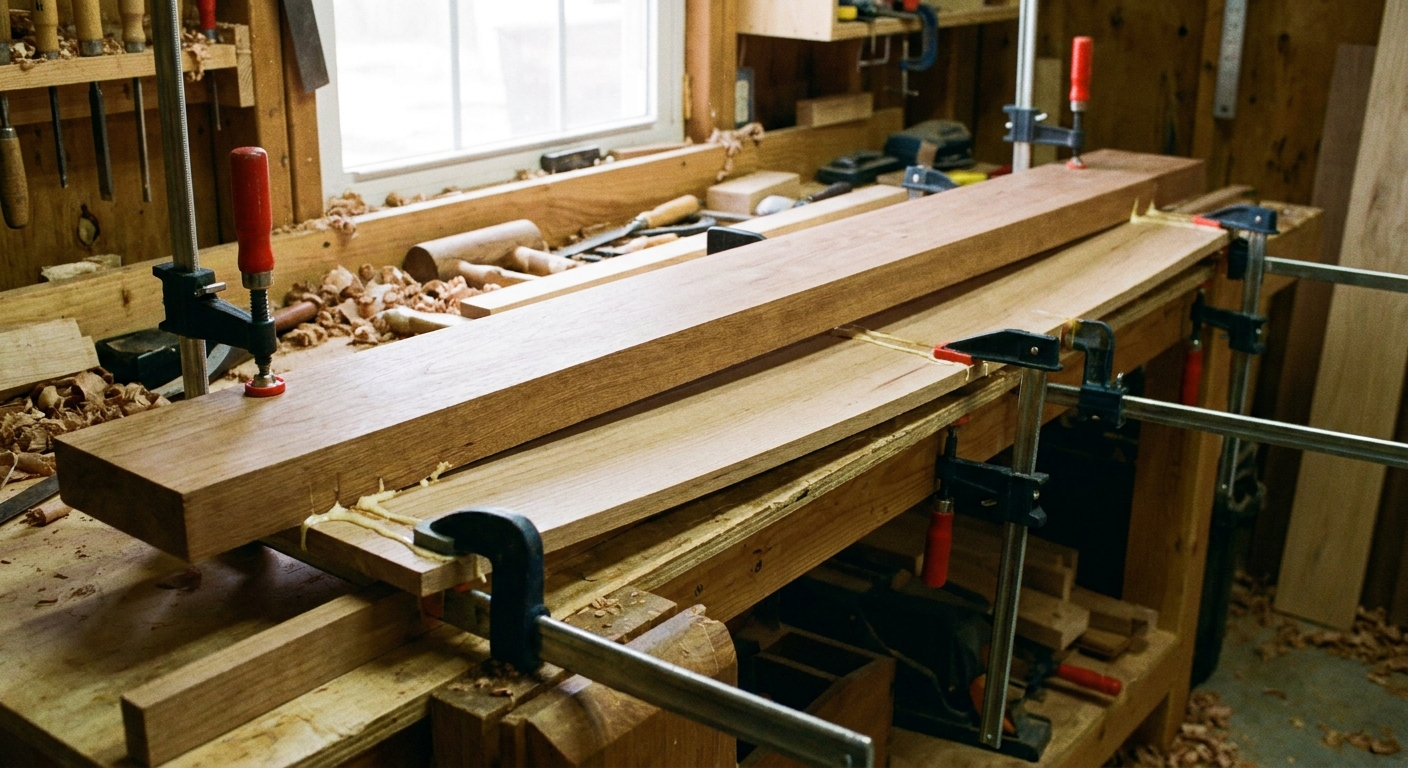
- Clamp it flatter using a straight board as a caul (a straight 2x4 or a level works). If the sag is mild, sometimes clamping it overnight helps.
- Add reinforcement while it is clamped (metal stiffener, hardwood edging, or a cleat) so the shelf is held in the corrected position.
Option 1: Hidden L-brackets
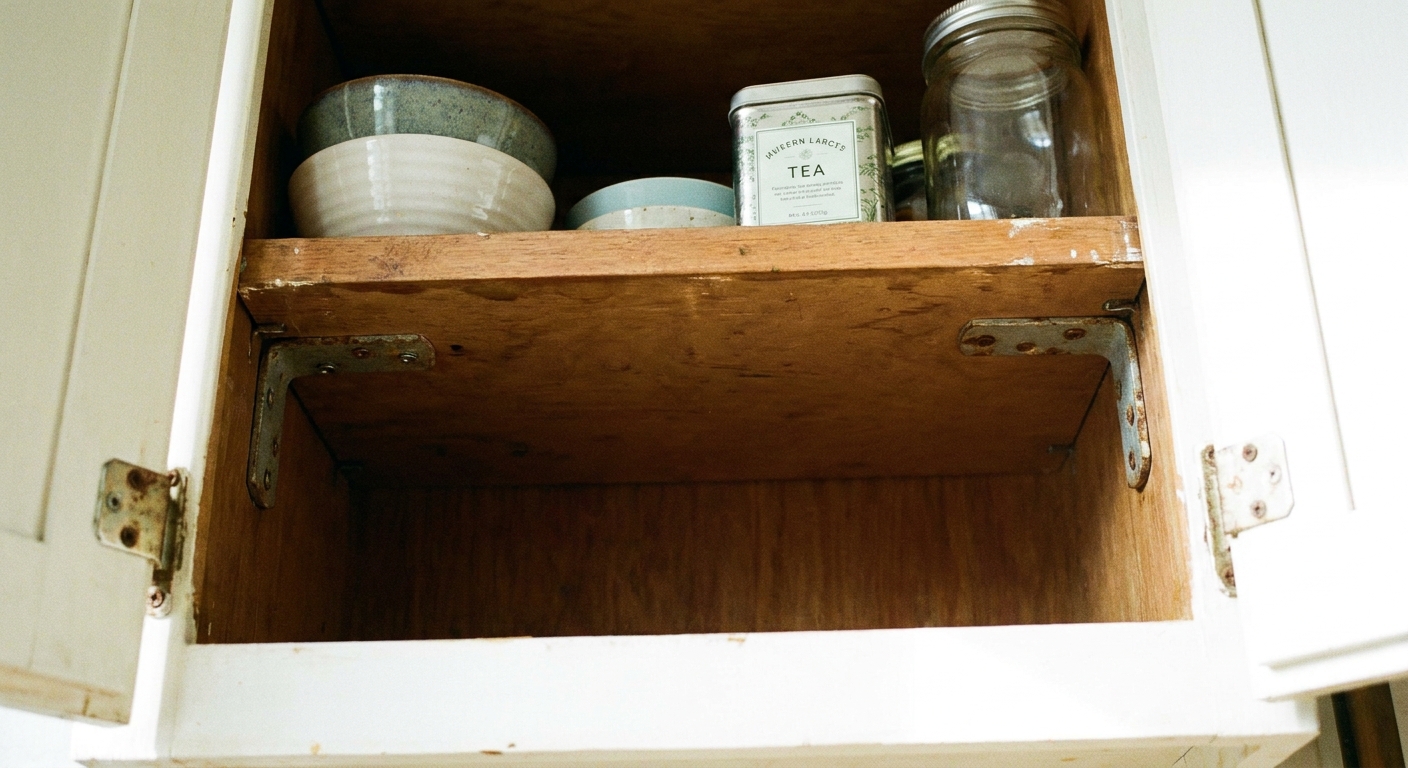
This is my go-to fix when you want a solid result without rebuilding anything. L-brackets support the shelf from underneath at the cabinet sides and reduce how much the shelf can flex at the supports.
Best for
- Adjustable shelves that keep sagging in the middle
- Particleboard or MDF shelves that are still dry and intact
- Any shelf carrying heavy loads (pots, small appliances, canned food)
How to do it
- Choose brackets at least 1 1/2 in. to 2 in. on each leg. Thicker steel is better than thin, bendy brackets.
- Mark bracket locations near the front and back corners, inside the cabinet, just under the shelf line.
- Pre-drill to avoid splitting cabinet side panels, especially on older cabinets.
- Screw brackets into the cabinet sides first.
- Set the shelf in place so it sits on the bracket tops. If your brackets have holes oriented upward, you can also screw up into the underside of the shelf to keep it from shifting.
Fastener tip: If you are screwing into particleboard or MDF, use short screws and pilot holes. Overdriving is how you strip out the shelf and end up right back where you started.
Pro tip: If you want the brackets nearly invisible, mount them slightly behind the face frame so they disappear in shadow when the door is open.
Option 2: Add center support
If your cabinet is wide and the shelf is heavily loaded, adding a center support cuts the span in half. This is about as close as you get to a permanent fix without replacing the shelf with something much thicker.
Two solid ways
A) Vertical center divider
You add a vertical panel from the cabinet floor up to the underside of the shelf, creating two smaller shelf bays.
- Material: 3/4 in. plywood works great.
- Fastening: Screw through the cabinet bottom and into the divider. Then secure the shelf to the divider with a small cleat or a couple of screws from underneath.
B) Center post
A center post can be a square wood piece or even a cabinet support leg. It supports the shelf from below.
- Best use: Base cabinets where a post can sit on the cabinet bottom.
- Downside: It can get in the way of storing large items.
Do not skip this check: Make sure the cabinet bottom can actually take the load. In some cabinets, the bottom is a thin panel with limited support. If it feels flimsy, spread the load with a wider base pad under the post, or fasten a cleat to the cabinet sides so the load is not concentrated on one spot.
Contractor note: If you have an adjustable shelf and you need the height to remain adjustable, a center post is usually easier than a full divider.
Option 3: Side cleats
Cleats are strips of wood screwed to the cabinet sides that create a ledge for the shelf. They spread the load better than tiny shelf pins and can stiffen the entire setup.
Best for
- Fixed shelves
- Shelves that sag because pins are flexing or holes are worn
- Older cabinets with thin side panels that need load spread out
How to install side cleats
- Cut two cleats (usually 3/4 in. thick by 3/4 in. to 1 1/2 in. tall) to match the cabinet depth.
- Mark level lines on both cabinet sides where you want the shelf to sit.
- Measure side thickness so you do not blow a screw out the cabinet exterior. Many cabinet sides are only 1/2 in. or 5/8 in. thick.
- Glue and screw the cleats to the cabinet sides along those lines. Use multiple screws, not just one at each end. #6 or #8 wood screws are typical. Pre-drill pilot holes.
- Set the shelf on the cleats. For a fixed shelf, add a couple screws down through the shelf into the cleats.
Hidden look: Keep the cleat height modest and set it slightly back from the face frame so it is less noticeable.
Option 4: Hardwood front edging
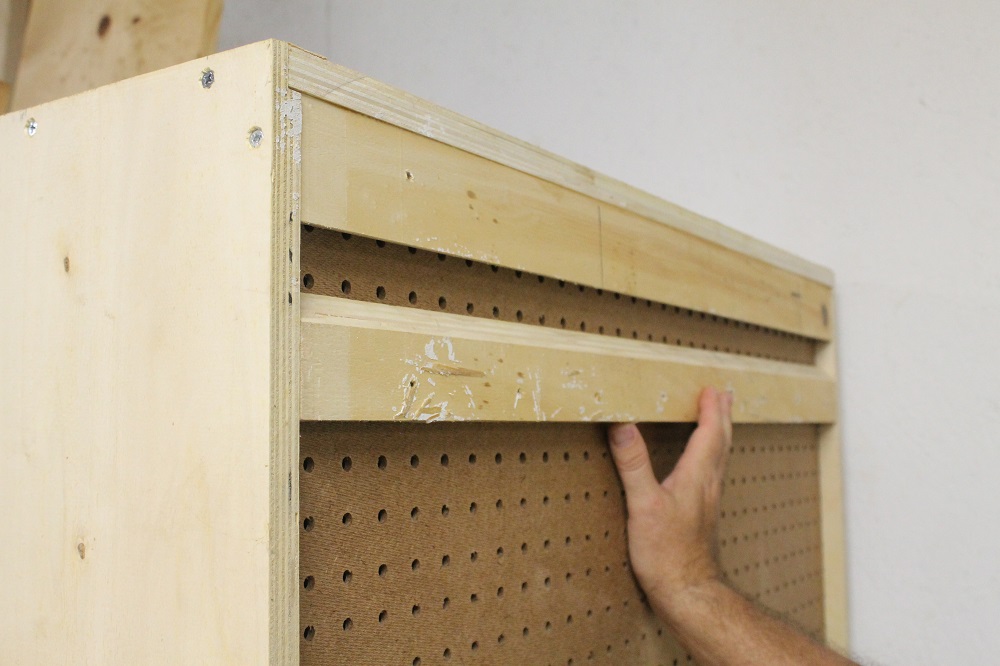
If a shelf is sagging in the middle, a thicker, stiffer front edge acts like a beam. This is one of the best ways to reinforce a shelf without adding visible hardware.
Best for
- Shelves with a bare or thin front edge
- Visible cabinets where you want the repair to look intentional
- Moderate sag that you can clamp out
How to do it
- Pick a hardwood strip at least 3/4 in. thick. Height matters, too. A taller edge stiffener resists bending better than a short one.
- Clamp the shelf flatter before attaching the edging.
- Glue the edging to the front edge of the shelf.
- Reinforce with fasteners: brad nails, trim screws, or pocket screws from the underside all work. If you use screws, pre-drill to avoid splitting.
- Sand and finish to match. Even a quick wipe-on poly makes it look like it belonged there all along.
Why this works: The front edge is the least supported and it is where sag is most noticeable when you open the door. Stiffening the front dramatically improves the feel and the look.
Option 5: Under-shelf metal stiffener
If you want a shelf to stay flat with heavy loads, a steel stiffener under the shelf is hard to beat. This can be a steel angle, a U-channel, or a purpose-made shelf stiffener bar.
Best for
- Long spans that cannot be shortened
- Heavily loaded pantry shelves
- When you want reinforcement that is mostly hidden from above
Installation basics
- Pick the stiffener long enough to run most of the shelf width.
- Place it with intention: one stiffener near the front edge helps keep the lip from drooping. For very heavy loads or long spans, consider a second stiffener closer to the center where bending forces are highest.
- Pre-drill the metal if it is not pre-punched.
- Screw it to the underside using screws that will not poke through the shelf surface.
Tip to avoid screw poke-through: Measure the shelf thickness and subtract the stiffener thickness (and any countersink depth in the metal). Then choose screws that are clearly shorter than what is left. If you are not sure, test the screw length in a scrap piece first.
Small fixes that help
Upgrade the shelf pins
If your shelf uses tiny pins, swapping to sturdier metal pins or shelf supports can help. Some pins have a wider bearing surface that spreads load better.
Keep weight near the sides
Heaviest items belong near the left and right supports. Put lighter items in the middle. It sounds basic, but it matters.
Use liners carefully
Liners can trap moisture. If this is under a sink or near a dishwasher, skip the foam liner or use a breathable option and keep it dry.
Which reinforcement to choose
| Situation | Best fix | Why it works |
|---|---|---|
| Wide shelf, heavy loads | Center divider or center post | Cuts span dramatically |
| Adjustable shelf with mild sag | L-brackets or metal stiffener | Adds support without rebuilding cabinet |
| Shelf pins flexing or holes worn | Side cleats | Spreads load and removes pin weakness |
| You want a clean look | Hardwood front edging | Stiffens like a beam and looks finished |
| Long span you cannot change | Under-shelf metal stiffener | High strength with little added thickness |
Common mistakes
- Using screws that are too long: Nothing ruins a shelf faster than a surprise screw tip poking through the top.
- Reinforcing a wet, swollen particleboard shelf: It will keep deteriorating. Replace it.
- Only supporting the back edge: The front edge usually needs the help most.
- Skipping pilot holes: Cabinet sides split more easily than you would think, especially near the front.
- Forgetting the load: A pantry shelf full of cans needs a different solution than a linen cabinet.
- Assuming the cabinet box is fine: If the cabinet sides or bottom are weak, the best shelf reinforcement in the world will still feel sketchy.
FAQ
Can I fix a sagging shelf without removing it?
Often, yes. L-brackets, cleats, and even a center post can be installed with the shelf in place after you unload it. For hardwood edging or a full metal stiffener, it is usually easier to remove the shelf and clamp it flatter first.
Does flipping the shelf over help?
It can temporarily, especially with solid wood or plywood, because you are reversing the bow. But if the shelf is under the same load and span, it usually sags again. Flipping is fine as a quick reset, but add reinforcement if you want it to last.
What if the shelf is permanently bowed?
If clamping it flatter takes a lot of force or it springs right back, reinforce it with a metal stiffener or replace it with thicker plywood. Severe permanent bows in particleboard are usually a replacement situation.
How do I keep a reinforced shelf from looking DIY?
Hardwood front edging looks the most built-in. If you use brackets, tuck them back from the face frame and keep the hardware consistent. Black brackets in a white cabinet stand out more than zinc brackets in a shadow line.
When to call in help
If the cabinet sides are cracked, pulling away from the wall, or the face frame is splitting, you have a cabinet structural issue, not just a shelf issue. Reinforcing the shelf will not fix a cabinet that is coming apart. In that case, address the cabinet box and mounting first.