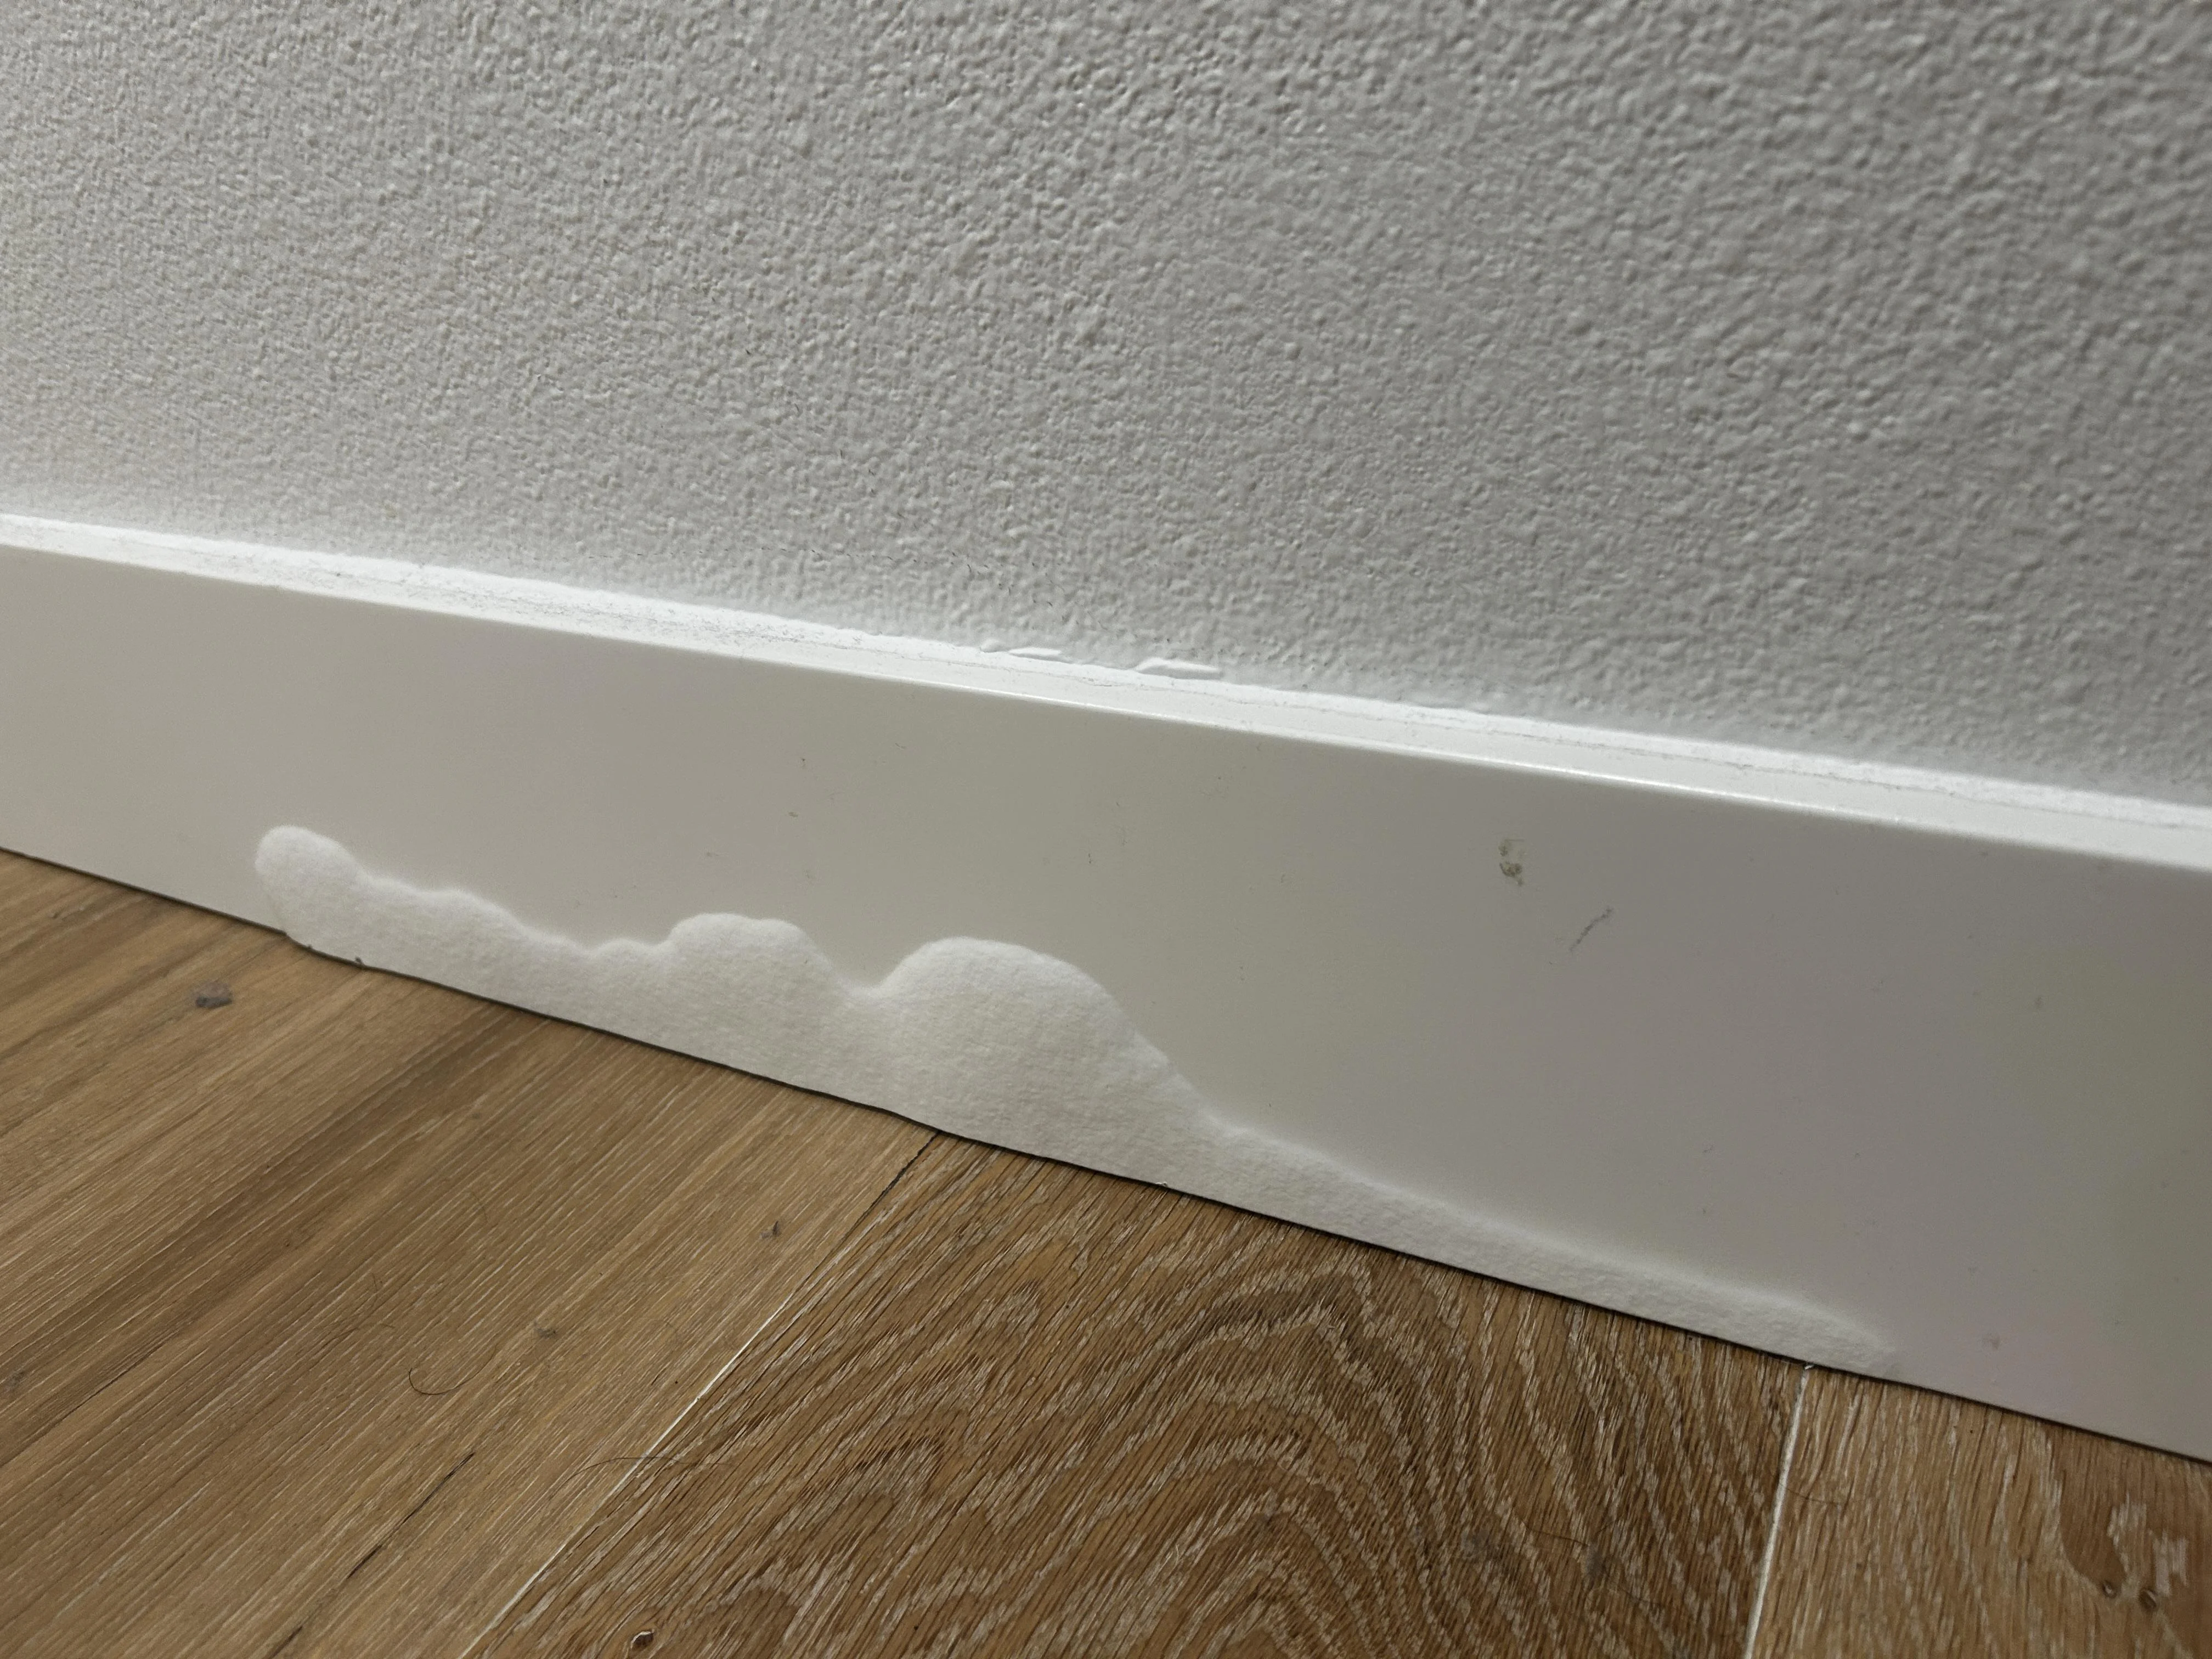
Water-damaged baseboards and trim have a special talent for making an otherwise nice room look “tired.” The good news is you usually do not need to replace every stick of trim in the room. With a little patience and a few basic tools, you can dry it out, remove the bad sections, and patch in new material so it disappears after paint.
I grew up holding the flashlight while my dad poked at soggy trim with a screwdriver. The screwdriver never lies. If it sinks in like a cake tester, you have rot. If it’s just swollen and fuzzy, you can often save it.
Before you start: stop the water and dry it out
Every trim repair goes sideways if moisture is still present. Baseboards get damaged from toilet leaks, tub splashes, wet mopping, humidifiers pointed at walls, window condensation, or a one-time flood.
Quick check
- Find the source: look for active drips, loose toilet supply lines, failed caulk at tubs, or stains on drywall above the trim.
- Dry it out: run a fan, and if you have one, a dehumidifier. For a small splash zone, you might be dry in 24 to 72 hours. After a real leak or flood, drying can take days or even weeks depending on airflow, materials, and whether the wall cavity or subfloor got wet.
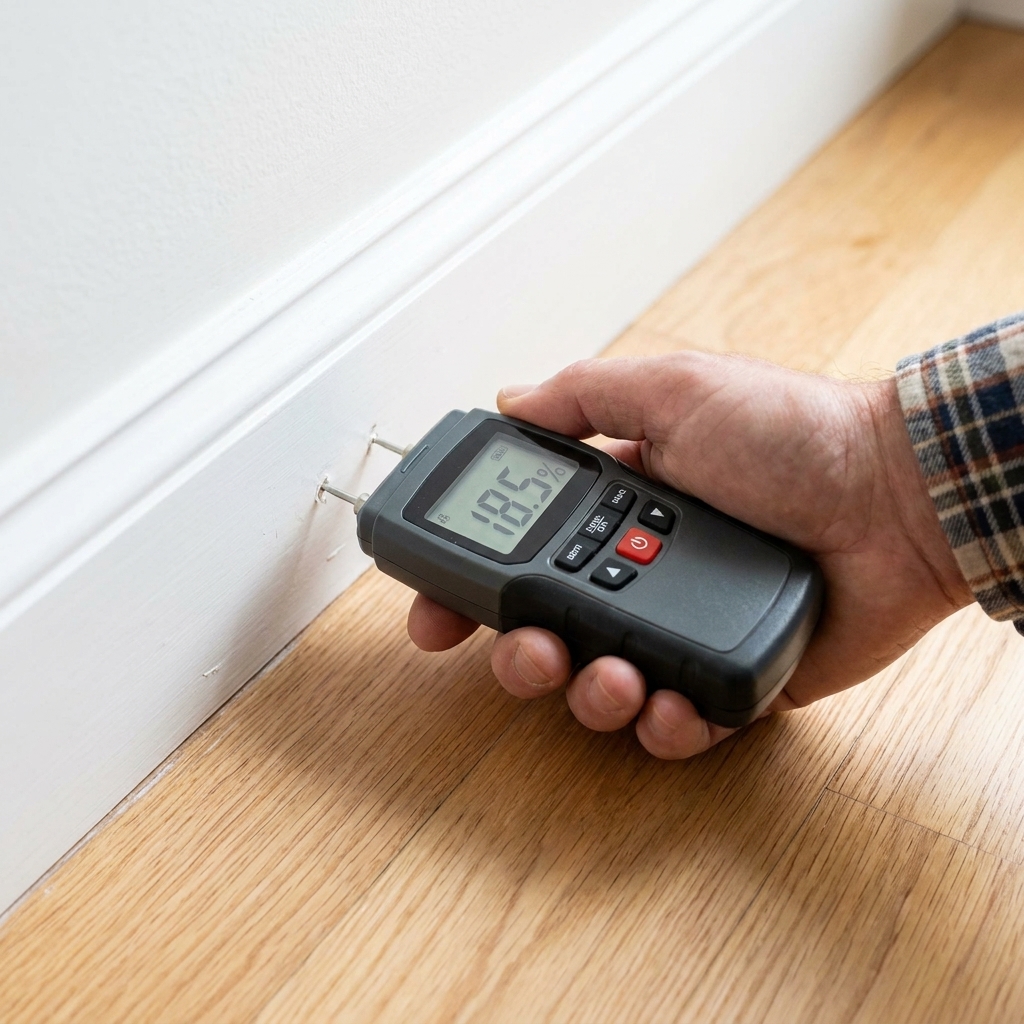
- Confirm it’s dry: a moisture meter is ideal, but you can also tape a 12-inch square of plastic to the wall just above the baseboard. If condensation forms behind it after a few hours, you still have moisture. Consider this a screening test, not a substitute for a meter or opening the wall when you suspect a hidden leak. Room humidity and temperature swings can fool you.
Safety note: If the drywall or trim has fuzzy black spotting and a musty smell, treat it seriously. If it’s more than a few square feet, it keeps coming back, or anyone in the home is immunocompromised, consider having it assessed professionally. If you do clean a small area, wear gloves, eye protection, and an appropriate mask or respirator, and fix the moisture source first.
Older homes note: If your home was built before 1978, assume paint could contain lead. Avoid dry sanding and aggressive scraping without proper precautions. Use containment, a HEPA vacuum, and follow lead-safe practices.
Tools and materials I actually use
You will not need everything on this list for every method, but these cover 90 percent of baseboard and trim repairs.
- Utility knife and a 5-in-1 painter’s tool
- Pry bar (small flat bar) and a thin putty knife to protect the wall
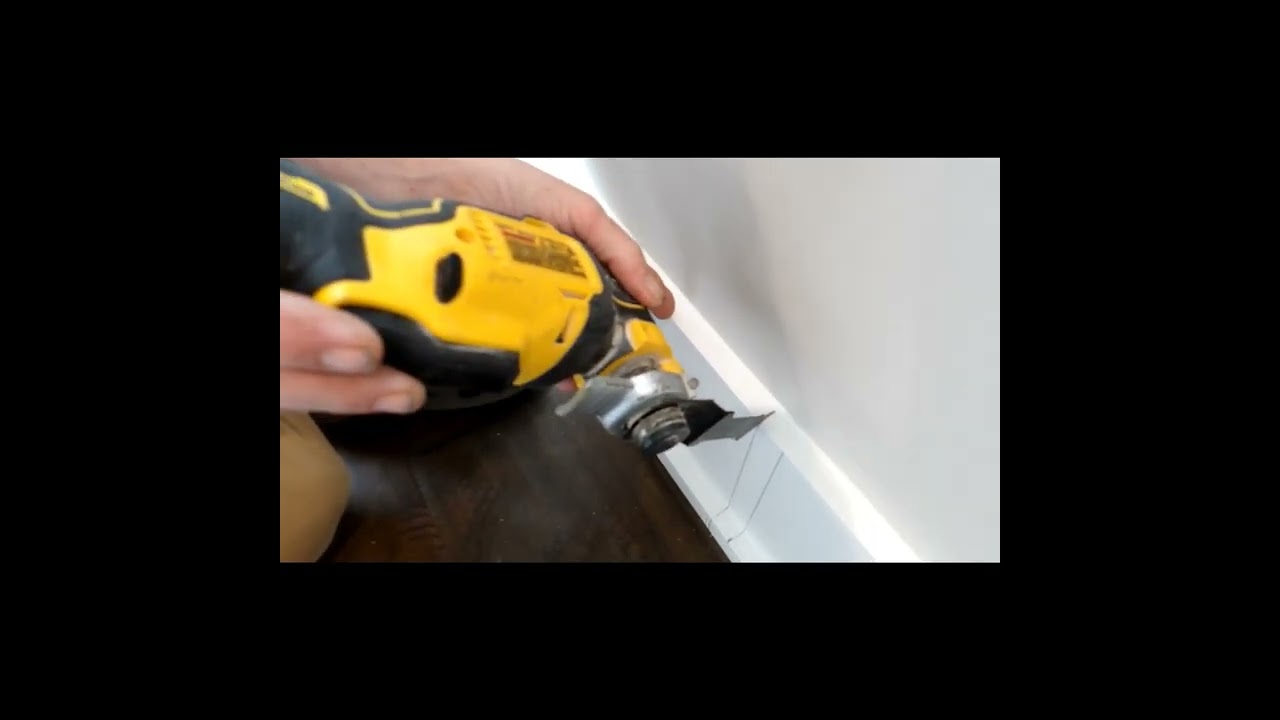
- Oscillating multi-tool or a miter saw and hand saw
- Measuring tape, pencil, and a combination square
- Sandpaper (80, 120, 220 grit) or sanding sponge
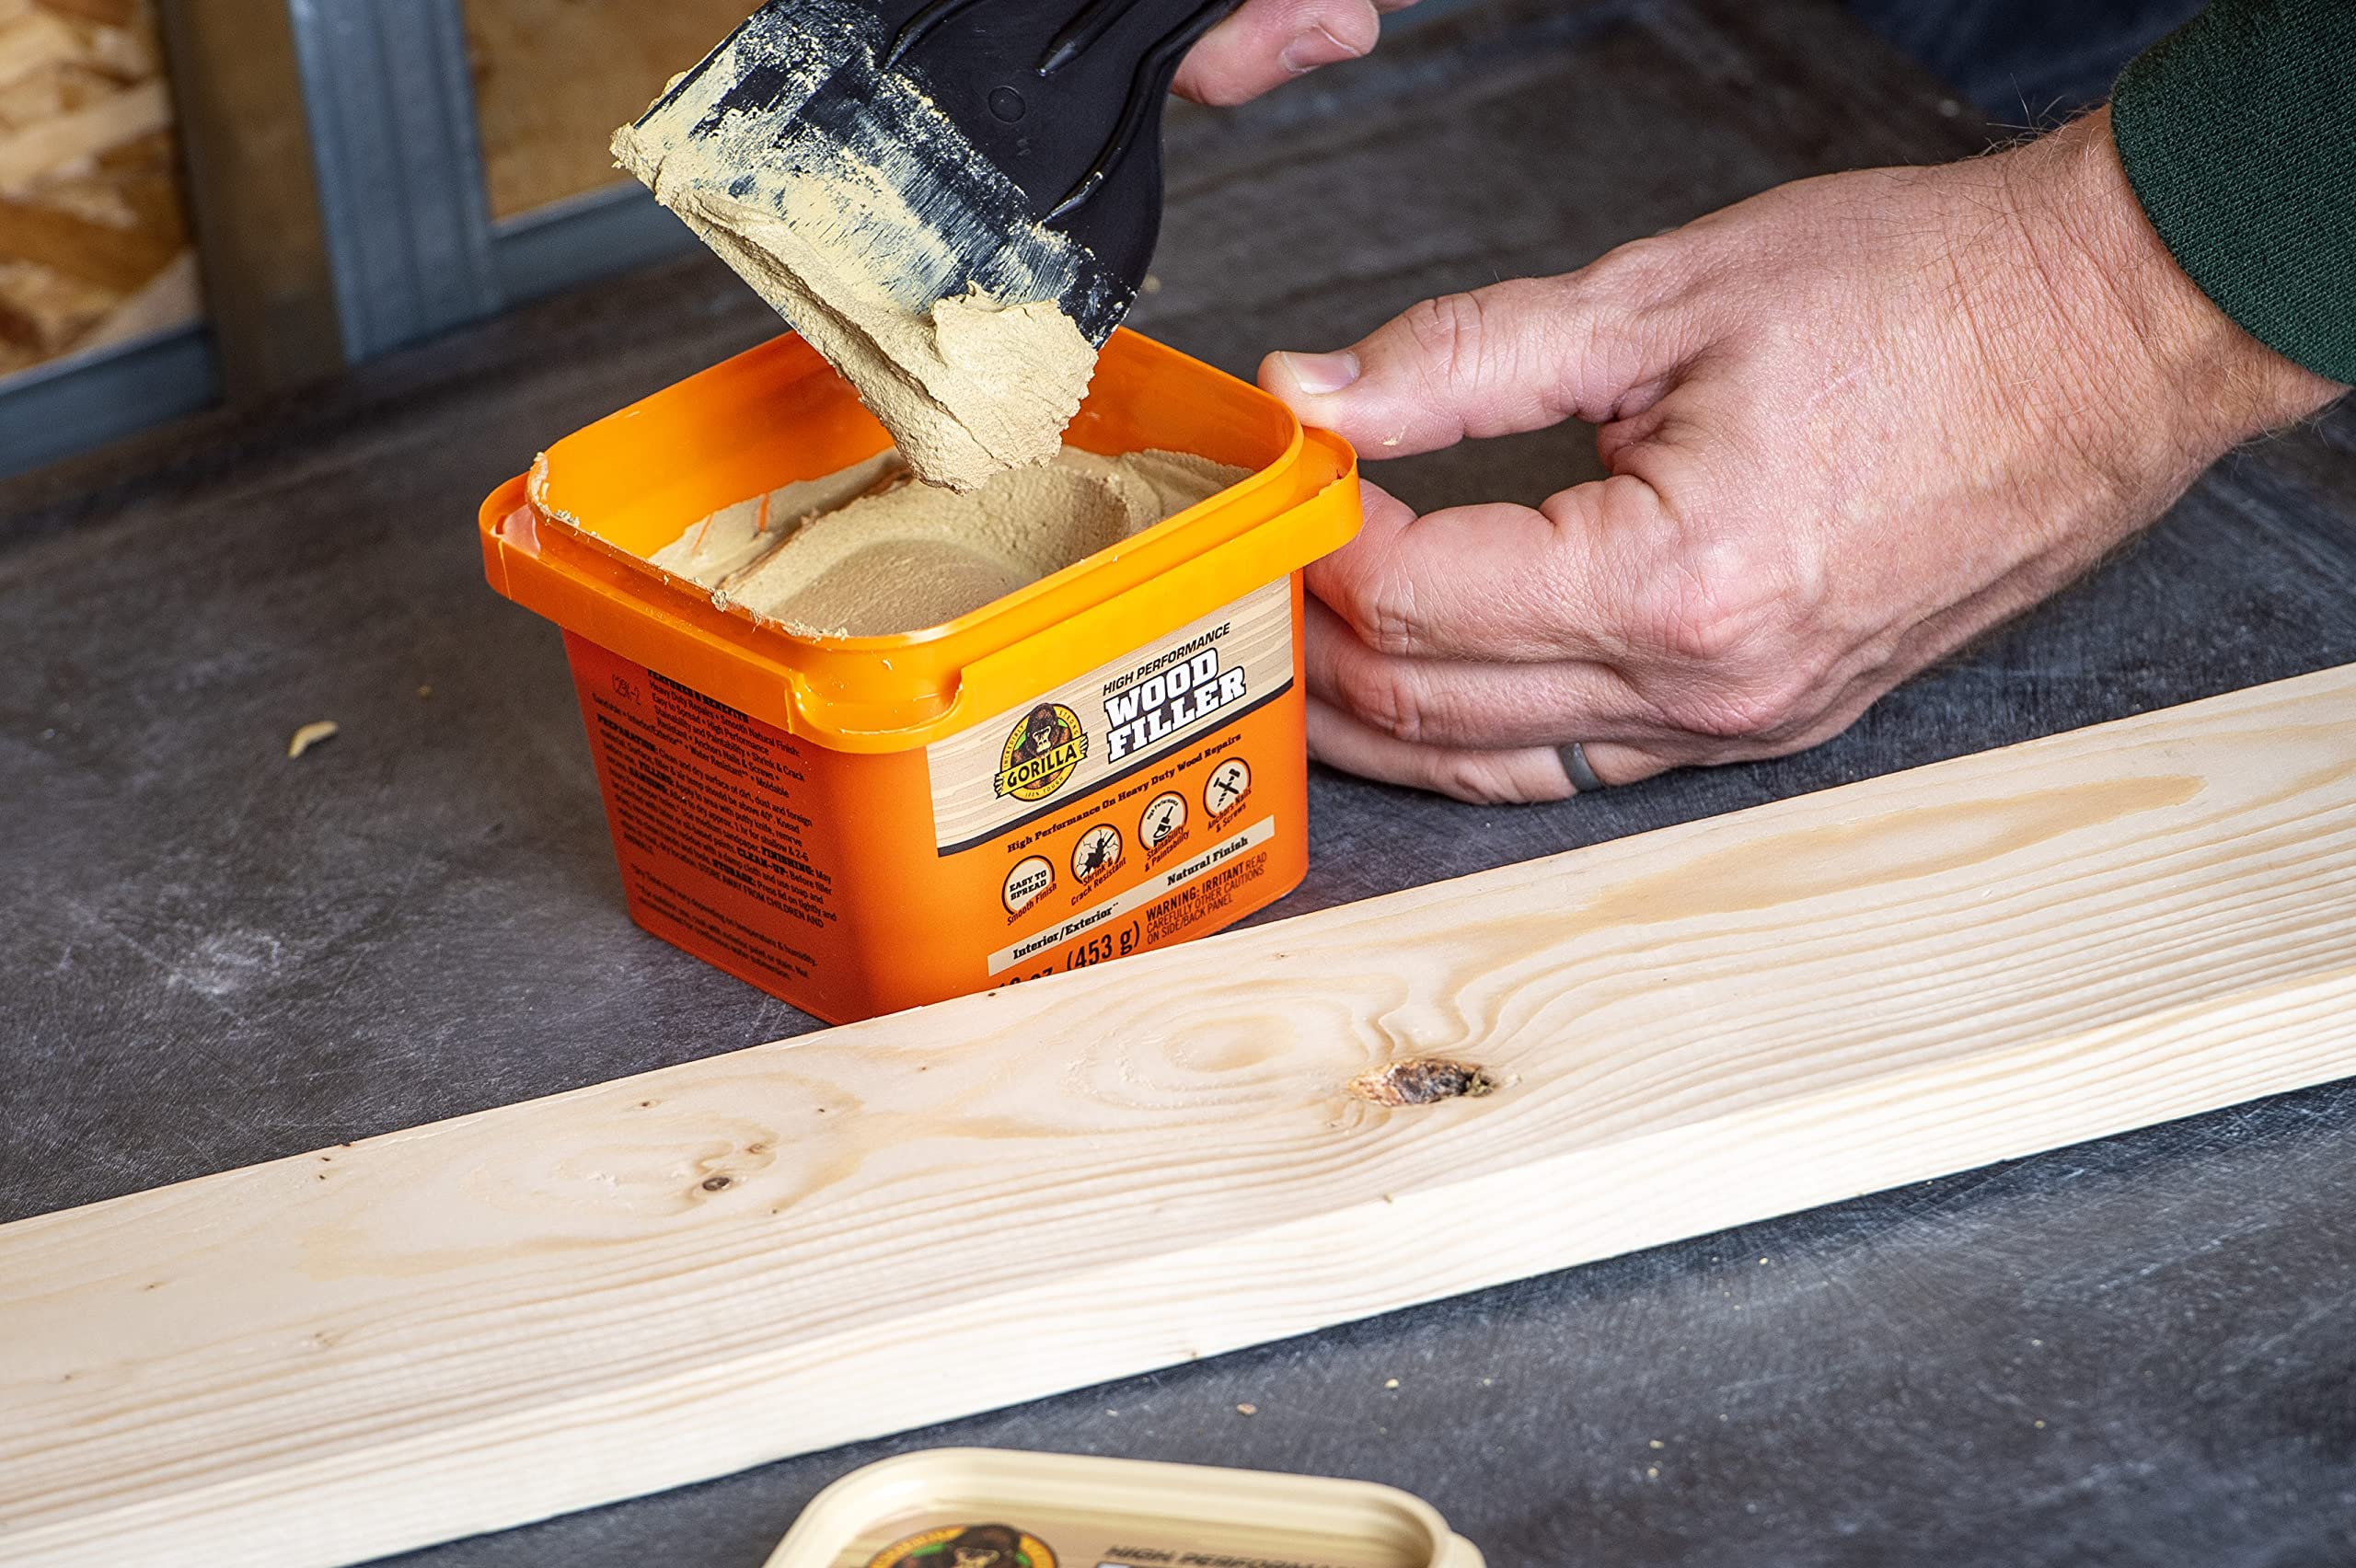
- Wood filler or two-part epoxy wood repair
- Construction adhesive (optional) and painter’s caulk
- Primer (stain-blocking is best for water marks) and paint
- Finish nails and a hammer, or a brad nailer
Primer tip: For water stains and tannin bleed, stain-blocking primers are usually shellac-based or oil-based, though some water-based versions work well too. Use what you trust, then topcoat with your trim paint.
Way 1: Dry, sand, and repaint
Best for: slightly swollen MDF or wood with no softness, no crumbling, and paint that’s just bubbled or peeling.
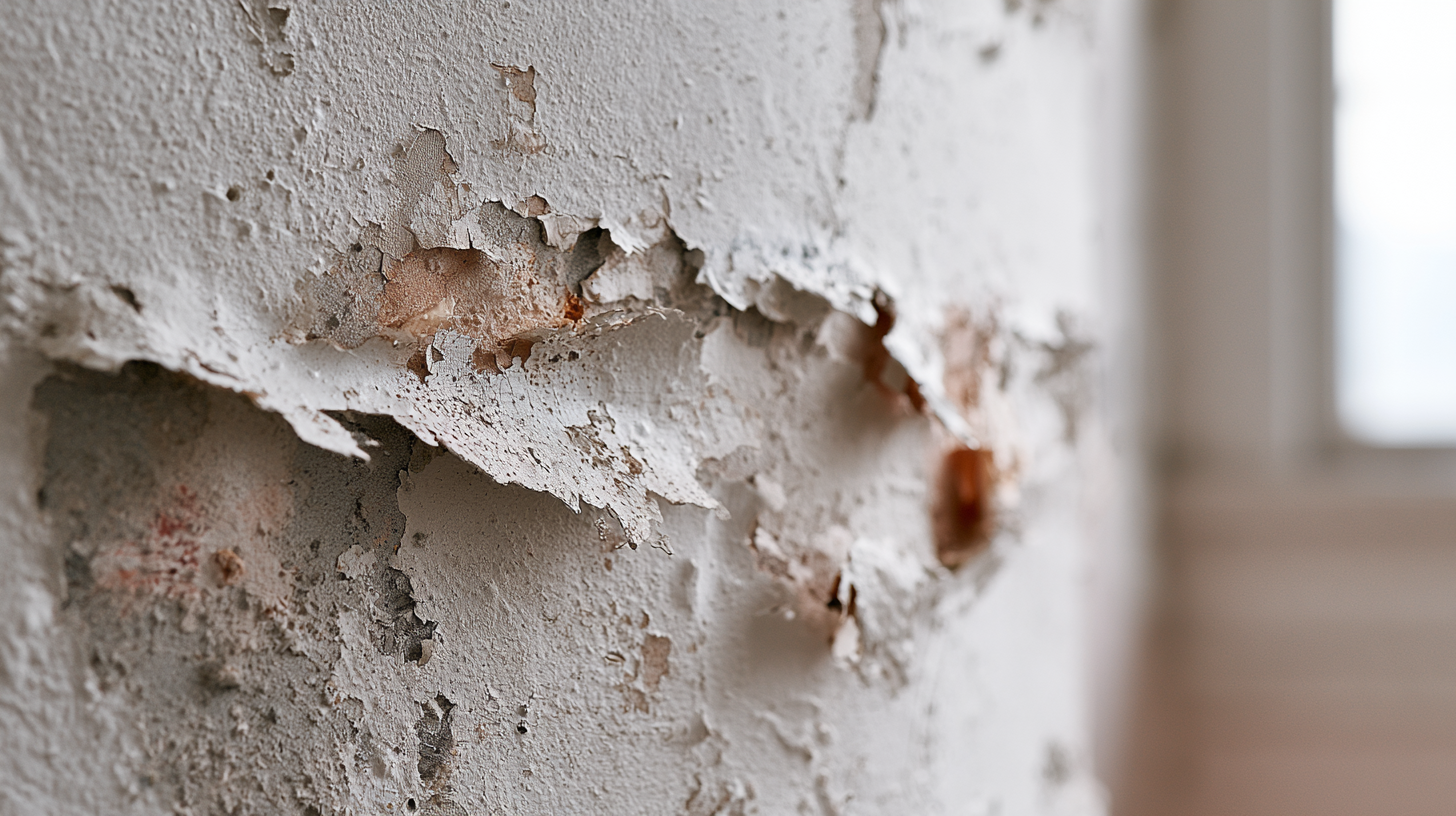
This is the “save what you can” option. If the baseboard is still structurally solid, you can often flatten the fuzzy edge and restore the finish.
Steps
- Scrape loose paint: use a 5-in-1 tool to remove anything that’s not well bonded.
- Feather the edge: sand with 80 grit until the swollen fibers are knocked down, then move to 120 and finish with 220.
- Fill shallow dips: apply a thin coat of wood filler, let it dry, then sand smooth.
- Prime: use a stain-blocking primer if there were water marks. This prevents yellow-brown bleed-through.
- Paint: two light coats look better than one heavy coat.
My rule of thumb: if sanding makes “muffin top crumbs” from MDF, you are past the point of saving it and should jump to a cut-out patch (Way 4) or full replacement (Way 5).
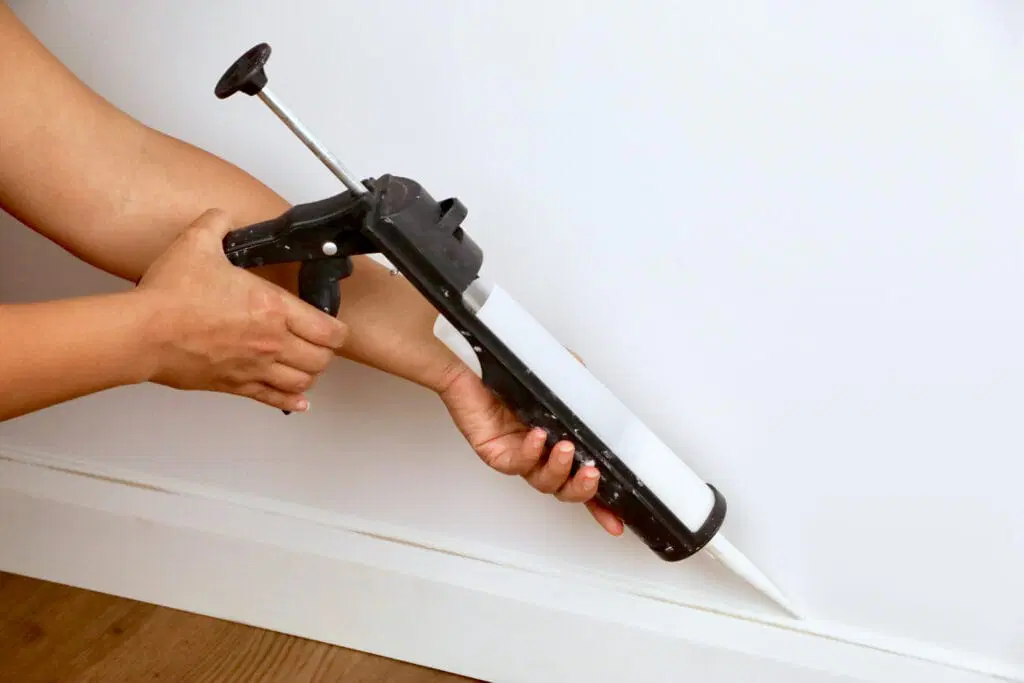
Way 2: Re-caulk and seal gaps
Best for: trim that keeps getting damp from splashes, wet mopping, or minor water intrusion at a tub, vanity, or exterior door.
Sometimes the “repair” is preventing the next round of damage. Baseboards fail fast when water wicks behind them, soaks into drywall or MDF, and gets trapped where airflow is poor.
Steps
- Remove failing caulk: cut it with a utility knife and pull it out. Clean residue with a scraper.
- Let everything dry: caulk over damp wood and you are basically sealing in a problem.
- Apply paintable caulk: run a small bead along the top edge where baseboard meets wall. Tool it smooth with a damp finger or caulk tool.
- In wet zones: in bathrooms, caulking the bottom edge where baseboard meets tile can help with routine splashes, but it can also trap water if moisture is coming from behind the baseboard. If you suspect water is entering the wall, fix that first and let it dry before you seal anything.
- Prime and paint: paint protects MDF especially, so do not skip it.
Tip: Do not use silicone where you plan to paint. Paint will not bond well and it will look patchy forever.
Way 3: Epoxy for small soft spots
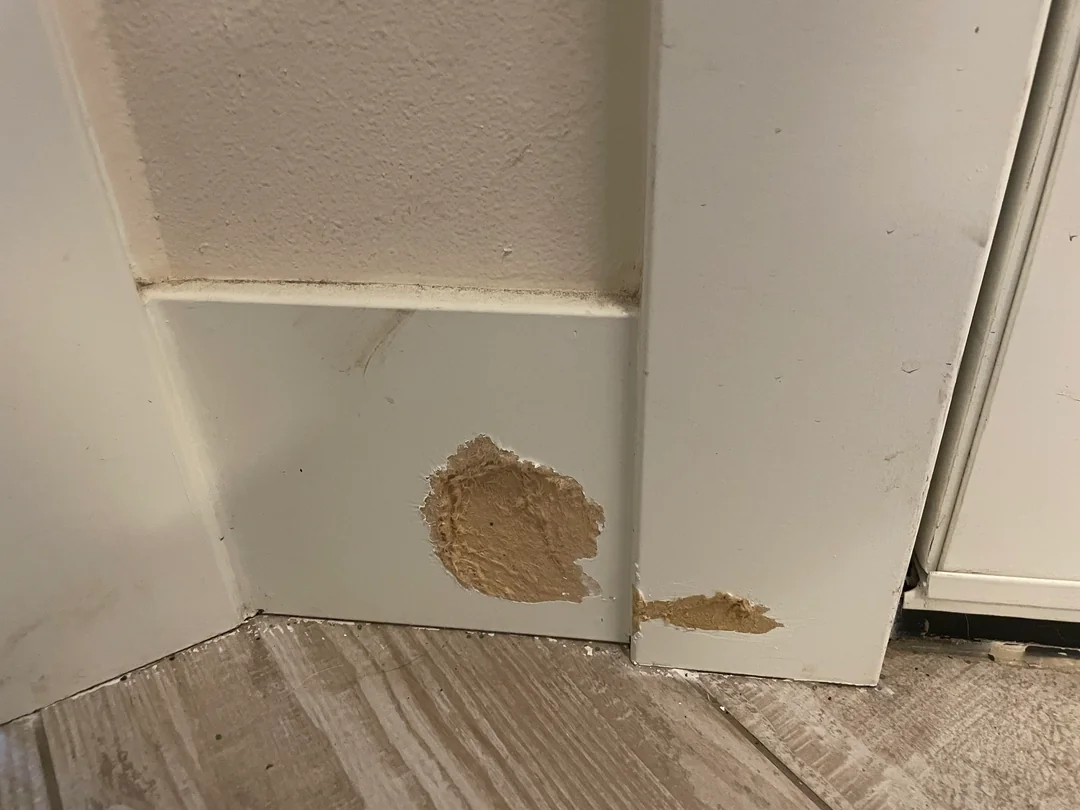
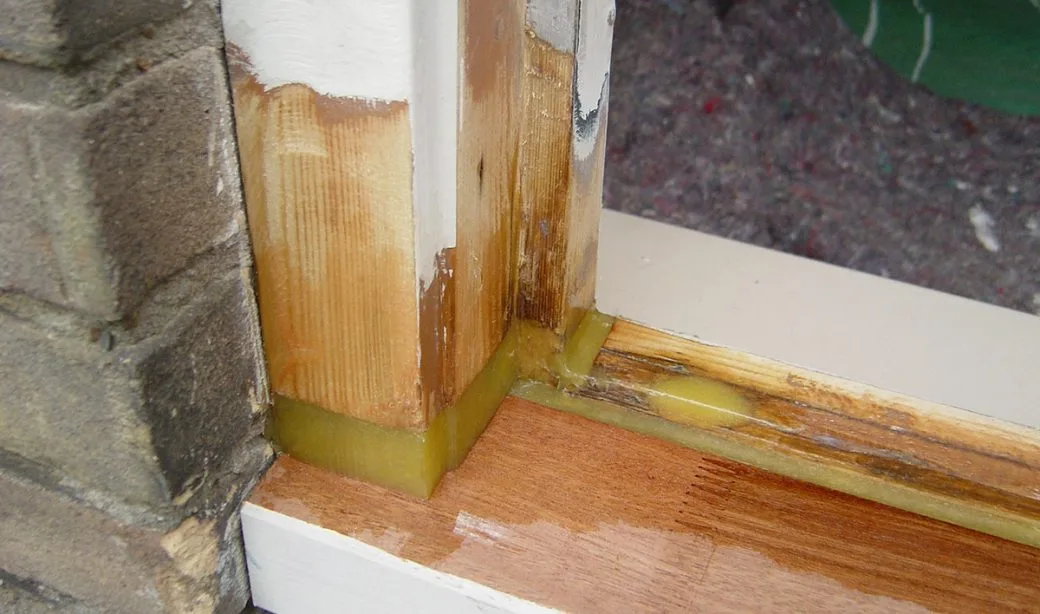
Best for: small localized rot in wood trim, like a 2 to 6 inch section at a door casing near an entry where wet boots and melted snow have been splashing for years.
Two-part epoxy wood repair can stabilize slightly rotten wood and rebuild missing corners. This works better on real wood than MDF. MDF that has turned to oatmeal is not worth “hardening.”
Steps
- Dig out the rot: remove all soft material with a screwdriver, chisel, or a utility knife. If you leave punky wood, the repair will fail.
- Dry the area: epoxy and moisture do not get along.
- Apply wood hardener (if your system includes it): this soaks in and firms up the remaining wood fibers.
- Mix and pack epoxy: press it in firmly and overfill slightly.
- Shape and sand: once cured, sand to match the trim profile as best you can.
- Prime and paint: epoxy takes paint well after priming.
Reality check: In my experience, epoxy is great for a small repair you want to disappear. If more than about 20 percent of the baseboard run is compromised, patching becomes slower than replacement.
Way 4: Splice in a new section
Best for: a section of MDF or wood baseboard that is swollen, crumbling, or rotted, but the rest of the run is fine.
This is the method I reach for most. You remove only the bad part and graft in a new piece. Done right, the splice vanishes after caulk and paint.
Step 1: Mark your cut lines
Pick cut locations that are easy to hide.
- Best: cut at a stud location so the new piece has solid backing for nails.
- Also good: cut near a corner or behind a door where it is less noticeable.
Use painter’s tape to mark your cut lines and reduce paint chipping.
Step 2: Cut out the damaged section
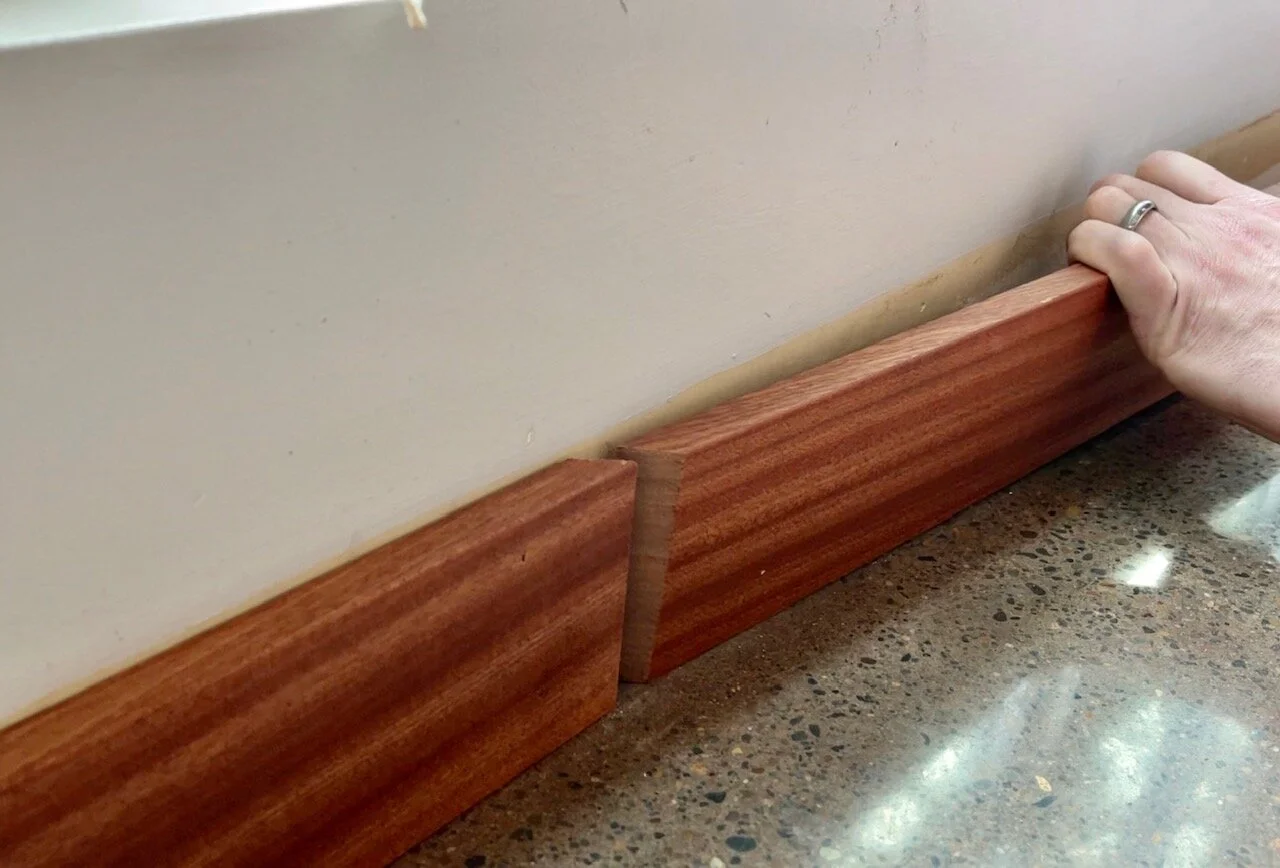
- Score paint seams: run a utility knife along the top edge of the baseboard and at the cut lines.
- Cut the baseboard: an oscillating multi-tool makes a controlled, square cut. A pull saw works too.
- Pry the piece off: slide a putty knife behind your pry bar to protect drywall.
- Remove nails: pull nails from the wall or cut them flush.
Step 3: Check behind the trim
Do not skip this. Trim damage is often the visible part of the problem.
- Let the wall cavity dry fully
- Scrape any loose drywall paper
- Prime water stains with a stain-blocking primer
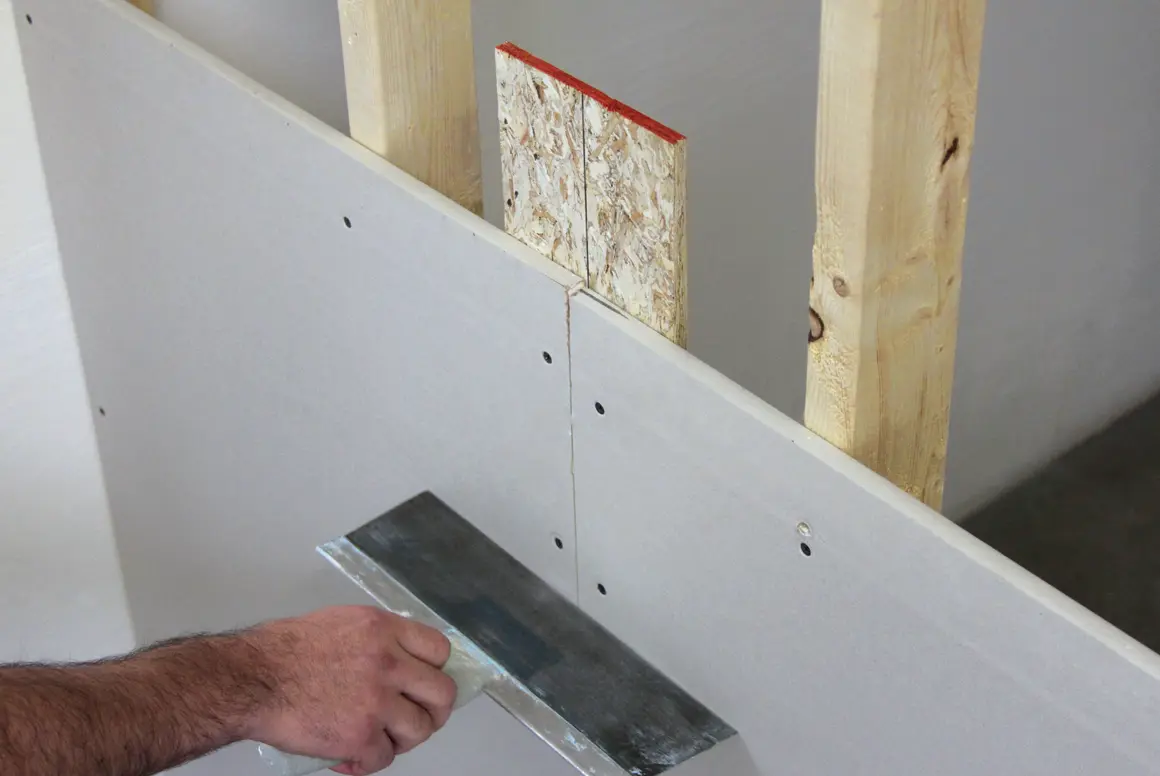
- If the bottom of drywall is crumbling, trim it back slightly and patch it with setting-type joint compound
- If there was a significant leak (especially around a toilet or tub), check the subfloor edge and the bottom plate for softness or staining before you button everything back up
Step 4: Fit and install the replacement piece
- Match the profile: take a small offcut to the store if you can. Baseboard profiles can be sneaky. Also confirm thickness. A “same height” baseboard that’s thinner will still look wrong at the seam.
- Mind the orientation: label which edge is top, which end faces the corner, and which face points out. It is easy to flip a profile and not notice until it’s nailed on.
- Cut to length: a tight fit matters. If you are replacing a middle section, cut it to fit between your two cut ends.
- Consider scarf joints: if you want the splice to disappear even more, cut both ends at a 30 to 45 degree angle so the seam is longer and less visible. I like to orient the scarf so the “leading” edge faces away from the main sightline and away from the direction you usually clean or mop.
- Attach: nail into studs when possible. If you cannot land on a stud, a small dab of construction adhesive helps.
Step 5: Hide the seam
- Fill nail holes: wood filler for paint-grade trim.
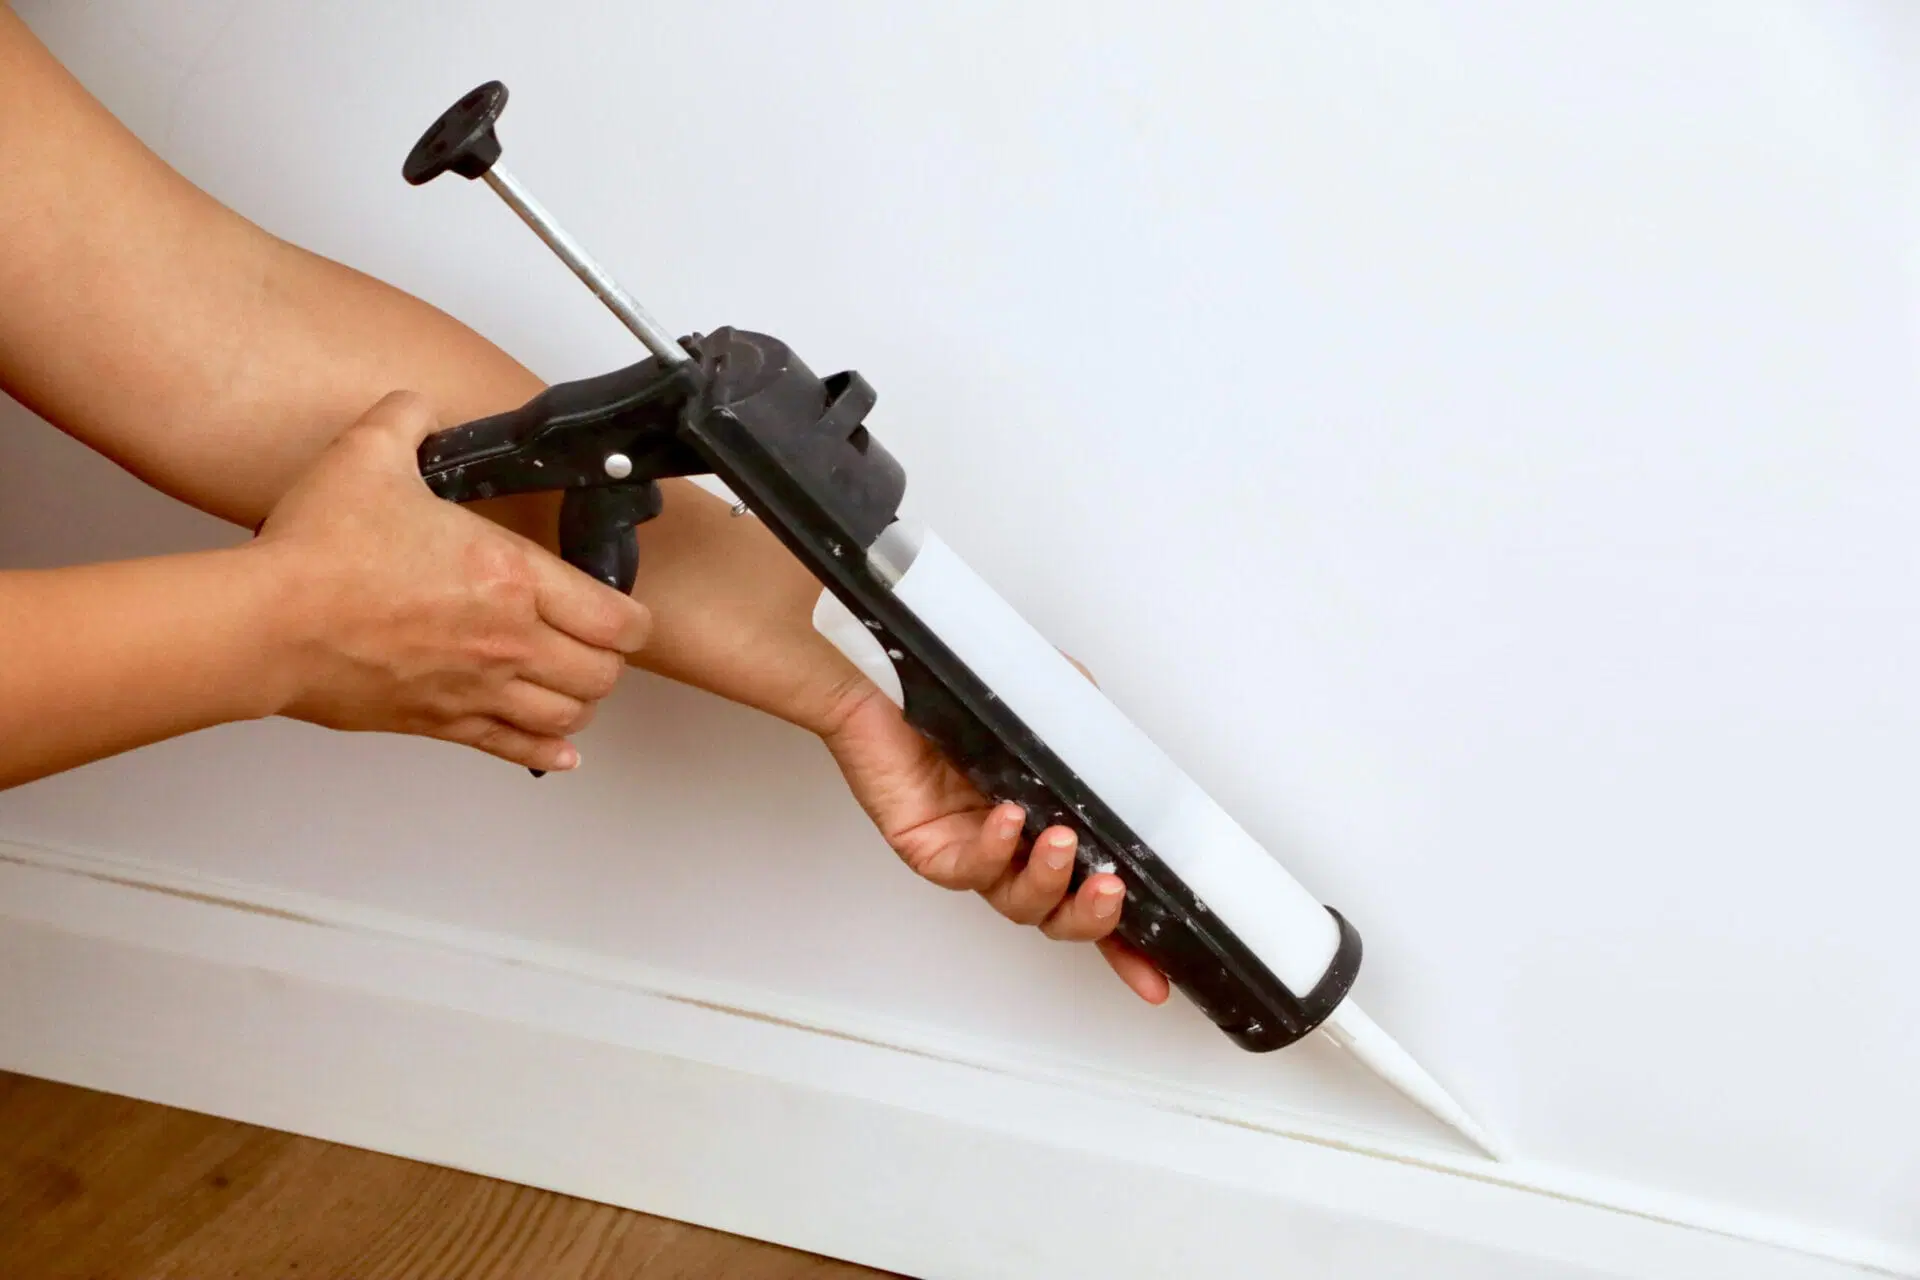
- Caulk the seam: use paintable caulk at the top edge and at the splice line.
- Sand lightly: once dry, smooth everything with 220 grit.
- Prime then paint: prime new raw trim and any patched areas, then paint the full run for uniform sheen.
Way 5: Replace the whole run
Best for: long stretches of swelling, repeated flooding, moldy backing, or baseboards that crumble when you touch them.
When the damage repeats in multiple spots, replacement is often faster and looks cleaner than playing whack-a-mole with patches.
Steps
- Remove the baseboard: score the top paint line, then gently pry off. Work in small bites to protect drywall.
- Clean up: pull nails, scrape caulk, and sand bumps on the wall.
- Measure and cut: cope inside corners if you want the tightest fit, or use clean miter joints if you are confident in your saw setup.
- Install: nail into studs. Keep the baseboard tight to the wall and consistent along the floor.
- Caulk and fill: top edge caulk, fill nail holes, sand smooth.
- Prime and paint: especially important for MDF, including the cut ends.
MDF note: MDF is popular because it’s affordable and straight, but it hates water. In bathrooms or entryways, I prefer PVC trim or primed finger-jointed pine if splashing is common.
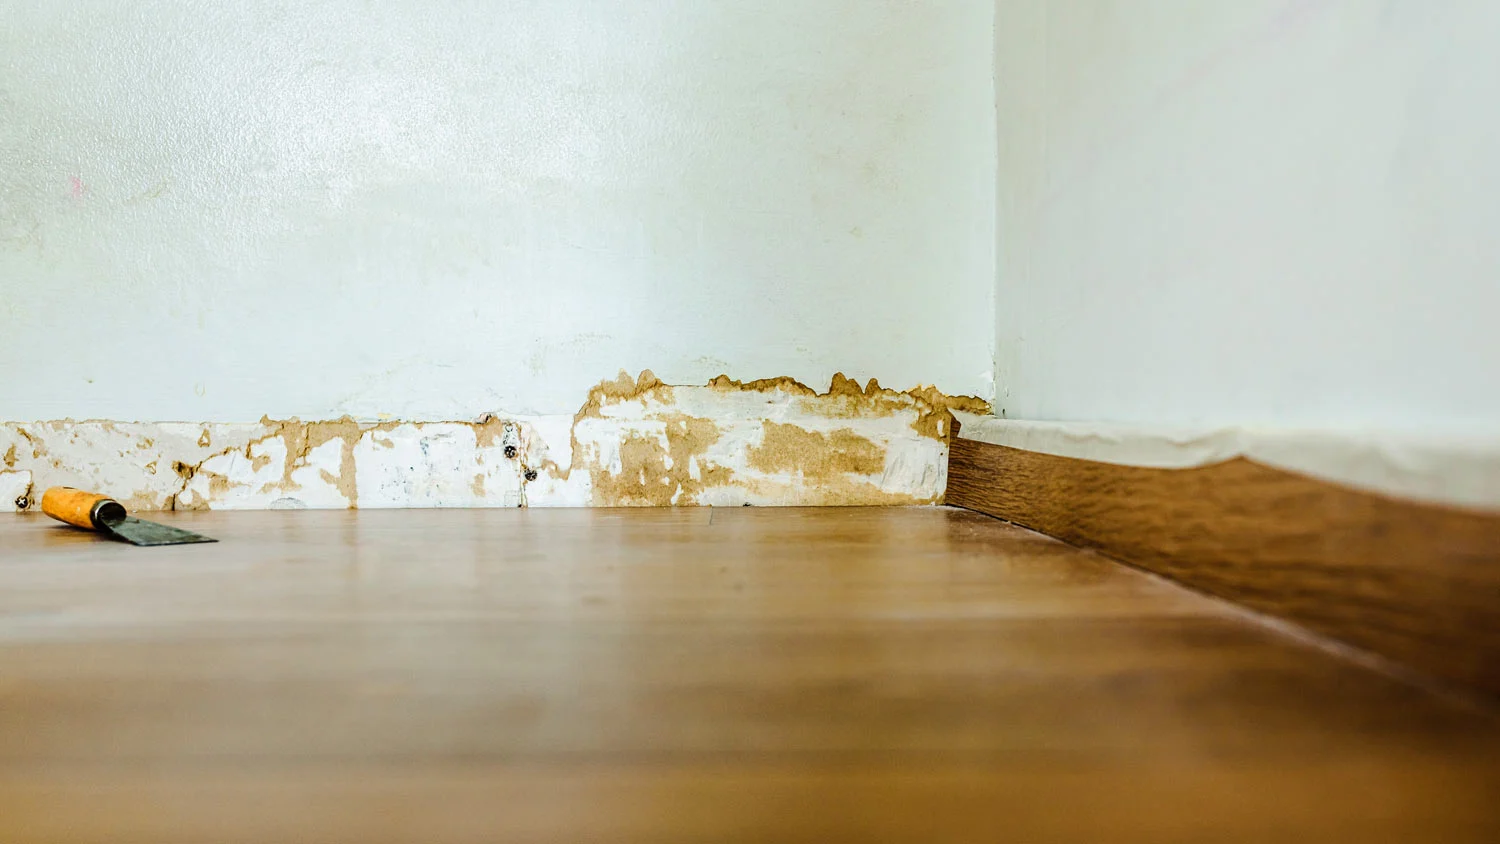
How to tell MDF, wood, or PVC
- MDF: very smooth, uniform, and heavy for its size. When damaged by water it swells and turns fuzzy and crumbly.
- Wood: visible grain, lighter feel, may have knots. Water damage tends to look like darkened soft rot rather than fuzzy swelling.
- PVC: consistent plastic look, lighter than MDF, does not swell from water. Often used in wet areas.
Common questions
Do I have to remove the baseboard to dry behind it?
If the water was a one-time event and everything dries quickly, not always. But if the baseboard is swollen, soft, or moldy, pulling it off helps the wall dry and lets you see what’s really going on.
Can I just put wood filler over swollen MDF?
You can for very minor fuzzing, but if the MDF has expanded, filler becomes a temporary mask. The swollen core stays weak and often telegraphs through paint later.
How do I stop paint from flashing where I patched?
Prime the patched area, then paint the entire baseboard run corner-to-corner if possible. Differences in sheen show up most when you “spot paint” only the repair.
What if the flooring gap is big after I reinstall trim?
If the floor is out of level, a small gap happens. You can scribe the baseboard to the floor, use shoe molding, or in dry areas, use a thin caulk line. Avoid caulking large gaps where movement is expected.
When to call in help
I’m all for DIY, but water has a way of hiding problems.
- Call a pro if the leak source is unknown, the subfloor feels soft, you see staining that keeps spreading, or you see widespread mold growth.
- Consider remediation after a flood or if moisture readings stay high after several days of drying.
For most everyday bathroom splashes and small leaks, though, these five methods will get your trim back to looking sharp, and you get to keep your money for something more fun than “emergency baseboard.”