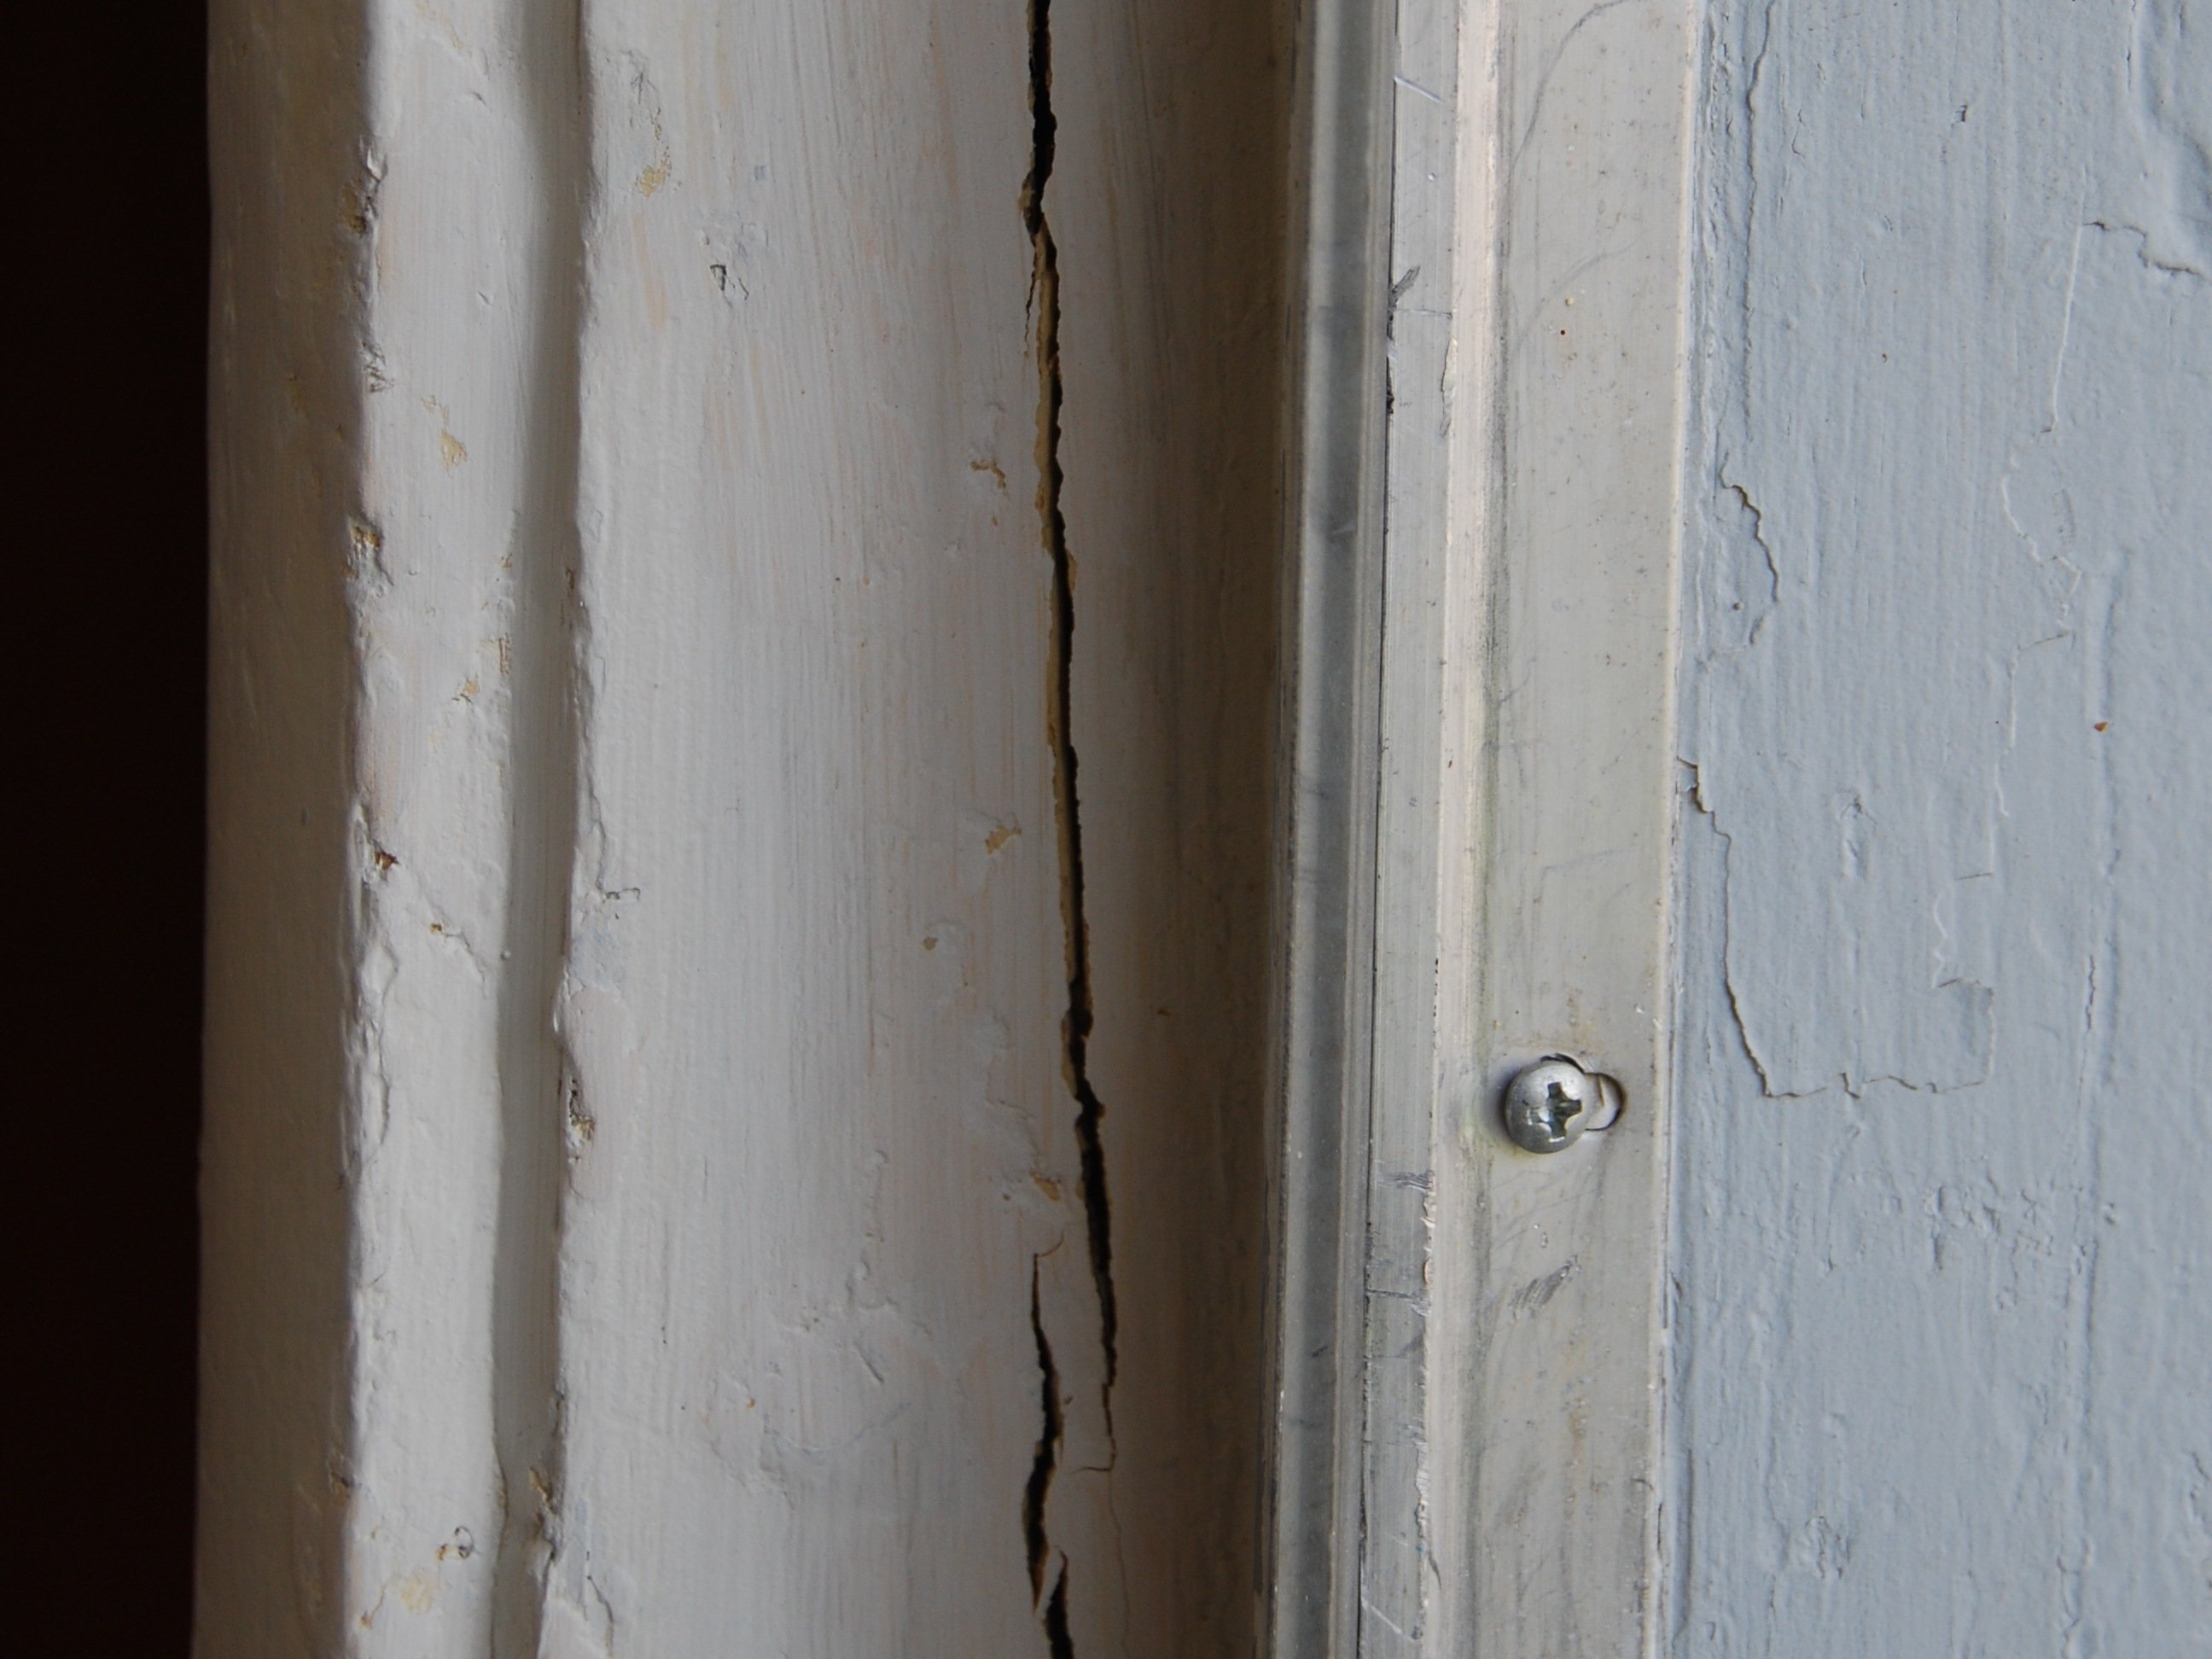
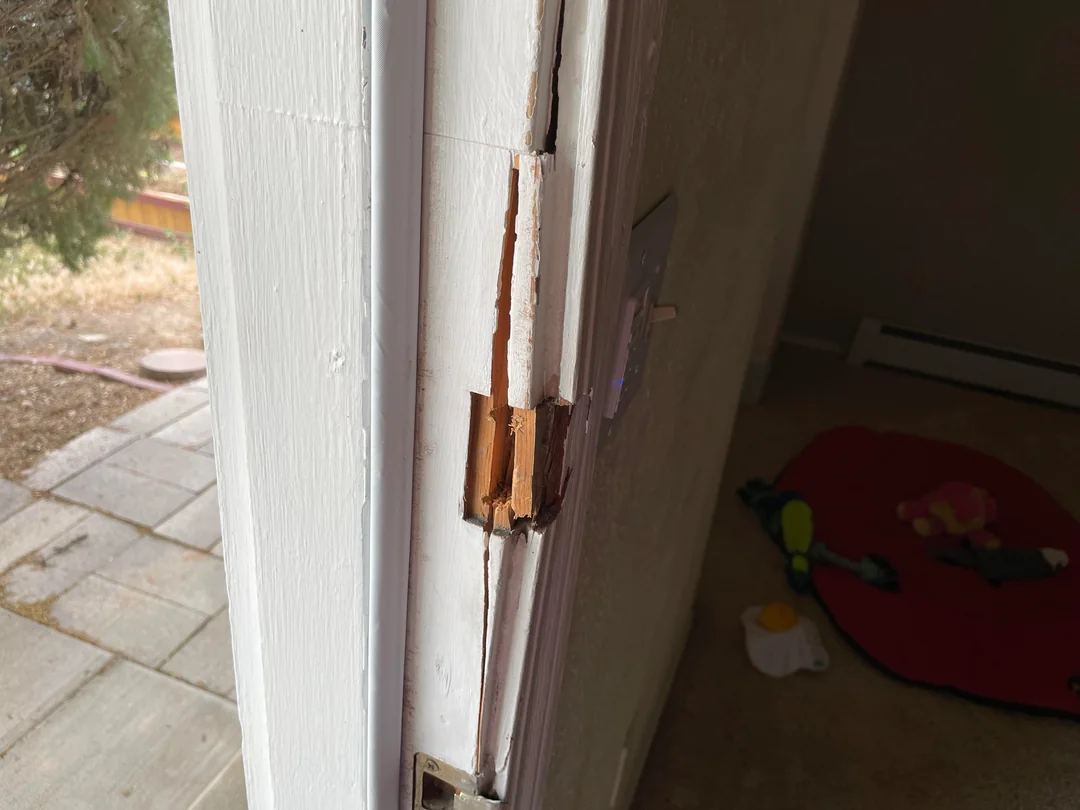
A split door frame looks dramatic, but most of the time you can repair it without ripping out the entire jamb. The goal is simple: pull the cracked wood back into position, bond it with glue, then add hidden reinforcement so it is far less likely to split again the next time someone slams the door or the deadbolt gets yanked.
This guide walks you through a solid, contractor-grade fix using wood glue, clamps, and long screws, plus a few finish steps so it looks decent when you are done.
Before you start: is this the right repair?
This glue-and-reinforce method works best when the jamb is wood and the split is localized around the strike plate, deadbolt, or latch area.
Note: This article is about latch-side splits. If your problem is the hinge-side screws pulling out or the hinge mortise tearing, that is a different repair.
Good candidate for this repair
- The jamb is split but most pieces are still present and can be pushed back into place.
- The door is out of alignment because the frame moved, not because hinges are failing.
- The damage is on the latch side (common with forced entry or slamming).
Replace the jamb or call a pro if
- The studs beside the door are cracked, crushed, or moving.
- The jamb is rotted, punky, or water damaged (glue will not hold rotten fibers).
- The door opening is out of square by more than a little, or the header is sagging.
- The frame is metal or a composite system that is not meant to be glued and screwed like wood.
If you are not sure, do this quick test: press on the split area with your hand. If the jamb flexes independently from the wall, you likely have deeper framing damage. If it is stiff and the crack is the main problem, you are in the sweet spot for this repair.
Tools and materials
- Wood glue (interior: standard PVA; exterior door: exterior-rated Type II or Type III water-resistant wood glue)
- Bar clamp(s) or quick-grip clamp(s) long enough to span the jamb
- Wood shims or scrap wood blocks (to protect surfaces under clamps)
- Long screws: 3 in. is typical; 3-1/2 in. for extra bite into the stud
- Drill/driver
- Drill bits: small pilot bit, and a countersink bit (optional but helpful)
- Utility knife or chisel (for cleaning glue-out and torn fibers)
- Sandpaper (120 to 180 grit)
- Wood filler (paint-grade) or color-matched putty (stain-grade)
- Primer and touch-up paint or stain
- (Optional) Two-part epoxy wood repair (helpful if the crack will not close tightly or wood is missing)
Screw tip: Use structural or construction screws if you have them (often #9 or #10, with Torx or square drive). If not, quality construction screws beat drywall screws every day for this job. Drywall screws are hard and brittle, and they are more likely to snap under load.
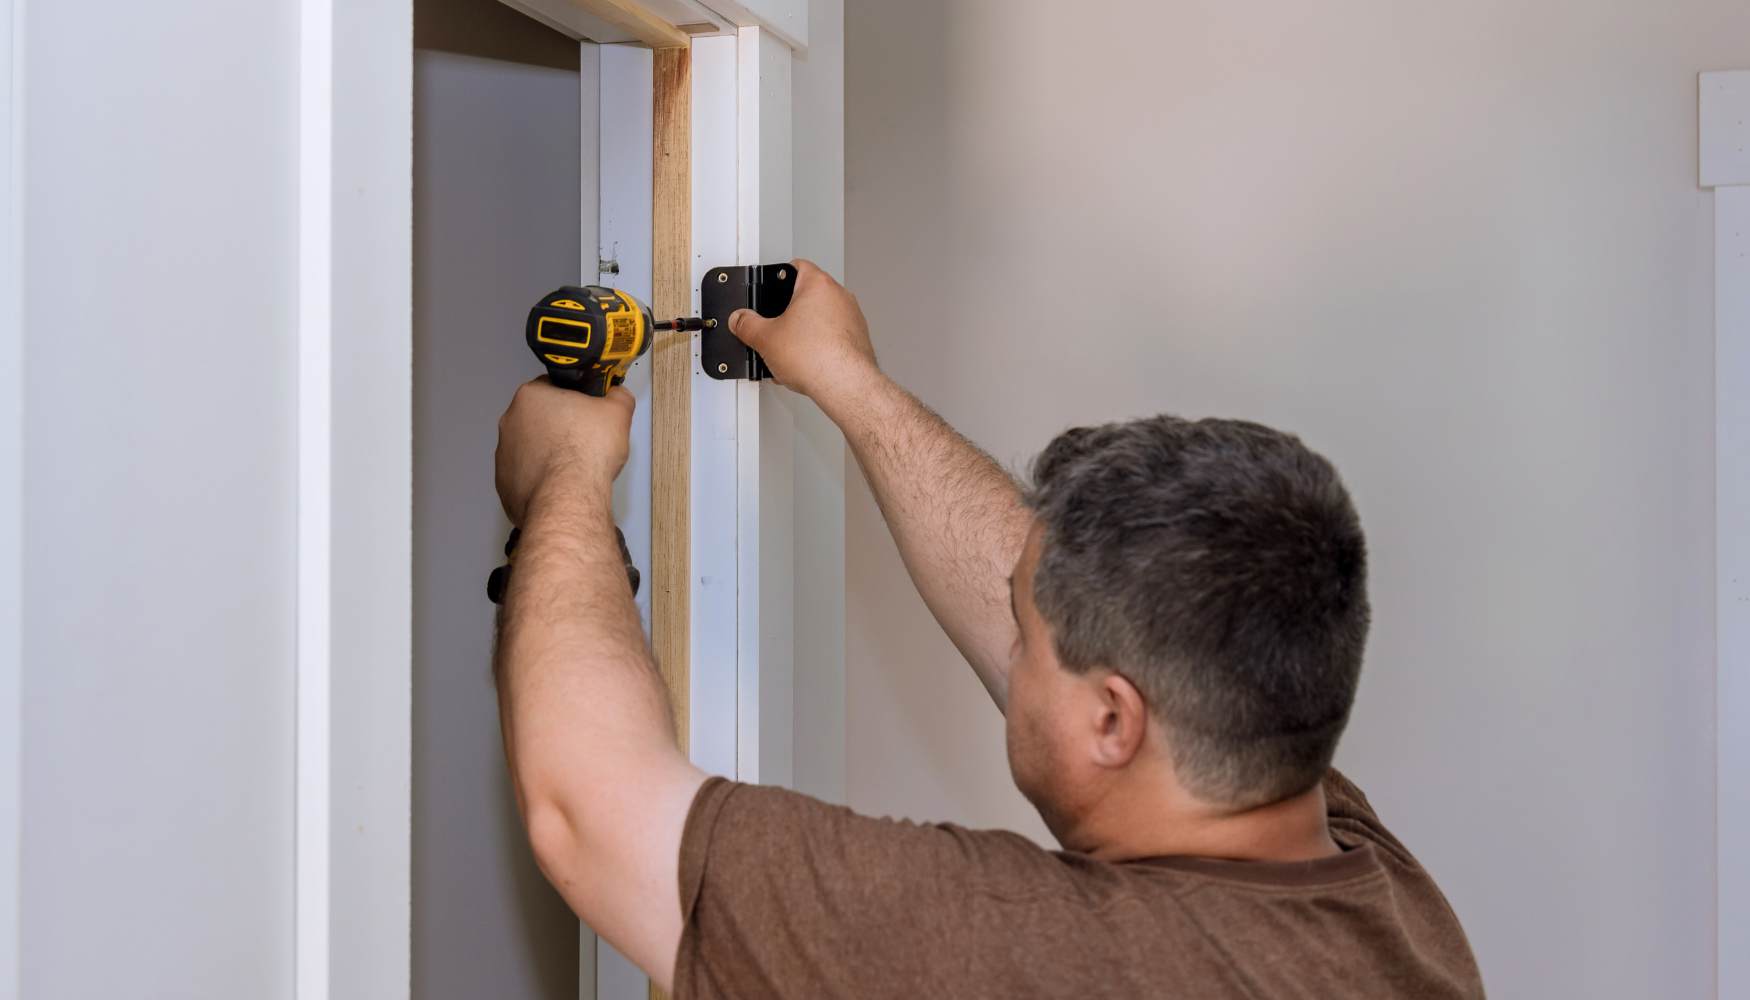
Step-by-step: reinforce a split door frame
1) Remove the strike plate and inspect the damage
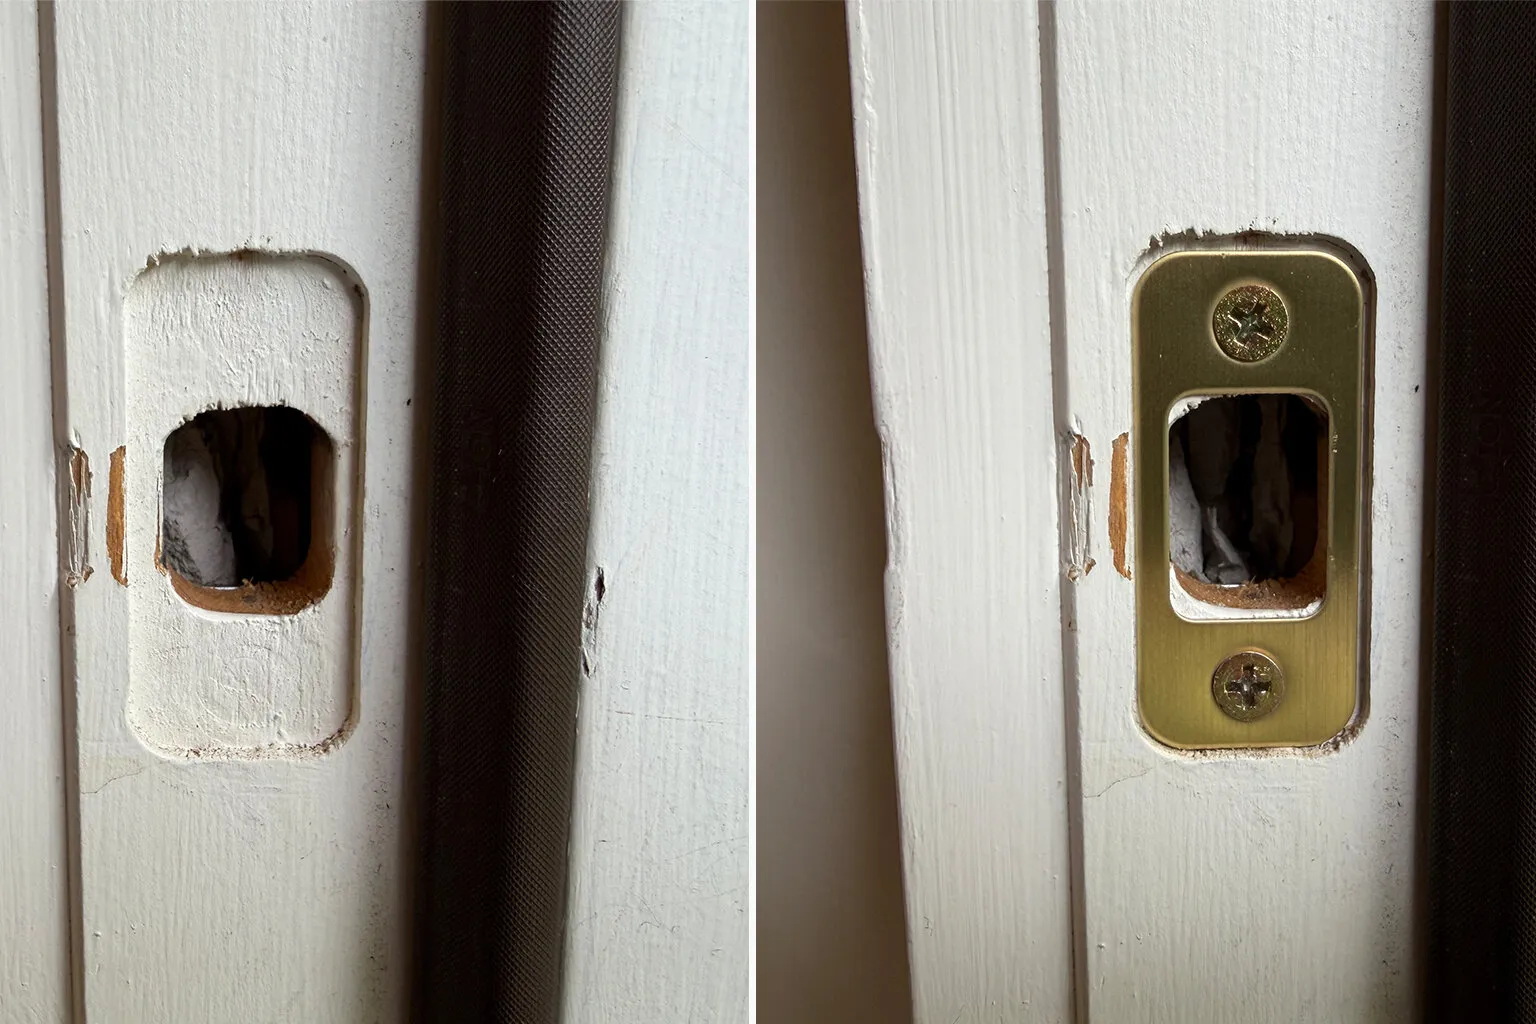
Back out the screws and remove the strike plate (and deadbolt strike if applicable). Look closely at the split. Most jamb cracks start at the screw holes and run with the grain.
- If the jamb is bowed outward, you will be pulling it back tight before you glue.
- If fibers are mushroomed or crushed, you can still glue, but plan on filling and sanding later.
2) Clean the crack so glue can bond
Glue is not magic. It needs wood-to-wood contact.
- Use a utility knife to remove loose splinters that are hanging by a thread.
- If the crack is packed with paint chips or dirt, pick it out gently.
- Do not widen the crack unnecessarily. Just clear out debris so the two faces can mate.
If the split barely opens, that is fine. You can work glue into hairline cracks using a thin putty knife, a piece of plastic, or even a zip tie as a little glue squeegee.
3) Dry-clamp first
Before introducing glue, clamp the jamb and confirm you can pull the split fully closed.
- Place scrap wood blocks under the clamp pads so you do not dent the jamb or crush your door stop molding.
- Tighten until the split closes and the jamb sits where it belongs.
- Open and close the door gently to confirm the latch lines up reasonably.
If clamping makes the door bind badly, stop and reassess. That can be a sign the jamb shifted during the damage and needs to be re-seated more carefully, or the stop molding is being crushed by clamp placement.
4) Glue the split and clamp it tight
Loosen the clamp just enough to open the crack, then work glue into the split.
- Apply wood glue deep into the crack, not just on the surface.
- Clamp again until you see a small bead of glue squeeze out.
- Wipe excess glue with a damp rag right away. Dried glue can interfere with paint, primer, and filler later.
Clamp time: Follow the glue bottle. As a practical rule, clamp for 30 to 60 minutes, and avoid stressing the repair for 24 hours. Go longer if it is cool or humid, or if the joint is not closing tightly.
When epoxy is a better choice: If the crack will not pull fully closed, or chunks of wood are missing or badly crushed, a two-part epoxy wood repair can fill gaps better than PVA. PVA glue wants tight wood-to-wood contact to be at its best.
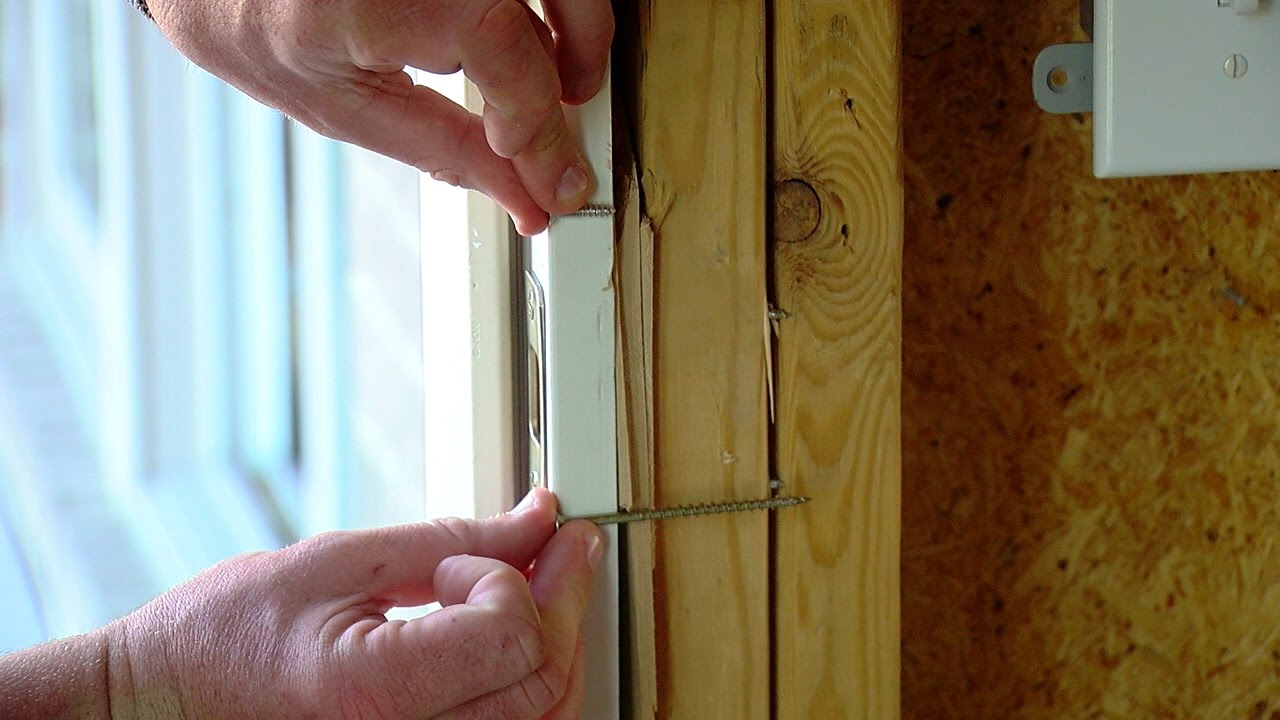
5) Add long screws to tie the jamb back to the stud
Glue restores the wood. Long screws restore the strength. You are essentially stitching the jamb back to the framing behind it, which is what makes this repair last.
Before drilling: Be mindful of what is behind the jamb. It is uncommon, but some doors have alarm wiring or sensor wiring nearby. If you know you have a security system, take a quick look for wires before you send a 3-1/2 in. screw into the wall.
Where the screws go: Put screws on the latch side, near the strike plate area, driven straight through the jamb into the stud. If the split runs vertically, place screws so they cross the crack line and pull the two sides together. Keep screws clear of the door stop molding so you do not crack it or create a bump that interferes with the door closing.
- Drill a pilot hole to prevent new splitting.
- Countersink slightly so the screw head sits just below the surface.
- Drive a 3 in. to 3-1/2 in. screw until snug. Do not over-torque and strip the stud.
How many screws? Usually 2 to 3 long screws around the damaged area does the job. For major kick-in cracks, 4 screws spaced several inches apart is reasonable.
6) Reinstall the strike plate (upgrade it while you are here)
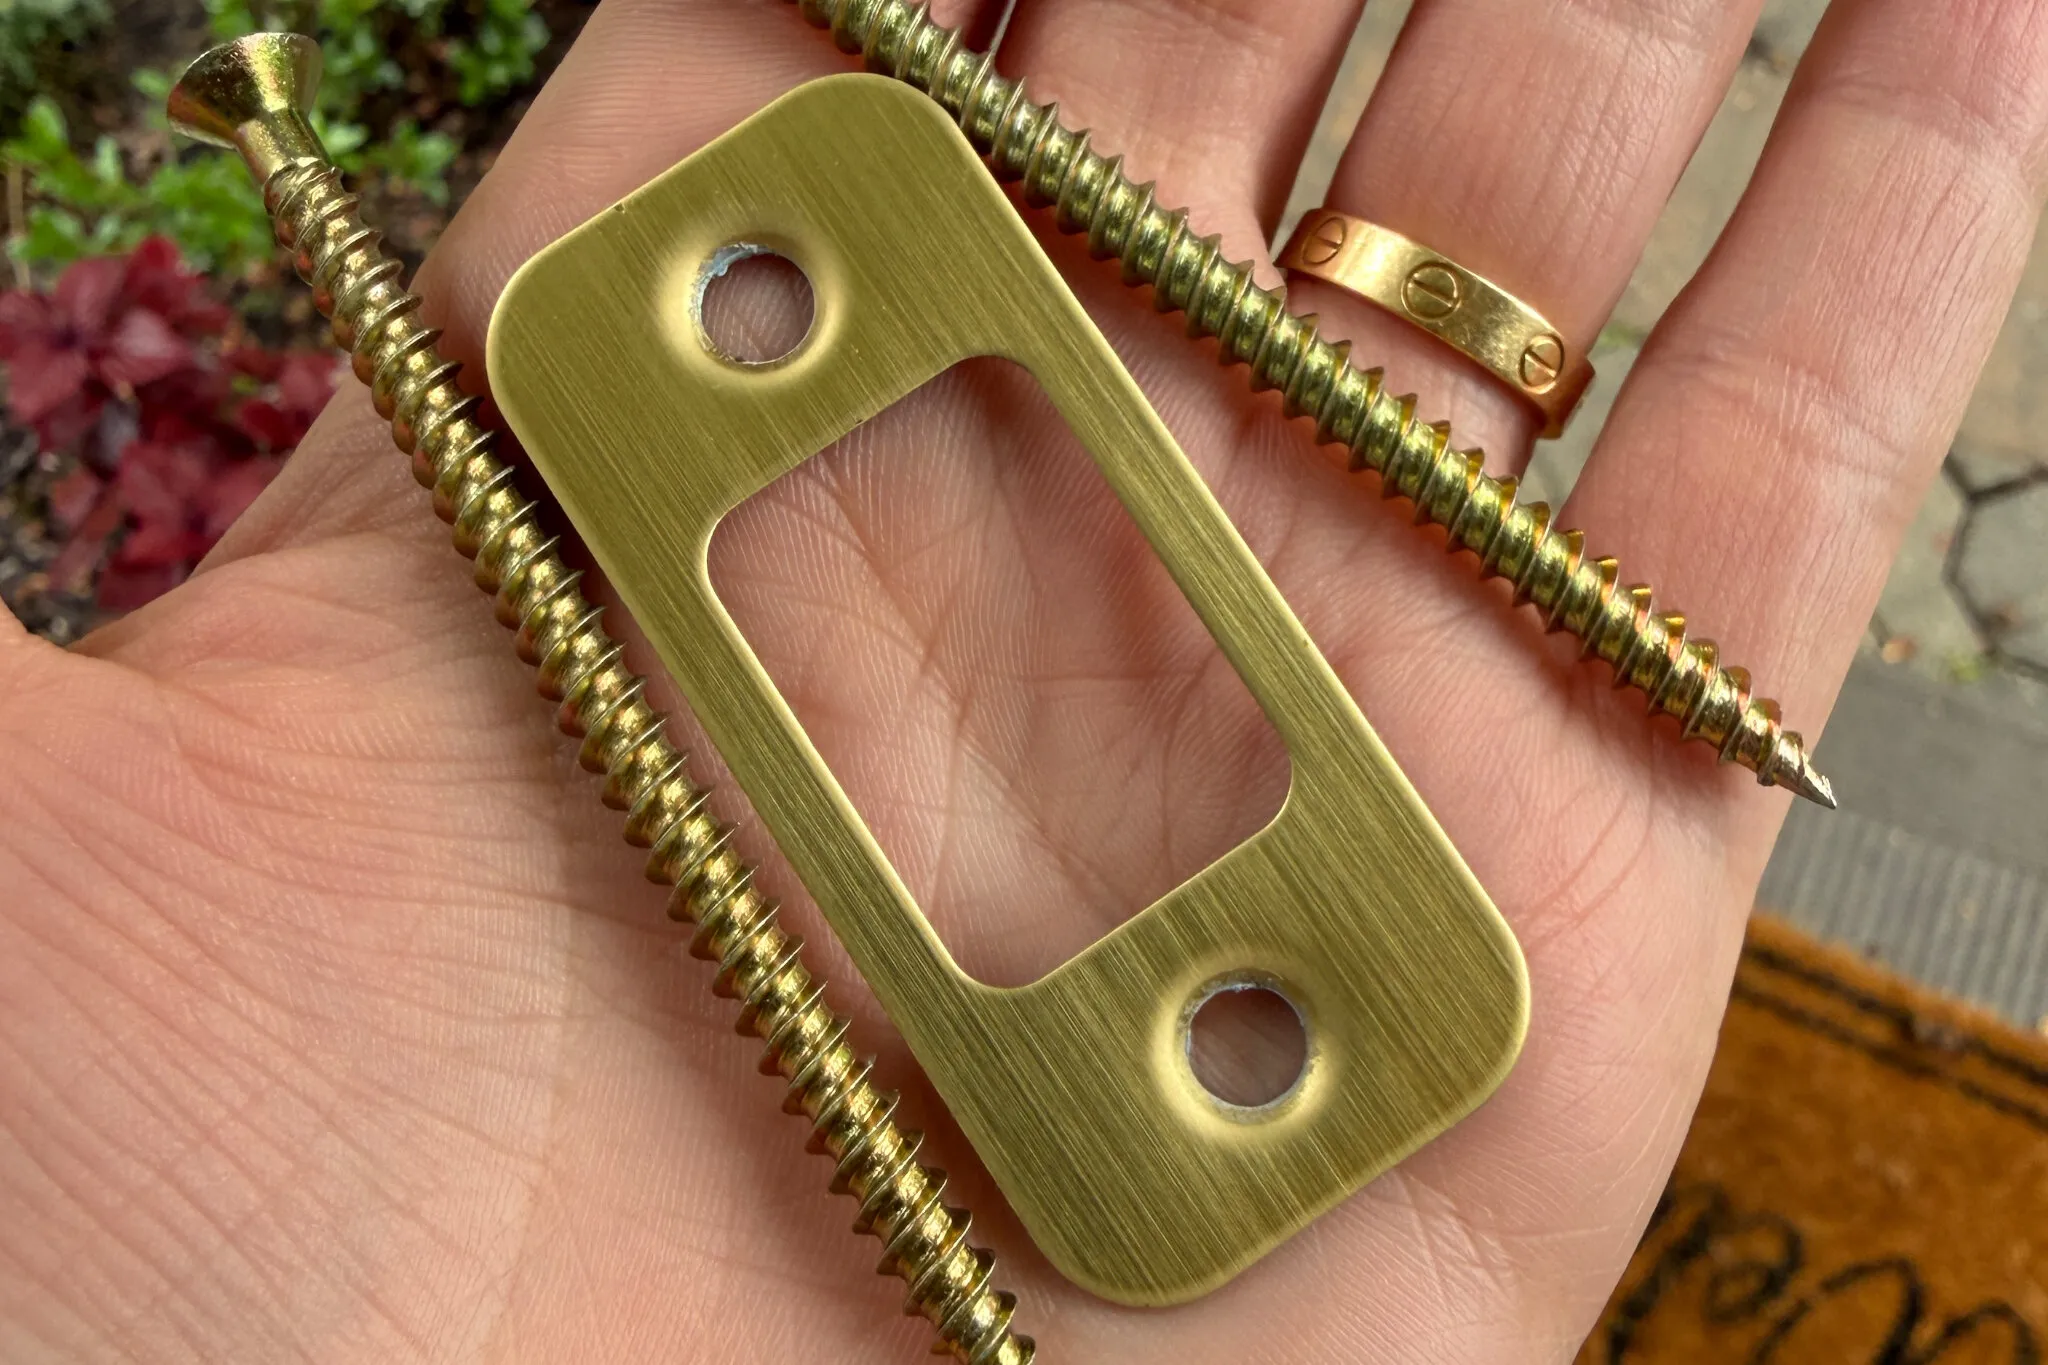
Reinstall the strike plate using longer screws than the tiny ones that came with it. Those short screws often only bite into the jamb, which can be a common contributor to splits and blowouts when the door is forced, slammed, or the hardware is over-torqued.
- Use 3 in. screws for the strike plate so they grab the stud.
- If the original screw holes are wallowed out, fill them with glue and a couple of toothpicks, let it set, then re-drive.
If you want extra security, consider a longer strike plate that spreads force over more wood. It is a small upgrade that makes a big difference.
7) Fill, sand, prime, and touch up
Once the glue has cured, remove clamps and clean up the cosmetics.
- Scrape any dried glue beads carefully with a sharp chisel or utility knife.
- Fill screw heads and hairline gaps with wood filler (painted jamb) or stainable putty (stained jamb).
- Sand lightly. If you hit bare wood or have any glue residue risk, prime before paint for best adhesion.
- Touch up paint or stain.
My cautionary tale: I have rushed the paint step and ended up with a shiny patch that looked like a bandage on a forehead. If you can, feather the paint and give it time to dry before judging it.
Troubleshooting
The crack will not pull closed with clamps
- Cause: Wood fibers are crushed or something is wedged in the split.
- Fix: Clean the crack again and clamp from a slightly different position. If fibers are mushroomed, trim only what prevents closure. If you cannot get tight closure, consider a two-part epoxy wood repair instead of PVA glue.
Screws keep spinning and will not tighten
- Cause: Stripped hole in the stud or you missed the stud.
- Fix: Move the screw location slightly and try again. Use a longer screw. Confirm stud location with a stud finder if needed.
Door will not latch after the repair
- Cause: The jamb shifted slightly or the strike plate opening is no longer aligned.
- Fix: With the door closed, mark where the latch hits. Adjust the strike plate position slightly, or file the plate opening a bit. Do not go crazy, small adjustments are best.
Paint keeps peeling around the repair
- Cause: Dried glue on the surface, dust, or glossy paint not scuffed.
- Fix: Sand the area, wipe clean, prime if needed, then repaint.
How strong is this repair?
When you combine glue (to re-bond the wood fibers) with long screws (to transfer force into the stud), you can end up with a repair that is as strong as, or stronger than, a typical builder-grade install. Many original strike plates are held with short screws that never reach framing. After this repair, the jamb has real backup.
That said, strength depends on what you are anchoring into and what the wood looks like. If the jamb fibers are badly crushed, the stud is damaged, or the whole opening shifted during a kick-in, this quick fix may not be the whole solution.
Quick safety notes
- Wear eye protection when drilling. Screws and brittle wood love to surprise you.
- Keep fingers clear of clamp jaws as you tighten. They can pinch harder than you think.
- If this damage was caused by a break-in, make sure the door and lock hardware are still safe and functional before relying on them.
FAQ
Can I fix a split door frame without clamps?
You can, but clamps make a cleaner, stronger glue joint. If you are in a pinch, you can use long screws to pull the crack closed while the glue sets. Protect the surface, drill pilots, and tighten gradually to avoid making the split worse.
What glue should I use?
For interior doors, standard PVA wood glue is fine. For exterior doors or humid areas, use an exterior-rated Type II or Type III wood glue. If the joint will not close tightly, consider a two-part epoxy wood repair.
Do I need wood filler if I am painting?
Yes, if you want it to look right. Filler hides screw heads and small gaps so your touch-up paint does not scream “repair” every time you walk past.