A water stain on the ceiling is like that one warning light on your dashboard. You can ignore it for a while, but it is trying to tell you something. The good news is you usually can repair and re-texture a stained ceiling yourself, as long as you handle the cause first and use the right primer and texture method.
I have patched plenty of ceilings that looked hopeless at first. The secret is not fancy tools. It is patience, thin layers, and knowing when to stop messing with it.
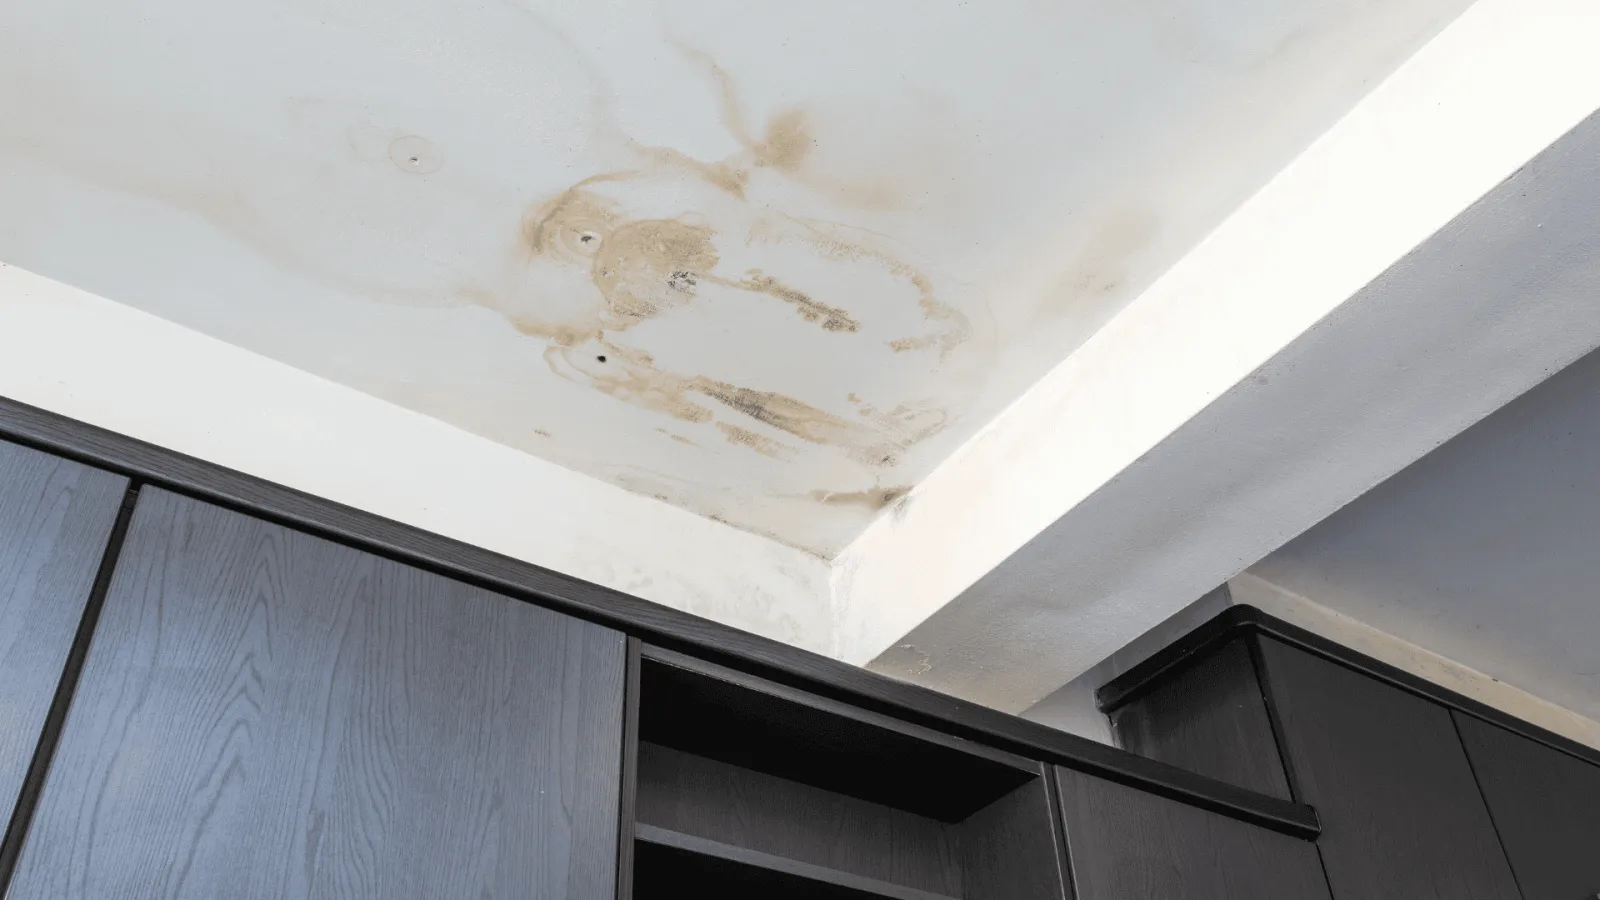
Before you start: stop the leak
If the source is still active, any repair is temporary. Even a tiny drip can keep wicking moisture into drywall and bring the stain right back through fresh paint.
Quick checks that save you from doing this twice
- Touch test: Press the stained area with your fingertips. If it feels soft, it is not ready. If it feels cool, that can point to moisture, but it is not definitive.
- Use a moisture meter (best option): If you have one, it takes the guessing out. Compare the stained area to a known-dry spot nearby.
- Probe the drywall: Gently poke with a screwdriver. If it crumbles, dents easily, or feels spongy, plan on removing damaged material.
- Look above if you can: Attic access, a floor above, or a ceiling fixture opening can tell you whether insulation is wet or framing is stained.
- Rule out condensation: Bathroom exhaust fans that vent into an attic (or nowhere) and HVAC boots sweating can mimic a plumbing leak.
Drying guideline: After the leak is repaired, let the ceiling dry thoroughly. A fan and a dehumidifier speed things up. If you are not sure, wait an extra day. Drywall repairs hate trapped moisture.
Mold reality check: If you see fuzzy growth, heavy spotting, or you get a persistent musty smell, do not just prime and paint over it. Fix the moisture source first, remove affected material as needed, and consider a professional assessment if it is widespread.
Safety first: popcorn ceilings
If your ceiling has popcorn texture and the home is older, assume it could contain asbestos until proven otherwise. Any disturbance can release fibers. Small, careful spot repairs that avoid sanding and minimize scraping may be lower risk, but local rules vary and testing is the smart move if you need to disturb more than a tiny area.
- Do not dry-sand unknown popcorn texture.
- Use a respirator (not a paper dust mask) and eye protection for scraping, spraying, and sanding patched areas.
- Turn off power at the breaker if you are working near a light fixture, fan, or junction box.
- Protect the room: Plastic sheeting on floors and walls makes cleanup way easier.
- Cover what should not get sprayed: Mask smoke detectors, HVAC returns, and supply registers before texture work.
Tools and materials
You do not need a contractor van full of gear. Here is the practical kit that covers most ceiling stain repairs and textures.
Must-haves
- Utility knife
- Putty knives (4 inch and 10 to 12 inch are a great combo)
- Drywall joint compound (all-purpose or lightweight)
- Sanding sponge (fine) or pole sander
- Stain-blocking primer (shellac-based or oil-based)
- Ceiling paint (flat finish hides sins best)
- Painter’s tape, plastic drop cloths
Depending on texture
- Popcorn: aerosol popcorn texture or a hopper gun and popcorn mix
- Orange peel: aerosol texture spray or hopper gun
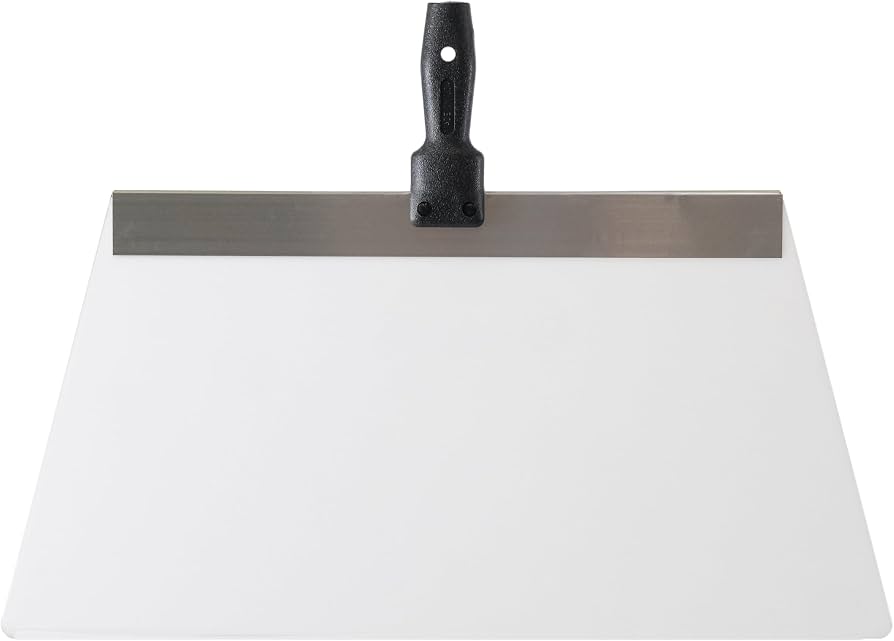
- Knockdown: hopper gun preferred, plus a knockdown knife (or wide drywall knife)
Step 1: Remove loose material
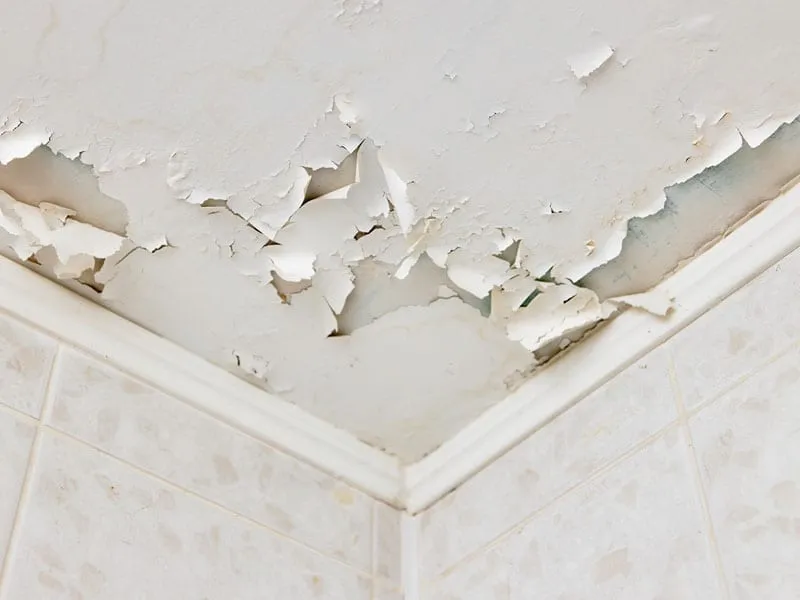
This is where most DIY jobs go off the rails. People try to paint over bubbling paint or mud over softened drywall. That is like putting a bandage on a wet sponge.
What to remove
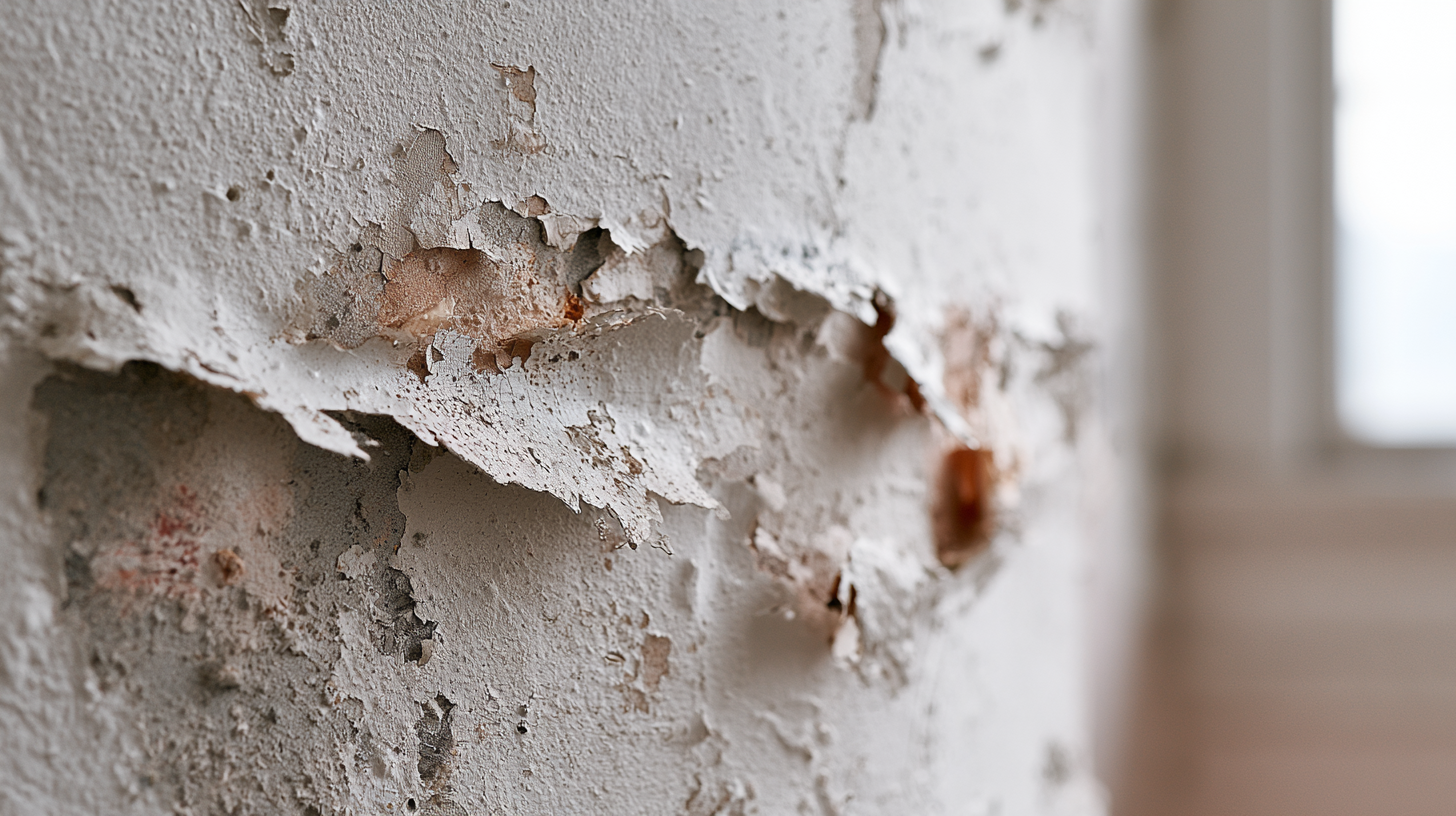
- Peeling or bubbled paint: Scrape until you hit firmly bonded paint edges.
- Loose drywall paper: Trim and scrape back to solid, well-bonded paper. If the brown paper face is fuzzy or delaminated, it will keep lifting under compound.
- Soft or chalky gypsum: Anything crumbling, swollen, or falling apart has to go.
Quick decision rule: If the drywall is sagging, feels waterlogged, or the damage spreads across a big section between joists, replacement is often faster and more durable than trying to rescue it with mud.
Tip from someone who learned the hard way: Do not “feather” loose edges with sanding alone. A crisp cut to solid material is easier to patch than a ragged crater.
Step 2: Seal exposed paper
If you exposed brown drywall paper, seal it before applying joint compound. Unsealed paper swells and bubbles when it gets wet, and joint compound is wet.
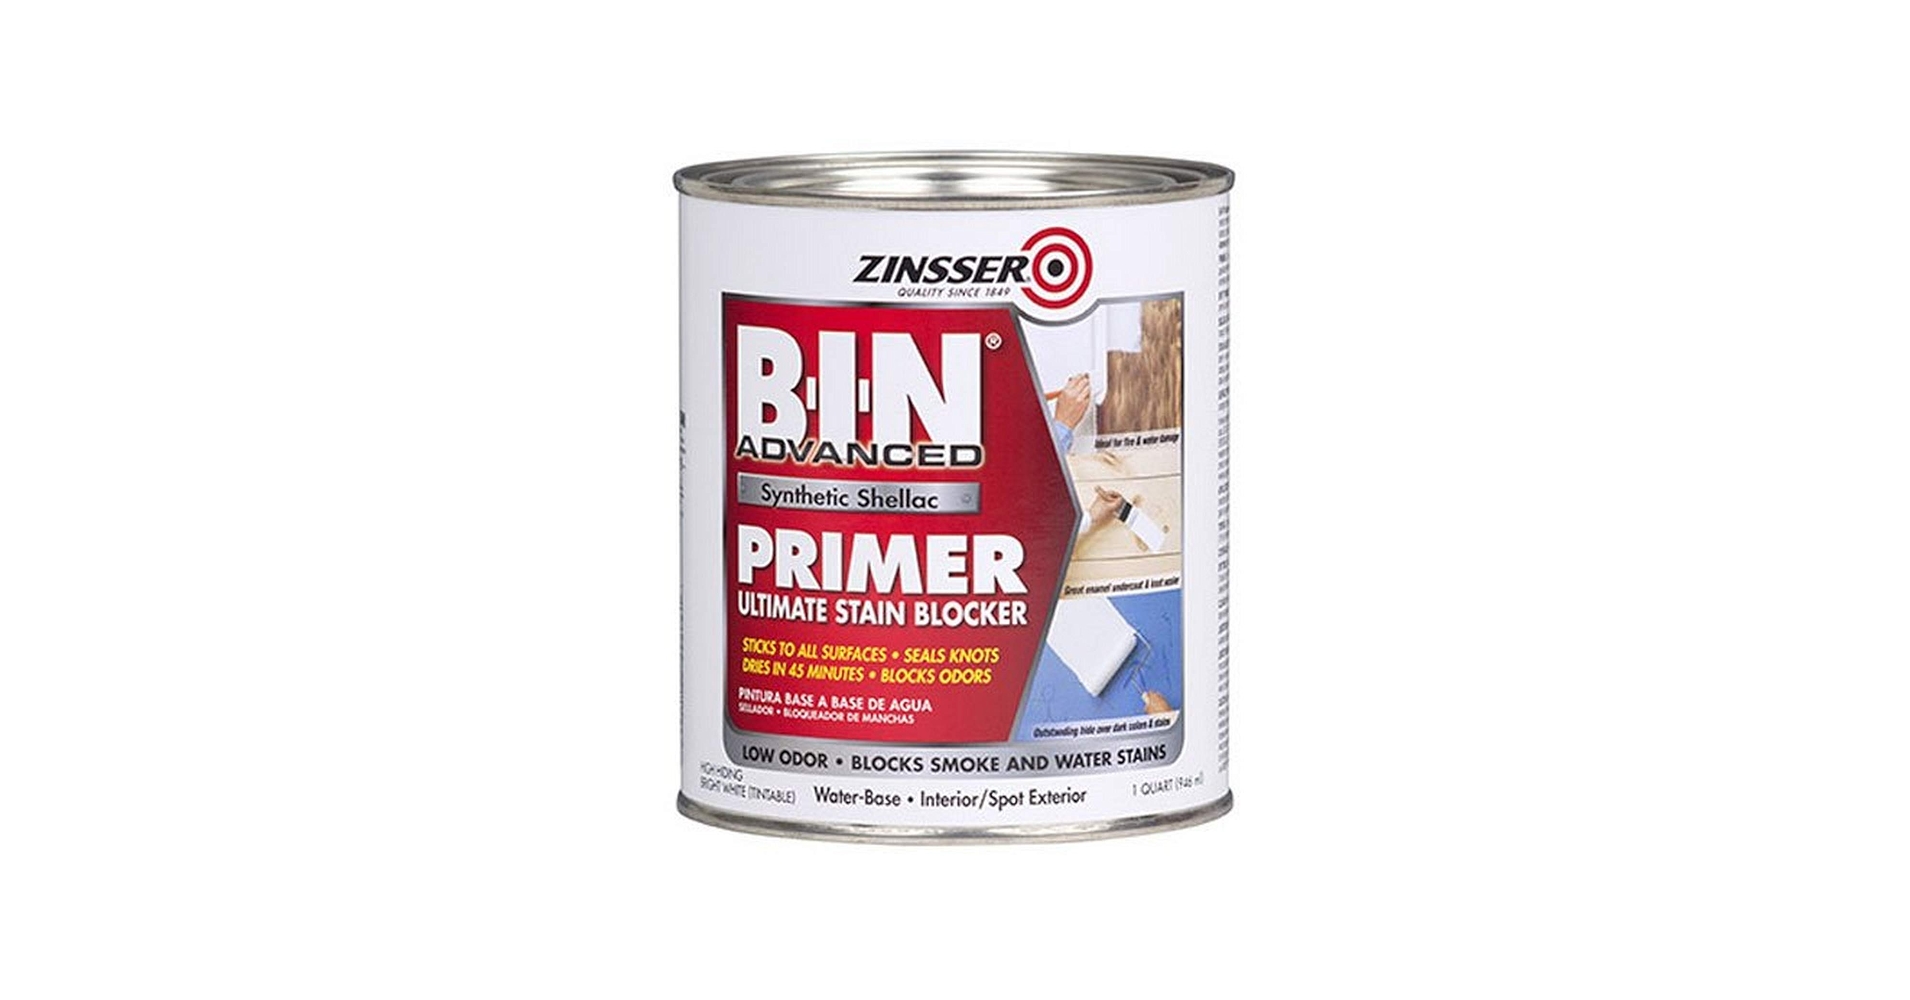
- Brush or roll on a thin coat of shellac-based or oil-based stain-blocking primer over exposed paper and any water staining.
- Let it dry fully per the can.
Water-based primers are fine for many paint projects, but they are not my first choice for stubborn ceiling stains or torn drywall paper. Shellac-based primer is smelly, but it blocks like a champ.
Step 3: Patch with thin coats
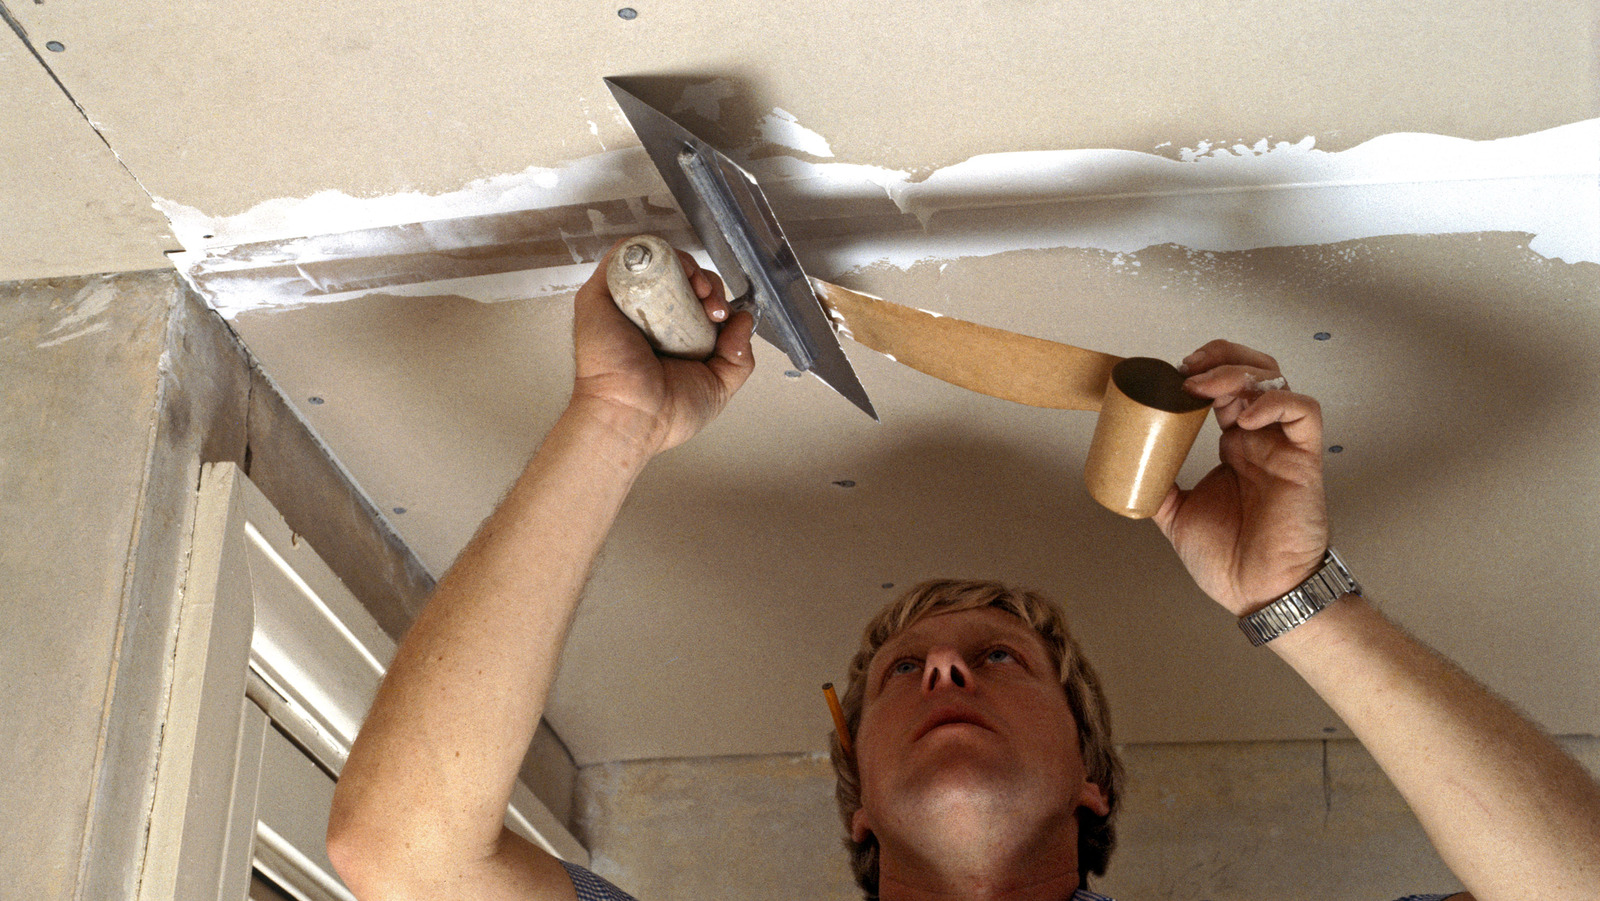
Your goal is a flat, stable surface that blends into the surrounding ceiling. On a smooth ceiling, that means an invisible patch. On a textured ceiling, that means a patch that disappears after texture and paint.
How to mud a ceiling patch
- First coat: Press compound into voids. Keep it tight. Let it dry completely.
- Second coat: Widen the patch area. Feather the edges out 6 to 12 inches, depending on patch size. Let it dry completely.
- Third coat: A skim coat to erase tool marks. Let it dry completely.
- Sand lightly: Use a fine sanding sponge. You are knocking down ridges, not carving a canoe.
Dry time note: Ceilings can dry slower than walls, especially in humid weather. Overnight between coats is common, even if the bucket says faster.
Feathering rule: The bigger the patch, the wider the feather. A small patch with a tight edge will show forever under ceiling light, especially with side lighting from windows.
Step 4: Prime the repair
Priming does two jobs: it blocks any remaining stain and it stops the paint from flashing differently over your patch.
Which primer should you use?
- For water stains: Shellac-based or oil-based stain-blocking primer is the most reliable.
- For fresh joint compound only: A quality drywall primer can work, but it may not lock down a stain.
Prime the patched area plus a few inches beyond it. If the stain was larger than the patch, prime the entire stained footprint.
Do not forget the fasteners: Leaks can rust drywall nails or screws and that rust can bleed through later. If you see rust, back the fastener out and replace it, or at least spot-prime the head with stain blocker before paint.
Step 5: Match the texture
This is the part that scares people, but it is very doable if you practice first. I always test on a piece of cardboard, scrap drywall, or even the inside of a closet ceiling if you have one.
Two things control texture: material thickness and how you apply it. Adjust one variable at a time.
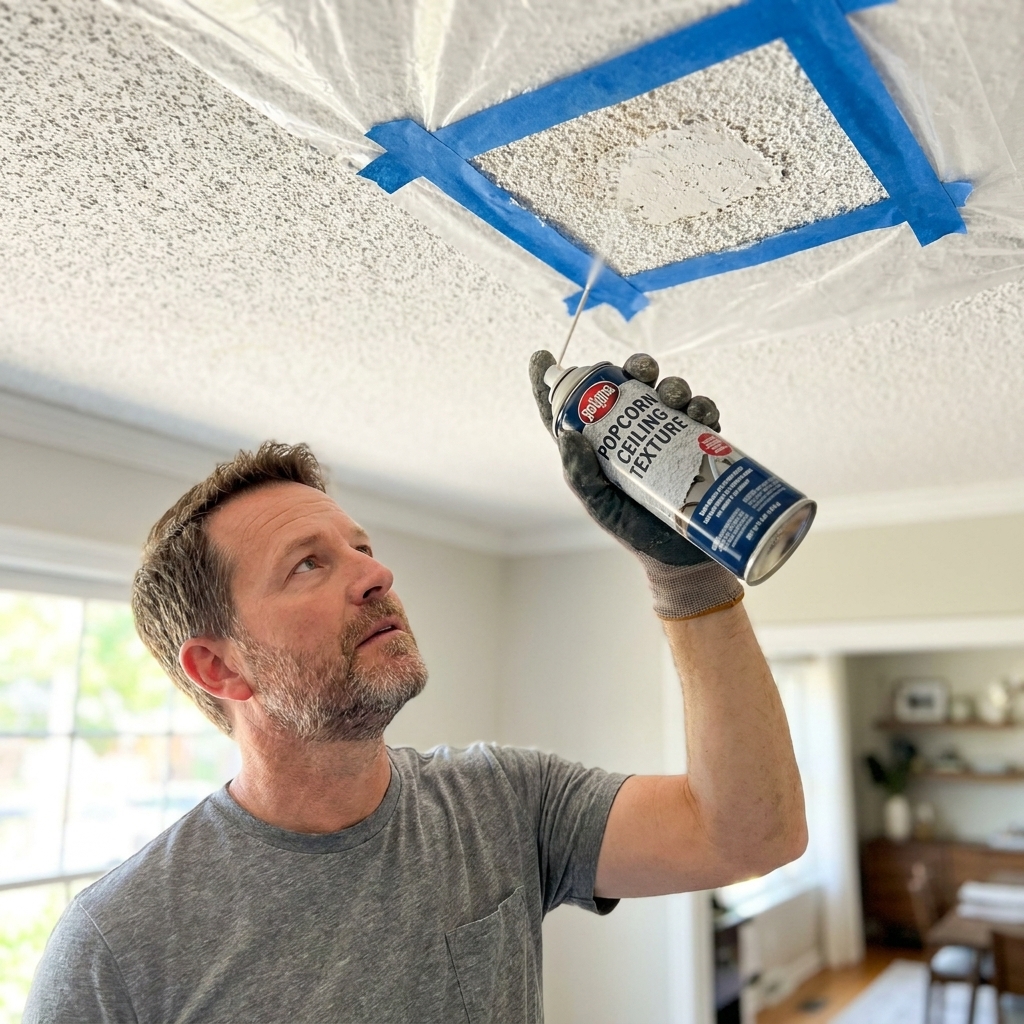
Popcorn texture
Popcorn is forgiving from the floor and unforgiving up close. The trick is to blend the edges so you do not get a “new patch island.”
- Confirm what you have: Some popcorn is paint-only texture, some is heavier acoustic material. Take a close look.
- Mask the room: Popcorn overspray travels.
- Use aerosol popcorn for small patches: Shake well, spray in light passes, and build slowly.
- For larger areas: A hopper sprayer with popcorn mix gives a better match, but it takes setup and practice.
- Blend edges: Lightly reduce texture thickness as you approach the perimeter of the repair so it melts into the old popcorn.
Important: If you had to scrape a lot of popcorn off to reach damaged drywall, consider testing the texture for asbestos before disturbing more.
Orange peel texture
Orange peel is common in newer homes and apartments. You can match it surprisingly well with an aerosol can if the patch is small.
- Dial the can: Many texture cans have a nozzle that adjusts from fine to heavy.
- Distance matters: With many products, spraying a bit farther away can create a finer spatter, while spraying closer can build heavier texture. It is not universal, so test first and copy what you see on the existing ceiling.
- Build in layers: Two light coats beat one heavy coat that drips.
Knockdown texture
Knockdown is basically sprayed mud that you flatten slightly after it sets up for a few minutes. Timing is the whole game.
- Spray the texture: A hopper gun makes this easier to match. Aerosol knockdown works for small spots.
- Wait for the shine to dull: You want it tacky, not wet. Start checking around 5 minutes, but temperature, humidity, and air movement can push this earlier or later.
- Knock it down: Pull a knockdown knife or wide drywall knife lightly across the peaks. Keep pressure light.
- Feather the edge: The perimeter should get less texture, not more.
Smooth ceilings
If your ceiling is smooth, your patch has to be perfect because paint and light will highlight every ridge, especially with side lighting from windows.
- Use wider coats of compound than you think you need.
- Sand with a raking light. Shine a flashlight across the ceiling to reveal high spots.
- Prime, then inspect again. Primer makes imperfections easier to see.
Step 6: Paint to blend
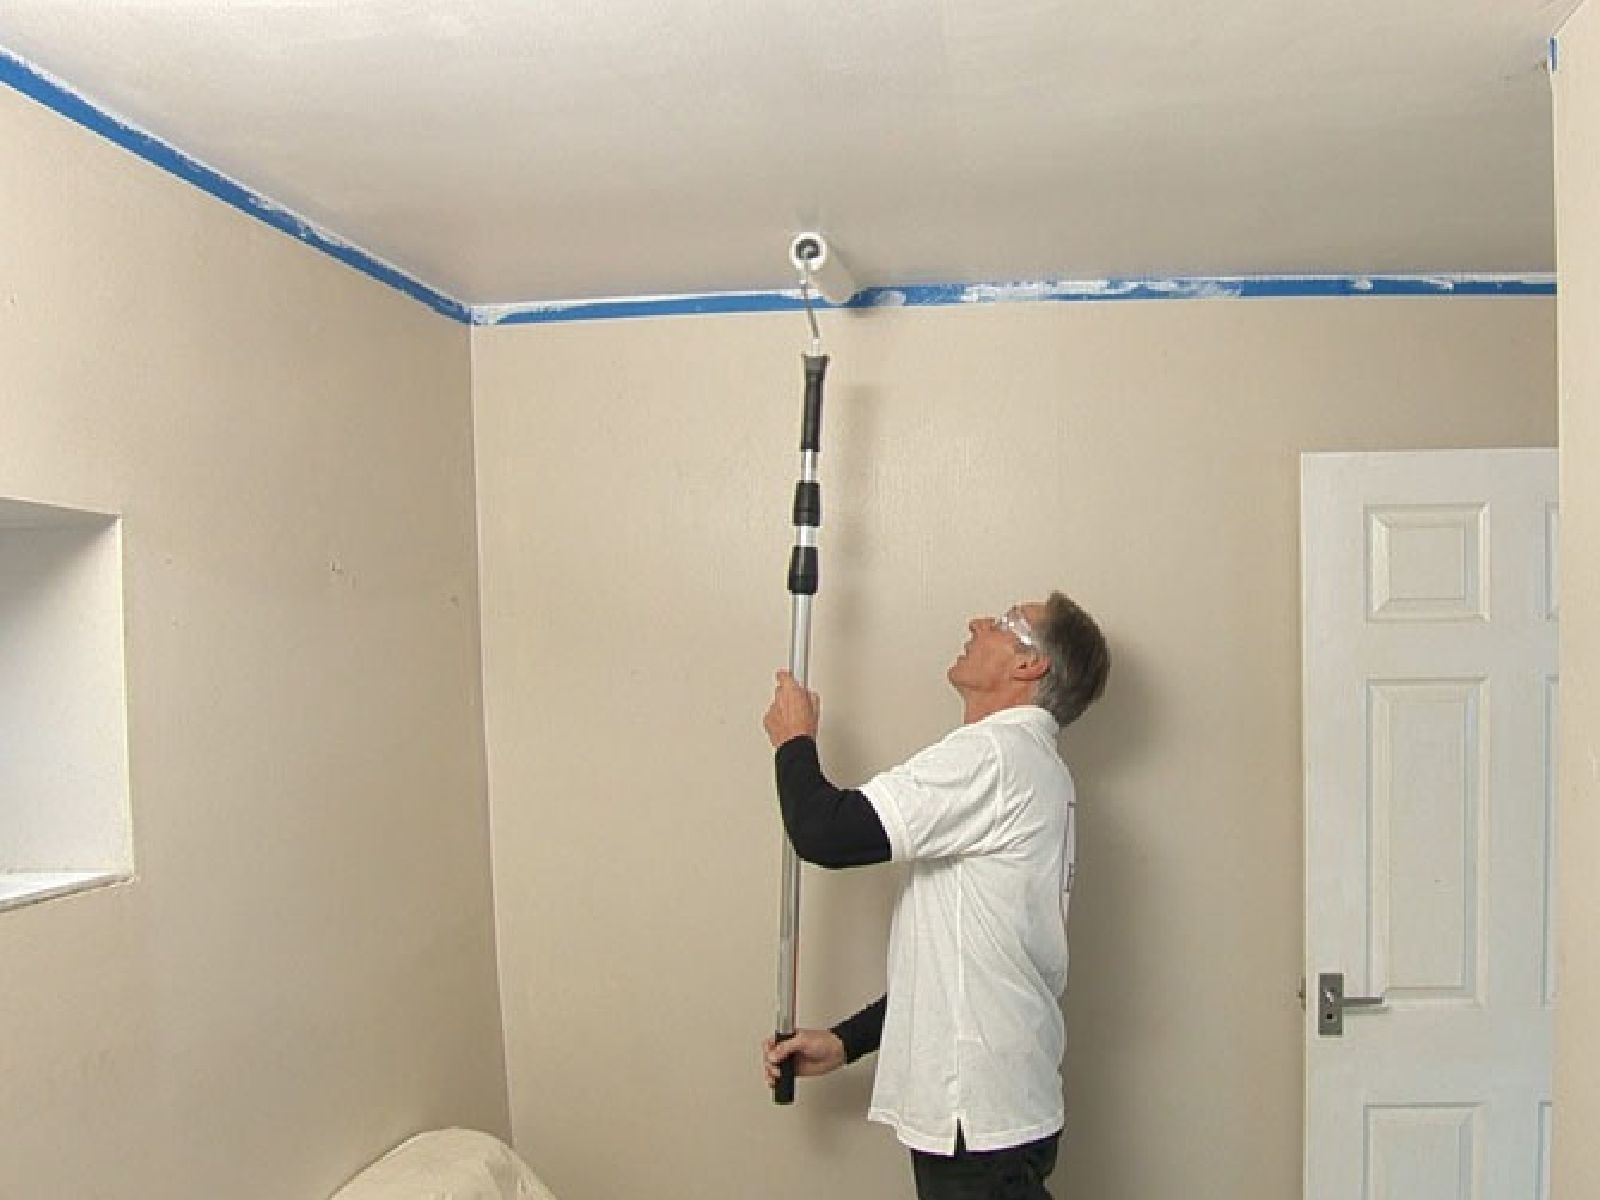
Ceilings almost always look best with flat white ceiling paint. It hides unevenness and blends texture differences better than eggshell or satin.
How to avoid a paint halo
- Paint the whole ceiling when you can: Especially if the ceiling is older or slightly yellowed.
- If you must spot-paint: Use the exact same paint, same sheen, and roll out beyond the patch with a feathered edge. Expect it to still show in certain light.
- Roll direction: Keep your final roller passes going the same direction across the ceiling.
Troubleshooting
The stain came back
- Most likely you used the wrong primer or skipped it.
- Recoat the stained area with shellac-based or oil-based stain blocker, then repaint.
My patch bubbled or fuzzed up
- That is torn drywall paper absorbing moisture.
- Scrape loose material, seal with stain-blocking primer, then skim coat again.
The texture does not match
- You probably sprayed too heavy or used material that was too thick.
- For minor mismatch, sometimes a light skim coat over the patch and a second texture attempt is faster than trying to “fix” the texture itself.
I can see the patch in certain light
- Feather wider. Ceilings need more blending area than walls.
- Use a raking light to sand high spots and fill low spots.
When to call a pro
I love DIY, but I love safe houses more.
- Structural sagging: If the ceiling is bowing, cracked, or feels like it is holding water.
- Repeated leaks: If you cannot confidently identify and fix the source.
- Possible asbestos popcorn: Especially if you need to scrape a large area or you are not sure what the texture contains.
- Mold concerns: Widespread moldy drywall or insulation needs a more controlled approach.
FAQ
Can I just paint over a water stain on the ceiling?
You can, but it will usually bleed back through. For a lasting fix, use a stain-blocking primer first, preferably shellac-based or oil-based, then paint.
What is the best primer for ceiling water stains?
Shellac-based stain-blocking primer is my most reliable choice for ugly brown rings and for sealing torn drywall paper. Oil-based stain blocker is also excellent. Water-based primers are less consistent on heavy stains.
How do I know if the drywall needs to be replaced instead of patched?
If the drywall is soft, crumbling, sagging, or the paper face is delaminating over a wide area, replacement is usually faster and more durable than trying to rescue it with compound.
Do I need to re-texture the whole ceiling?
Not usually. You can blend a patch if you feather the repair, match the spray pattern, and paint consistently. That said, painting the entire ceiling often makes the repair disappear better than spot-painting.