If you have ever stood in the aisle staring at tubs and tubes that all claim to “fix wood,” you are not alone. Wood putty and wood filler overlap just enough to be confusing, but they are built for different jobs. Pick the wrong one and you get the classic DIY heartbreak: a patch that will not take stain, a repair that cracks, or a “quick fix” that pops out after the first hot day.
Let’s make this simple. I will walk you through what each product actually is, where it shines, where it fails, and how to choose the right one for indoor and outdoor cosmetic repairs.
Quick caveat: some brands use “putty” and “filler” loosely on labels. When in doubt, trust what the can says about sandable, paintable, stainable, and exterior-rated more than the name on the front.
The quick difference
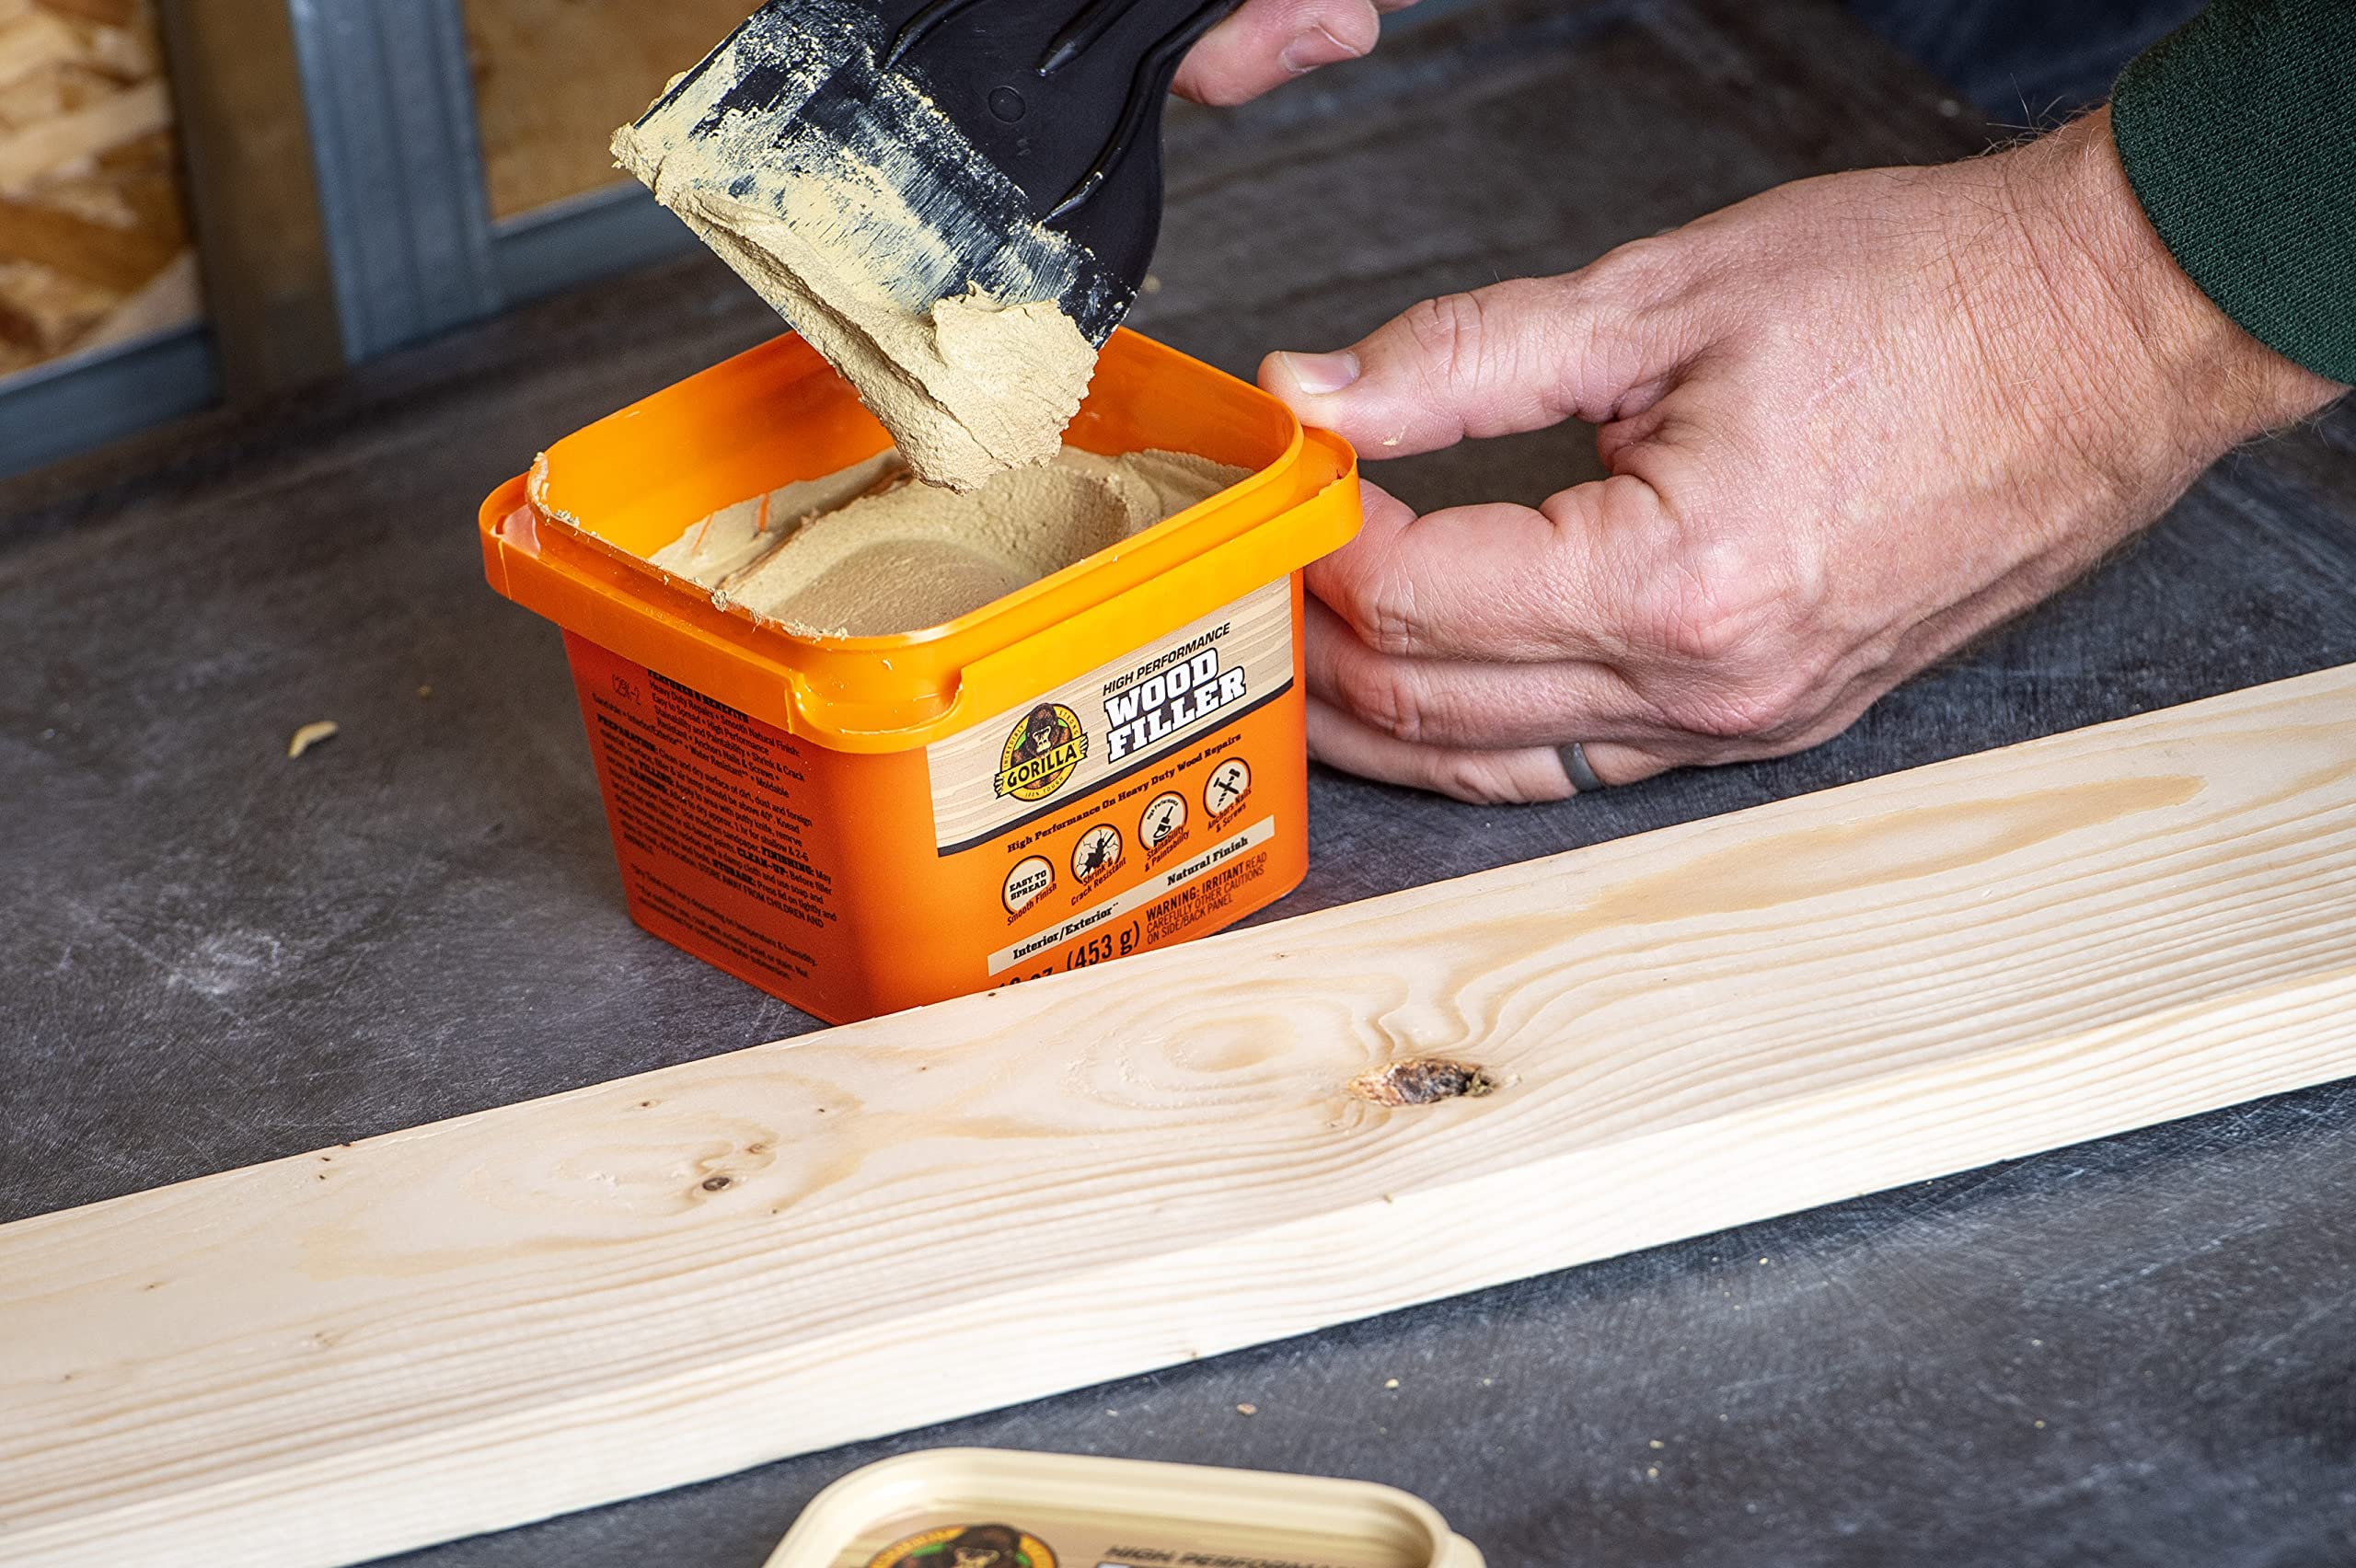
Wood filler is meant to harden and become part of the wood surface. You typically sand it smooth and then paint or stain over it. Think “rebuild and reshape.”
Wood putty is meant to stay a little flexible and move with the wood. It is usually used after the wood is stained and sealed, mainly for small cosmetic touch-ups. Think “conceal and blend.”
- If you need to sand it smooth: wood filler.
- If the wood is already finished and you are hiding tiny gaps: wood putty.
- If it is outside and will see sun and rain: usually exterior-grade filler or an epoxy system, not typical interior putty.
What wood filler is
Wood filler is a spreadable patch material that cures hard. Most common fillers are water-based or solvent-based. Once cured, they can be cut and sanded, and some can be drilled for shallow, non-structural needs.
Important: most one-part fillers are not meant to provide real fastener strength. If you need a screw to bite and hold, use a dowel-and-glue repair or a product that specifically states it is designed for that job.
Best uses for wood filler
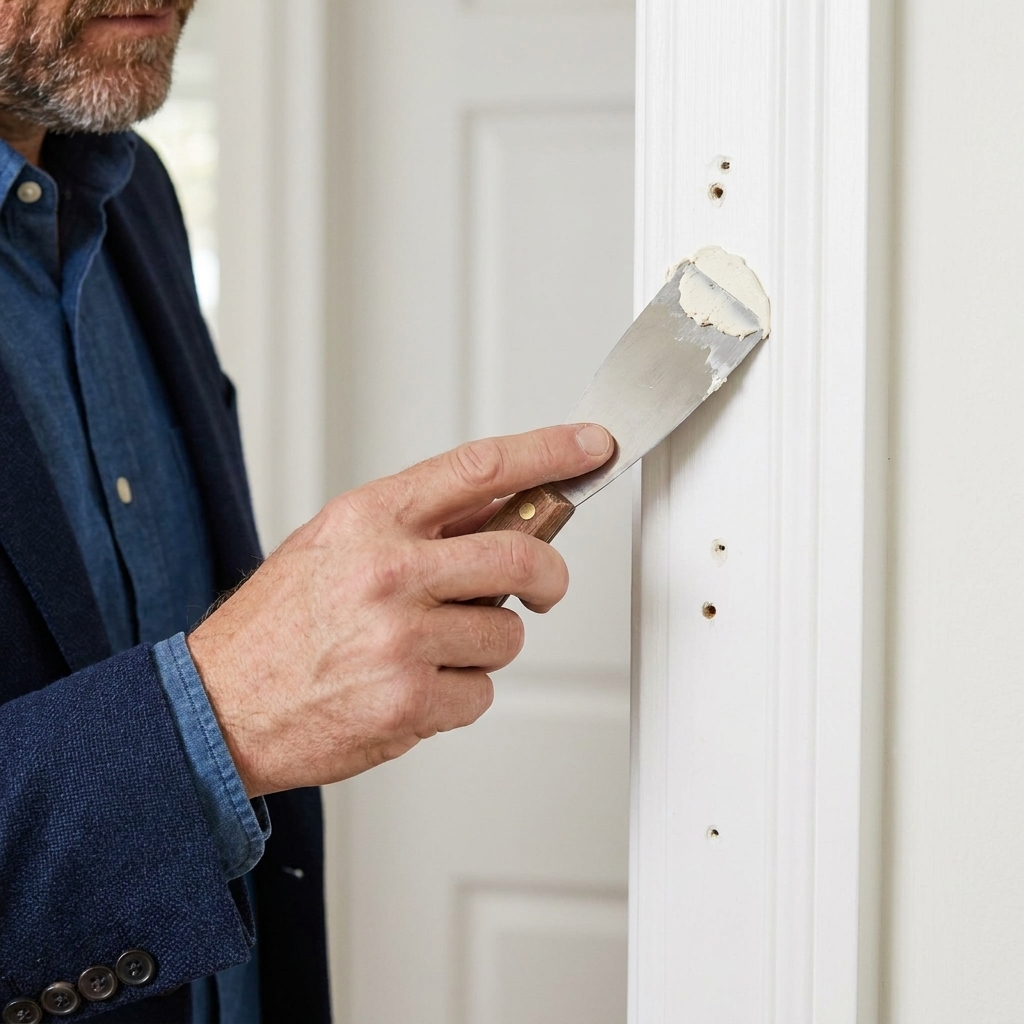
- Nail holes and brad holes in trim you plan to paint.
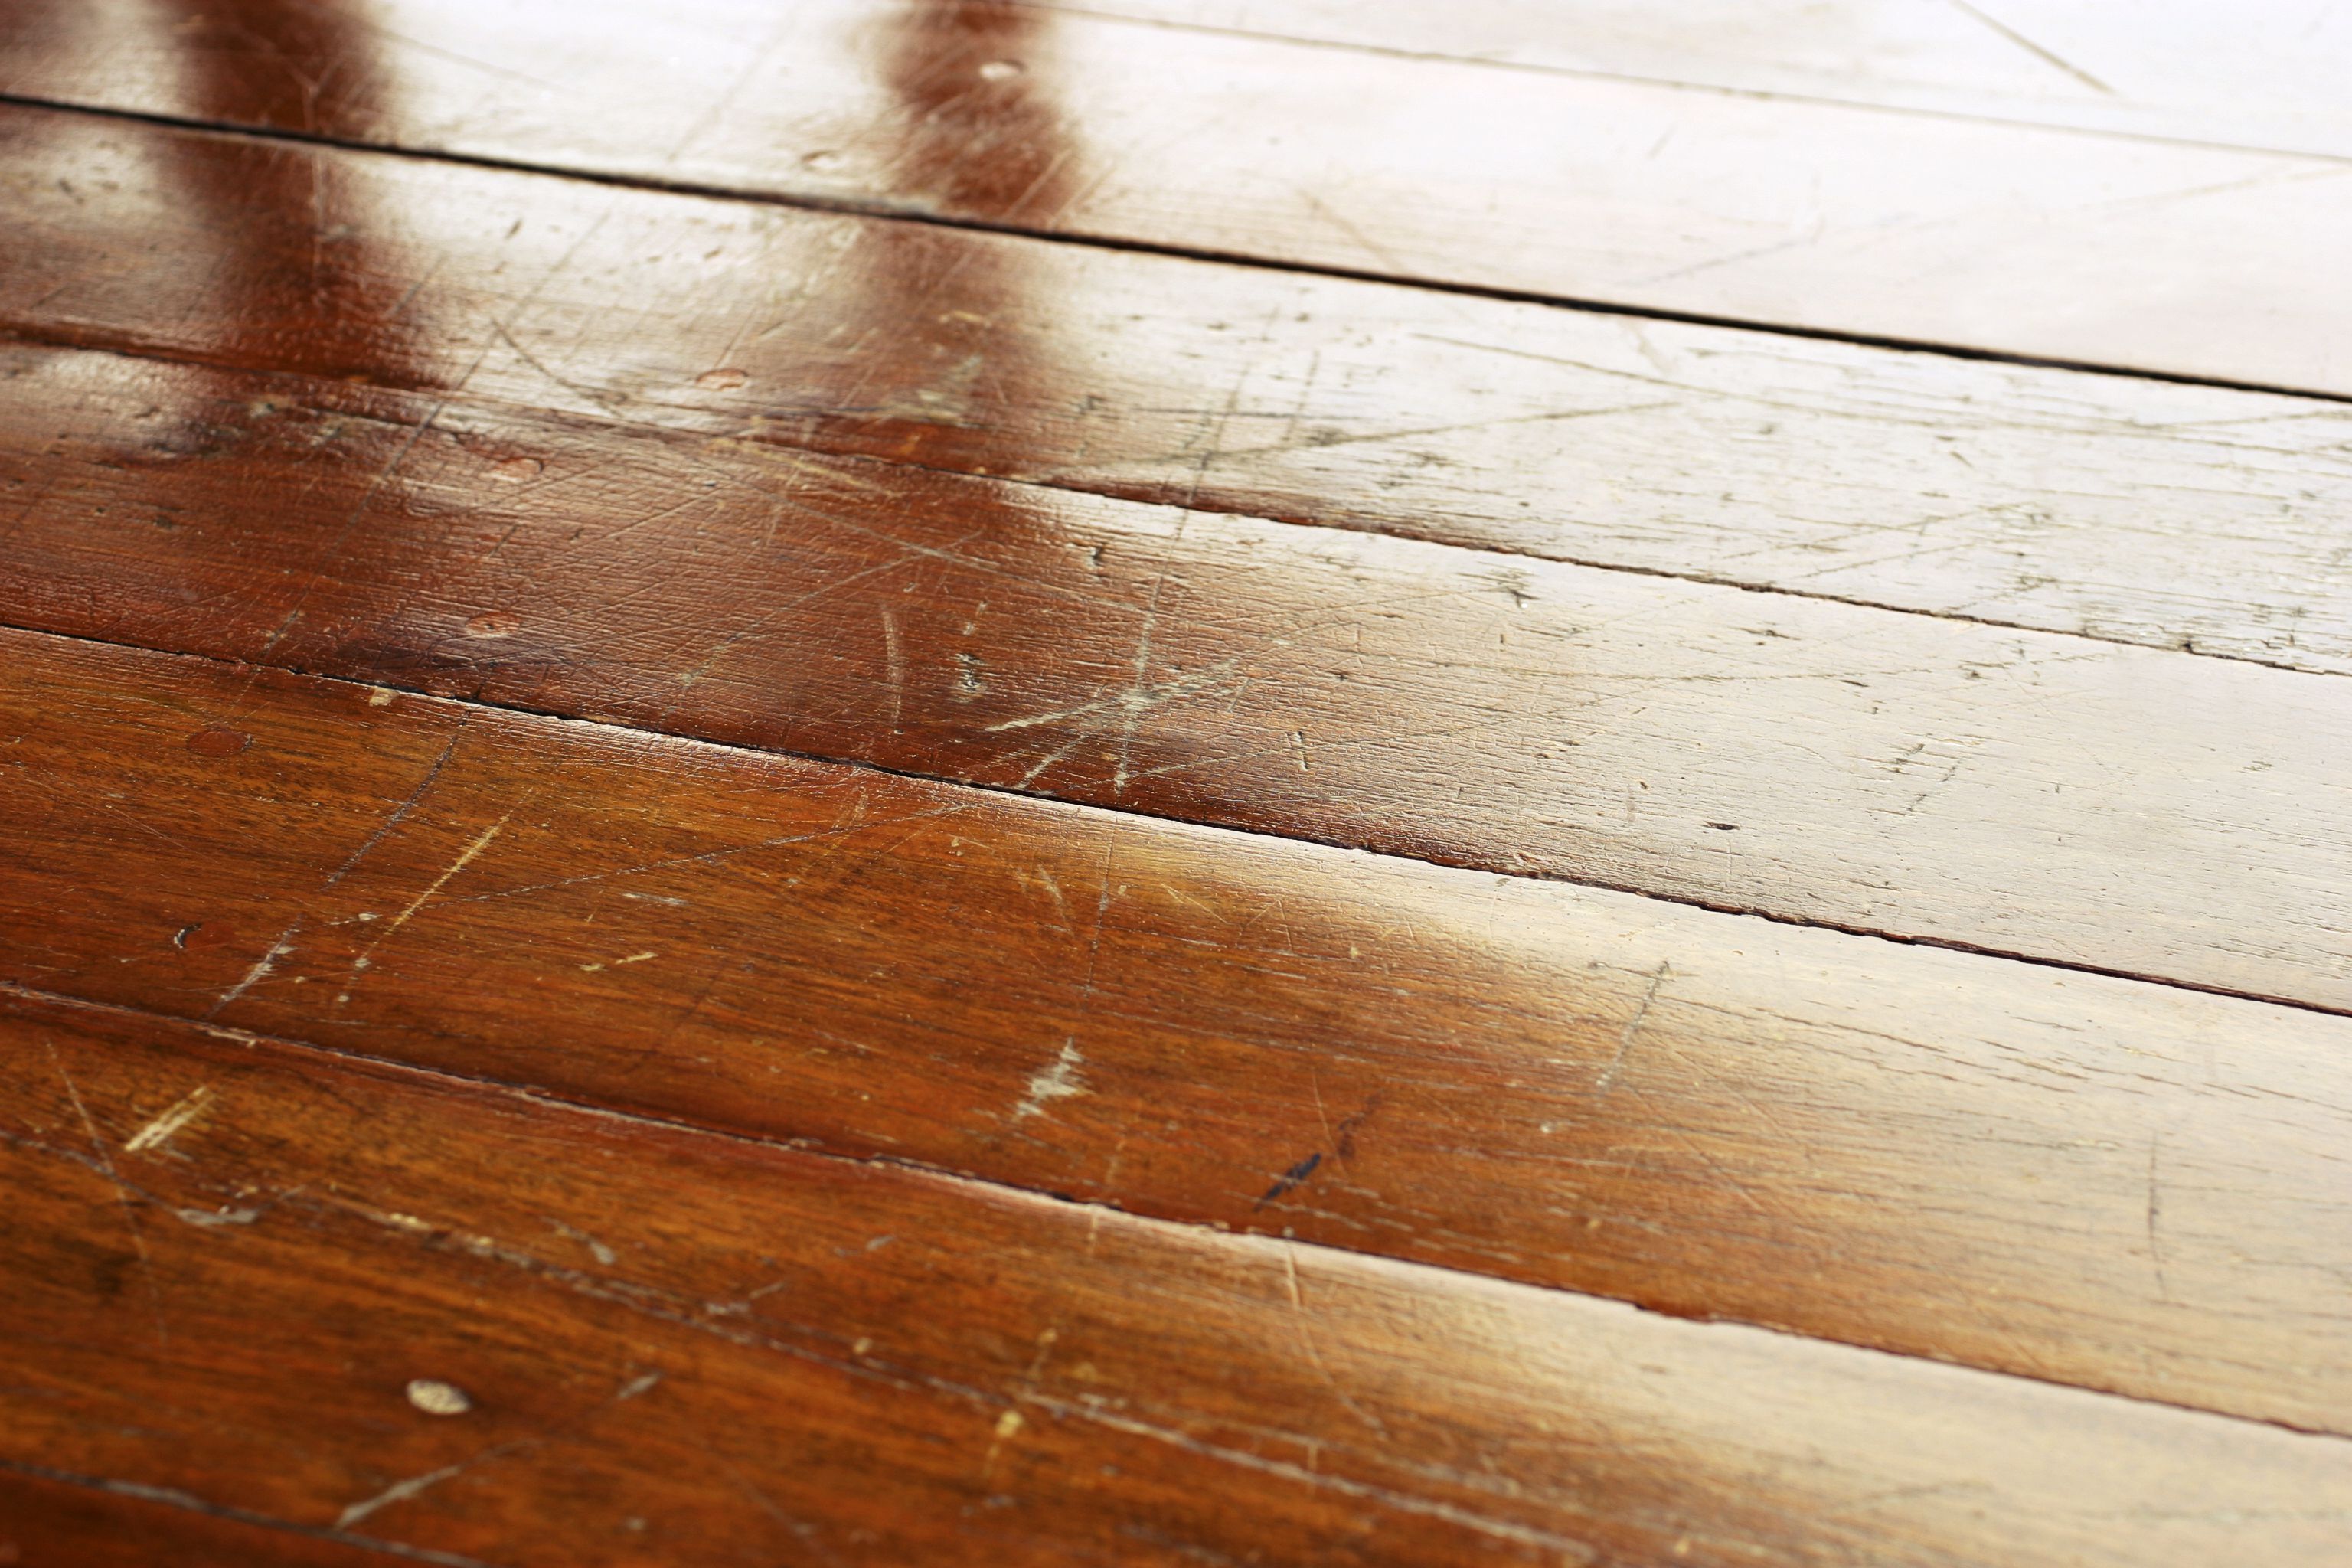
- Dents and gouges in baseboards, door casing, window trim, and furniture parts.
- Small chips on edges where you need to rebuild a crisp corner.
- Spot repairs before painting cabinets, built-ins, and interior doors.
- Pre-finish work where you will sand, prime, and topcoat.
Pros
- Sands smooth for a flush finish.
- Can be shaped while wet and refined after it cures.
- Paint-friendly and often primer-friendly.
- Strong enough for shallow rebuilds and edge touch-ups.
Cons
- Stain match can be tricky. Many fillers do not absorb stain like real wood.
- Can shrink if applied too thick, requiring a second coat.
- Can crack if used in wide gaps or where wood moves a lot.
- Not all fillers are exterior-rated, even if the label looks confident.
My rule of thumb
If you are repairing raw wood and your next steps include sanding, choose a wood filler. It is the patch that behaves like part of the surface.
What wood putty is
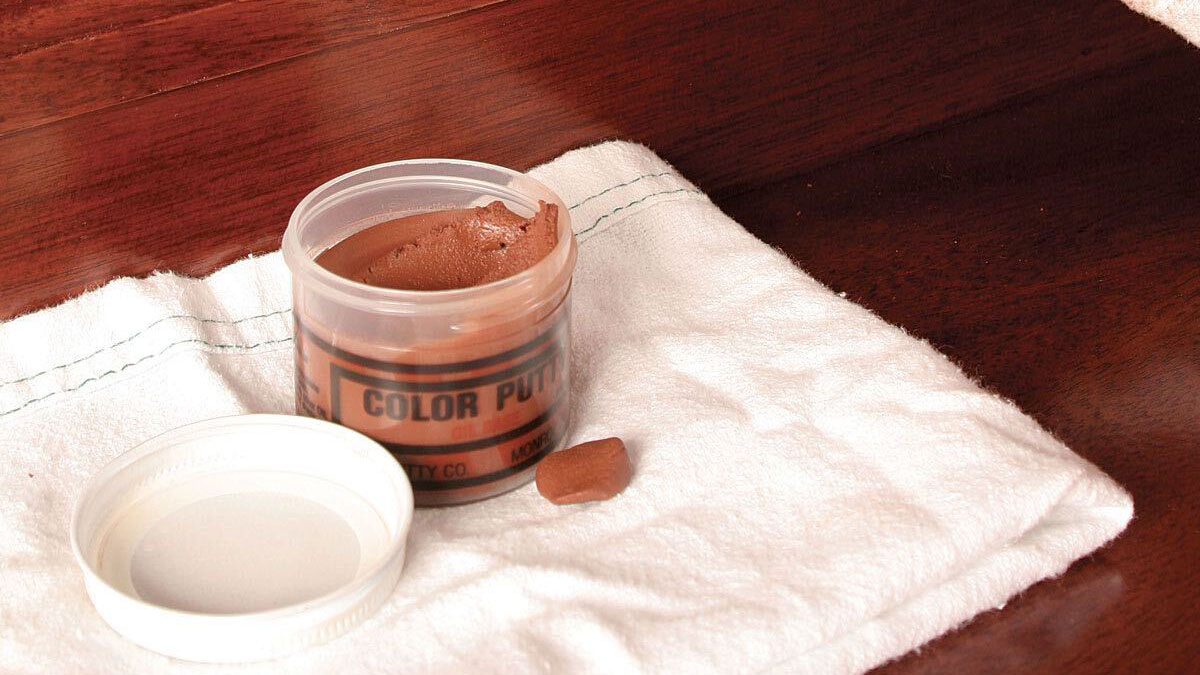
Wood putty is a pliable material designed for finished wood. Traditional putty is often oil-based, but you will also see latex or acrylic products sold as “wood putty.” That is why it pays to read the label for “paintable,” “sandable,” and “interior or exterior.”
Best uses for wood putty
- Filling tiny holes after staining and sealing, like finish nail holes in stained trim.
- Touching up small gaps at miter joints on stained woodwork.
- Cosmetic repairs on finished furniture where you are not sanding the whole surface.
- Hiding fastener heads on already-finished wood projects.
Pros
- Stays flexible, so it is less likely to crack with movement.
- Great for finished surfaces because you can blend color without sanding everything back.
- Easy to apply for small, cosmetic fixes.
Cons
- Does not sand the same way as filler. It can smear or roll.
- Not ideal under paint unless the specific product says it is paintable.
- Not a rebuild material. It is not meant to replace missing chunks.
- Outdoor performance varies. Many putties are not meant for exposed weather.
My rule of thumb
If the surface is already stained and topcoated and you just want to hide a small cosmetic flaw without refinishing the whole board, wood putty is usually the better match.
Pick the right product
Nail holes in painted trim
Use: Wood filler
Why: You can overfill slightly, sand flush, then prime and paint. That is the cleanest way to make holes disappear.
Nail holes in stained trim
Use: Wood putty (or a color-matched wax filler stick for tiny holes)
Why: Stained trim is unforgiving. Putty or wax lets you blend color without sanding the surrounding finish and creating a bigger problem.
Scratches on finished furniture
Use: Usually wood putty, a wax fill stick, or a touch-up marker
Why: If the scratch is shallow and the finish is intact, you are doing concealment, not rebuilding. Filler wants sanding and refinishing to look right.
Deep gouges, missing corners, chipped edges
Use: Wood filler (or epoxy for larger losses)
Why: You need a hard patch you can shape and sand. Putty is too soft for edge rebuilds.
Exterior trim dings and checks
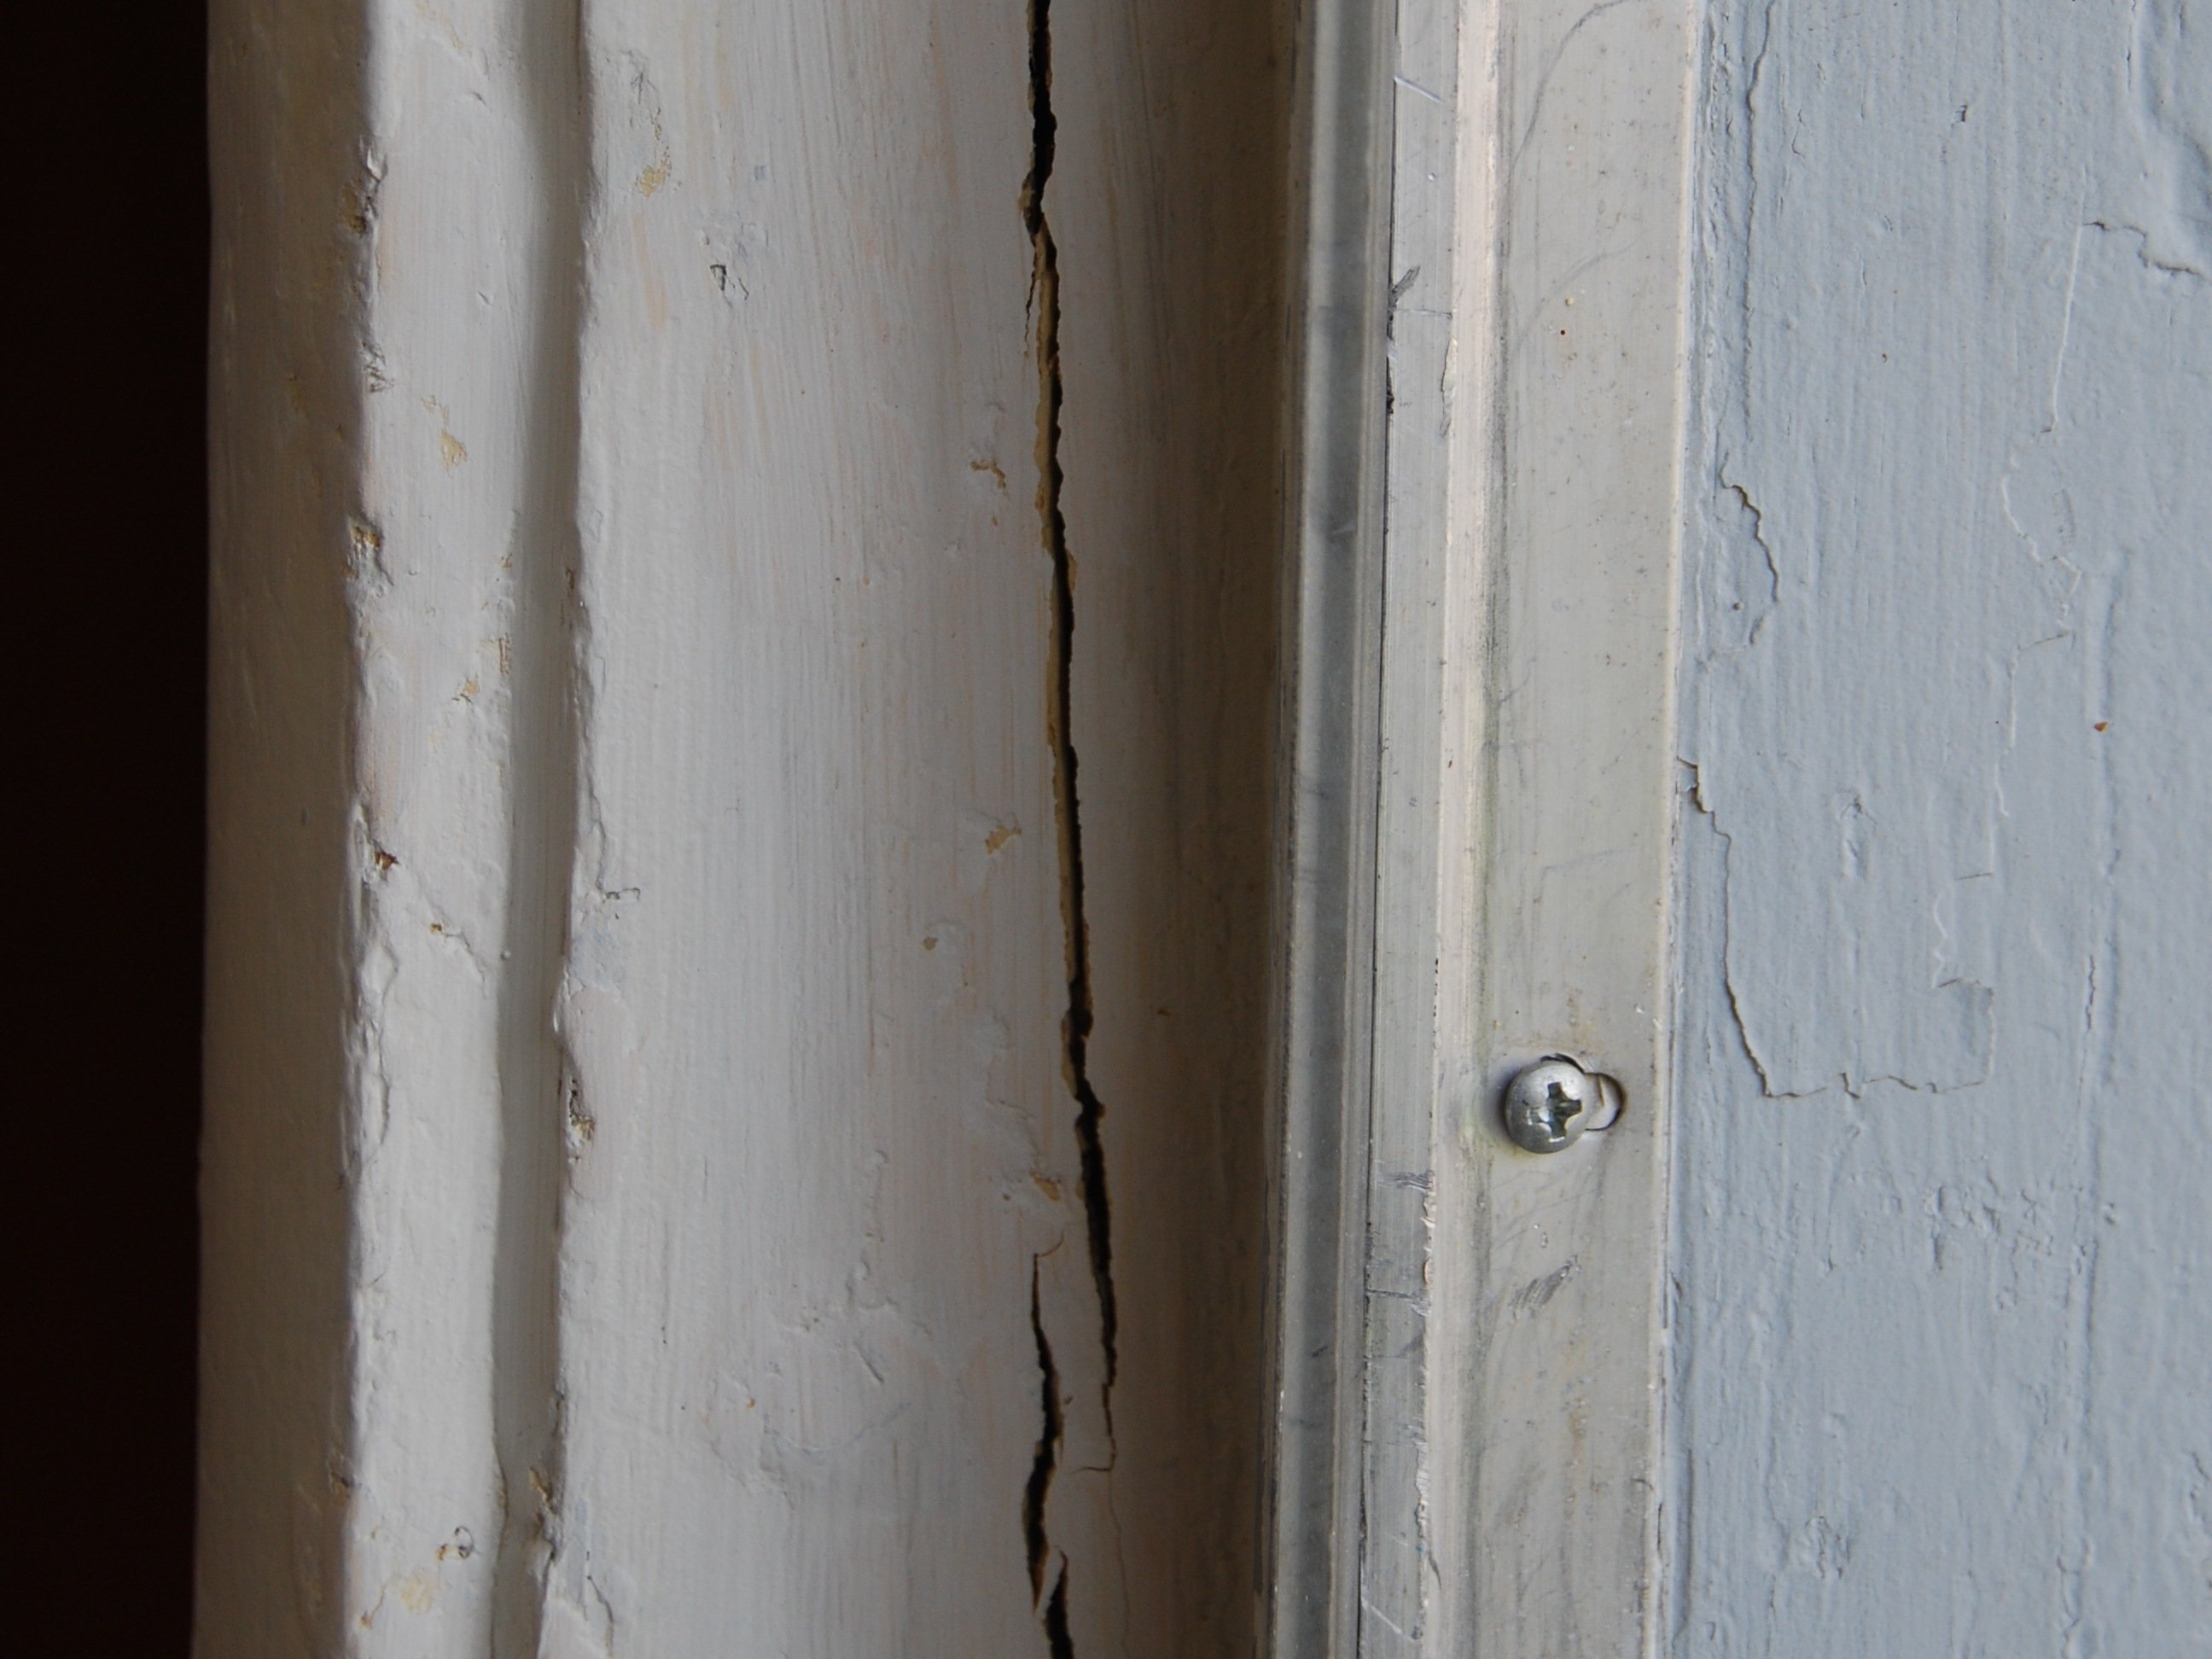
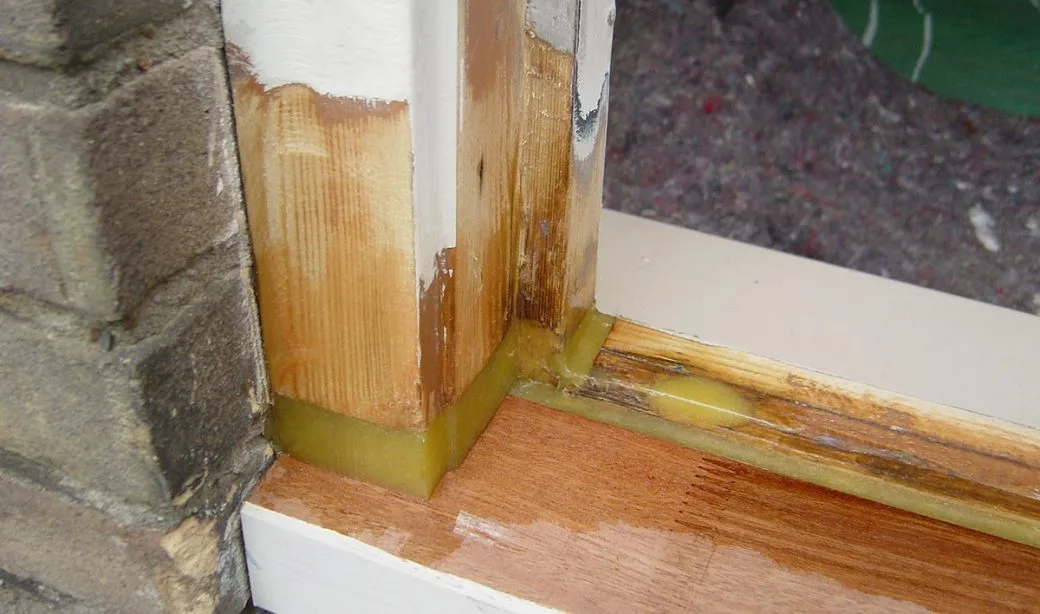
Use: Exterior-rated wood filler or a two-part epoxy repair
Why: Exterior wood moves and gets wet. One-part exterior fillers can work for small patches, but epoxy generally outlasts them where moisture and movement are significant.
Cracks in wood that moves
Use: It depends
- Hairline cosmetic crack on a finished piece: putty can work.
- Crack you plan to sand and repaint: filler works, but expect movement. For joints and seams, paintable caulk is often the better long-term answer.
Stain and paint
Will wood filler take stain?
Sometimes, but rarely like real wood. Even “stainable” fillers tend to absorb differently, which can leave a darker or lighter blotch. If you are staining a prominent surface like a tabletop or stair tread, test on scrap first.
- Best case: small repairs in low-visibility areas that you can blend.
- Worst case: large patches on a show surface where the repair becomes the first thing your eye sees.
Will wood putty take stain?
Most wood putty is meant to be used after staining, not before. You pick a color that matches the finished tone, then press it in and clean up the excess.
What about paint?
- Wood filler: generally excellent under paint once cured, sanded, and primed.
- Wood putty: only paint it if the label says paintable. Some putties can cause paint adhesion issues or stay too soft.
If you are painting, the workflow that almost always looks best is: filler, sand, prime, paint.
Indoor vs. outdoor
Here is the honest truth from too many callbacks in my contractor days: sun and water punish shortcuts.
For outdoor woodwork
- Use exterior-rated filler for small patches that will be painted.
- Use a two-part epoxy wood repair system for rot repair or deeper rebuilds.
- Avoid relying on typical interior putty for anything exposed.
For indoor woodwork
- Filler is your go-to for paint prep and sandable patches.
- Putty is your go-to for stained or prefinished touch-ups.
How to use wood filler
- Clean the area. Remove loose paint, flaking wood fibers, and dust. A quick vacuum and wipe makes a big difference.
- Rough up glossy surfaces. If you are patching over paint or sealed wood, scuff with fine sandpaper so the filler grips.
- Press it in firmly. Use a putty knife and work across the grain, then with the grain to pack the void.
- Slightly overfill. Most fillers shrink a bit. Overfilling gives you something to sand flush.
- Let it cure fully. Dry-to-touch is not the same as sand-ready. Follow the label and add time if the room is cool or humid.
- Sand flush. Start around 120 to 150 grit, then finish 180 to 220 for trim work.
- Prime before paint. Primer helps hide porosity differences so the patch does not flash through the topcoat.
Common wood filler mistakes
- Filling over dust, which causes weak bonding and pop-outs.
- Trying to fill too deep in one pass, which leads to shrinkage and cracking.
- Skipping primer, which makes patches stand out under certain lighting.
Cleanup and safety
- Water-based fillers: usually soap-and-water cleanup.
- Solvent-based fillers and epoxies: expect stronger fumes and use ventilation. Gloves make cleanup easier and keep sticky compounds off your skin.
How to use wood putty
- Confirm the surface is finished. Putty is typically a last-step cosmetic fix, not a raw-wood prep product.
- Pick the closest color. If you are between two shades, the slightly lighter option is often easier to disguise than a dark dot.
- Warm it and knead it. Roll a small amount between fingers to make it pliable and consistent.
- Press it into the hole or gap. Use your fingertip or a flexible putty knife.
- Remove excess immediately. Wipe gently with a clean rag. If the finish is delicate, test your wipe method in an inconspicuous spot.
- Let it set as directed. Some putties skin over quickly, but still need time before handling or waxing.
Common wood putty mistakes
- Using it on raw wood and trying to stain over it, which almost never looks right.
- Overworking it, which can smear color into surrounding grain and create a halo.
- Using it outdoors where water and UV will shorten its life.
Decision checklist
- Are you going to sand the repair? Use wood filler.
- Is the wood already stained and sealed? Use wood putty.
- Are you painting? Use wood filler, then prime.
- Are you staining raw wood? Consider a stainable filler, but test first. For high-visibility surfaces, a dutchman patch (real wood) often beats any filler.
- Is it outside? Choose exterior-rated filler or epoxy, then paint and maintain.
- Is the damage deep, soft, or rotted? Skip putty and most one-part fillers. Go to epoxy repair or replace the wood.
FAQ
Is wood putty the same as caulk?
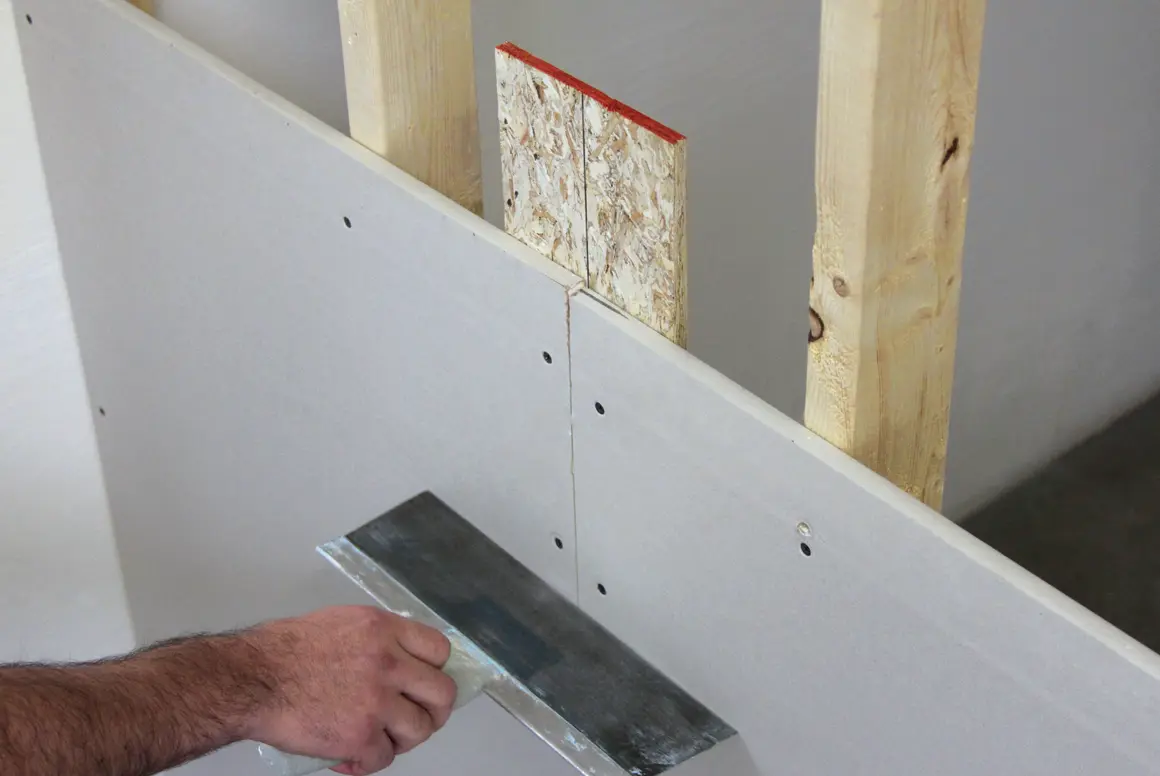
No. Caulk is made for joints that move and for sealing gaps against air and moisture. Wood putty is a cosmetic material for small holes and minor gaps on finished wood. If you are sealing trim-to-wall gaps before paint, paintable caulk is usually the right tool.
Can I use wood filler on deck boards?
I do not recommend it for walking surfaces that see constant weather and flexing. For outdoor horizontal surfaces, repairs rarely last. Replacing the board is usually the better fix. For vertical exterior trim, exterior filler or epoxy can work well if you prep and paint properly.
What is best for stripped screw holes in wood?
Neither putty nor basic filler is ideal for holding screw threads. For a solid fix, use wood glue and hardwood dowels or toothpicks packed tightly, then re-drill a pilot hole. For heavier loads, step up to a properly sized dowel plug.
Why does my filler patch show through paint?
Usually because the patch is more porous than the surrounding surface, or the repair was not sanded perfectly flush. A quality primer and a second coat of paint typically solve it. In tough lighting, skim another thin layer of filler, sand, then prime again.
Can I mix sawdust with glue instead?
You can, but it is best for small, paint-grade repairs. Under stain, sawdust-and-glue patches often look muddy and obvious. Modern fillers are more predictable and easier to sand smooth.
My bottom line
If you remember nothing else: wood filler is for sandable surface repairs, and wood putty is for blending small flaws on already-finished wood. Once weather is involved, choose products specifically rated for exterior use, or go straight to epoxy for anything beyond a tiny ding.
Do that, and your patches stop looking like patches.