Peeling interior paint is one of those problems that looks purely cosmetic until you start pulling at a loose edge and suddenly you are holding a potato-chip-sized sheet of paint in your hand. I have been there. The fix is not complicated, but it is very dependent on why the paint failed. If you repaint without solving the root cause, you are basically scheduling your next peeling party.
This guide will help you diagnose what is going on, then walk you through the scraping, sanding, priming, and repainting steps that give you a smooth finish that sticks.
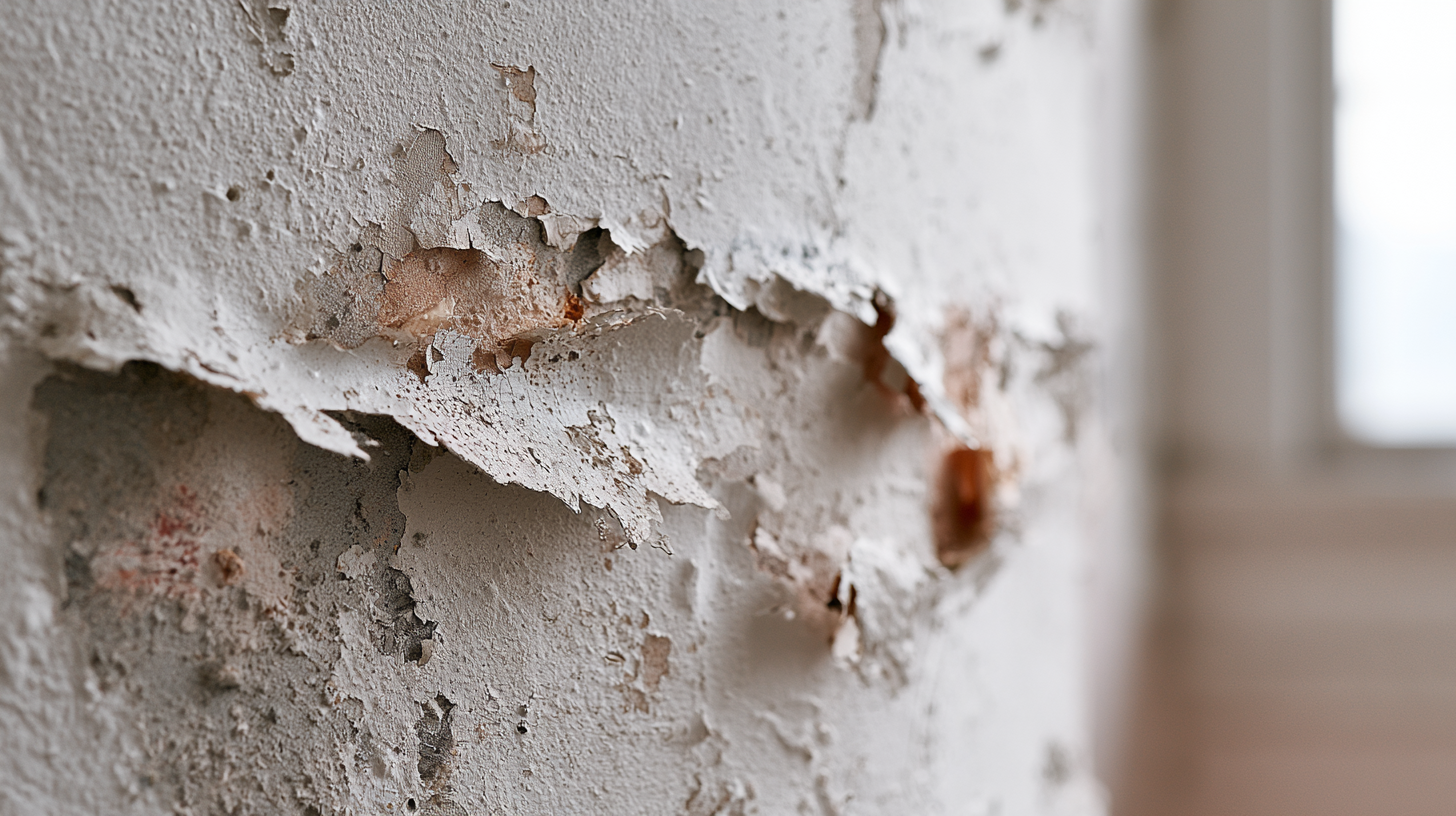
Why paint peels
Paint peels when it loses adhesion to what is underneath. That can happen because of moisture, contamination, or simply because the old surface was never prepped to accept paint.
1) Moisture behind the paint
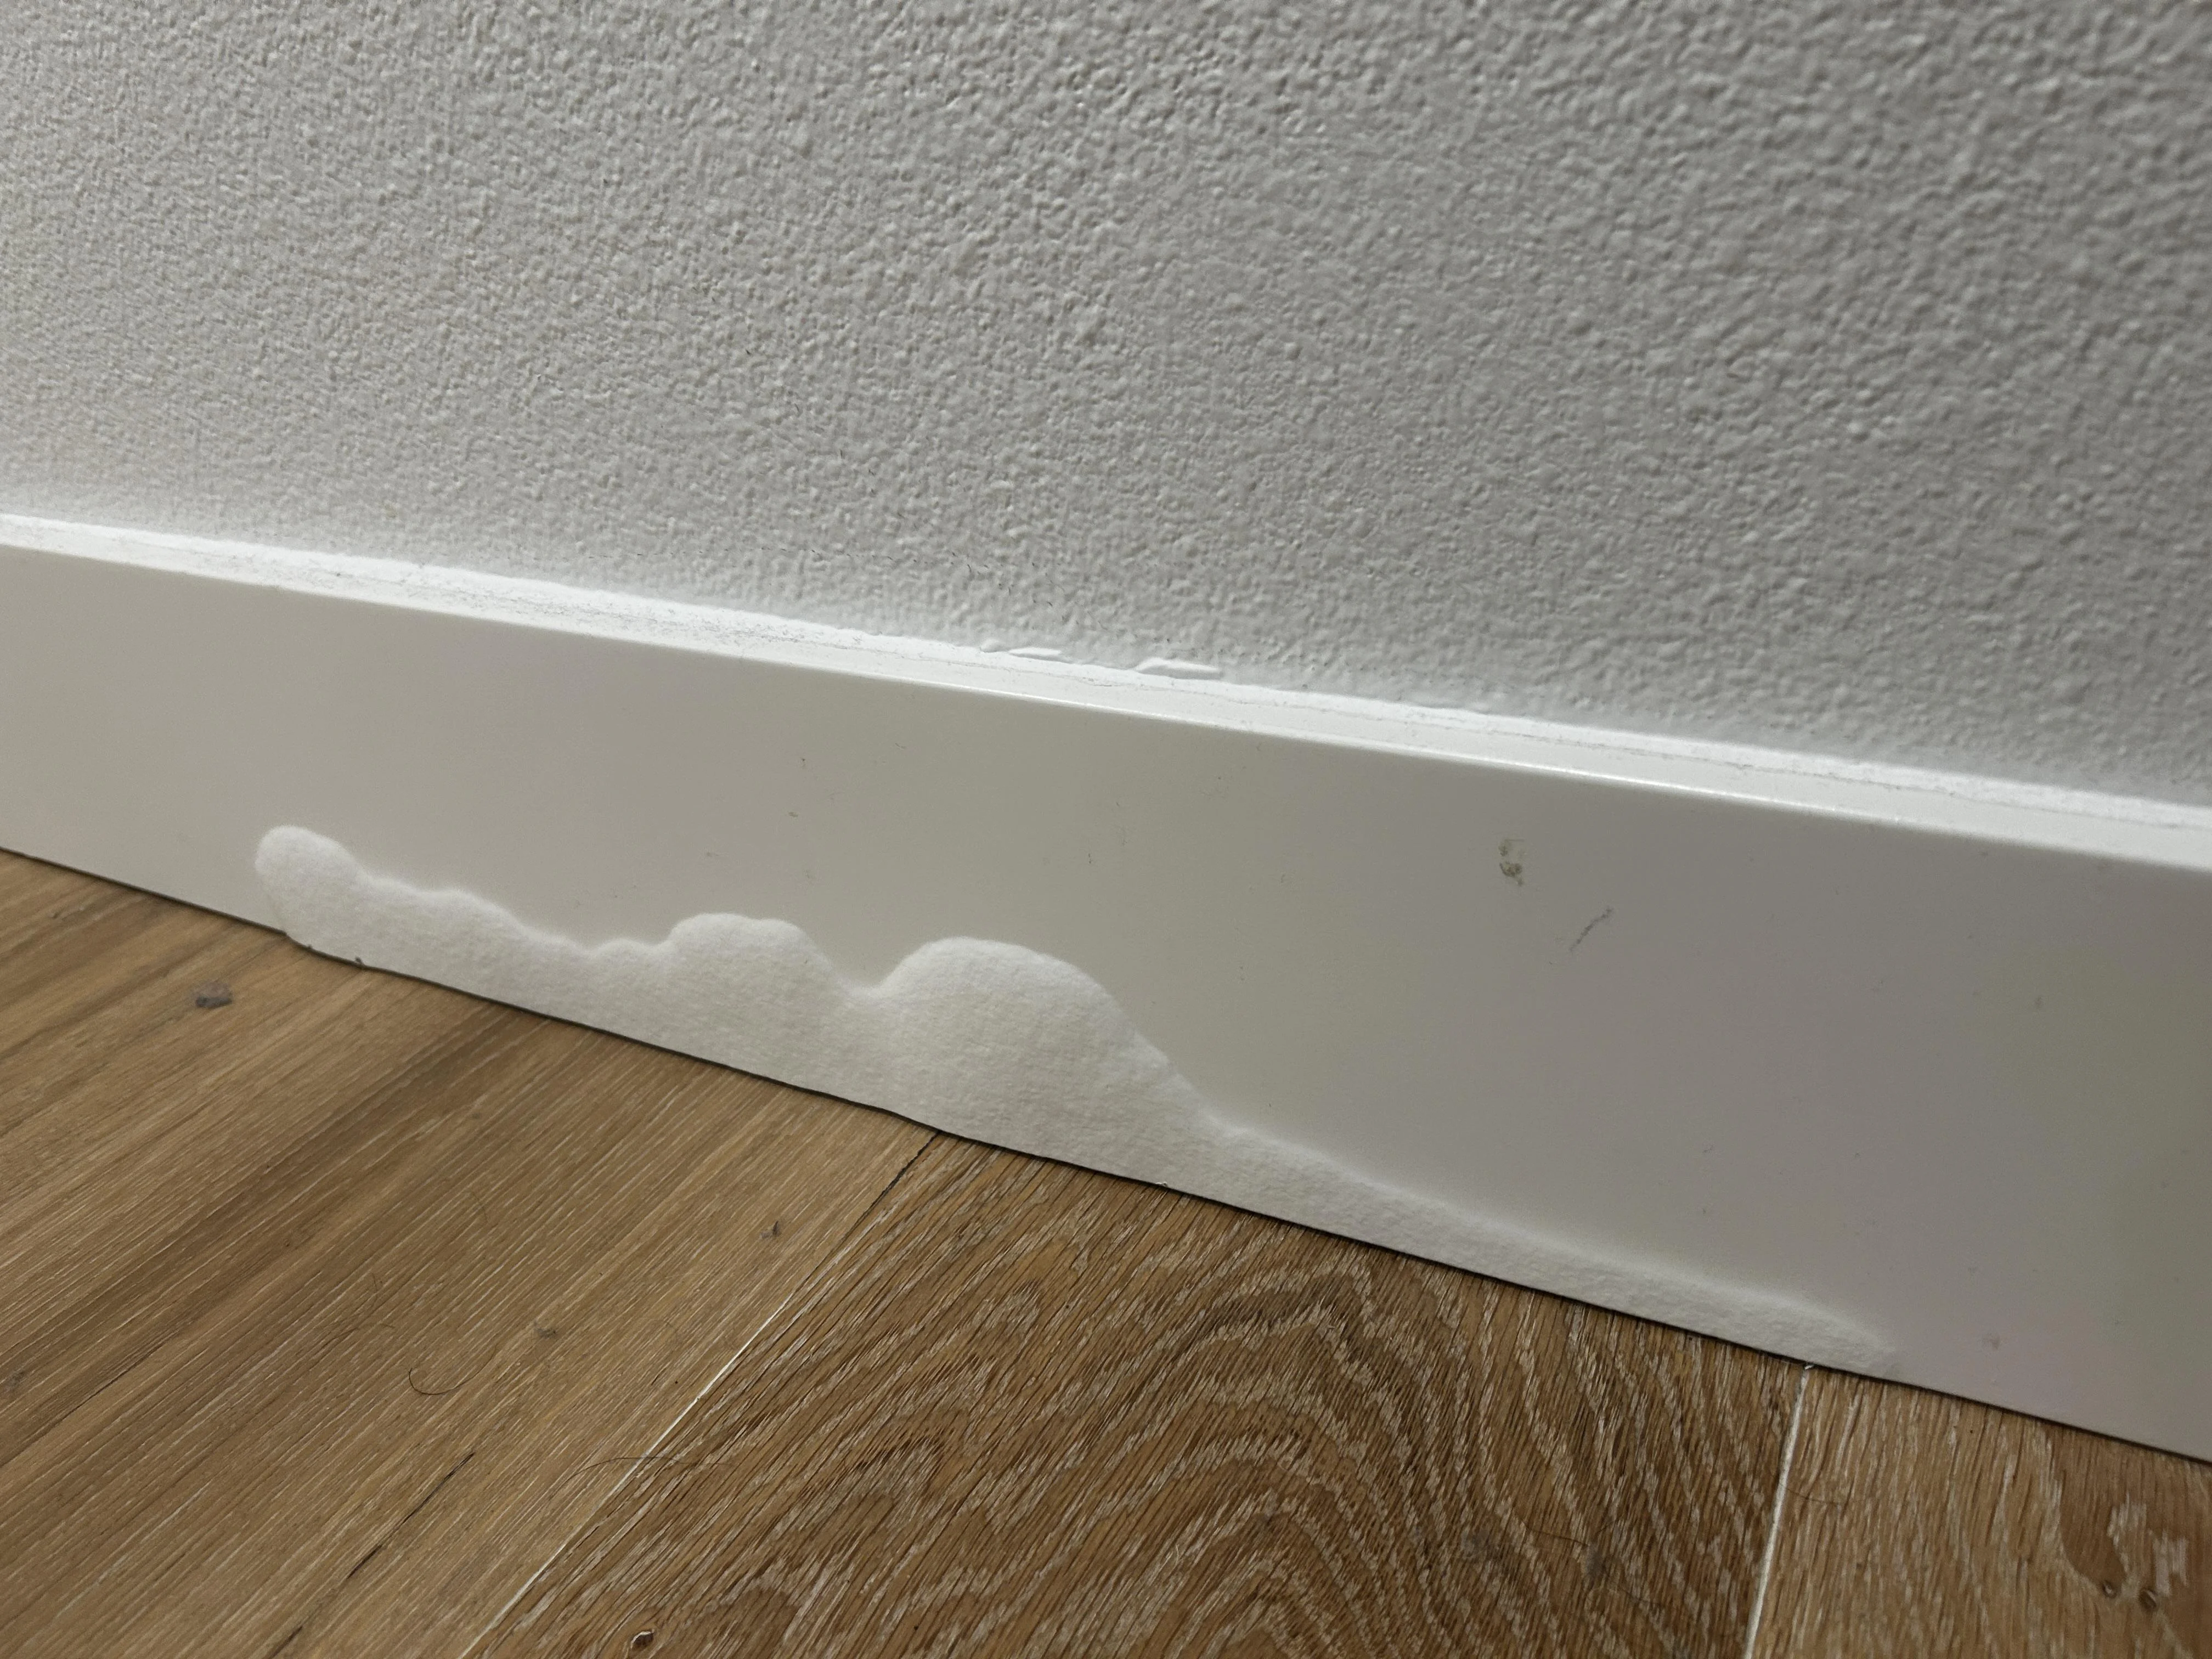
If you see bubbling, soft drywall, brown stains, or peeling that keeps returning in the same area, moisture is the first suspect. Common sources:
- Bathroom humidity (especially above showers and near ceilings without a working exhaust fan)
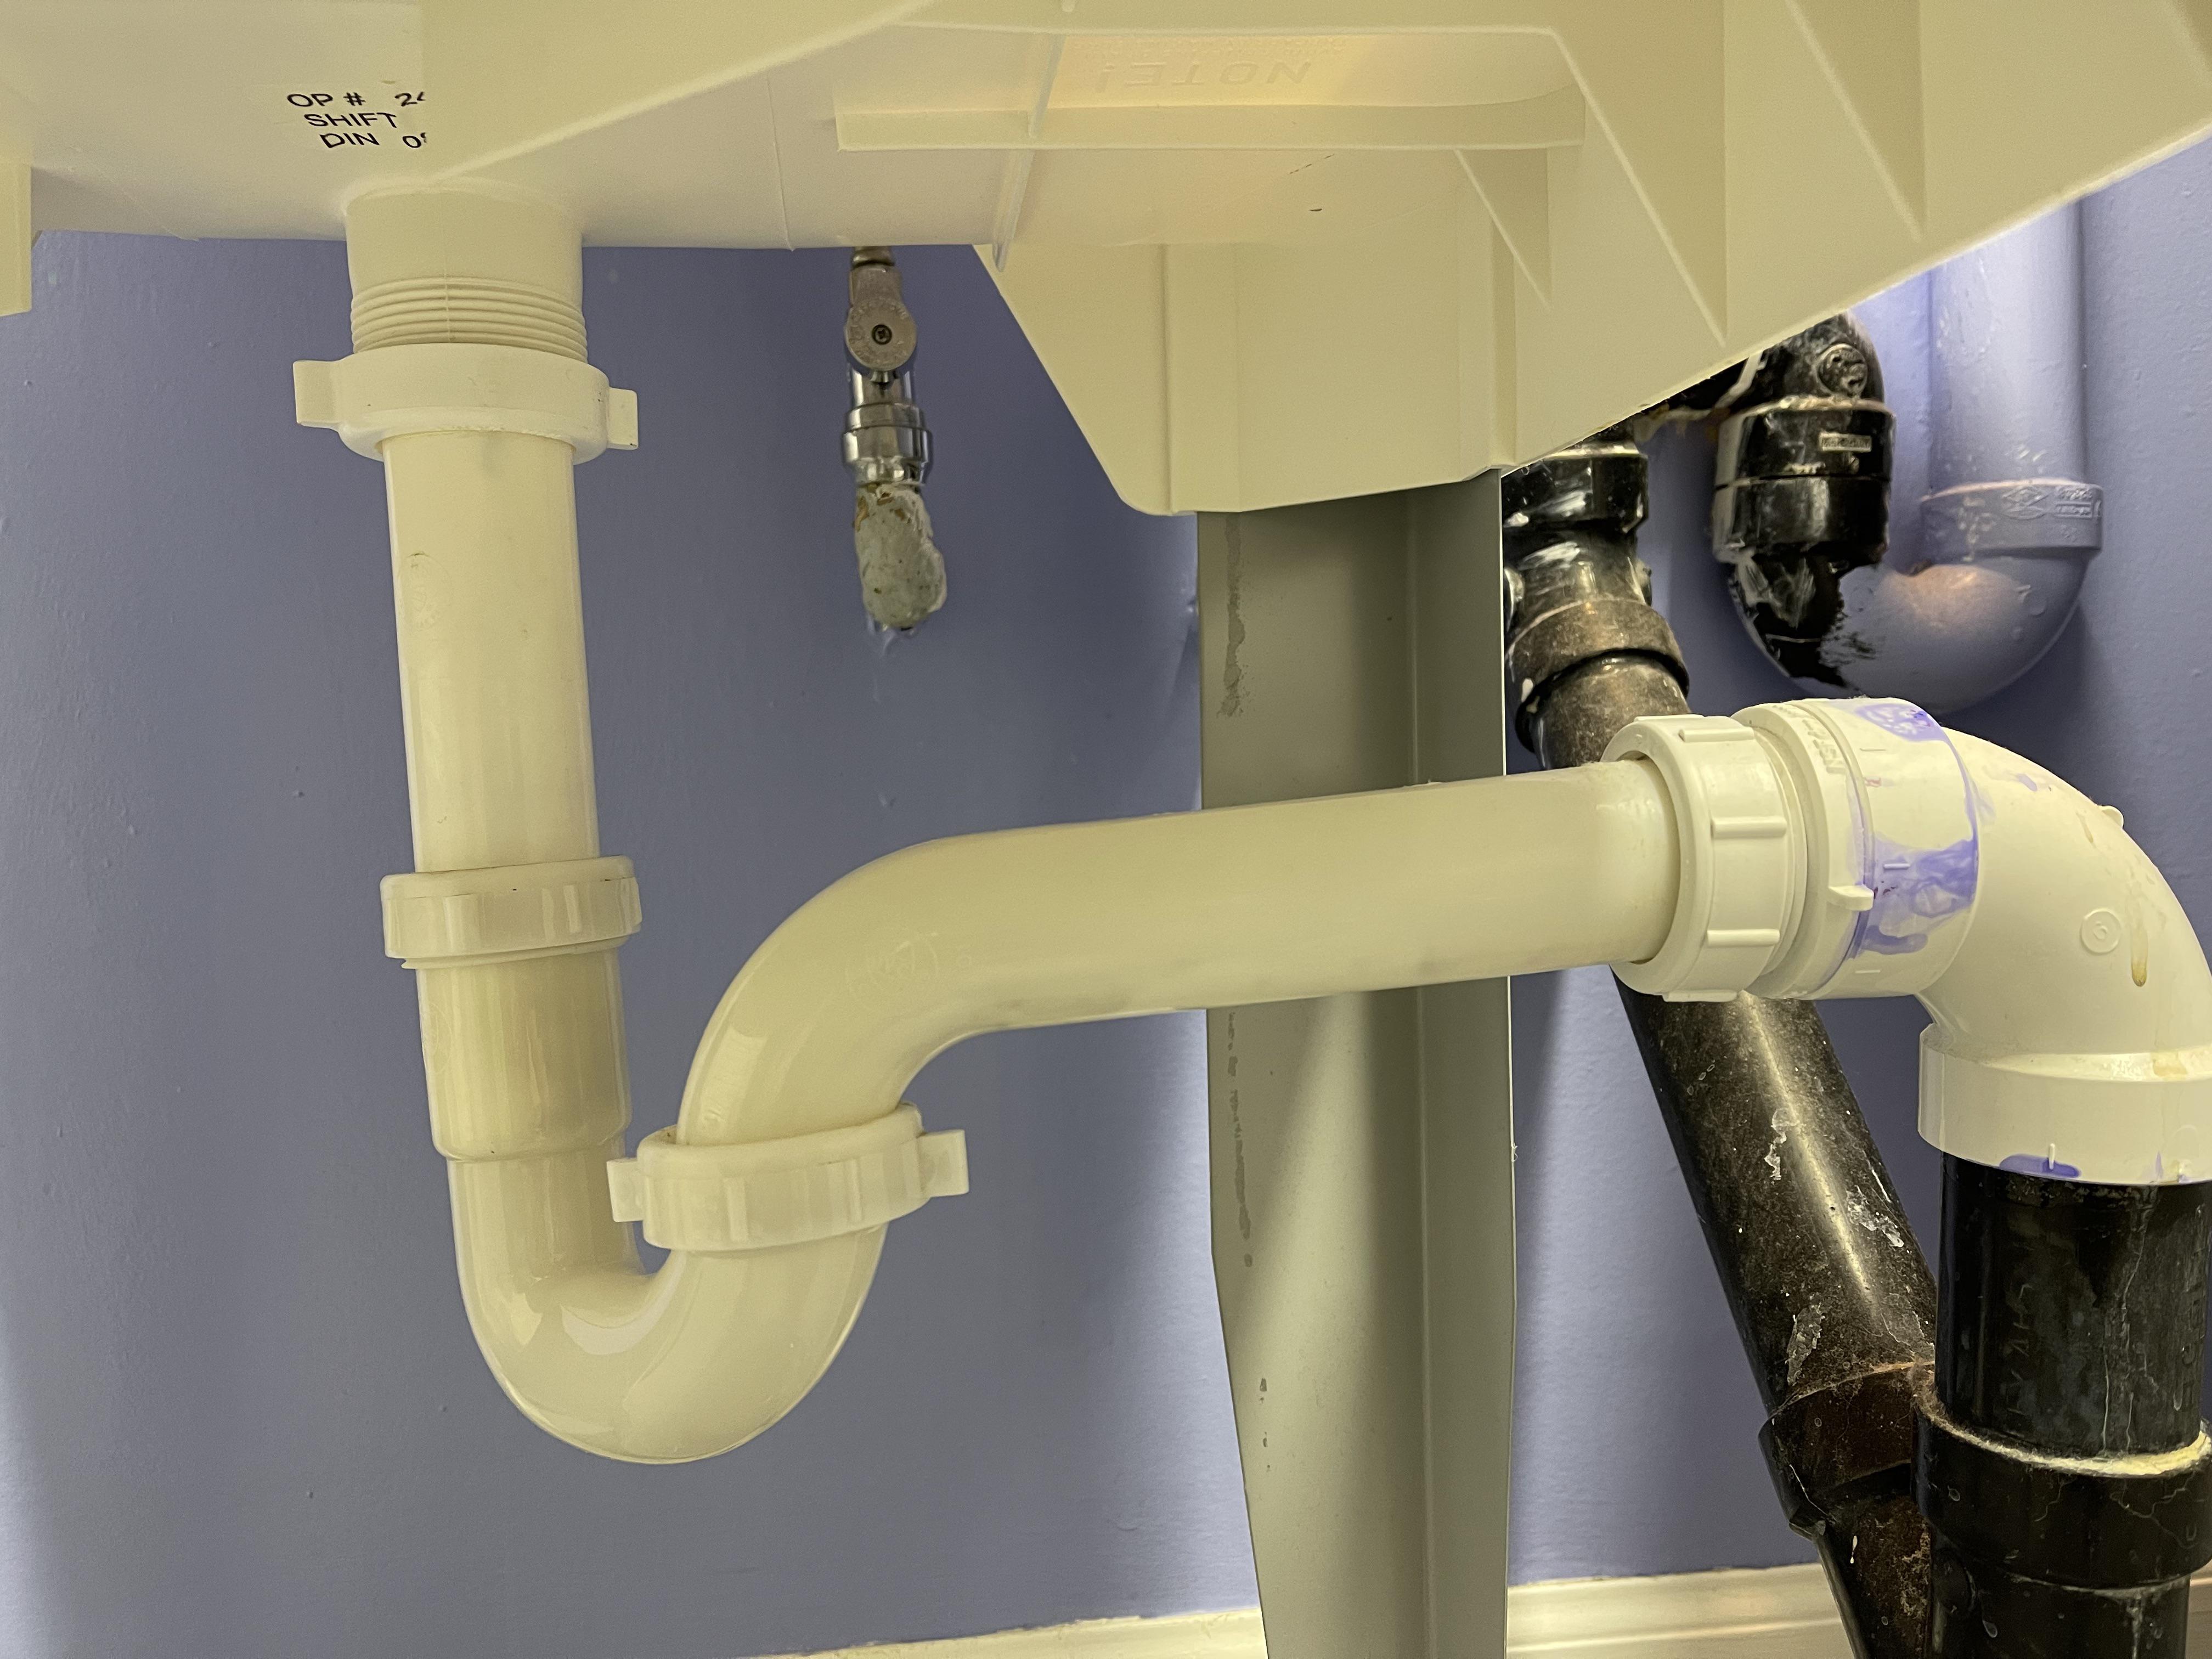
- Plumbing leaks inside a wall or from the floor above
- Exterior water intrusion (around windows, roof lines, or poorly sealed siding on the other side of the wall)
- Condensation on cold exterior walls in winter, often behind furniture
Tell-tale sign: The peeled paint may come off down to bare drywall or paper face, and the surface may feel damp or chalky even days after a shower or rain.
One more important note: If you see visible mold or you smell a persistent musty odor, do not just paint over it. Fix the moisture source first, then clean or remediate safely. If the affected area is large, keeps coming back, or anyone in the home has sensitivities, it is worth bringing in a pro.
2) Painting over a dirty or glossy surface
Kitchens, mudrooms, and around light switches collect oils and grime. Trim and doors often have glossy enamel. If paint was applied without cleaning and dulling that surface, it can release in sheets.
Tell-tale sign: Large, flexible sheets peel off and the surface underneath looks smooth and intact, almost like the paint never grabbed.
3) No primer, or the wrong primer
Primer is not optional when you have bare drywall, patched areas, water stains, or glossy surfaces. Latex paint directly on raw joint compound or drywall paper can fail. Painting latex over certain old oil-based paints without the right bonding primer is another classic.
Tell-tale sign: Peeling is worst on patches or repaired areas, or it starts at cut-in lines where the wall was spot-touched.
4) Weak drywall surfaces
If the drywall face paper is torn from aggressive scraping, or if old paint is chalky and dusty, new paint cannot anchor. It is trying to stick to powder.
Tell-tale sign: You rub the wall with your hand and get dust, or the surface feels fuzzy where the paper face is damaged.
5) Coats that were too heavy or rushed
Latex paint needs the right temperature, humidity, and airflow to dry and cure properly. Heavy coats, cold rooms, or high humidity can leave a soft paint film that later releases.
Tell-tale sign: Peeling happens along tape lines, corners, or where paint bridged over a caulk joint and then tore away.
Quick checks before scraping
Five minutes of checking can save you hours of rework.
Check for active moisture
- Look and feel: Press the drywall lightly. If it feels soft, spongy, or cool-damp, stop and find the moisture source.
- Use a moisture meter if you have one. The most practical DIY approach is to compare the problem area to a known-dry area nearby, then confirm the readings are stable and trending down over 24 to 48 hours.
- Rule of thumb: If the area is from a leak, you are typically waiting days to weeks depending on severity, airflow, and whether insulation got wet.
Do the tape test
Stick painter’s tape firmly to the painted area, then pull it off sharply. If more paint lifts easily, you likely have an adhesion problem beyond the visibly peeled spot. That means you should widen your prep area until you reach sound paint.
Figure out what paint you have
If your house is older or the walls and trim have many layers, you may have oil-based paint underneath. To check: pick an inconspicuous spot, rub with a rag dampened with denatured alcohol. If color transfers to the rag or the surface gets tacky, it is likely latex.
If nothing happens, that does not prove it is oil, because some fully cured coatings (and some grime or clear finishes) can resist alcohol. In that situation, treat it as “unknown,” avoid assuming, and use a quality bonding primer. If you need a more definitive answer, use a paint test kit or follow manufacturer guidance for a stronger solvent test, with proper ventilation and care.
Tools and materials
- Drop cloths and painter’s tape
- Safety glasses and a dust mask or respirator (especially when sanding)
- Putty knife or 5-in-1 tool
- Scraper with replaceable blades
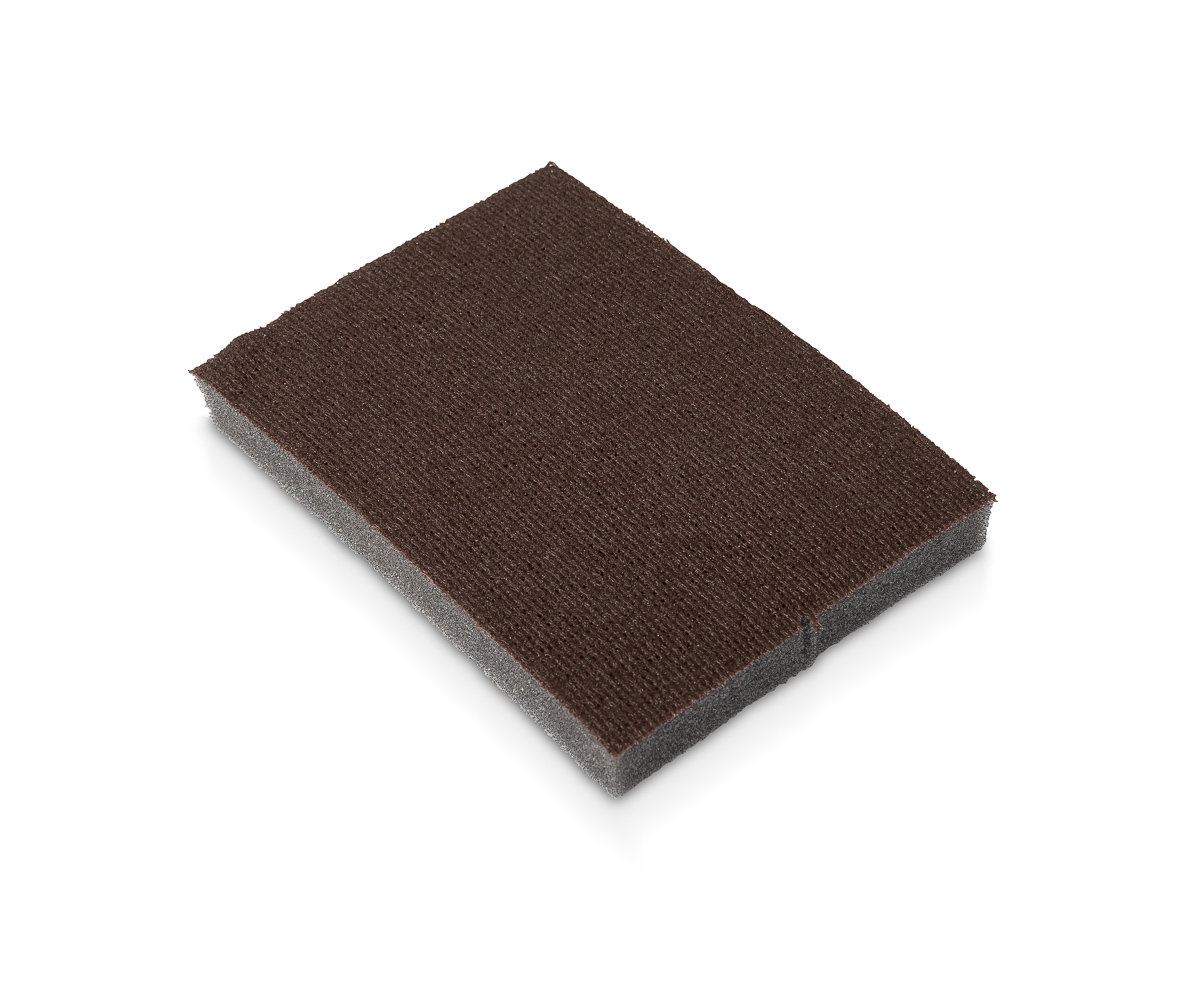
- Sanding sponge (medium and fine) or sandpaper (120 and 220 grit)
- Shop vacuum with brush attachment
- Degreaser or TSP substitute, sponge, and bucket
- Spackle or setting-type joint compound for repairs
- Drywall knife (6 inch is fine for small patches)
- Primer matched to the problem (details below)
- Quality interior paint (eggshell or satin for most walls, semi-gloss for baths if you prefer)
- Good brush for cut-in and a 3/8-inch nap roller for most drywall
Step-by-step fix
The goal is simple: remove anything loose, feather the edges, repair the substrate, then lock it down with the right primer so your paint has something solid to bite into.
Step 1: Protect the room
- Lay down a drop cloth. Paint chips travel farther than you think.
- Tape off trim and switch plates, or remove plates entirely.
- Open a window or run a fan for ventilation.
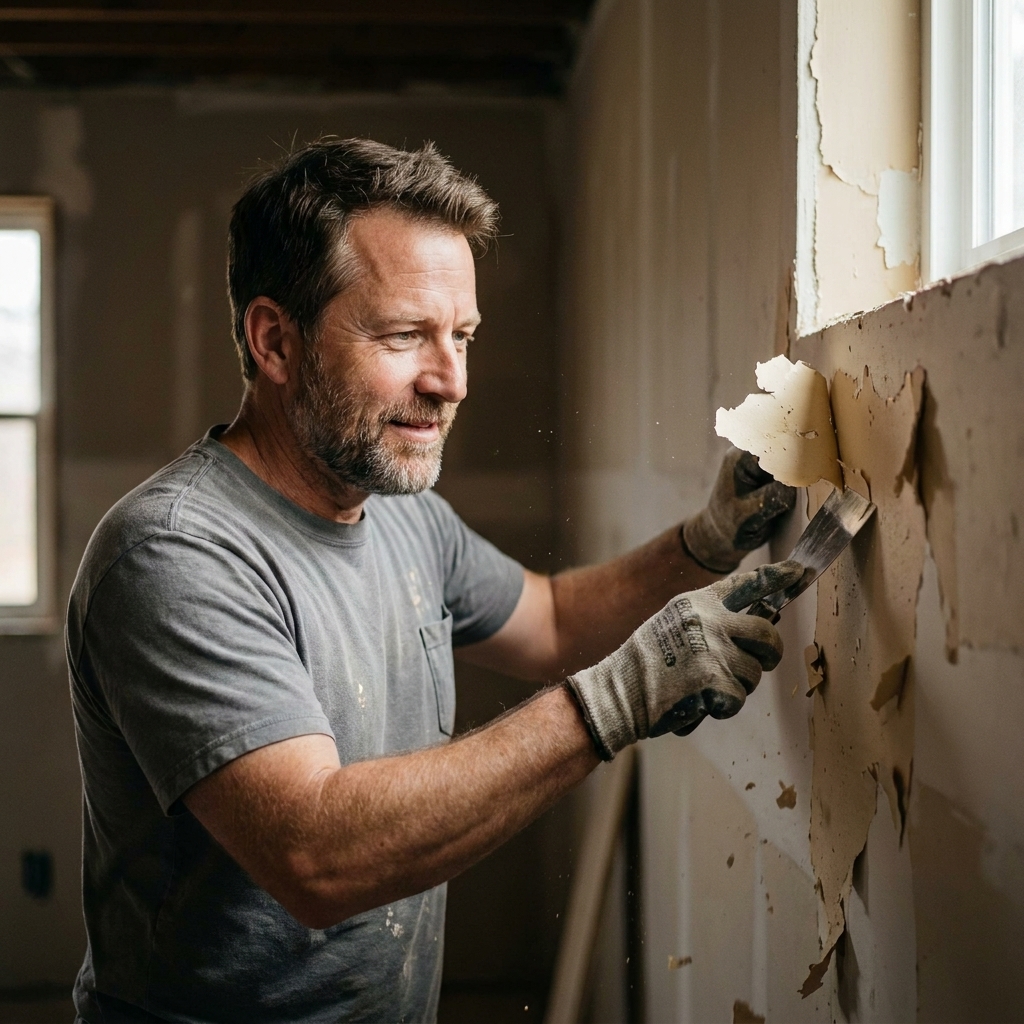
Step 2: Scrape to sound paint
Use a putty knife or scraper and work from the loose edge toward the tight paint. Do not stop at the obvious peel line if surrounding paint lifts easily. Keep going until the paint stops “unzipping.”
My rule from job sites: If I can lift it with light pressure, it is coming off now, not later.
Step 3: Sand and feather
This is where most DIY paint jobs win or lose. If you repaint over a sharp ridge where old paint ends, you will likely see that ridge after painting.
- Start with 120 grit to smooth the edge where paint transitions to bare surface.
- Finish with 220 grit to refine the surface so it feels uniform.
- Run your fingers over the area with your eyes closed. If you can feel a step, you will probably see it after painting.
Step 4: Clean thoroughly
Dust and grease are silent paint killers.
- Dust: Vacuum, then wipe with a damp cloth.
- Grease or soap film: Wash with a degreaser or TSP substitute, rinse with clean water, and let dry.
Do not prime over sanding dust. Primer will glue that dust to the wall and your topcoat will bond to dust, not drywall.
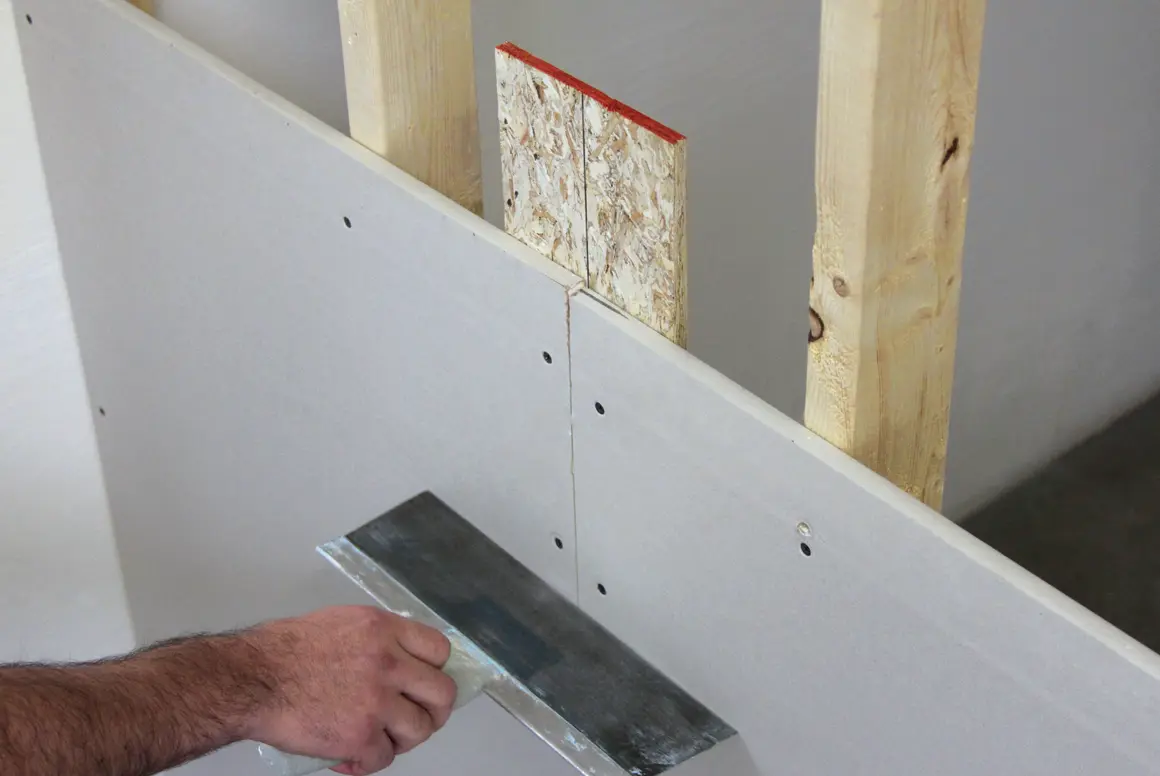
Step 5: Repair drywall (or replace it)
If scraping tore the drywall face paper, do not just mud over it and hope. The paper fibers swell and you end up with bubbles and blisters under paint.
- For torn drywall paper: Seal first with a shellac-based sealer primer or a dedicated problem-surface sealer, then skim with compound.
- For small divots and chips: Fill with spackle, let dry, sand smooth.
- For bigger areas: Use setting-type joint compound for strength, then a skim coat if needed.
If the drywall is soft, swollen, crumbling, or the paper face is delaminating across a wide area, replacement is often faster and more durable than trying to patch it back into shape.
Step 6: Choose the right primer
Here is the straight talk: “primer is primer” is how you end up repainting the same wall twice.
- For adhesion over glossy paint or questionable old coatings: Use a bonding primer.
- For water stains or smoke stains: Use a stain-blocking primer, often shellac-based or oil-based for severe stains.
- For torn drywall paper and rough problem areas: Use a shellac-based sealer or problem-surface sealer primer before any mud work.
- For bare drywall and patches: Use a PVA drywall primer or high-quality interior primer to even out porosity.
Important: If moisture caused the peeling, primer will not save you until the moisture source is fixed and the wall is fully dry.
Shellac primer heads up: It works incredibly well, but it is solvent-heavy. Ventilate the room, follow the label, and let it dry fully. Once cured, it is typically compatible with latex topcoats, but the can is the boss.
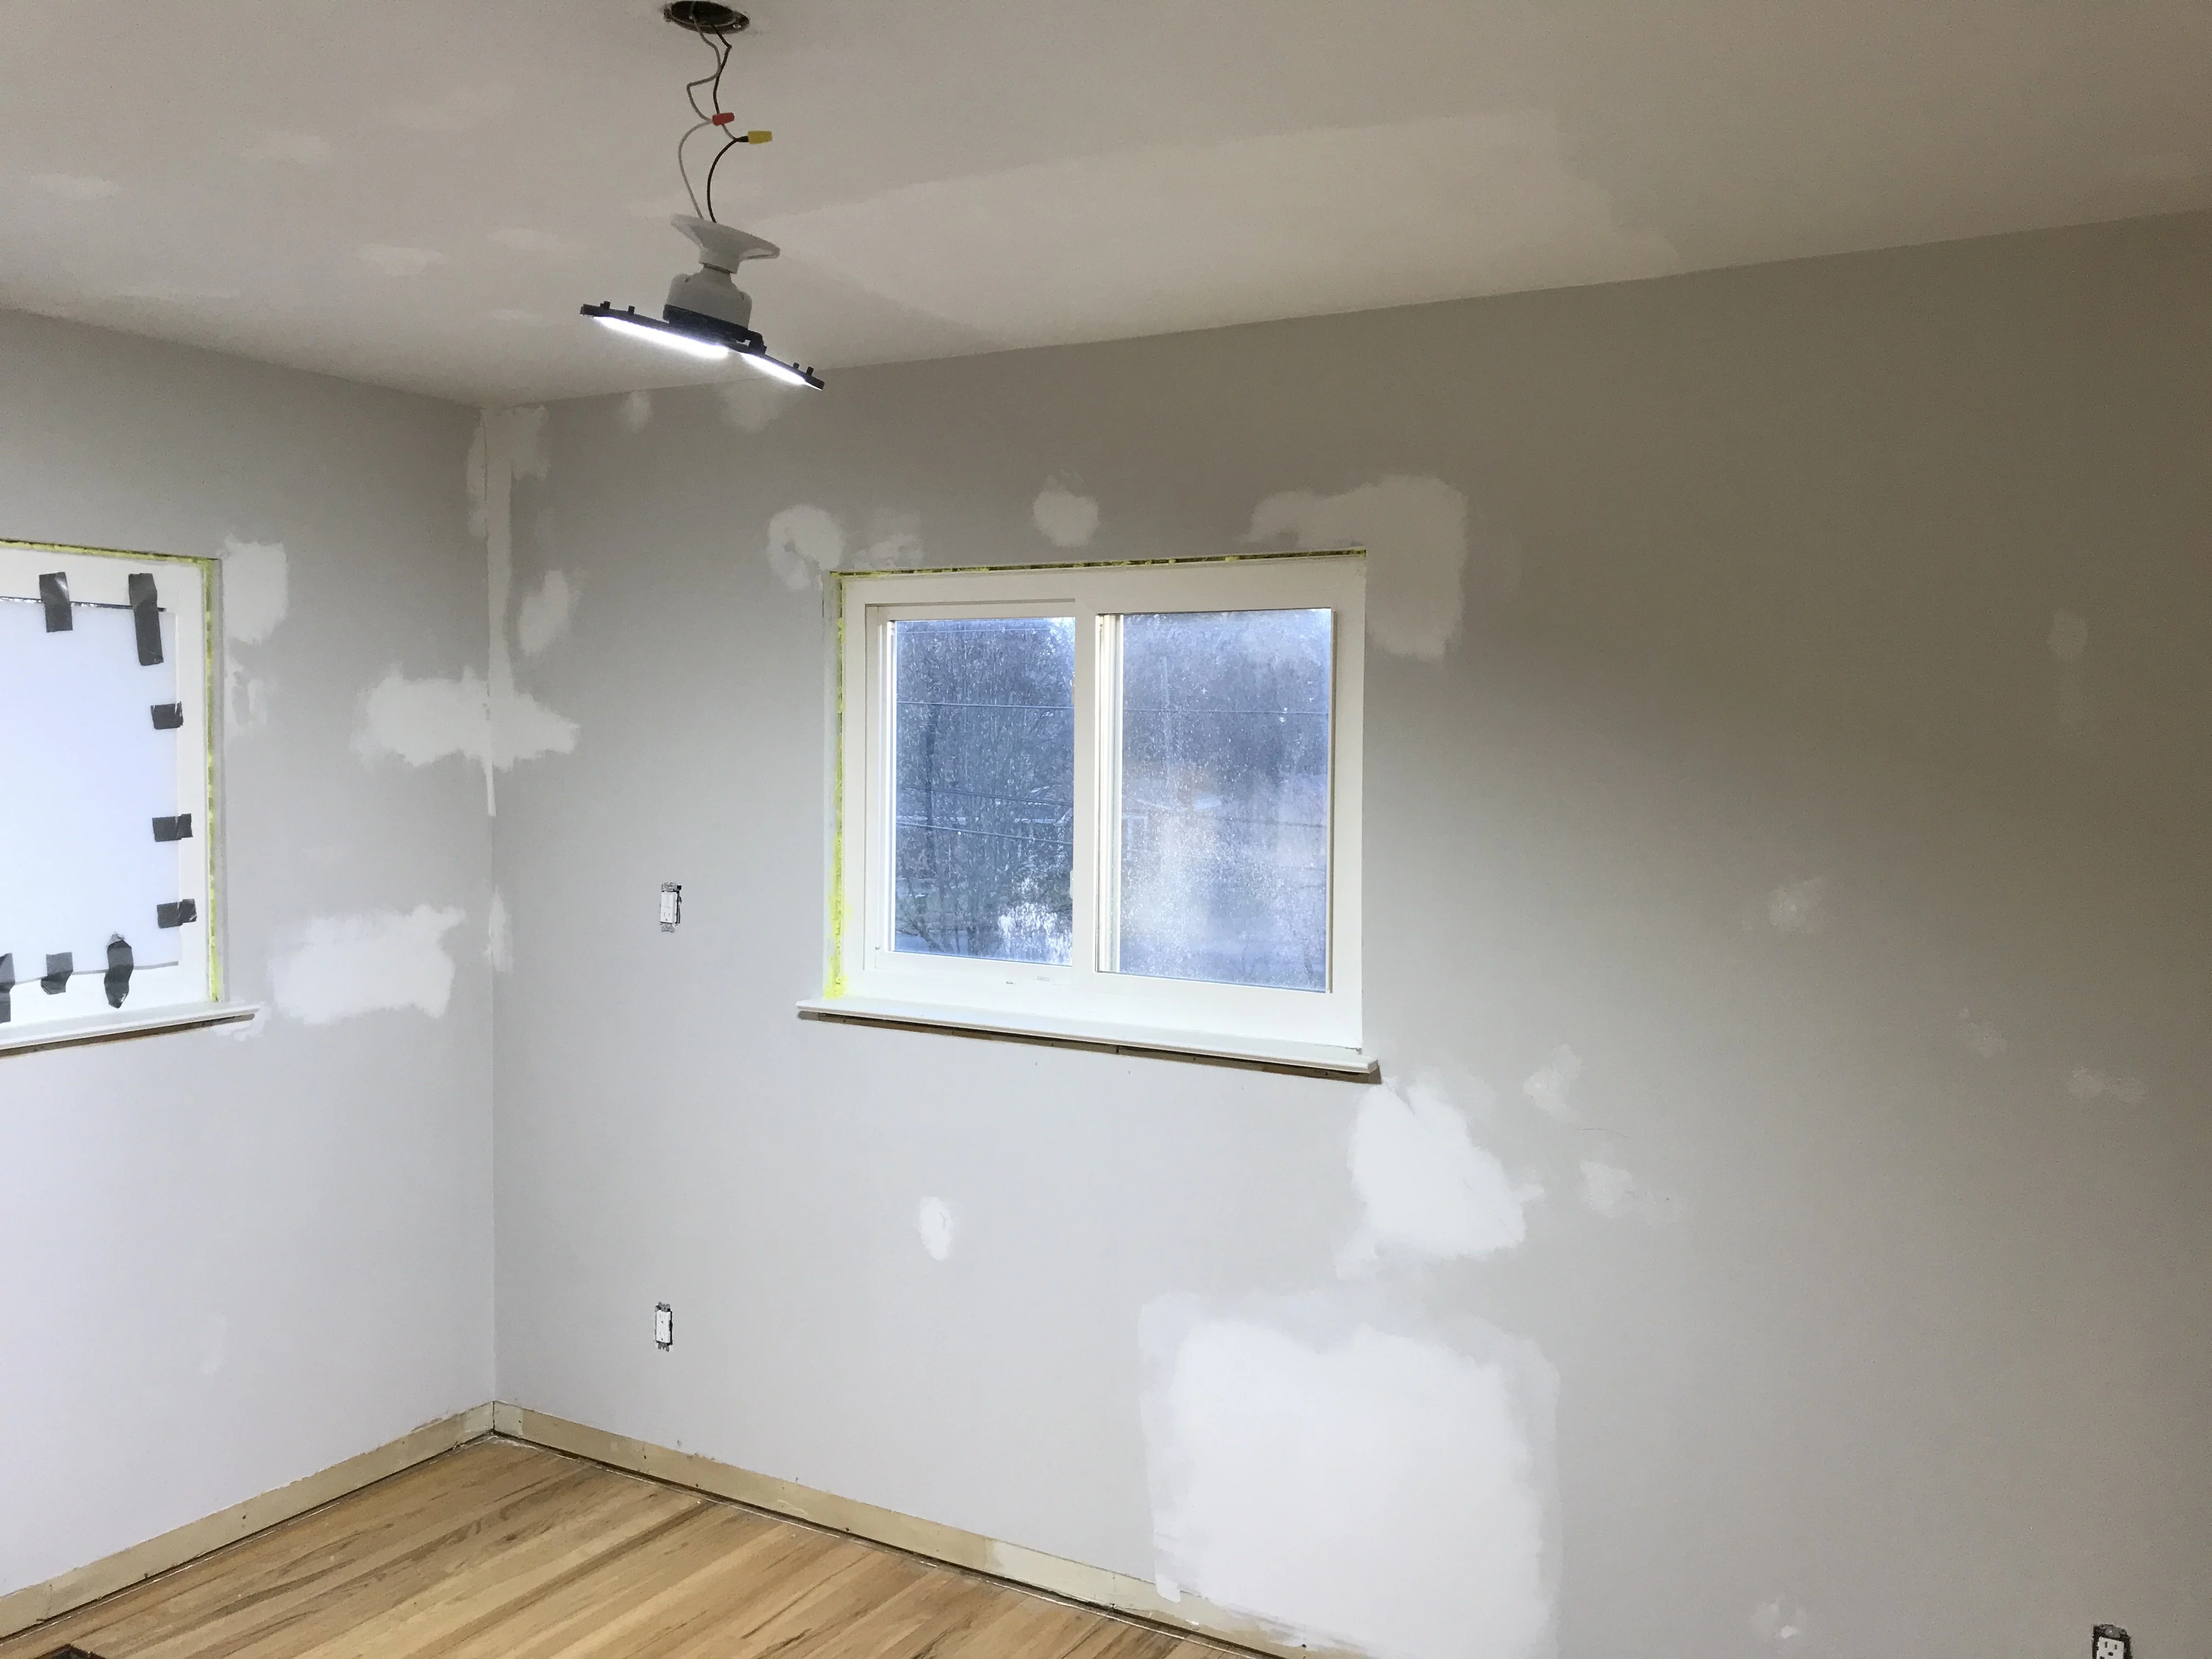
Step 7: Prime wider than the patch
Prime beyond the repair so you are not painting onto multiple porosity zones. That helps prevent flashing, those dull or shiny patches that show up when light hits the wall just right.
Step 8: Paint two finish coats
- Cut in edges first, then roll the field while the cut-in is still wet when possible.
- Use two thinner coats rather than one heavy coat.
- Keep a wet edge and avoid over-rolling as paint starts to tack up.
Let the first coat dry per the can, then do the second. Paint that feels dry to the touch is not always ready for abuse.
Timing tip: Recoat times are often a few hours, but full cure can take a couple of weeks (sometimes longer in cool or humid rooms). Be gentle with washing and heavy scrubbing until the paint has had time to harden.
Special situations
Bathrooms with poor ventilation
If peeling is on the ceiling or above the shower, you can prep and repaint perfectly and still lose. Fix the humidity problem first:
- Make sure the exhaust fan actually vents outside, not into the attic.
- Clean the fan grille and housing. Dust can cut airflow dramatically.
- Run the fan during showers and for 20 to 30 minutes after.
- Consider a bath-rated paint with mildew resistance. Many modern bath paints perform well even in matte or eggshell, so sheen is not your only moisture strategy.
Kitchens and greasy walls
Degrease like you mean it, especially above the stove and near trash cans and doorways. A bonding primer is often the safest bet if you suspect past paint failed due to contamination.
Peeling only on patches
This is almost always a primer issue, a sanding issue, or both. Joint compound and spackle soak paint differently than surrounding wall. Prime patches, sand smooth, then repaint.
Plaster, masonry, and chalky walls
This guide is written for typical painted drywall, but if your “wall” is actually plaster, concrete, or masonry, peeling can also be caused by alkalinity, efflorescence, or chronic moisture movement. In those cases, you may need a masonry-appropriate sealer or primer and you may need to address the moisture source more aggressively.
How much peeling is too much?
If you are dealing with a few isolated spots, you can spot-repair and blend. If paint is failing across an entire wall and the tape test pulls paint off in multiple places, you will get better results by:
- Scraping all loose paint broadly
- Sanding to a uniform surface
- Priming the whole wall
- Repainting the whole wall corner-to-corner
It sounds like more work, but it is often faster than trying to hide a patchwork of different textures and sheen.
Safety basics
- Lead paint: If your home was built before 1978, assume lead paint is possible. Test before you dry-sand, power sand, or do anything that makes dust. If lead is suspected, wet scraping and wet sanding reduce dust, and HEPA cleanup is a must. For big jobs, hire a certified pro.
- Respiratory protection: Sanding dust is no joke. Wear a proper mask or respirator and keep the area ventilated.
- Solvent primers: Shellac and some stain blockers have strong fumes. Ventilate well and follow label directions.
- Ladders: Do not overreach when scraping ceilings. Move the ladder. Your shoulders will complain, but your ankles will thank you.
If you are dealing with ongoing leaks, widespread water damage, sagging ceilings, or any situation where mold or structure is a concern, calling a pro is not defeat, it is good judgment.
If it starts peeling again
It peeled again within weeks
- Moisture source still active
- Surface was dusty or greasy under the primer
- Wrong primer for the substrate (especially glossy or unknown coatings)
- Paint was recoated too soon in cool, damp conditions and never cured properly
You see bubbles under the new paint
- Moisture or humidity trapped under the film
- Painting over torn drywall paper that was not sealed
- Heavy coats that skinned over too fast
The repair looks smooth, but you see shiny or dull patches
- Unprimed patches or spot-priming too narrowly
- Uneven sanding or leftover dust
- Different sheen paint used for touch-ups
FAQ
Can I just paint over peeling paint?
No. Paint only sticks as well as what it is stuck to. If the underlying layer is loose, your new coat will peel right along with it.
Do I have to sand after scraping?
Yes if you want it to look right. Scraping removes loose paint. Sanding feathers edges and helps primer and paint bond. If you skip sanding, you will likely see ridges and picture framing around the repair.
What primer stops paint from peeling?
No primer fixes active moisture. For adhesion problems, a bonding primer is usually the right move. For stains, use a stain-blocking primer. For torn drywall paper, seal it with a shellac-based sealer or problem-surface sealer before you patch and paint.
How long should I wait to paint after a leak?
Until the wall is fully dry. That can be several days for a minor incident with good airflow, or much longer if insulation got wet or the cavity stayed damp. If the wall feels cool or reads high on a moisture meter compared to a known-dry area, wait.
The formula that lasts
If you remember nothing else, remember this: fix moisture, remove anything loose, clean like a prep cook, feather the edges, then prime for the specific problem. Do that, and your repaint will look better and last longer than the original job.