If your showerhead is dribbling, spraying sideways, or leaving a mystery puddle on the tub ledge, don’t assume you need a plumber. Replacing a showerhead is one of the quickest wins in bathroom DIY, and leaks at the shower arm are usually caused by dirty threads, not enough thread sealant, or a loose connection. Other common culprits are cross-threading, a cracked coupling, damaged threads, or (on some designs) a missing or pinched washer.
I’ve installed plenty of showerheads as a contractor, and I’ve also been the guy who overtightened one and scratched the finish. Let’s do it the clean way so you end up with a solid, drip-free connection in minutes.
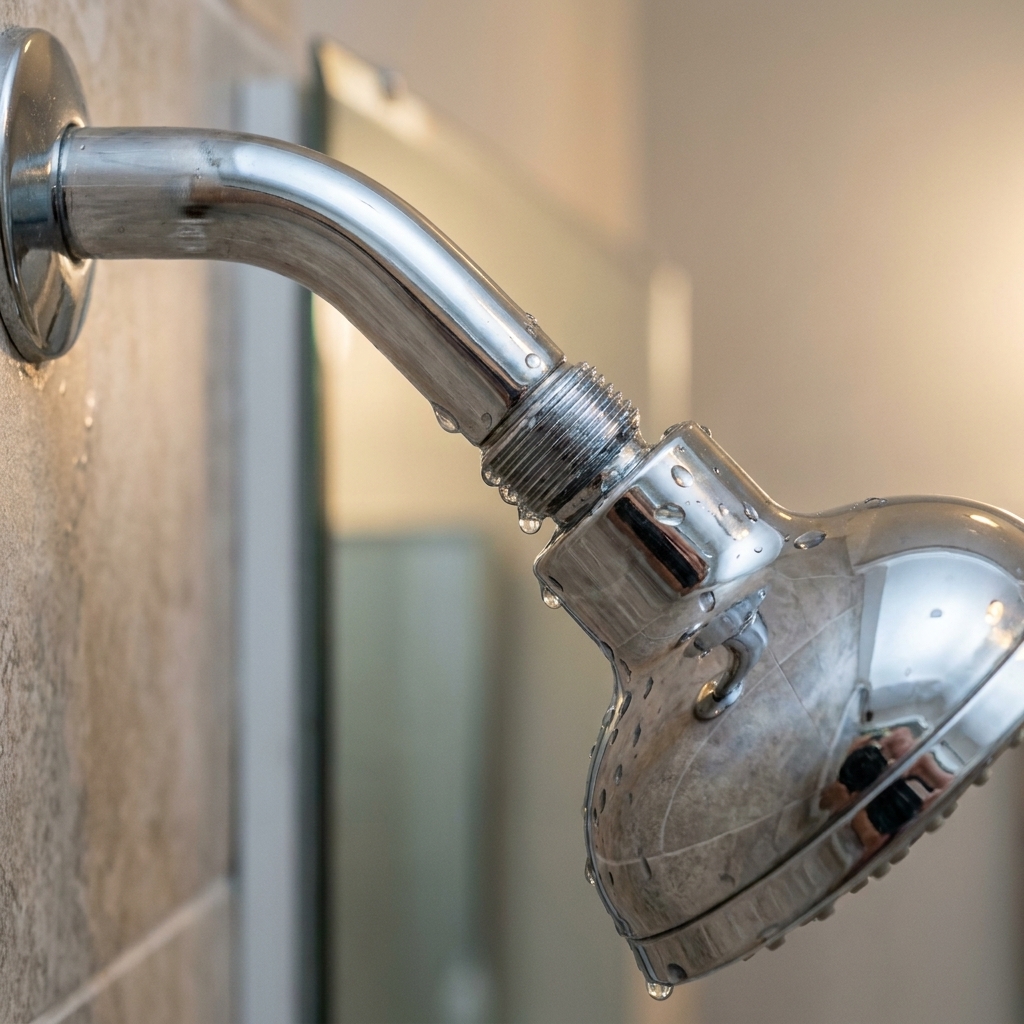
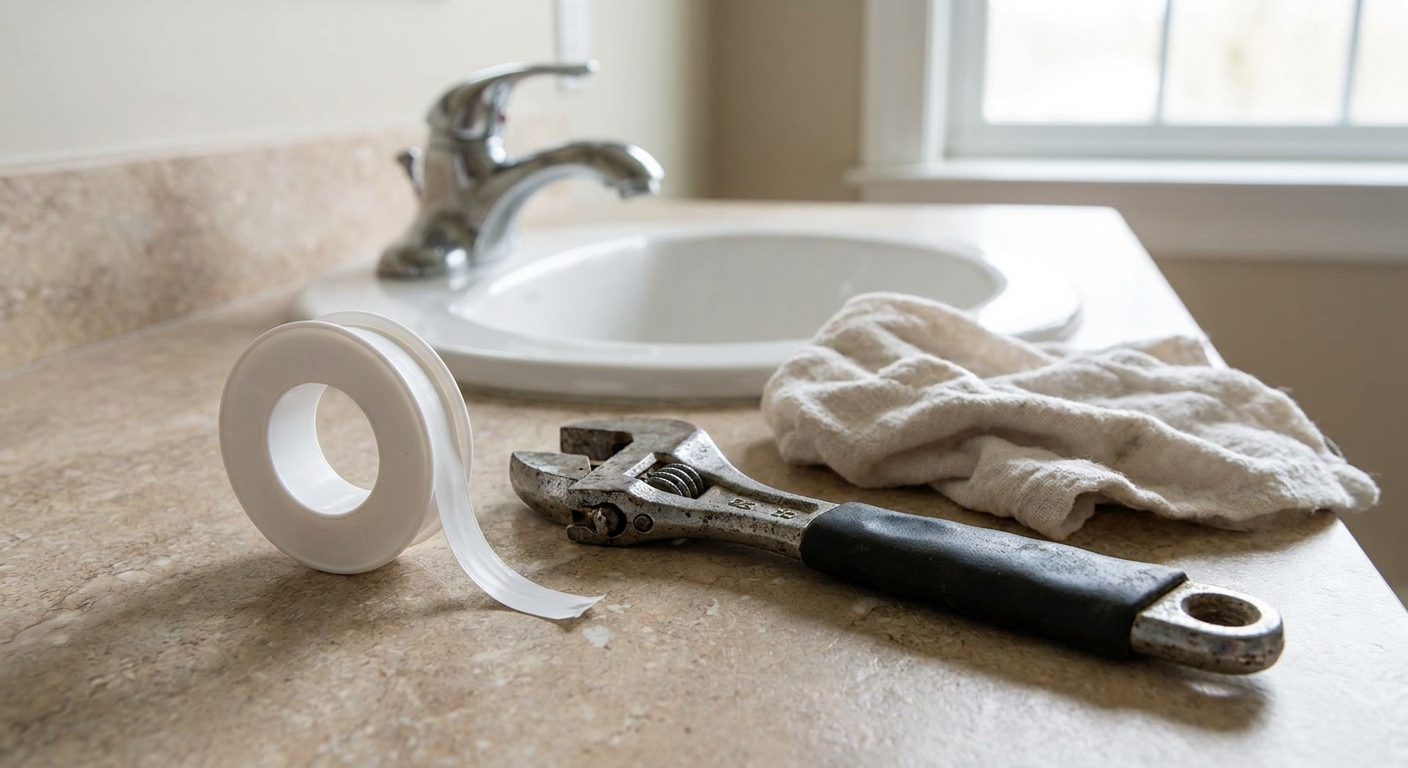
What you’ll need
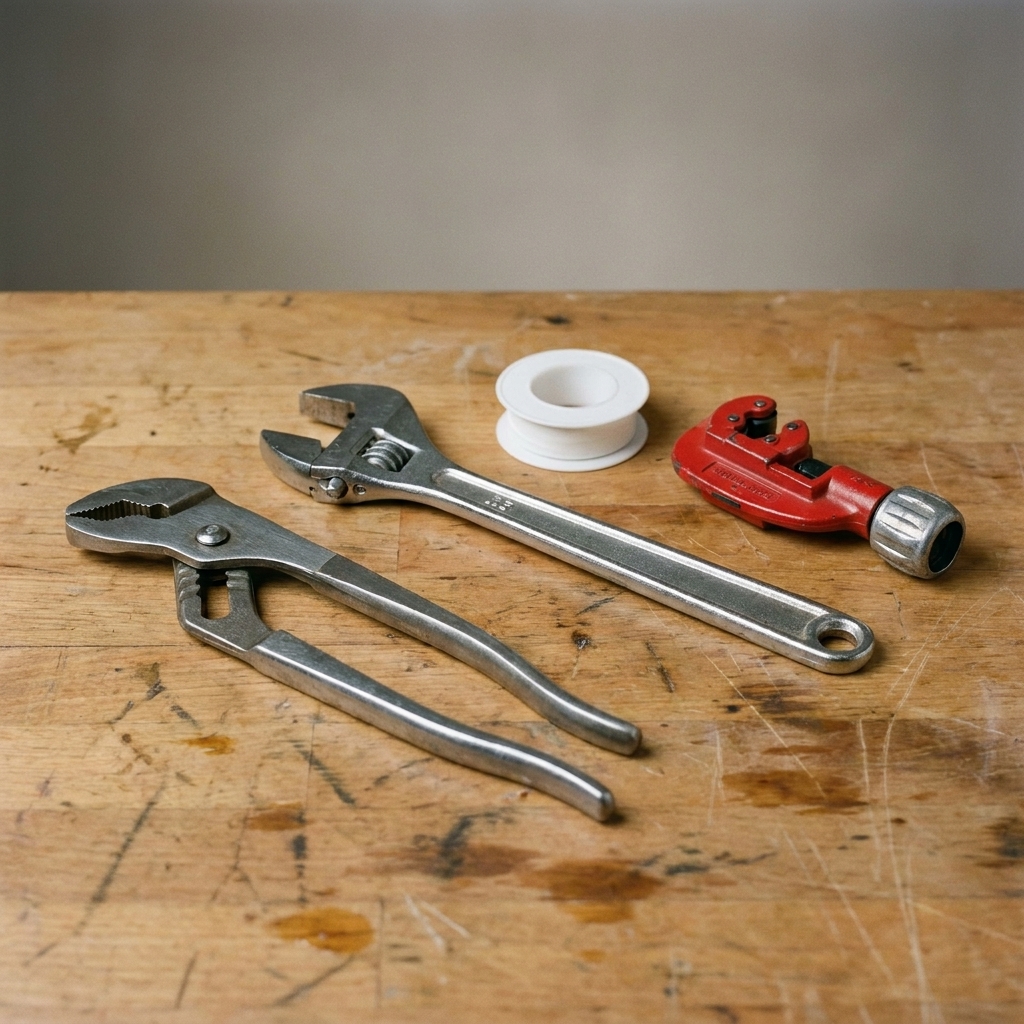
You can do this with basic hand tools. If you only buy one thing, make it a roll of quality PTFE tape. It solves a lot of “why is this still leaking?” moments.
- New showerhead (and any included rubber washer)
- Adjustable wrench or smooth jaw pliers
- Soft cloth or an old rag (to protect finishes)
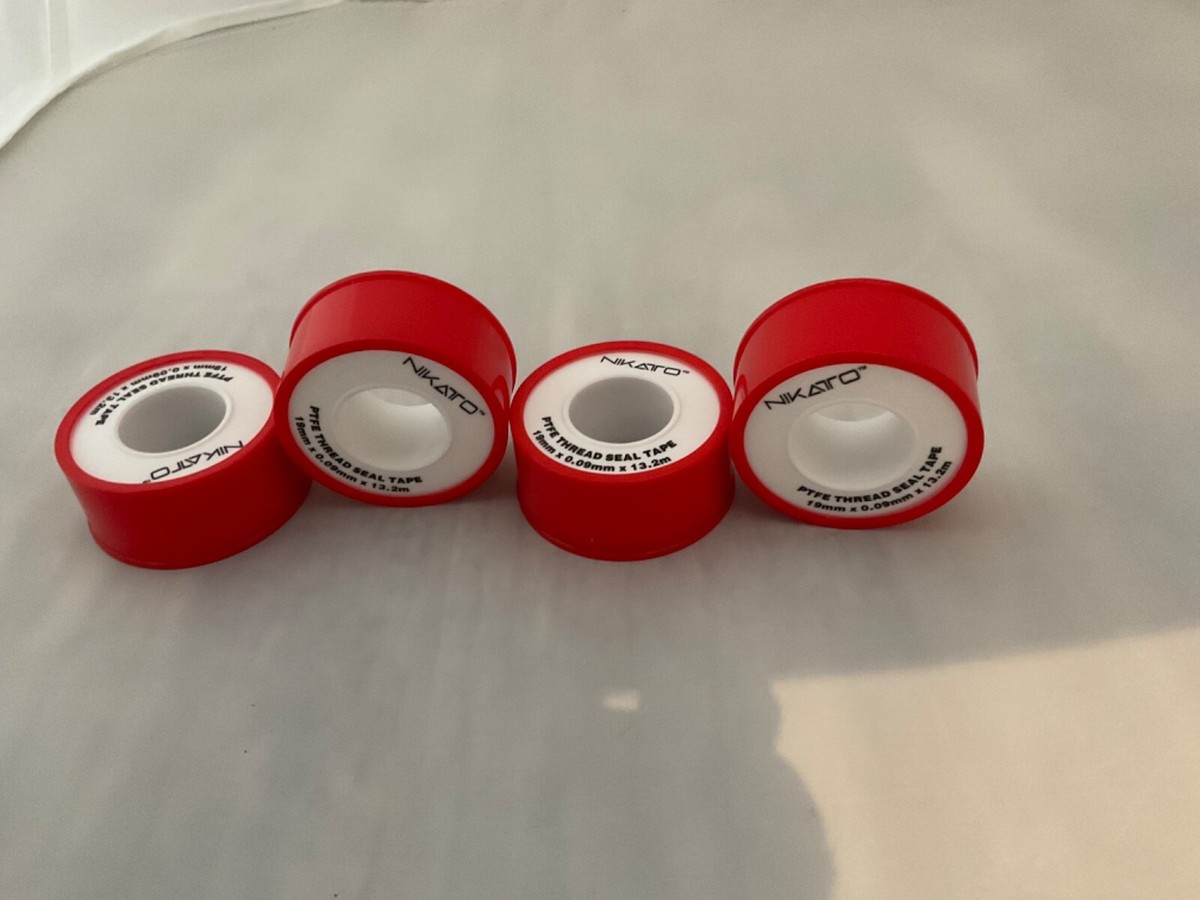
- PTFE thread seal tape (often called Teflon tape)
- Optional: pipe joint compound (pipe dope), rated for potable water
- Old toothbrush or small nylon brush
- Paper towels
- Optional: towel for the tub floor (to protect tile or fiberglass)
Good to know: In North America, most standard shower arms and showerheads use 1/2-inch NPT (often sold as 1/2-inch IPS/NPT). If you bought a standard showerhead, it should fit a standard shower arm. Outside North America, thread sizes and standards can vary.
Also: Some showerheads use a straight-thread swivel nut that seals with a rubber washer rather than the threads. In that case, the washer does the real sealing, and tape is mainly there for minor gap filling and easier removal. Follow the showerhead instructions if they specify a particular seal method.
Before you start: find the leak
Water can travel along the shower arm and drip from the lowest point, which makes the leak look like it’s coming from somewhere else. Take 30 seconds to confirm.
- Dry everything around the showerhead and shower arm with a towel.
- Run the shower for 20 to 30 seconds.
- Watch closely at the seam where the showerhead meets the shower arm.
If you see droplets forming right at the threaded joint, you’re in the right place. If it’s leaking from behind the wall at the escutcheon plate, that is a different repair (usually the shower arm threads into a drop ear elbow inside the wall).
Remove the old showerhead
1) Protect the finish
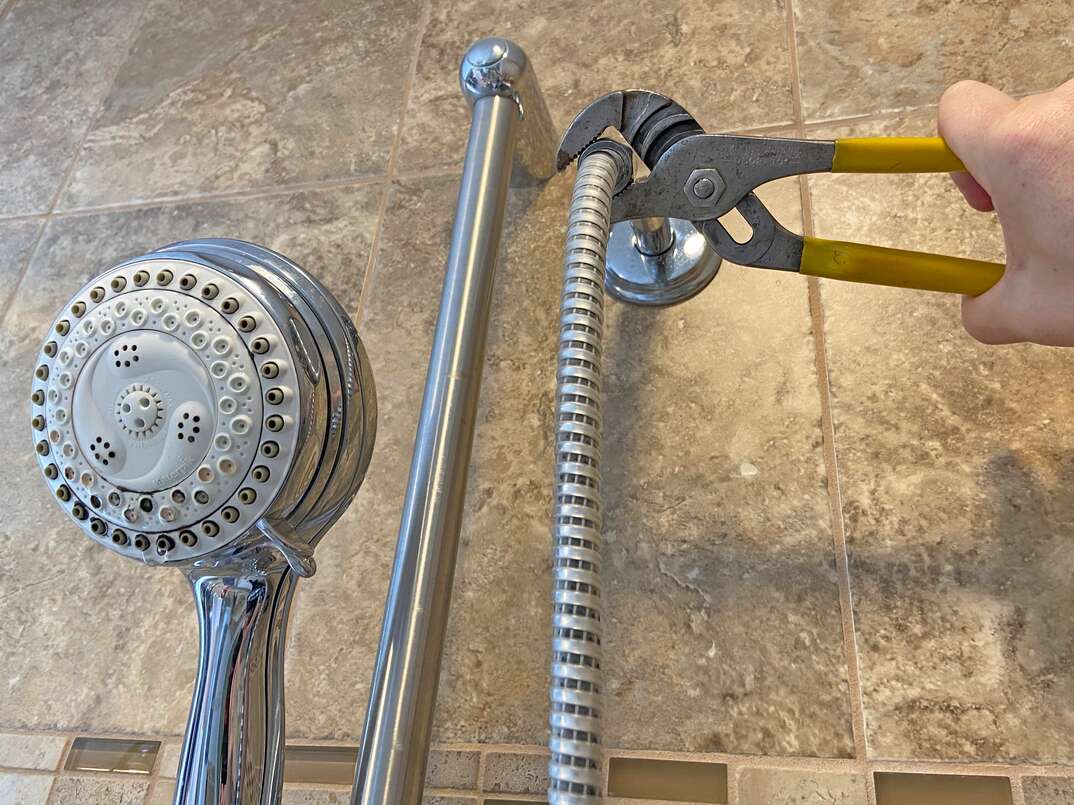
Wrap a rag around the shower arm right behind the showerhead. This gives you grip and keeps your wrench from chewing up chrome or brushed nickel.
Quick protection tip: Put a towel in the tub to protect the surface if you drop a tool.
2) Hold the shower arm steady
If you crank on the showerhead without supporting the arm, you can loosen the shower arm inside the wall. That can turn a 10-minute job into a “why is the wall wet?” job.
- Use one hand to steady the shower arm near the wall.
- If it feels flimsy, use a second wrench (with a rag) to gently hold the arm while you loosen the showerhead.
3) Loosen the showerhead
Most showerheads loosen by turning counterclockwise. Break it free with your wrench, then spin it off by hand.
If it won’t budge: Try a little more leverage, or drip a bit of vinegar around the joint and give it 5 to 10 minutes to soften mineral buildup. Avoid blasting the wall with penetrating oil in a shower, especially if you have sensitive finishes.
Clean the threads
This is the part most people skip, then they wonder why the new showerhead still leaks.
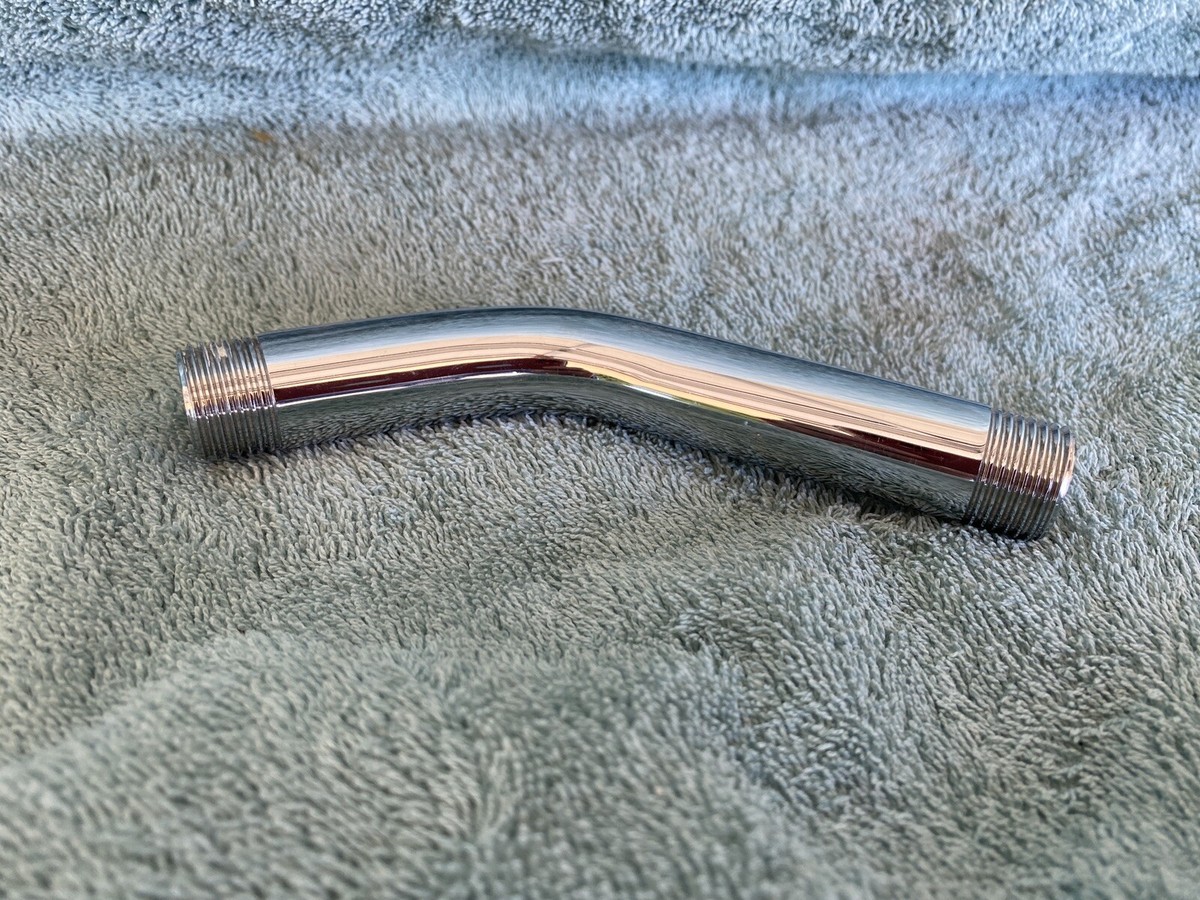
- Wipe the shower arm threads with a paper towel to remove old tape, grit, and mineral deposits.
- Use an old toothbrush or nylon brush to scrub between threads.
- Remove every last strand of old PTFE tape. Even small leftovers can keep the new tape from sealing evenly.
Quick check: If the threads are visibly chewed up, flattened, out of round, or cracked, the leak may never fully stop until you replace the shower arm or the showerhead coupling. Most arms are inexpensive and screw out, but that job can require more care to avoid damaging the in-wall fitting.
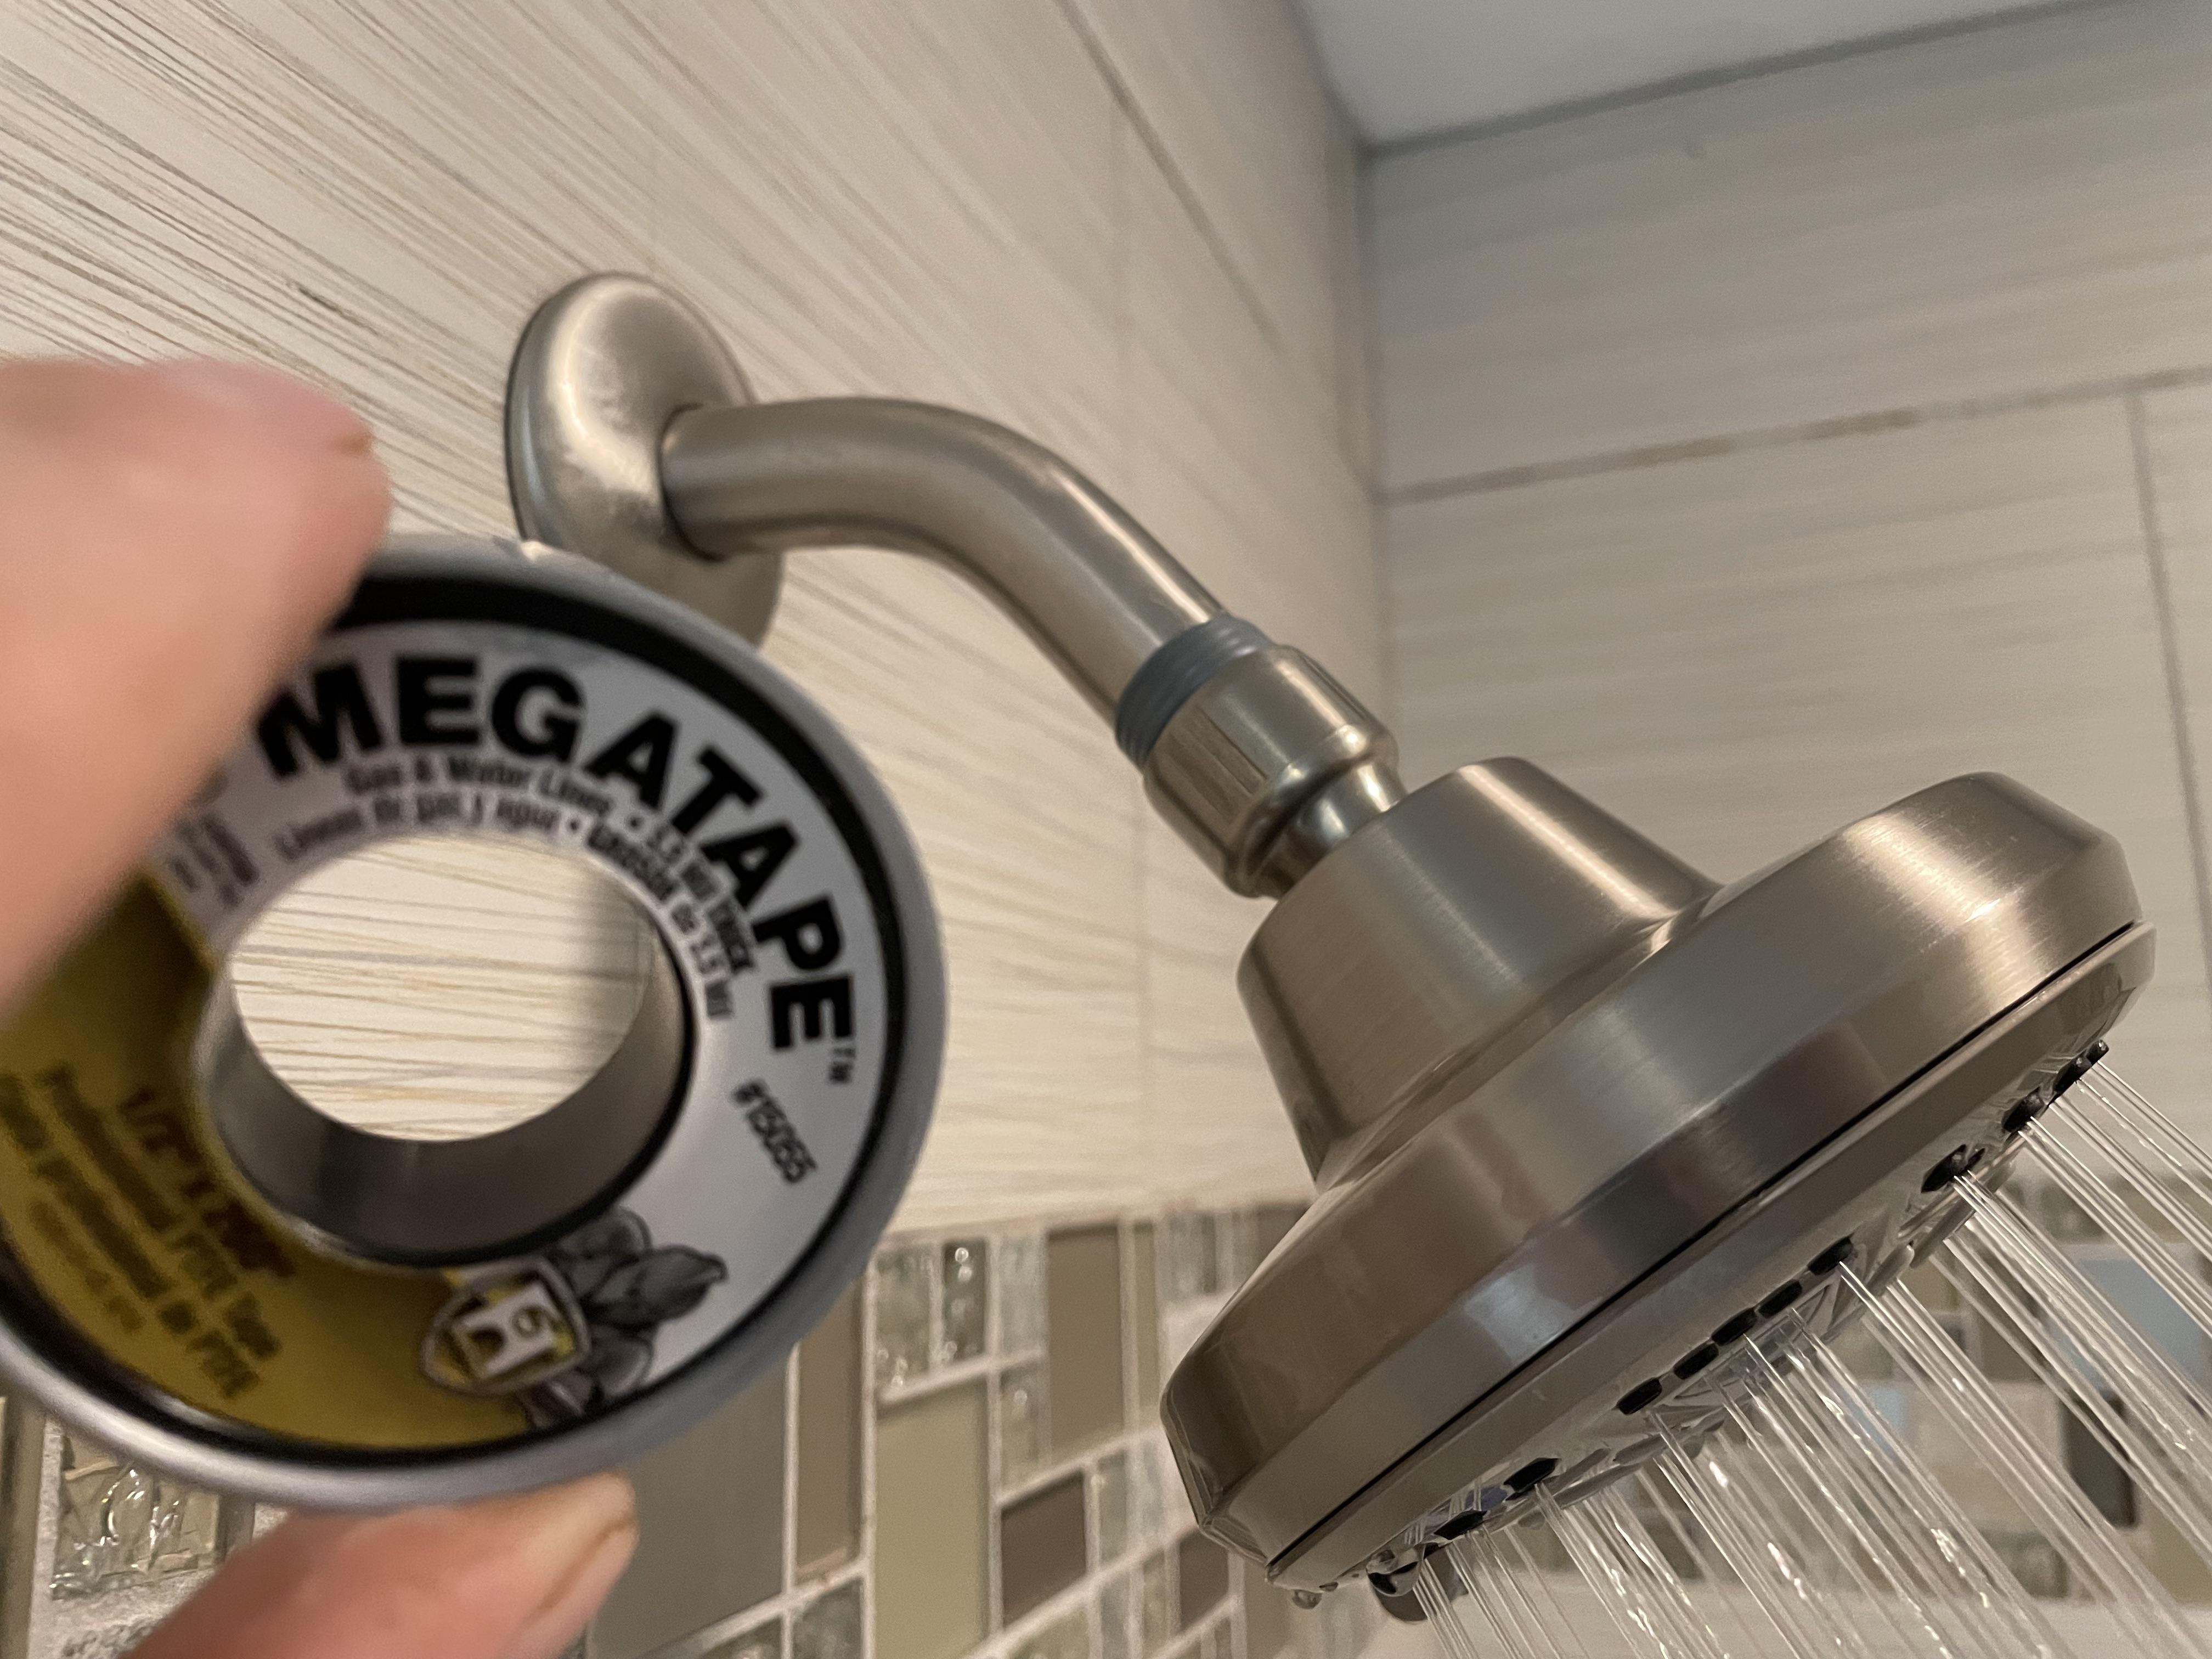
Apply PTFE tape
Thread seal tape works by filling tiny gaps in pipe threads. But it only does its job if you wrap it so it tightens as you screw the showerhead on.
How to wrap it
- Hold the tape at the base of the threads (closest to the wall).
- Wrap clockwise as you face the end of the shower arm (the same direction the showerhead will turn to tighten).
- Use 3 to 5 wraps, pulling the tape snug so it conforms to the threads.
- Press the tape into the threads with your fingers so it sits down nicely.
My rule of thumb: For a standard showerhead, 4 wraps is usually the sweet spot. Too little can leak. Too much can make threading difficult and increase the risk of cross-threading.
PTFE tape vs pipe dope: Tape is clean and fast. Pipe dope can help on stubborn joints or slightly rough threads. You can use either. Some pros use both, but check the showerhead instructions and the sealant label first, especially if any parts are plastic. If you do use both, keep it light: tape first, then a thin smear of pipe dope over the tape.
Install the new showerhead
1) Check for a rubber washer
Many showerheads (especially handheld hose connections or swivel-ball designs) rely on a rubber washer inside the coupling nut. If the instructions mention a washer, make sure it is seated properly and not twisted. If the showerhead uses a gasketed swivel nut (straight threads), the washer is the seal, and overtightening can actually make it leak.
2) Start by hand
Screw the new showerhead on by hand for several full turns. If it doesn’t go smoothly, stop and back it off. Cross-threading is how you turn a simple swap into a leaky headache.
3) Snug it with a wrench, gently
Once it’s hand-tight and oriented correctly, use a wrench with a rag to snug it up.
- Start with about 1/8 to 1/4 turn past hand-tight, then stop when it’s leak-free.
- If it has a swivel ball, you’re sealing at the threads, not by crushing anything. Overtightening just damages finishes and threads.
Pro tip: If you care about the final angle, tighten until it’s close, then make tiny adjustments. Backing off can sometimes open a leak path, so sneak up on the final position instead of tightening then loosening.
Test for leaks
Turn the water on and run the shower at full pressure for 30 to 60 seconds. Then look and feel around the joint.
- No leak: You’re done. Enjoy the upgrade.
- Slow drip at the threads: Remove the showerhead, add 1 to 2 more wraps of tape, and reinstall.
- Leak that sprays or weeps immediately: You may have cross-threaded it, the tape is wrapped the wrong direction, the showerhead coupling is cracked, or the seal is supposed to be at a washer that is missing or mis-seated.
If the shower arm itself wiggles after you’re done, stop. That suggests the arm may have loosened in the wall.
Escalation line: If the in-wall fitting feels like it’s spinning, you see water staining, soft drywall, or moisture that keeps returning at the escutcheon, stop and call a pro. A loose drop ear elbow or hidden leak is not something to ignore.
Common leak scenarios
Leak is between the shower arm and the showerhead
This is the classic. It is almost always solved by cleaning threads and re-taping correctly, unless the threads are damaged or the showerhead coupling is cracked.
Leak is behind the wall at the escutcheon
If water is appearing at the round trim plate where the arm exits the wall, the shower arm threads into an in-wall fitting may be leaking. The fix is usually to remove the shower arm, re-seal the wall-side threads with PTFE tape (and possibly pipe dope, if compatible), then reinstall.
Heads up: If the arm is corroded, seized, or you have older plumbing and you’re not confident, this is the point where it’s reasonable to bring in a pro. Snapping an arm off inside the wall is a bad day.
Leak is from the showerhead face or swivel
That’s not a shower arm seal problem. For mineral buildup, soak the showerhead face in vinegar (or use a bag-and-rubber-band soak) and brush the nozzles. If it still leaks from the swivel, you may need a replacement washer or the unit may be defective.
Quick FAQ
Do I need to shut off water?
Usually, no. The shower valve controls water to the shower arm. Just make sure the valve is fully off, then crack the shower on briefly to confirm flow stops and pressure is relieved before you start wrenching. If your valve drips badly or you’re working on an older setup that will not fully shut off, shut off the house water for peace of mind.
Should I use PTFE tape?
On a typical threaded shower arm connection, yes. It helps seal and makes future removal easier. If your showerhead instructions specifically say “no tape,” follow the manufacturer. If the connection seals with a washer in a swivel nut, the washer is the main seal.
Why does it leak only with the handheld?
Switching to a handheld can increase backpressure slightly and reveal a marginal seal. Re-tape the threads and check that any rubber washers in the handheld hose connection are seated correctly.
Can I use pliers directly on the shower arm?
You can, but you will probably regret it if the finish matters. Always use a rag, or use smooth jaw pliers. Even then, go easy.
Leak-free checklist
- Threads cleaned down to bare metal
- PTFE tape wrapped clockwise, 3 to 5 wraps
- Washer seated properly (if your showerhead uses one)
- Showerhead started by hand (no cross-threading)
- Snug, not gorilla-tight
- Test run and inspect the joint closely
If you get stuck, take a close photo of the shower arm threads and the inside of the new showerhead connector. Nine times out of ten, the issue is obvious once you can actually see what you’re working with.