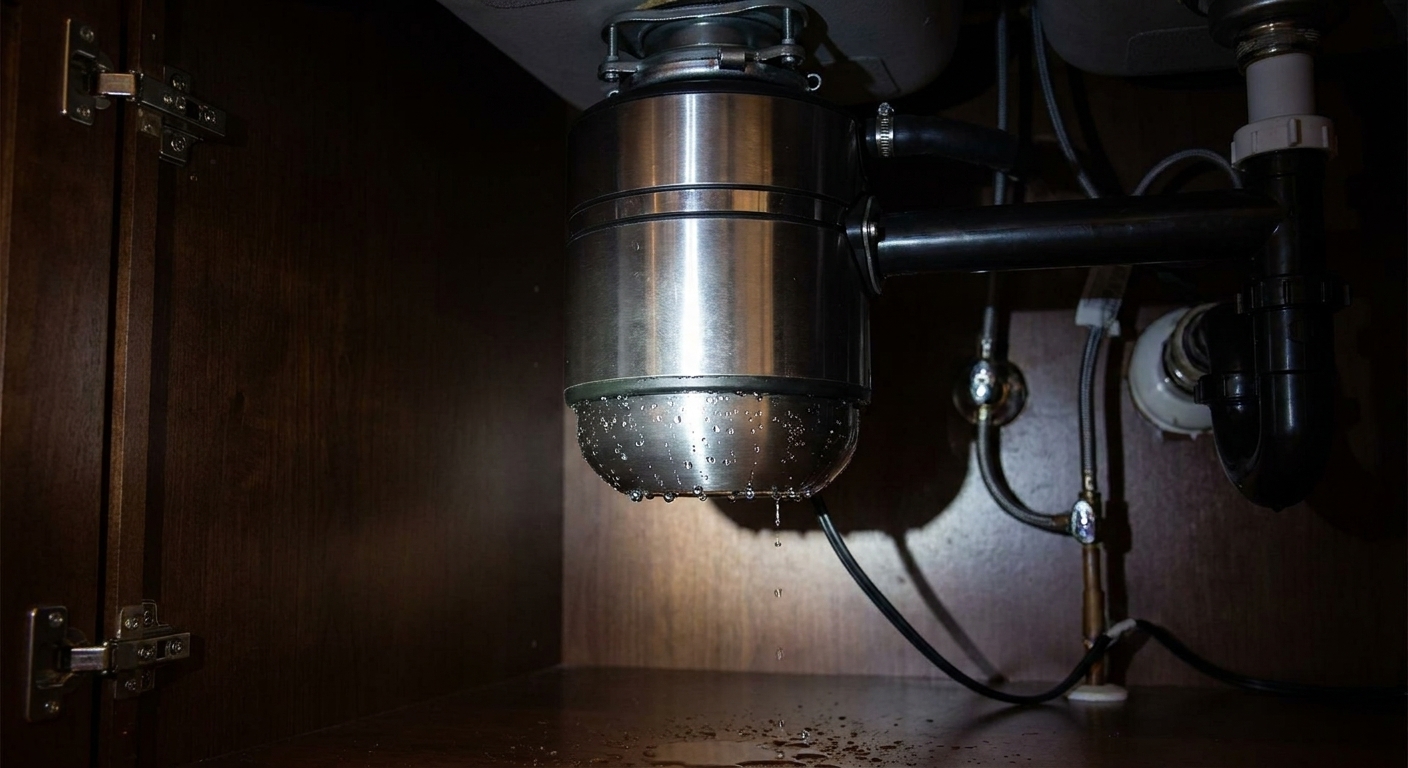
A puddle under the sink has a way of ruining your day fast. When that drip is coming from the bottom of your garbage disposal, you’re usually dealing with a few common culprits: water running down from above (sink flange or mounting ring), a leak at the dishwasher inlet, a drip at the discharge pipe or P-trap, or an internal seal failure that means the disposal itself is on its way out.
The good news: you can diagnose this in 10 to 20 minutes with a flashlight and a few paper towels. I’ll walk you through it like a neighbor leaning over the fence, minus the awkward small talk.
Safety first
- Turn off power. Flip the wall switch off, then unplug the disposal under the sink. If it’s hardwired, switch off the breaker.
- Do not rely on the wall switch alone. Unplug it or kill the breaker so it cannot be turned on accidentally.
- Do not put your hand inside the disposal chamber. If you need to clear something later, use tongs or the correct hex key from below.
- Dry the area first. Water and electricity do not mix, and wet cabinets hide where leaks start.
- Do not work in standing water. Soak it up before you start, especially if there are any cords, outlets, or junction boxes in the cabinet.
If there’s standing water in the cabinet, soak it up before you start. You want to be able to see fresh drips forming.
Quick check: is it really the bottom?
A lot of “bottom leaks” are actually water starting up top and running down the disposal housing until it drips off the lowest point. Here’s the quickest way to tell.
What you need
- Flashlight or headlamp
- Paper towels or dry rag
- A few drops of food coloring (optional but helpful)
Leak tracing steps
- Dry everything. Wipe the sink underside, the mounting ring area, the disposal body, the drain pipes, and the cabinet floor.
- Wrap a dry paper towel around the disposal. Start at the top near the sink flange and work your way down. You’re looking for the first spot that gets wet.
- Run water without turning on the disposal. Use a steady stream, then fill the sink a few inches and let it drain.
- Now run the disposal. A marginal seal can show itself when the unit vibrates and water moves around inside.
- If you’re stuck, add a couple drops of food coloring to the sink water. Colored drips are easier to track.
Common sources and how to confirm
1) Sink flange or mounting ring leak
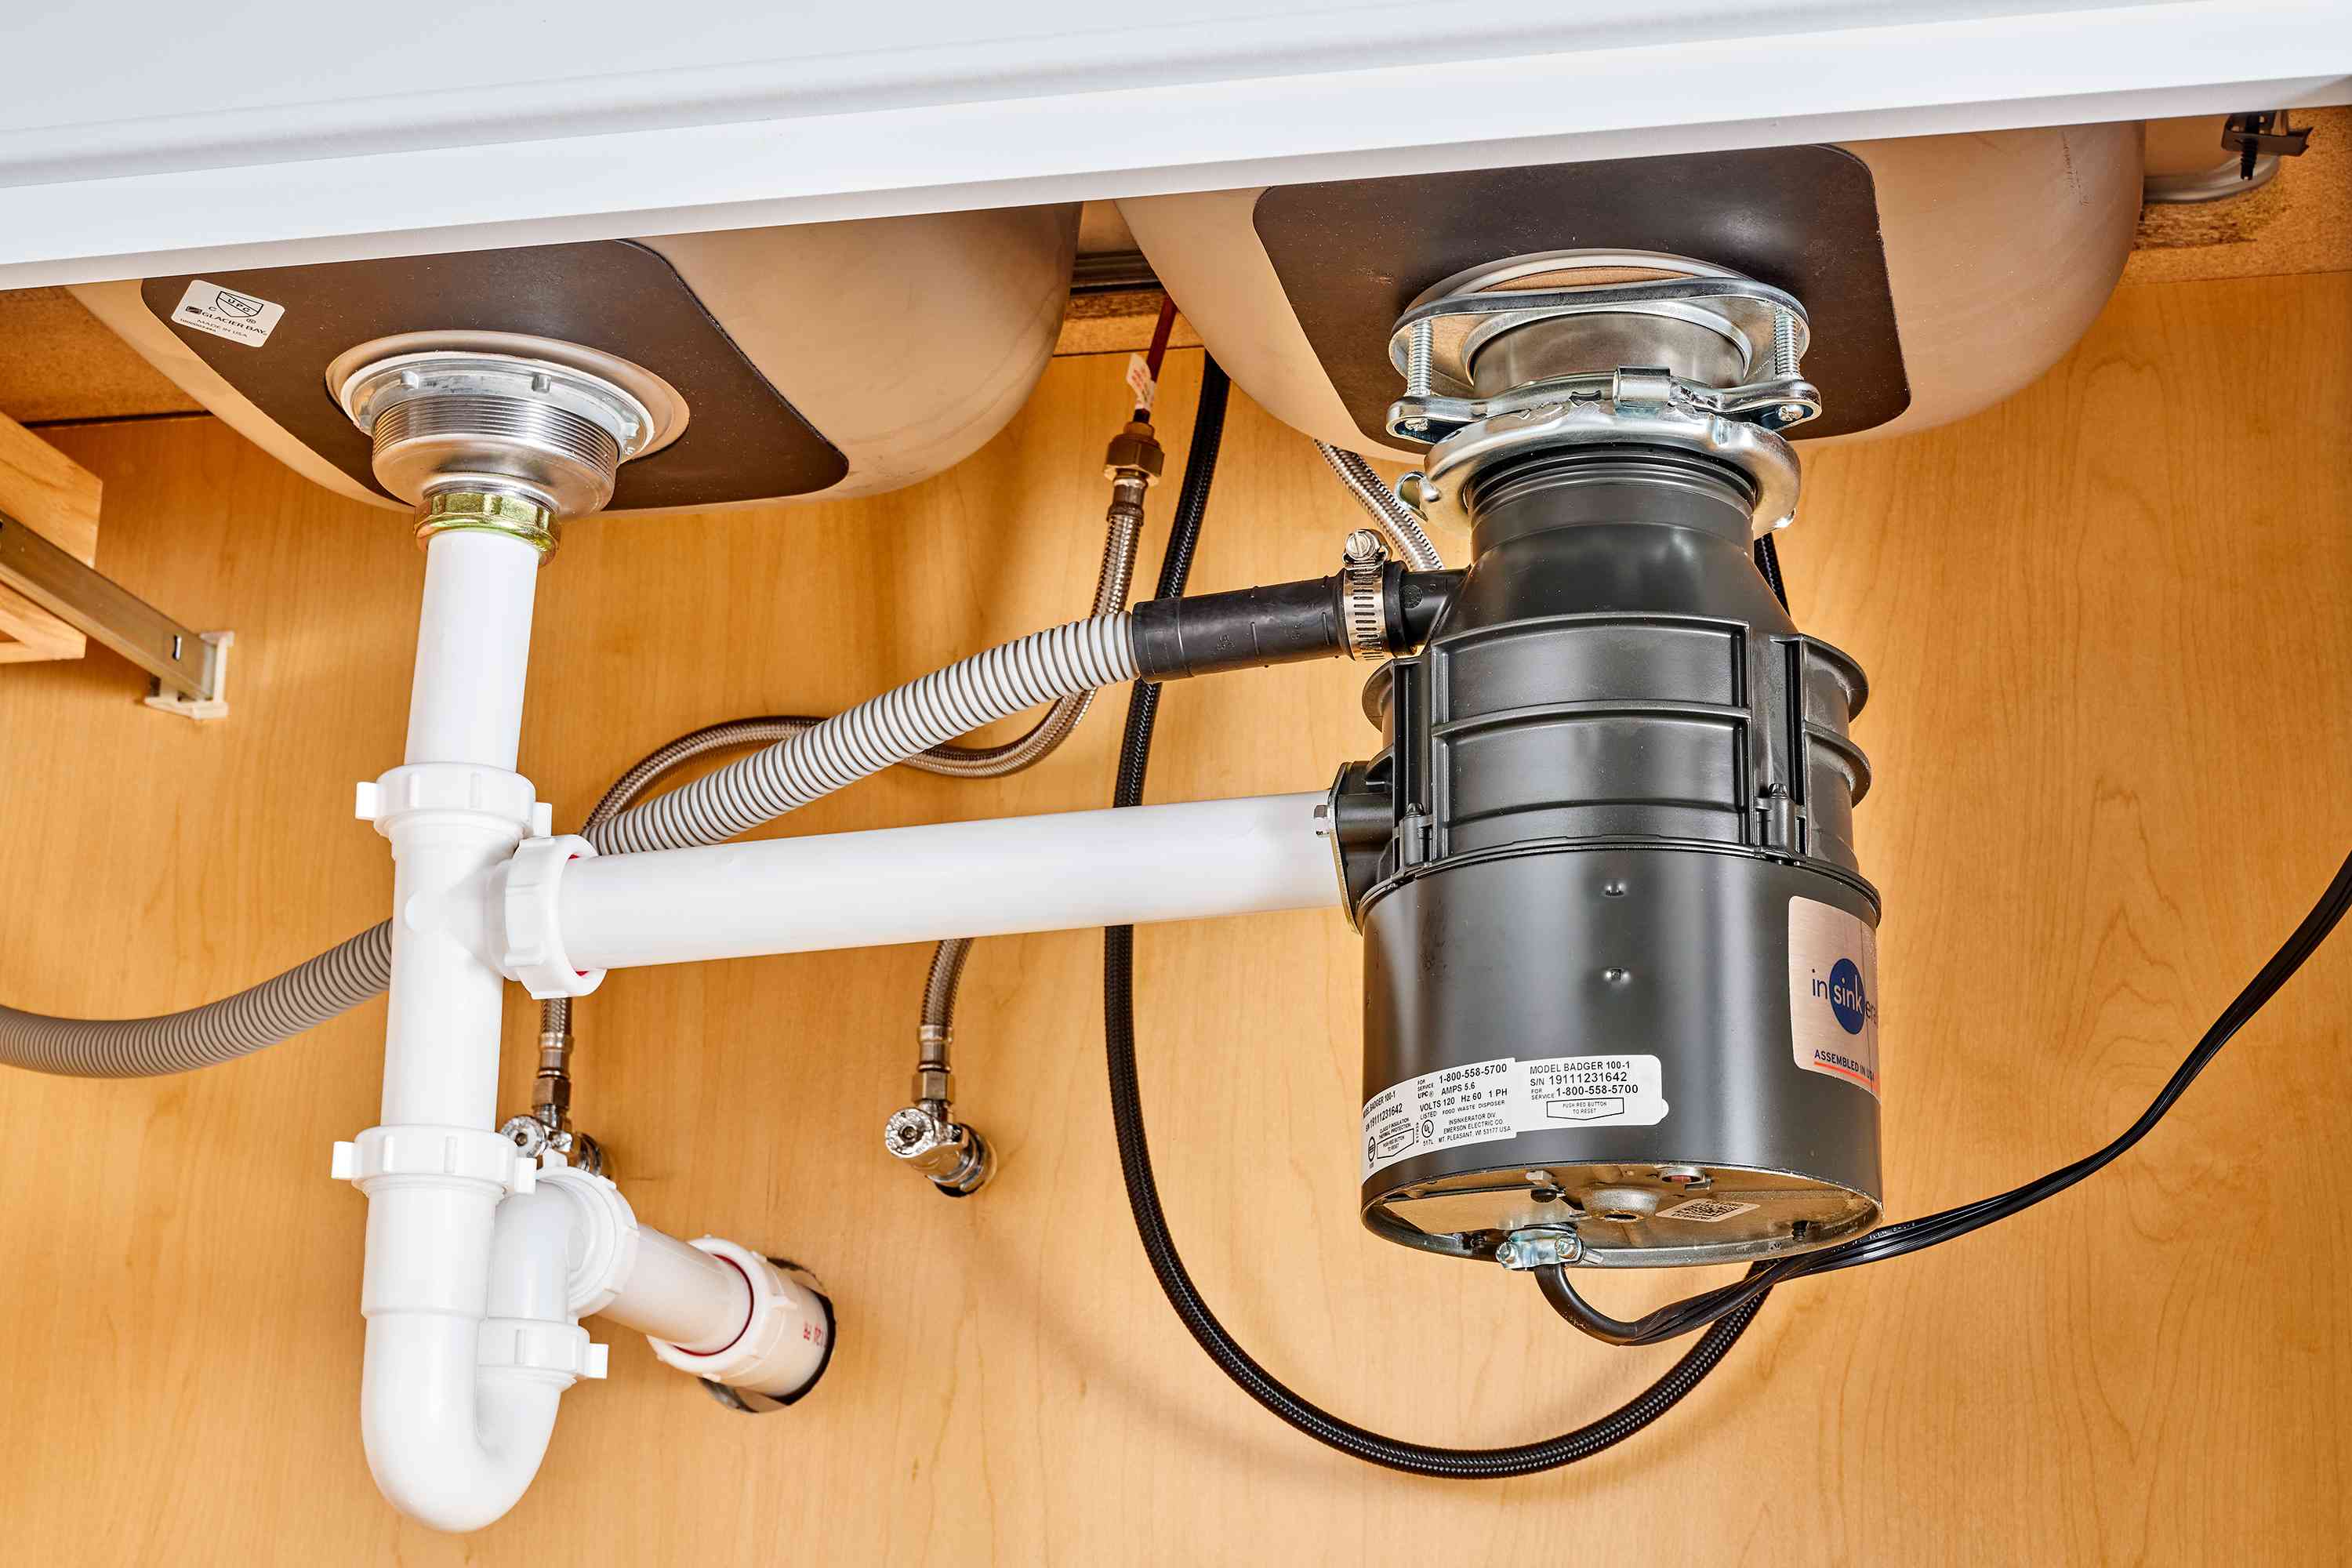
The sink flange is the metal ring you see inside the sink opening. Under the sink, it’s sealed with plumber’s putty or a gasket, depending on the model. If that seal fails, water runs down the outside of the disposal and drips off the bottom. A mounting or locking ring that is not fully seated can look the same.
How to confirm: With everything dry, run a small stream of water around the flange rim and the sink surface right next to the opening (not just straight down the drain). Then look underneath. If you see moisture forming at the very top where the disposal meets the sink, or around the mounting ring, that’s your culprit.
2) Dishwasher inlet leak
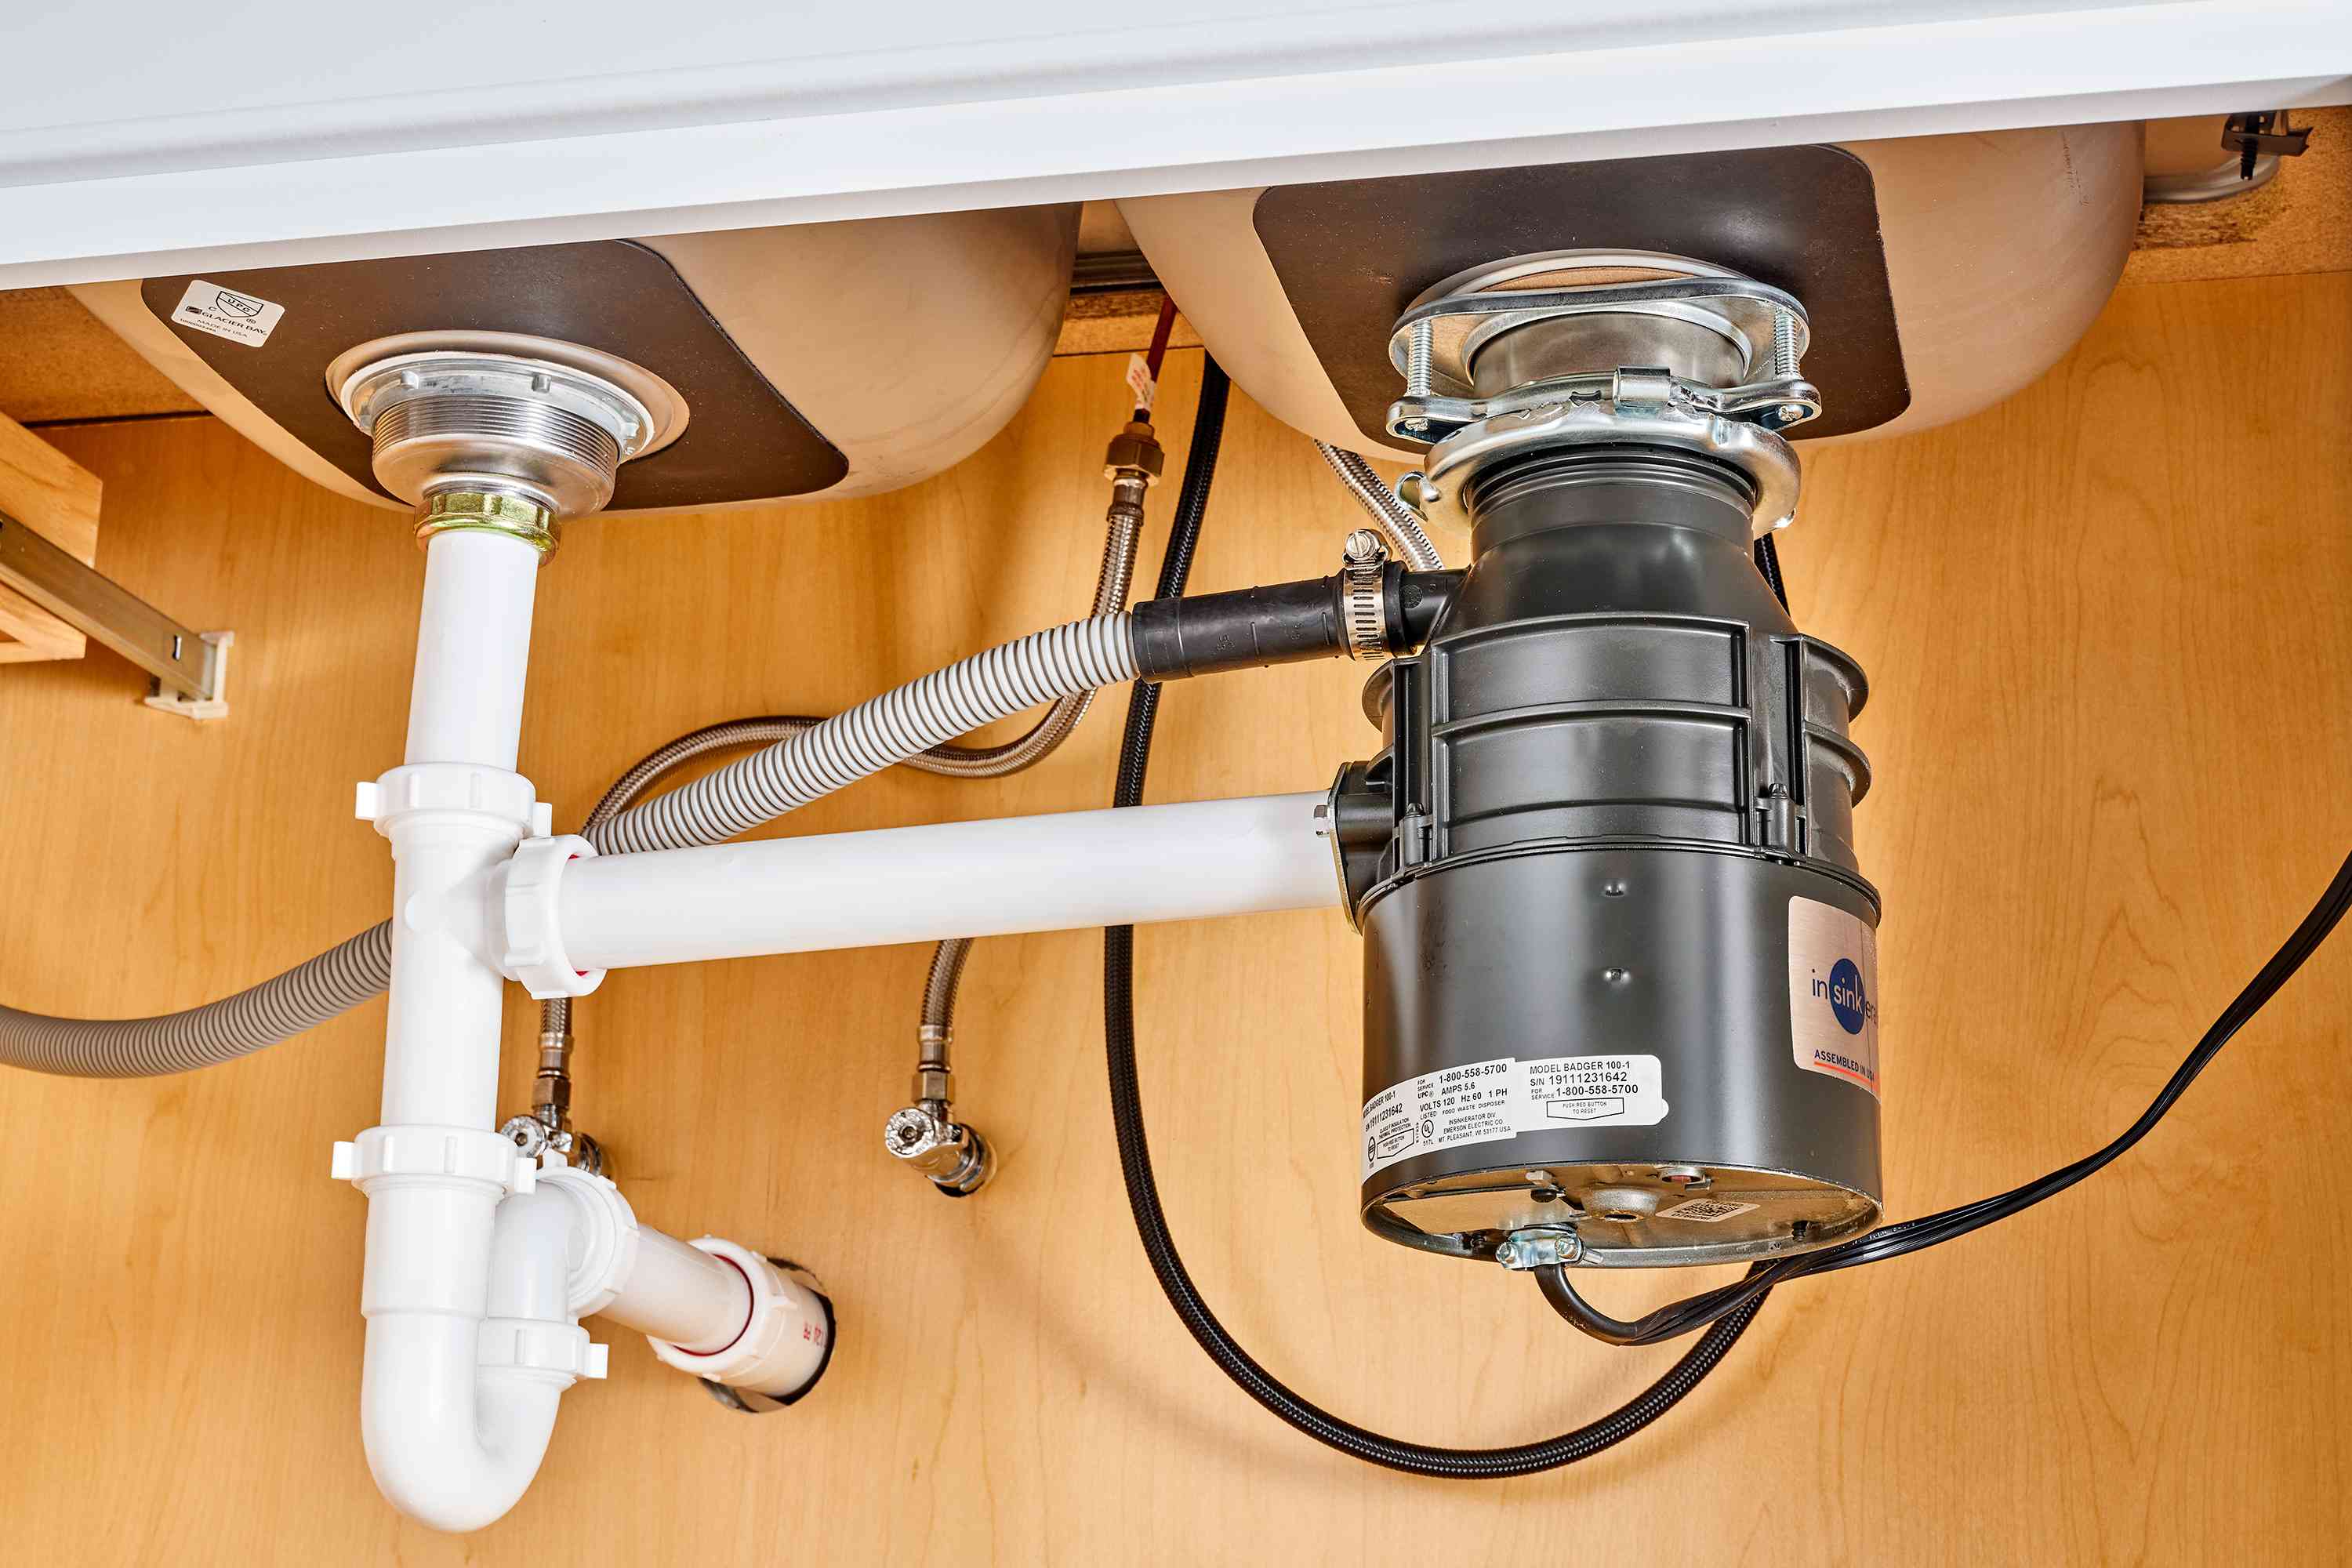
If your dishwasher drain hose connects to a small nipple on the disposal, that connection can loosen or the hose can crack. It often drips down and makes the bottom look guilty.
How to confirm: Dry the inlet area, then run a short rinse and let it drain. If you want a quick check, many dishwashers will drain when you cancel a cycle, but the exact method varies by model. Watch the hose clamp and the inlet nipple for fresh moisture.
3) Drain pipe connection leak (discharge tube or P-trap)
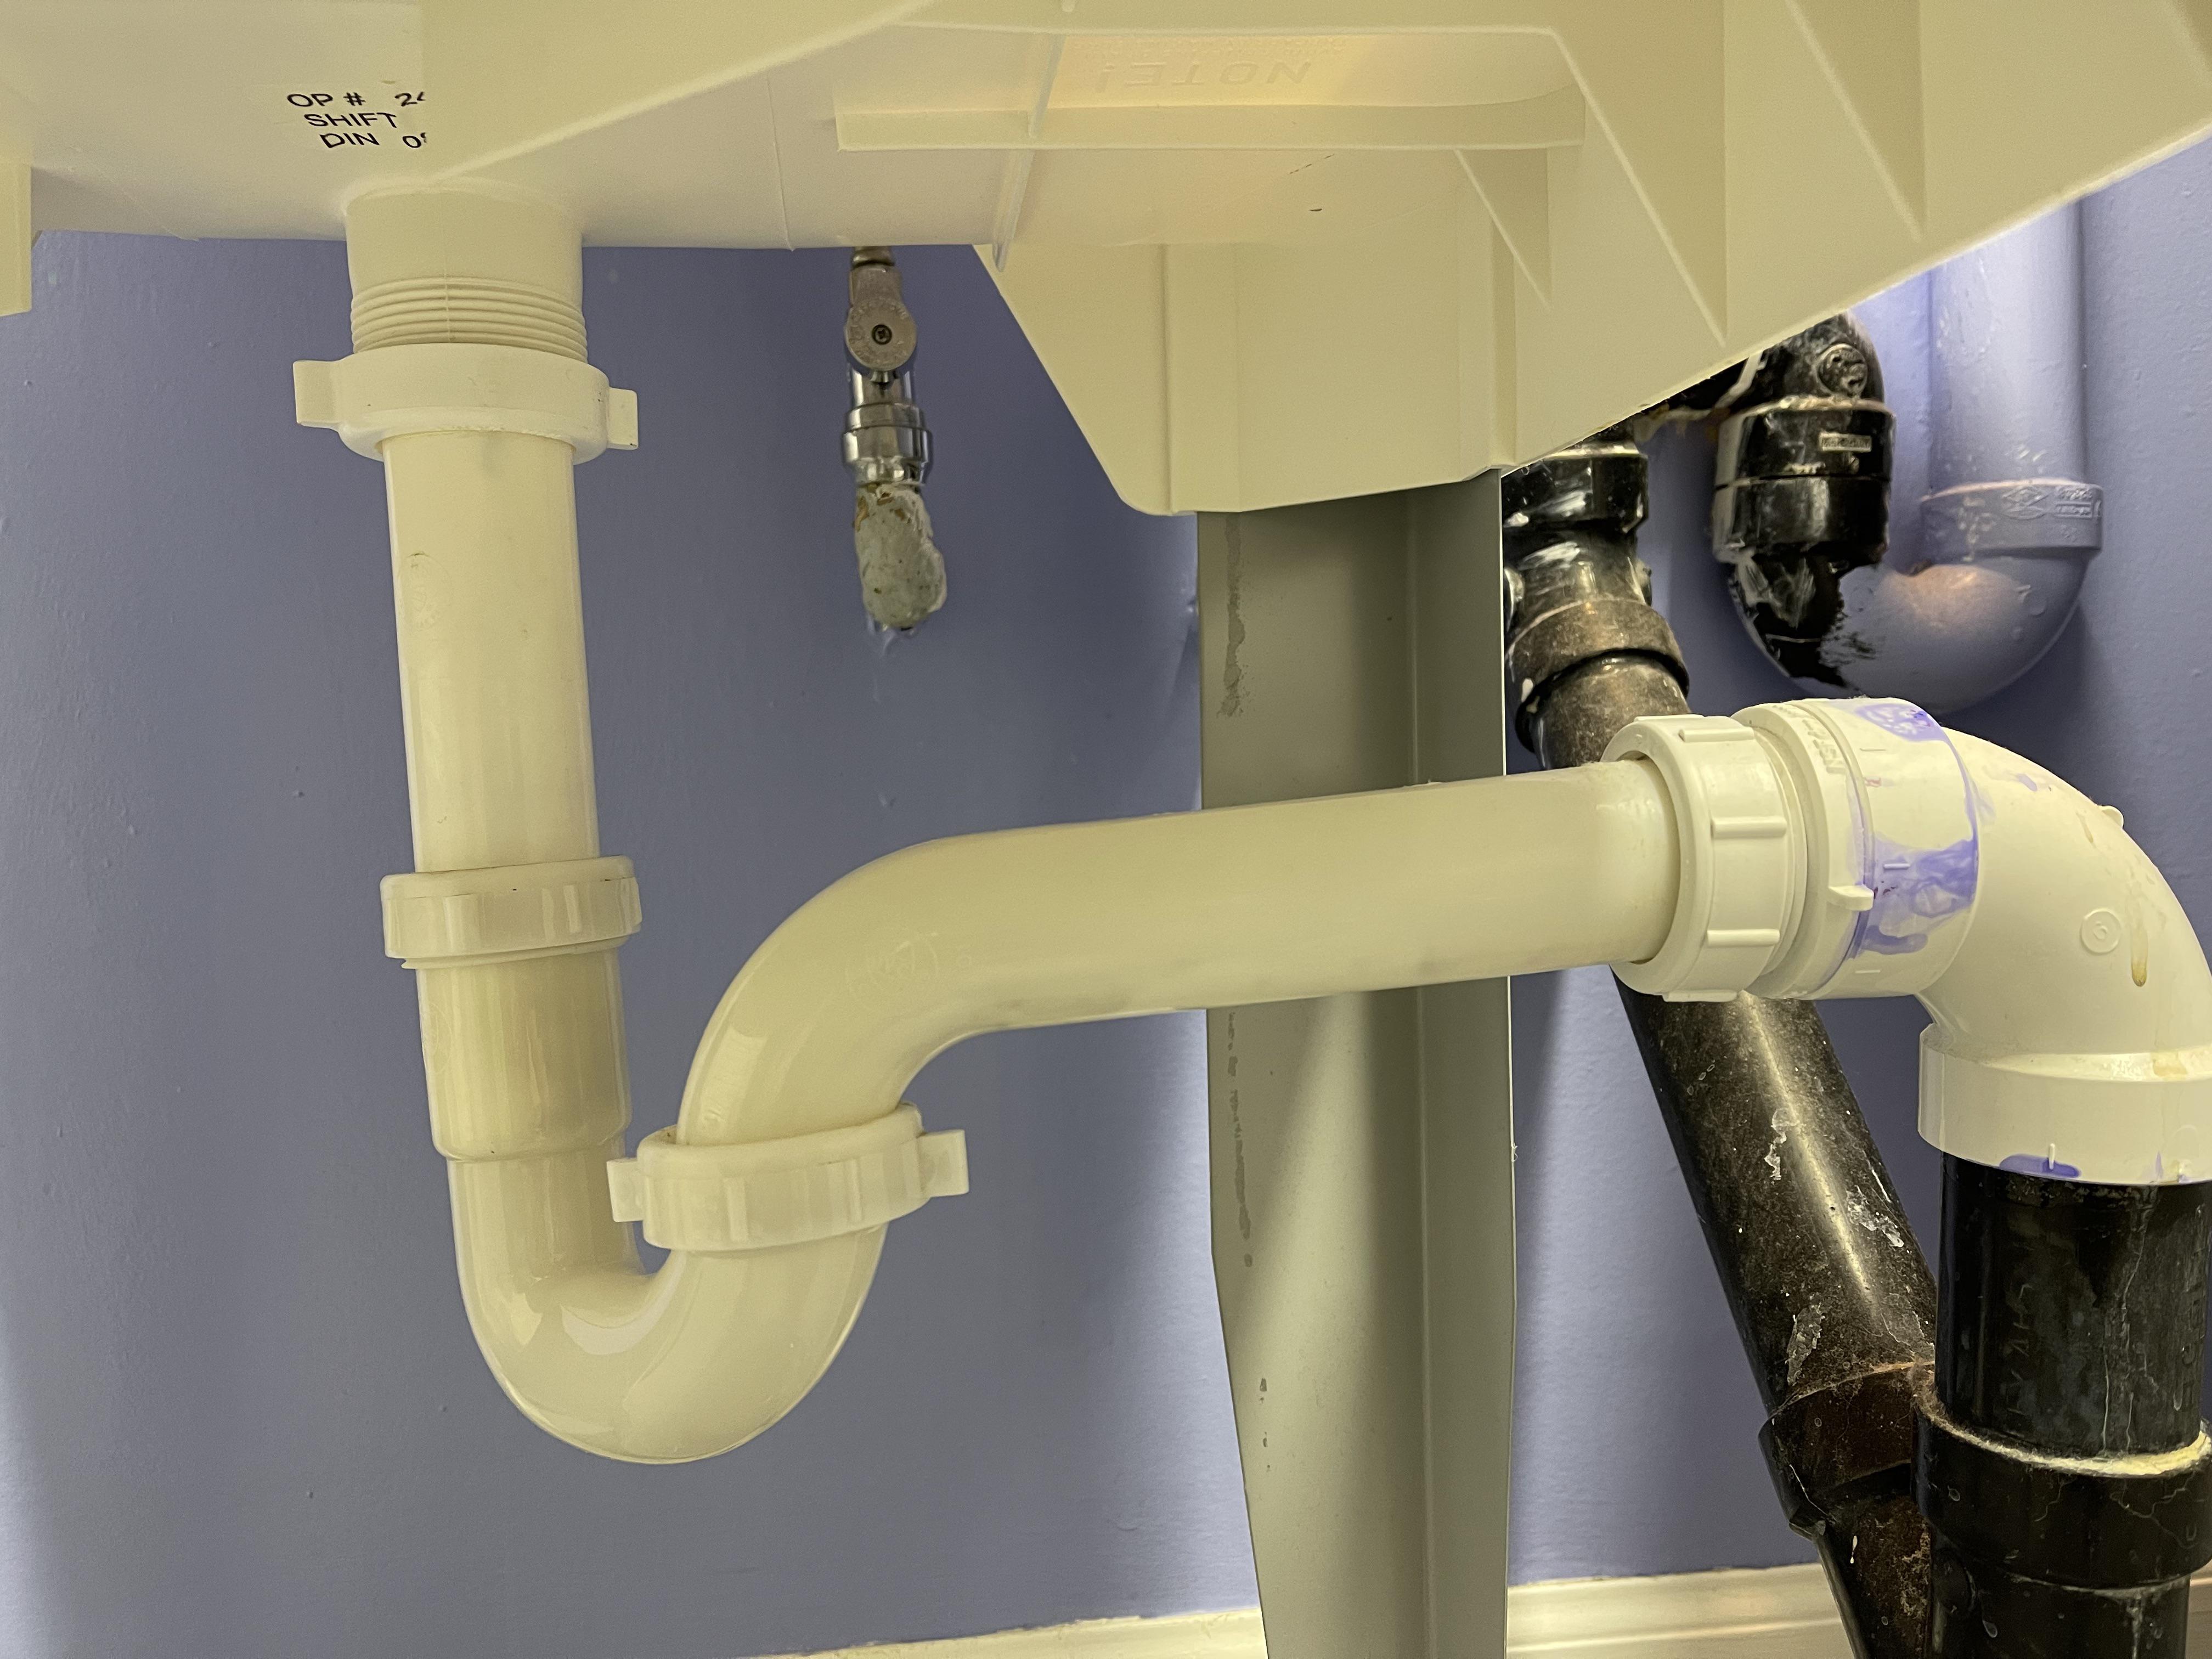
The disposal’s discharge tube connects to the drain pipe and P-trap. A loose slip nut, a crooked washer, or a cracked plastic trap can drip onto the bottom of the unit and fool you.
How to confirm: Dry the slip nuts and joints. Hold a dry paper towel under each joint for 10 to 20 seconds while water runs. Even an intermittent drip will leave a telltale wet spot.
4) Sink overflow leak (easy to miss)
If your sink has an overflow opening near the top, water can leak from the overflow channel or its connections and run down the underside of the sink. It can land on the disposal and make it look like the source.
How to confirm: Plug the sink, fill it until water starts going into the overflow, then shine a light under the sink. If you see water tracking down from the sink bowl or overflow plumbing, the disposal is just catching the drips.
5) Internal seal or housing failure (true bottom leak)
If water is coming from the center of the bottom plate or through housing seams, that’s usually an internal shaft seal or casing failure. Some units have serviceable parts, but for most common residential disposals, a true bottom leak is rarely a reliable or cost-effective DIY repair. Replacement is typically the smart move.
How to confirm: Dry the unit completely. Run water into the disposal for 30 to 60 seconds, then stop the water and look underneath. If droplets form directly on the bottom center, or you see water weeping from the housing seams, plan on replacing the disposal.
Fixes to try
Work from easiest to hardest, and stop as soon as you confirm the leak is internal. No sense putting a fresh clamp on a unit that has a bad internal seal.
Fix A: Tighten and reseat drain connections
- Hand-tighten slip nuts on the P-trap and discharge tube. Then give them a small extra snug with channel-lock pliers. Do not crank hard, especially on plastic.
- Check washer alignment. If a joint still leaks, take it apart and make sure the beveled washer is facing the right direction and seated evenly.
- Inspect for cracks. Hairline cracks in older plastic traps show up as “mystery drips.” Replace the cracked section.
Fix B: Tighten or replace the dishwasher hose clamp
- Confirm the hose is fully seated on the disposal inlet nipple.
- Tighten the clamp until snug. If it is a spring clamp, consider swapping to a worm-gear stainless clamp for a better seal.
- Replace the hose if it’s brittle, split, or deformed at the end.
Fix C: Reseat the discharge tube gasket
Many disposals seal the discharge tube with a fiber or rubber gasket. If that gasket shifts or wears, water can run down the housing.
- Unplug the disposal.
- Place a towel under the discharge connection.
- Remove the two bolts holding the discharge tube to the disposal.
- Inspect the gasket. If it’s flattened, torn, or missing, replace it.
- Reinstall the tube evenly, tightening both bolts a little at a time.
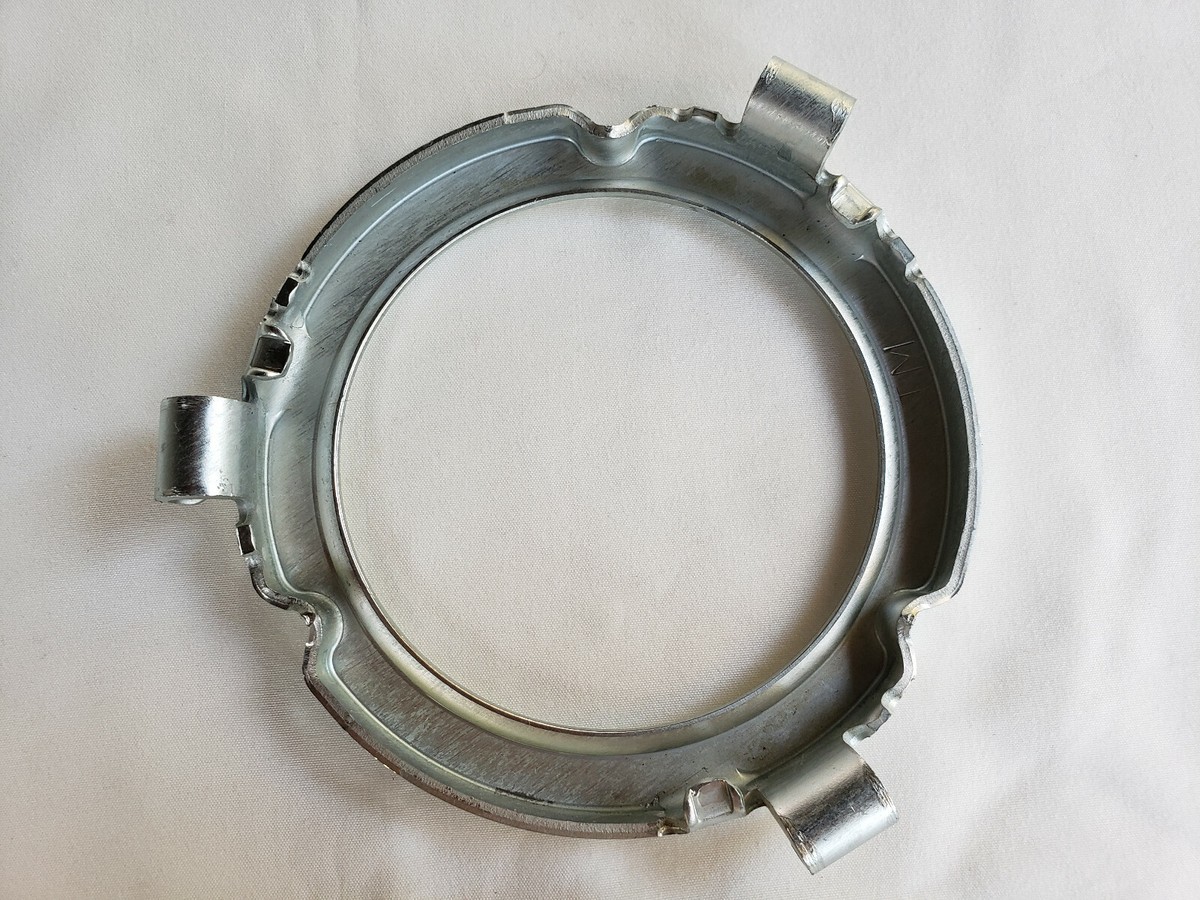
Fix D: Reseat the mounting ring
If the leak seems to start at the very top but the flange seal looks okay, the locking ring may not be fully engaged.
- Unplug the disposal.
- Support the disposal body with one hand.
- Check that the disposal is fully twisted and locked into the mounting ring.
- If it is loose, twist it to lock, then re-test for leaks.
Fix E: Reseal the sink flange
This is the fix that feels intimidating but is totally doable if you go slow. If you’ve ever rebuilt a leaky P-trap, you can handle this.
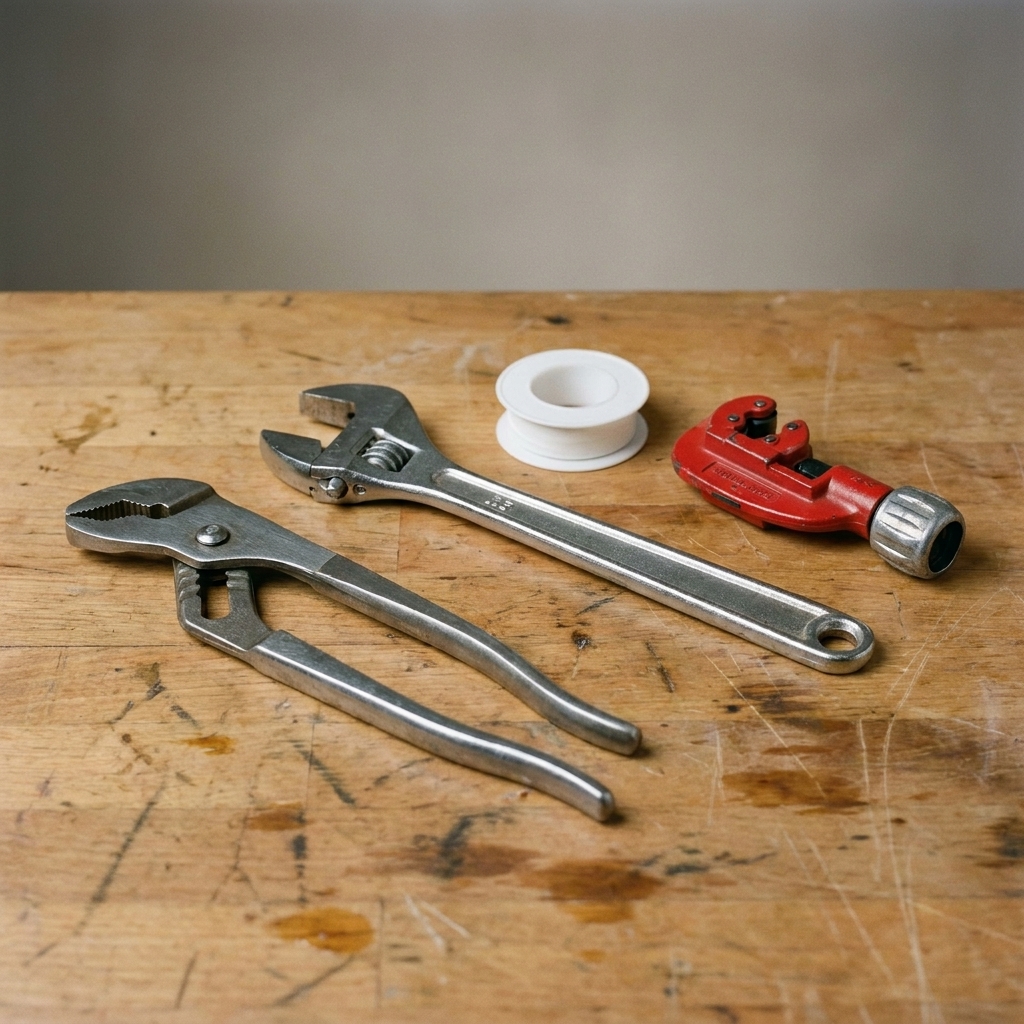
Tools and supplies:
- Screwdriver
- Channel-lock pliers
- Plumber’s putty (or the manufacturer-recommended seal)
- Rag and rubbing alcohol or mild cleaner
- Unplug the disposal.
- Disconnect plumbing from the discharge tube and dishwasher hose (if attached).
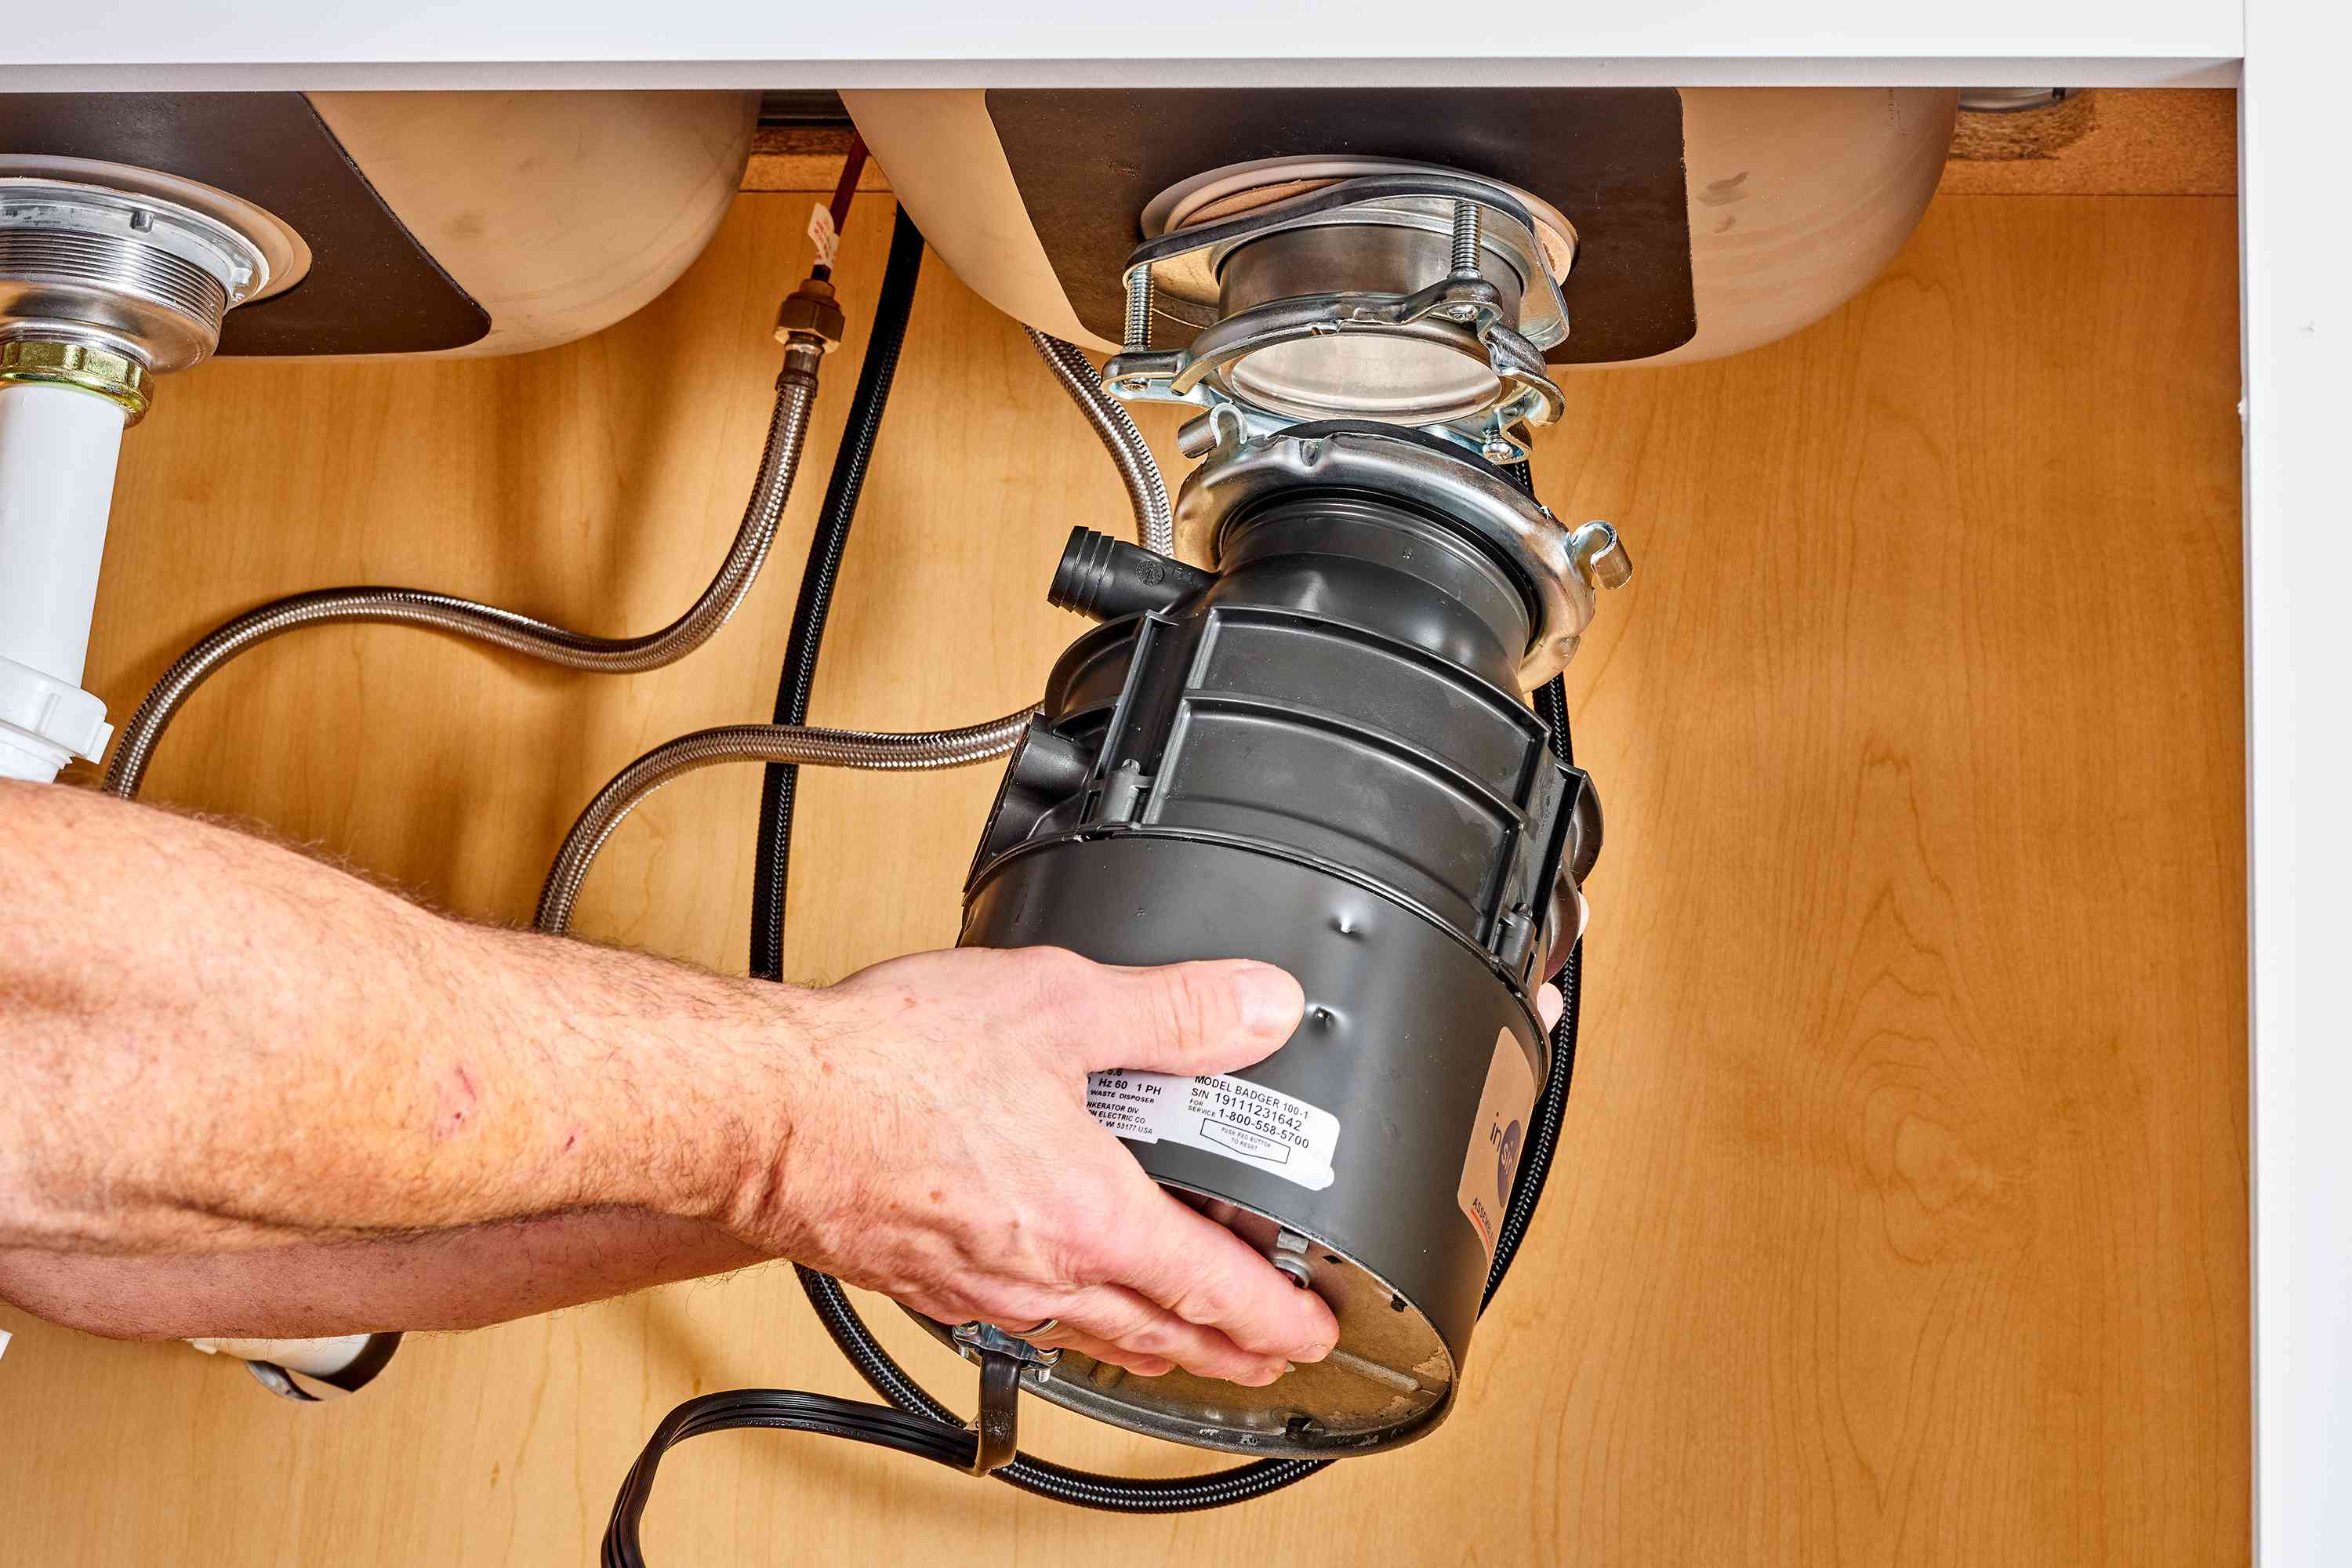
- Remove the disposal from the mounting ring. Most twist off with a firm turn. Support it with one hand. They are heavier than they look, especially in a cramped cabinet.
- Loosen the mounting assembly to free the flange. Clean old putty or residue from the sink opening and flange.
- Apply fresh plumber’s putty around the underside of the flange lip, then press it into the sink opening.
- Reassemble the mounting hardware evenly. Tighten in a balanced way so the flange seats flat.
- Reinstall the disposal, reconnect plumbing, then test for leaks.
When to replace the disposal
If your troubleshooting points to an internal leak, replacement is the honest answer. Here are the signs I consider non-negotiable:
- Water beads up on the bottom center of the disposal body.
- Water seeps from a housing seam or corrosion pinholes.
- The leak happens even when all external connections and the flange area are dry.
- You see rust trails on the bottom plate or around the reset button area.
Replacement tips that save headaches:
- Match the mounting system. Many InSinkErator models share a common mount, which can let you twist off the old unit and twist on a similar one without changing the sink flange. If the mount differs, plan on replacing the flange assembly too.
- Check horsepower and size. A bigger unit is not always better if the cabinet space is tight or your plumbing layout is awkward.
- If you have a dishwasher, knock out the dishwasher plug. New disposals often ship with a knockout plug in the dishwasher inlet. If you forget to remove it before hooking up the dishwasher hose, the dishwasher will not drain properly.
- Look for impact cracks. If the disposal body is cracked from an impact or (in cold climates) a freeze, replacement is the only real fix.
Troubleshooting table
| What you see | Most likely cause | Best next step |
|---|---|---|
| Water starts at the very top near the sink | Failed flange seal or mounting ring not seated | Reseat the ring or reseal the flange with fresh putty or recommended seal |
| Drips near the side nipple connection | Dishwasher hose clamp or hose issue | Reseat hose and tighten or replace clamp |
| Drips at slip nuts or trap joints | Loose nut, misaligned washer, cracked trap | Reseat washer, hand-tighten plus slight snug, replace cracked parts |
| Water shows up during overflow use | Sink overflow leak | Inspect overflow channel and connections under the sink |
| Droplets form on bottom center plate | Internal seal or housing failure | Replace the disposal |
Leak test after any fix
- Dry all surfaces under the sink.
- Run cold water into the disposal for 60 seconds.
- Stop the water and watch for 2 minutes.
- Run the disposal for 10 seconds with water flowing.
- Check every joint with a dry paper towel.
If everything stays dry, you’re done. Enjoy the rare pleasure of an under-sink cabinet that doesn’t smell like a swamp.
FAQ
Is it safe to keep using a disposal that’s leaking?
Not for long. Even a small leak can warp the cabinet floor and feed mold. If the leak is internal, water can reach electrical components. Turn off power and fix it as soon as you can.
Can I seal the bottom of the disposal with epoxy or silicone?
I wouldn’t. If the unit is leaking from the bottom, the failure is typically internal. Smearing sealant on the outside might slow it down briefly, but it does not address the failed internal seal and it can make replacement messier.
Why does it only leak when the disposal is running?
Vibration can open up marginal seals and cause water to move where it normally wouldn’t. That pattern often points to a loose discharge tube gasket, a shaky drain connection, or an internal seal starting to fail.
Should I run hot or cold water when testing?
Test with cold first, since cold water is typically recommended for normal grinding and it helps keep fats more solid as they move through. If you suspect a connection expands and leaks when warm, test with warm water after you confirm everything is safe.