Big drywall holes feel intimidating because they look like “replace the whole wall” problems. They are not. With a clean cutout, solid backing, and patient mud work, you can make a large hole disappear so completely you will forget where it was. I have patched everything from doorknob blowouts to “my kid tested gravity with a chair” craters, and the process is the same.
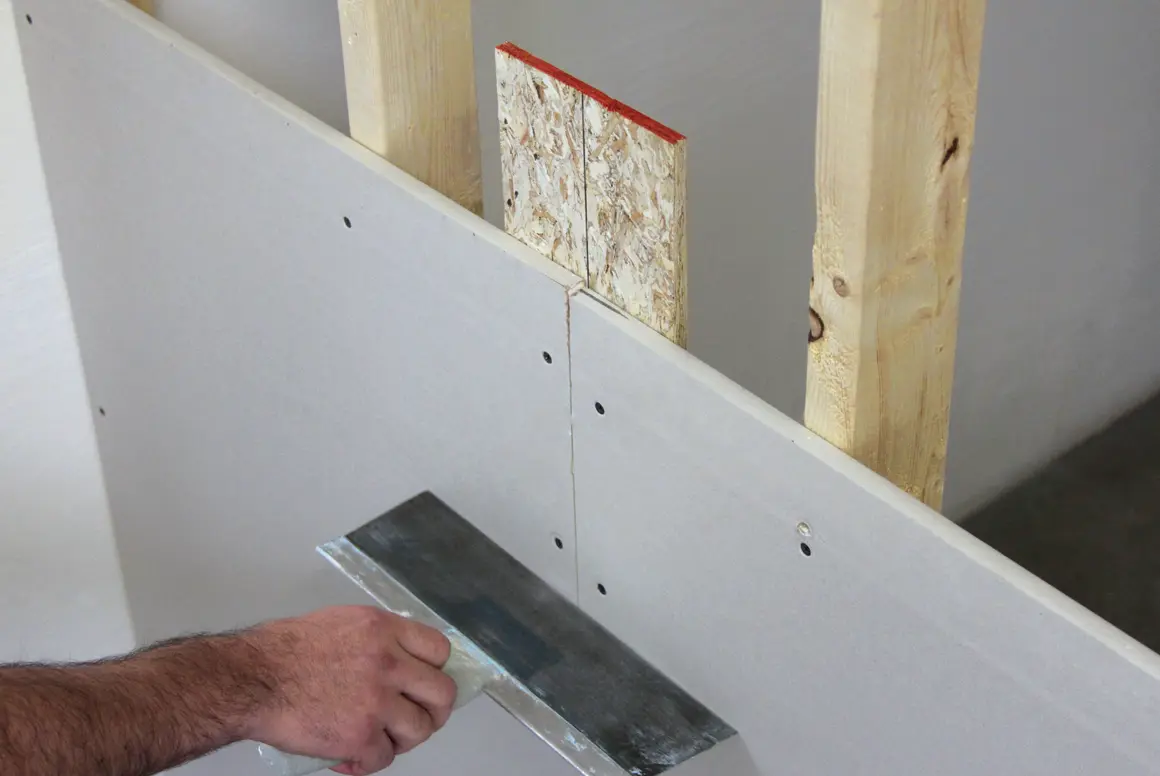
This guide focuses on the most reliable DIY method for holes roughly 6 inches and larger: backing boards (wood or drywall clips), a drywall patch piece, tape, and joint compound built up in thin coats.
Before you start: safety and basics
- Turn off power to the room if there is any chance wires run near the hole. Drywall screws and utility knives do not care about your day.
- Watch for plumbing on walls near kitchens, baths, and laundry areas.
- Test for lead and asbestos if your home is older and you are sanding unknown materials, especially textured coatings and older joint compounds. Dust is the real villain in most DIY projects.
- If the drywall is wet, sagging, or moldy, address the moisture problem first and replace compromised drywall beyond the visible damage.
- Control dust: close HVAC returns, hang plastic at doorways, and wear a proper respirator (not just a paper mask) when sanding.
Tools and materials
You do not need fancy gear, but you do need the right basics. Here is what I keep in my drywall repair tote.
Tools
- Utility knife with fresh blades
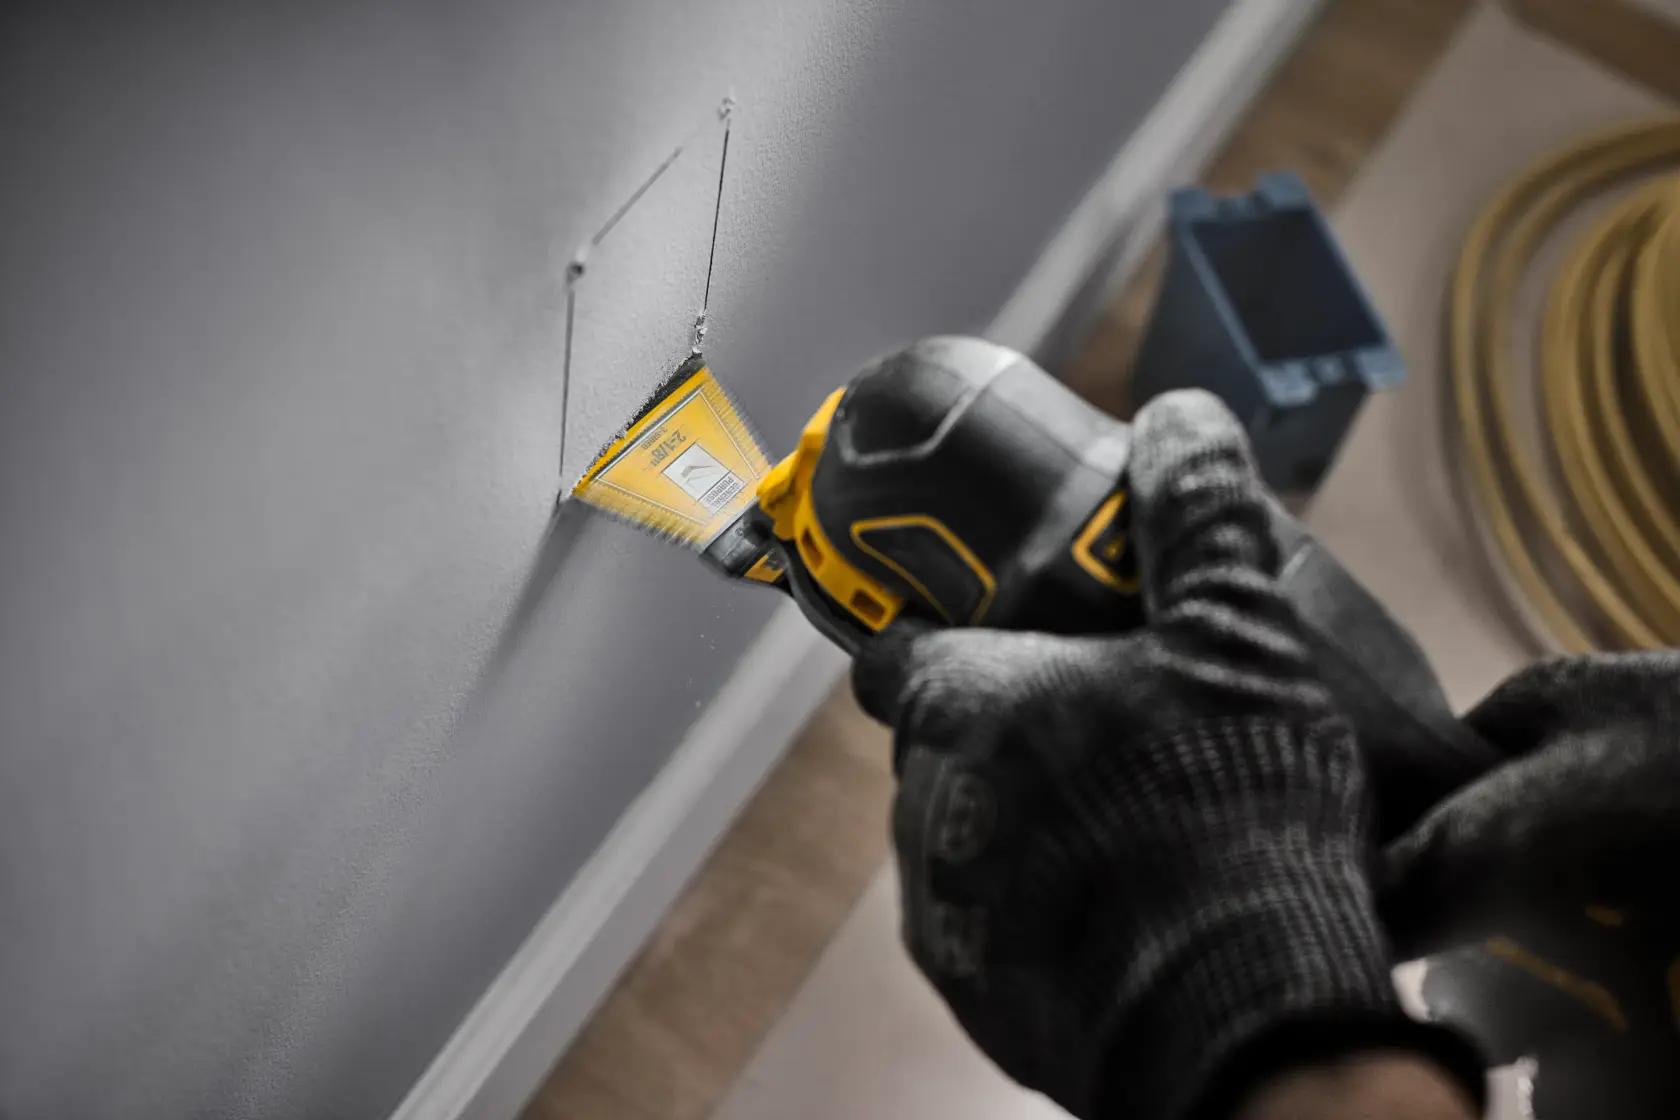
- Drywall jab saw or oscillating multi-tool
- Drywall square or straightedge and a pencil
- Tape measure
- Drill/driver with Phillips or square bit (matching your screws)
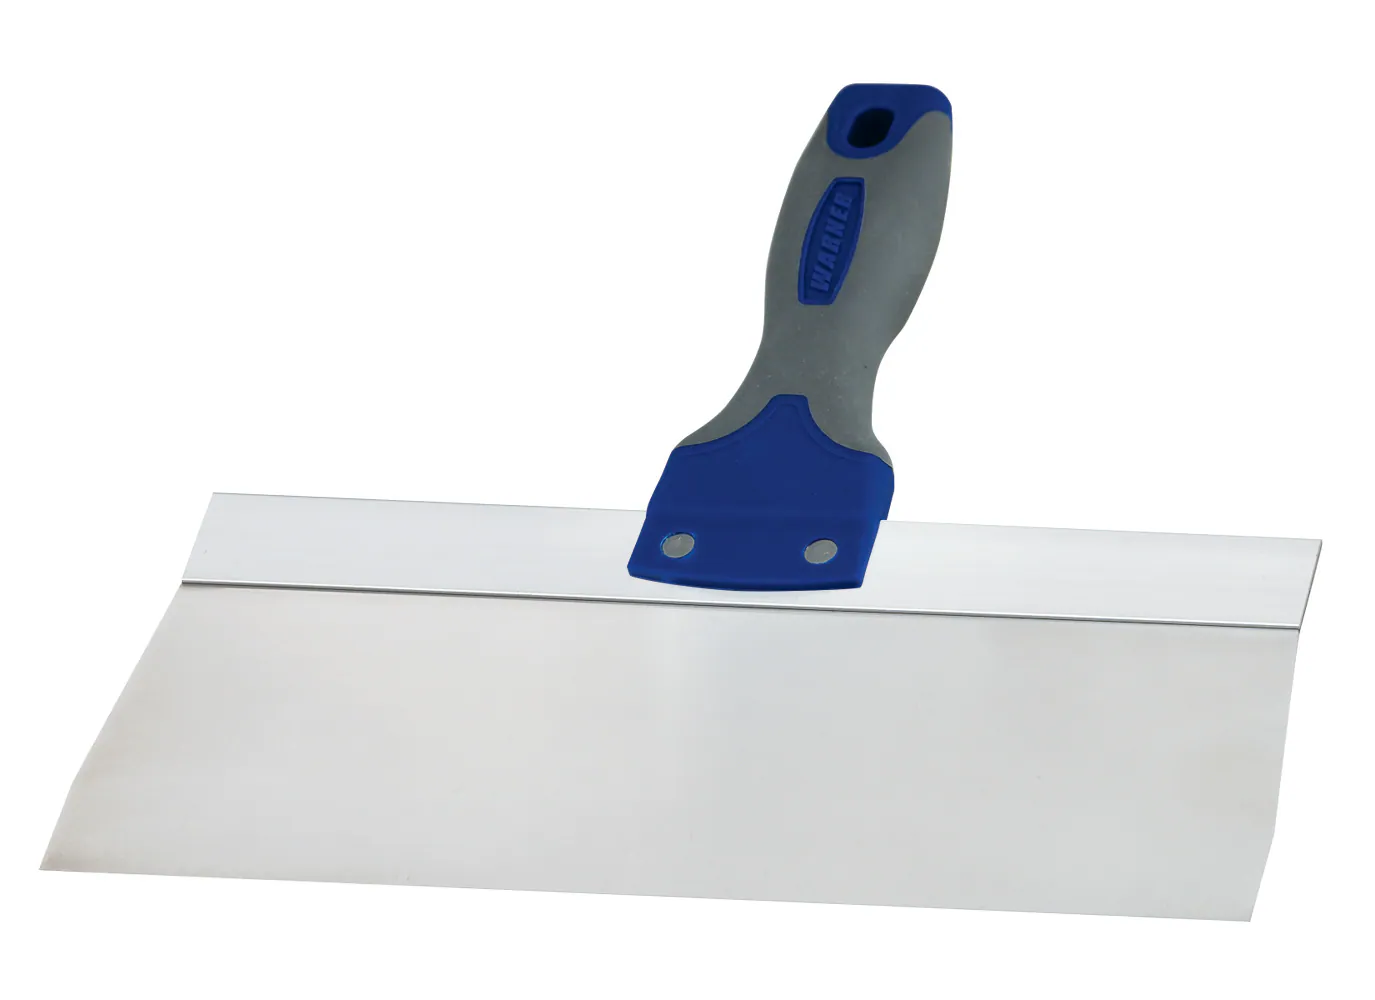
- 6-inch and 10-inch drywall knives (a 12-inch is nice too)
- Mixing pan or mud tray
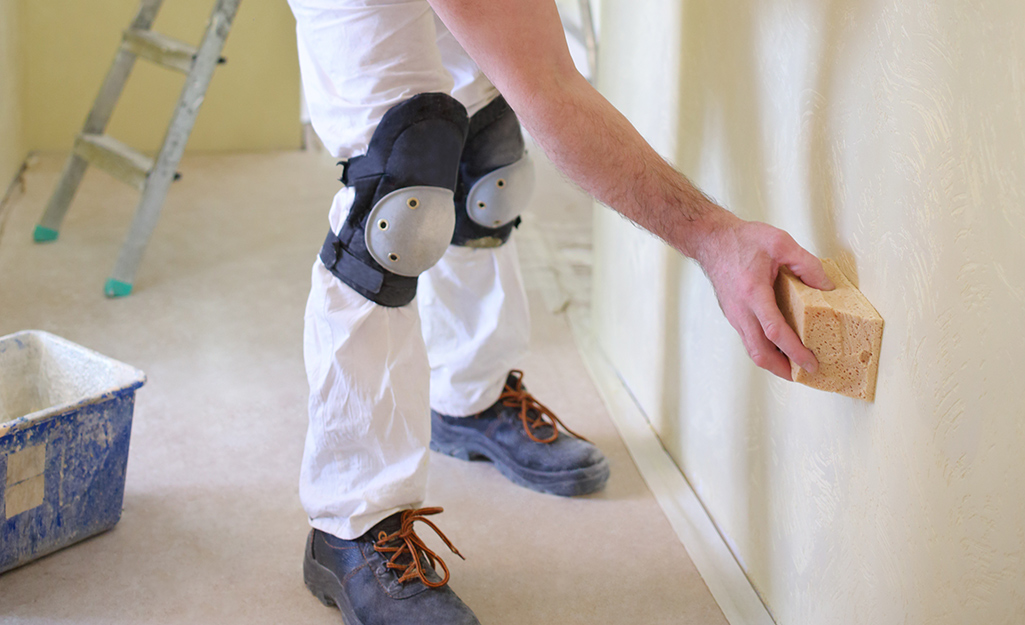
- Sanding sponge (medium and fine) or pole sander
- Shop vacuum and a damp microfiber cloth
Materials
- Drywall patch piece (same thickness as your wall, usually 1/2 inch, sometimes 5/8 inch)
- Backer material: 1x2 or 1x3 wood strips, or drywall repair clips
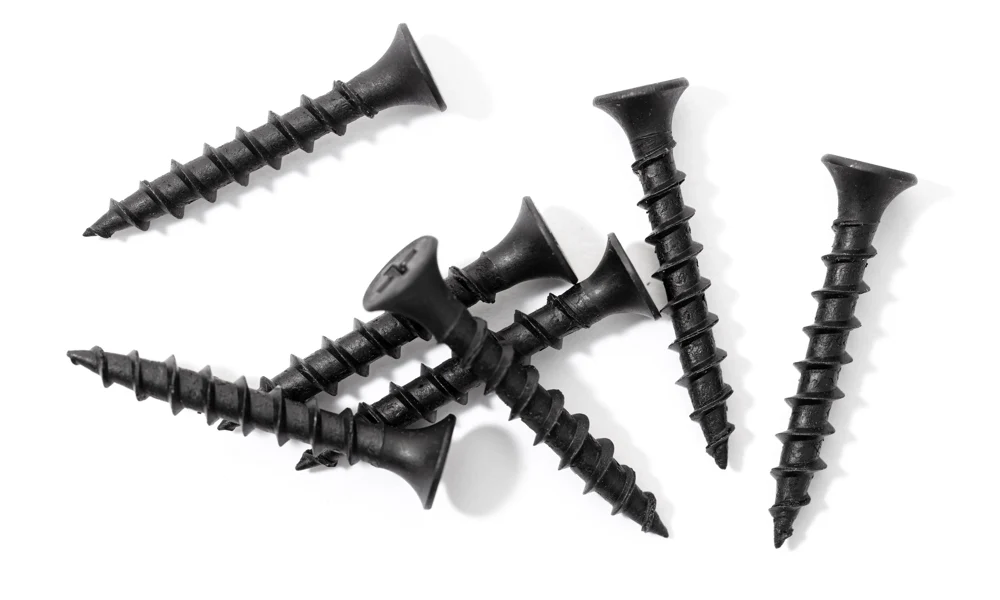
- Drywall screws: 1-1/4 inch coarse-thread for 1/2-inch drywall into wood backing; 1-5/8 inch for 5/8-inch drywall
- Tape: paper tape (best with pre-mixed compound) and/or self-adhesive fiberglass mesh tape (best with setting-type compound)
- Joint compound: all-purpose (pre-mixed) and optionally setting-type compound (hot mud) for the first coat
- Primer (PVA drywall primer is my go-to)
- Matching wall paint
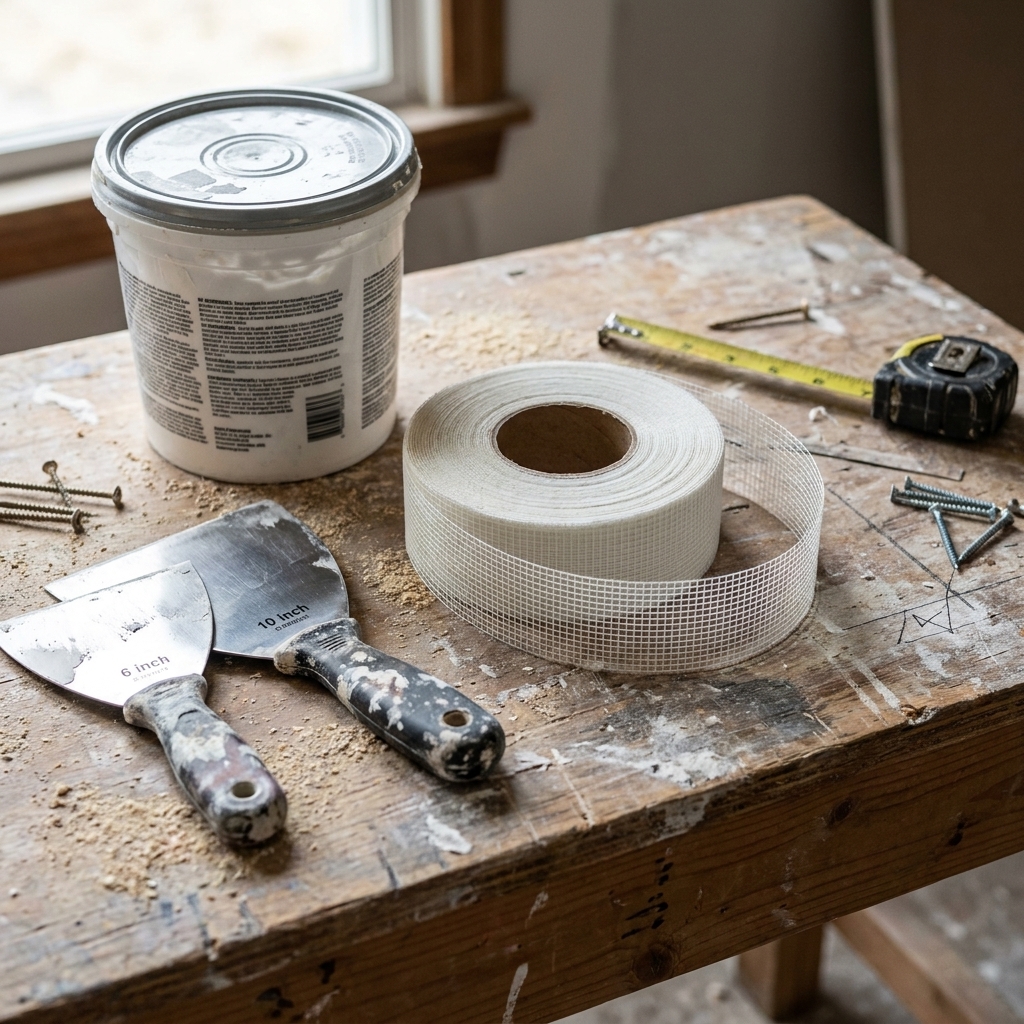
Mud and tape tip: If you are using pre-mixed all-purpose compound, I recommend paper tape for the seams for the best crack resistance. If you want to use mesh tape, do yourself a favor and use setting-type compound for the tape-embed coat. Mesh plus pre-mixed mud can work if you are careful, but it is also a classic recipe for hairline cracks because pre-mix shrinks as it dries.
Step 1: Square up the hole
Irregular holes are harder to patch because your patch piece has nothing consistent to register against. The fix is simple: cut the damaged area into a clean shape.
- Use a straightedge to mark a square or rectangle around the damage.
- Make shallow first passes with the knife or tool. You are scoring drywall, not trying to find a wire the hard way.
- Cut along the lines with a utility knife first, then finish with a drywall saw or oscillating tool.
- Remove loose gypsum and paper until the edges are solid.
Contractor confession: Early in my career I tried to “follow the hole” and keep it small. I ended up with a patch shaped like a potato and a mud job that looked like a speed bump. Squaring it up is faster in the long run.
Step 2: Check the cavity
Before you start screwing things in, take a flashlight and look around.
- Confirm there are no wires, pipes, or ducting where your backing will land.
- Remove any insulation that is bulging out so your patch sits flat.
- If the hole was caused by impact, check for cracked studs. It is rare, but worth a look.
Step 3: Add backing
Backing is the difference between a patch that feels solid and one that flexes every time the door closes. You want support behind the edges of your patch so screws have something to bite into.
Option A: Wood backing boards
- Cut wood strips that are 6 to 10 inches longer than the opening in the direction the strip will span. Most of the time that means vertical strips bridging the top and bottom of the cutout, but wide patches may need a horizontal strip too.
- Slip the first strip into the hole and pull it tight against the back of the drywall so it bridges the opening.
- Easy handling trick: drive a screw partway into the center of the strip before you insert it, then use that screw as a little handle to hold the strip in place while you fasten it.
- Drive two drywall screws through the existing drywall into the wood strip, one near the top and one near the bottom. Keep screws about 3/4 inch back from the cut edge so the drywall paper does not tear.
- Repeat on the other side of the opening with a second strip. Add a third strip if your patch is large enough to flex.
Option B: Drywall repair clips
- Attach clips to the cut edge per the clip instructions.
- Use enough clips that the patch will not flex. Typically 4 clips for a medium hole, more for larger patches.
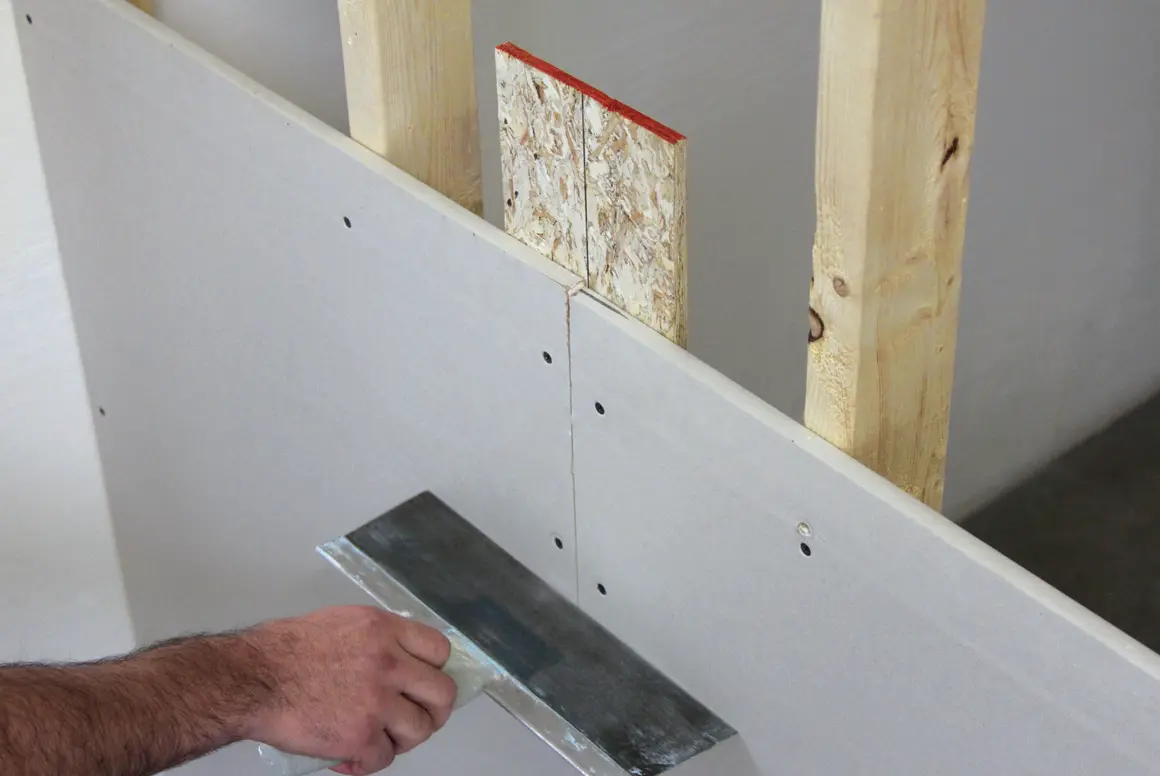
Pro tip: Do not overdrive the screws. You want the screw head slightly dimpled below the surface without tearing through the drywall paper.
Step 4: Fit the patch
Now you are making the plug that fills the opening.
- Measure the opening and transfer the dimensions to your drywall patch piece.
- Score the face paper with a utility knife, snap the piece, then cut the back paper.
- Test-fit the patch. You want a small, consistent gap, about 1/8 inch, not a press-fit that bows the wall.
- Screw the patch to the backing boards or clips. As a rule, place screws about every 6 to 8 inches along each backer, and add one near each corner if the board has support behind it.
Step 5: Tape the seams
Tape bridges the joints so they do not crack later. The best choice depends on the compound you plan to use.
- Apply tape centered over every seam around the patch.
- Press it down firmly so it bonds to the drywall face paper (mesh) or sits flat in a bed of mud (paper).
- Trim any tape that overlaps itself or puckers at corners.
My rule: paper tape with pre-mixed compound for maximum crack resistance. If you prefer mesh tape, use setting-type compound for the embed coat, then you can switch to pre-mixed compound for the later feather coats if you want easier sanding.
Step 6: Mud in thin coats
The goal is not to fill the hole anymore. That part is done. Now your goal is to hide the seam by feathering the mud wider and thinner as you go.
Coat 1: Embed and lock
- Using a 6-inch knife, embed the tape and cover it completely.
- Scrape tight. You are not trying to build thickness yet. You are locking the tape in and filling the shallow low spots.
- Let dry completely.
Coat 2: Build and feather
- Switch to a 10-inch knife.
- Apply a wider coat, extending 2 to 4 inches past the seam in all directions.
- Feather the edges by holding one side of the knife slightly raised so the outside edge tapers thin.
- Let dry completely.
Coat 3: Finish coat
- Apply a very thin, very wide coat. Think 8 to 12 inches beyond the seam for large patches.
- Focus on making the patch disappear under a gradual ramp, not a hump.
- Let dry completely.
Drying time reality: Pre-mixed compound often needs overnight between coats, but humidity and coat thickness matter a lot. Recoat when the mud is a uniform light color and feels hard and dry to the touch, not cool or damp. Setting-type compound hardens by chemical reaction and can be ready in 20 to 90 minutes depending on the product, but it is less forgiving to sand. For most DIYers, slow and steady wins.
Glossy paint note: The shinier the wall, the wider you should feather. Satin and semi-gloss light up small ridges like a spotlight.
Step 7: Sand carefully
Sanding is where a decent patch turns invisible, and also where most DIYers accidentally chew through drywall paper. Be gentle.
- Start with a medium sanding sponge to knock down ridges and high spots.
- Finish with a fine sanding sponge to blend edges.
- Run your hand across the patch with your eyes closed. Your fingertips find flaws your eyes miss.
- Shine a flashlight or work light across the wall at a low angle to spot bumps and valleys.
Dust control tip: Sand with a shop vac nearby, and consider a pole sander with vacuum attachment if you have a lot of area to blend. It is not fancy, it is sanity.
If you hit paper or expose tape, do not panic. Wipe dust, skim a thin coat of compound, let dry, and sand again.
Step 8: Match wall texture
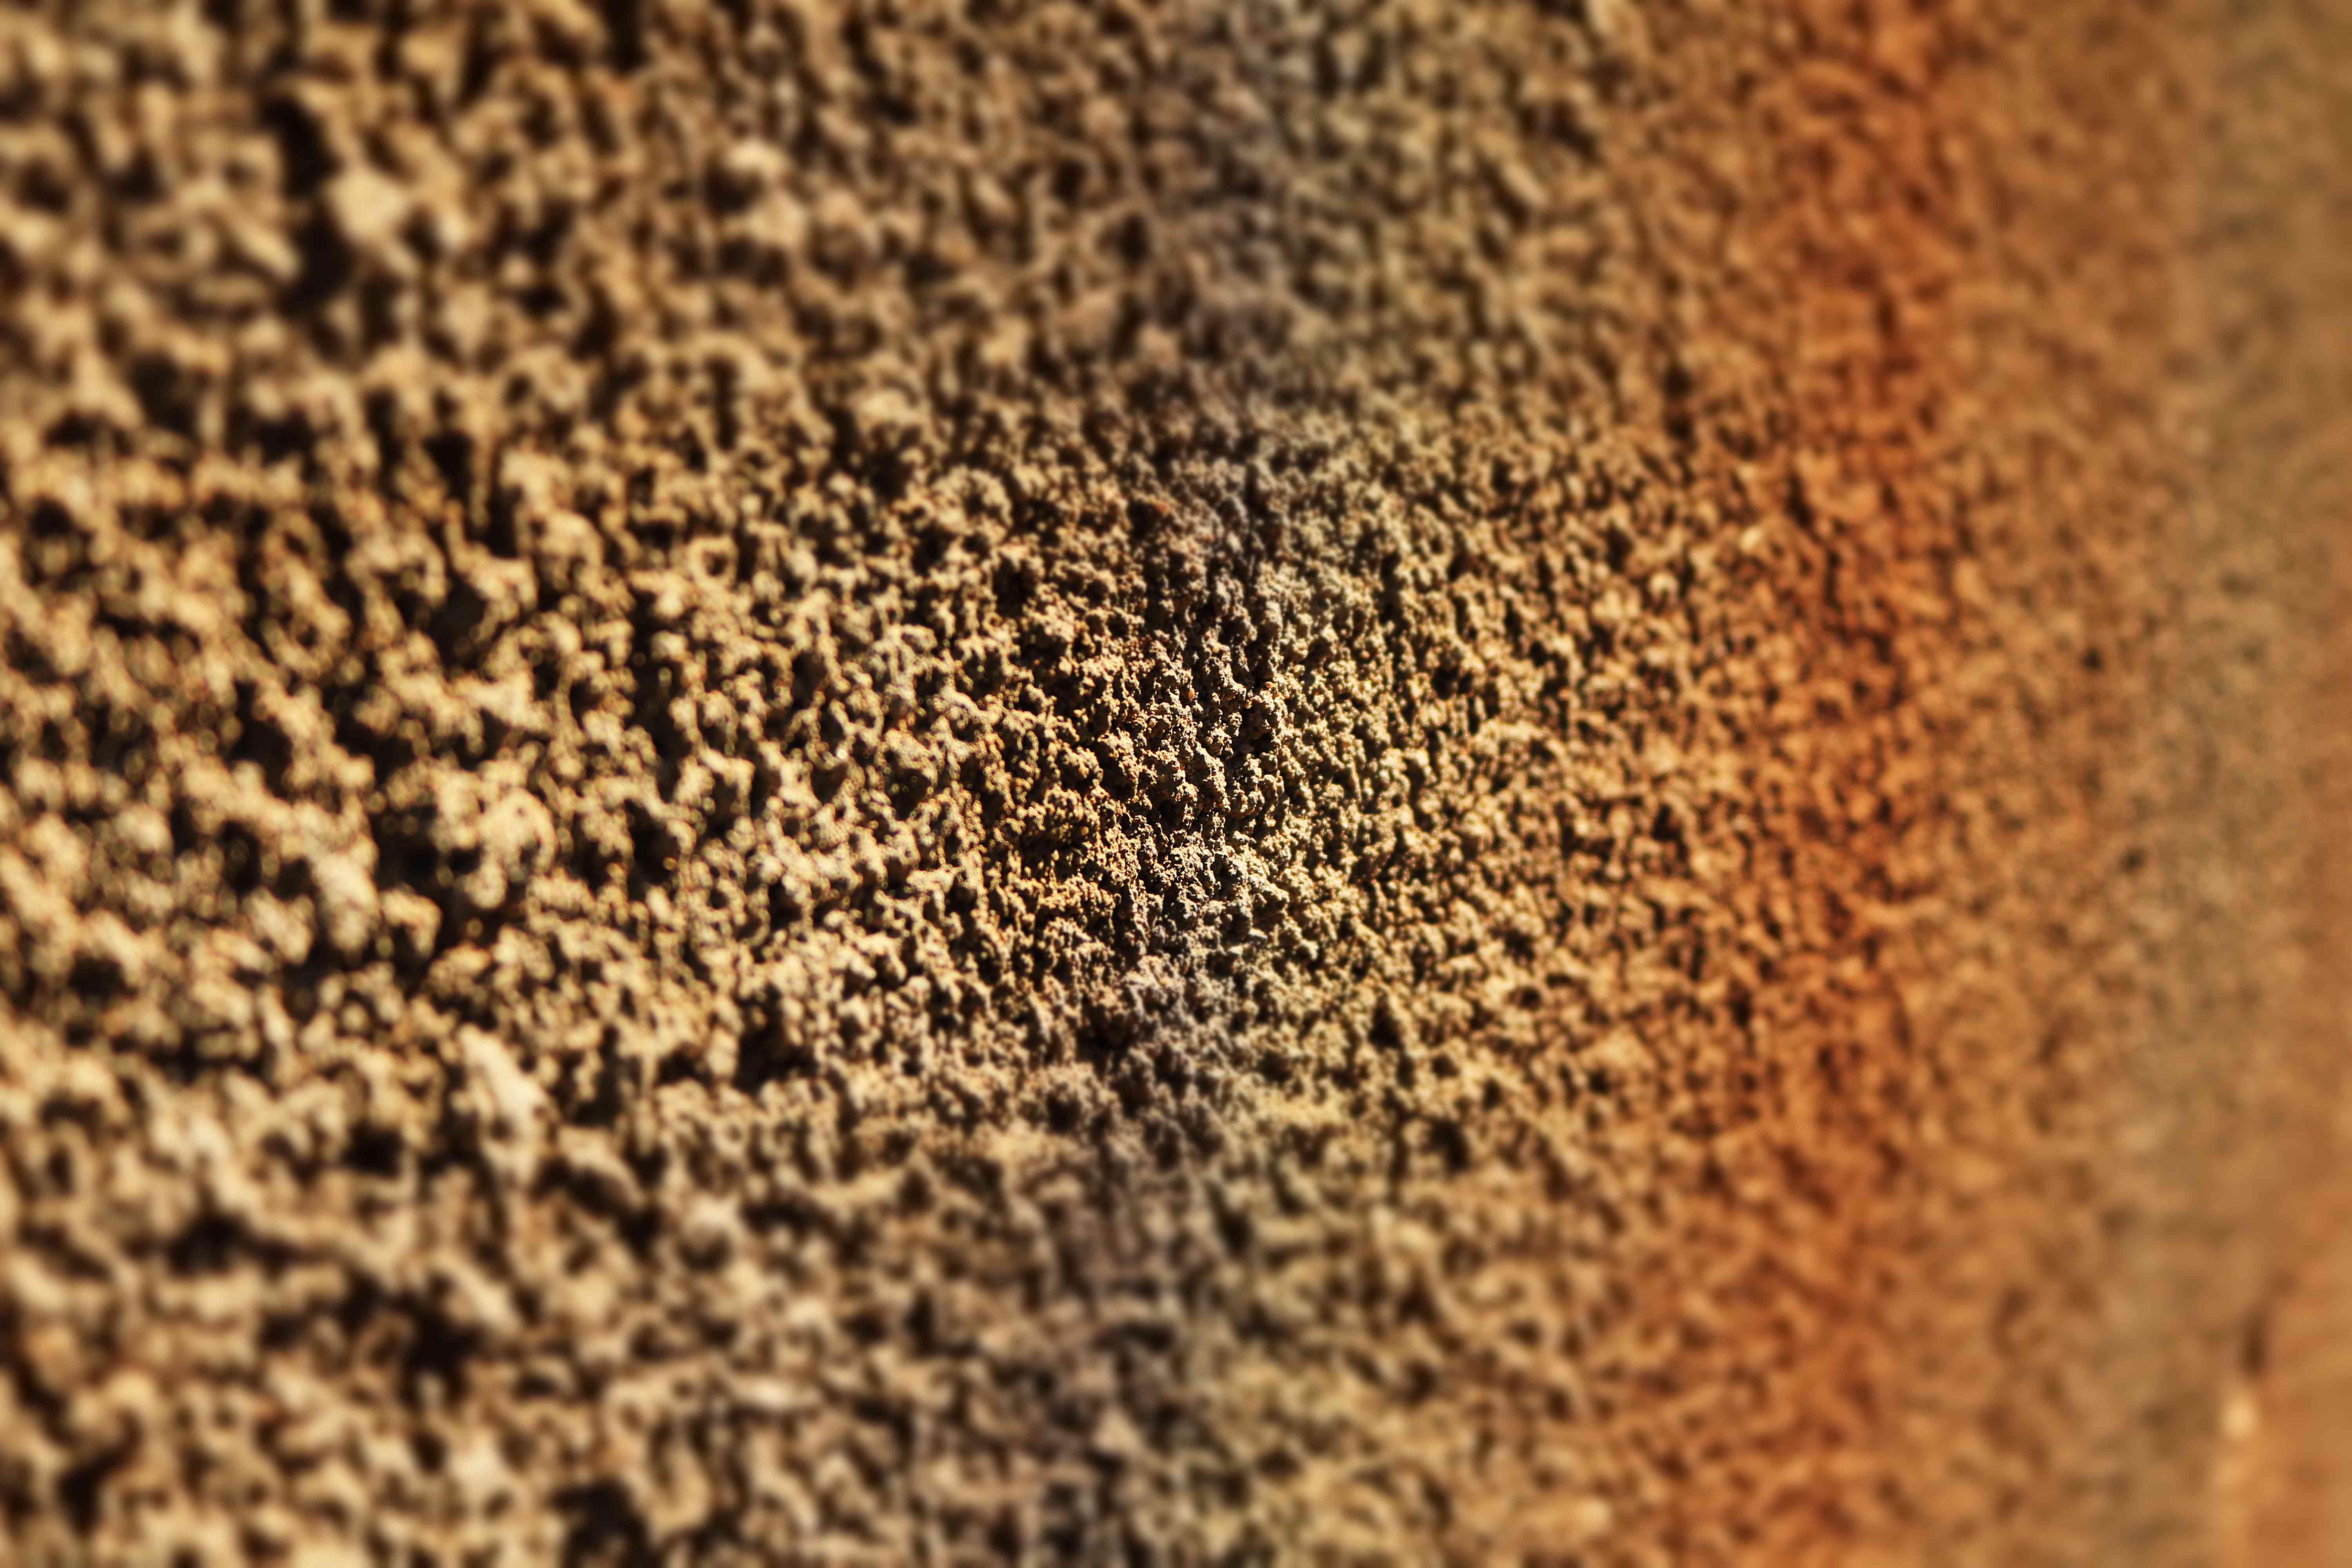
Perfectly smooth mud on a textured wall will scream patch from across the room. You have a few common scenarios:
- Smooth walls: You are done after sanding and priming.
- Orange peel: Use orange peel spray texture. Practice on cardboard first to match droplet size. Keep the can moving.
- Knockdown: Spray texture, let it set up slightly (usually a few minutes), then lightly knock it down with a broad knife.
- Popcorn ceilings: Use ceiling-specific popcorn patch products and protect the room. Matching popcorn is its own sport.
Texture and primer: Follow your texture product directions. Many aerosol textures recommend priming first so the patch does not soak up binder differently than the surrounding wall.
Step 9: Prime and paint
Do not skip primer. Joint compound is porous and will flash through paint as dull, blotchy spots.
- Vacuum dust and wipe the wall with a damp cloth. Let dry.
- Prime the patched area, extending beyond the repair.
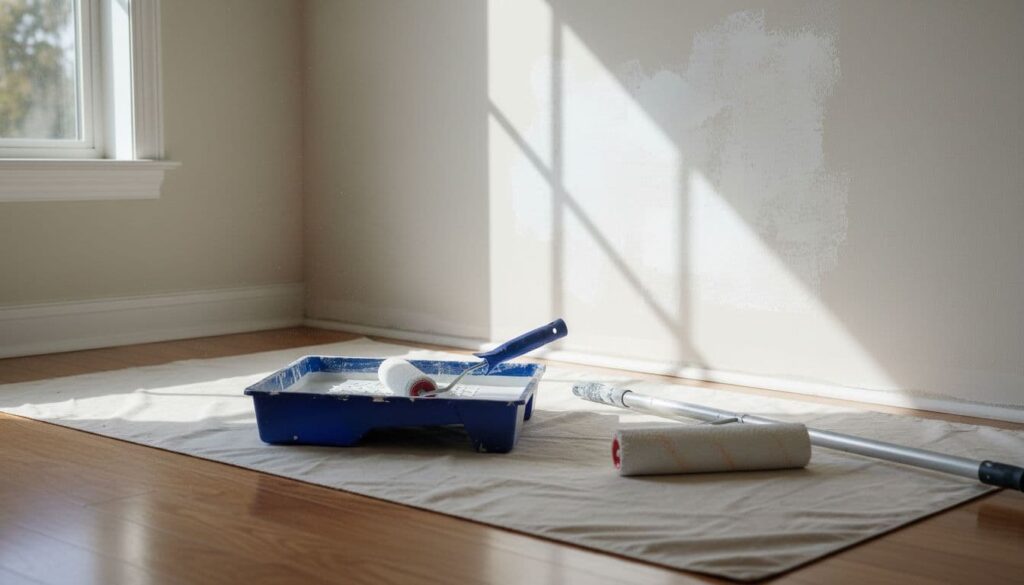
- Paint the wall. For the best blend, paint corner-to-corner if you can. If you are only touching up, feather the paint edges with a light roller load.
Troubleshooting
My patch looks like a bulge
- Cause: Coats were too thick or not feathered wide enough.
- Fix: Sand the high area down, then apply a wider, thinner skim coat to blend.
I can see tape through the mud
- Cause: Not enough compound over the tape, or you sanded too aggressively.
- Fix: Apply another coat that fully covers the tape, let dry, sand lightly.
Cracks showed up later
- Cause: Movement, insufficient backing, or shrinkage from thick coats. Mesh tape embedded in pre-mixed mud is another common culprit.
- Fix: If the patch flexes, add screws into solid backing. Then re-tape the crack (paper is safest) and recoat. If you insist on mesh, embed it with setting-type compound.
The patch flashes through paint
- Cause: No primer, or paint sheen mismatch.
- Fix: Prime, then repaint with the same sheen as the surrounding wall. Flat, eggshell, satin, and semi-gloss reflect light differently, and patches love to show that off.
Backing and screws: quick guide
| Patch size | Recommended backing | Typical screws | Notes |
|---|---|---|---|
| 6 to 10 inches | Two 1x2 or 1x3 strips | 4 to 6 | Keep patch flush, do not overtighten |
| 10 to 24 inches | Two to three wood strips | 6 to 12 | Add a middle backer if patch flexes |
| Over 24 inches | Consider cutting to studs | Stud-screwed perimeter | Best long-term strength is stud-to-stud replacement |
When to cut back to studs
Backing boards work great for most oops holes. But if the damage is huge, or the drywall is compromised, the better repair is a partial sheet replacement.
- The hole spans multiple stud bays or is wider than about 24 inches
- The drywall is water-damaged, crumbly, or moldy beyond the hole
- You need a truly impact-resistant repair (busy hallway, door swing area)
In those cases, locate studs, cut the drywall so seams land on stud centers, and screw a new piece directly to framing. You will still tape and mud the same way afterward.
FAQ
Can I patch a large hole with just tape and mud?
For a truly large hole, no. Tape and mud alone will sag and crack because there is nothing rigid spanning the opening. You need a drywall patch piece supported by backing boards or clips.
Paper tape or mesh tape?
If you are using pre-mixed joint compound, choose paper tape for the most crack-resistant result. Mesh is convenient, but it is best paired with setting-type compound for the embed coat. That one choice prevents a lot of hairline crack callbacks.
What if I do not know drywall thickness?
Pull a cover plate off an outlet on that wall and look at the edge of the drywall. Most interior walls are 1/2 inch. Many ceilings and some garages use 5/8 inch. Matching thickness matters because even a small step will telegraph through your finish work.
How do I match paint after patching?
If you have the original paint can, match the sheen and use it. If you do not, cut a small paint chip from a hidden spot (behind a switch plate works) and have it color-matched. Even with a perfect match, touch-ups can still show, so painting the whole wall often looks best.
My best advice
Do not try to win drywall in one coat. You win with patience: solid backing, a flush patch, thin coats that get wider each time, and light sanding. If you take your time, you will end up with a repair that looks like it has always been there, because it basically has.