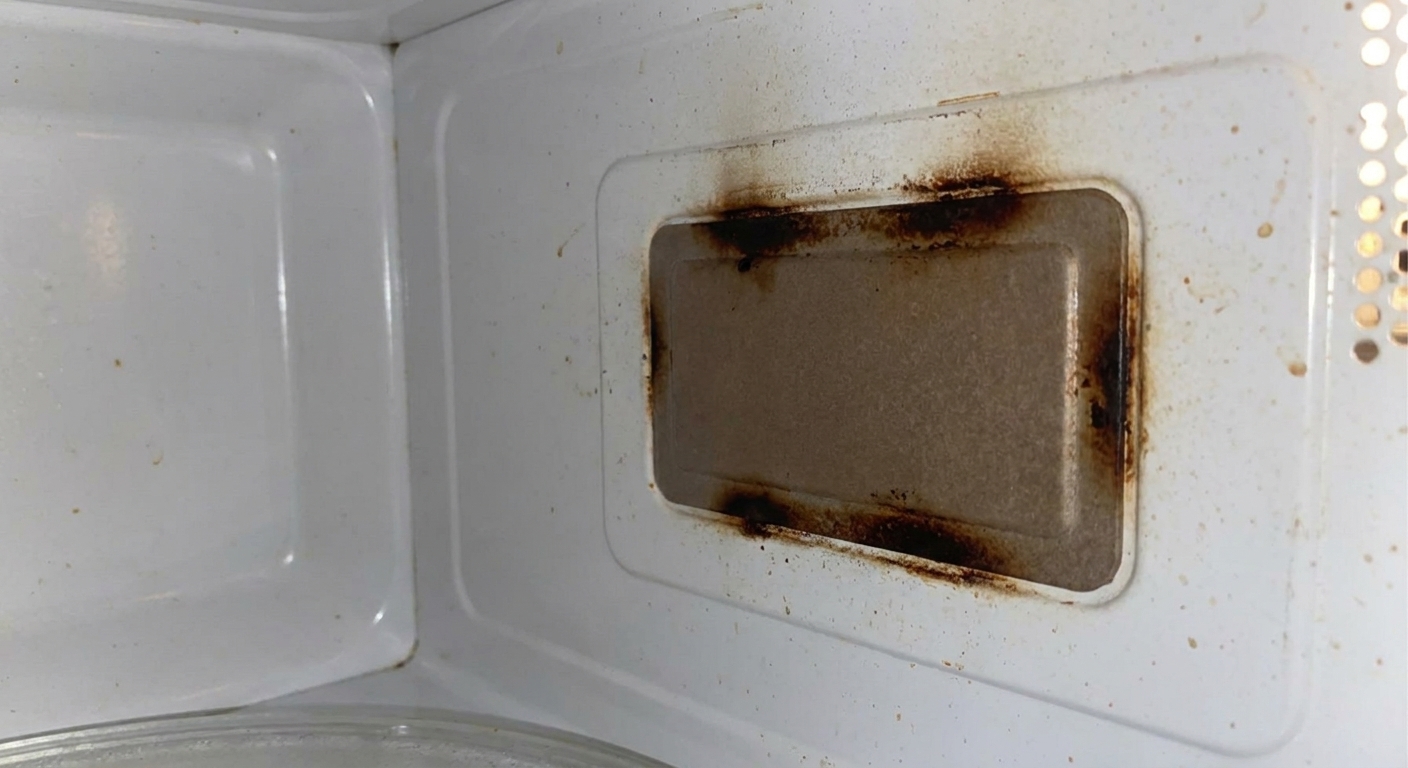
If your microwave is sparking inside, it can be pretty unsettling. The good news is that one of the most common causes is also one of the most fixable: a damaged or dirty waveguide cover. That little panel on the side wall of many microwaves is there to keep grease and food splatter out of the waveguide channel that routes energy from the magnetron into the cooking cavity.
When the cover gets coated in carbonized food, cracked, or burned through, you can get arcing (electrical sparking). Ignore it long enough and it can pit the metal inside the cavity or damage more expensive components. Let’s walk through how to diagnose it, clean up safely, and replace the cover.
First: is it really arcing?
“Sparking” can mean a few different things. Here’s what you might be seeing:
- Blue or white flashes with a snapping sound: classic arcing.
- Orange glow near the top or back: this can be reflections from arcing (often near the waveguide cover or ceiling splatter), a burning food deposit, or trouble in a hidden area. If it persists, stop using the microwave and investigate.
- Small sparks near a twist-tie or fork: metal in the microwave. Remove it and don’t do that again. We’ve all done it once.
If the sparks are happening in the same spot repeatedly, especially on a side wall near a small panel, the waveguide cover is a prime suspect.
Why microwaves spark inside
Microwaves heat food by coupling energy into polar molecules (water is the big one in most foods), but the oven also contains high-voltage parts and strong electromagnetic energy. Anything that creates a sharp edge, exposed metal, or a carbonized path can concentrate energy and trigger arcing.
Common causes you can actually fix
- Grease and food splatter on the waveguide cover: baked-on gunk can become conductive once it carbonizes.
- Burned or cracked waveguide cover: a pinhole or crack lets moisture and grease into the waveguide, making arcing more likely.
- Chipped cavity paint exposing bare metal: exposed metal can arc, especially if the surface gets pitted.
- Damaged turntable support or rack coating: exposed metal or rough edges can spark.
Causes that usually mean “stop and call a pro”
- Arcing behind the control panel area or deep in the ceiling of the unit.
- Burning smell that persists even after cleaning.
- Microwave is noisy, heats poorly, or stops mid-cycle along with sparking.
This article focuses on waveguide cover issues because they are common, visible, and homeowner-serviceable without opening the outer cabinet.
Safety rules before you touch anything
- Unplug the microwave. Do not rely on the door switch or keypad.
- Do not remove the outer metal case. The high-voltage capacitor inside can store a dangerous charge even when unplugged.
- Let it cool if you just ran it and saw arcing.
- Do not run the microwave with the waveguide cover removed, even “just for a quick test.” It invites arcing and lets grease and moisture into places it should not go.
- If the inside metal is actively burned through or there is a hole in the cavity, replacement of the microwave is often the safest route.
Quick diagnosis: cover or something else?
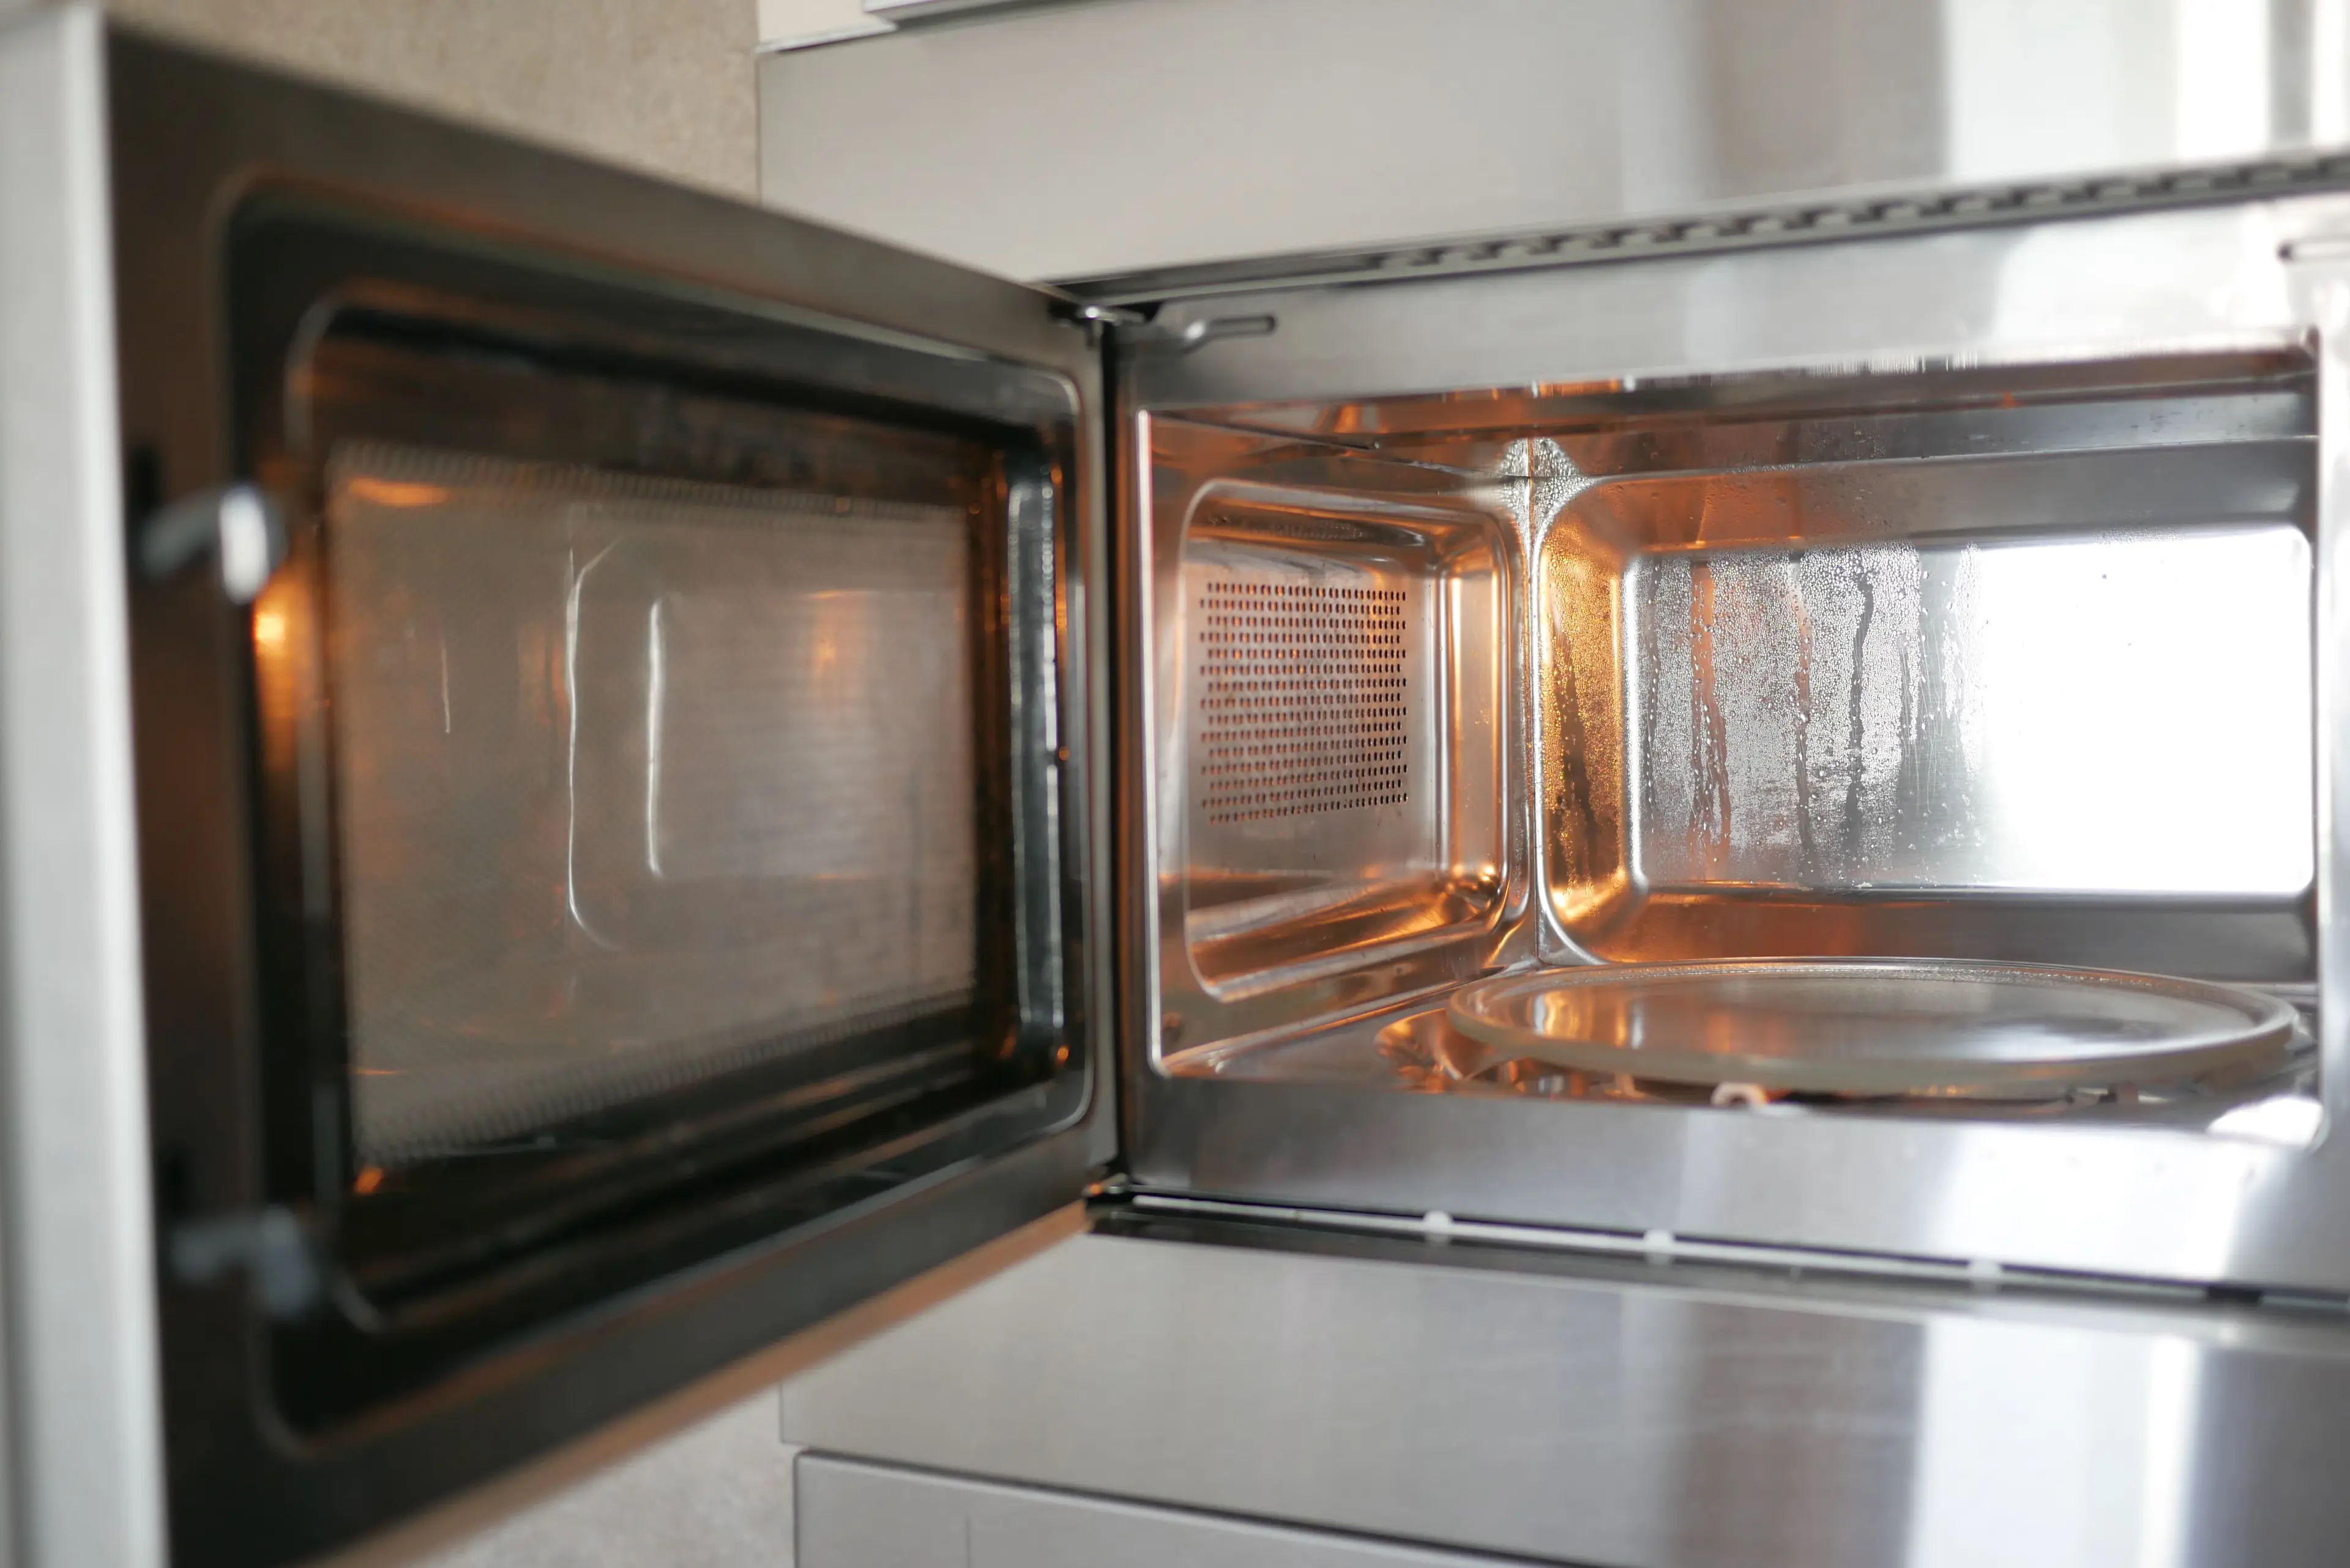
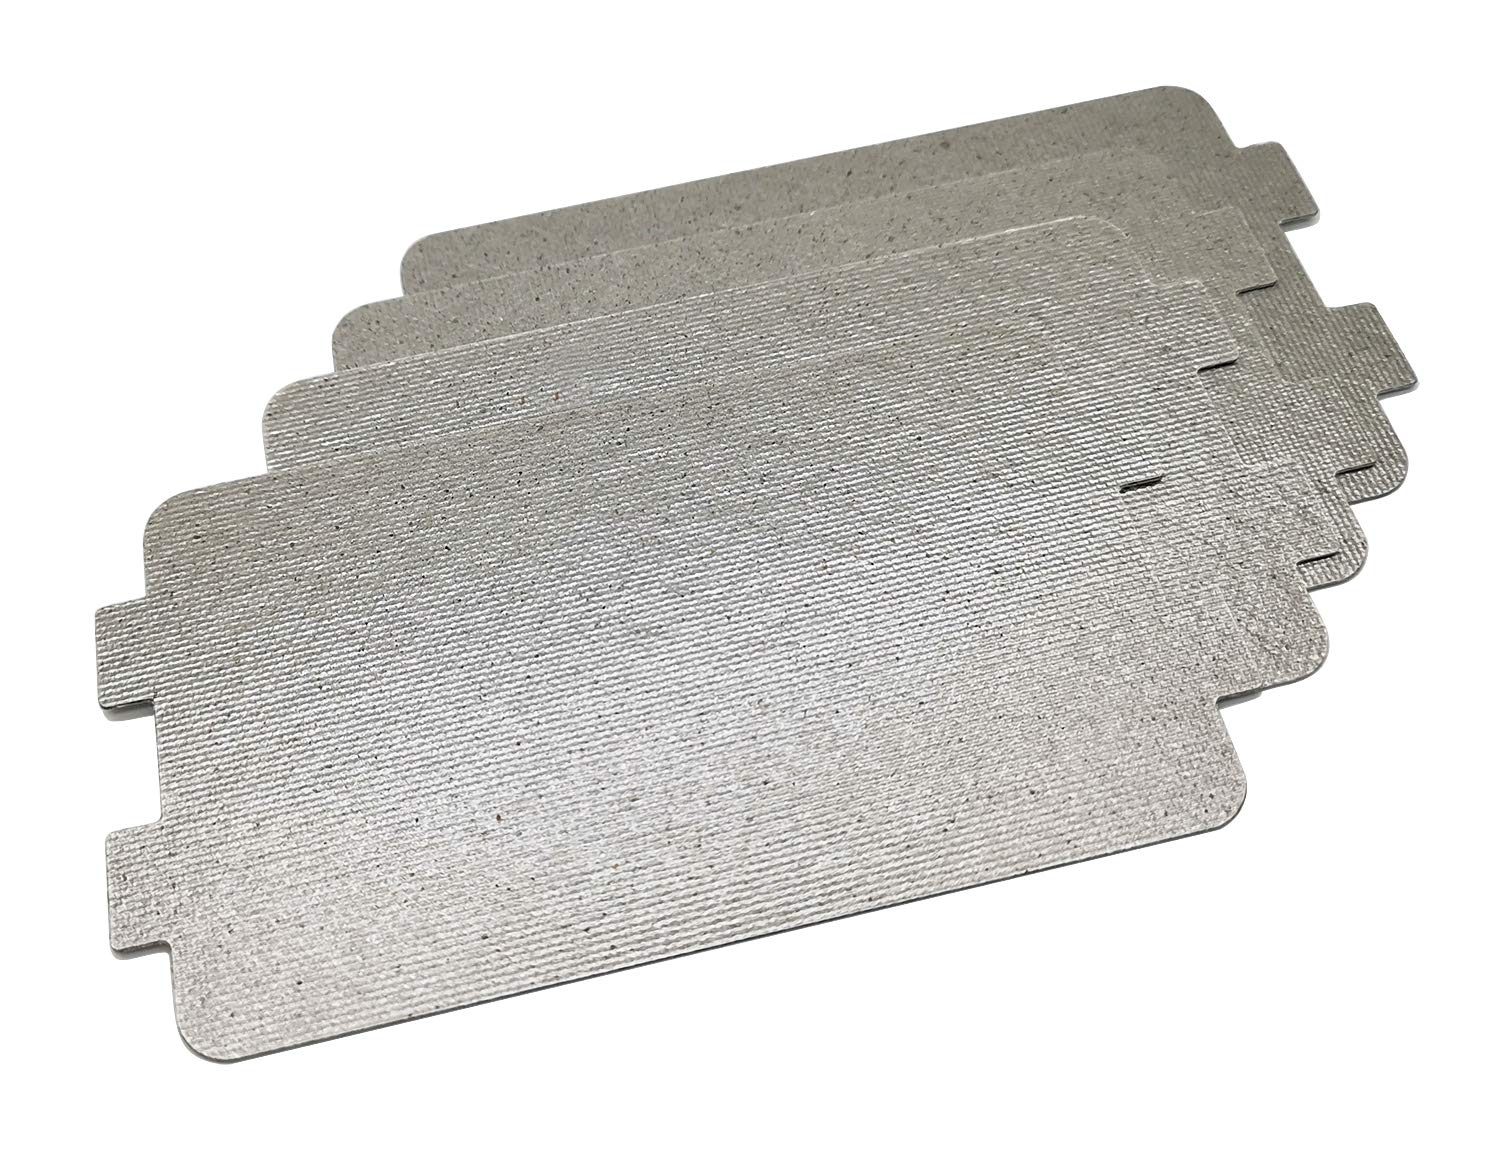
Open the door and look for the small panel inside the cavity. It is often on the right side wall, sometimes the left, occasionally the ceiling. Common materials are mica (tan or brown and slightly fibrous) or a thin plastic-like piece.
Signs the waveguide cover is the problem
- Burn marks, dark spots, bubbling, or a blistered area on the cover
- A visible crack, missing corner, or pinhole
- Grease-soaked cover that looks wet or translucent
- Sparks seem to originate at the cover edge or directly in front of it
Signs the problem is elsewhere
- Sparking at the rack supports, turntable ring, or a chipped area on the cavity wall
- Arcing at the door frame or around the door mesh
- A loud buzzing, burning smell, or smoke not tied to one spot
If you find obvious damage on the waveguide cover, replacing it is usually the right move. If the cover looks fine but the metal wall behind it is charred or melted, pause and read the “When to stop” section below.
Tools and supplies
- Dish soap and warm water
- Non-scratch sponge or soft cloth
- Baking soda (optional for stubborn grime)
- Isopropyl alcohol (optional for final wipe)
- Phillips screwdriver or small nut driver (if your cover is screwed in)
- Replacement waveguide cover (OEM part preferred)
- Scissors and hole punch (only if you are trimming a universal mica sheet)
Step 1: Clean the cavity
Even if you plan to replace the cover, cleaning matters. Grease and carbon spots are arcing fuel.
How to clean it safely
- Unplug the microwave.
- Remove the turntable plate and ring, then wash them in the sink.
- If your microwave has a metal rack, remove it unless your owner’s manual specifically says it can stay in during microwaving.
- Wipe the cavity with warm soapy water. Focus on the area around the waveguide cover, ceiling splatter zones, and the door frame.
- For baked-on spots, use a paste of baking soda and water. Rub gently with a soft cloth.
- Wipe again with a clean damp cloth to remove soap residue.
- Dry completely. Moisture around the waveguide area can contribute to arcing.
Avoid: abrasive pads, oven cleaner, and anything that scratches paint. Scratches can turn into future arcing points.
Step 2: Remove and inspect the cover
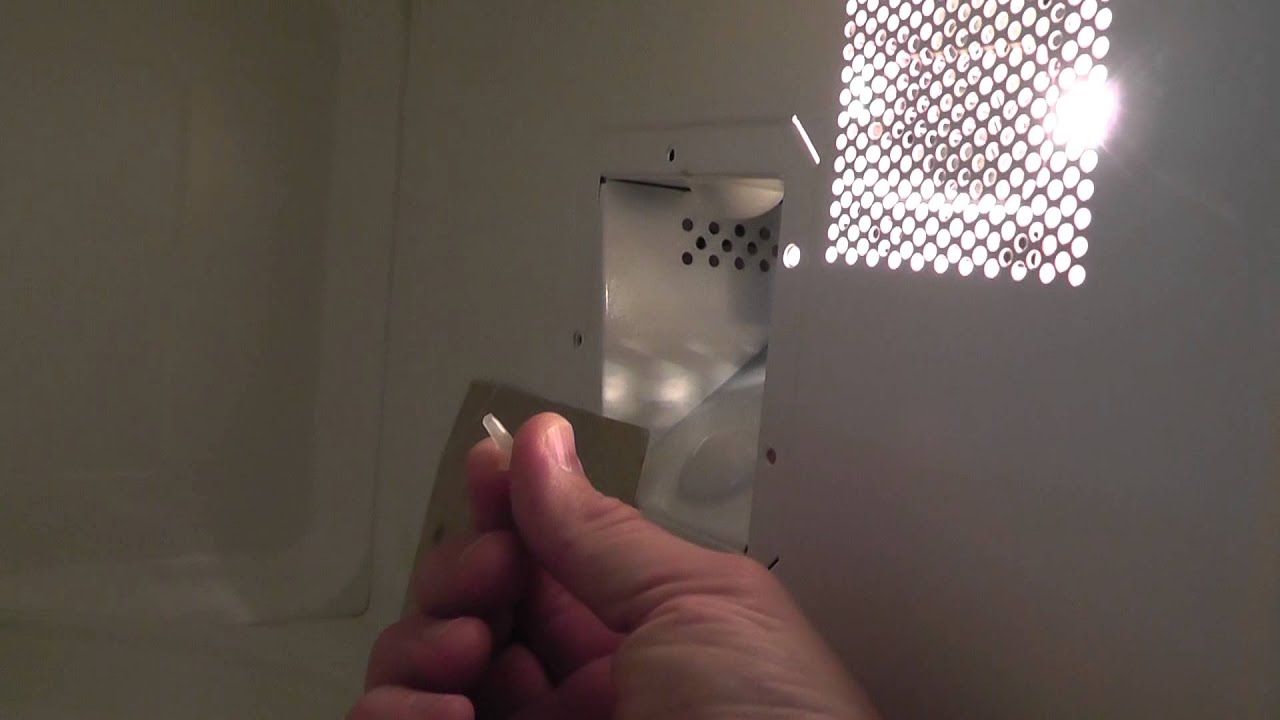
Waveguide covers are usually held in one of three ways: a small screw, plastic tabs, or a slot arrangement.
Removal tips
- Screw type: remove the screw and keep it somewhere safe. These screws love to vanish.
- Tab type: gently flex the cover just enough to clear the tabs. Do not bend it like you are trying to crack it in half.
- Slotted type: slide it out carefully.
What to look for behind the cover
You will usually see a metal opening or channel area. It should look clean, metallic, and free of soot or heavy charring. If you see melted metal, heavy black buildup inside the waveguide area, or obvious burn-through, that is a red flag.
Step 3: Clean or replace?
Here’s my rule of thumb:
- Clean it if the cover is intact and only has light grease or mild discoloration.
- Replace it if it is burned, warped, cracked, has a pinhole, or has a carbonized spot that will not wipe off.
Carbonized spots matter. Once material is charred, it can become conductive and keep arcing even after a surface wipe.
How to clean a reusable cover
- Wipe gently with a damp cloth and mild dish soap.
- Do not soak it for a long time. Some mica covers can delaminate if saturated.
- Dry it fully before reinstalling.
Step 4: Get the right replacement
The best replacement is the OEM cover matched to your microwave model number. Check the model tag, usually on the door frame or inside the door area. (It may list both a model and a serial number. For parts, you almost always want the model number.)
OEM vs universal mica sheets
- OEM cover: easiest fit, correct hole locations and thickness.
- Universal mica sheet: works for many microwaves, but you must trace and cut it accurately.
If you go universal, match the old cover’s size and shape as closely as possible. If you can, match thickness too. The cover should fully shield the waveguide opening and sit flat.
Step 5: Install the new cover
- Confirm the cavity is dry and clean, especially around the cover area.
- Position the new cover so it sits flat and fully covers the opening.
- Secure it using the original screw or tabs. Snug is good. Over-tightening can crack some covers.
- Reinstall the turntable ring and plate (and the rack only if your manual allows it for microwaving).
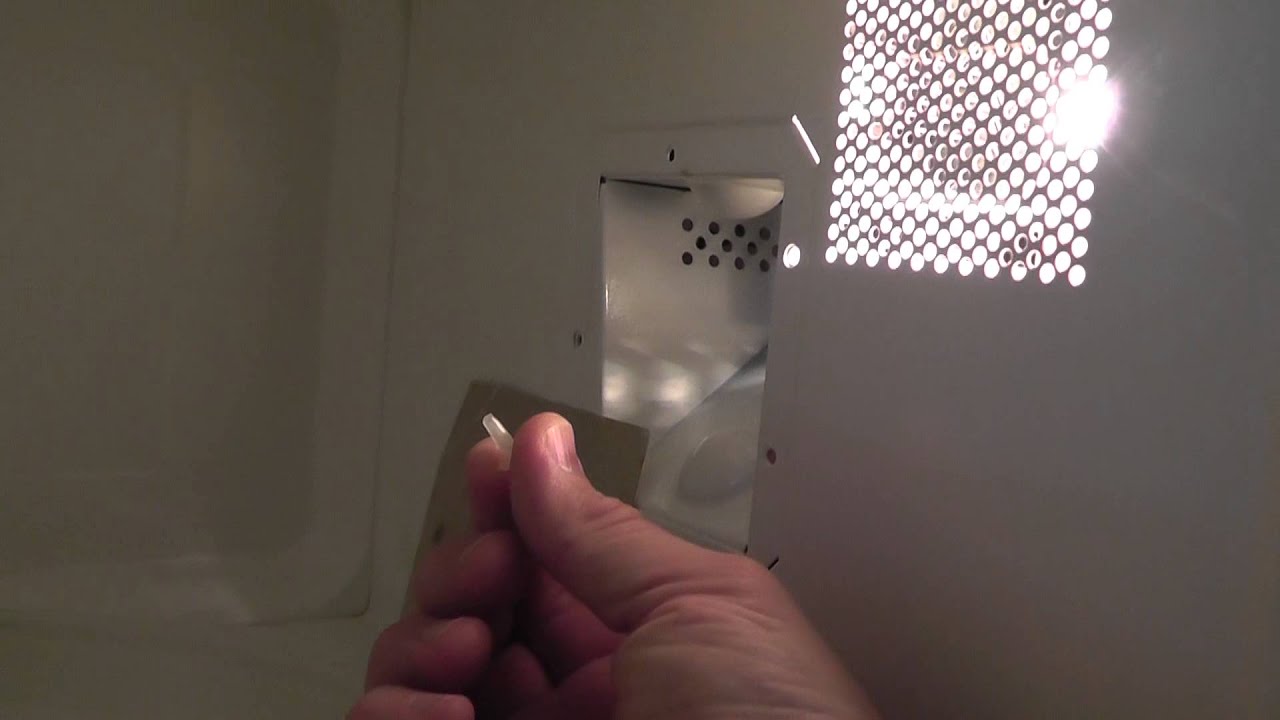
If you are cutting a universal mica sheet
- Use the old cover as a template and trace it carefully.
- Cut cleanly with scissors. Jagged edges can trap grime.
- Punch or cut the screw hole precisely so the cover does not buckle when tightened.
Test run: do this first
Don’t test an empty microwave. That can stress components. Instead:
- Place a microwave-safe mug filled with water in the center.
- Run on high for 30 to 60 seconds.
- Watch through the door. You should see no flashes and hear no snapping.
- Confirm the water is warming normally.
If it still arcs in the same area, unplug it and re-check for burned paint or metal pitting around the cover area.
What if the cavity paint is chipped?
A damaged waveguide cover often goes hand-in-hand with small burn spots on the cavity wall. Tiny, superficial marks can sometimes be stabilized, but deep pitting or exposed, jagged metal is trouble.
When touch-up is sometimes possible
- Small chip in paint away from the waveguide opening
- No ongoing arcing after replacing the cover
Some products are marketed as microwave cavity touch-up paint. If you go that route, be conservative: use only a coating specifically rated for microwave interiors and high heat, follow the manufacturer’s prep instructions, and let it cure fully before using the microwave again. If you are unsure about the coating, skip the paint and contact the manufacturer or a service tech.
When to stop and replace the microwave
- Burn-through holes in the cavity metal
- Heavy charring inside the waveguide channel
- Arcing that continues after a new cover and a thorough cleaning
- Door mesh is damaged or the door does not close squarely
Preventing future arcing
- Cover your food with a microwave-safe cover or paper towel to reduce splatter.
- Wipe the cavity weekly, especially the wall near the waveguide cover.
- Don’t run it empty.
- Skip metal, including twist ties, foil edges, and gold-trimmed dishes.
- Replace a stained cover early. A relatively inexpensive cover beats a dead microwave.
Waveguide cover FAQ
Is it safe to use a microwave with a missing cover?
No. The cover helps prevent grease and moisture from entering the waveguide channel. Running without it can lead to arcing and internal damage fast.
Can I make a waveguide cover from plastic or cardboard?
Don’t. Use the correct OEM part or a proper microwave mica sheet made for this purpose. Random materials can melt, burn, or arc.
Why does it spark only when I heat greasy foods?
Grease splatter is a common trigger. It can soak into the waveguide cover and carbonize over time, making arcing much more likely during high-splatter foods like bacon, pizza, or anything with oil.
My cover looks fine, but it still arcs. Now what?
Look closely for chipped paint, pitting, a damaged rack coating, or arcing around the door frame. If you cannot pinpoint a simple cause, stop using it and have it evaluated. Persistent arcing is not something to “see if it goes away.”