Nothing kills that “freshly cleaned dishes” feeling like pulling out a glass and finding it looks like it got rinsed in a sandbox. The good news is gritty residue is often a simple flow problem: dirty water is getting recirculated, spray is not reaching everything, or the machine is not filling with enough fresh water to rinse debris away. But it can also be a lookalike, like undissolved detergent, mineral film, or even etched glass.
In this guide, I’ll walk you through the three most common fixes I’ve used in my own kitchen and in customers’ homes: cleaning the interior filter, unclogging the spray arms, and checking the water inlet valve (the part that controls how much water enters the dishwasher). I’ll also show you a quick way to tell true “grit” from the stuff that just looks like it.
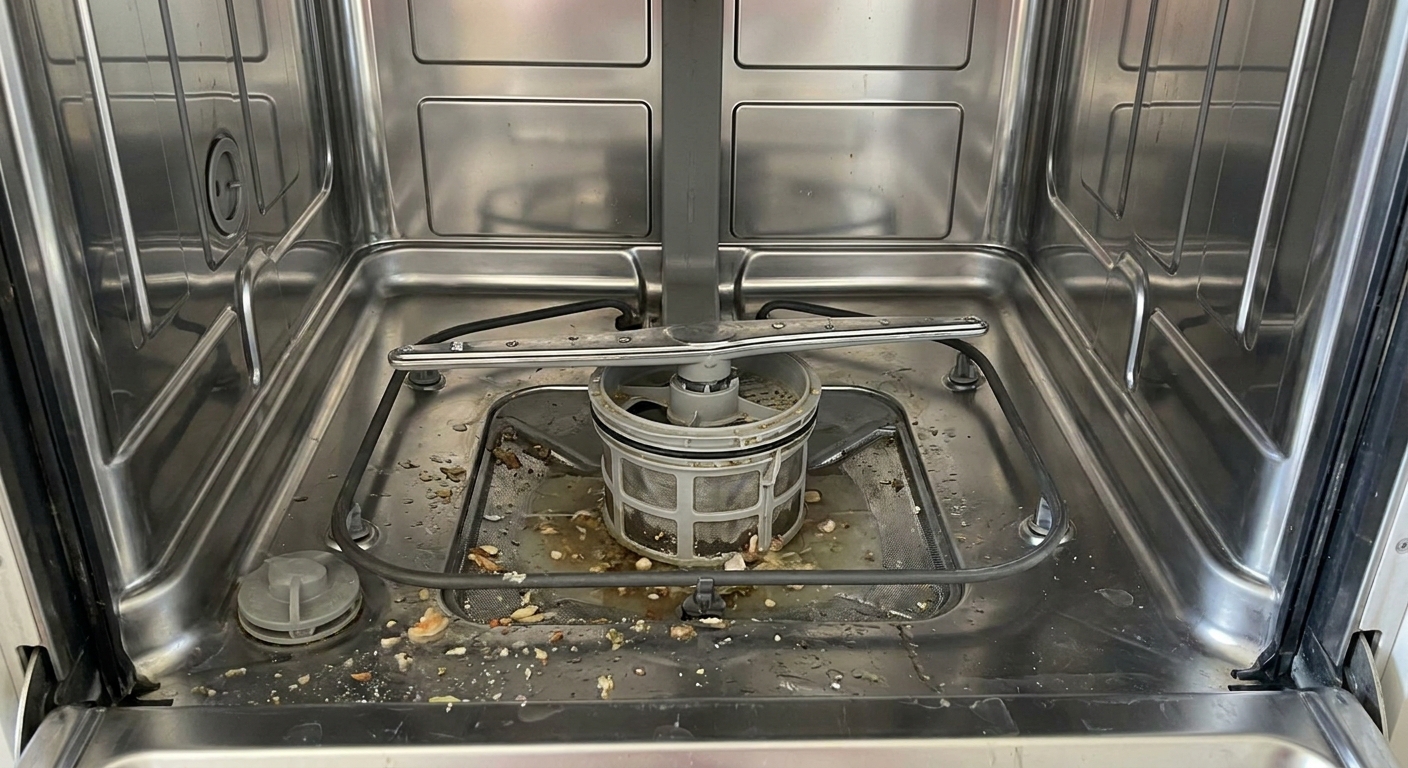
What “grit” usually is
When people say “gritty residue,” they’re usually describing one of these:
- Food particles (rice, quinoa, coffee grounds, pepper flakes) that are getting trapped and re-sprayed
- Mineral grit from hard water, especially if detergent is underperforming
- Paper label bits from jars or torn napkins
- Plastic flakes from a melted container or degraded utensil
- Undissolved detergent (granules or pod residue) that dries into a sandy feel
Dishwashers recirculate wash water through a pump and spray arms. If the filter is packed, the spray arms are partially blocked, the dishwasher does not drain well, or the dishwasher is not filling high enough, it cannot move debris out. It just moves it around.
Quick checks first
1) Make sure it is really grit
Before you start pulling parts, do this two-minute reality check:
- Wipe test: Rub the residue with a damp finger. If it smears, it is usually soft soil or detergent. If it feels like sand, it is usually particles.
- Vinegar test: Put a splash of white vinegar on a paper towel and wipe a cloudy or gritty-looking area. If it clears up, you are dealing with mineral film or scale, not food grit.
- Etching check: If glass looks permanently hazy and does not wipe off with vinegar, that can be etching. Etching is permanent damage, not removable grit. It is often tied to hot water, aggressive detergent, and soft water.
- Undissolved detergent clue: Sandy residue on the door, near the dispenser, or a half-melted pod is usually a temperature, cycle, or spray coverage issue, not “dirty dishes.”
2) Run hot water at the sink first (if your first fill is cold)
Dishwashers heat water, but many still start with whatever is in the hot line. If your kitchen has a long run and your first fill is noticeably cold, run the faucet until it is hot before you start the dishwasher. If your dishwasher already purges and heats aggressively, you may not see much difference, but this is an easy win on many setups.
3) Make sure the drain is not backing up
A little water left down in the sump area can be normal, because it helps keep seals wet. What is not normal is pooling that covers the filter screen, water standing above the filter area, or water that smells swampy. If that is what you have, solve the draining problem first (air gap clogged, no high loop, disposal knockout not removed, kinked drain hose, clogged filter). A dishwasher that cannot drain will redeposit debris constantly.
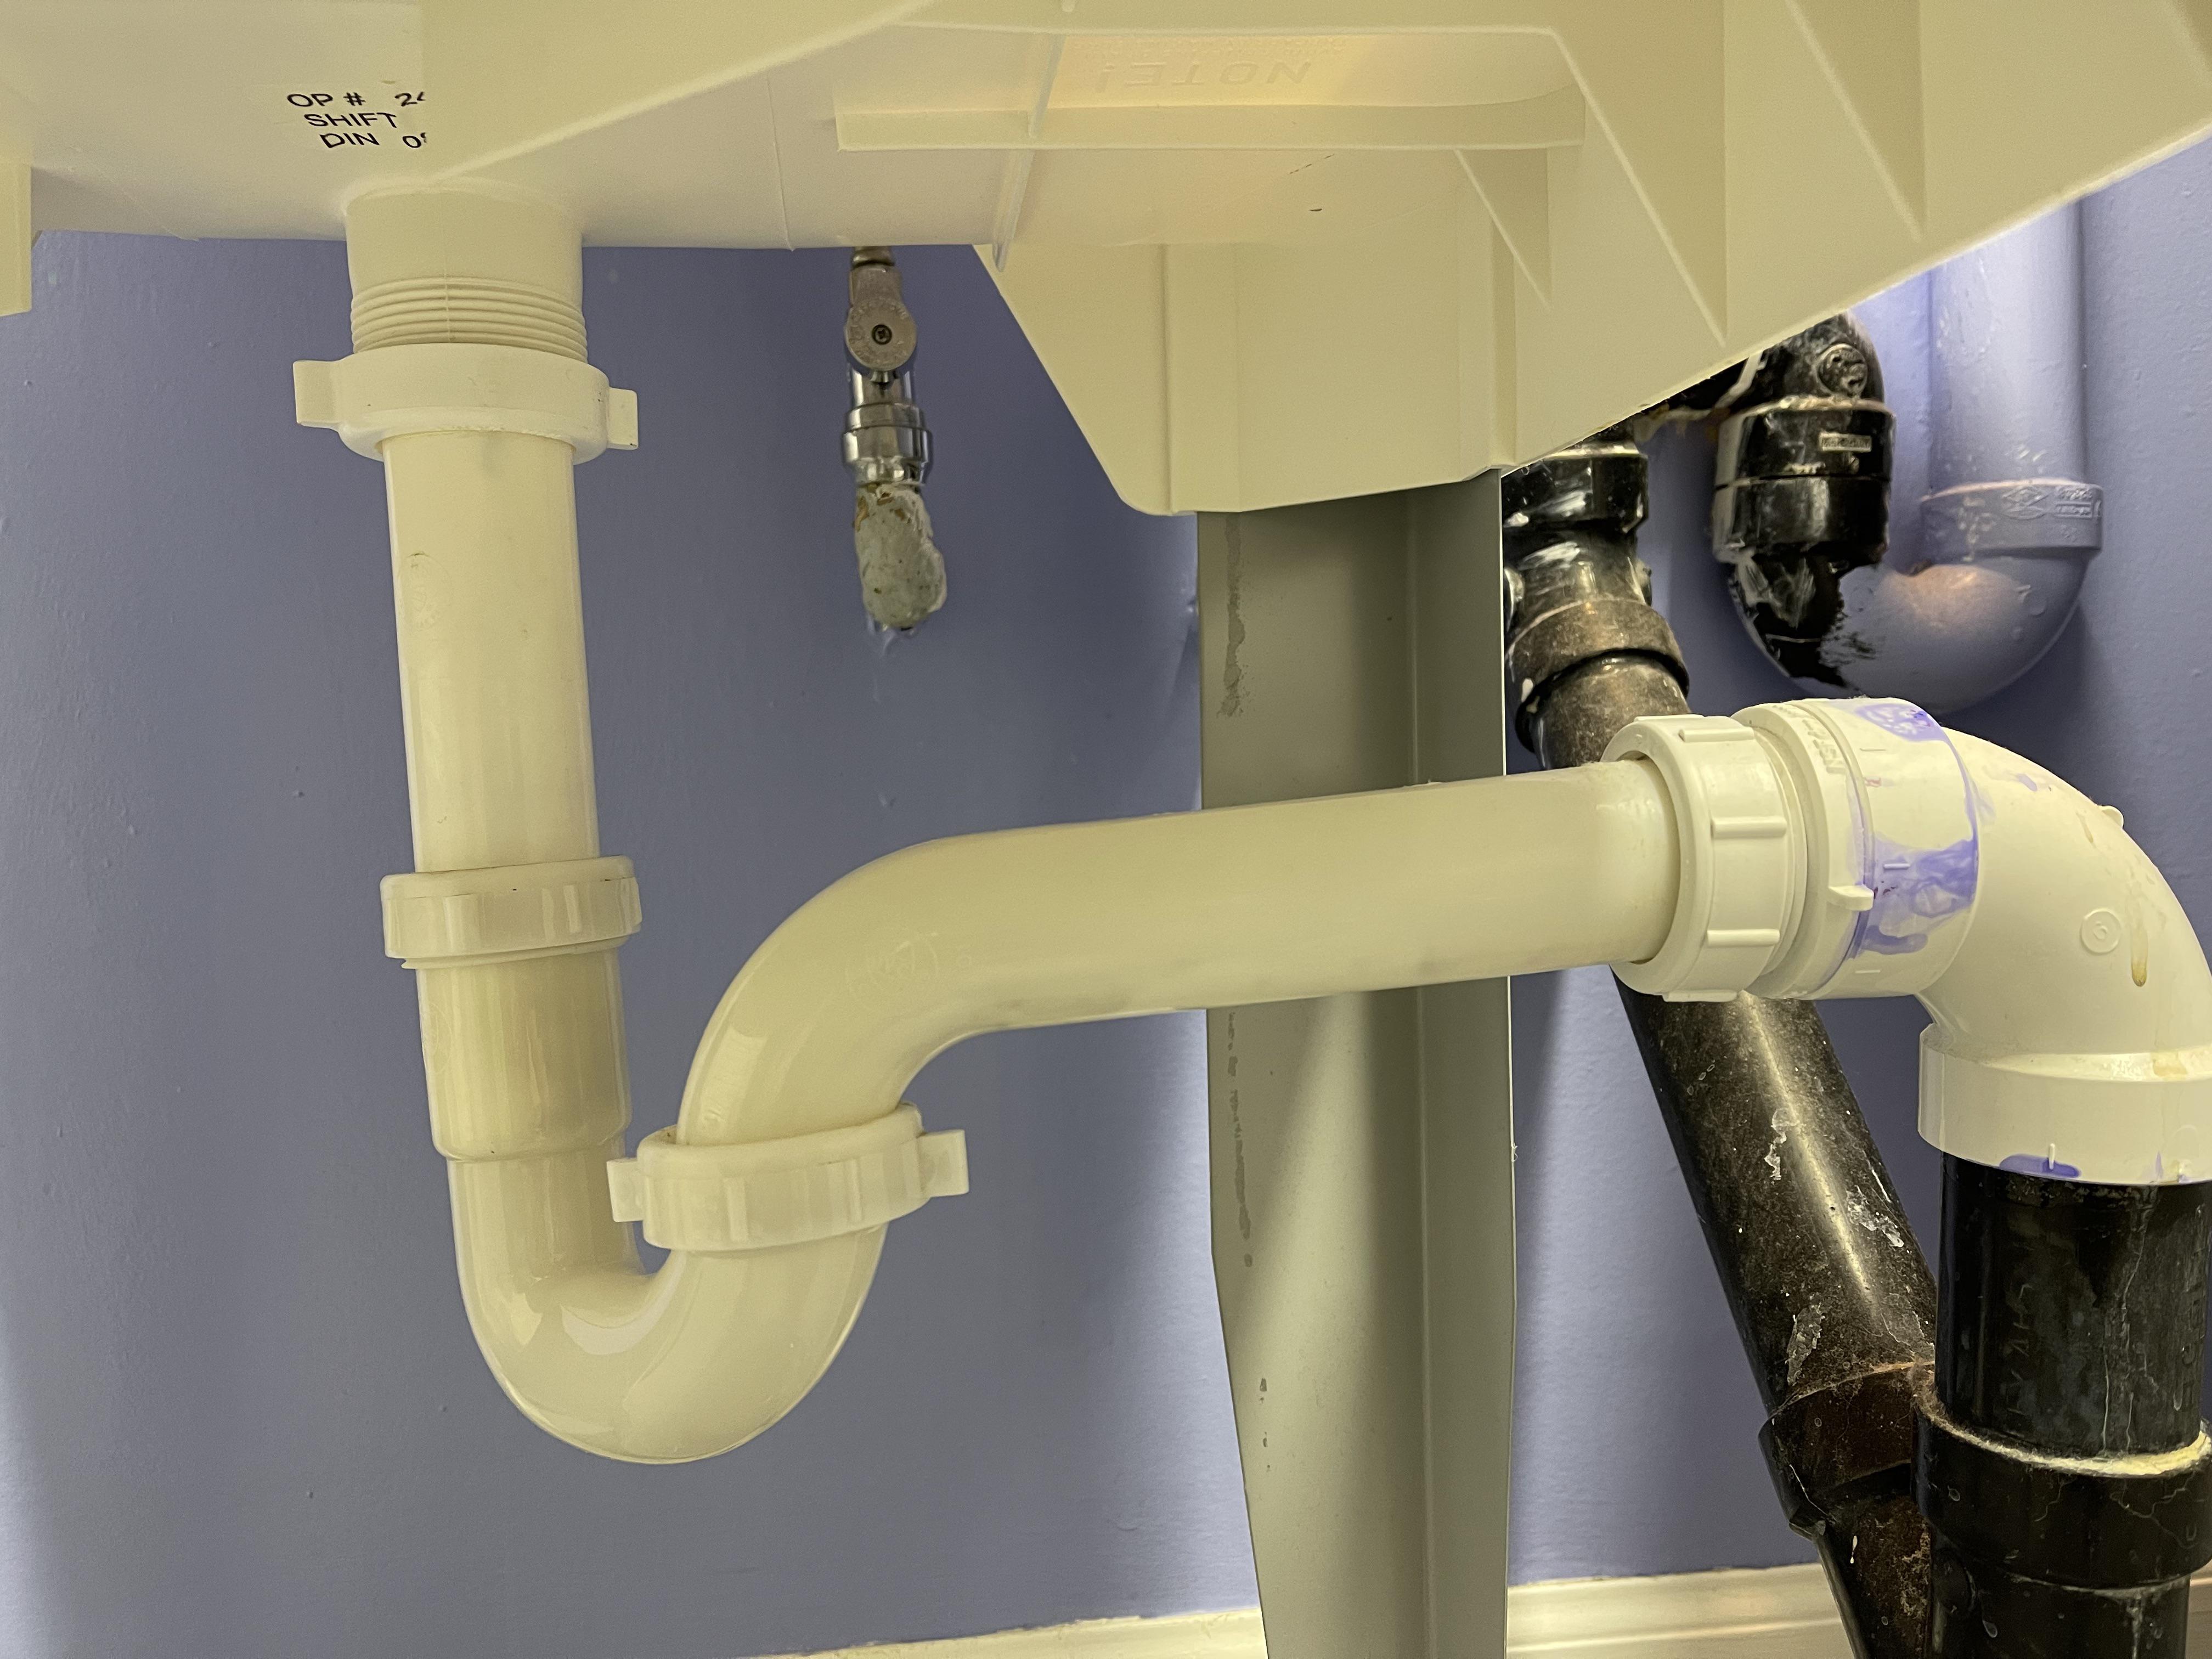
Common install issue: If you do not have an air gap, make sure your drain hose has a proper high loop secured under the counter to reduce backflow.
Fix #1: Clean the interior filter
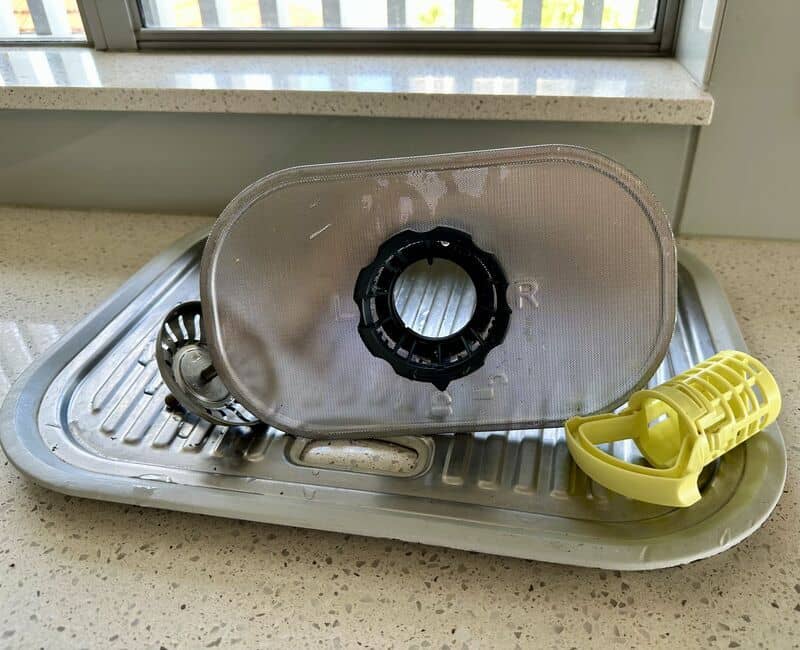
If I had to bet lunch money on one fix, it is this. Many newer dishwashers rely heavily on a filter system instead of a built-in hard food grinder, although some models still use a chopper or macerator. Either way, a dirty or mis-seated filter will absolutely turn your rinse water into a snow globe.
Tools and supplies
- Dish gloves
- Old toothbrush or small nylon brush
- Dish soap
- Warm water
- Optional: white vinegar for mineral film on the filter housing
Step-by-step
- Kill power if you want extra safety. You can switch the dishwasher off at the breaker. You are not touching wiring here, but I never argue with a little extra caution.
- Pull out the bottom rack. Set it aside so you can work.
- Remove the lower spray arm if it blocks the filter. Some lift off, some have a center nut or clip. If it does not come off easily, stop and check your manual.
- Twist and lift the filter. Many filters unlock with a quarter-turn counterclockwise. Lift out the cylindrical filter and any flat mesh screen beneath it.
- Watch for sharp stuff. This is the spot broken glass and bones like to hide. Move slowly and do not blindly reach into the sump area.
- Rinse and scrub. Use warm water and dish soap. Scrub the mesh until water runs freely through it.
- Clean the sump area. Wipe the cavity where the filter sits. If you see seeds, bones, label pieces, or glass bits, remove them carefully.
- Reinstall snugly. Seat the filter properly and lock it. If the filter is crooked or not locked, it can leak debris right past it.
What to look for
- Greasy film on the mesh reduces flow and can trap grit
- Torn mesh means debris is bypassing the filter (replace it)
- Debris under the filter is a clue the filter was not seated or was overdue for cleaning
My rule of thumb: if you run the dishwasher daily, check the filter monthly. If you only run it a couple times a week, every 2 to 3 months is usually fine. If you do a lot of rice, oatmeal, or anything with tiny particles, you will be on the monthly plan whether you like it or not.
Fix #2: Unclog the spray arms
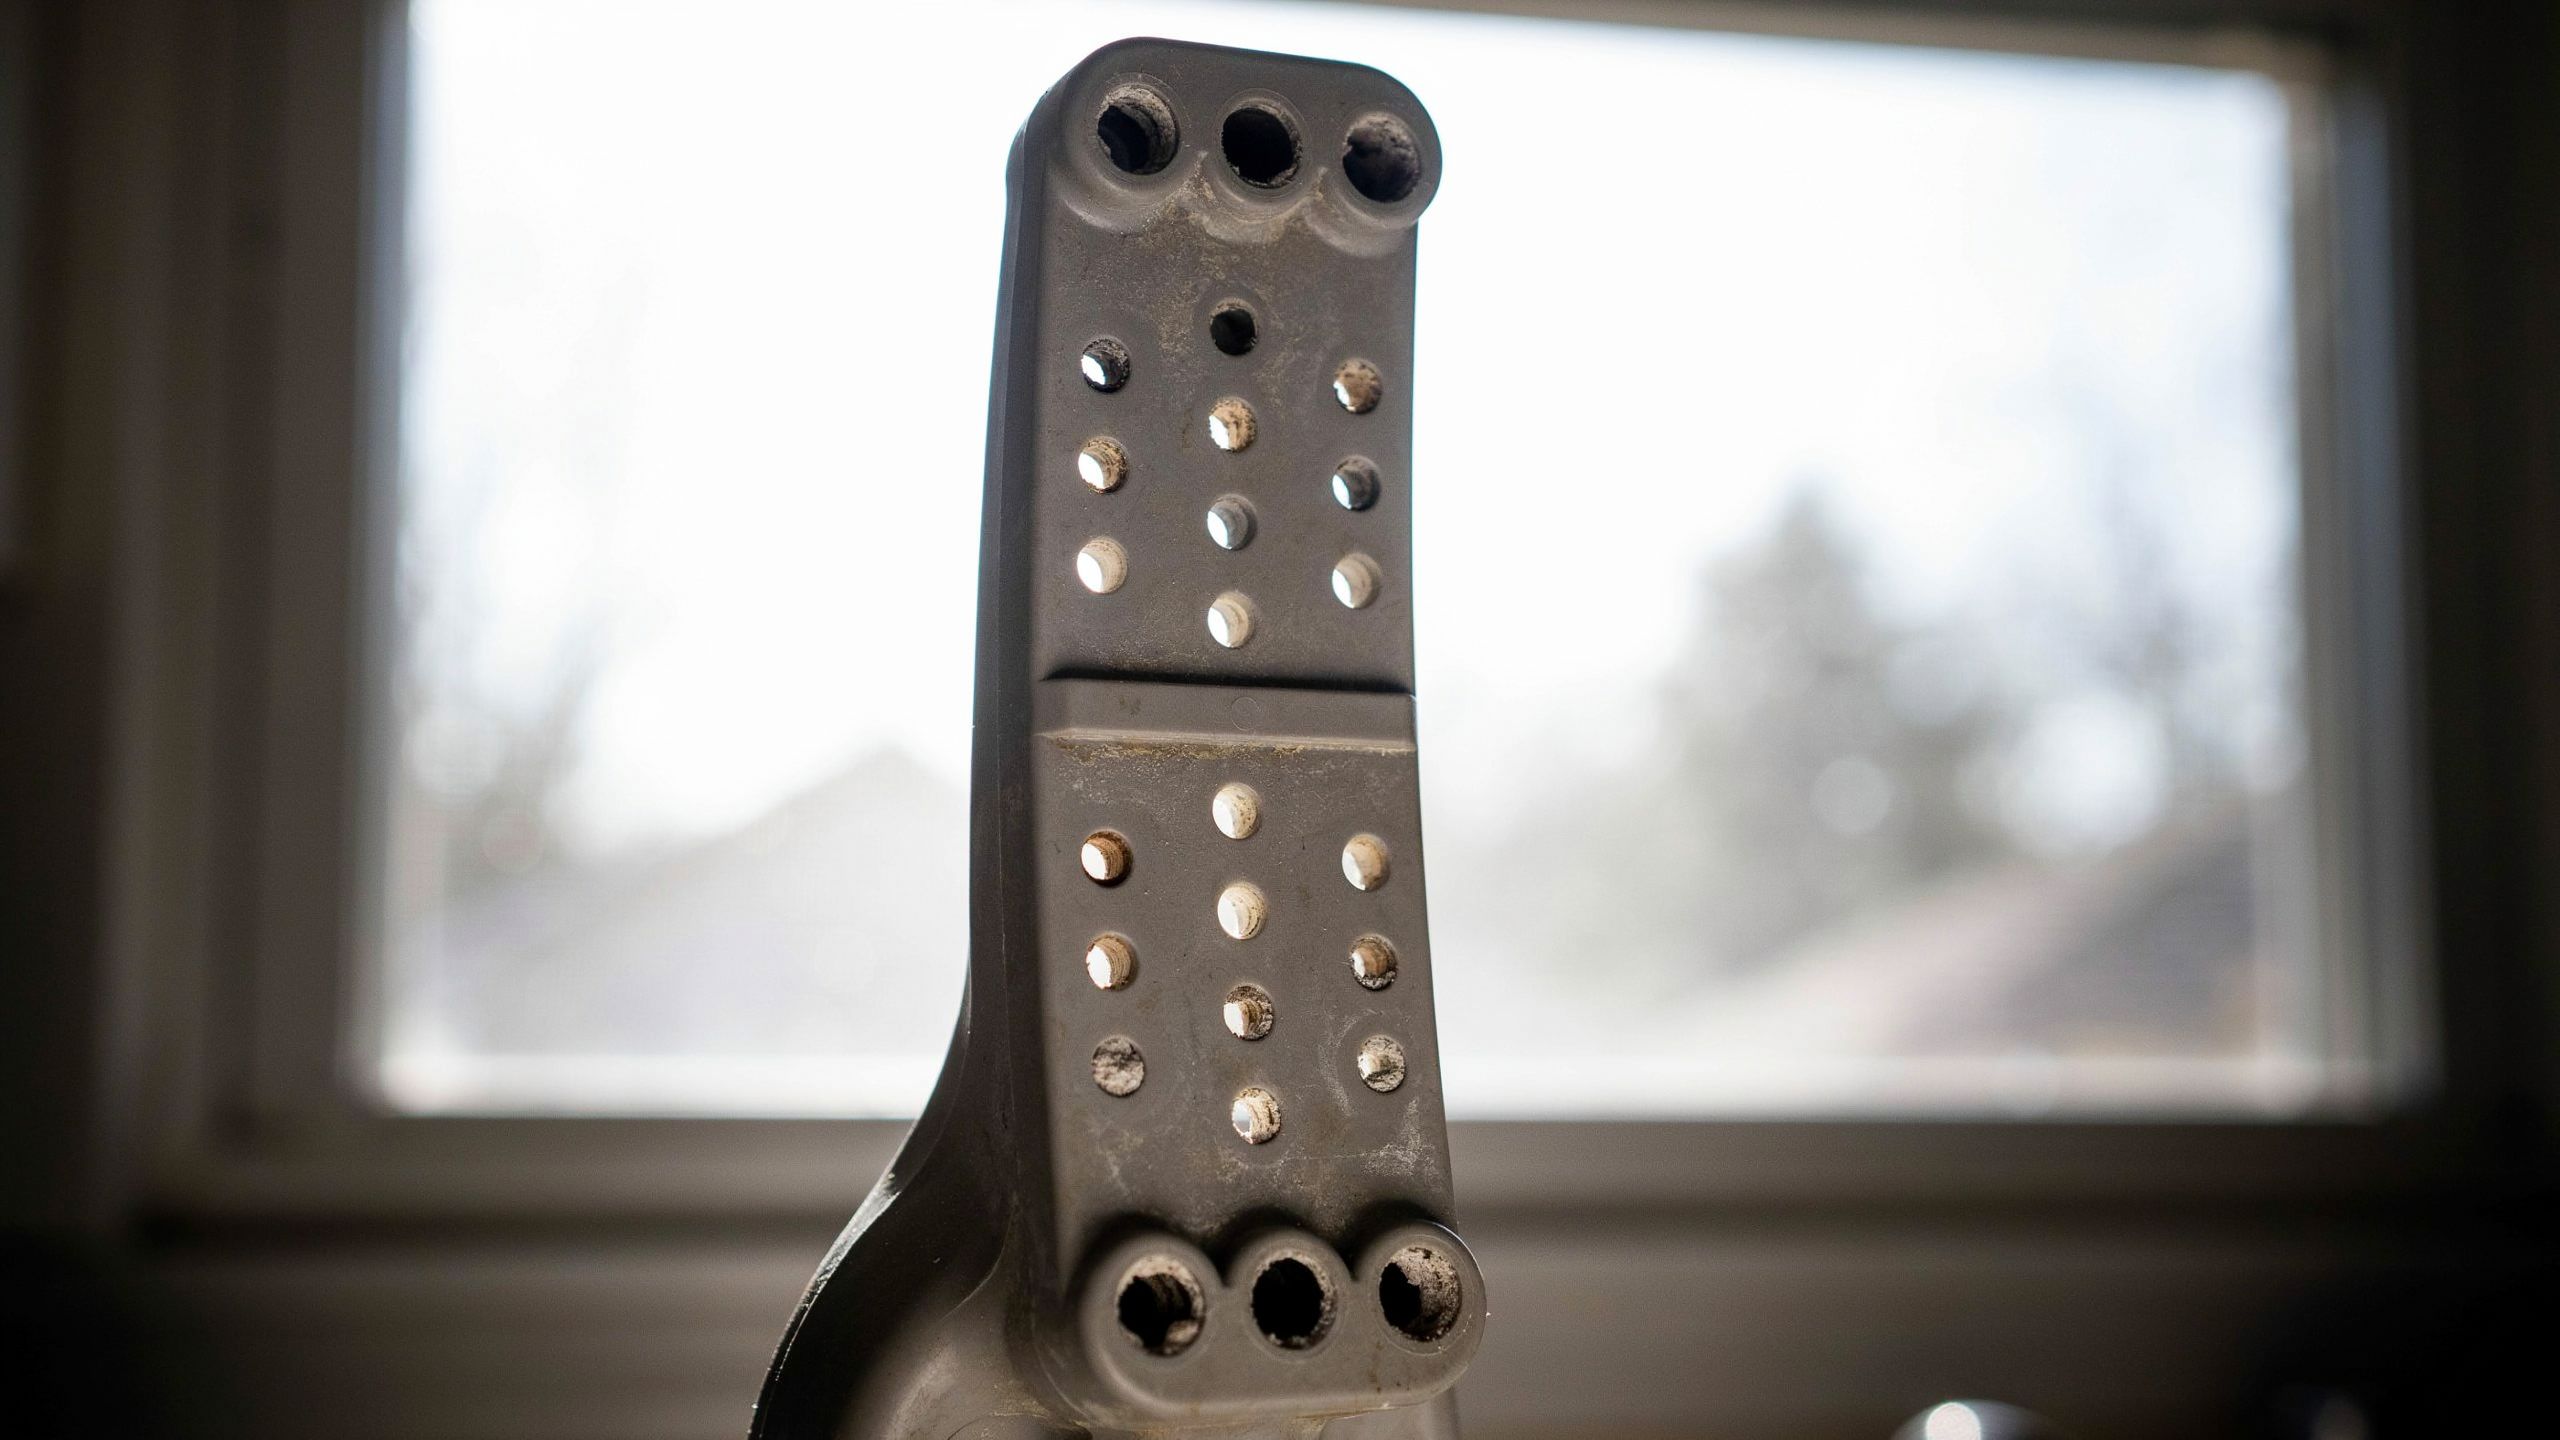
Spray arms do the work. If their holes are blocked, you get weak jets, poor coverage, and grit that never gets blasted off. Sometimes the spray arm still spins, but half the holes are plugged with seeds or mineral scale.
Tools and supplies
- Toothpick, bamboo skewer, or straightened paperclip
- Nylon brush or toothbrush
- Warm water
- Optional: vinegar soak for hard water scale
Step-by-step
- Remove the spray arms. Typically the bottom arm pulls off or unthreads. The middle and top arms may be held by a clip or a retaining nut.
- Rinse under the faucet. Spin the arm while rinsing and see if grit falls out.
- Clear each clogged jet hole. Use a toothpick or paperclip gently. You are trying to remove debris, not enlarge the holes.
- Flush the inside of the arm. Hold it under the faucet and let water run through the arm so debris can wash out through the holes. If you hear rattling, you have junk inside.
- Soak if needed. If holes look crusty, soak the arm in warm vinegar for 20 to 30 minutes, then brush and rinse.
- Reinstall and check for free spin. Make sure the arms rotate freely and do not hit a tall pan or cutting board.
A loading mistake that causes grit
If a cookie sheet or tall cutting board blocks the lower spray arm, the dishwasher may run but never actually wash half the load. Keep the center area clear and avoid leaning large flat items where they act like a wall.
Fix #3: Check the water inlet valve
If your filter and spray arms are clean but you still get grit, your dishwasher might not be filling with enough water. Low water level means weaker spray pressure and less rinsing, so debris stays in circulation.
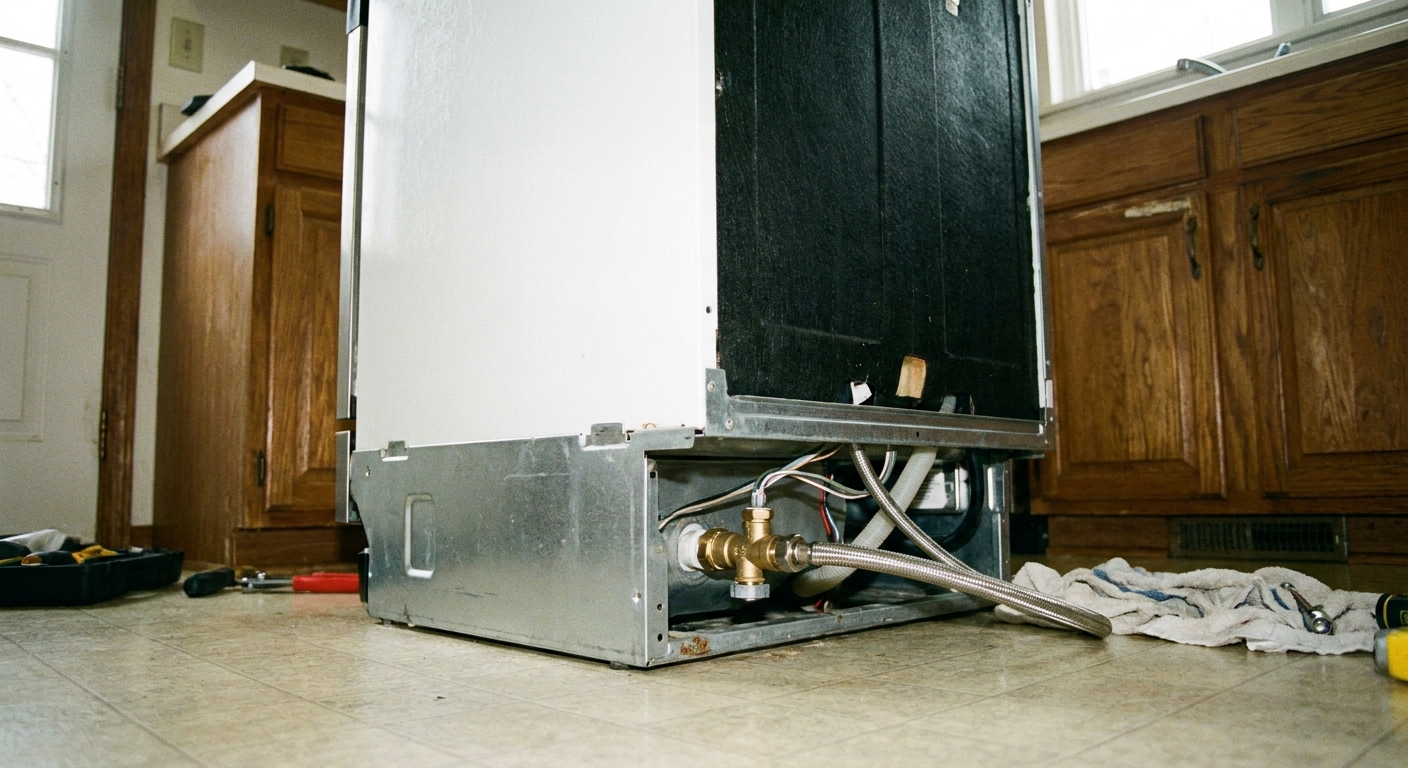
The water inlet valve is an electrically controlled valve, usually located behind the lower kick plate. When it is failing, it may buzz, fill slowly, or not open fully.
Symptoms that point to low fill
- Dishes look like they were misted, not washed
- Detergent pod or powder does not fully dissolve
- Grit shows up more toward the end of the cycle
- You hear the dishwasher trying to fill, but it sounds weak or short
Quick water level check (model-dependent)
If you can safely pause the cycle after the initial fill and open the door, take a quick look. You are not looking for an exact measurement because designs vary. You are looking for a red flag like a very shallow fill that barely covers the bottom. If you are unsure what “normal” looks like for your unit, check your model manual or tech sheet.
Safety first
- Turn off power at the breaker.
- Turn off the water supply to the dishwasher (usually a shutoff valve under the sink).
Step-by-step: basic inlet valve checks
- Check the easy stuff first. Under the sink, confirm the shutoff valve is fully open. Also make sure the supply line is not kinked.
- Remove the toe-kick panel. Most are held with a couple screws.
- Inspect for leaks or corrosion. Mineral crust, rust, or a stained valve body can be a clue the valve is failing.
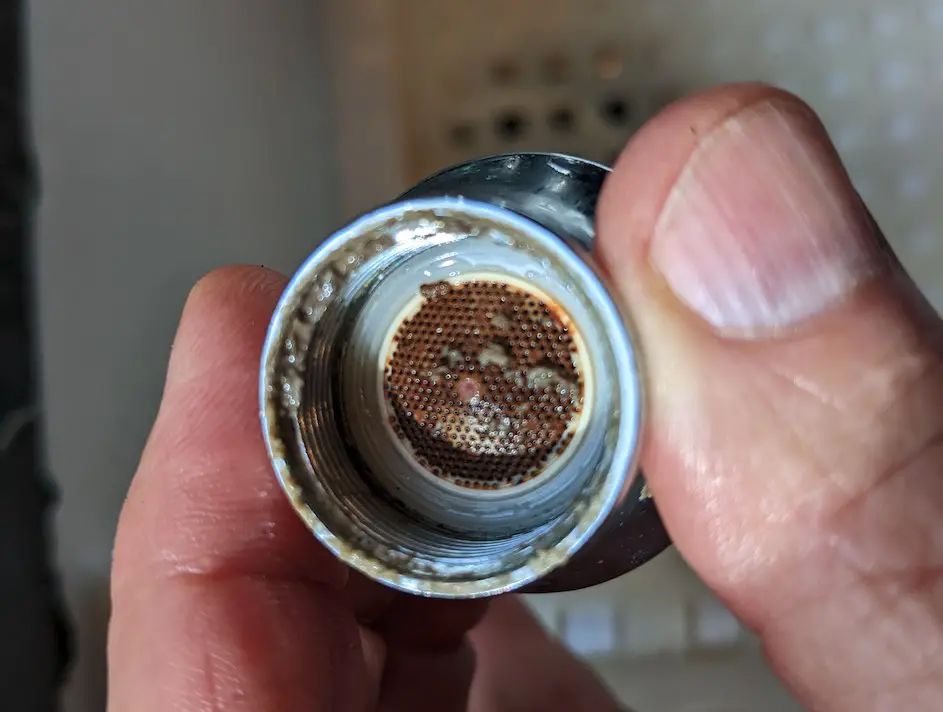
- Check the inlet screen (if accessible). Some valves have a small screen where the supply line enters. If it is packed with grit, clean it carefully with a soft brush and rinse. Replace the screen if it is damaged.
- Use the tech sheet for electrical specs. If you have a multimeter, the most reliable move is to find your model’s tech sheet (often tucked behind the toe-kick or in the side panel) and check the specified resistance range for the inlet valve solenoid.
- Multimeter basics (optional but useful). Disconnect the wires from the valve (take a quick photo first). Set your multimeter to resistance (ohms) and measure across the valve terminals. If the solenoid reads open circuit (no continuity), it is a strong sign the coil has failed and the valve needs replacement. If resistance is in spec, that only tells you the coil is not dead. It does not prove the valve is flowing properly, because the valve can still be mechanically restricted with sediment.
When to replace the water inlet valve
- Electrical test indicates a failed solenoid (open circuit or out of spec on the tech sheet)
- Inlet screen is clear, supply is good, but fill is still weak
- Valve is leaking
If you are comfortable swapping it, inlet valves are usually a straightforward part replacement: disconnect power and water, remove the supply line and outlet hose, swap the valve, and restore connections. If you see signs of water damage, or you are not confident with plumbing connections, this is a reasonable time to call a pro. A slow drip behind the kick plate can ruin flooring before you notice.
Clean the grit sources
Scrape, do not rinse (most of the time)
You generally do not need to pre-rinse, but you do need to scrape solids. The dishwasher is not a garbage disposal. Rice and seeds are notorious because they do not dissolve and they slip right into filters and spray arms.
Use the right detergent amount
Too little detergent can leave soils behind. Too much can leave film that traps particles. Follow the detergent’s dosage guidelines, then adjust one step at a time if needed.
Hard water tweaks
- If your dishwasher has a rinse aid dispenser, use it.
- If your machine has a built-in water softener, make sure it has salt and is set correctly.
- Consider occasional cleaning cycles with a dishwasher-safe cleaner to reduce mineral buildup that can clog jets.
Troubleshooting by pattern
| What you’re seeing | Most likely cause | Best first fix |
|---|---|---|
| Grit mostly on top rack items | Upper spray arm blocked, feed issue, or low water fill | Clean upper spray arm, then check fill |
| Grit on everything, every cycle | Filter packed or not seated, spray arms clogged | Clean filter and both spray arms |
| Detergent not dissolving | Cool start, blocked spray, low fill, or short cycle | Run hot water first if needed, unclog spray arms, verify fill |
| Grit after heavy, dirty loads | Overloaded racks or blocked spray path | Reload with better spacing, avoid blocking arms |
| Grit plus pooling water above filter area | Drain issue or backflow | Clear filter area, check drain hose high loop or air gap, verify disposal connection |
When it is a deeper problem
If you have cleaned the filter, cleared the spray arms, confirmed good draining, and verified the dishwasher is filling normally, but grit still shows up, the next suspects are:
- Failing circulation pump (weak spray pressure even with proper water level)
- Chopper or grinder issues on models that use one
- Heating problems causing detergent to underperform (water never gets hot enough)
Those repairs can still be DIY-friendly, but they are a step up in complexity because they involve electrical testing and more disassembly.
FAQ
Why is there grit in my dishwasher after cleaning the filter?
If the filter is clean but grit returns quickly, check spray arm holes for debris, confirm nothing is blocking the arms from spinning, and consider low fill from a restricted or failing water inlet valve. Also make sure you are scraping solids well, especially rice and seeds.
Is gritty residue a detergent problem?
Sometimes. Undissolved detergent can feel gritty, and detergent cannot do its job if spray pressure is weak or water is too cool. Start by cleaning the filter and spray arms, then make sure you are starting with adequately warm water (if your first fill is cold) and using rinse aid if you have hard water.
Can hard water cause sandy residue?
Hard water more commonly causes white film or spotting, but mineral scale can break loose and look gritty. Scale also clogs spray arm jets, which leads to food grit being left behind. Rinse aid and periodic cleaning cycles help.
How often should I clean the dishwasher filter?
Monthly is a good baseline for most families. If you cook a lot of rice, pasta, or gritty foods, you may need to check it more often.
Back-to-clean test cycle
After you have cleaned the filter and spray arms, run this simple test:
- Run the kitchen faucet until hot if your first fill tends to be cold.
- Run the dishwasher empty on a normal cycle.
- When it finishes, check the bottom of the tub for particles and check a glass for grit.
If it is clean after an empty cycle but gritty when loaded, the culprit is usually loading (blocked spray) or leftover solids on dishes. If it is gritty even empty, focus harder on spray arms, drain performance, and water fill.
If you get stuck, take a photo of the filter area and spray arms and compare it to your model’s manual. Dishwashers vary, but the fundamentals are the same: clean water in, strong spray, dirty water out. Get those three right and the “sandbox glasses” problem usually disappears.