A weak toilet flush is one of those problems that makes you feel like your bathroom is judging you. The handle goes down, the water swirls… and then it sort of gives up, leaving the bowl partly full and your dignity slightly damaged.
I grew up holding the flashlight for my dad while he fixed things like this, and the lesson that stuck was simple: don’t guess. Toilets are pretty dumb machines. If you check the right things in the right order, the cause usually shows itself.
This guide is for a toilet that does flush, but it is low-power, swirly, and incomplete. We’ll go in the order that solves the most problems with the least effort: tank waterline, flapper dropping too early, mineral-clogged rim jets, then a fill valve that never finishes refilling. I’ll also cover a very common non-tank culprit: a partial blockage in the bowl trapway.
Safety and what you need
Some checks can be done with the water on, but a couple steps (like cleaning rim jets or servicing a valve) go smoother with the shutoff valve turned off. Keep a couple of basics nearby. Most low-flush fixes are cleaning or a simple part swap.
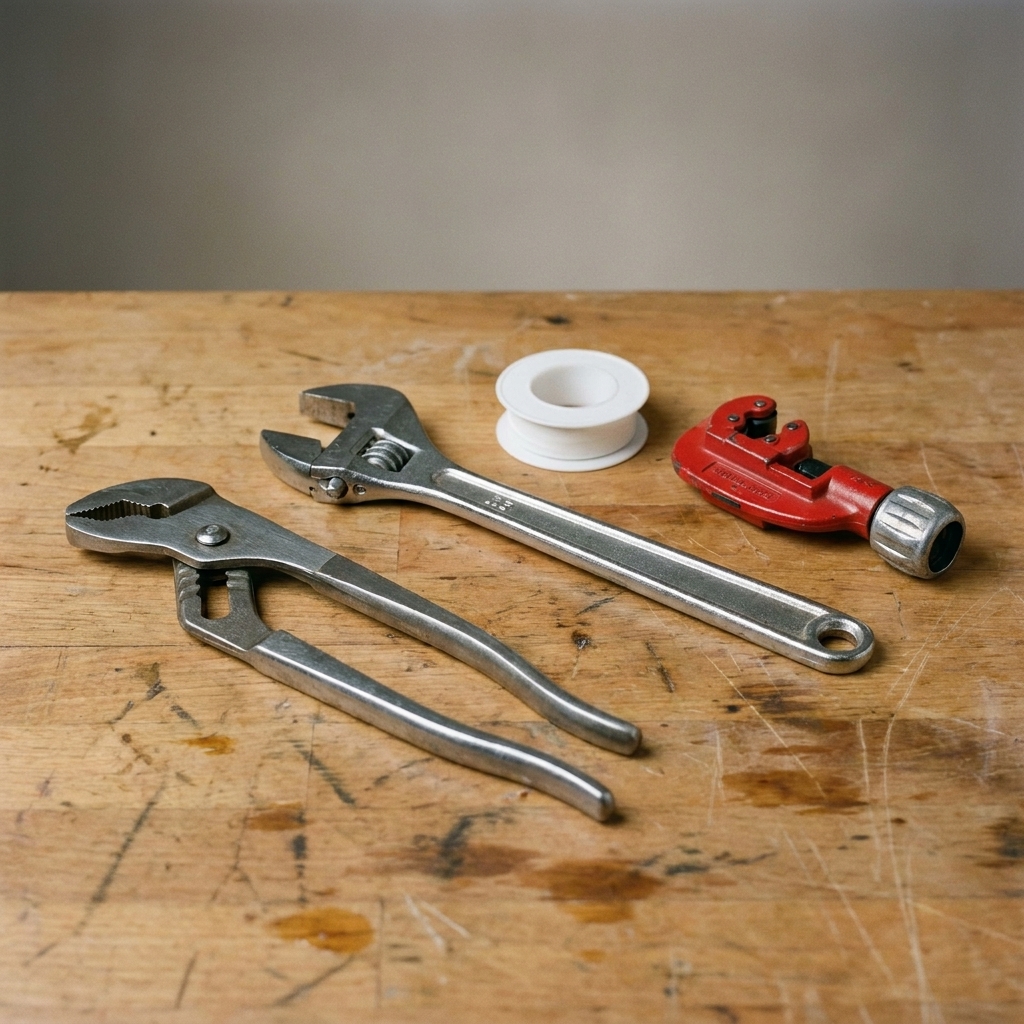
Grab these tools and supplies
- Rubber gloves
- Small cup or sponge (to bail water out of the tank if needed)
- Old toothbrush or small nylon scrub brush
- White vinegar (great for mineral buildup)
- Plastic zip tie or nylon bristle brush (for rim jets)
- Paper clip or small wire (optional, only if plastic will not break the crust)
- Adjustable pliers (optional)
- Toilet auger (optional, for bowl trapway clogs)
- Replacement flapper (only if yours is worn or closes too soon)
- Replacement fill valve (only if yours is failing to refill properly)
Quick safety note: Do not mix cleaners, especially anything with bleach and vinegar together. If you have used a bleach tablet in the tank, flush a couple times and rinse the tank before you do any vinegar cleaning.
Also: Skip chemical drain openers in toilets. They can damage parts, and they create a hazardous bowl of chemicals if you end up needing to auger.
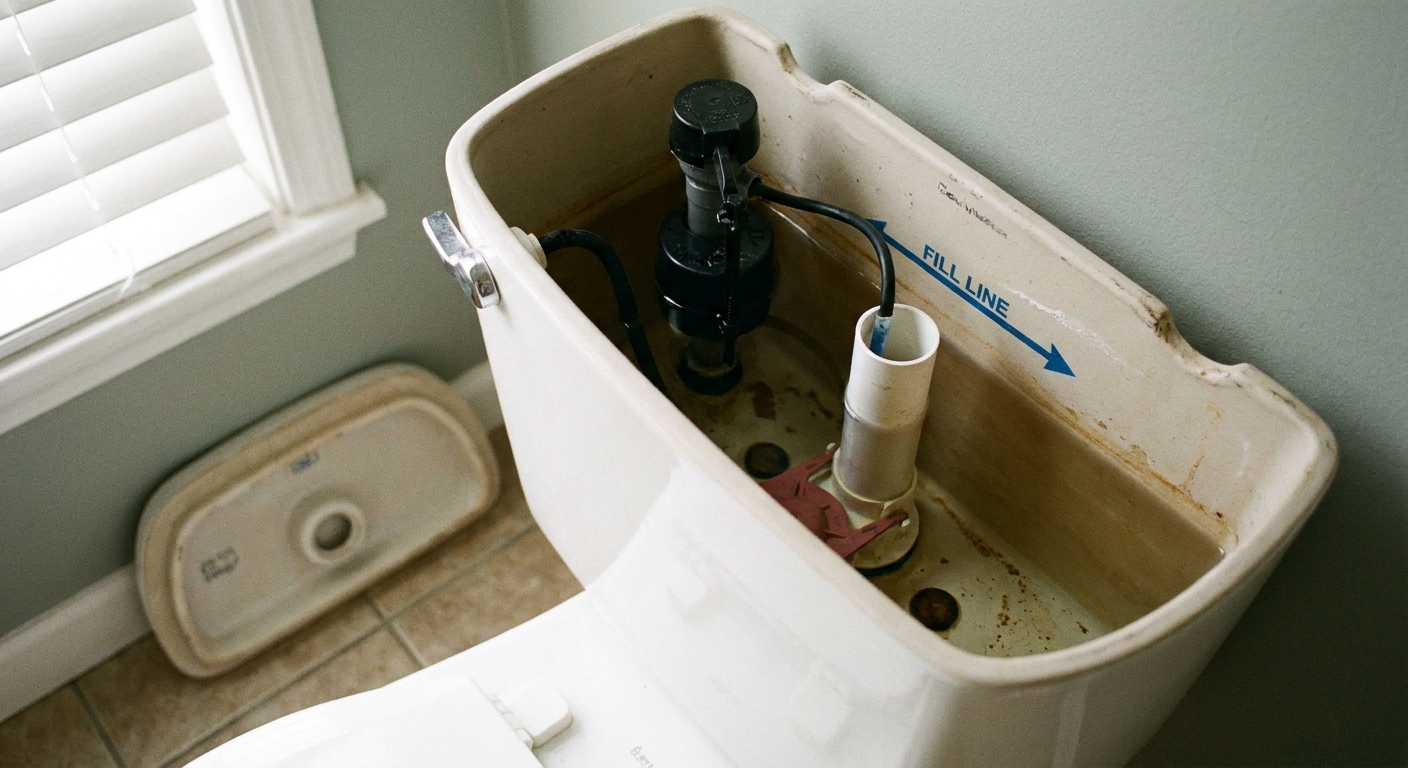
Step 1: Check the tank waterline
If there is not enough water stored in the tank, the flush simply cannot deliver enough water fast enough to push waste through the trapway. You get a weak swirl and an “almost” flush.
What you are looking for
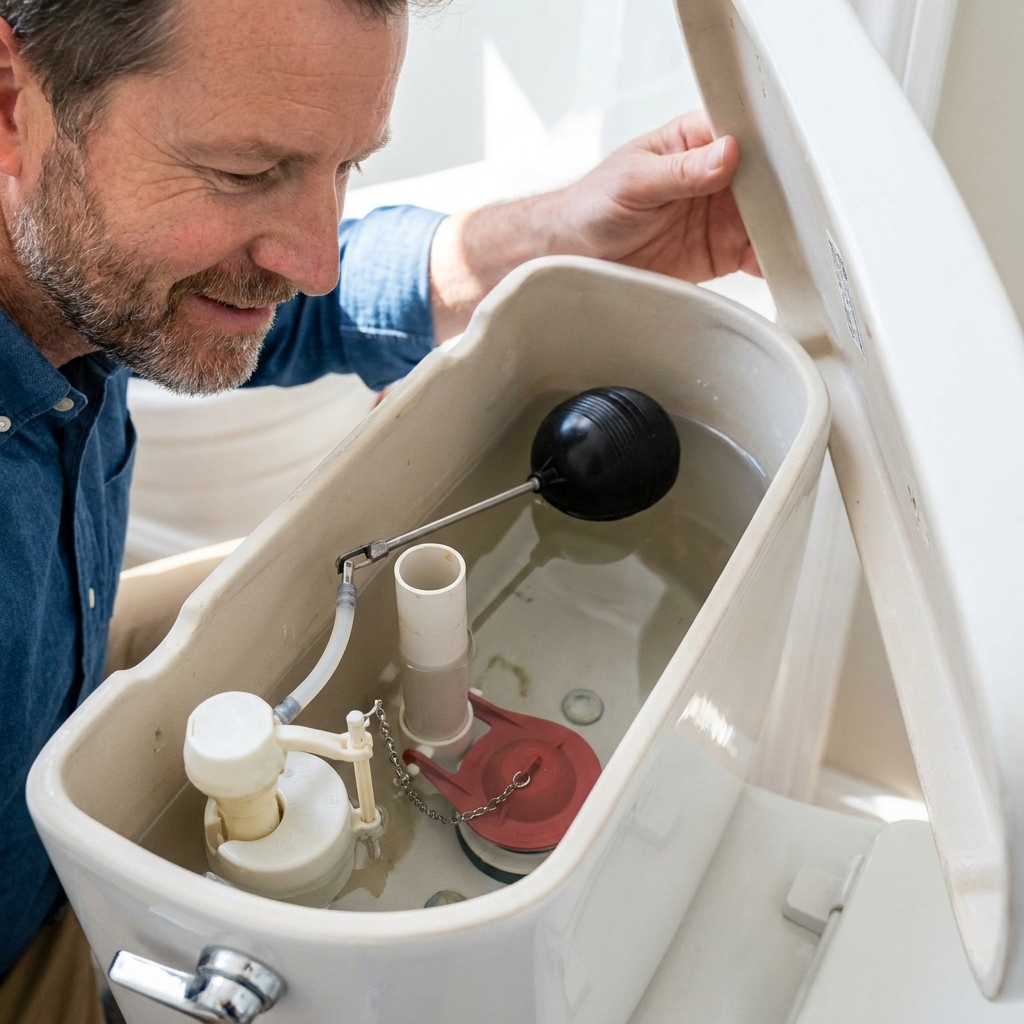
Take the lid off the tank and look for the manufacturer fill line on the tank or on the overflow tube. That mark is the boss.
If you do not see a mark, a common guideline on many toilets is a water level roughly 1/2 inch to 1 inch below the top of the overflow tube. Treat that as a helpful starting point, not a universal rule.
How to fix a low tank level
- Flush and let the tank refill.
- If the water stops well below the proper level, adjust the fill valve.
- Float cup style: there is usually a small screw on top. Turn it to raise the water level. If you are not sure which way, turn it a little, let it refill, and watch what changes.
- Float ball style: gently bend the rod up slightly, or use the adjustment screw if it has one.
- Flush again and re-check the level.
What success looks like: the tank stops filling cleanly at the proper level, and the next flush has a faster dump and a stronger swirl.
This is an adjustment, not a replacement, as long as the fill valve is otherwise working normally and the tank refills in a reasonable time.
Step 2: Make sure the flapper stays up
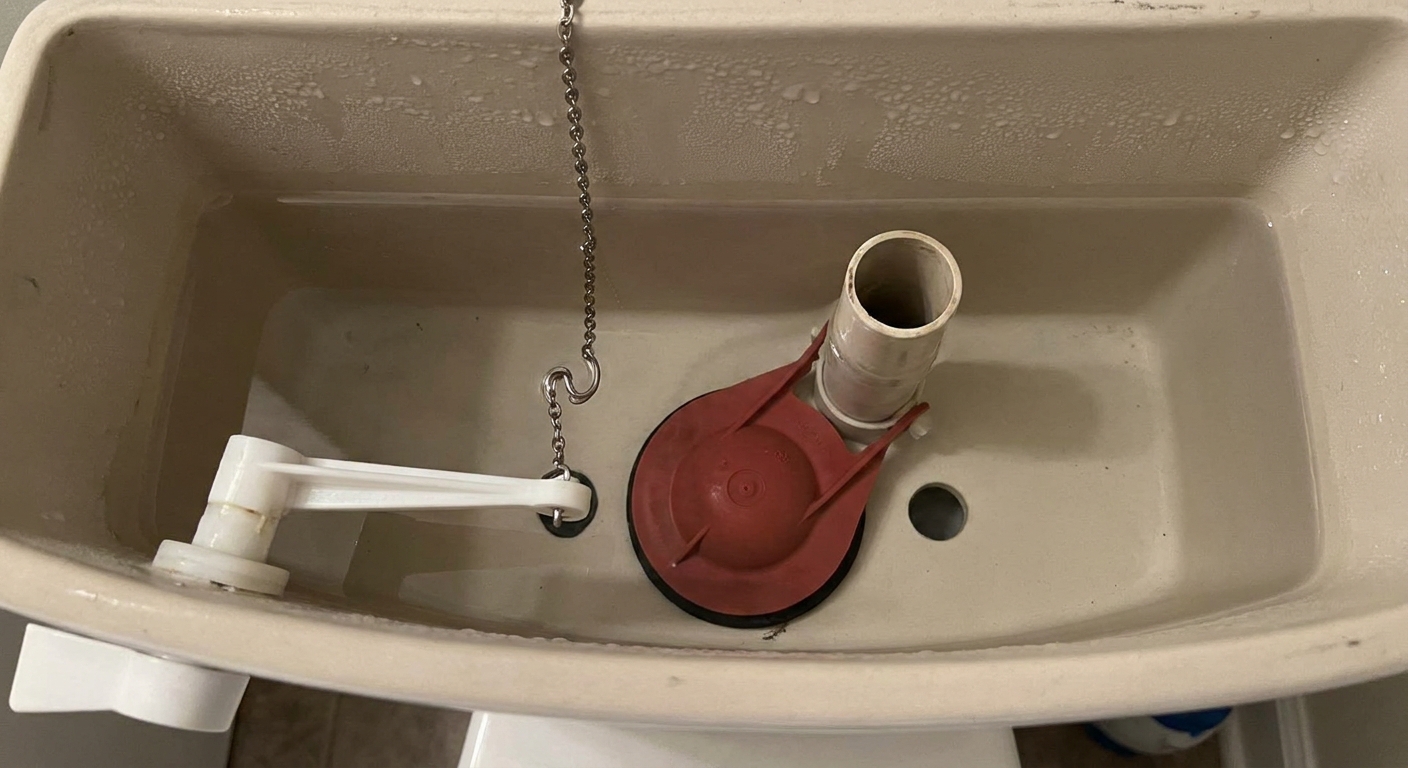
The flapper is the rubber valve at the bottom of the tank. When you flush, it lifts and should stay open long enough for most of the tank water to dump into the bowl quickly. If it drops too early, your toilet gets a partial, low-energy flush.
Signs your flapper is closing too fast
- You hold the handle down and the flush improves
- The flapper pops up, then drops quickly
- The chain is too tight, too loose, or snagging
- The flapper is warped, waterlogged, or stiff
Fixes to try (in this order)
- Check the chain slack: With the flapper closed, you want a little slack at the chain, about 1/4 inch to 1/2 inch. Too tight can hold the flapper crooked. Too loose can limit how far it lifts.
- Make sure the chain is not rubbing: It should hang cleanly and not catch on the overflow tube or lever arm.
- Inspect the flapper: If it is slimy, misshapen, cracked, or feels stiff, replace it. This is a simple part swap and usually takes 5 minutes.
- Match the right flapper: Toilets can use 2-inch or 3-inch flappers, and some are adjustable with a dial. If in doubt, bring the old one to the store.
What success looks like: one normal handle press gives you a full, quick tank dump and a confident swirl that clears the bowl.
Cleaning vs. swapping: If the flapper is just dirty, wipe it and the flush valve seat clean. If it is distorted or closing too early even with a good chain setup, replace it.
Step 3: Clean rim jets
If the tank dumps water like it should but the bowl only swirls lazily, the problem is often at the rim. The small holes under the toilet rim are called rim jets. They aim water into the bowl to create the swirl and help move waste down the trap.
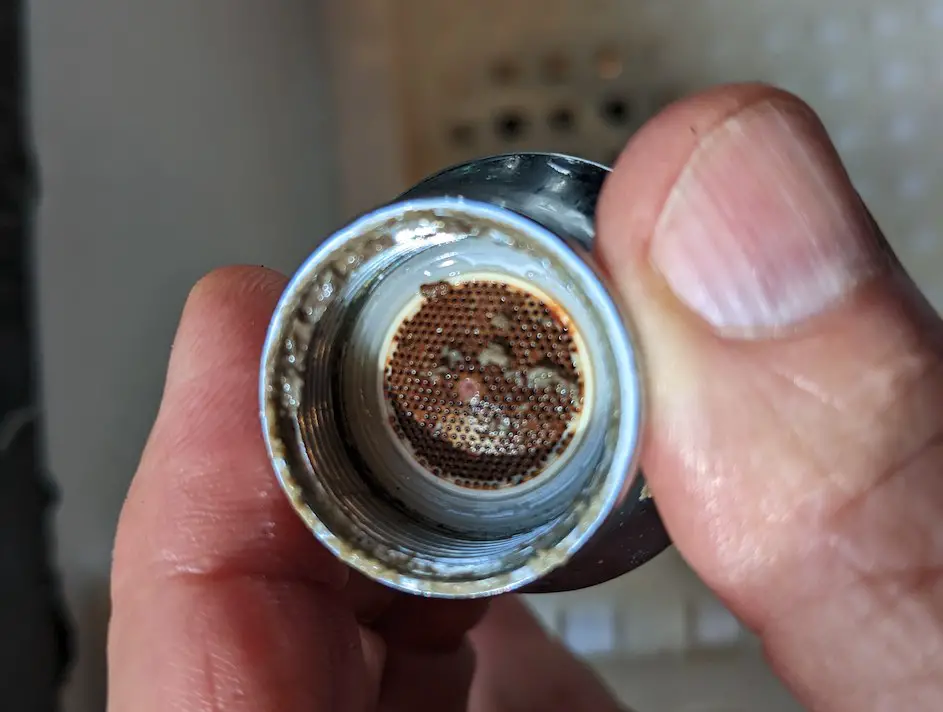
In hard-water areas, those little jets can clog with mineral deposits. The tank can be full, the flapper can be perfect, and the flush still looks tired because the water cannot enter the bowl with enough speed.
How to check for clogged rim jets
- Flush while watching the water enter the bowl.
- If water seems to dribble from only a few holes, or it is uneven around the rim, you likely have rim jet buildup.
How to clean rim jets
- Turn off the water supply to the toilet at the shutoff valve.
- Flush to empty most of the tank.
- Vinegar approach (works on most toilets): Pour 1 to 2 cups of white vinegar into the overflow tube inside the tank, then let it sit 30 minutes. For heavy scale, give it a few hours.
- If your toilet routing is different: Add vinegar directly under the rim inside the bowl and keep the jets wet (a vinegar-soaked rag tucked under the rim works) while you scrub. Not every toilet sends overflow-tube water through the rim the exact same way, so this is a solid backup method.
- Start with a plastic zip tie or a nylon bristle to gently work each rim hole. This is less likely to scratch glaze or enlarge the openings.
- If you still have stubborn crust, use a paper clip or small wire gently. You are trying to break scale, not re-engineer your toilet.
- Scrub the holes with an old toothbrush.
- Turn the water back on and flush several times.
What success looks like: water enters the bowl evenly around the rim, the swirl tightens up, and the bowl clears faster.
Cleaning vs. swapping: This is a cleaning job. If you have extreme mineral buildup that returns quickly, a plumber can discuss descaling options or whether the toilet is simply losing the war against your water.
Step 4: Check the fill valve and refill tube
This one is sneaky. Sometimes the tank level looks “kind of okay,” but the fill valve is weak, slow, or shuts off too early. Or the refill stream that tops up the bowl after a flush is missing, which can leave the bowl looking temporarily low and make the next flush feel anemic.
Two things to look for
- Tank refill: Does the tank refill strongly and stop cleanly at the correct fill line?
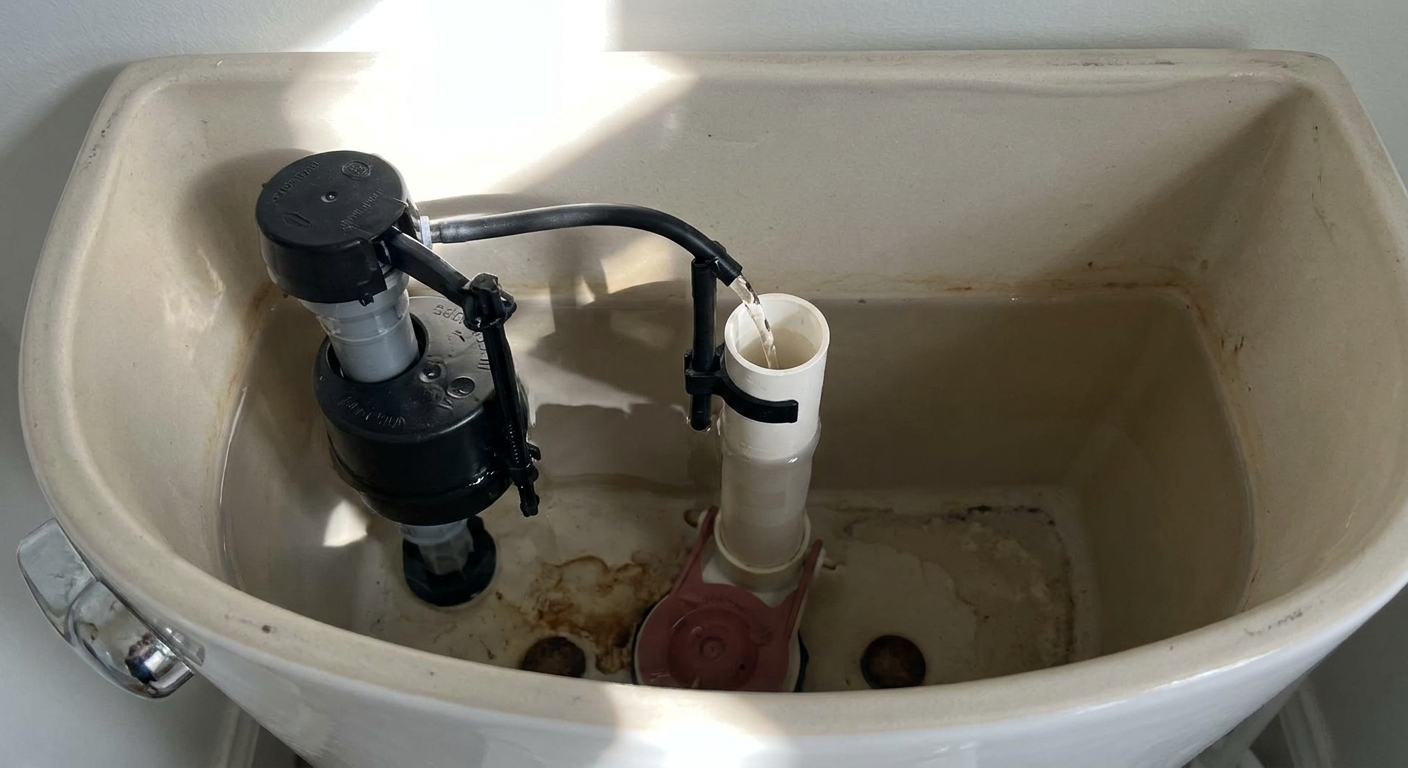
- Refill tube: Is a small tube sending water into the overflow tube while the tank is filling?
Fixes you can do fast
- Make sure the refill tube is attached: It should clip into the overflow tube. If it is dangling or spraying randomly, reattach it.
- Look for a partially clogged fill valve: If refill is very slow, sediment may be clogging the valve.
- Try a basic clean-out: Turn off the water, flush, and follow the manufacturer steps to rinse debris from the valve head if your model allows it.
- Replace the fill valve if needed: If it consistently fails to fill to the proper level, takes forever, or acts erratic, replacement is usually the most reliable fix.
What success looks like: the tank refills at a normal pace, stops at the correct waterline, and you can hear or see a steady refill stream into the overflow tube during refill.
Cleaning vs. swapping: If it is just a disconnected refill tube, that is a repositioning fix. If the valve itself is weak, noisy, inconsistent, or never reaches the correct level, that is typically a simple part swap.
Step 5: Check for a trapway clog
If the tank level is correct, the flapper stays up, the rim jets flow evenly, and the fill valve refills properly, a very common next culprit is a partial blockage in the toilet’s built-in trapway. This is the S-shaped path inside the porcelain. A small obstruction can turn an otherwise healthy flush into a weak, hesitant one.
A quick DIY check
- If the bowl swirls but clears slowly, or it clogs more often than it used to, suspect a partial trapway blockage.
- If the water rises high, then drains slowly, that is another clue.
How to clear it safely
- Use a toilet auger (not a sink snake). It is designed to navigate the porcelain without damaging it.
- Feed the auger in gently, crank to break up or hook the obstruction, then retract.
- Flush once to test.
What success looks like: the flush goes from “lazy swirl” to a more decisive pull, with less tendency to hang up on normal paper.
When it is not a tank fix
If you have confirmed the tank waterline is correct, the flapper timing is right, the rim jets are flowing, the fill valve refills properly, and an auger does not change anything, the remaining causes are usually in the drain system or venting. A vent issue is not a tank adjustment problem.
Stop and call a plumber if you notice these red flags
- Soft spot at the base or movement at the flange: If the toilet rocks, the floor feels spongy, or you see water damage at the base, stop. A failing wax ring, damaged flange, or rotten subfloor is not a “flush power” tweak. It is a leak and structural risk.
- Slow draining or rising water that gurgles: If the bowl fills higher than normal before draining, or it drains slowly even after a solid flush, you may have a blockage past the trap, in the branch line, or in the main.
- Multiple fixtures acting up: If a tub or sink gurgles when you flush, or more than one drain is slow, that can point to a bigger line blockage or a venting problem.
- Repeated clogs with normal tank operation: That can mean a partial obstruction deeper in the line that needs a proper auger or camera inspection.
I am all for DIY, but I am even more for not turning a small bathroom annoyance into a ceiling stain in the room below.
Quick troubleshooting checklist
If you want the short version, here is the order I use in real life.
- Tank waterline: Set to the manufacturer fill line. Adjustment fix.
- Flapper timing: Chain slack and flapper condition. Often a simple swap.
- Rim jets: Vinegar soak and gentle poke-clean. Cleaning fix.
- Fill valve: Refill tube placement, refill strength, shutoff behavior. Sometimes cleaning, often a swap.
- Trapway: Toilet auger for partial bowl clogs. DIY-safe check.
- Plumber time: Soft base, rocking toilet, suspected blockage past the trap, venting issues, or multiple fixtures affected.
FAQ
Why does holding the handle down make my toilet flush better?
That almost always points to the flapper closing too early. Holding the handle keeps the flapper lifted longer, allowing more tank water to dump into the bowl quickly.
My tank fills to the right level, but the bowl still looks low. Does that matter?
It can. The bowl’s “normal” level is set by the trap, but if the refill tube is not sending water into the overflow tube during refill, the bowl can be left temporarily low after a flush. Clip the refill tube into the overflow tube so the bowl refills properly.
Can I use a chemical toilet bowl cleaner for rim jet clogs?
I prefer vinegar for rim jet mineral buildup because it targets scale and is easier on parts. If you use any commercial cleaner, follow the label and never mix products. Avoid dropping harsh tablets in the tank because they can damage rubber parts over time.
How do I know if I need a new toilet instead of parts?
If the porcelain passages are heavily scaled and you are repeatedly cleaning rim jets with short-lived results, or if cracks and persistent leaks are present, replacement can be the most practical move. But most weak flush problems are fixable with adjustments, cleaning, or a couple inexpensive parts.