A running toilet is basically a tiny leak that never takes a break. Sometimes it is a constant trickle you can hear at night. Sometimes it is a periodic “refill” every few minutes that makes you think your house is haunted. Either way, it is almost always one of three things: the flapper is not sealing, the water level is set too high, or the fill valve is acting up.
The good news: most running toilet fixes are cheap, require minimal tools, and can be done in under an hour. I have replaced plenty of these parts as a contractor, and I still keep a spare flapper in my garage because they fail so predictably.
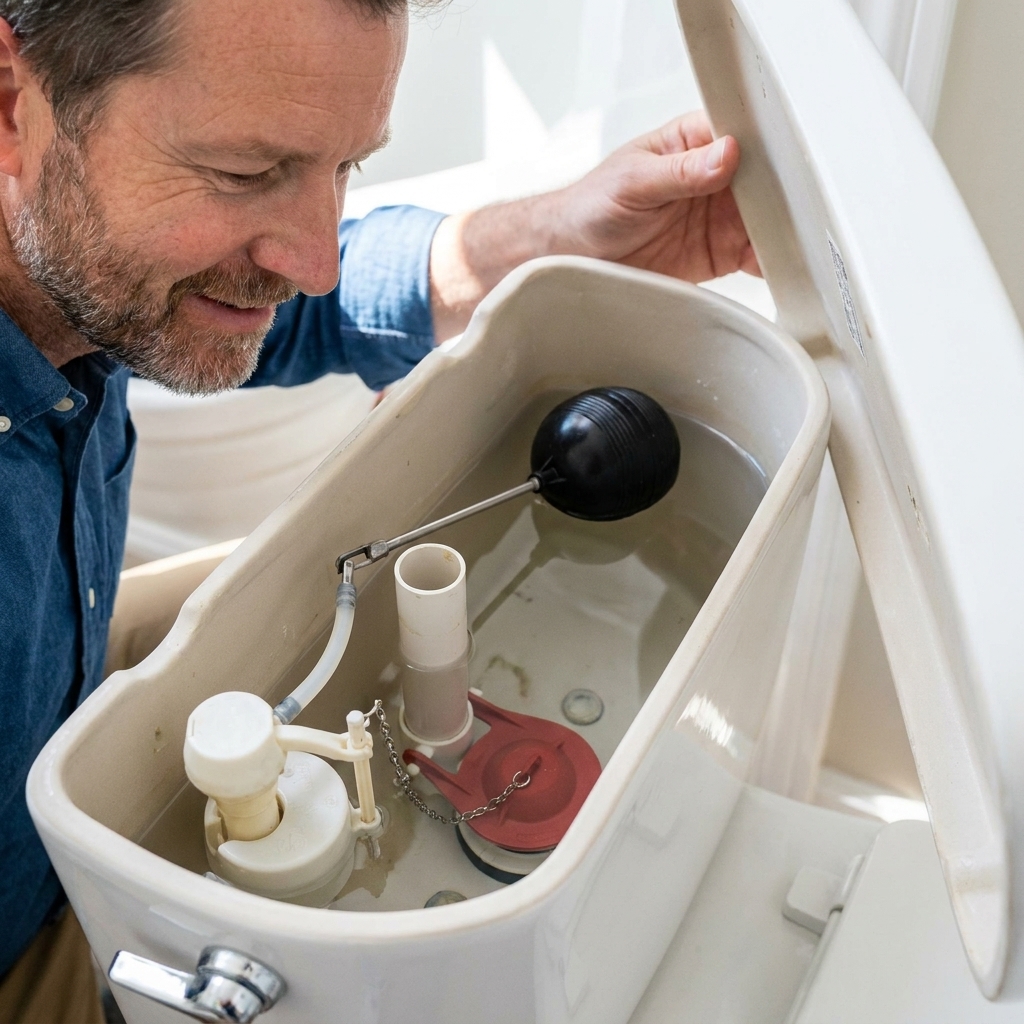
Before you start: quick safety and setup
- Turn off the water at the shutoff valve near the wall behind the toilet (turn clockwise).
- Flush once to drain most of the tank.
- Unplug nearby outlets from splash zones if you are working in a tight bathroom, and keep towels handy.
- Do not use tank drop-in cleaners while troubleshooting. Those tablets can chew up rubber seals and cause the exact leak you are trying to fix.
Tools and parts you might need
You might not need all of this. Start with the diagnosis section first so you only buy what you need.
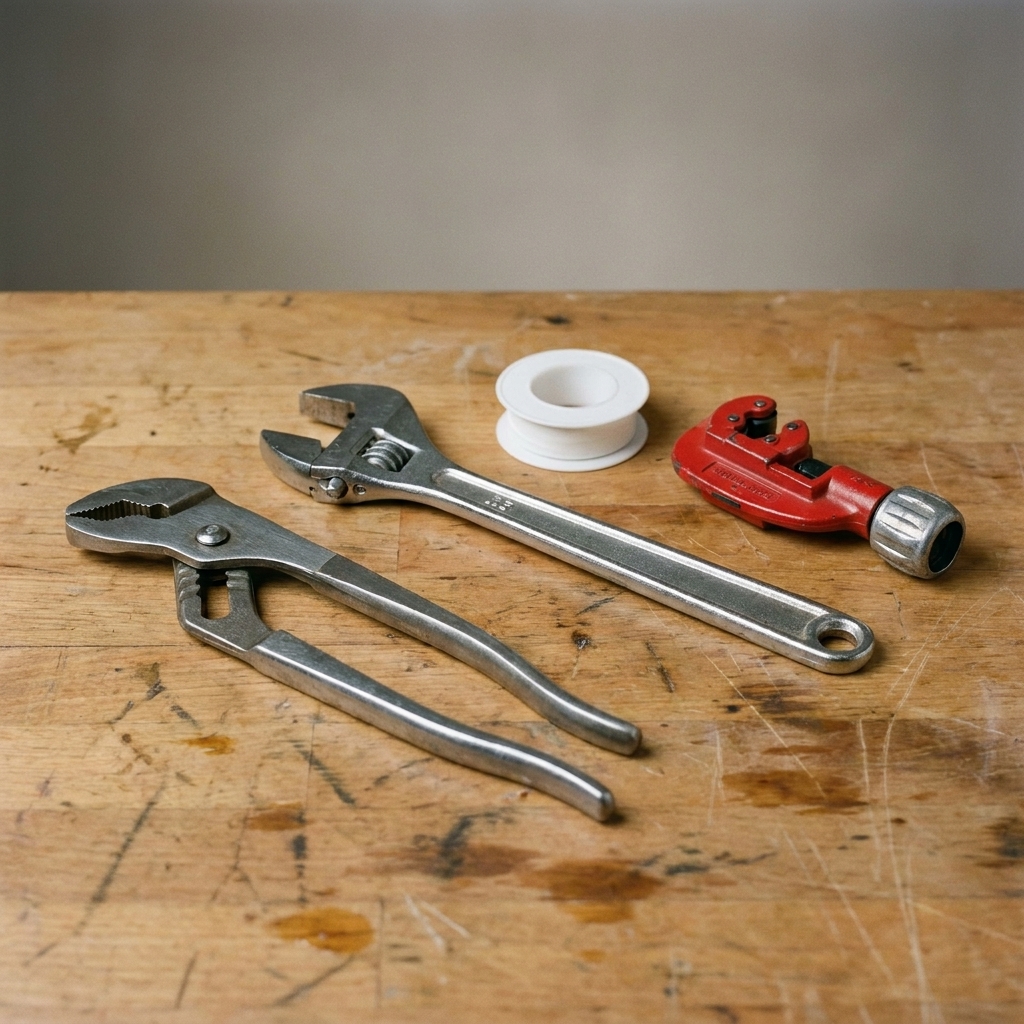
- Adjustable wrench or channel-lock pliers
- Small bucket or shallow pan
- Towels or a sponge
- Replacement toilet flapper (match by style and size, usually 2-inch or 3-inch)
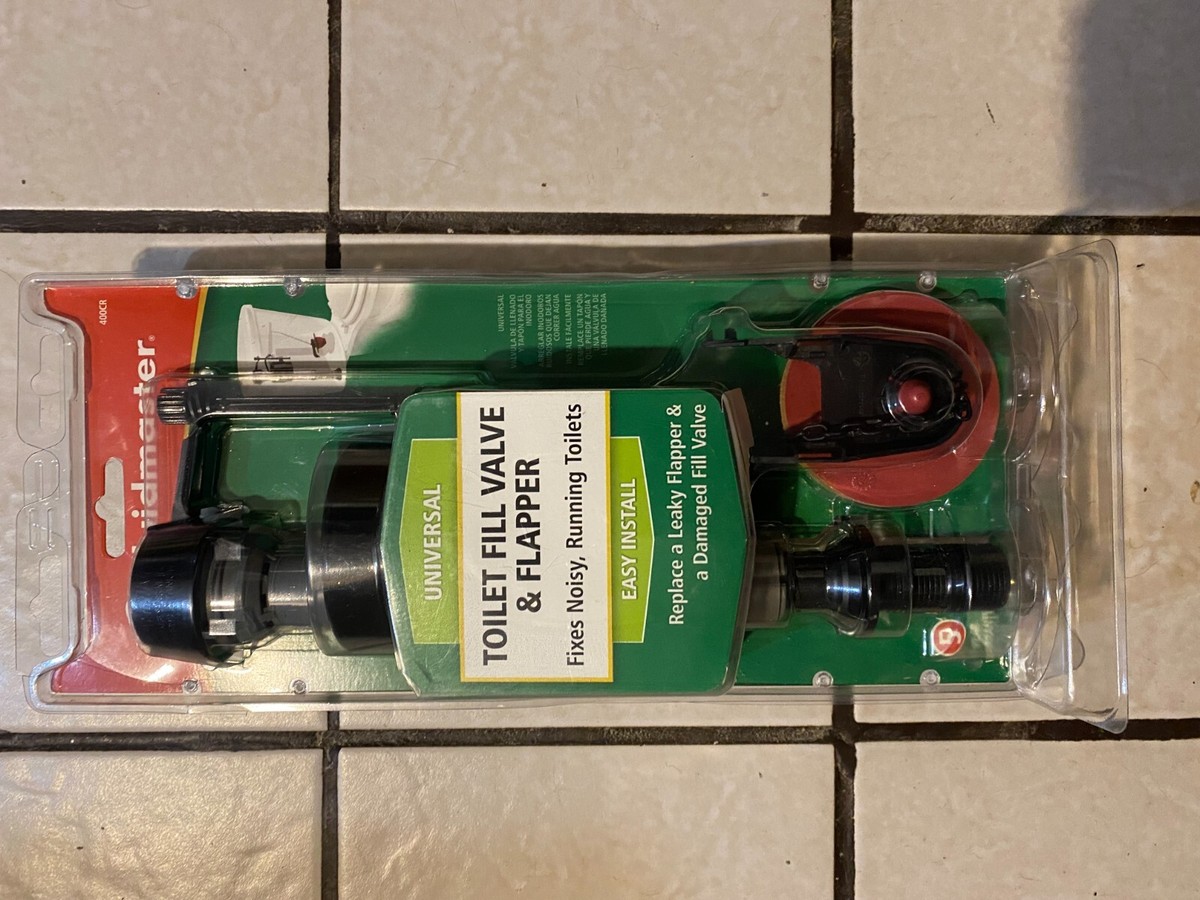
- Fill valve replacement kit (universal style works for most toilets)
- New supply line (optional, but smart if yours is old or crusty)
Step 1: Figure out why it’s running
What “running” usually means
- Constant running: water is flowing from the fill valve into the tank nonstop, usually because the tank is never reaching the shutoff point or water is leaking out into the bowl.
- Refilling every few minutes: tank fills, shuts off, then slowly loses water into the bowl through a bad flapper or a dirty valve seat. When the level drops, the fill valve kicks on again.
The 60-second dye test (my favorite shortcut)
If you want a fast answer on whether the flapper is leaking, do this:
- With the tank full, remove the lid.
- Add a few drops of food coloring to the tank water (not the bowl).
- Do not flush. Wait 10 to 15 minutes.
- If colored water shows up in the bowl, your flapper or flush valve seat is leaking.
Fix 1: Replace the flapper (most common)
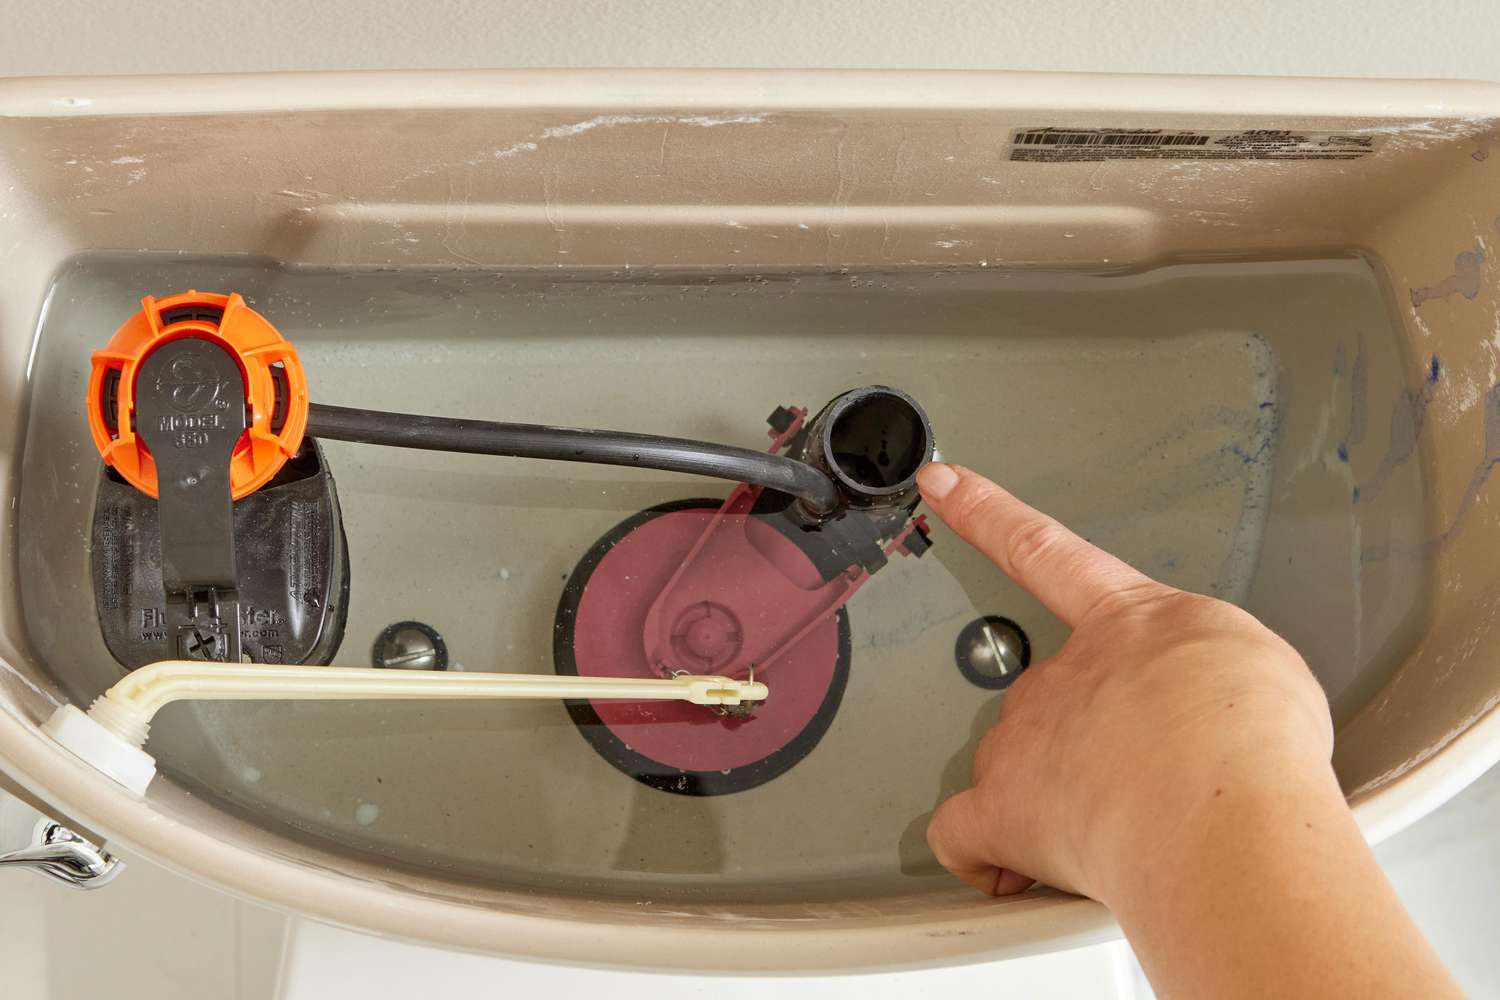
If I had to bet on one part, it is the flapper. Rubber hardens, warps, or gets gunky, and then it cannot seal the opening at the bottom of the tank.
How to replace it
- Shut off the water and flush to lower the tank level.
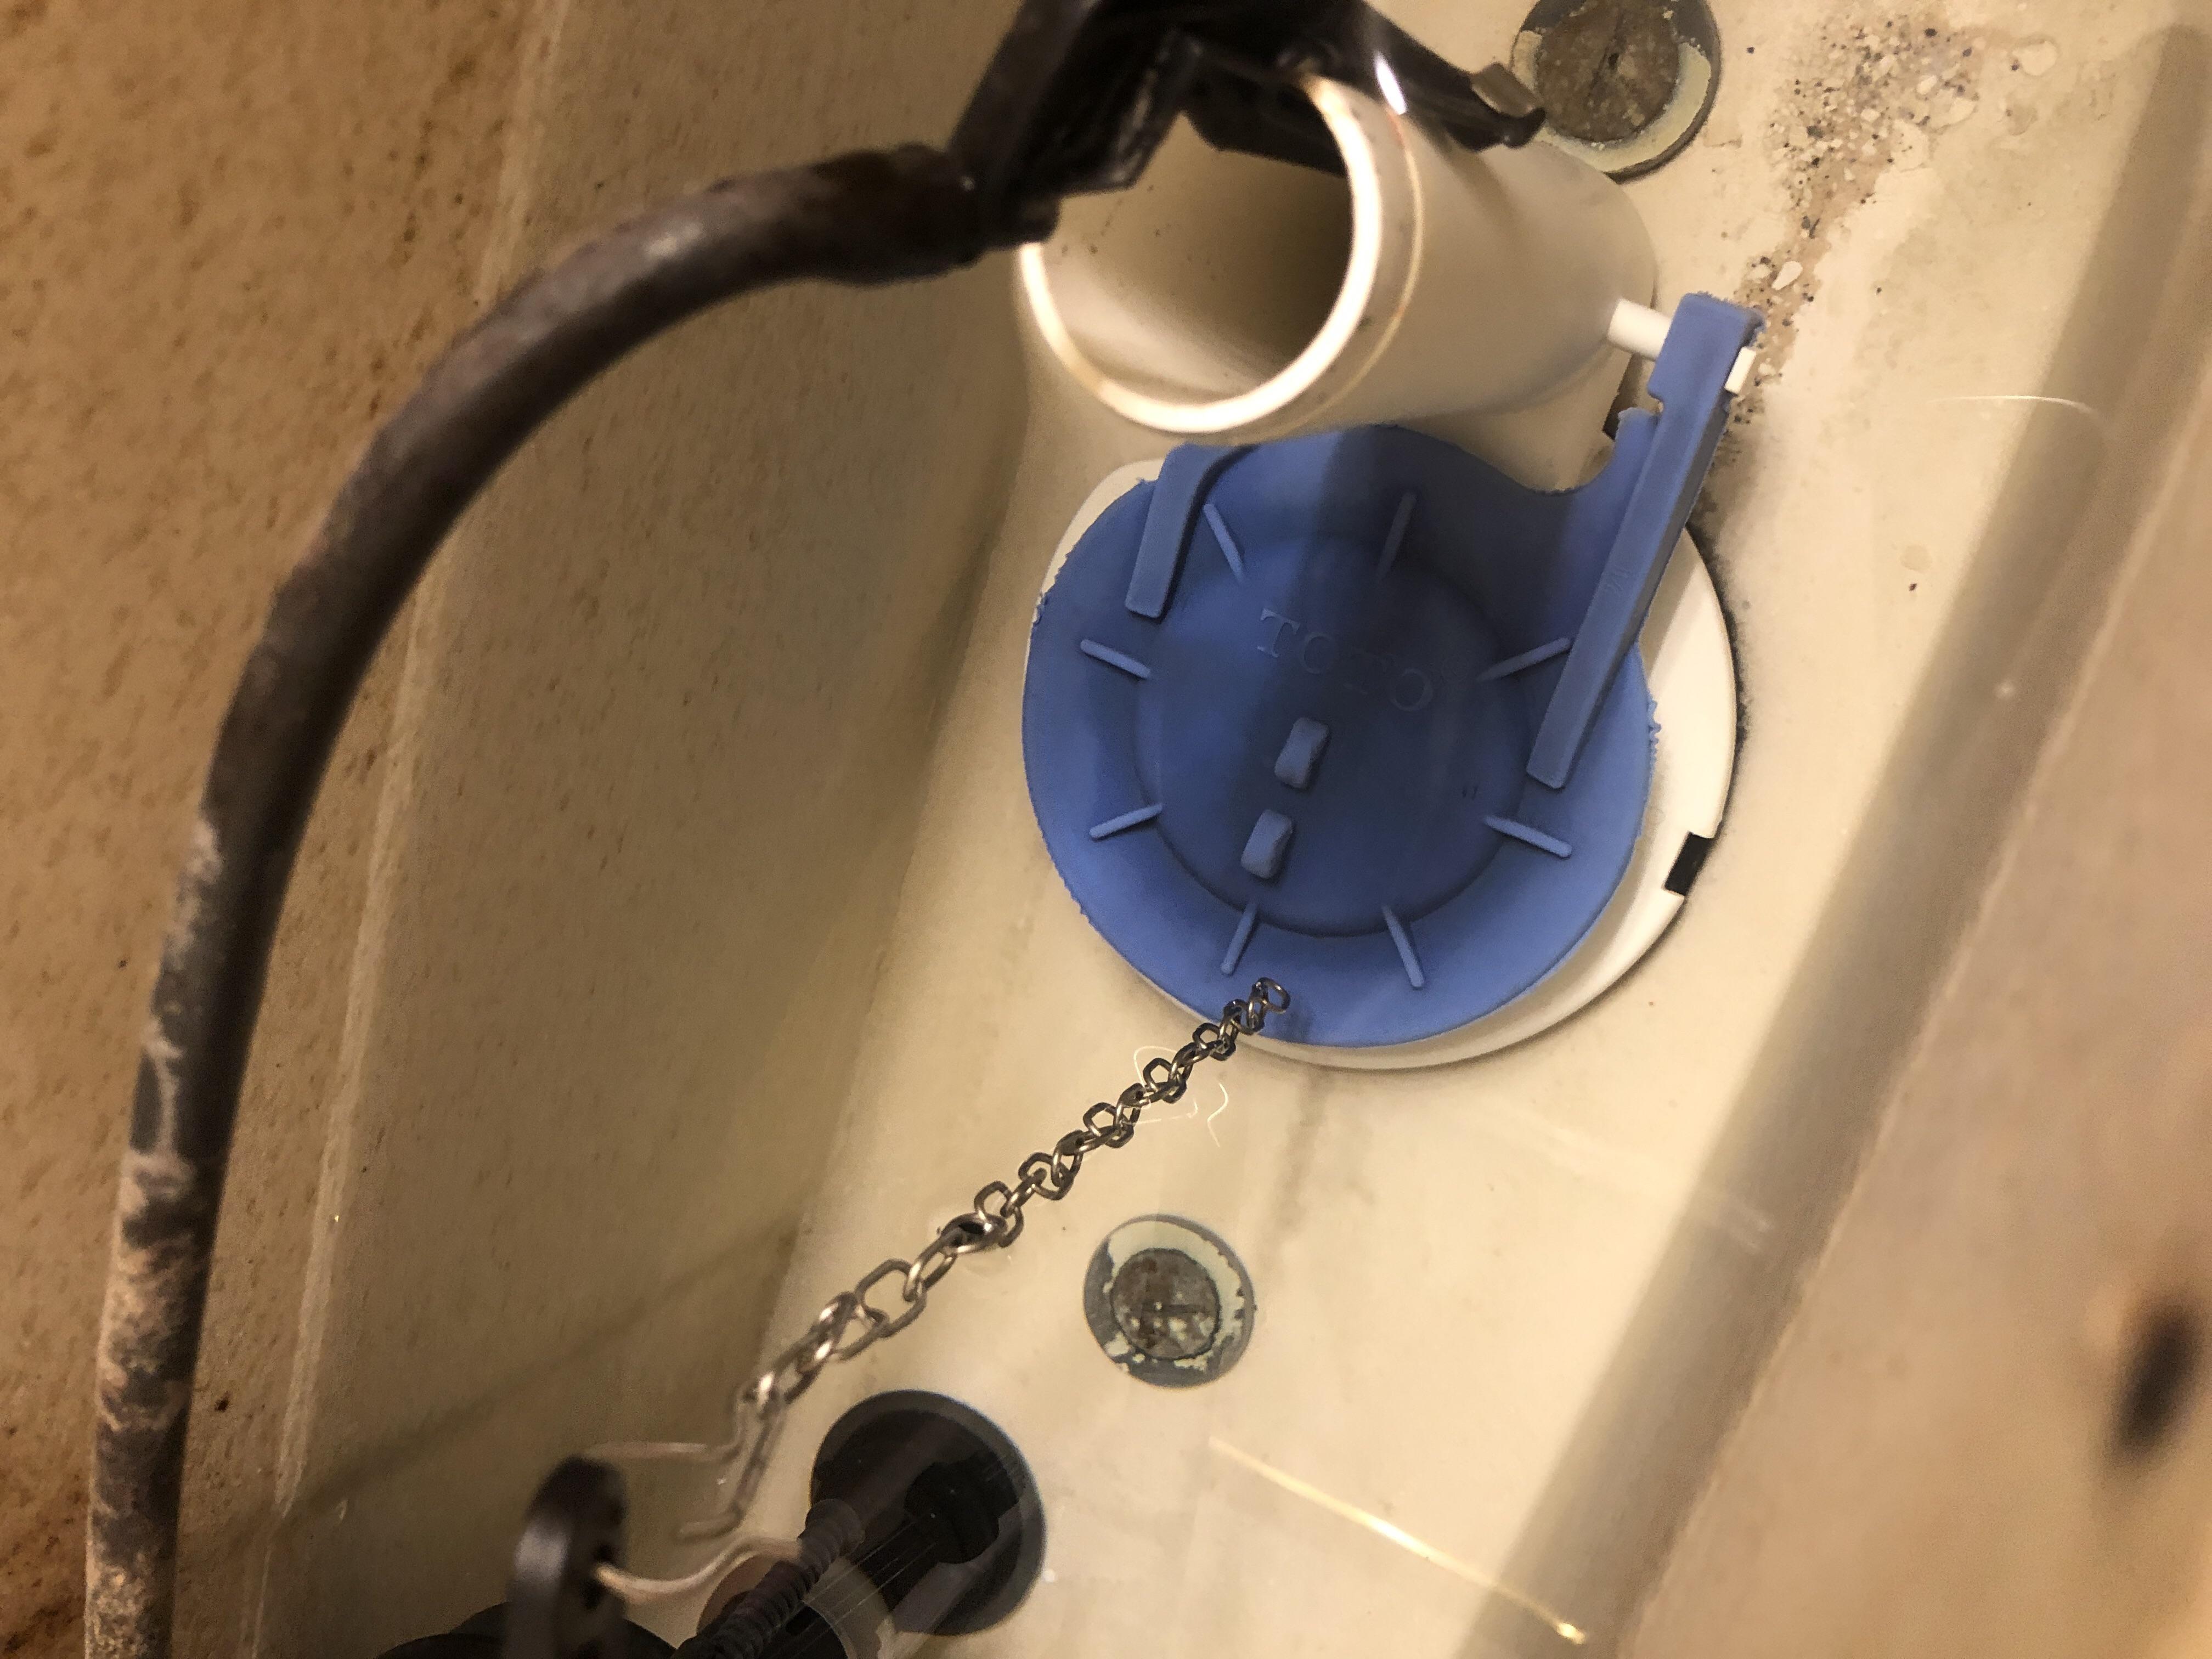
- Unhook the chain from the flush handle arm.
- Remove the old flapper. Most flappers either clip onto two pegs on the overflow tube or slide off a ring-style mount.
- Clean the flush valve seat (the rim the flapper seals against). Use a sponge or rag to wipe away slime or mineral buildup. If you feel rough crust, gently scrub it off.
- Install the new flapper onto the same mounting points.
- Set chain slack: you want a tiny bit of slack when the flapper is closed, about 1/4 to 1/2 inch. Too tight and it will hold the flapper open. Too loose and the flapper will not lift well.
- Turn water back on, let the tank fill, and listen. Flush a few times.
Common flapper mistakes (ask me how I know)
- Chain too short: toilet runs because the flapper never fully closes.
- Wrong size flapper: a 2-inch flapper will not seal a 3-inch opening.
- Ignoring the seat: even a new flapper can leak if mineral buildup prevents a smooth seal.
Fix 2: Adjust the float (water level too high)
If the tank water level is set too high, water spills into the overflow tube. That makes the fill valve keep working, and your toilet can run forever even with a perfectly good flapper.
How to tell
- Look at the overflow tube in the middle of the tank.
- If water is trickling into the top of that tube, the water level is too high or the fill valve is not shutting off.
- Most toilets have a water level line stamped on the tank, or a mark on the overflow tube. Aim for the water level to sit about 1/2 to 1 inch below the top of the overflow tube.
Adjusting common float styles
Float cup (modern style, slides on the fill valve)
- Find the adjustment screw or adjustment rod on the fill valve.
- Turn the screw (usually clockwise) to lower the water level, a little at a time.
- Flush and refill to re-check the level.
Float ball (older style on a metal arm)
- Gently bend the metal arm downward slightly, or use the adjustment screw if it has one.
- Flush and refill, then re-check the level.
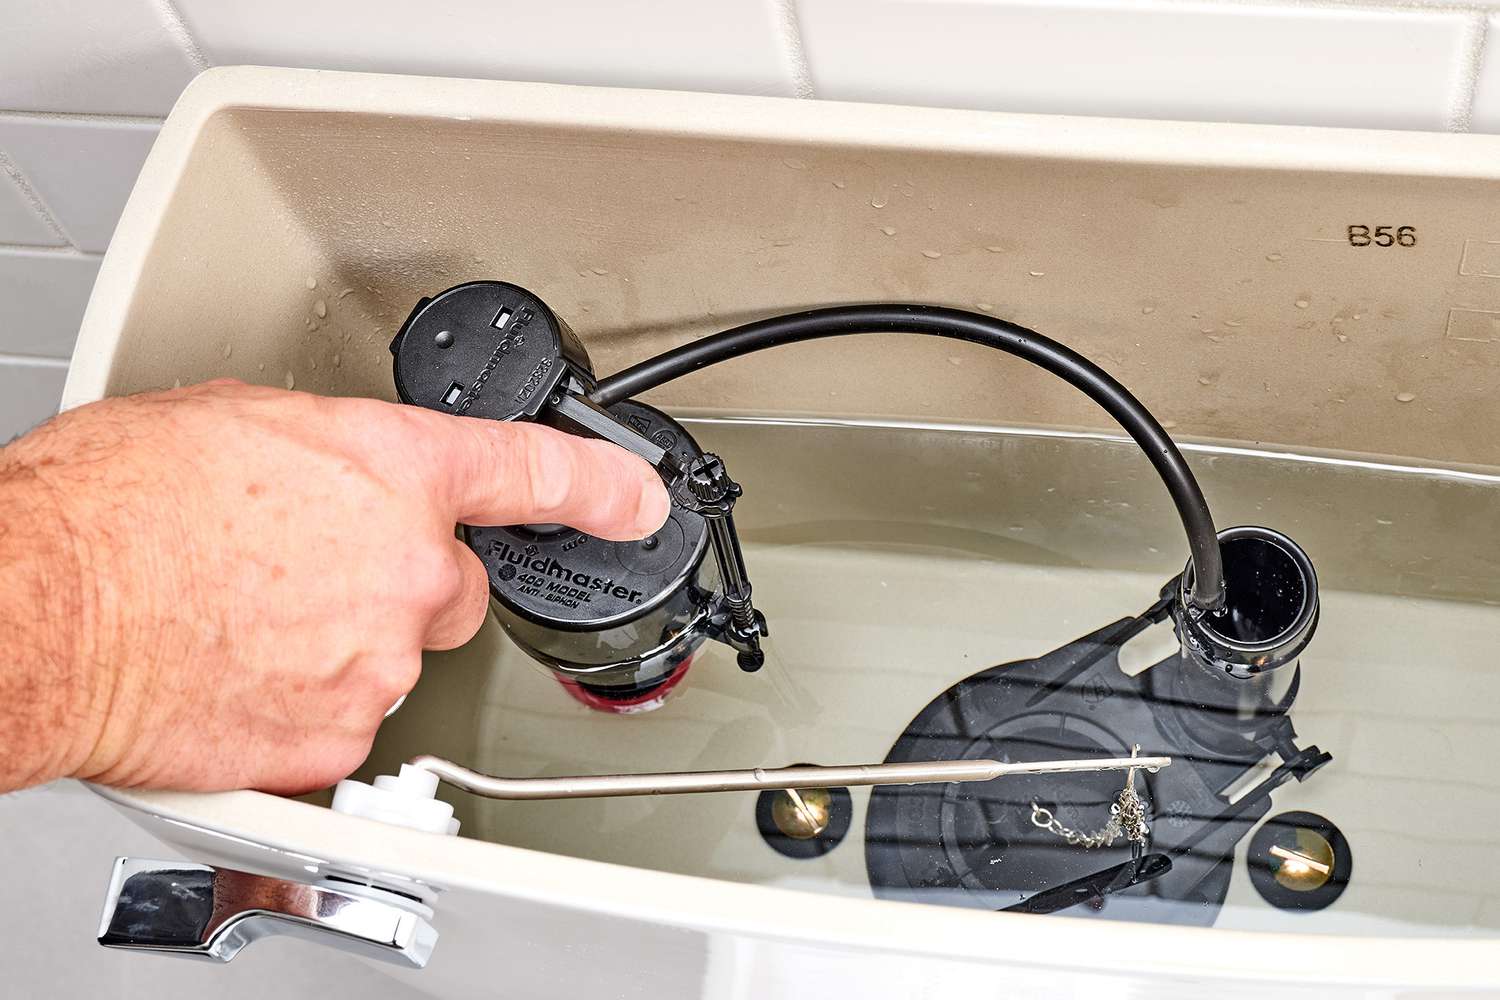
Fix 3: Repair or replace the fill valve
If the float is set correctly but the valve still will not shut off, the fill valve is likely worn or clogged with debris. Sometimes you can flush it out. Often, replacement is faster and more reliable.
Try this first: flush debris from the fill valve
- Turn off the water at the shutoff valve.
- Remove the tank lid.
- Follow your fill valve’s instructions to pop off the top cap (many twist off or snap off).
- Hold a cup over the valve top to block spray.
- Turn the shutoff valve on for 2 to 3 seconds to blast out grit, then turn it back off.
- Reassemble, turn water on, and test.
Replace the fill valve (the long-term fix)
- Shut off water and flush to empty the tank.
- Disconnect the supply line from the bottom of the tank (keep a bucket handy).
- Remove the old fill valve: loosen the plastic locknut under the tank and lift the valve out from inside.
- Install the new valve: set the height so the top of the valve sits above the overflow tube, per the kit instructions. Hand-tighten the locknut, then snug slightly more. Do not crank it down.
- Reconnect the supply line.
- Turn water on and check for leaks around the locknut and supply connection.
- Set the water level using the adjustment on the new valve.
Tip: If your supply line is stiff, corroded, or has been kinked, replace it while you are there. It is a cheap part and a very expensive leak if it fails later.
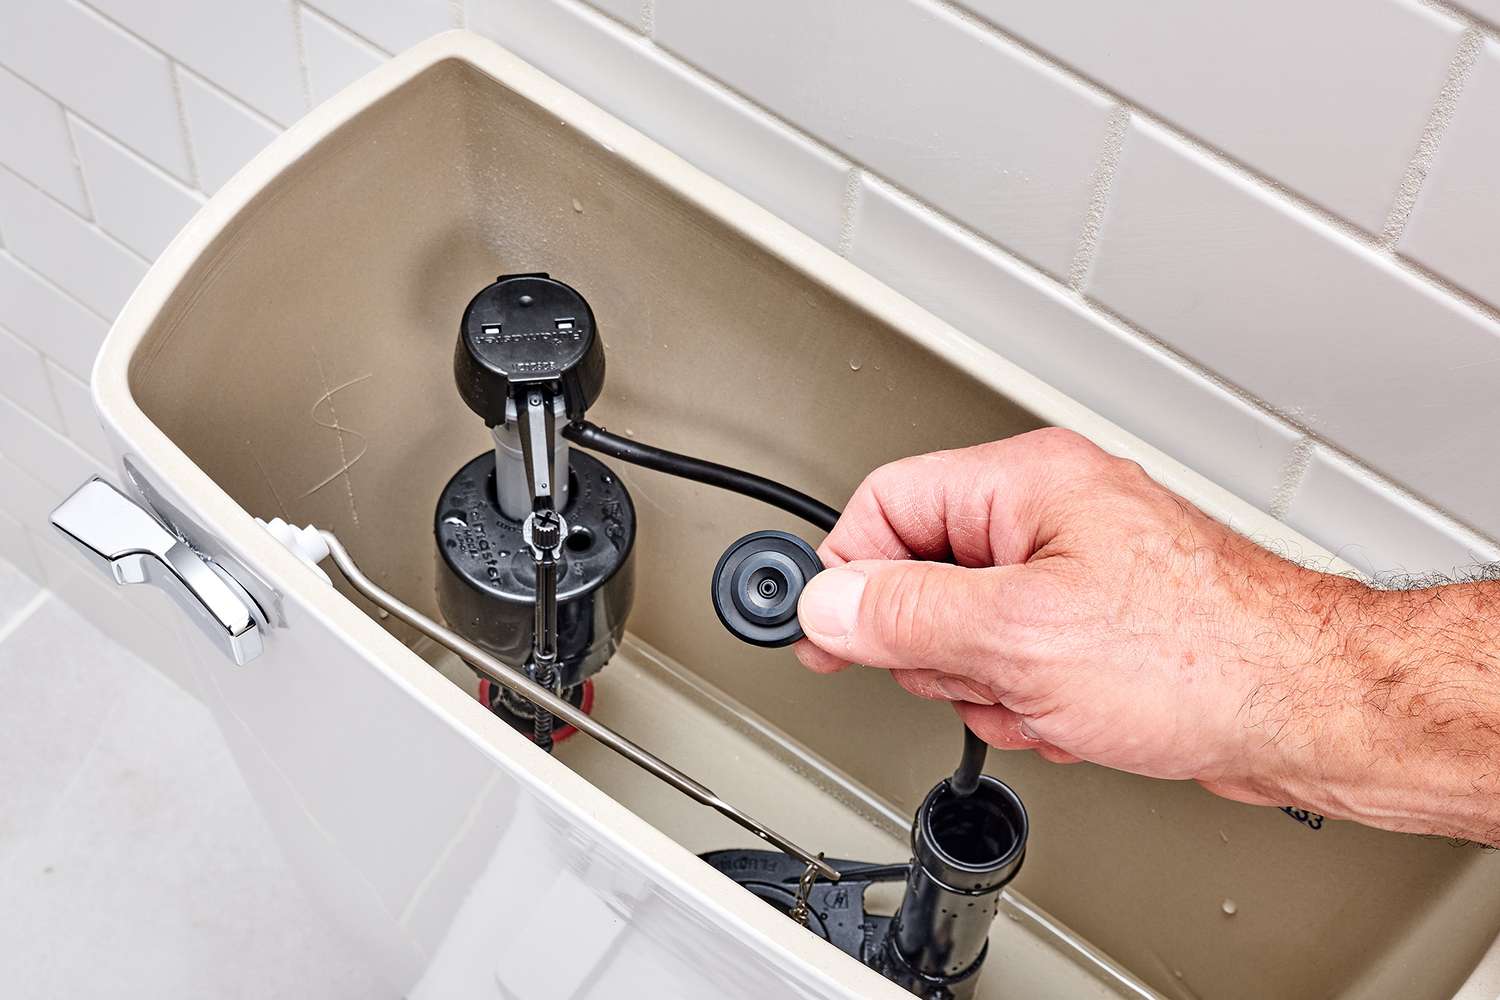
Don’t ignore this: the refill tube placement
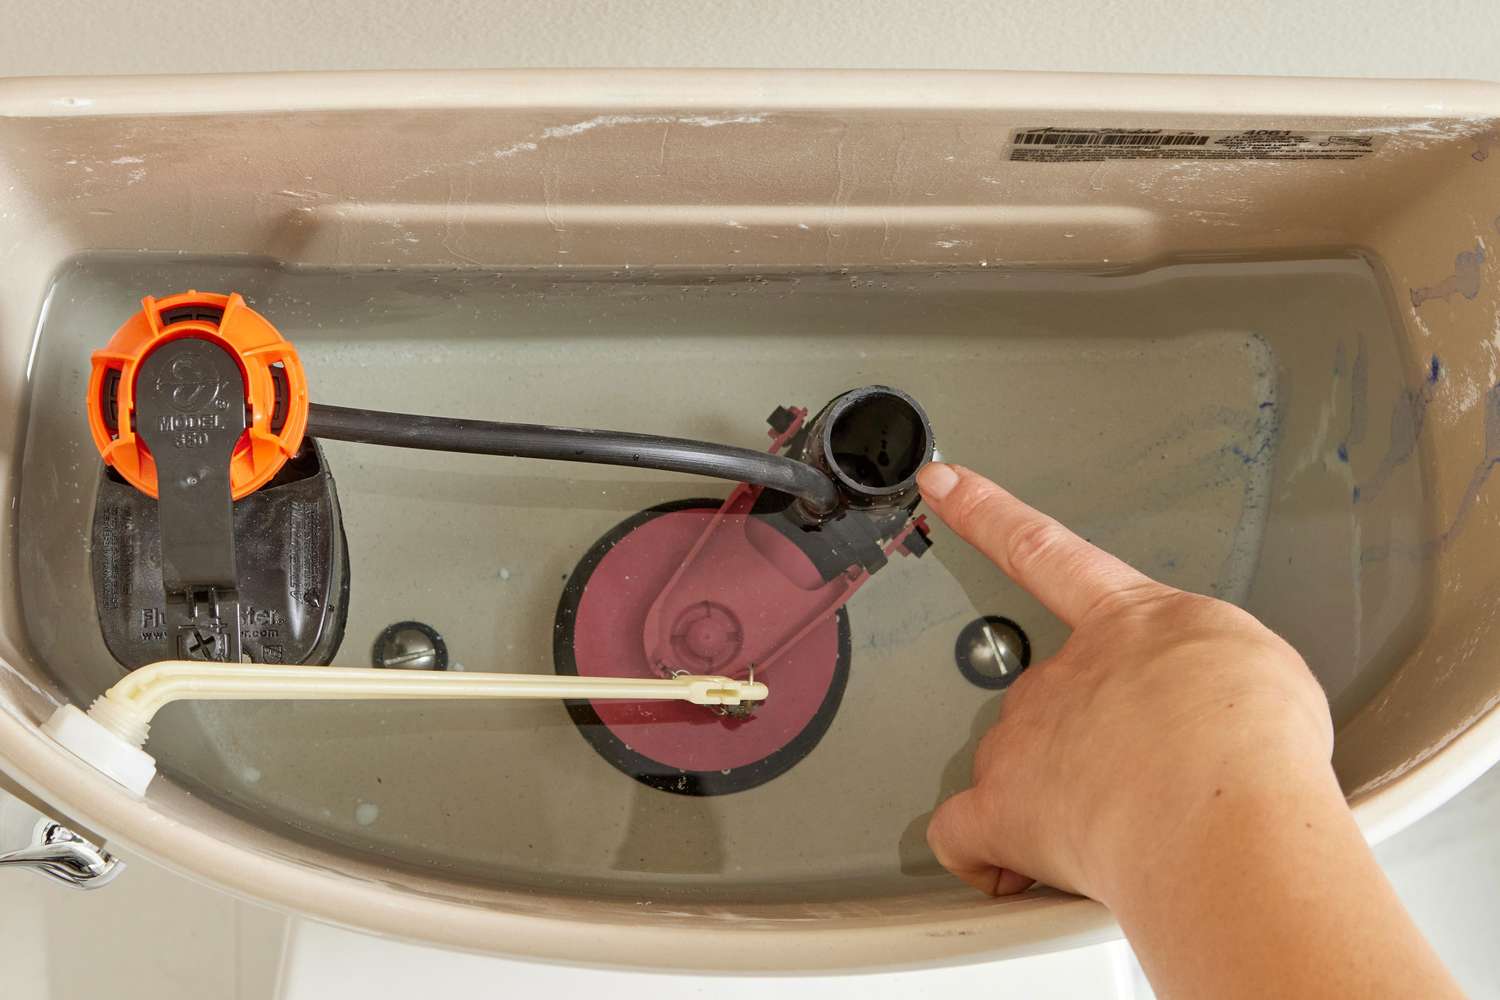
There is a small flexible tube that runs from the fill valve to the overflow tube. It refills the bowl after a flush. If it is shoved down into the overflow tube, it can siphon water and cause the toilet to run or refill randomly.
- The refill tube should discharge into the overflow tube from above.
- Use the little clip that comes with most fill valves so the tube sits at the top of the overflow tube, not down inside it.
Troubleshooting: what your symptoms mean
| Symptom | Most likely cause | Fix |
|---|---|---|
| Toilet runs constantly, water going into overflow tube | Water level too high or fill valve not shutting off | Adjust float; replace fill valve if it won’t shut off |
| Toilet refills every few minutes | Slow leak from tank to bowl | Dye test; replace flapper; clean flush valve seat |
| Handle feels loose or needs jiggling | Chain too tight/too loose or flapper not seated | Adjust chain slack; check flapper alignment |
| Hissing sound from tank | Fill valve leaking by internally | Flush debris; replace fill valve |
| Water level is fine but still refills | Flapper leak or refill tube siphoning | Replace flapper; fix refill tube placement |
When to call a pro
Most running toilets are DIY-friendly, but I would bring in a plumber if:
- You see water leaking onto the floor (could be supply connection, tank bolts, or a crack).
- The toilet is very old and replacement parts do not fit correctly.
- The flush valve seat is damaged or the tank has severe corrosion around bolts and openings.
- You replace parts and still cannot stop the running, especially if you suspect a hairline crack in the tank.
FAQ
Is a running toilet expensive?
It can be. A slow leak from tank to bowl can waste a surprising amount of water over a month. Even if your water bill is flat, you are still wearing out parts and potentially stressing your well pump if you are on a well.
Do I need to replace the whole toilet?
Almost never for a running issue. Flappers and fill valves are normal wear items. If the porcelain is cracked, parts are unavailable, or the flush valve seat is badly damaged, then replacement might make sense.
Why does my toilet only run at night?
It probably runs all day too, you just notice it more when the house is quiet. Intermittent refills are classic flapper leaks.
What if my flapper is new and it still leaks?
Double-check chain slack, clean the flush valve seat again, and confirm you bought the correct size. If the seat is rough or pitted, you may need to replace the flush valve assembly.
My quick “do this first” checklist
- Look for water going into the overflow tube. If yes, lower the float.
- Do the dye test. If color hits the bowl, replace the flapper and clean the seat.
- Fix refill tube placement so it cannot siphon.
- If the valve still won’t shut off, replace the fill valve.
If you tackle it step-by-step, a running toilet is one of those satisfying repairs where you can literally hear the money savings when the bathroom finally gets quiet.