If your door closes but won’t click and stay shut, it is usually one of a few common culprits: the door has sagged on the hinges, the strike plate is a little out of position, the latch bolt is sticking and not fully extending, or the lockset hardware has loosened over time. The good news is this is typically a screwdriver-and-patience kind of fix, not a “replace the whole door” situation.
I’ll walk you through a methodical way to diagnose it and then fix it, whether it’s an interior bedroom door or an exterior entry door.
Before you start: quick safety and tool check
Safety notes
- Exterior doors: If it is your main entry, prop the door open only if someone is home and you can secure the opening.
- Power tools: If you use a drill or rotary tool, wear eye protection. Metal shavings have a way of finding your eyes.
Basic tools
- #2 Phillips screwdriver (or whatever fits your hinge and strike screws)
- Small flathead screwdriver
- Pencil
- Tape measure (optional)
- Utility knife or chisel (for deeper mortises)
- Hammer
- Drill/driver and bits
- 2 to 3 in. wood screws (for hinge reinforcement)
- Sandpaper or a sanding block (for minor rubbing)
Optional but helpful: a torpedo level, wood glue and toothpicks (or golf tees), and a marker.
Diagnose it in 3 minutes (don’t skip this)
Here’s the fastest way to pinpoint what’s actually wrong.
1) Find out where the latch is hitting
Close the door slowly until the latch bolt meets the strike plate. Don’t force it. Look at the contact point. If it is hard to tell, color the beveled face of the latch with a marker, close the door gently, and look for where the ink transfers to the strike plate or jamb.
- Latch hits above the strike hole: The latch is sitting higher than the opening. That usually means the strike is too low, the door is riding high, or a hinge leaf is bent.
- Latch hits below the strike hole: The latch is sitting lower than the opening. This is the classic sign of a sagging door, loose top hinge screws, or stripped jamb screw holes.
- Latch hits the lip (the raised ramp) but won’t drop in: The strike opening is too tight, the door is slightly out of plumb, or weatherstripping is pushing the door back (common on exterior doors).
- Latch lines up but still won’t stay shut: The latch bolt may be sticky or not fully extending, the strike hole may be too shallow, or the lockset may be loose.
2) Look for scuff marks and shiny metal
The door usually tells on itself. Scuffs on the strike plate, chipped paint on the jamb, or a shiny rub line on the latch bolt are all clues.
3) Check for hinge sag
Open the door about halfway and grab the knob. Lift up gently.
- If you feel movement and see the door rise, the hinges or screws are loose, the jamb wood is stripped, the hinge pin may be walking, or the door is sagging.
Fix #1: Tighten hinges and correct sag (most common)
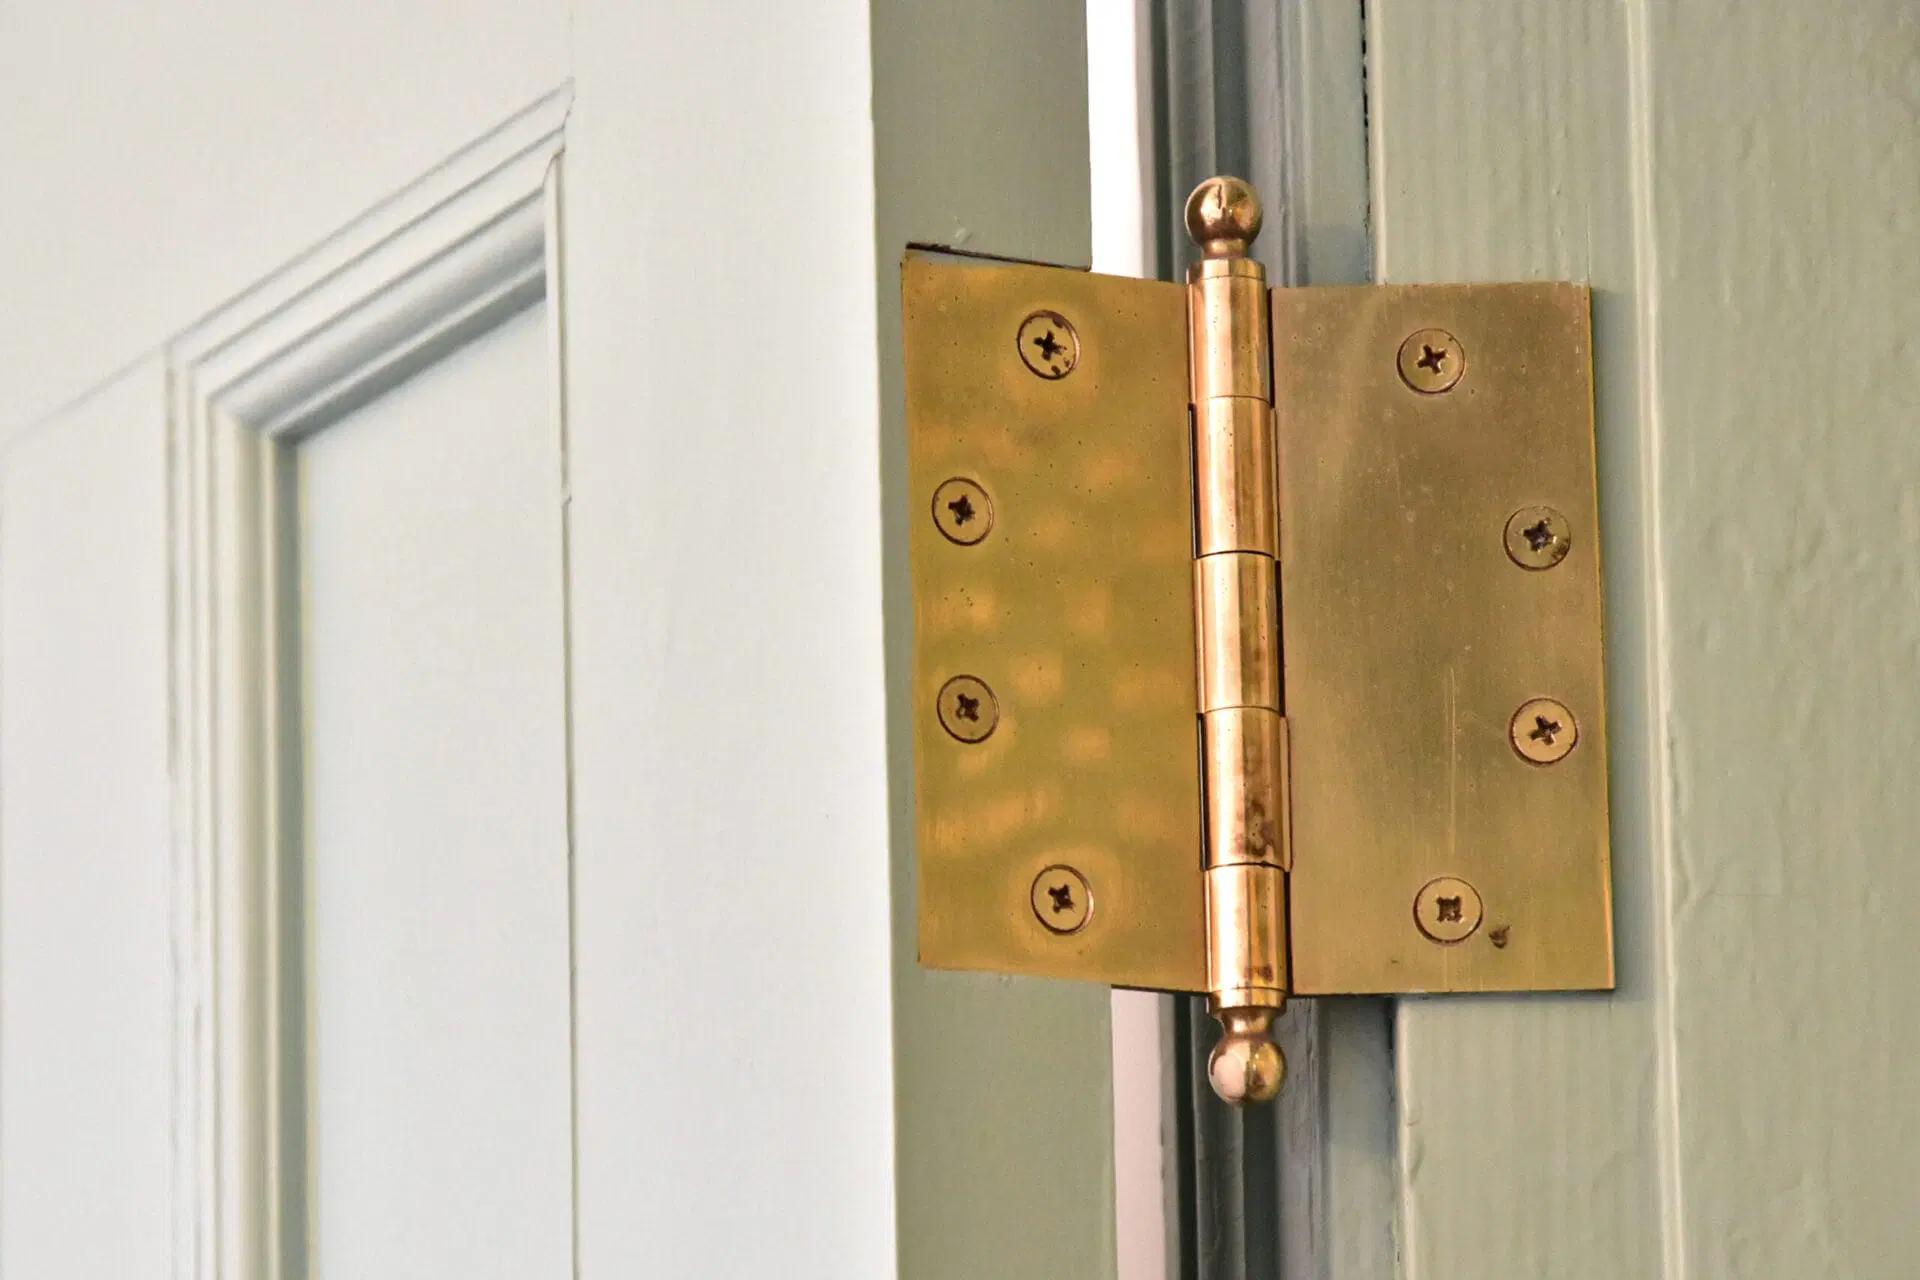
When a door won’t latch, the top hinge is very often involved. Gravity pulls the door down over time, and the latch ends up too low to catch.
Step 1: Tighten all hinge screws
- Open the door and support it lightly with your foot or a shim under the bottom edge.
- Tighten the screws on the top hinge first, then middle, then bottom.
- If a screw just spins, the hole is stripped. Move to Step 2.
Step 2: Fix stripped hinge screw holes (the right way)
Skip the “bigger screw” gamble unless you have to. A clean repair holds longer.
- Remove the spinning screw.
- Dip toothpicks (or a golf tee) in wood glue and pack them into the hole.
- Snap them flush.
- Reinstall the screw after the glue sets. Follow the glue label for clamp and cure times. If you can wait longer, do. The longer it cures, the stronger the repair.
Step 3: Upgrade one screw to a long screw
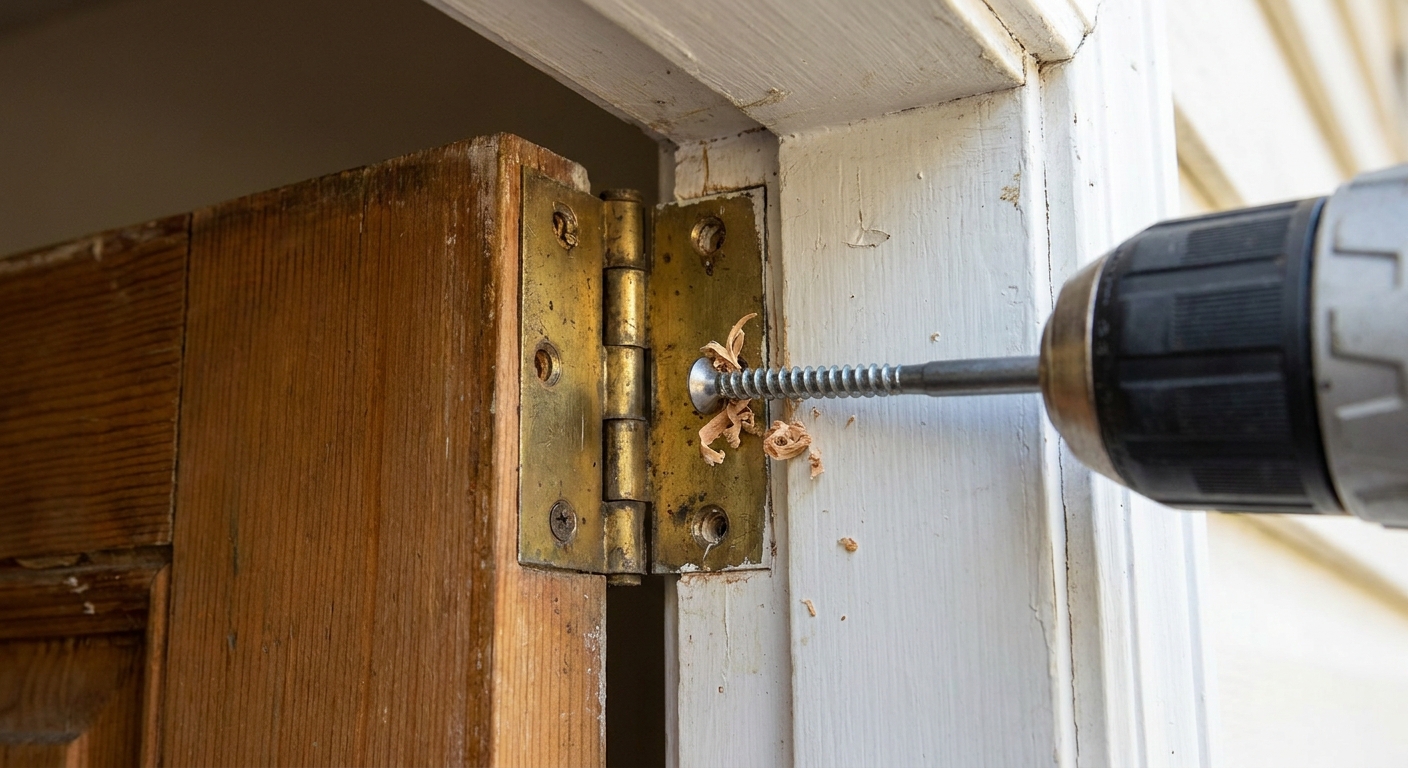
On the top hinge, replace one of the frame-side (jamb-side) screws with a 2 to 3 inch wood screw so it bites into the framing behind the jamb. This pulls the door back into alignment and helps keep it there.
Tip from my contractor days: drive the long screw by hand the last few turns so you don’t strip it or snap the head.
Fix #2: Align the strike plate to the latch
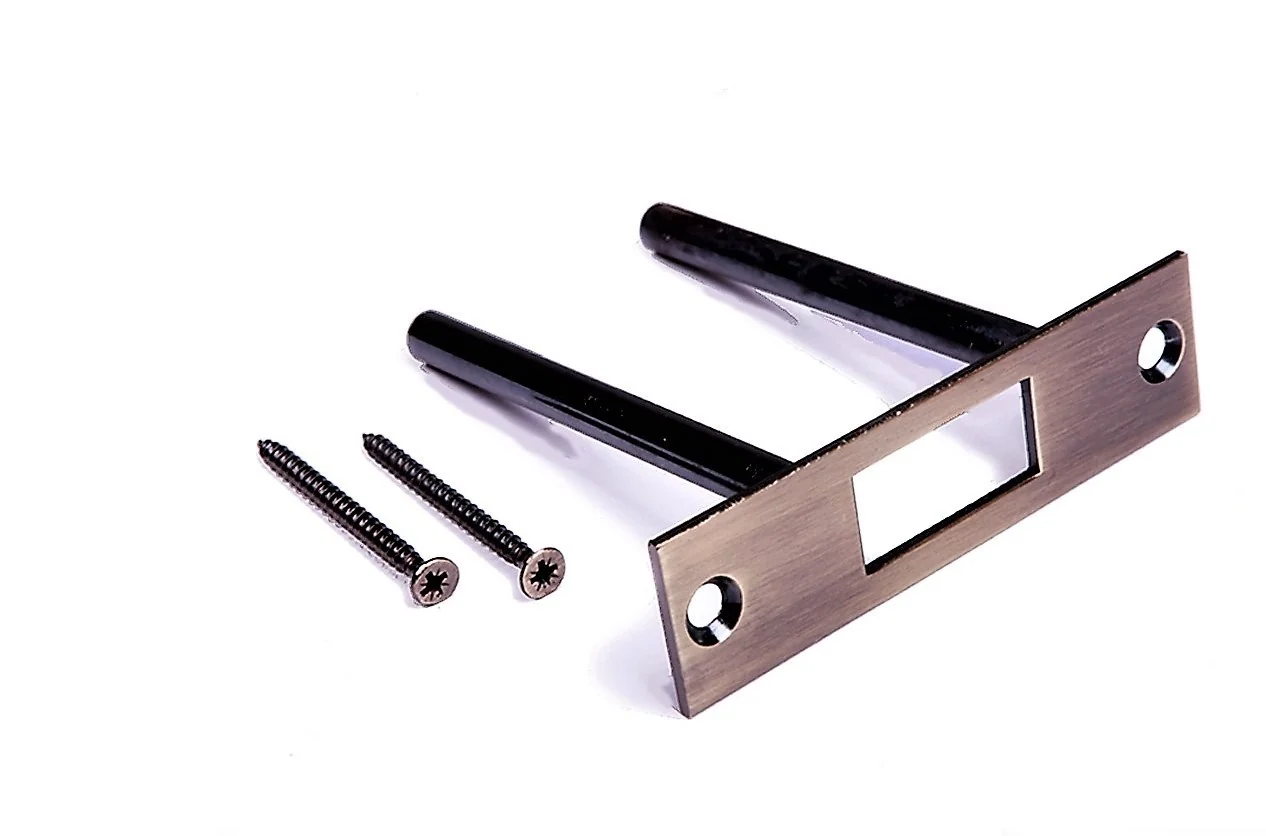
If the hinges feel solid but the latch hits the strike wrong, adjust the strike plate. You can often solve this with a small reposition, or by enlarging the opening just a bit.
Option A: Tighten and reposition the strike
- Loosen the two strike plate screws just enough that the plate can shift.
- Close the door slowly and nudge the plate into the position where the latch drops in cleanly.
- Hold the plate in place, open the door carefully, then tighten the screws.
Option B: Move the strike plate (when holes are in the wrong place)
- Remove the strike plate.
- Fill the old screw holes with glued toothpicks or a golf tee.
- Position the strike where it needs to be (use the latch bolt as your guide) and mark new screw locations.
- Pre-drill small pilot holes, then reinstall.
Option C: Enlarge the strike opening (fast, controlled fix)
If the latch is only off by a little, enlarging the opening is often cleaner than moving the whole plate.
- Minor adjustment: Use a flat file to remove a small amount of metal from the side where it is rubbing.
- Wood jamb interference: Remove the strike and chisel a little wood from the mortise, then reinstall.
Go slow. You can always remove a bit more, but you cannot put metal back. Also, avoid filing the latch bolt itself. Fix the door and strike, not the moving hardware.
Fix #3: Address a sticky or weak latch bolt
Sometimes alignment is fine, but the latch bolt is not fully extending, so it never truly catches the strike. Less commonly, the latch spring is worn out or the internal lockset chassis is failing.
Quick checks
- Test it with the door open: Turn the knob and release it. The latch should spring out crisply every time.
- Test it with gentle pressure: Push the latch bolt in with your thumb and let go. If it feels gritty or slow, it needs cleaning or replacement.
Check for loose lockset hardware
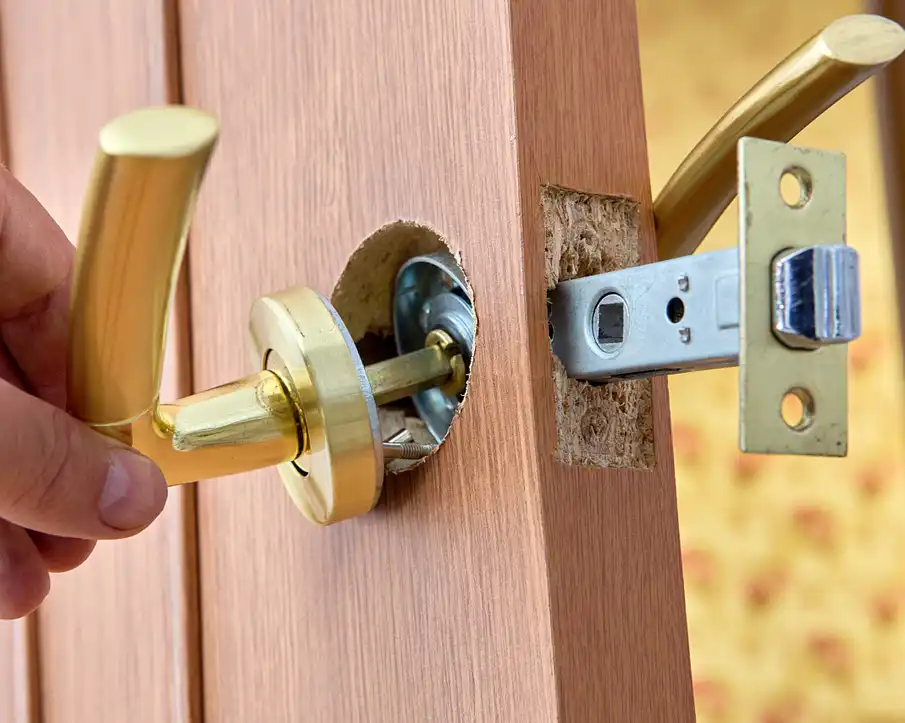
Loose handle or rosette screws can let the latch sit slightly out of position, or keep the mechanism from returning cleanly.
- On many knob and lever sets, there are two long screws that clamp the two halves together through the door.
- Snug them up, then retest the latch. Do not over-tighten and bind the mechanism.
Clean and lube the latch (avoid the wrong products)
- Blow out dust with compressed air if you have it.
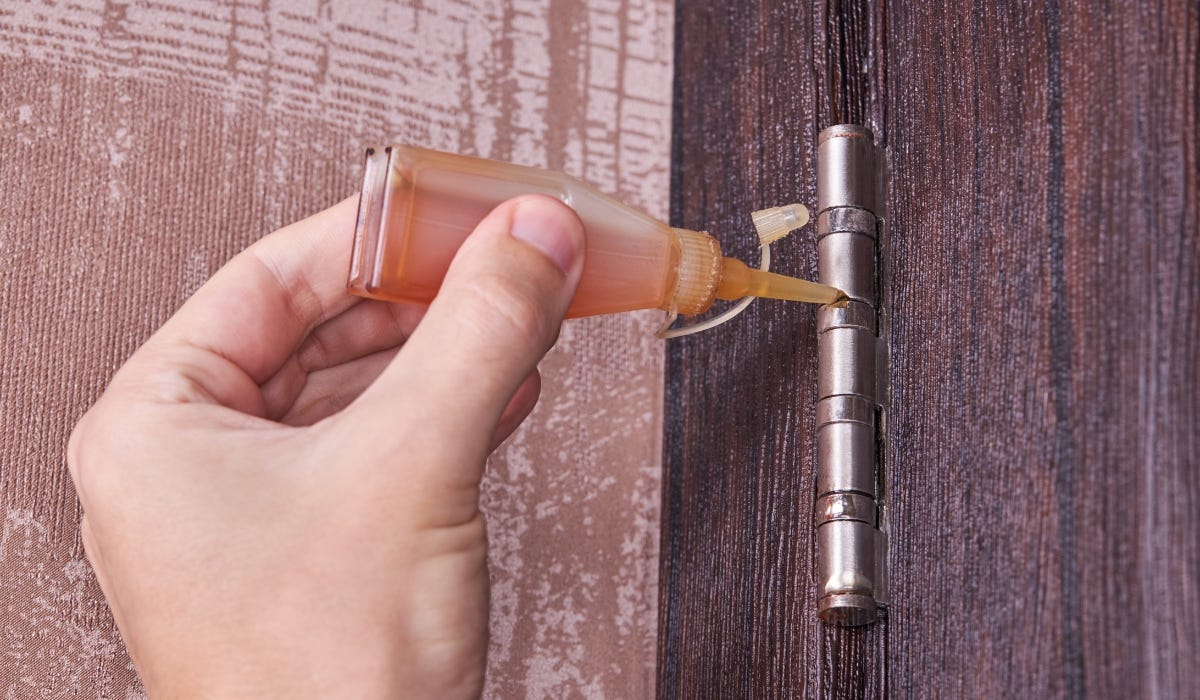
- Use a small amount of dry lubricant (dry PTFE or silicone spray is a good all-around choice) on the latch bolt.
- Work the knob 10 to 15 times.
Avoid heavy oils on latches. They feel great for a week, then they collect dust and turn into sludge. Graphite is usually better reserved for keyed cylinders, where it belongs and where the mess is easier to manage.
Make sure the strike hole is deep enough
If the door clicks but pops back open, the latch might be bottoming out on the back of the hole.
- Remove the strike plate.
- Look inside the hole in the jamb.
- If you see fresh wood marks at the back, deepen it slightly with a chisel.
- Reinstall the strike.
Fix #4: Stop rubbing that prevents the door from closing fully
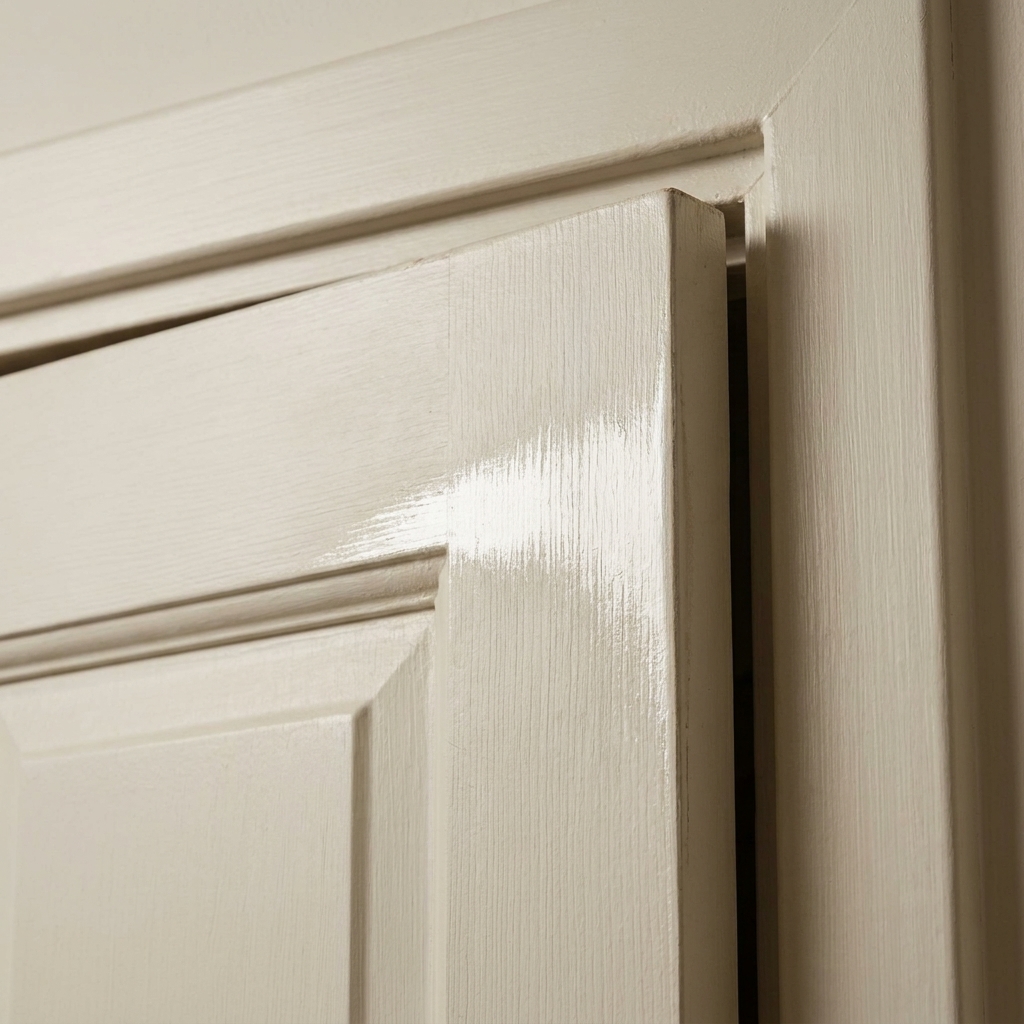
A latch cannot catch if the door never reaches the jamb. If you have to shove the door to get it near the strike, look for rubbing.
Find the rub spot
- Close the door slowly and watch the gap along the hinge side and latch side.
- Look for paint scuffs on the door edge or jamb.
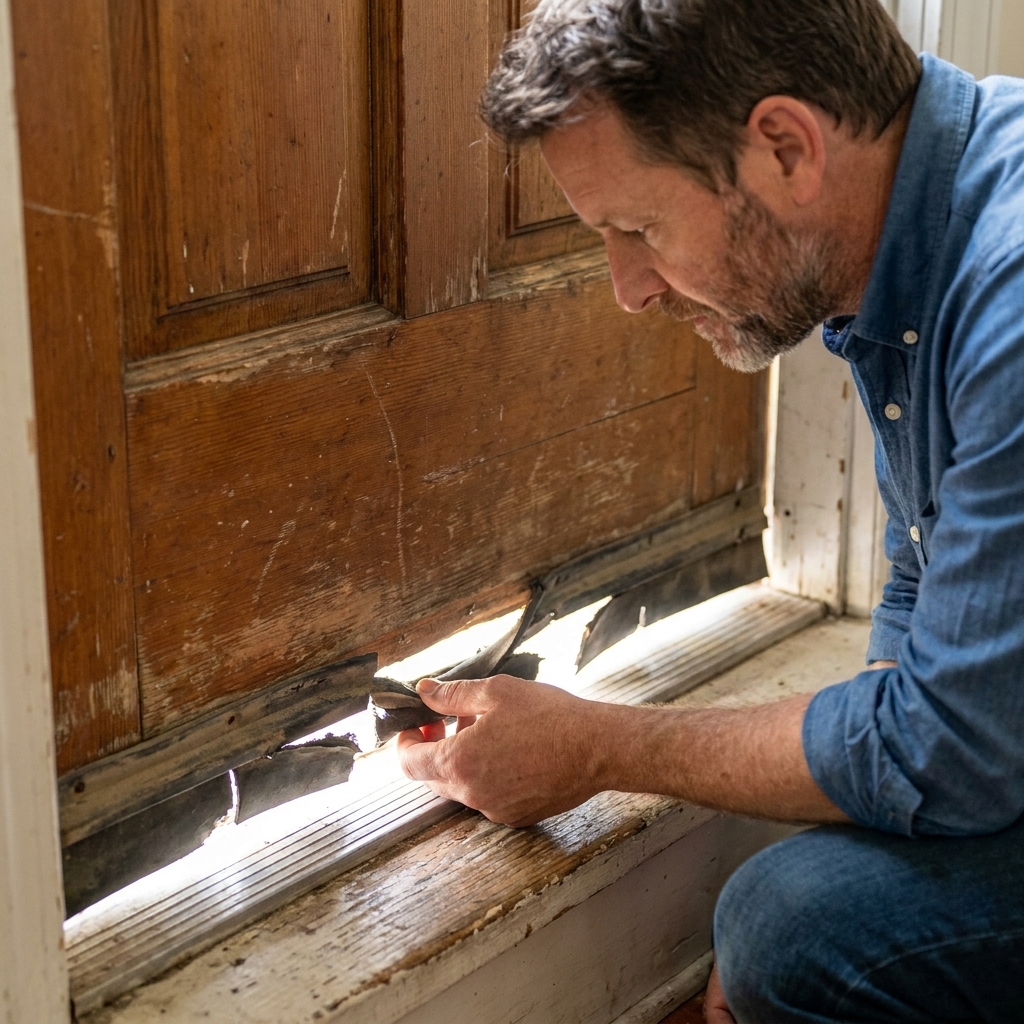
- On exterior doors, check if weatherstripping is bunched, torn, or overly thick.
Simple fixes
- Tighten hinge screws again. Rubbing and sag are close relatives.
- Light sanding on a high spot can help if it is minor. Seal bare wood afterward.
- Adjust or replace weatherstripping if it is preventing the door from fully seating.
If the door is dramatically out of alignment and rubbing hard, that can be a bigger issue like a settled frame or a warped door, especially on older homes or after humidity swings.
Exterior door notes (deadbolts, security, and seasonal swelling)
Exterior doors get hit with temperature and humidity changes, so latch problems can come and go with the seasons.
- Deadbolt alignment matters too: If the latch is off, the deadbolt is often off. Fix the hinges first, then adjust the strike(s).
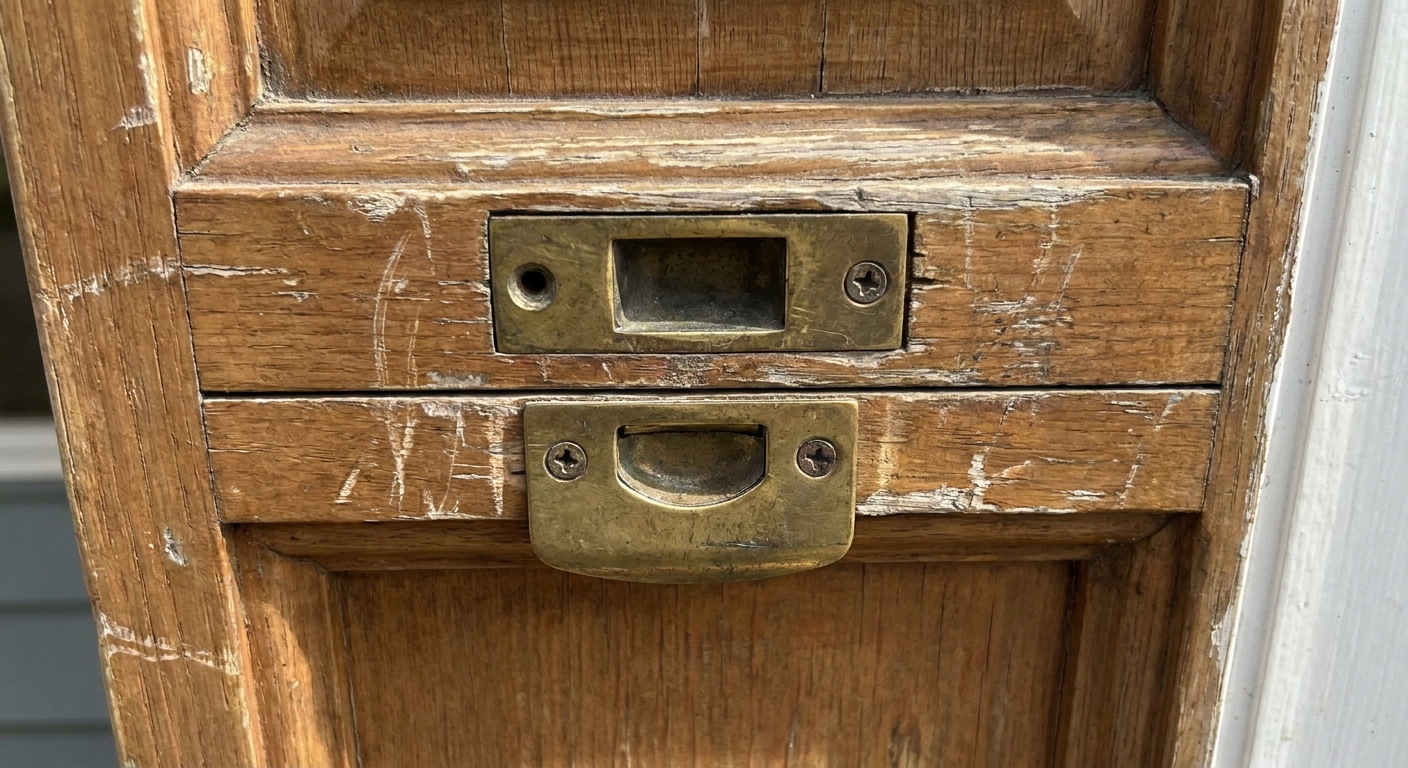
- Do not oversize the strike opening too much: Minor filing of the thin strike plate is one thing. Removing a lot of material from the deeper strike pocket or strike box is another. For exterior doors, that reinforced strike area is part of what resists a kick-in.
- Reinforce the strike on exterior doors: If you are already taking screws out, consider upgrading the strike plate screws to 2 to 3 inch screws that bite into the framing behind the jamb.
- Check the door sweep: If the sweep is dragging on the threshold, it can keep the door from closing that last quarter inch.
Quick troubleshooting table
| Symptom | Most likely cause | Best first fix |
|---|---|---|
| Latch hits below the strike hole | Door sagging | Tighten top hinge, add long screw |
| Latch hits above the strike hole | Strike too low or door riding high | Reposition strike plate slightly |
| Door needs a shove to latch | Rubbing or weatherstripping pressure | Find rub point, adjust hinges or strip |
| Latch aligns but does not catch | Sticky latch, loose lockset, or shallow strike hole | Snug lockset screws, dry lube latch, deepen hole |
| Door used to latch, now it does not | Loose hinge screws or seasonal movement | Hinge tune-up first, then strike tweak |
When it’s time to call a pro
I’m all for DIY, but there are times when you are fighting the house, not the hardware.
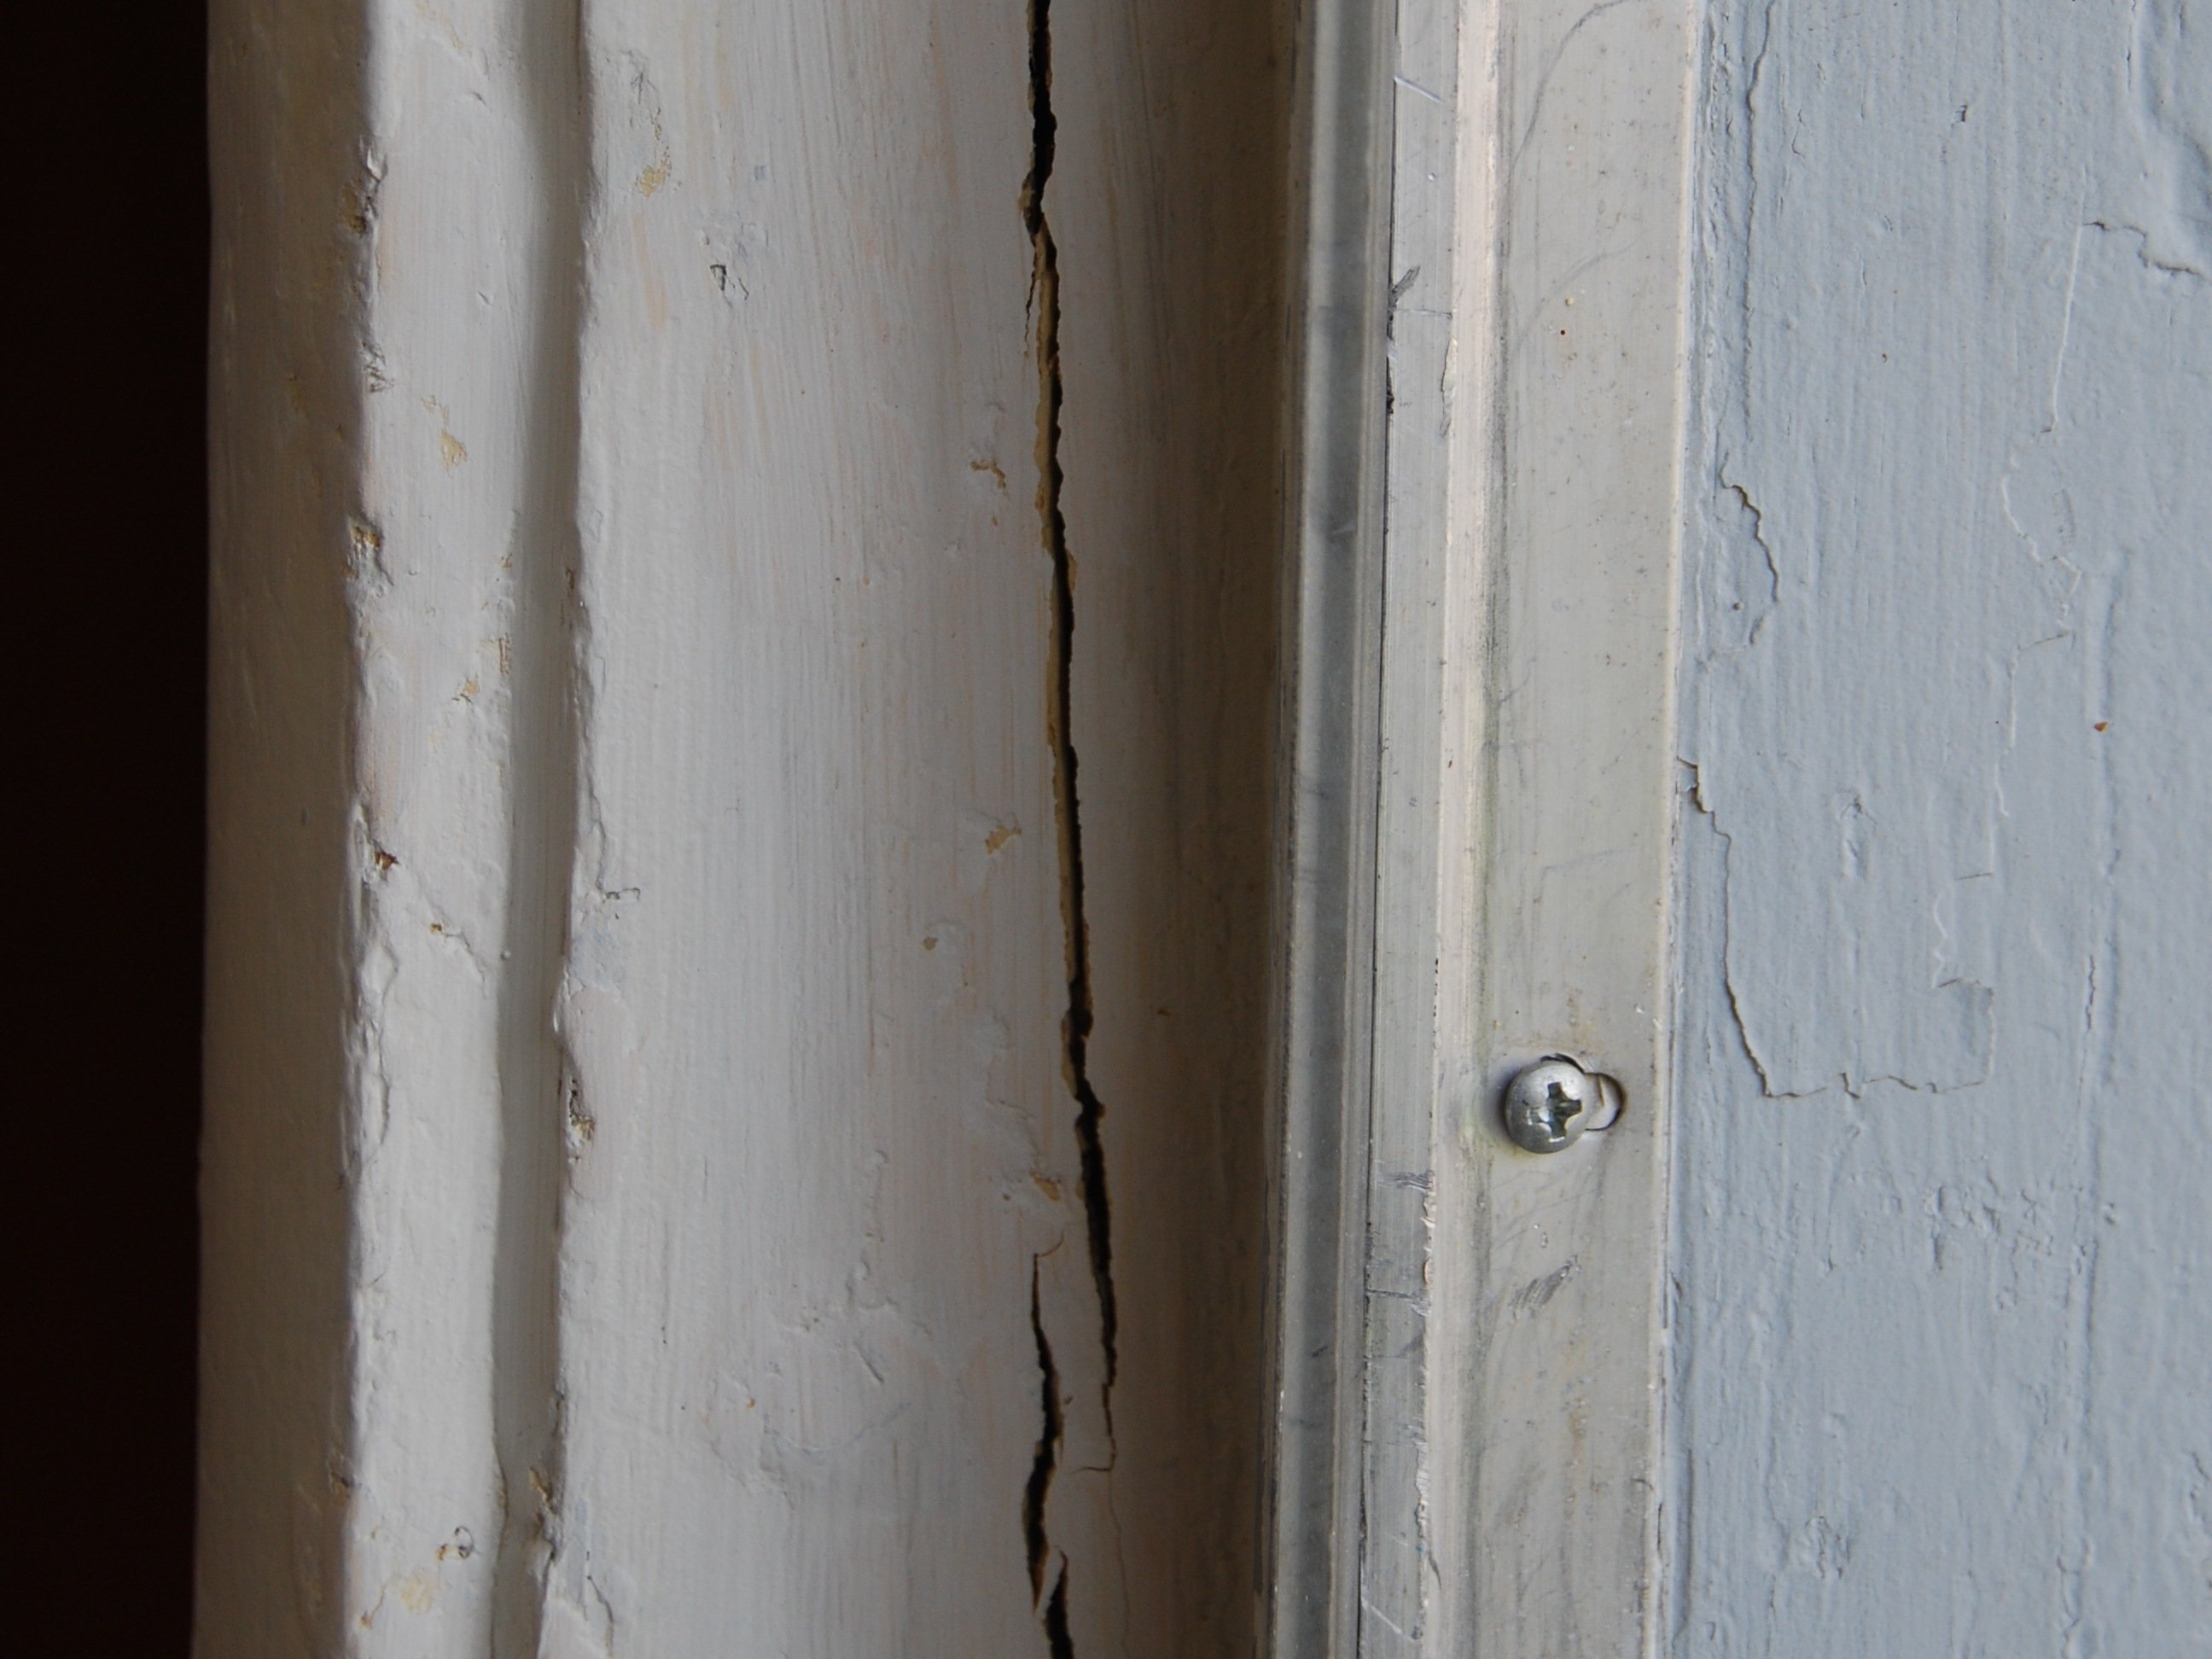
- The door frame is visibly out of square or the jamb is splitting.
- You see signs of structural movement, like new cracks radiating from the door corners.
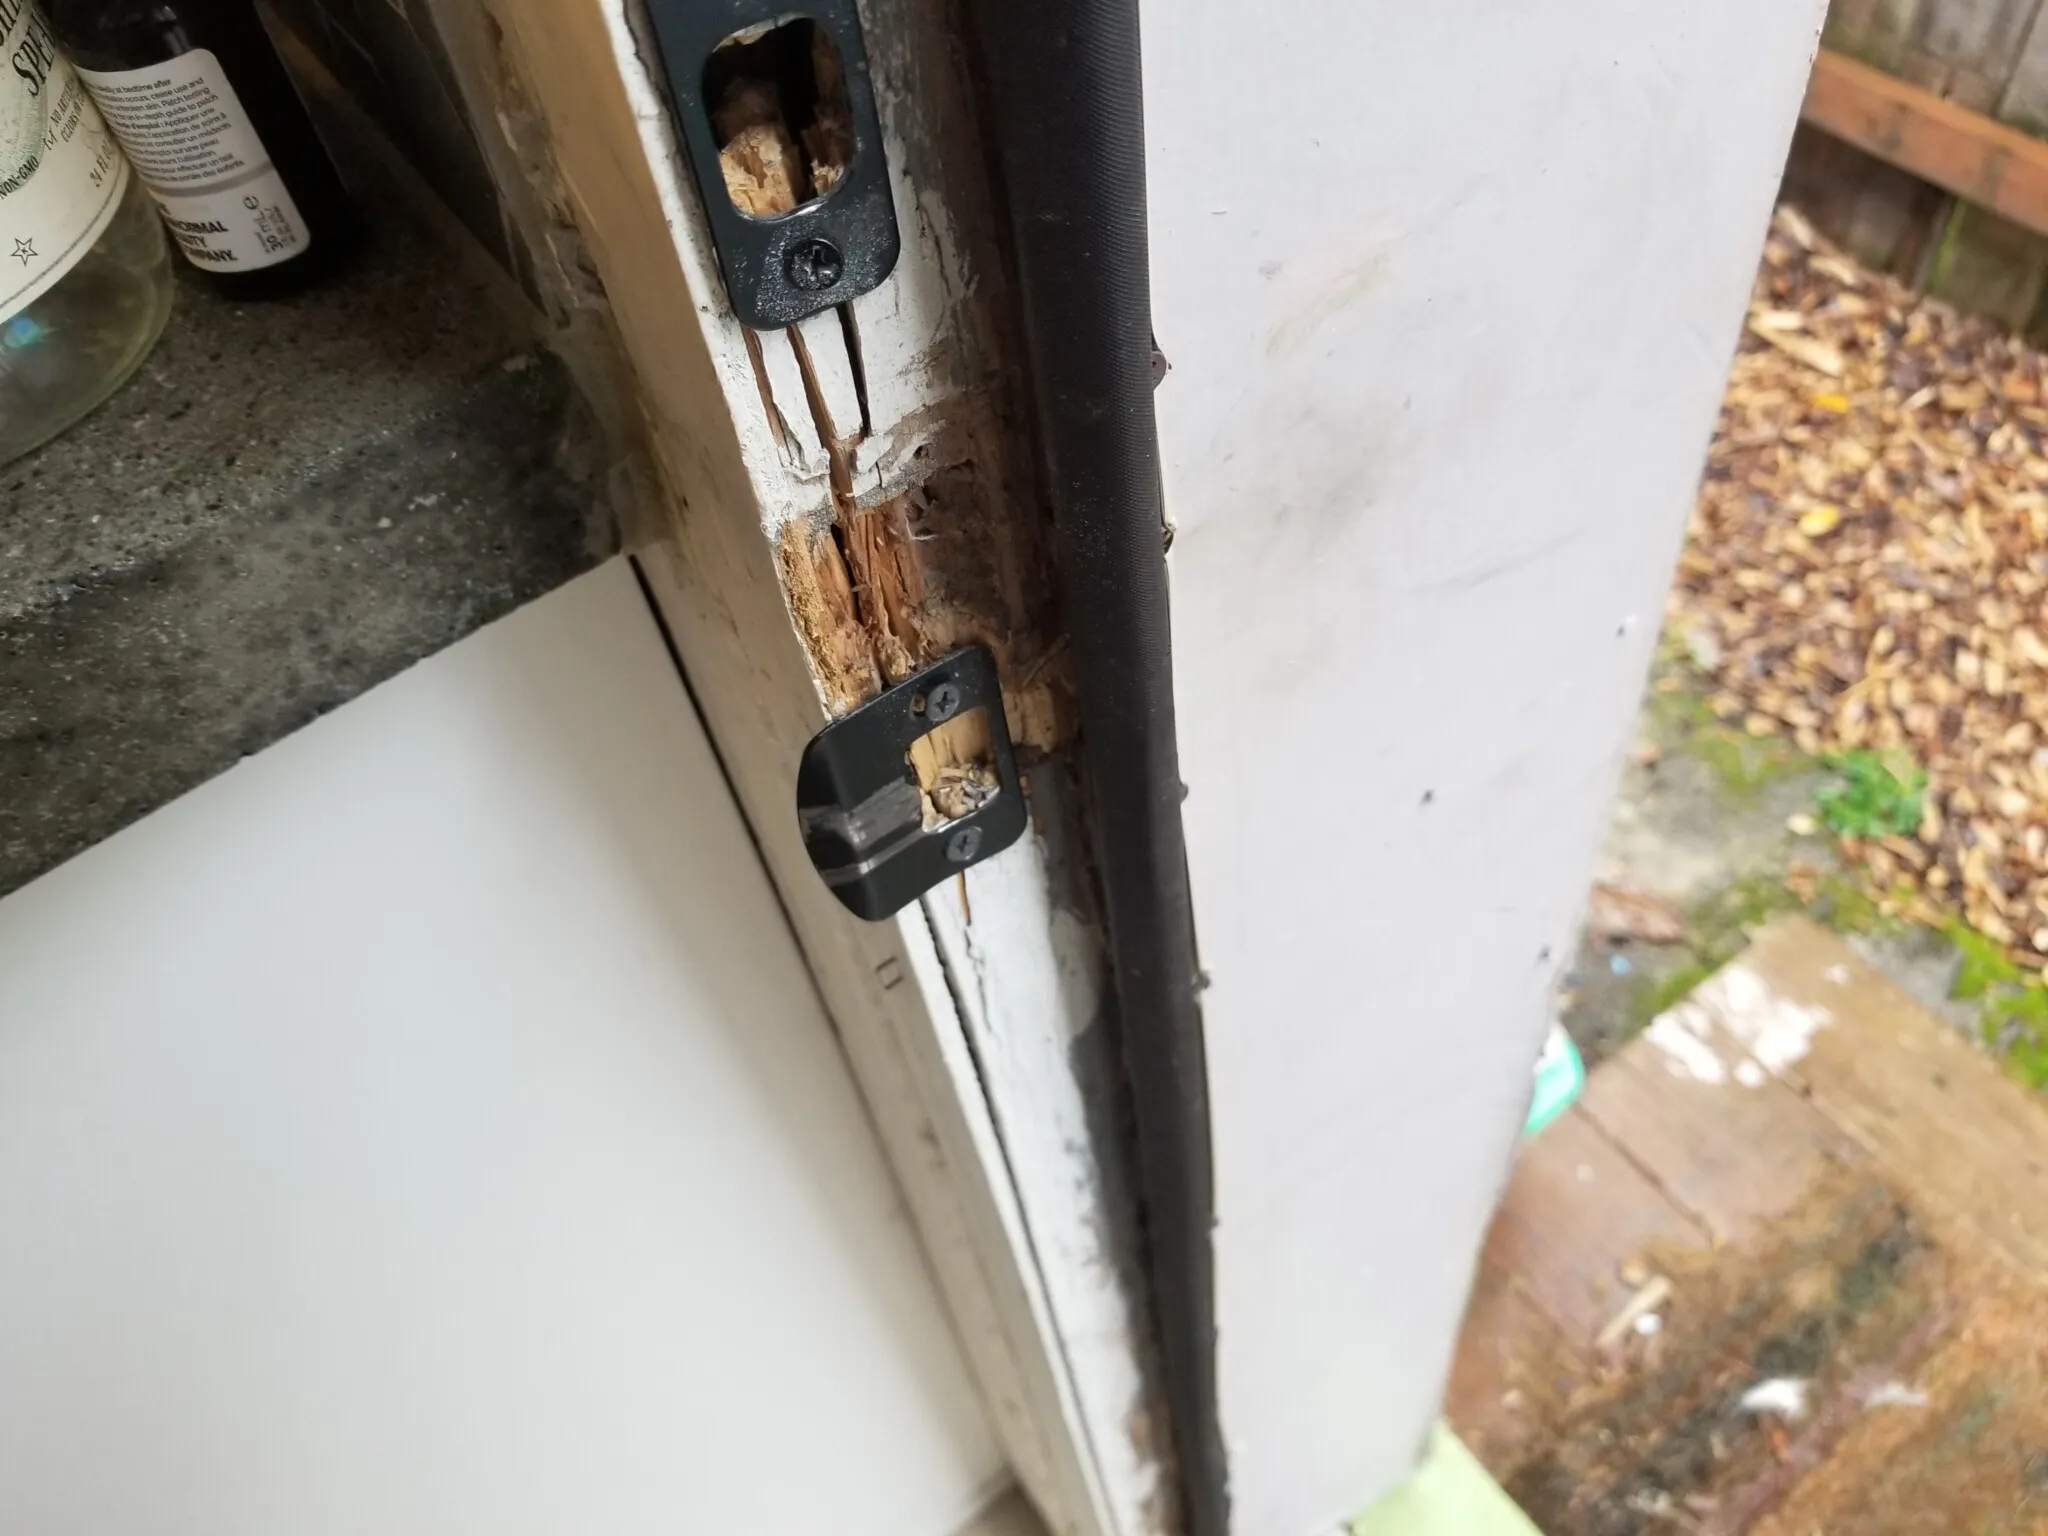
- An exterior door has significant rot around the hinges or strike area.
- You cannot get consistent latching even after hinge reinforcement and strike adjustment.
In those cases, a carpenter can evaluate whether the jamb needs repair, the door is warped, or the opening needs to be re-set.
My go-to order of operations (shortest path)
- Tighten hinges and fix stripped holes.
- Add one long screw to the top hinge on the frame side.
- Check lockset and latch action (snug hardware, then clean and dry lube if sticky).
- Adjust strike plate last, because hinge fixes often solve it.
Take it one step at a time. The temptation is to start filing the strike plate right away, and I’ve done that too. Then you tighten a hinge afterward and realize you just made an unnecessary mess. Let the door tell you what it needs, and you’ll have it clicking shut again without drama.