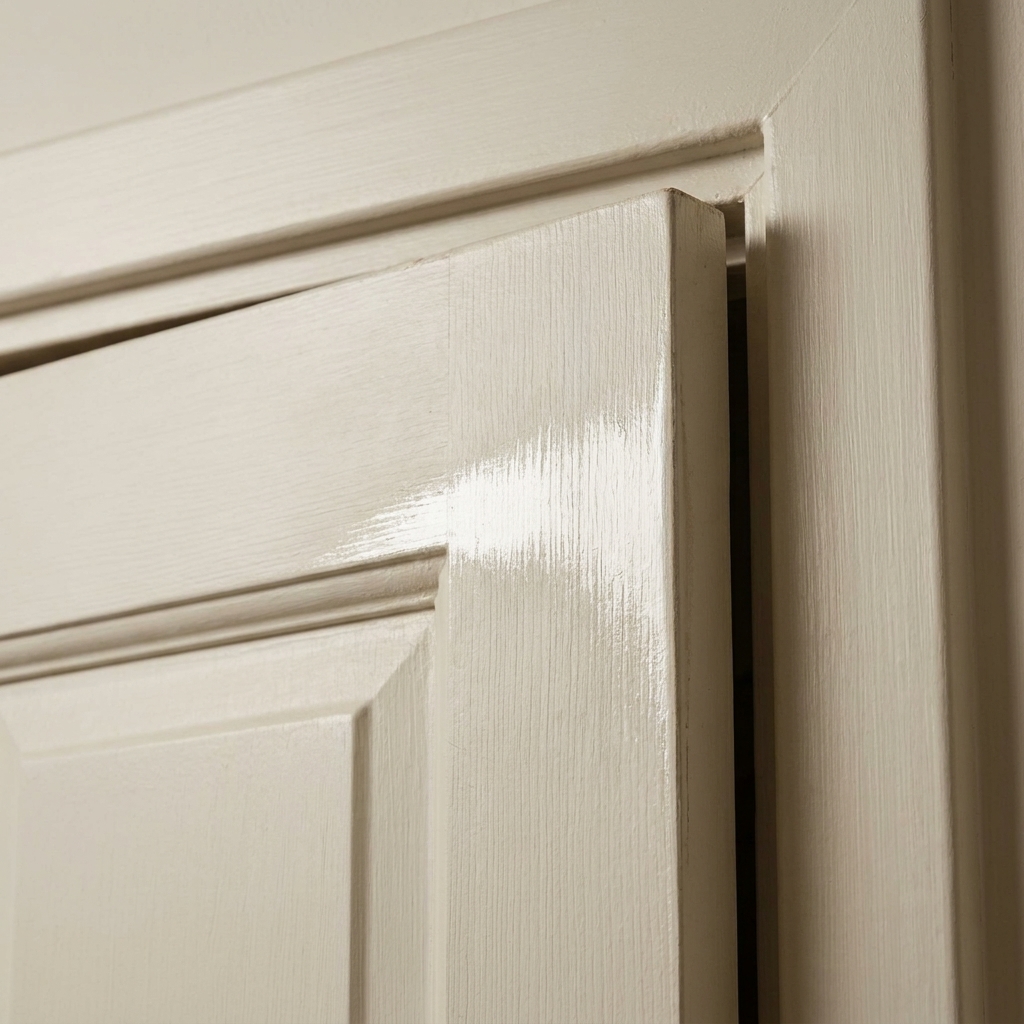
A door that rubs or sticks is one of those “tiny” problems that can make you grumpy twice a day. The good news is you rarely need a new door. Most sticking doors are caused by loose hinges, seasonal swelling, paint buildup, or the latch side being slightly out of alignment.
This guide walks you through a methodical process I used as a contractor and still use at home: find the exact contact point first, then pick the least invasive fix that actually holds up.
Before you start: quick safety and setup
- Watch your fingers. A door that suddenly shifts after a hinge screw is tightened can pinch.
- Lead paint check. If your home was built before 1978 and you are sanding painted surfaces, test for lead or follow lead-safe practices (HEPA vac, wet sanding, containment).
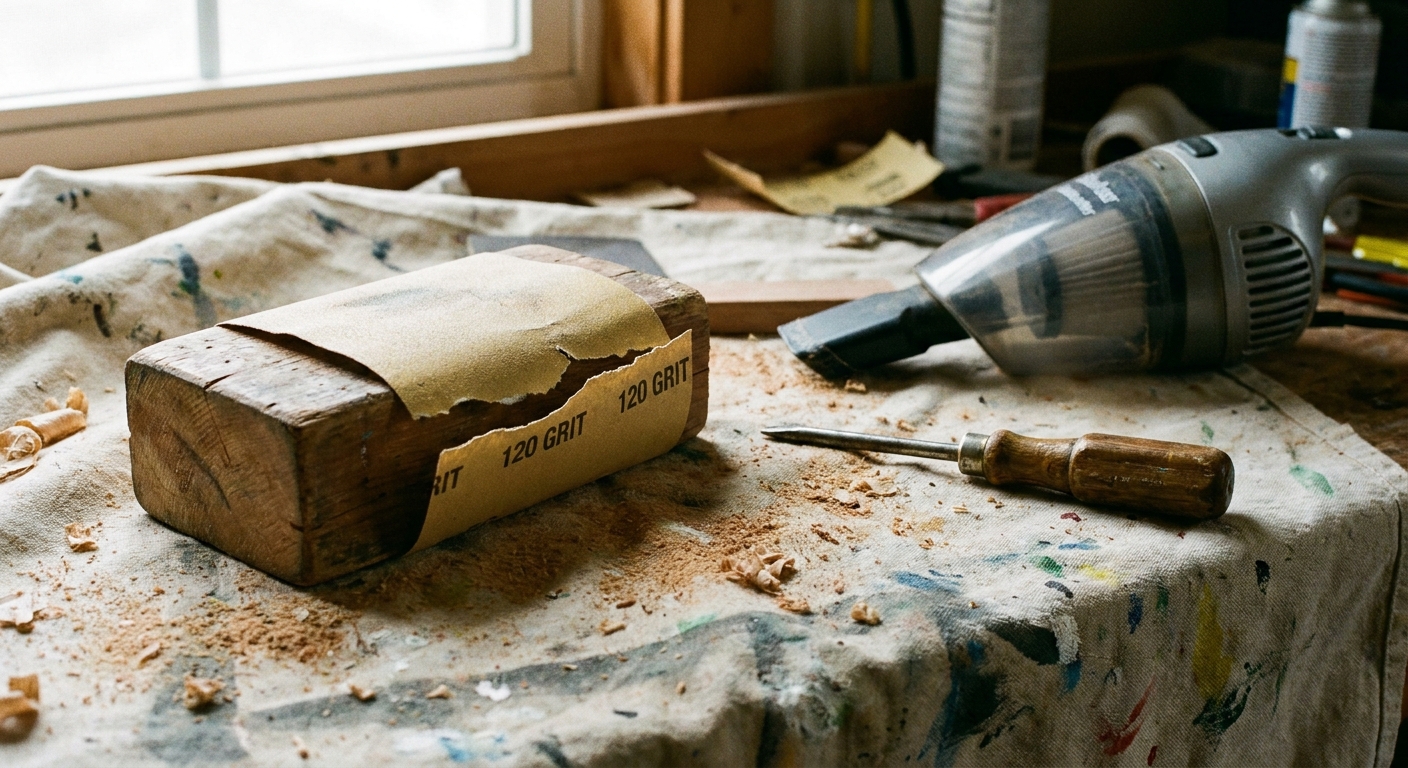
- Control the mess. Put down a drop cloth and keep a vacuum nearby. Wood and paint dust travels.
Tools and materials (pick what matches your fix)
- #2 Phillips screwdriver or impact driver
- Utility knife or paint scraper (for paint buildup)
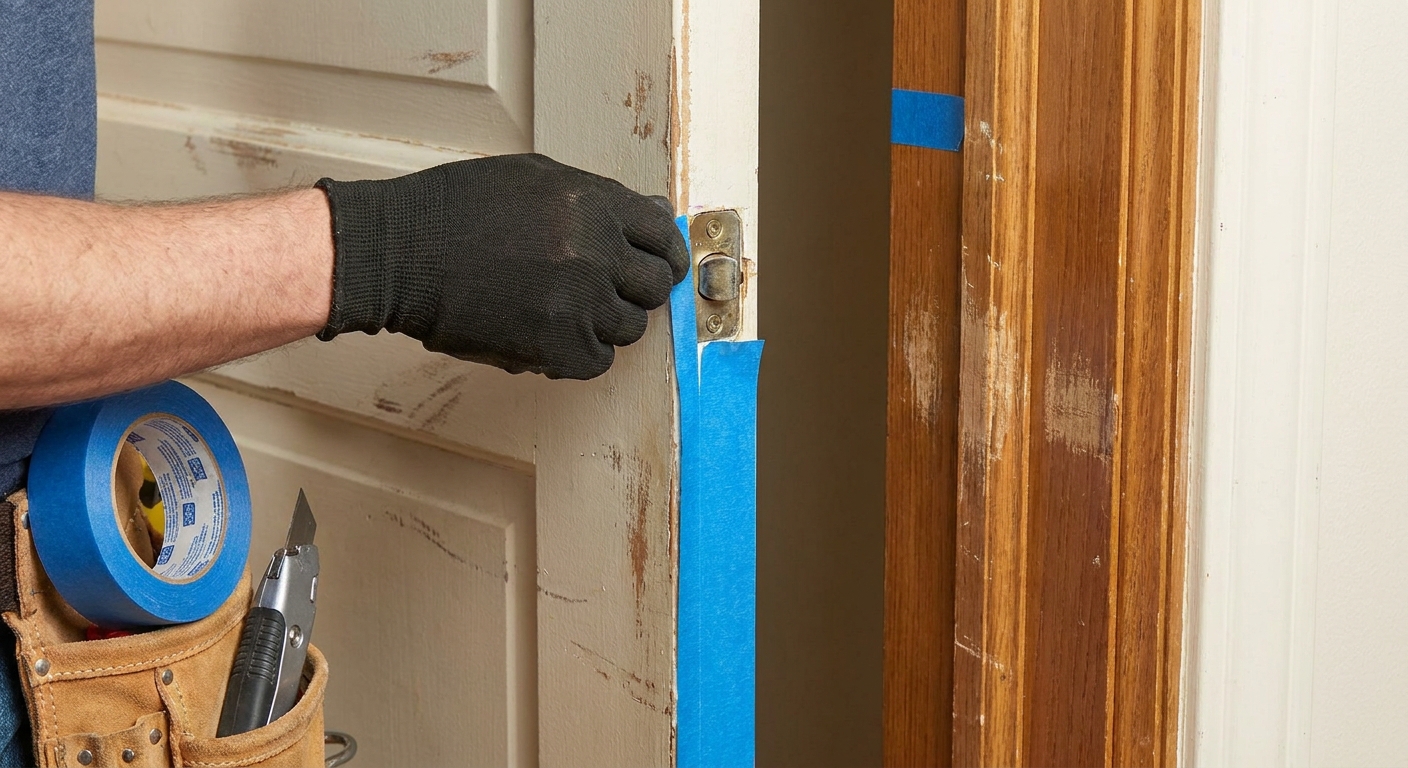
- Pencil, painter’s tape, or lipstick/chalk (for marking rub spots)
- Wood shims or a door wedge
- 80 to 120 grit sandpaper and a sanding block
- Hand plane (optional but great for bigger rubs)
- 3 inch wood screws (for hinge reinforcement)
- Hammer and small block of wood (for micro hinge tweaks only, see note below)
- Drill and bits, wood filler, touch-up paint or sealer
Step 1: Find where the door is binding
Don’t guess. If you remove material in the wrong spot, you can turn a small rub into a big gap.
Check the reveal
The “reveal” is the gap around the door. Ideally it is fairly even, often around 1/8 inch on the sides and top for many interior doors (old houses and some newer prehung units vary). Close the door slowly and watch where the gap tightens up.
Use a simple marker trick
- Painter’s tape: Put tape on the edge you suspect is rubbing. Close and open the door. The tape will wrinkle or tear where it contacts.
- Pencil shading: Scribble a wide pencil line along the door edge. Operate the door a few times. The rubbed area will get polished off.
- Lipstick/chalk transfer: Put a tiny amount on the stop molding (the part the door closes against). Close the door. The transfer shows contact points.
Step 2: Fix the easy stuff first (hinges and screws)
If I had to bet on one cause, it is loose hinge screws. A door is basically a heavy lever. When the hinge side loosens even a little, the latch side sags and starts rubbing.
Tighten all hinge screws
Open the door halfway, wedge it underneath so it can’t move, then snug every screw in all hinges. If screws spin without tightening, move to the next step.
Replace stripped hinge screws with longer screws
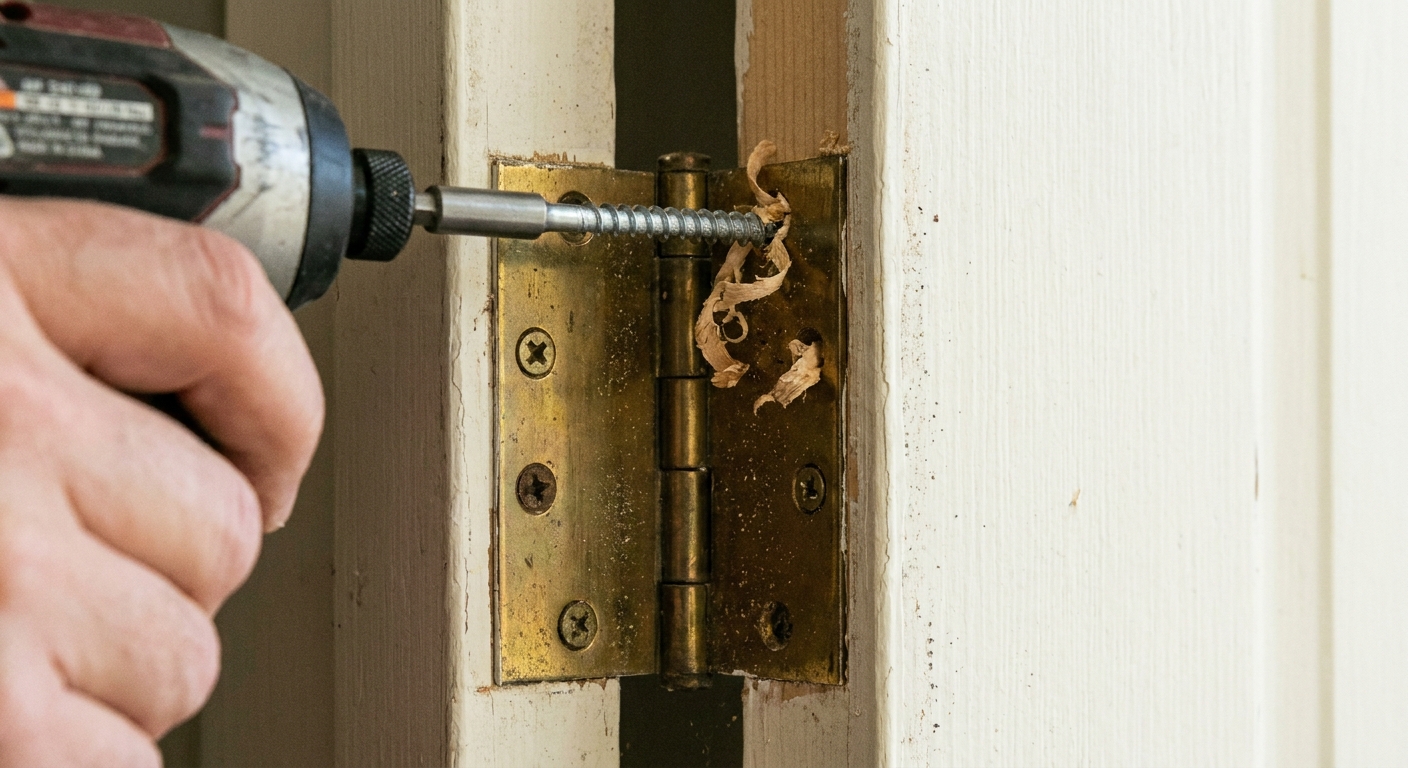
On the top hinge especially, replace one or two screws (on the jamb side) with 3 inch wood screws that bite into solid wood behind the jamb. This pulls the door back into alignment and is often a permanent fix. If you have a steel frame, masonry opening, or you suspect there is not wood framing right behind that hinge, use the longest screws that properly grab, or step back and reassess before you force it.
- Back out one existing hinge screw.
- Drive a 3 inch screw through the hinge hole into the framing.
- Re-check the door swing and reveal.
Tip: If the hinge leaf is painted in place and feels “glued,” score the paint line with a utility knife before you move anything. It helps prevent peeling.
Step 3: Match the rub to the fix
If the door rubs at the top on the latch side
This is the classic “door sag” symptom. Try:
- Long screws in the top hinge (most effective).
- Tighten the hinge screws on the door side too.
- Hinge shim (sometimes): If the hinge side gap is tight and the latch side gap is wide, a thin shim behind the bottom hinge (usually on the jamb side) can kick the bottom out and bring the top latch corner in. Use thin cardboard or purpose-made hinge shims, and change only one thing at a time.
If the door rubs at the bottom on the latch side
This can be a hinge issue, but it is also common when the door has swollen or the jamb has shifted.
- First do the hinge screw fix above.
- If rubbing continues, you may need light sanding or planing on the rubbing edge (see Step 5).
If the door sticks evenly along the latch edge in humid months
That’s seasonal swelling. The best fix is removing a tiny amount of material and then sealing the bare wood so it does not keep drinking humidity like a sponge.
Also worth checking: If the swelling is dramatic, look for the moisture source. A bathroom without a working exhaust fan, a damp basement, or a house that needs a dehumidifier can turn “a little sticky” into “every door sticks.”
If the latch hits the strike plate (or won’t latch unless you lift the door)
This is a hardware alignment issue. Do Step 4 next.
If the hinge leaf sits proud (or buried too deep)
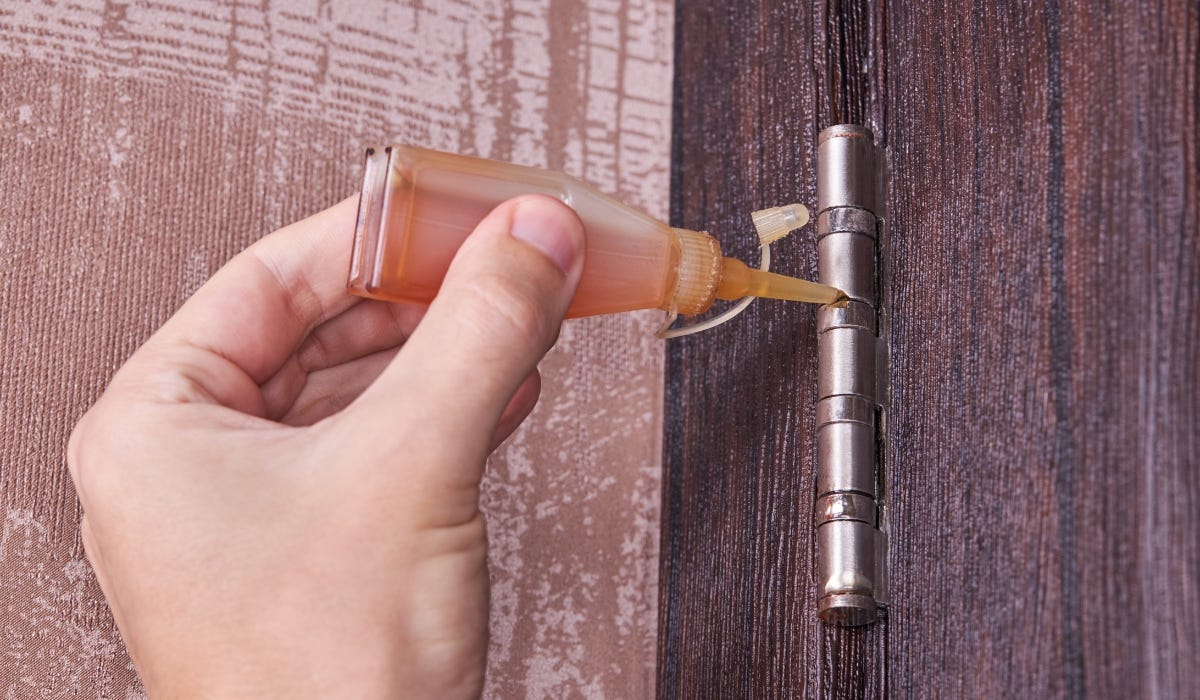
If you can see the hinge leaf sticking out from the edge of the door or jamb, the door can bind near the hinges. Paint in the mortise can do it too.
- Scrape paint out of the hinge mortise and off the hinge leaf.
- Snug the hinge screws and make sure the leaf is seated flat.
- If the leaf is still proud, a thin shim behind the hinge leaf can help, or the mortise may need to be corrected.
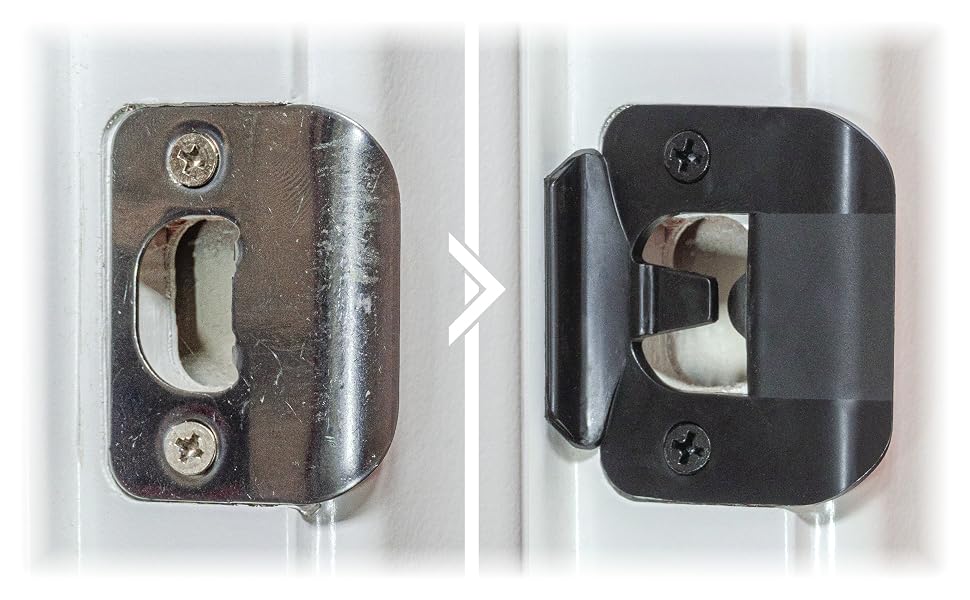
Step 4: Adjust the strike plate and latch
If the door closes smoothly until the last inch, then sticks or bounces back, the latch is likely hitting the strike plate opening.
Confirm the contact point
Color the latch bolt with a pencil or a tiny dab of lipstick, then close the door. The mark on the strike plate shows where it is hitting.
Tighten, then adjust in the right direction
- Tighten the strike plate screws first. Loose plates drift.
- If the latch hits high or low, remove the strike plate and slightly enlarge the opening in the direction you need using a file or chisel.
- If the latch is hitting because the plate is shifted, move the plate up or down slightly. Fill old screw holes with toothpicks and wood glue if they are wallowed out, then re-screw.
- If the latch is rubbing because the plate sits too far in or out, the clean fix is to adjust how the plate sits in its mortise. Sometimes that means cleaning out paint, sometimes it means a little chiseling so the plate sits flush.
Don’t skip this: If the latch is fighting the strike plate, people start slamming the door. Slamming creates bigger alignment issues over time.
Step 5: Sand or plane the rubbing spot
If hinge and strike adjustments did not solve it, it is time to remove a little material from the door edge. The key phrase is a little. You can always take more off. Putting wood back on is… character-building.
Remove the door (recommended for planing or bigger rubs)
- Open the door and support it with a wedge.
- Look at your hinges first. Most interior hinges have removable pins, but some have set screws or non-removable pins.
- If the pins are removable, tap the hinge pins out. Many come out easiest bottom to top, but use whatever direction the hinge design allows.
- Lift the door off and set it on padded sawhorses.
Sand for minor rubbing
- Start with 80 grit if the rub is obvious, or 120 grit if you are just easing a tight spot.
- Sand only the marked area, feathering out a few inches so you do not create a flat spot.
- Test frequently. If you removed the door, you can do a quick check by setting it back on the bottom hinge pin first, or have a helper hold it while you check clearance, instead of fully re-hanging it every time.
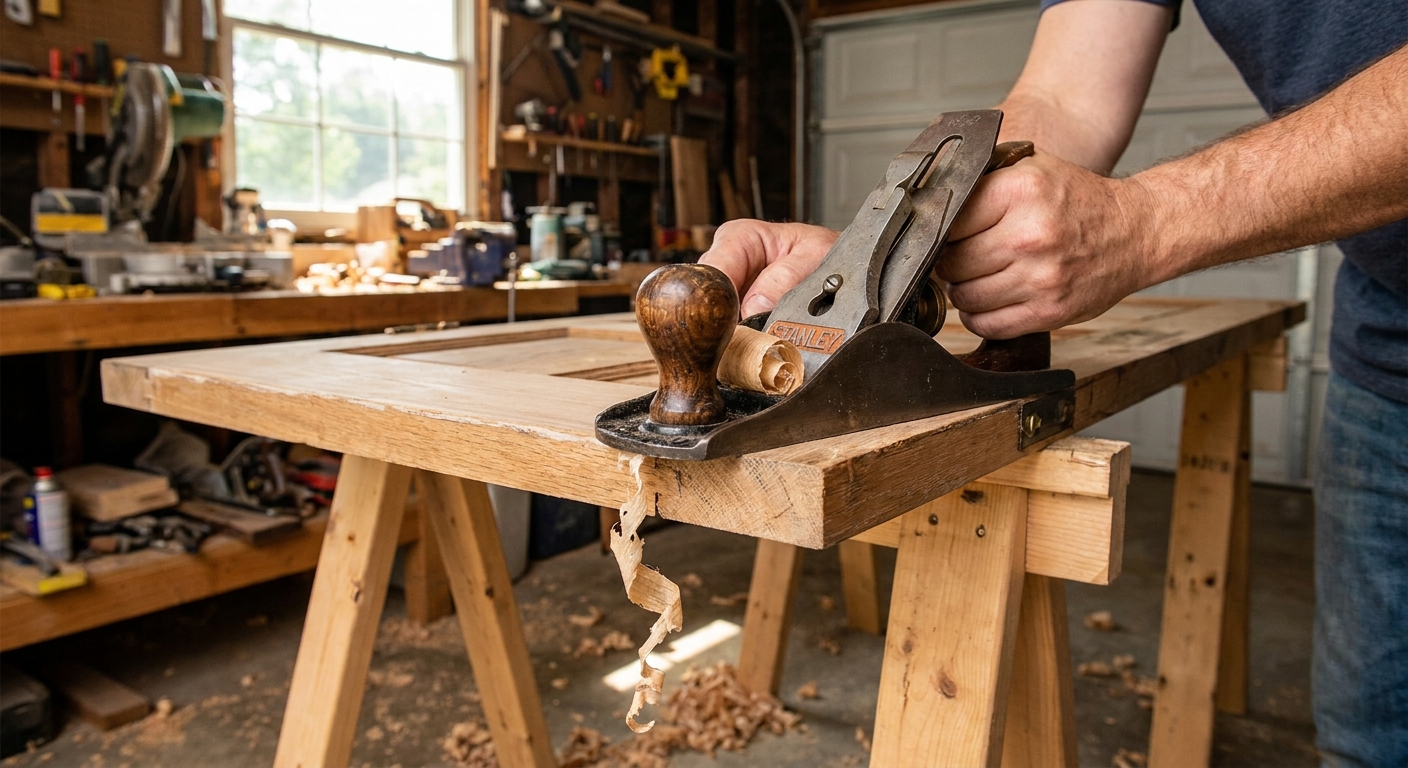
Plane for bigger rubbing or swollen doors
A sharp hand plane makes clean work and is faster than sanding a lot. Take thin shavings, keep the tool flat, and work with the grain when you can. If the grain fights you, take lighter passes or switch directions.
Seal the fresh edge
This is what makes the fix last, especially in humid climates.
- Vacuum dust.
- Apply primer and paint, or a clear sealer, to the bare wood.
- Let it dry fully before closing the door for long periods (paint can stick).
Step 6: Fix paint buildup on the stop
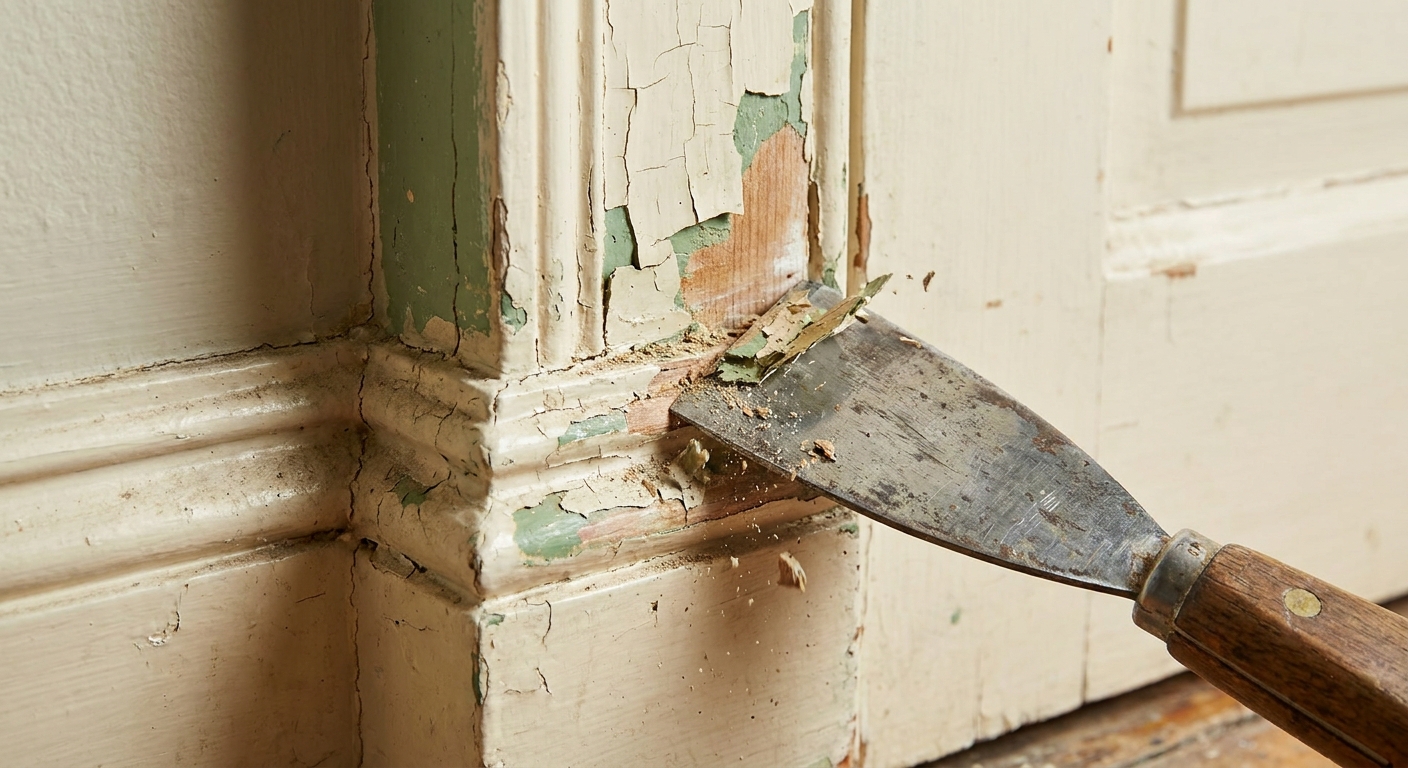
Sometimes the door is fine and the frame is the culprit. Repeated paint jobs can build up on the stop molding until the door has to squeeze past it.
- Open the door.
- Lightly scrape excess paint from the stop where it looks lumpy or glossy from contact.
- Sand smooth, wipe clean, then touch up paint.
Tell-tale sign: The sticking is worse right after a repaint, or you see thick paint ridges and “bridges” at corners.
Troubleshooting: what the rub pattern means
| What you notice | Likely cause | Best first fix |
|---|---|---|
| Top latch corner rubs, latch doesn’t line up | Door sag from loose hinges | 3 inch screws in top hinge |
| Door closes, then sticks in last inch | Latch hitting strike plate | Adjust strike plate opening or position |
| Door sticks in summer, fine in winter | Seasonal swelling | Sand or plane lightly, then seal edge |
| Rubs near hinges | Hinge leaf proud, loose screws, or paint buildup | Tighten screws, clean paint, correct hinge seating |
| Sticks at bottom, door drags on flooring | Settling, thicker flooring, or door too long | Check hinge sag first, then trim or plane bottom if needed |
When to stop DIY and call a pro
I’m all for DIY, but a sticking door can sometimes be a symptom of a bigger issue.
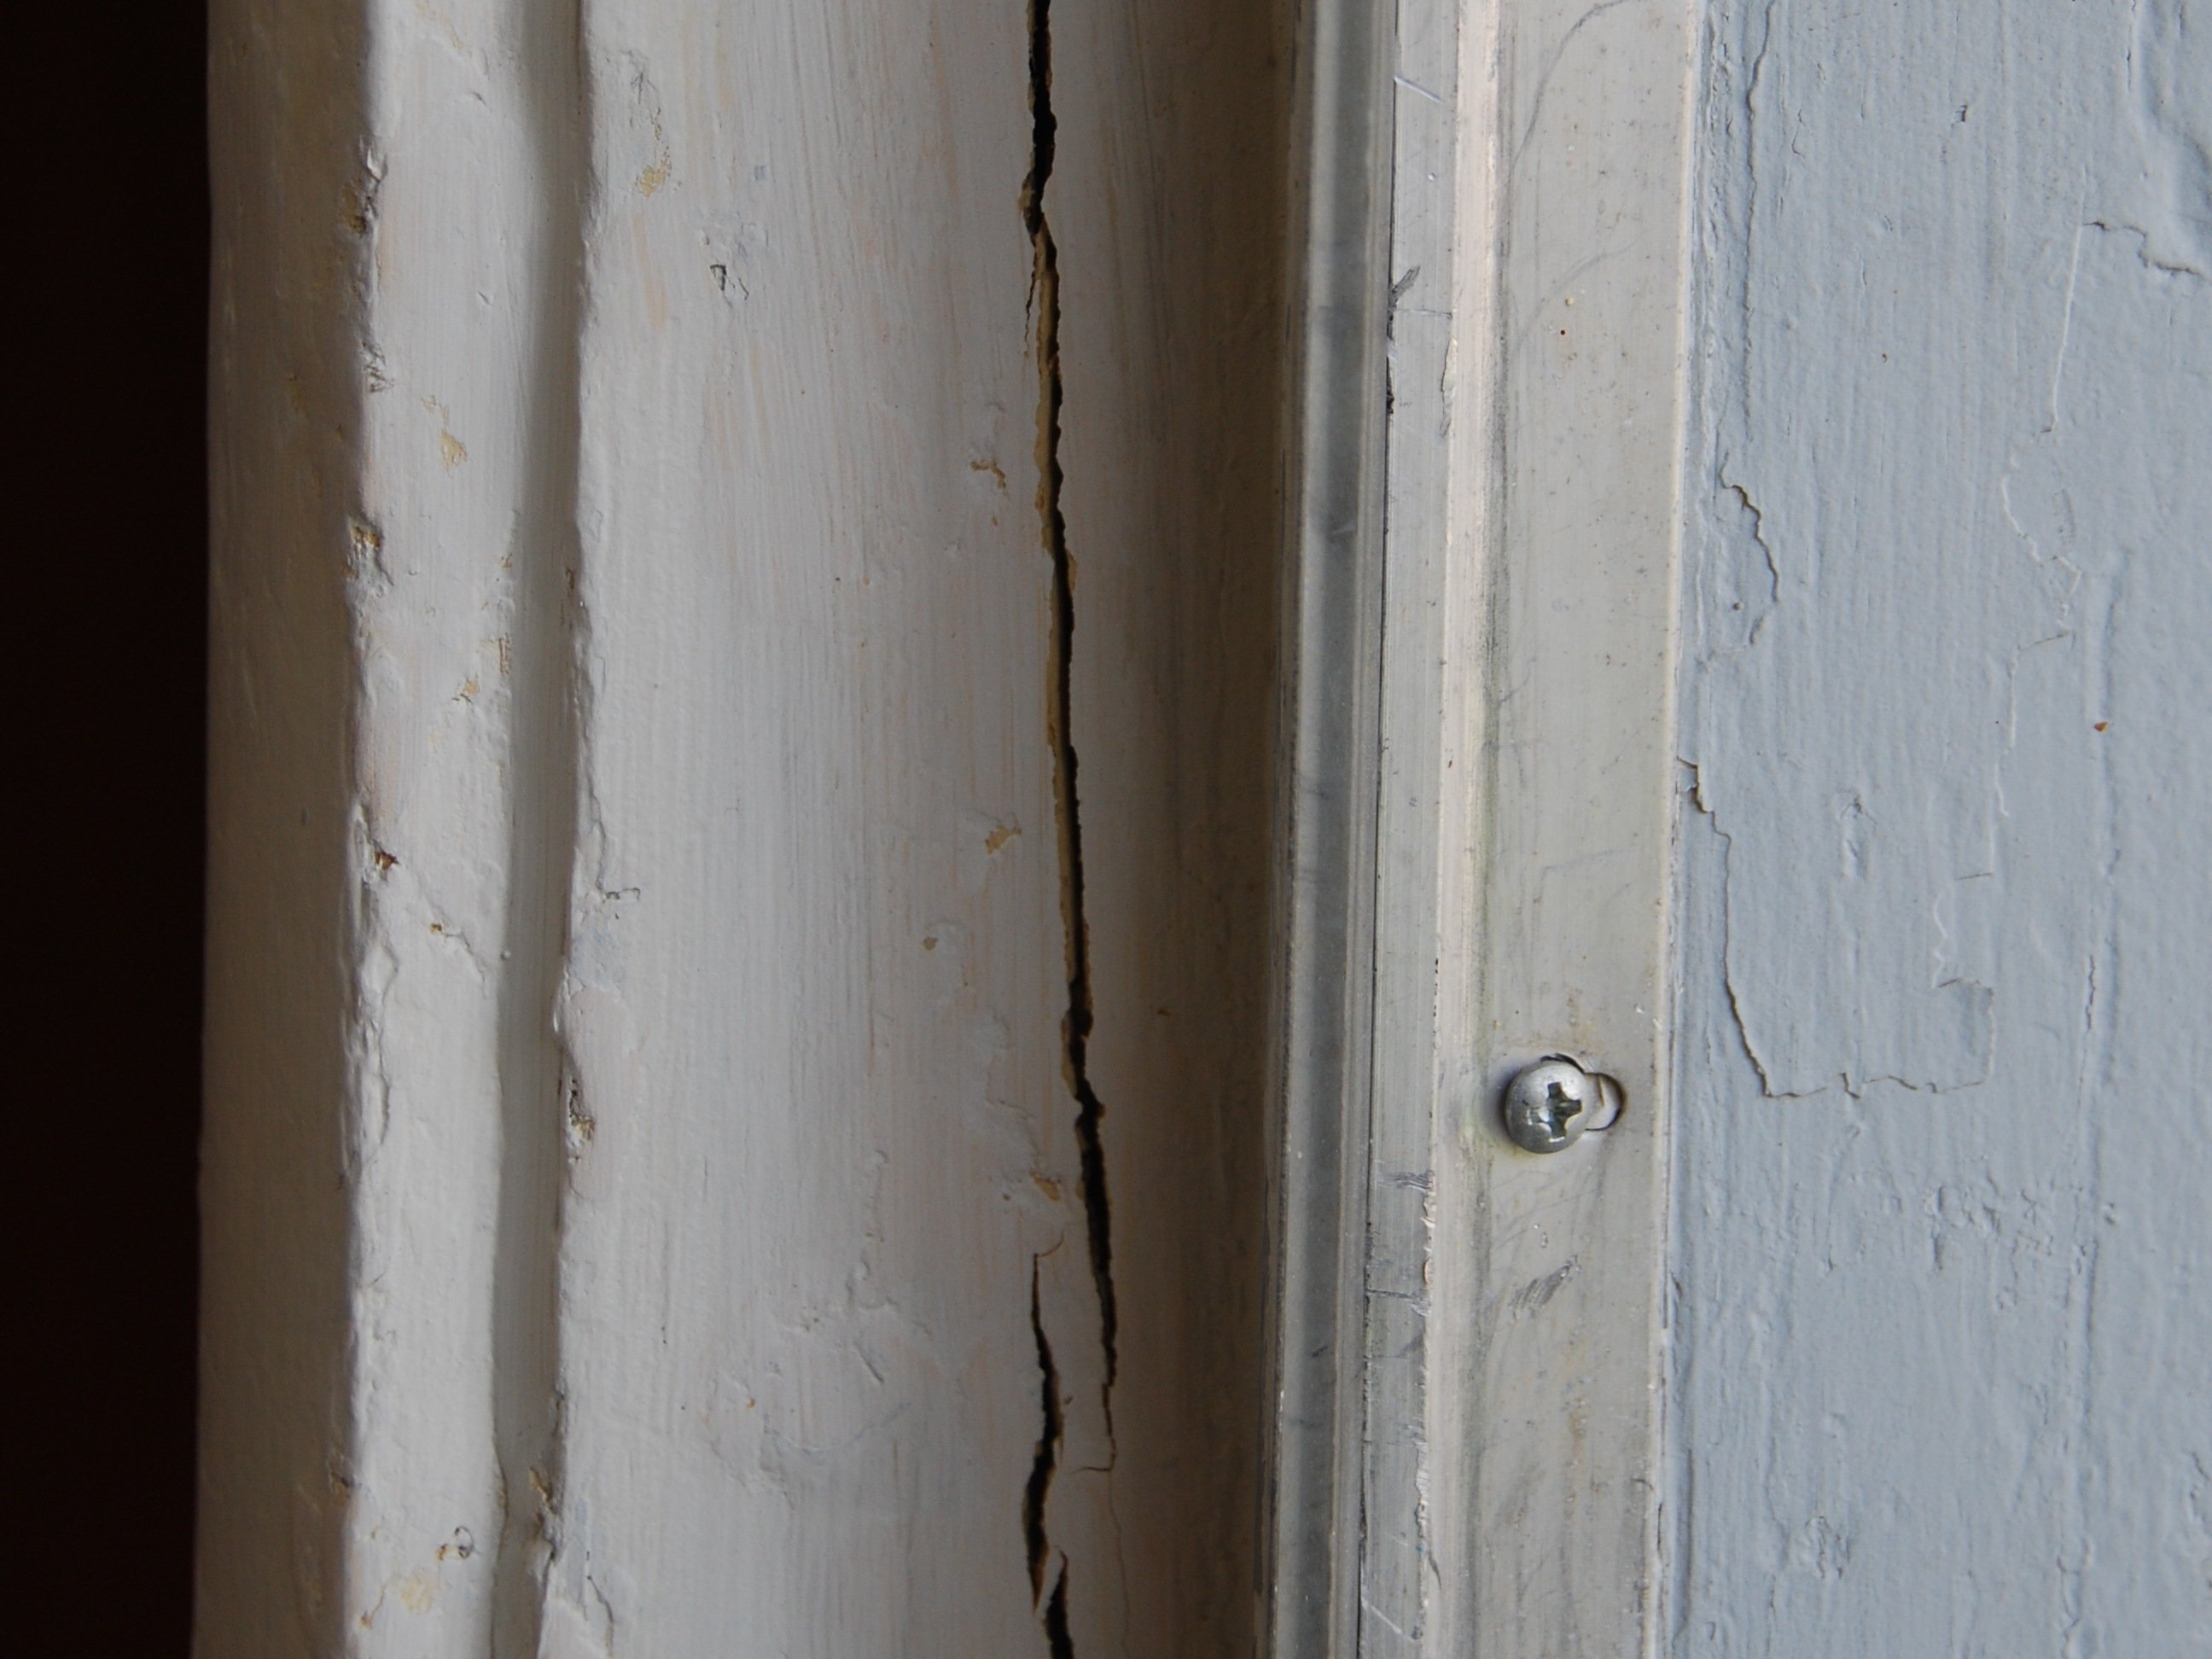
- Sudden new sticking plus cracks in drywall around doors or windows: possible settling or structural movement.
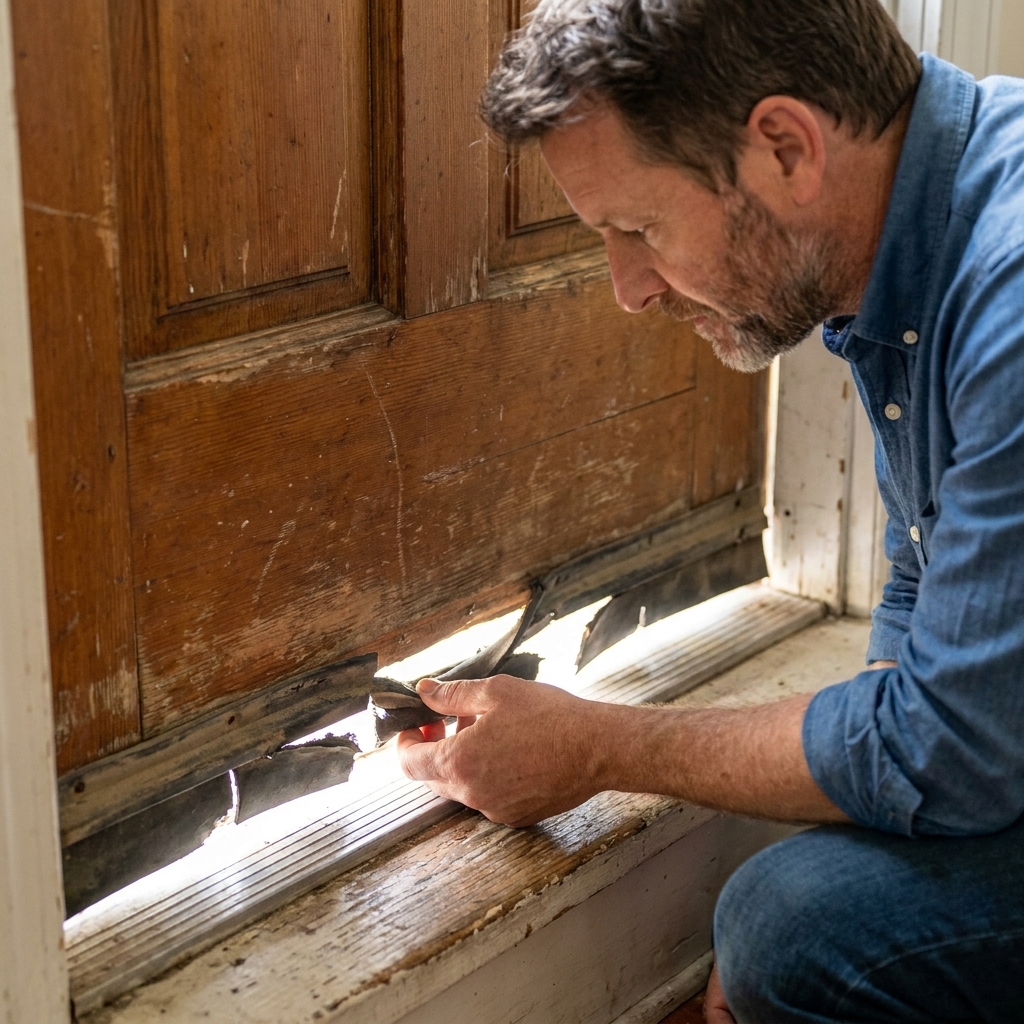
- Exterior doors with daylight gaps or water intrusion: you may be dealing with a warped slab, failed weatherstripping, or a frame issue.
- Fire-rated doors in some multi-family buildings: modifications can violate rating requirements. Check before planing or trimming.
FAQ
Should I sand the door or the frame?
Usually the door edge. It is easier to control, and you can seal it properly. The exception is paint buildup on the stop molding, which is a frame fix.
How much should I sand off?
As little as possible. Often it is less than 1/32 inch. Sand, test, repeat. The goal is an even reveal, not a big gap.
Can I fix a sticking door without taking it off?
Yes for hinge tightening and strike adjustments. For sanding, you can sometimes sand in place with the door open, but removing the door is safer and gives cleaner results.
Why does my door stick only when it rains?
Humidity makes wood swell. If the edge was never sealed well, it absorbs moisture faster. Sand or plane slightly, then seal the raw edge with primer and paint or a clear sealer. If it is happening all over the house, reducing indoor humidity can be part of the real fix.
What if the hinges are tight but the door still sags?
Try longer screws into solid framing. If that does not change anything, check for a cracked hinge, a hinge mortise that is chewed up or packed with paint, or a door slab that has warped.
Should I bend a hinge to fix alignment?
It can work as a last-resort micro-adjustment, but it is easy to chip paint, loosen a mortise, or tweak the hinge in a way that looks worse than the original problem. I try screws, shims, and mortise cleanup first. If you do bend a hinge, go slow, protect the paint, and make tiny changes.
My quick “do this first” checklist
- Mark the rub spot with tape or pencil.
- Tighten all hinge screws.
- Replace one top hinge jamb screw with a 3 inch screw (if it can bite into solid wood).
- If the latch is the issue, adjust the strike plate.
- If it still rubs, sand or plane the marked spot and seal the edge.
If you work in that order, you’ll fix most sticking doors in under an hour and you won’t accidentally create new problems chasing the wrong cause.