If you can feel cold air sneaking in around your windows, you are not just uncomfortable. You are paying to heat the great outdoors. The good news is weatherstripping is one of the cheapest, low-stress home fixes you can do before winter, and it pays you back every time the furnace kicks on.
I grew up holding a flashlight while my dad chased drafts with his hand like he was tracking a mouse in the wall. As a contractor, I learned the same lesson over and over: in a lot of homes, the “drafty window” problem is a handful of simple leaks, not the entire window being “bad.” Seal the right spots, and the room gets noticeably calmer and warmer.

Find the draft first
Weatherstripping works best when you match the material to the gap. So before you buy anything, figure out where the air is coming in and how big the opening really is.
Fast draft checks
- Hand test: On a windy day, run the back of your hand slowly around the window edges. Your skin is a great sensor.
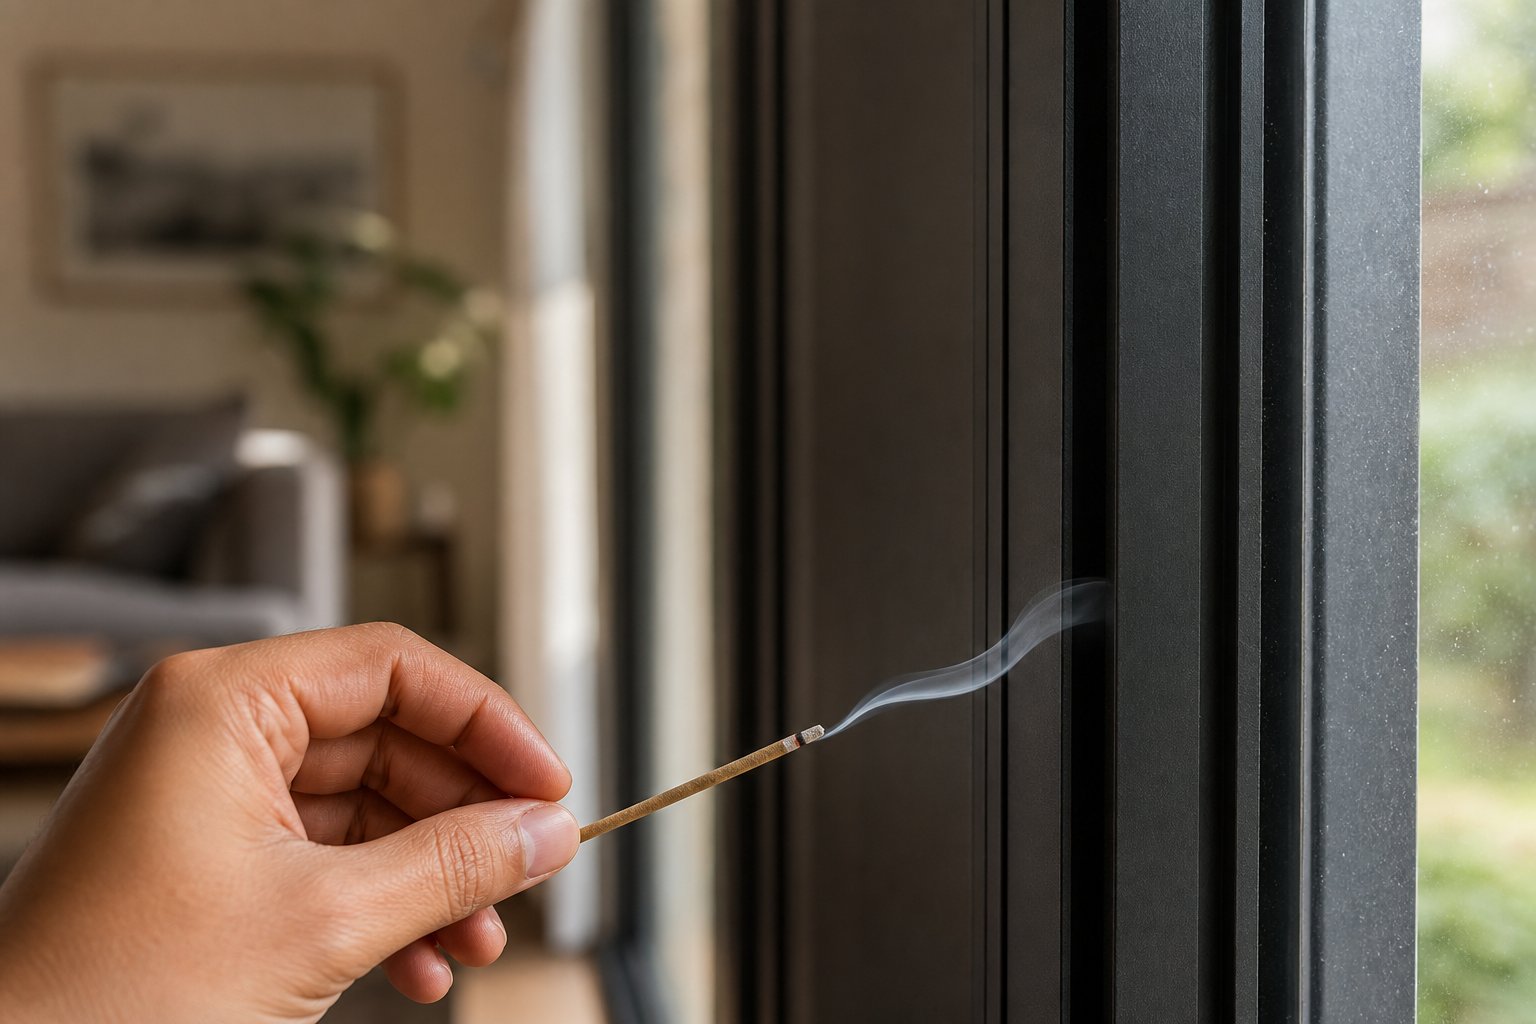
- Incense or smoke test: Hold an incense stick near the trim, sash, and the seam where the sashes meet. If the smoke bends or gets pulled toward the window, you found a leak.
- Flashlight test (at night): Have a helper shine a flashlight from outside around the window perimeter while you look from inside. Light leaks can indicate gaps, but not every light leak is an air leak (and vice versa).
- Dollar bill test (for operable sashes): Close and lock the window on a dollar bill. If it slides out easily, the sash is not compressing against the seal.
How to size the gap
You do not need fancy gauges. You just need a repeatable way to estimate thickness.
- Index card method: Close the window on one index card, then two, then three. Count how many cards it takes before you feel real drag when you pull them out. That stack is your rough gap size.
- Coin check: A dime is about 1/16 inch thick. A nickel is about 1/13 inch. If a coin fits in the gap anywhere, you are dealing with a bigger leak that usually needs a more durable seal than basic felt.
- Visual consistency: If the gap changes a lot from top to bottom, plan on a more forgiving material (like silicone bulb) and fix alignment issues first.
Mark the leak points
Use painter’s tape to mark each draft location. Most leaks show up in a few common places:
- Between the movable sash and the frame
- At the meeting rail (the seam where the upper and lower sashes meet on a double-hung)
- At locks and latches if the window is not pulled tight
- Between the interior trim and the wall (needs caulk, not weatherstripping)
Weatherstripping vs caulk
This is the mistake I see most: people caulk the moving parts of a window. Caulk is for seams that never move. Weatherstripping is for parts that open and close.
- Use weatherstripping anywhere the window needs to move: sash edges, meeting rails, sliding tracks, and where the sash compresses when locked.
- Use caulk for stationary cracks: trim-to-wall gaps, frame-to-trim gaps, and small joints around the window casing.
- Use rope caulk for seasonal sealing of windows you do not open in winter.
Weatherstrip options
There is no “best” weatherstrip for every window. Below is what each type is good at, where it shines, and where it tends to annoy you later.
Quick comparison
| Material | Best for | Pros | Cons | Typical lifespan |
|---|---|---|---|---|
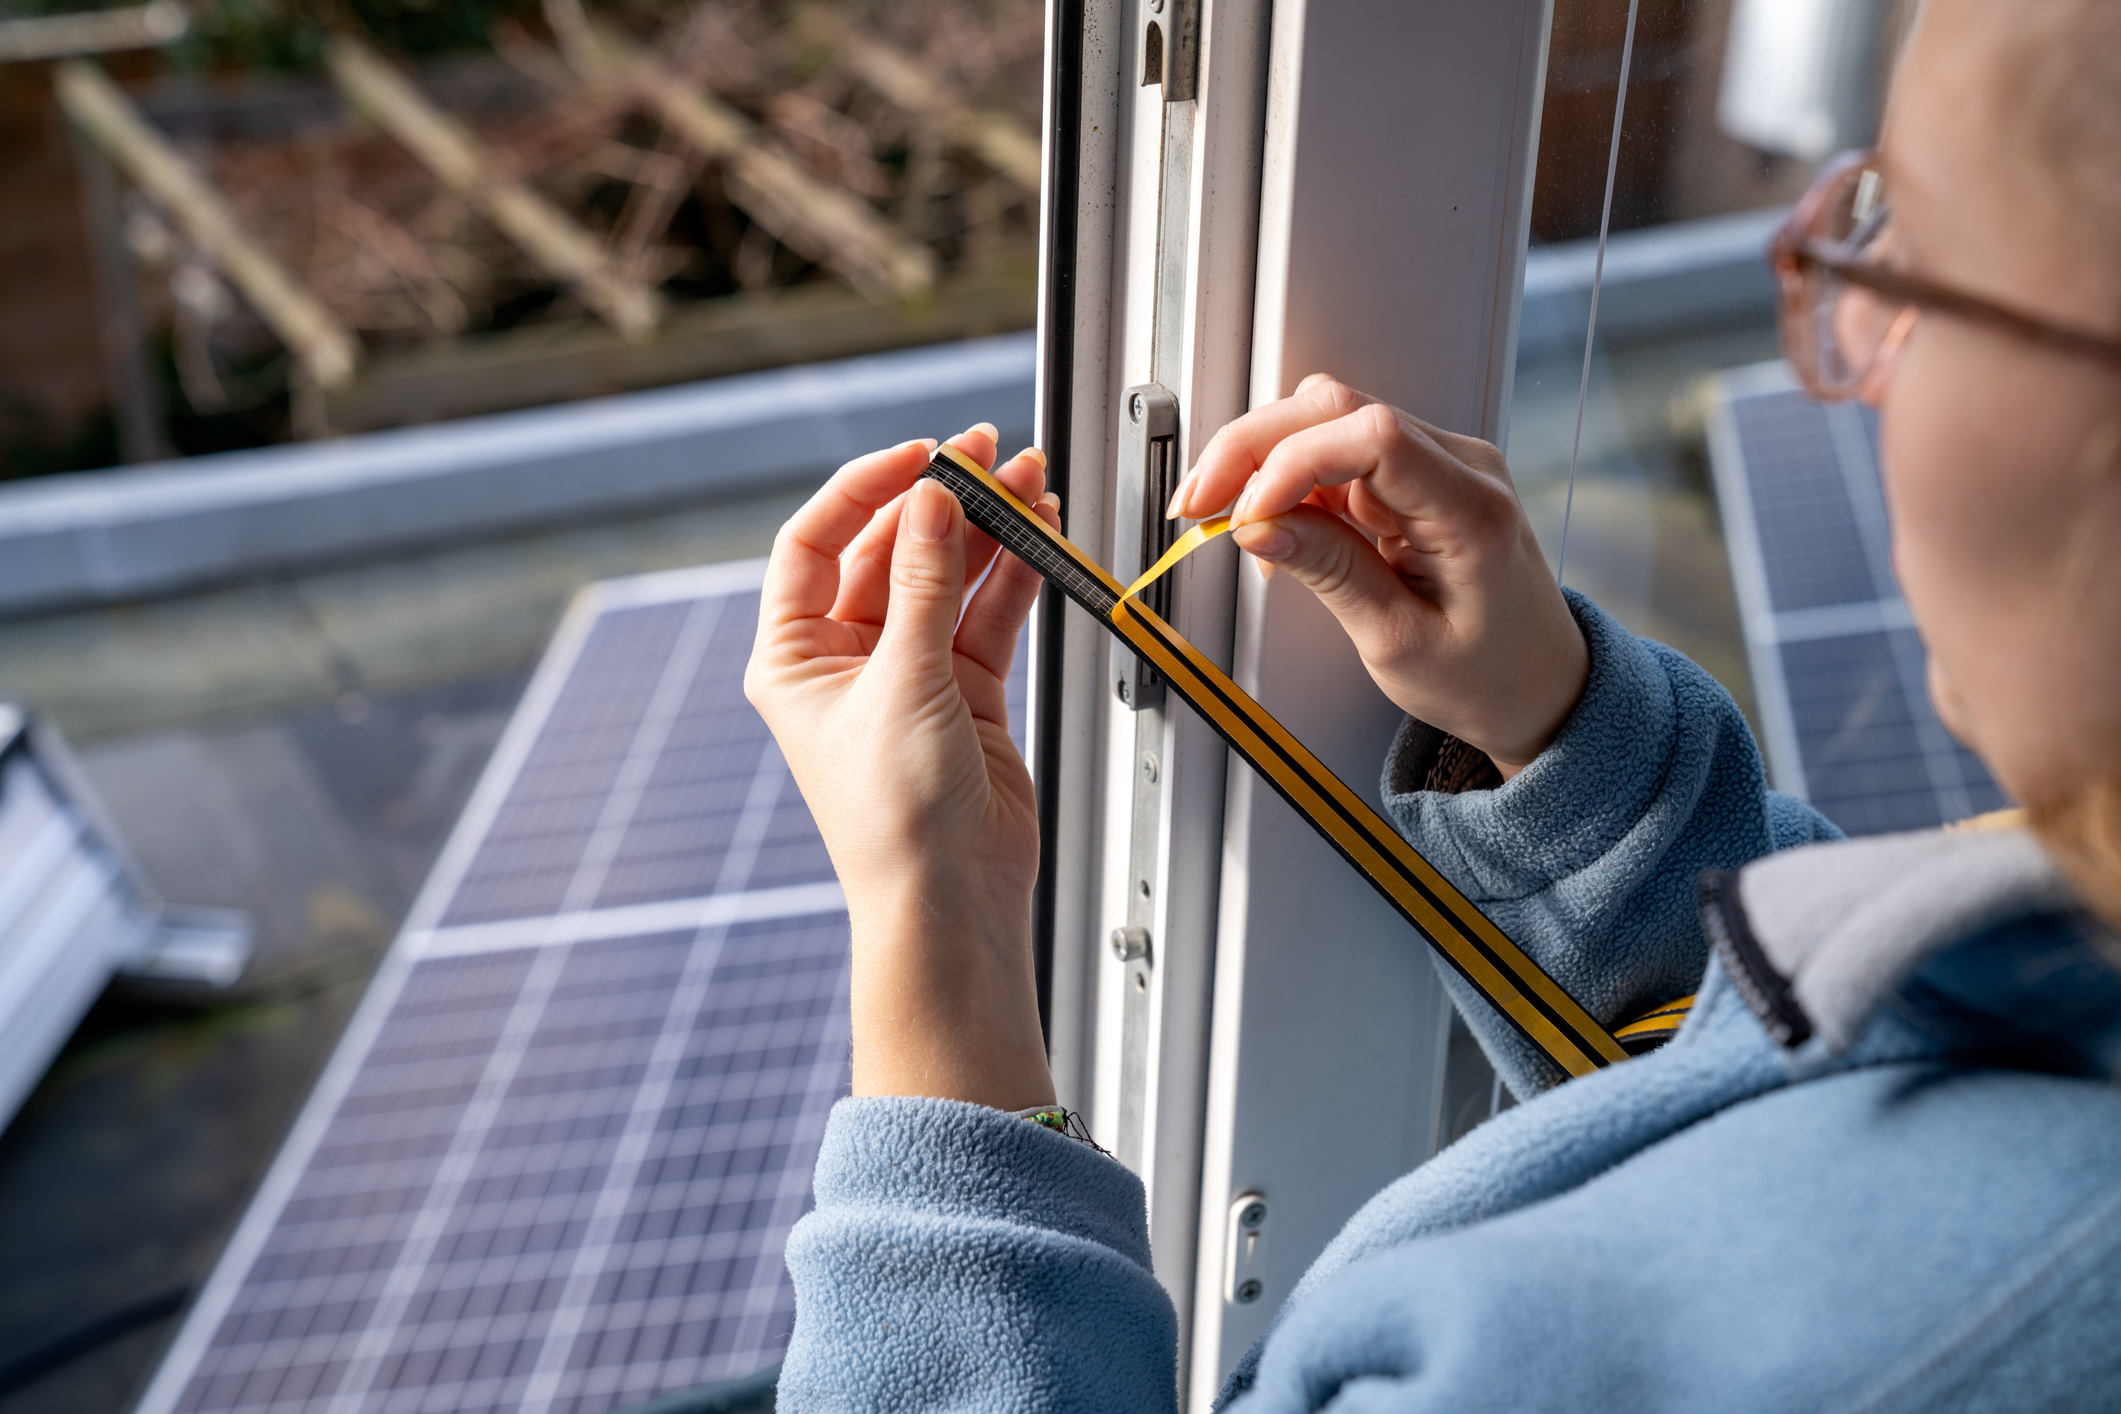
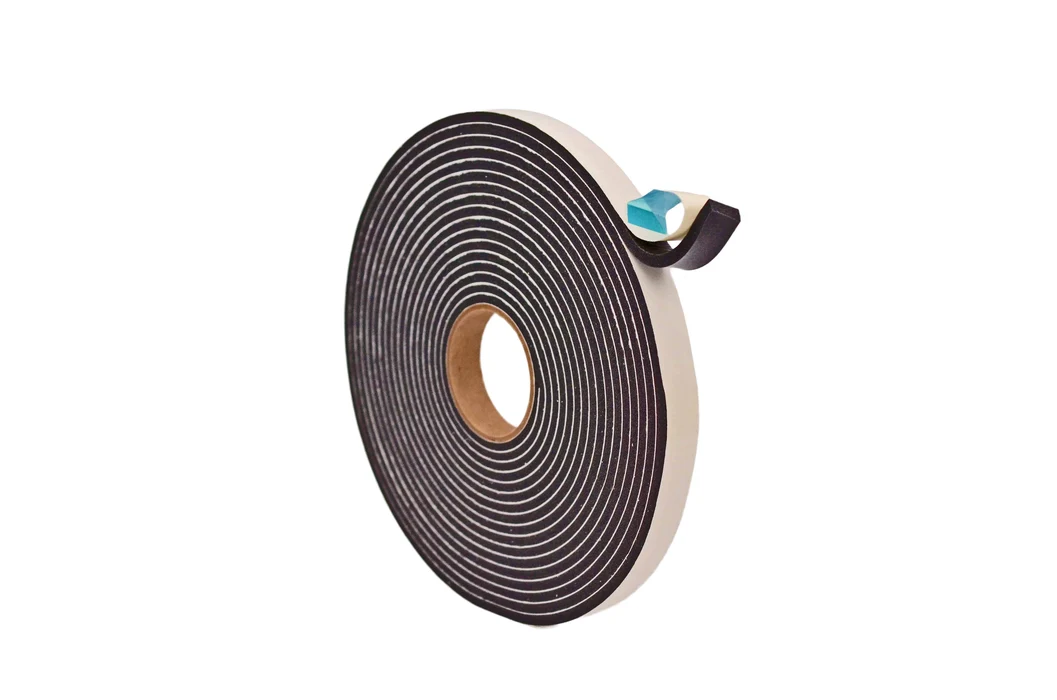
| Foam tape (open/closed cell) | Small to medium gaps on sash stops and jambs | Cheap, easy, great starter option | Can peel, compress permanently, hates dusty/paint-chalky surfaces | Often 1 to 3 years |
| Felt | Light-duty draft reduction | Very inexpensive, quick install | Wears fast, not great for real wind | Often 1 season to 1 year |
| V-strip (tension seal) | Double-hung and sliding windows, along the sides of sashes | Low friction, good seal, long-lasting | Needs clean, straight surfaces and careful placement | Often 3 to 10 years |
| Brush or vinyl fin seal | Sliding windows and some horizontal sliders | Durable, handles movement well | More measuring and fitting, may require screws | Often 5 to 10 years |
| Silicone rubber (bulb or gasket) | Larger irregular gaps where compression is needed | Great cold-weather performance, durable | Costs more, can be tricky to fit neatly | Often 5 to 15 years |
| Rope caulk (removable) | Seasonal sealing on windows you will not open | Fast, forgiving, no tools, peels off later | Not for moving parts, can leave residue | 1 season |
| Spring bronze (interlocking metal) | Older wood double-hungs, restoration work | Very durable, handles repeated use, feels "old-school right" when installed well | Takes patience and careful nailing, not ideal for vinyl windows | Often 10+ years |
Lifespan depends on how often you operate the window, how clean the surface was at install, sun exposure, and how hard the sash compresses on the seal.
My practical picks
- Beginner, biggest impact: Closed-cell foam tape for sash contact points plus a bead of quality paintable acrylic latex caulk where trim meets wall.
- Best “feels professional” upgrade: V-strip on the sash sides and at the meeting rail.
- For ugly, uneven gaps: Silicone bulb-style compression weatherstrip.
- For a quick winter-only seal: Rope caulk on windows you keep shut.
- For older wood windows: Spring bronze if you want something that can last for years with regular use.
Tools and supplies
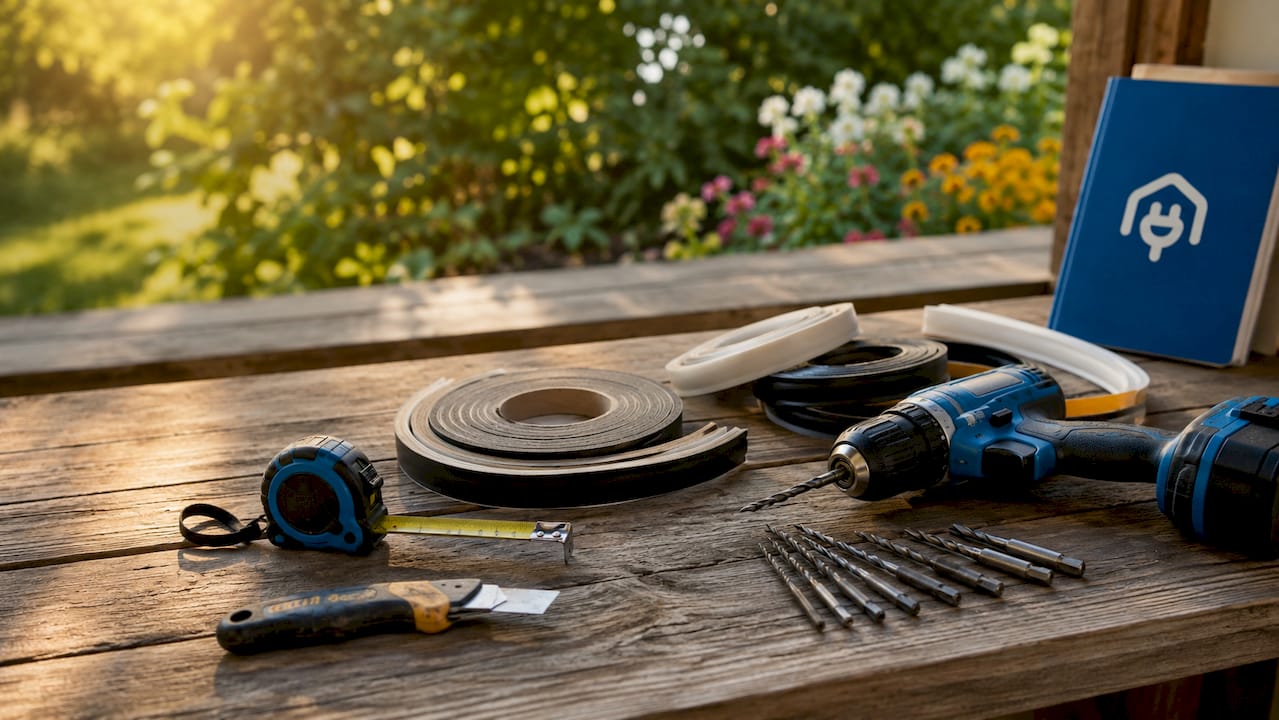
You do not need a shop full of gear. Here is a short list that covers most weatherstripping jobs:
- Tape measure
- Scissors and a utility knife with a sharp blade
- Rubbing alcohol or a degreaser, plus clean rags
- Painter’s tape (for marking leak points and straight lines)
- Weatherstripping (foam tape, V-strip, silicone, or spring bronze based on your gaps)
- Caulk and a caulk gun (paintable acrylic latex for trim gaps)
- Putty knife or scraper (for old adhesive)
- Optional: hair dryer (helps adhesive stick in cool rooms). If you use a heat gun, keep it on low, keep it moving, and do not linger on vinyl or painted surfaces.
Steps for double-hung windows
Double-hung windows are the classic draft culprit: lots of seams, lots of movement. This workflow keeps you from sealing the wrong thing.
Step 1: Clean well
Adhesive-backed weatherstripping fails when the surface is dusty or chalky. Clean the contact areas on the sash and frame with rubbing alcohol, then let them dry.
Step 2: Fix the obvious stuff first
- Lock it: Many double-hungs only seal well when locked because the lock pulls the sashes together. If your lock is broken or missing, replace it before you chase tiny leaks.
- Check sash alignment: If the sash is racked or rubbing, weatherstripping will tear or bind. Address sticking or misalignment first.
Step 3: Seal the meeting rail
The meeting rail is the seam where the upper and lower sashes touch. A thin V-strip or a narrow foam tape can work well here.
- Measure the meeting rail width.
- Cut the V-strip or foam to length.
- Apply so it compresses when the window is locked, without preventing the lock from closing.
Step 4: Seal the side channels
For the vertical sides where the sash slides, V-strip tension seal is usually the sweet spot: good seal, low friction.
- With the window open, apply V-strip along the jamb surface the sash closes against (the track or stop that the sash actually touches).
- Press firmly the entire length so it does not buckle.
- Close the window slowly to test for binding.
Step 5: Check the bottom rail and sill
If air leaks at the bottom, you can use foam tape on the bottom rail where it meets the sill or install a dedicated sash sweep depending on the window design.
- Use the thinnest material that seals. Overstuffing this area is how you create a window that will not close on the first cold night.
Step 6: Caulk trim-to-wall gaps
If the air is coming from the edge of the interior casing or trim, that is a caulk job.
- Cut away failed caulk.
- Run a small, steady bead of paintable acrylic latex caulk.
- Tool it with a damp finger or caulk tool for a tight seal.
Step 7: Test again
Repeat the smoke test around the spots you marked. If you still have a draft, it usually means one of two things: you missed a leak path, or the weatherstrip is too thin for the gap.
Steps for sliding windows
Sliding windows leak in different places than double-hungs. The main culprits are the meeting stile and the track.
Where to weatherstrip
- Meeting stile: Use V-strip or a fin-style seal so the overlap between panels is snug.
- Along the frame where the slider closes: Foam tape works if the gap is consistent.
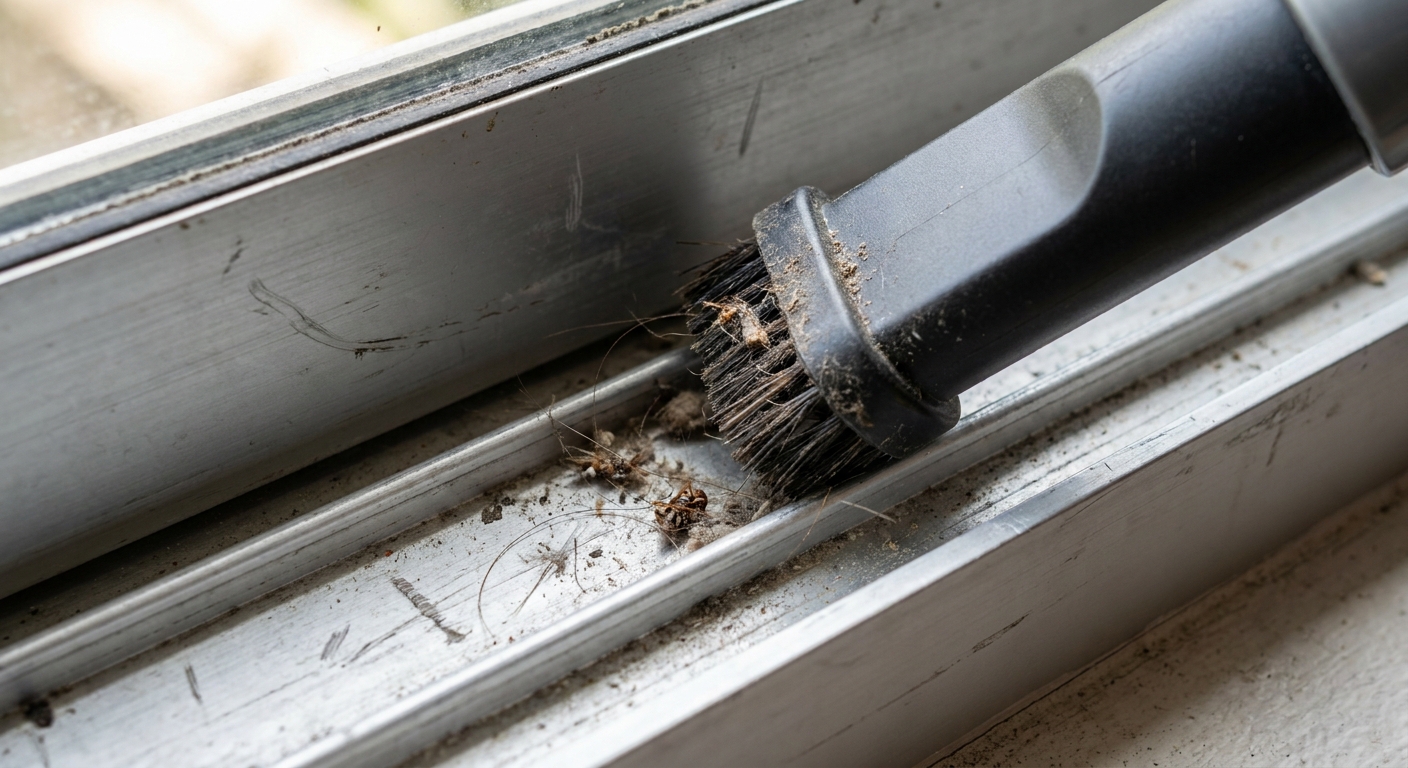
- Track area: Clean it thoroughly. Dirt keeps the window from closing tight, and no weatherstrip can fix a window that is riding on grit.
One simple trick
If the latch is weak and the panel does not pull in tight, consider replacing the latch. A tighter pull can eliminate drafts without adding thicker weatherstrip that makes the window hard to operate.
Interior vs exterior fixes
Most homeowners start inside because it is easier and you feel the comfort change right away. That said, do not ignore the outside.
- Start inside when the draft is at the sash edges, meeting rail, or interior trim.
- Go outside when you see cracked exterior caulk, loose exterior casing, or wind-driven rain marks. Exterior gaps can feed cold air into the wall cavity, then show up as “mystery drafts” at the trim.
- Storm windows help more than people expect. A tight storm window can cut wind pressure on leaky old sashes, which makes your interior weatherstripping work better.
Rope caulk and window film
Rope caulk
Rope caulk is perfect for older windows you do not plan to open until spring. You press it into gaps between the sash and frame. It stays flexible and peels off later.
- Best for: winter-only sealing, uneven gaps, quick fixes.
- Avoid: using it where the sash needs to slide.
Window insulation film
Film kits create a trapped air layer. They are great for drafty windows, especially older single-pane units, but they do change the feel of the window for the season.
- Best for: very drafty windows, renters (with permission), rooms you want warmer fast.
- Tip: clean the trim well and use a hair dryer to tighten the film so it is clear and taut.

Common mistakes
- Using the wrong thickness: Too thin does nothing. Too thick makes the window hard to latch, and then it leaks anyway.
- Skipping surface prep: Adhesive does not stick to dust, old wax, or chalky paint.
- Weatherstripping over peeling paint: The strip will come off with the paint. Scrape and stabilize first.
- Sealing weep holes: Some window frames have tiny exterior drainage openings. Do not block them.
- Caulking moving parts: Caulk is not a hinge-friendly material. Your future self will hate you for this one.
When it is more than drafts
Sometimes drafts are a symptom of a bigger problem. Consider deeper repairs if you see:
- Rotting wood on the sill or frame
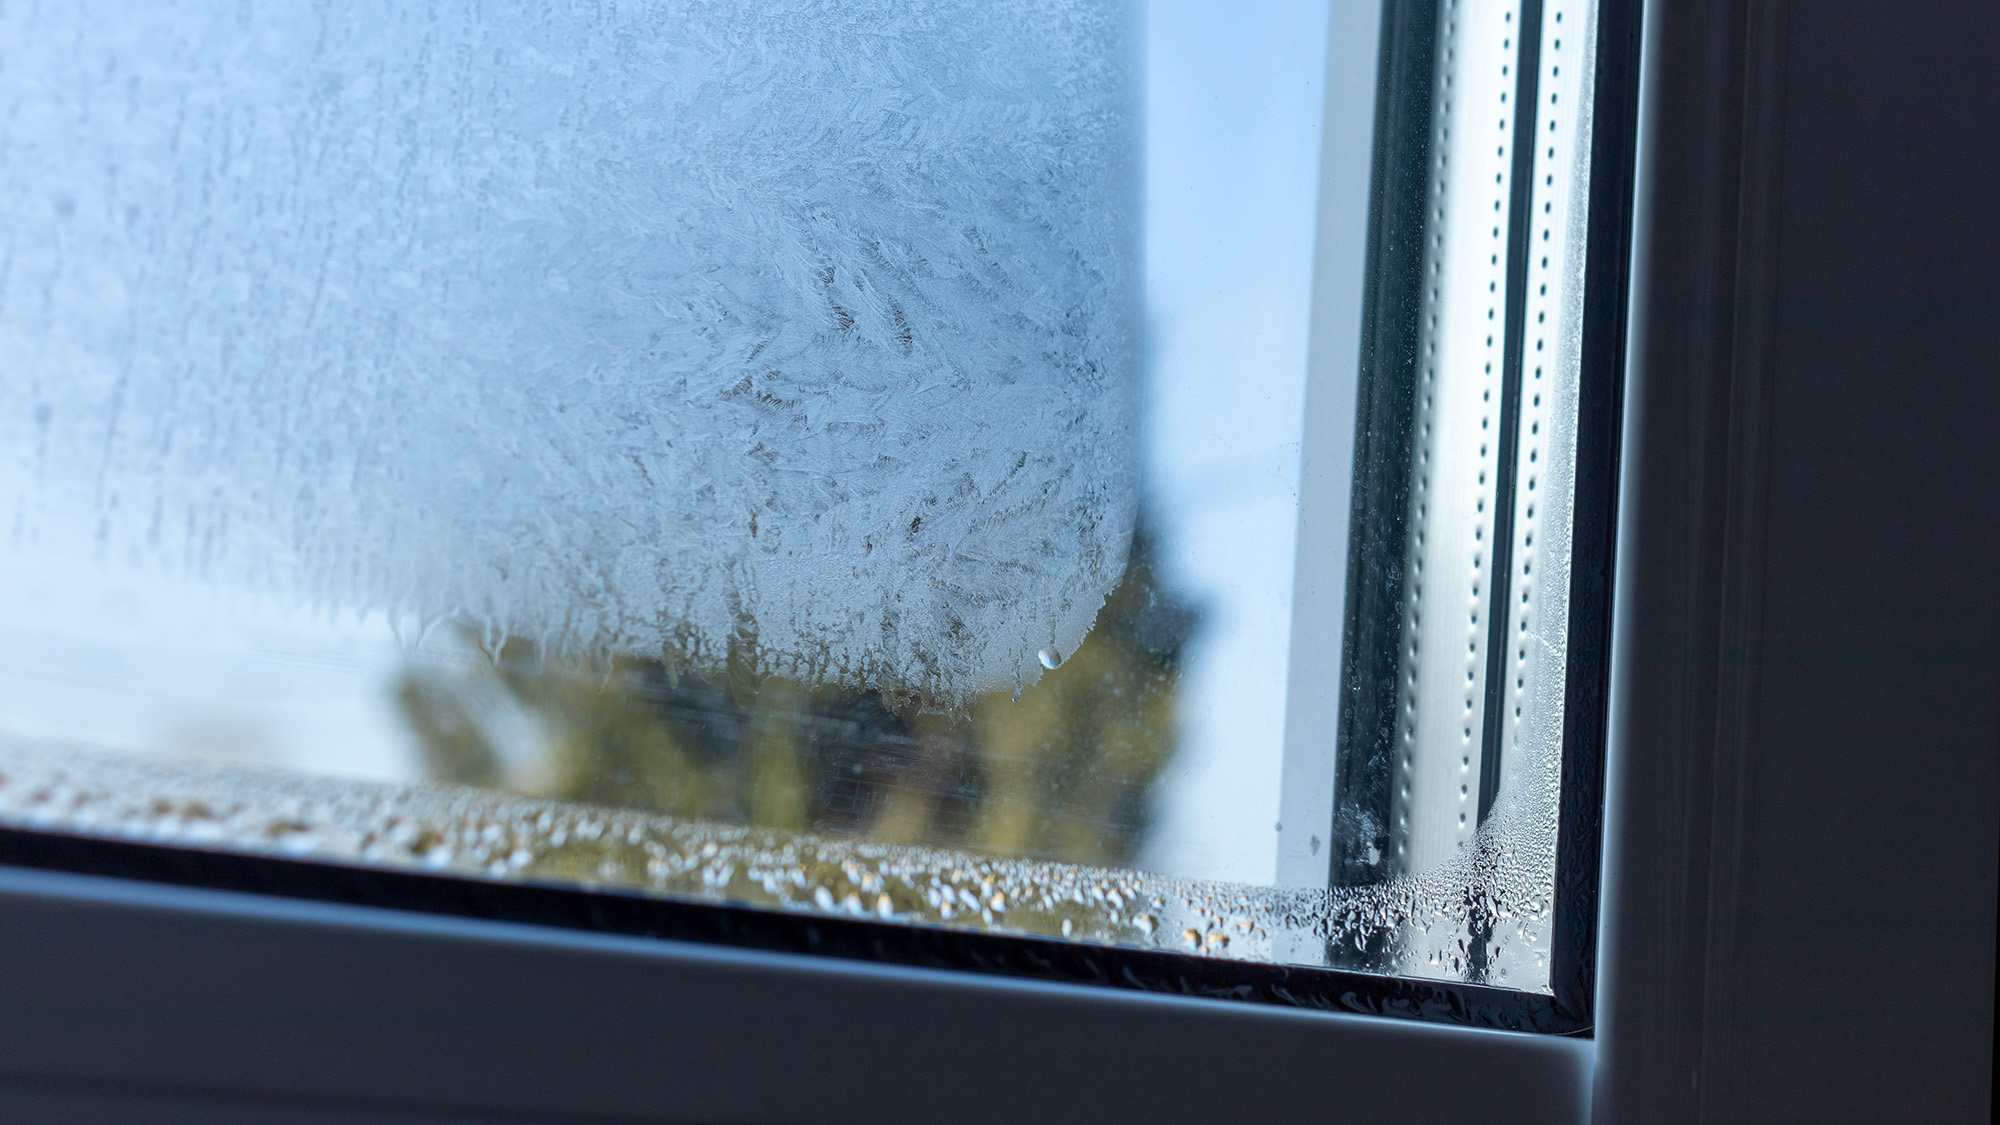
- Condensation between panes (failed insulated glass seal)
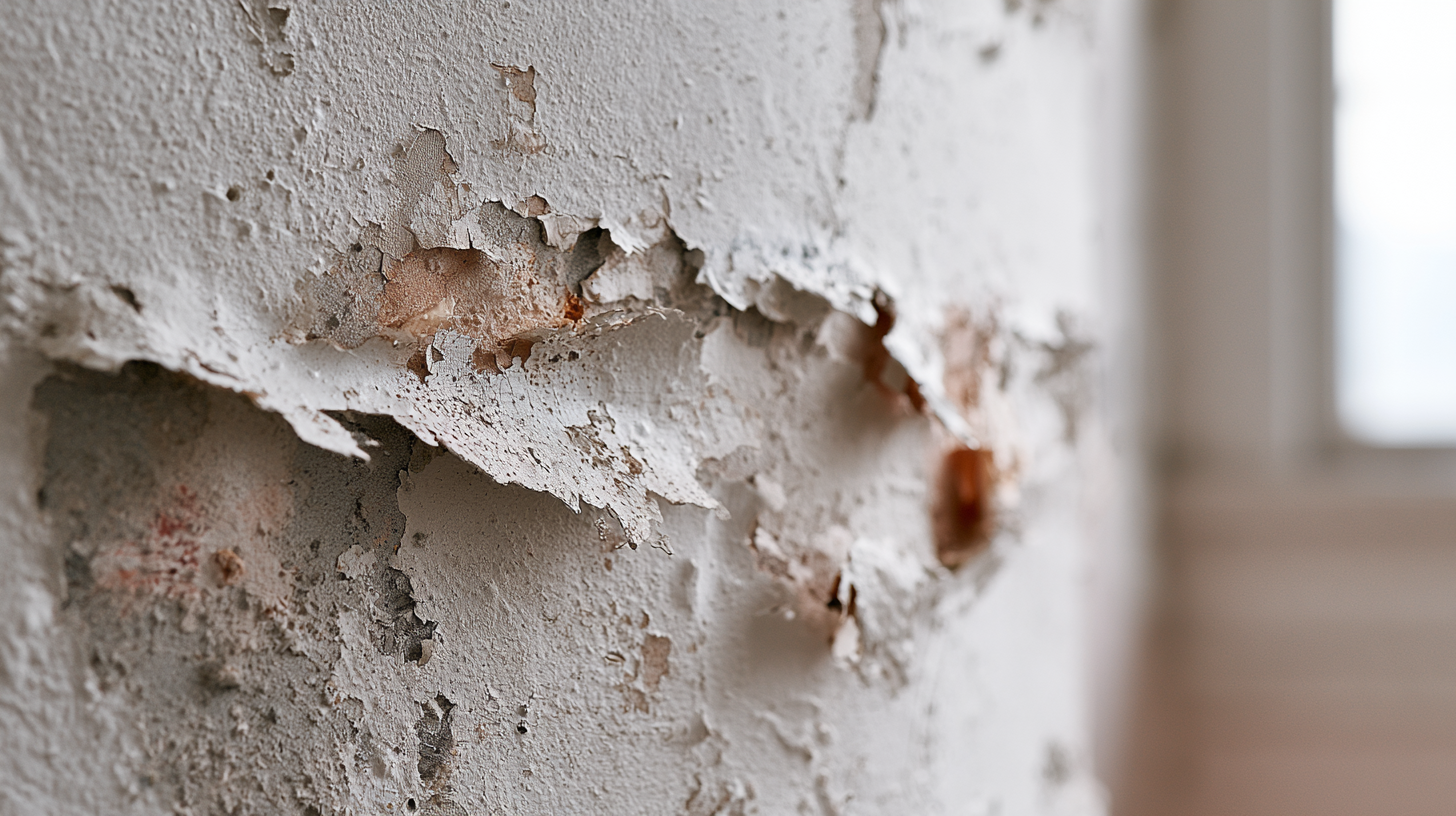
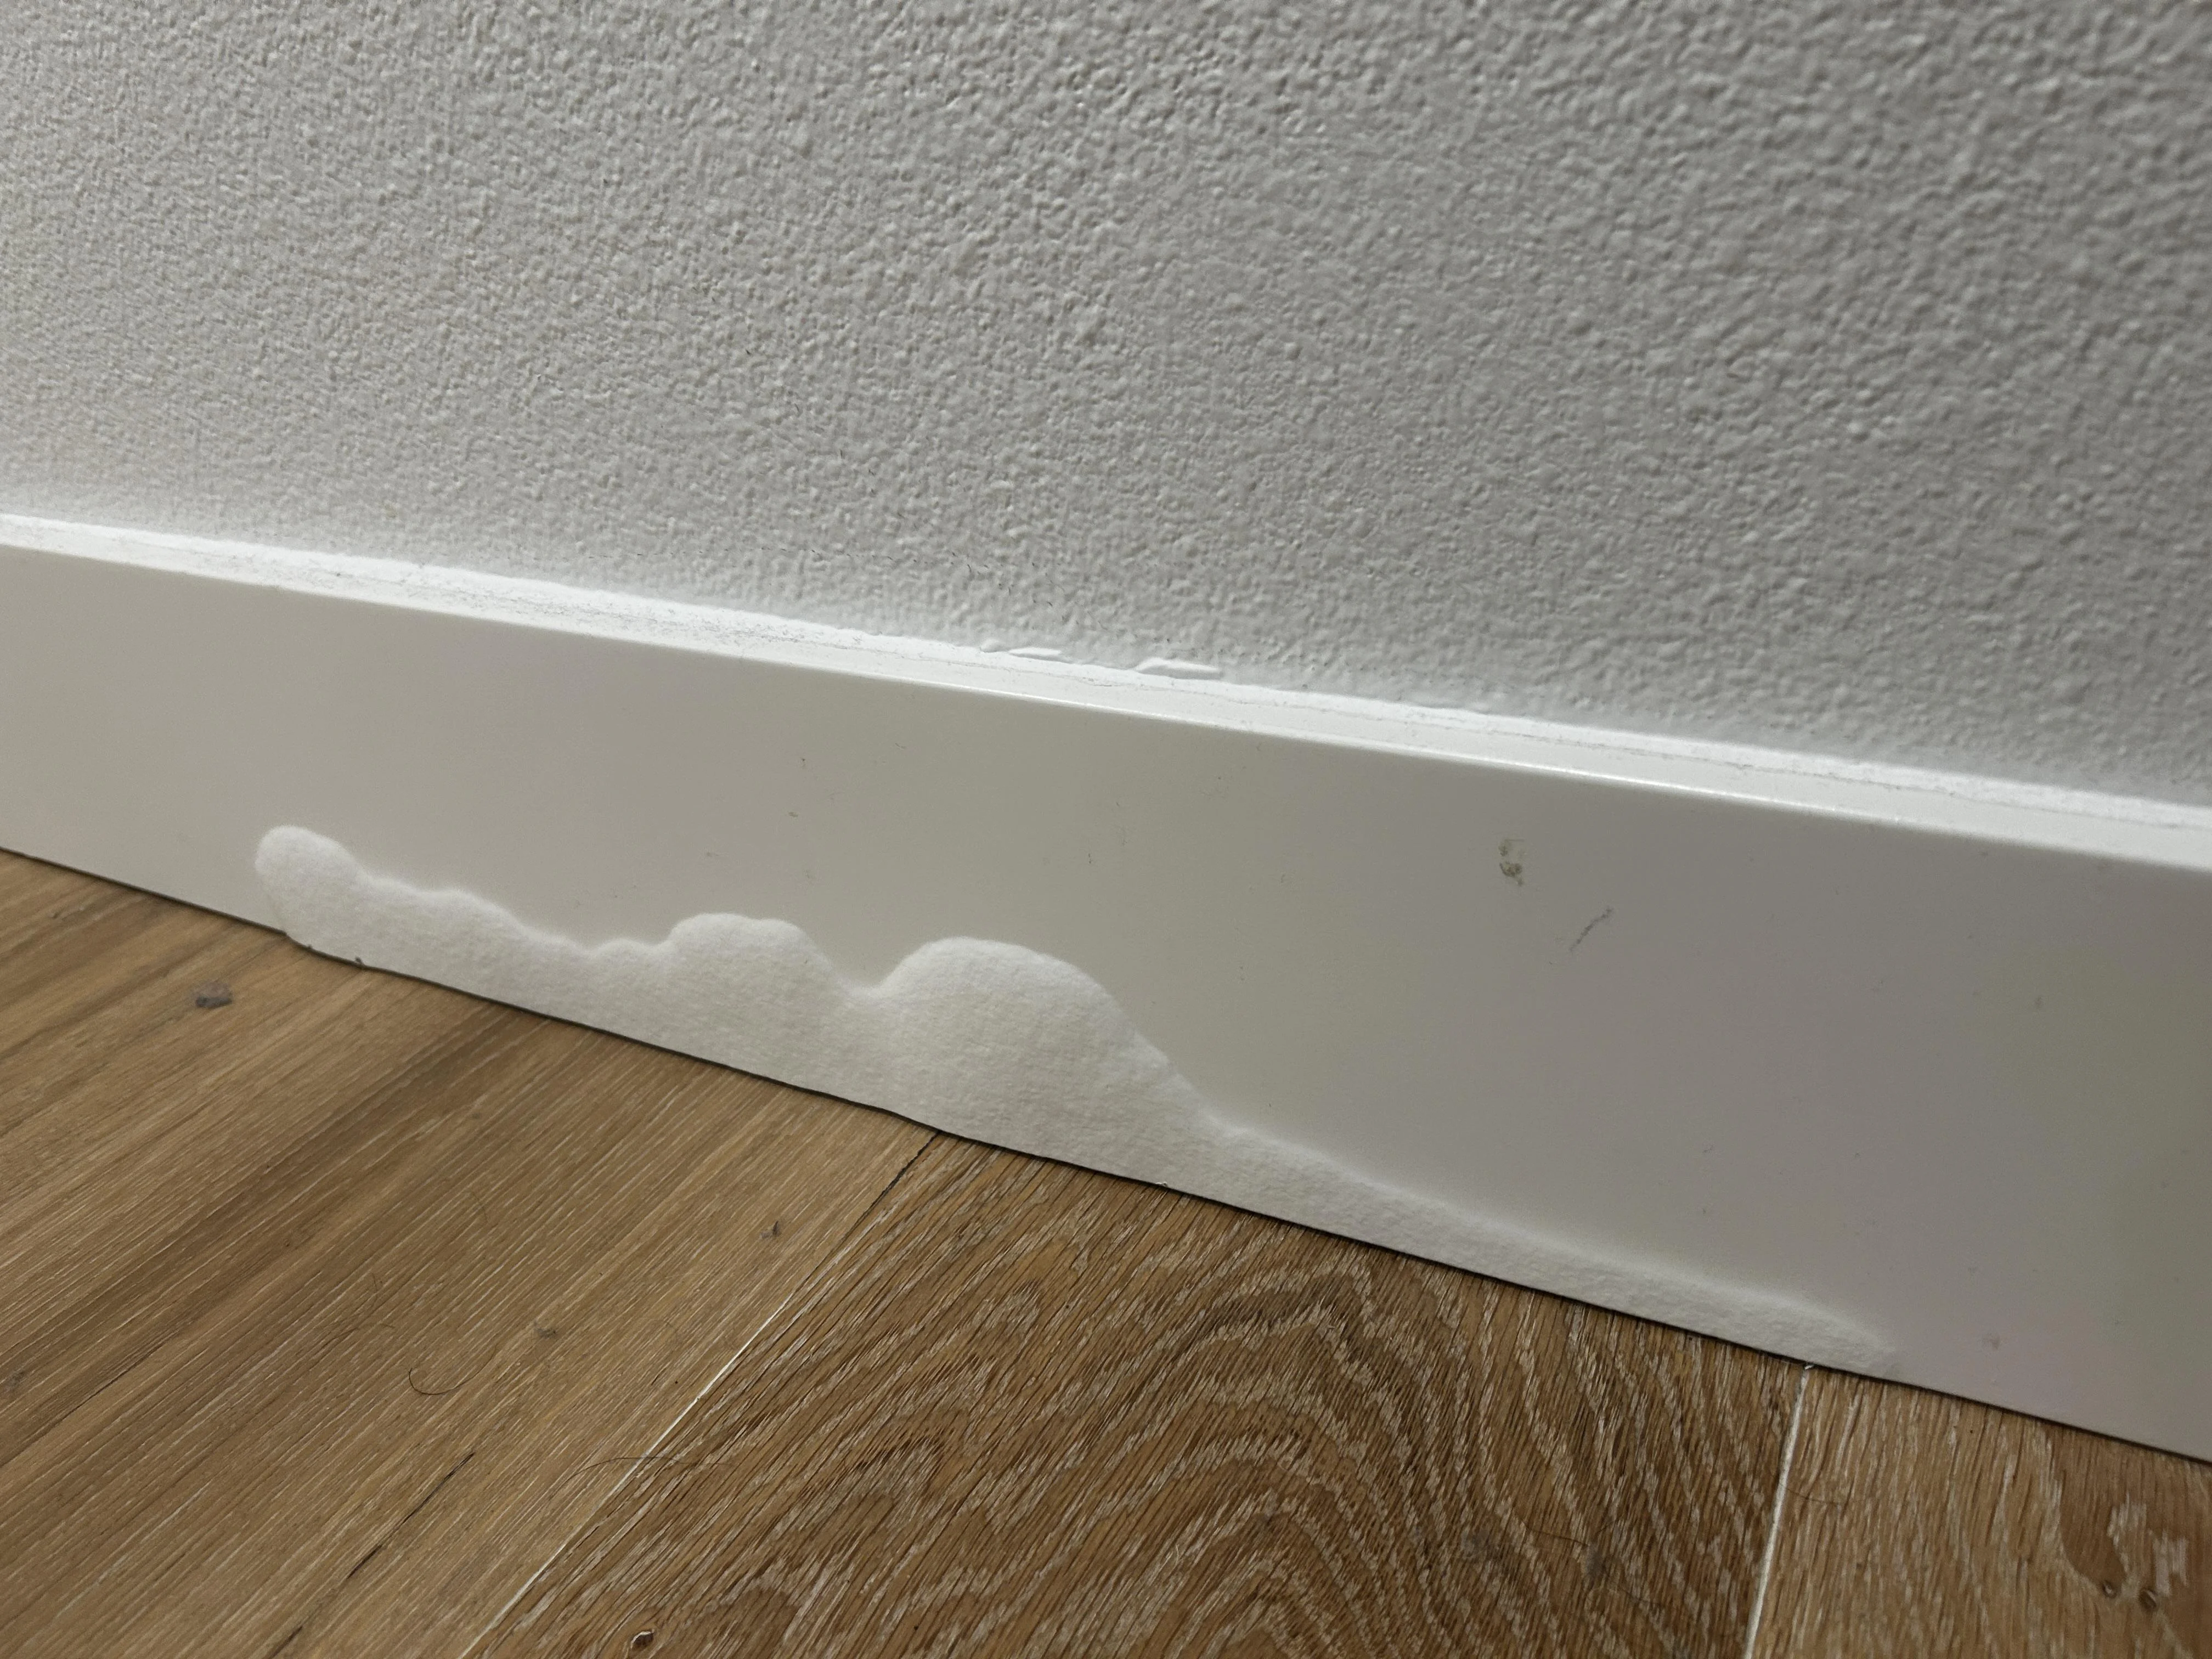
- Soft drywall or staining near the window (water intrusion)
- Big gaps between the frame and rough opening (may require foam backer rod and proper sealing)
- Windows that will not stay shut or are badly out of square
Weatherstripping helps comfort, but it is not a bandage for water damage or structural movement.
FAQ
What weatherstripping works best in cold climates?
Silicone rubber and quality V-strip tend to hold up well in cold weather because they stay flexible and seal consistently. Foam can work well too, but it is more sensitive to surface prep and compression over time.
Can I weatherstrip in winter?
Yes, but adhesive-backed products stick better when the surface is warm and dry. If the room is cold, warm the area gently with a hair dryer before you apply the strip, then press firmly for a full bond.
Why is my window still drafty after weatherstripping?
The usual causes are: the leak is actually at the trim-to-wall joint (needs caulk), the gap is larger than your weatherstrip can fill, or the sash is not pulling tight because the lock or alignment is off.
What does this cost per window?
As a rough DIY budget, plan on about $10 to $30 per window depending on the material and how much you need to replace. A basic foam-and-caulk refresh is usually on the low end. Silicone bulb seals, fin-style seals, and spring bronze trend higher.
How much money will weatherstripping save?
It depends on how leaky the windows are and what you pay for heat, but sealing noticeable drafts can reduce heat loss and make rooms more comfortable so you are less tempted to crank the thermostat. Even when the dollar savings are modest, the comfort gain is usually immediate.
My weekend plan
If you want the biggest improvement with the least fuss, do this:
- Smoke test one room, mark leaks with painter’s tape.
- Caulk the trim-to-wall gaps.
- Add V-strip to the side channels or closed-cell foam tape where the sash compresses.
- Make sure the window locks pull the sashes tight.
That is it. Not glamorous, but you will feel the difference the next windy night.