If you can feel a chilly breeze at your ankles when you walk past the front or back door, there’s a good chance the door sweep is torn, flattened, or just plain missing chunks. The good news is replacing a sweep is one of those high-impact, low-drama fixes. It’s usually a handful of screws and, for many doors, an hour or less of your time. If yours is painted in place, swollen with moisture, or a stubborn slide-on style, plan for a little longer. Either way, you’ll notice the difference the first windy night.
What a door sweep does
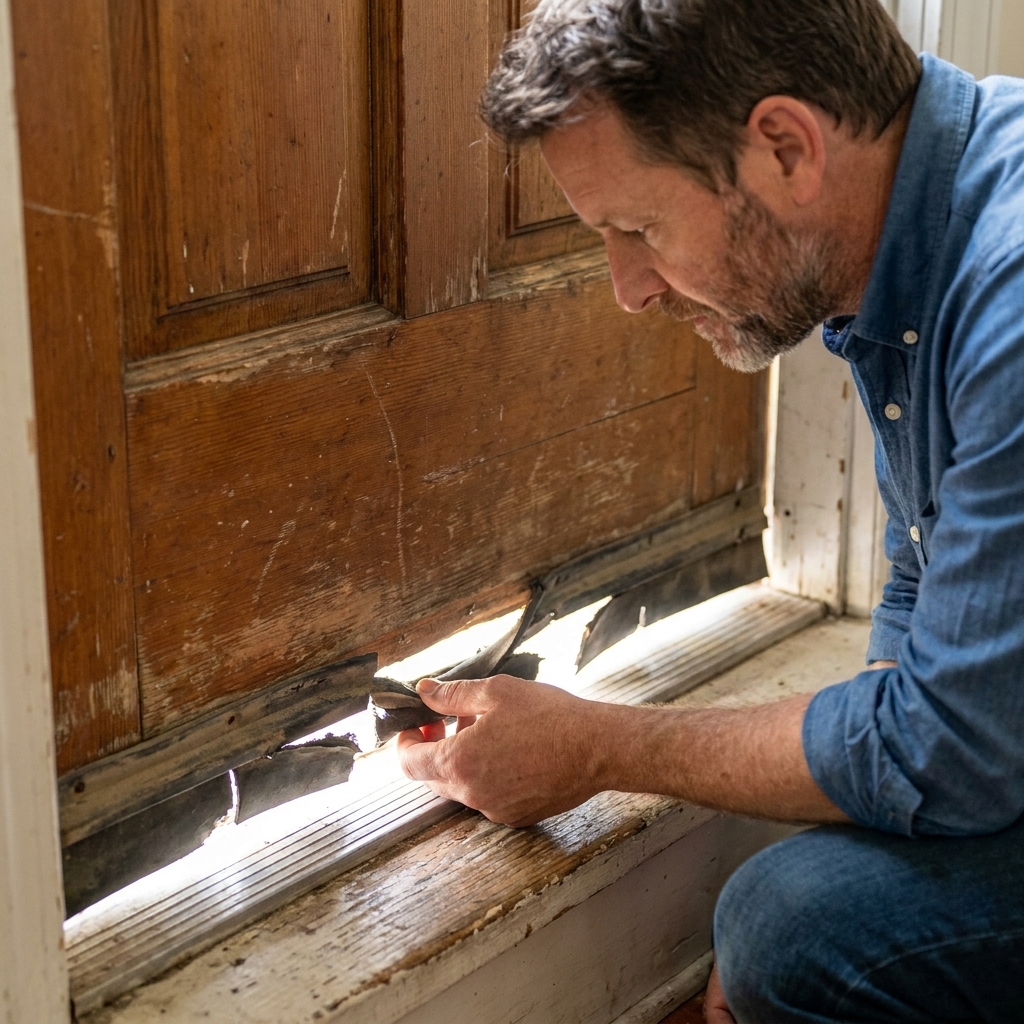
A door sweep is the strip attached to the bottom of the door that seals against the threshold. When it’s in good shape, it blocks:
- Drafts and cold air
- Dust and pollen
- Bugs and spiders looking for a rent-free winter condo
- Splashing rain and minor runoff (paired with a good threshold)
Common signs it needs replacing:
- You see daylight under the door when the door is closed.
- The rubber or vinyl is cracked, torn, or stiff.
- The sweep is dragging hard on the threshold or floor.
- You hear whistling in wind or feel a cold stripe across the floor.
- You’re finding insects right inside the door and can’t figure out why.
Door sweep types
Before you buy anything, take a quick look at what you have now. Most exterior doors use one of these:
- Door-bottom sweep (U-shaped or slide-on): Wraps around the bottom of the door with vinyl fins or a bulb. Often used on steel or fiberglass doors. Some slide on, some screw on.
- Screw-on sweep: Attaches to the face of the door, usually on the exterior side, with screws. Common on wood doors.
- Kerf-in sweep: Presses into a groove (kerf) cut into the bottom edge of the door. Common on many newer prehung units.
My rule: Replace like-for-like unless you have a reason to change styles. Swapping styles sometimes works great, but it can also introduce new problems like rubbing on the threshold or leaving gaps at the corners.
One more thing: Some doors use a brand-specific “door bottom” insert or multi-fin assembly that only fits that door system. If yours looks proprietary, take the old part with you or snap a few clear photos (ends, screw locations, and profile) before you buy.
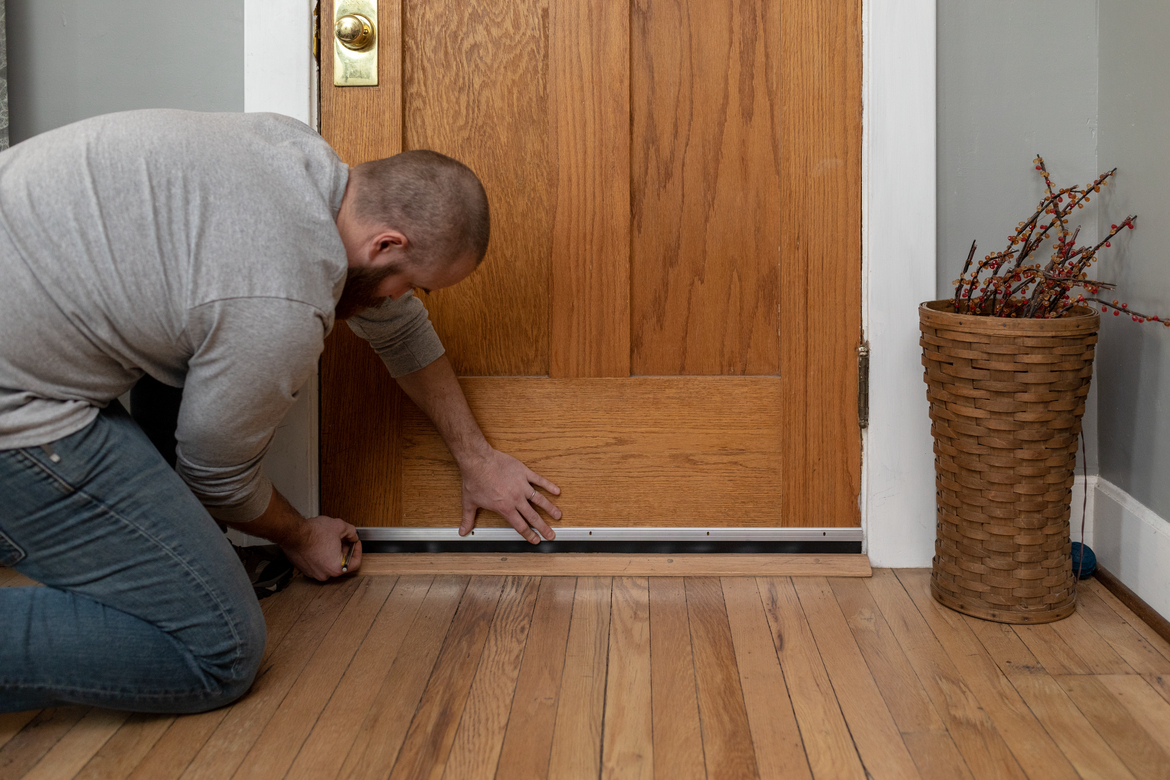
Tools and materials
- Replacement door sweep (correct style and length)
- Measuring tape
- Pencil or marker
- Phillips or square-drive screwdriver (or drill with bit)
- Utility knife (helpful for old caulk or stubborn paint)
- Hacksaw or miter saw (for cutting aluminum or metal-reinforced sweeps)
- Tin snips (sometimes easier on thin aluminum)
- File or sandpaper (to knock down sharp cut edges)
- Optional: new screws (stainless is nice for exterior doors)
- Optional: exterior-grade caulk (only in certain cases, explained below)
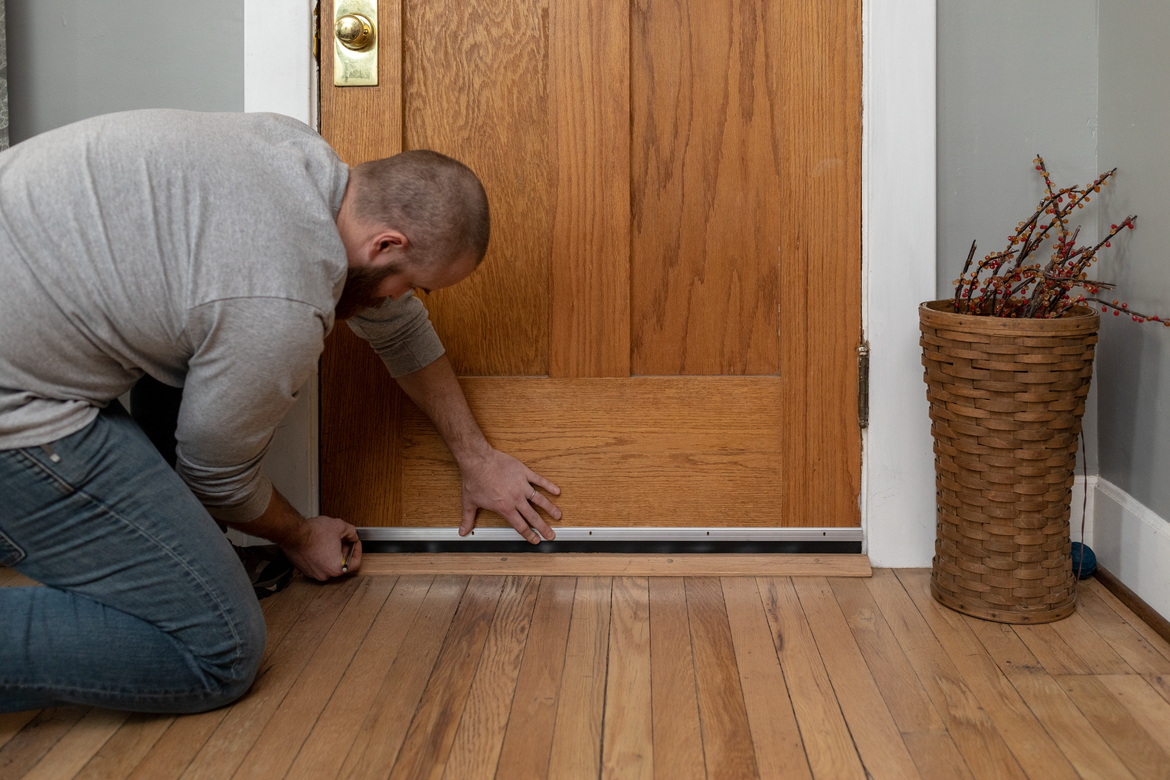
Safety and prep
- Mind your fingers: Cut aluminum edges get razor sharp. Gloves help.
- Protect your threshold: When removing screws, do not lever against the threshold cap.
- Support the door if needed: Most sweeps can be replaced with the door on the hinges. If your door is heavy and you are working at an awkward angle, popping the hinge pins and laying the door on sawhorses can make life easier.
- Expect paint surprises on wood doors: Painted wood doors sometimes have a sweep edge buried under paint. Score the paint line first so you do not peel a whole strip of finish off with the old sweep.
Step 1: Confirm the real problem
Do this quick check before you buy parts:
- Flashlight test: At night, have someone shine a flashlight from the outside at the bottom of the closed door. If you see light from inside, you have a gap.
- Dollar-bill test: Close the door on a dollar bill near the bottom corners. If it slides out with almost no resistance, the seal is weak there.
If the gap is big in one corner only, the sweep may be fine and the door may be sagging or the threshold may be out of adjustment. Many exterior thresholds have adjustment screws that raise or lower the center seal, but not all do. Still, if your sweep rubber is torn or stiff, replacing it is the right first move.
Step 2: Remove the old sweep
If it is a screw-on sweep
- Open the door.
- Remove the screws along the sweep.
- If paint is sealing the edges, score along the top with a utility knife before pulling it off.
- Clean the bottom edge of the door. Scrape off old caulk, dirt, and loose paint so the new sweep sits flat.
If it is a slide-on door bottom (U-shaped)
- Look for screws on the interior or exterior face near the ends. Remove them first.
- Slide the sweep off sideways. If it is stuck, tap gently with a rubber mallet or a wood block.
- If it will not budge, you may need to remove the door and work on sawhorses so you can pull straight.
If it is kerf-in
- Grab the sweep at one end and pull it out of the kerf slot.
- If it tears, pull out the pieces with pliers.
- Clean the kerf groove with a putty knife tip or a stiff brush.
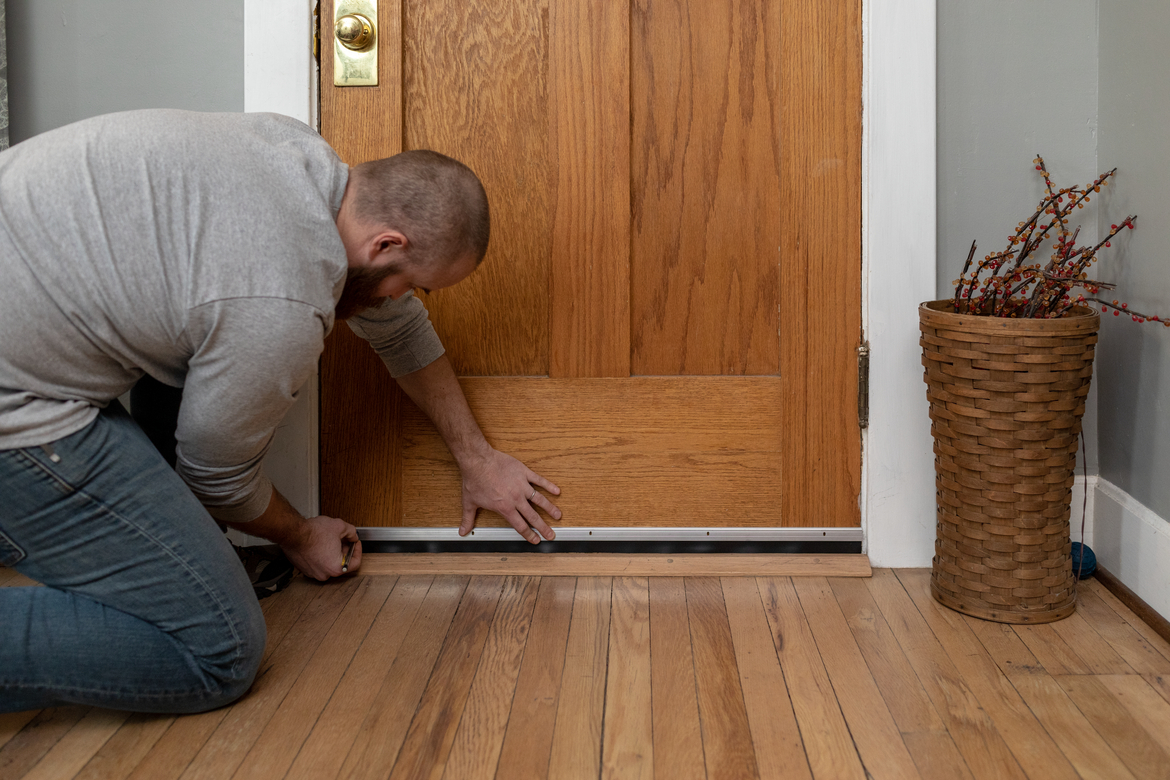
Step 3: Measure for the new sweep
Measure carefully. A sweep that is too short leaves corner gaps, and a sweep that is too long can bind against the jamb.
- Length: Measure the door width or use the old sweep as a reference if it fit well.
- Seal style: Match what you had: double-fin, triple-fin, bulb, or brush. For exterior doors, I prefer fins or bulb styles over brush for draft control.
- Depth and fit: For slide-on door bottoms, confirm the thickness of the door. Many exterior doors are 1-3/4 inches thick, but older and custom doors vary.
Tip from my learned-the-hard-way file: If your old sweep was dragging and leaving black marks on the threshold, do not automatically copy its position. You want contact, not a wrestling match. Light, even pressure across the threshold is the goal.
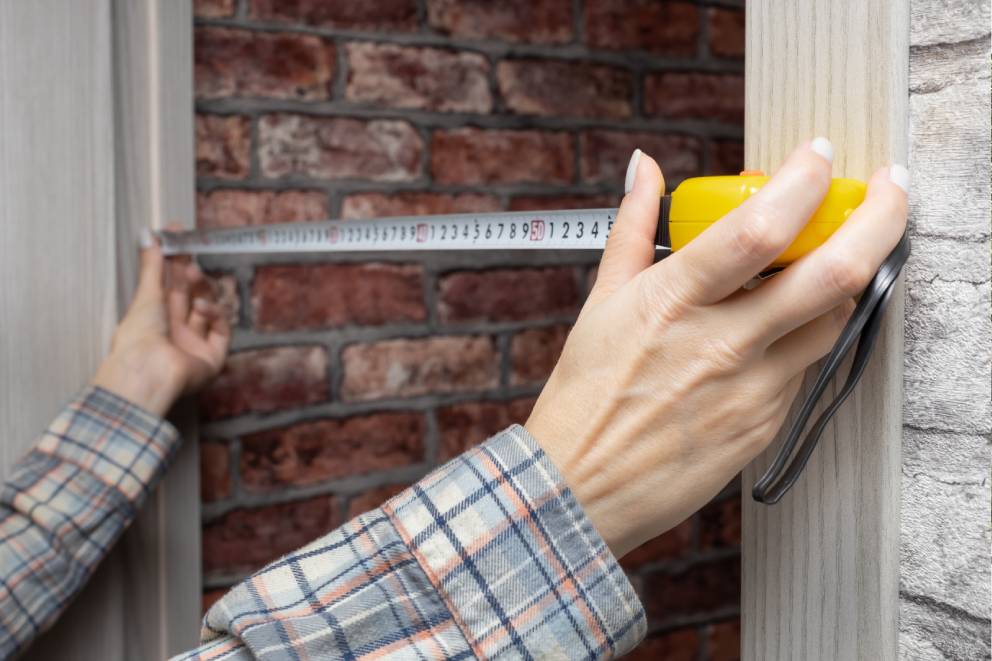
Step 4: Cut the new sweep
Most replacement sweeps come a little long and need trimming.
- Mark your cut line with a pencil or marker.
- If the sweep has an aluminum carrier, cut the aluminum with a hacksaw or miter saw.
- Cut the rubber or vinyl portion with a sharp utility knife or snips (depends on the style).
- File or sand the cut end of aluminum so it is not sharp and it slides cleanly into position.
Dry-fit the sweep before you install it. It should sit centered with no bowing and no tight jam against the side jambs.
Step 5: Install the new sweep
Screw-on sweep
- With the door closed, hold the sweep in place on the exterior face of the door.
- Position it so the rubber just kisses the threshold all the way across, and make sure the fins or bulb are oriented the way the manufacturer intends (some are directional).
- If you are working solo, use painter’s tape to hold the sweep in place while you mark the holes or start the first screw.
- Open the door carefully without shifting the sweep.
- Drive screws starting at one end, then the other end, then fill in the middle.
- Do not overtighten. Aluminum carriers can warp, and stripped holes do not hold well.
- If your door is wood and the screws feel like they are splitting the sweep or the door, pre-drill small pilot holes.
Do you need caulk? Usually no. If wind-driven rain gets under the sweep at the ends, a small dab of exterior-grade caulk at each end can help. Avoid sealing any drainage paths or weep areas designed to let water out of the sill and threshold system.
Slide-on door bottom
- Slide the new door bottom onto the door from the hinge side or latch side (whichever fits best).
- Center it so it is even on both ends.
- Install the end screws if your model uses them.
- Close the door and check for smooth operation and consistent contact with the threshold.
Kerf-in sweep
- Start at one end of the kerf groove and press the barbed edge into the slot.
- Work your way along, pushing in firmly with your thumb or a plastic putty knife.
- Trim the ends if needed so it does not bunch up at the corners.
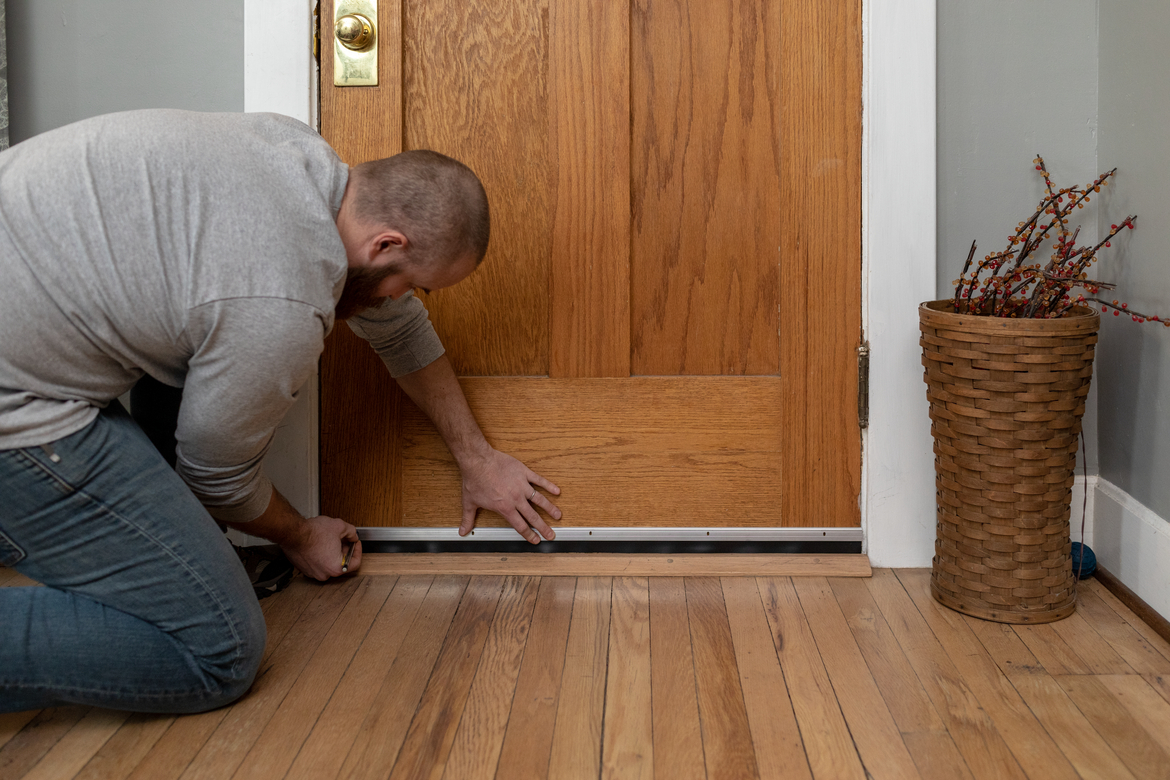
Step 6: Test the seal
- Open and close test: The door should latch normally without extra effort.
- Dollar-bill test: Repeat near both corners and the center.
- Light test: Look for daylight at the bottom corners.
- Draft test: On a windy day, feel along the bottom inside edge with the back of your hand.
If the door is suddenly hard to close, the sweep is likely too low or the threshold is adjusted too high (if adjustable). Raise the sweep slightly or lower the threshold adjustment screws until you get a seal without excessive friction.
Troubleshooting
The sweep drags
- Loosen screws and raise the sweep slightly, then retighten.
- If it is a slide-on style, make sure it is fully seated and centered.
- Check threshold adjustment screws (if present) and lower the threshold a touch.
There is still a corner gap
- Look for door sag. If the top latch-side corner is rubbing the jamb, the door may need a hinge screw upgrade (a 3 inch screw into the framing).
- Verify the sweep is cut square and installed level.
- If your threshold is uneven, adjust it or consider replacing the threshold insert.
Water gets in during heavy rain
- Confirm the threshold cap and weatherstripping are in good shape. A sweep alone cannot fix a bad threshold.
- Make sure the sweep is not trimmed too short at the ends.
- Check water management above and below the door: head flashing or drip cap at the top, and sill pan or drainage at the bottom. Sometimes the problem is bigger than the sweep.
- Check outside grading and splashback at the landing or stoop.
When to replace the threshold
If the sweep looks fine but you still have drafts, the threshold may be the culprit. Consider threshold work if:
- The threshold is cracked, loose, or bowed.
- The adjustable threshold is maxed out and still not sealing.
- The door bottom is sealing in the middle but not at the ends because the threshold is worn unevenly.
FAQ
Should the door sweep touch the threshold?
Yes, lightly. You want consistent contact across the threshold without so much pressure that the door becomes hard to close or the sweep wears out quickly.
Can I replace a door sweep without removing the door?
Most of the time, yes. Screw-on and many slide-on styles can be handled with the door hanging. If the sweep needs to slide off sideways but the jamb blocks it, removing the door makes it much easier.
What size sweep do I need?
Buy one that matches your door thickness (many exterior doors are 1-3/4 inches, but measure to be sure) and is at least as long as your door width (often 36 inches). You will trim to fit.
Why do I still feel drafts after replacing the sweep?
The most common reasons are an out-of-adjustment threshold, worn perimeter weatherstripping on the jambs, or a door that is slightly out of square from settling. The sweep is just one piece of the sealing system.
Quick closing advice
Take the old sweep with you to the store if you can, or at least bring a few photos and measurements. Matching the style saves time and avoids those “I bought the right thing, but it does not actually fit” moments. Install it so it seals with gentle pressure, then run the light test and dollar-bill test to confirm you got what you came for: fewer drafts, fewer bugs, and a door that still closes like it should.