I grew up as the kid holding the flashlight while my dad muttered at appliances that “should be simple.” Dryers are like that. When you press Start and absolutely nothing happens, the fix is usually straightforward if you check things in the right order.
This guide is for a true no-start: you press Start and get no drum movement and no meaningful response. Depending on the model, you might still have an interior drum light, or you might not have any lights at all. Either way, the troubleshooting path is the same.
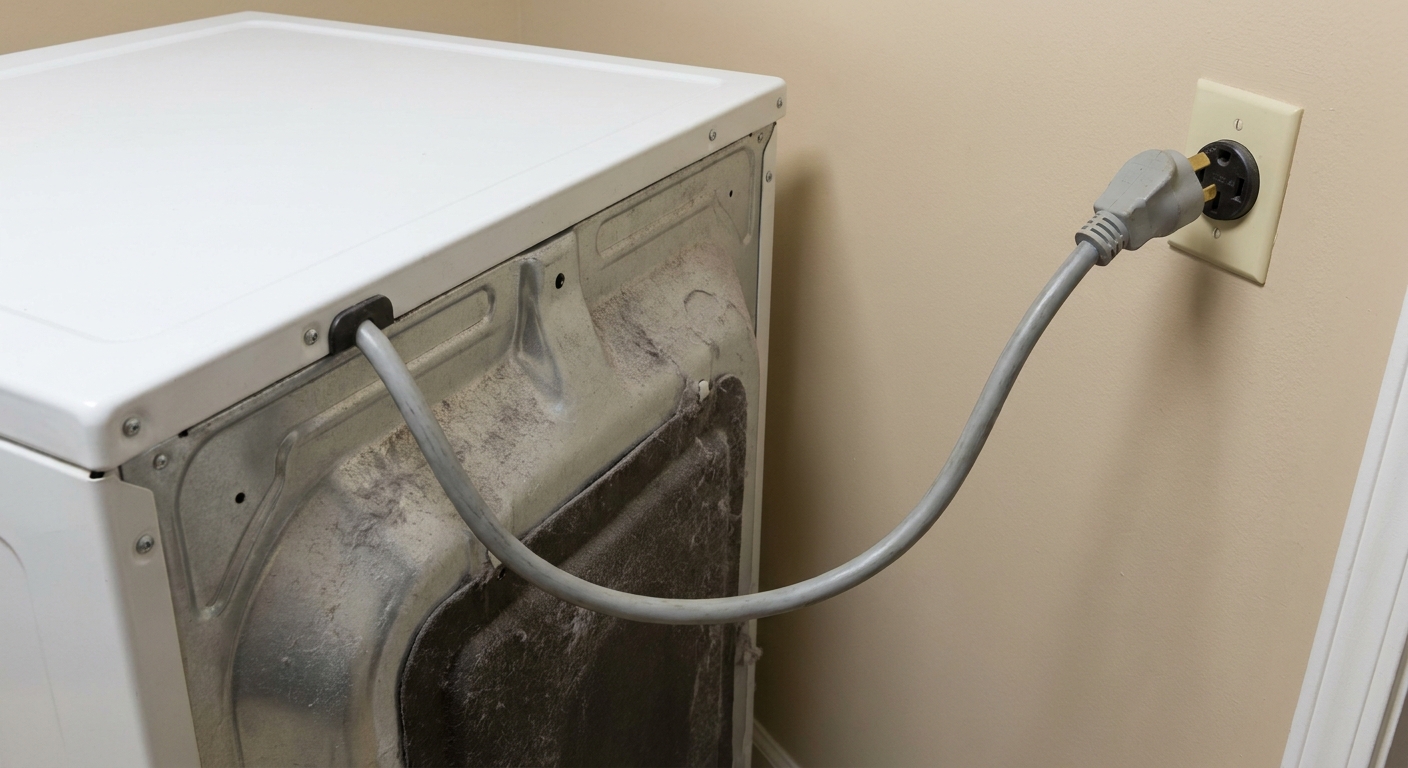
Before you touch anything: safety first
Dryers mix high voltage, moving parts, and in the case of gas models, fuel. Take 30 seconds to make it safe.
- Unplug the dryer before removing any panels or touching wiring.
- If you smell gas at any time: do not run the dryer, do not flip switches repeatedly. Ventilate the area and contact your gas utility or a qualified technician.
- If the cord or plug looks scorched, melted, or the receptacle is heat damaged: unplug only if it is safe to do so and call for service. That is a fire risk and can also damage the outlet and wiring in the wall.
- Wear work gloves. Dryer cabinets have sharp edges that love finding knuckles.
Step 1: Confirm power at the wall and the breaker
This sounds obvious, but it is the most common “nothing happens” cause, especially after a power outage, storm, or overloaded circuit.
What to check
- Is the plug fully seated? Pull the dryer out slightly and make sure it is firmly plugged in.
- Try the outlet (the right way). For a gas dryer or any standard 120V outlet, you can plug in a lamp or phone charger. For a typical 240V electric dryer receptacle (like NEMA 14-30 or 10-30), a normal 120V plug-in device will not fit, so you will need a multimeter or an electrician to confirm voltage.
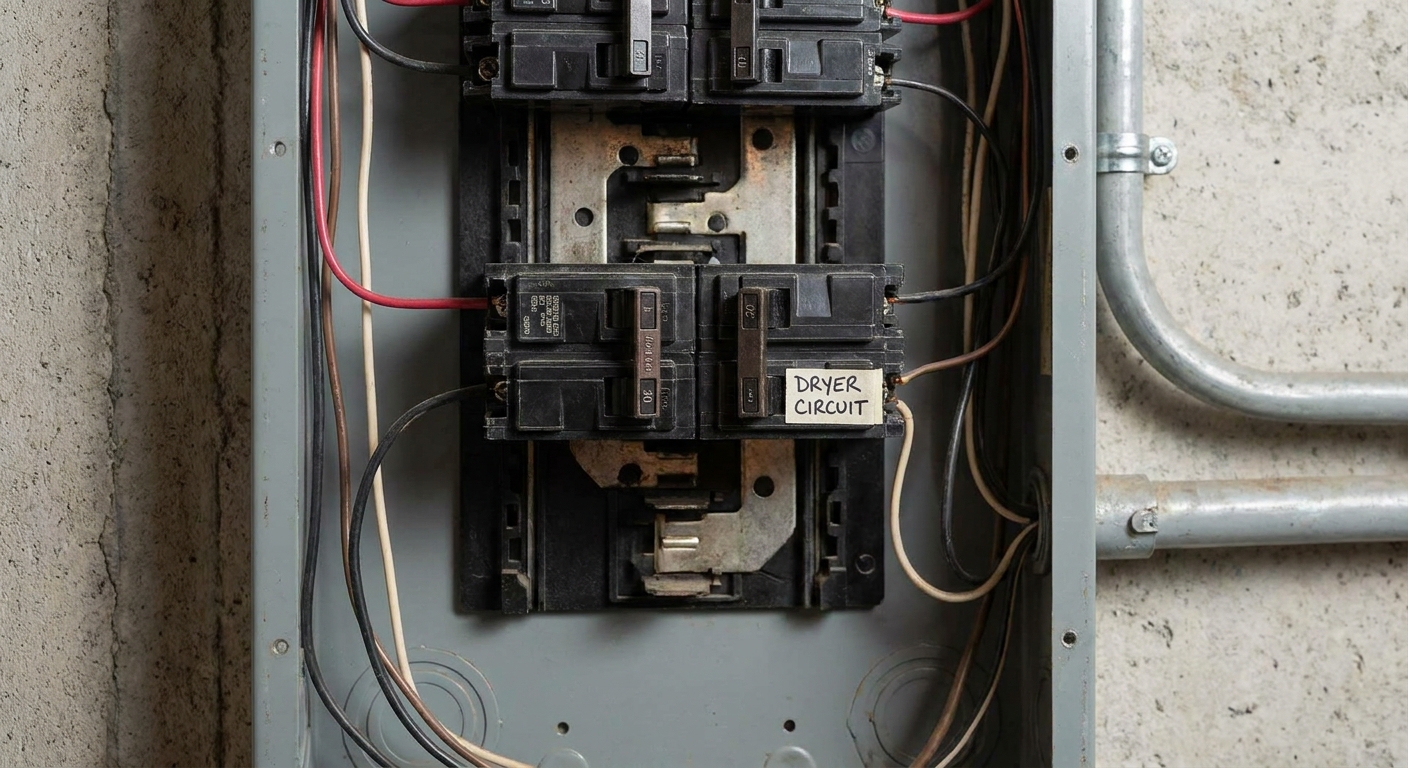
- Check the breaker. Electric dryers typically use a double-pole breaker. One side can trip while the handle looks “sort of on.” Flip it fully off, then back on.
Quick multimeter notes (optional)
If you have a multimeter and you know how to use it safely, you are looking for:
- Electric dryer (240V): about 240V across the two hot legs. On a 4-wire receptacle, you should also see about 120V from each hot leg to neutral.
- Gas dryer (120V): about 120V hot to neutral.
A note worth saying out loud: ground is not neutral. Ground is a safety path, not a current-carrying conductor in normal operation, so do not treat hot-to-ground readings as a substitute for proper hot-to-neutral checks.
If you are not comfortable testing live voltage, stop here and call an electrician or appliance tech. No shame in that.
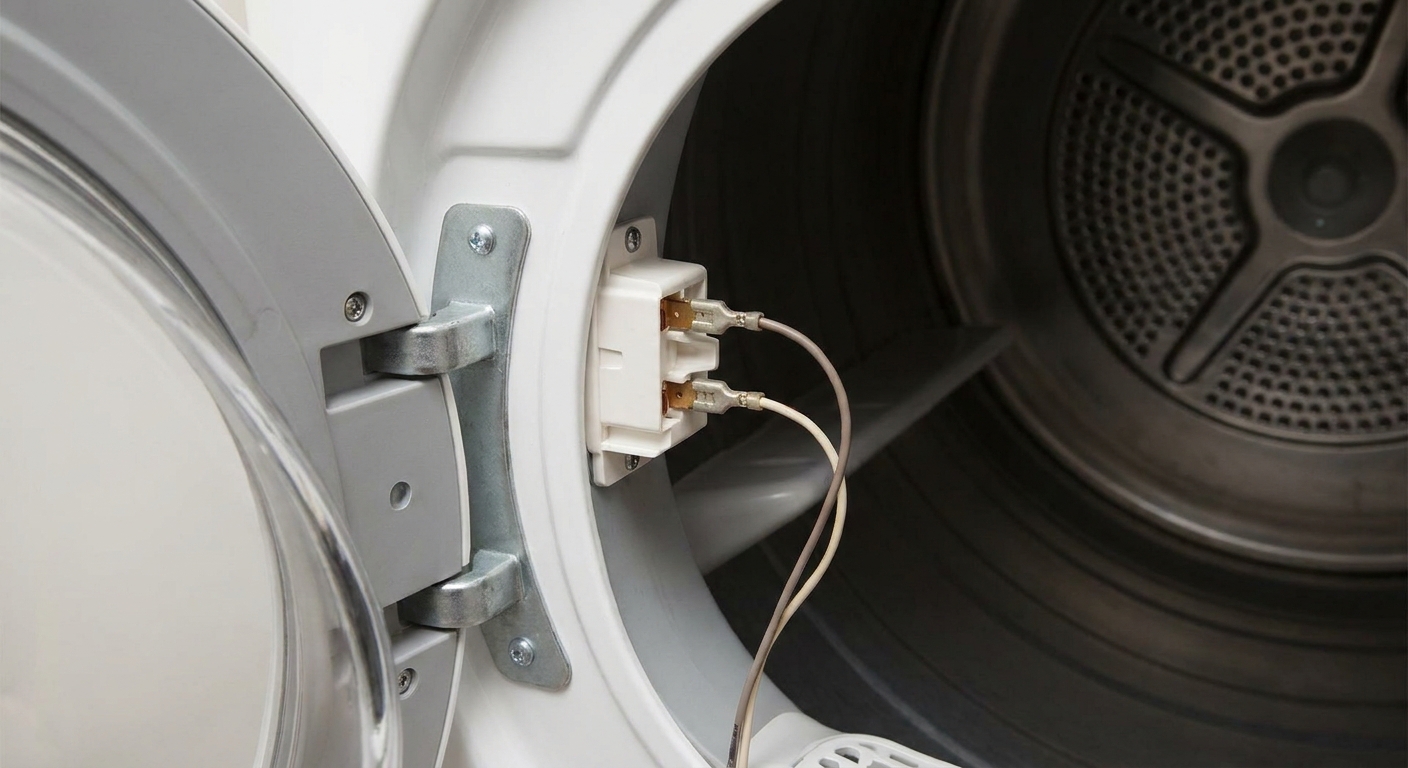
Step 2: Make sure the door switch is being pressed
The dryer will not start if it thinks the door is open. Sometimes the “problem” is a sock caught in the door, a bent door hinge, or a cracked plastic door strike that no longer pushes the switch.
Easy checks first
- Close the door firmly and listen for a solid click.
- Inspect the door strike (the plastic piece that goes into the latch) for cracks or missing chunks.
- Look for lint buildup around the latch that prevents full closure.
Testing the door switch (unplugged)
If the door is closing properly but you suspect the switch:
- Unplug the dryer.
- Access the door switch. On many models, it is reachable by opening the top or removing the front panel near the door opening.
- Pull the wires off the switch terminals (take a quick photo first so you can put them back correctly). Some door switches have two terminals, others have three. Terminal count varies by design.
- Set your multimeter to continuity or the lowest ohms setting.
- Press and release the switch actuator. You should see continuity change as you press it. If your switch has three terminals, use the wiring diagram to confirm which pair should open and close.
No change usually means a bad switch. Replace it. It is typically inexpensive and straightforward.
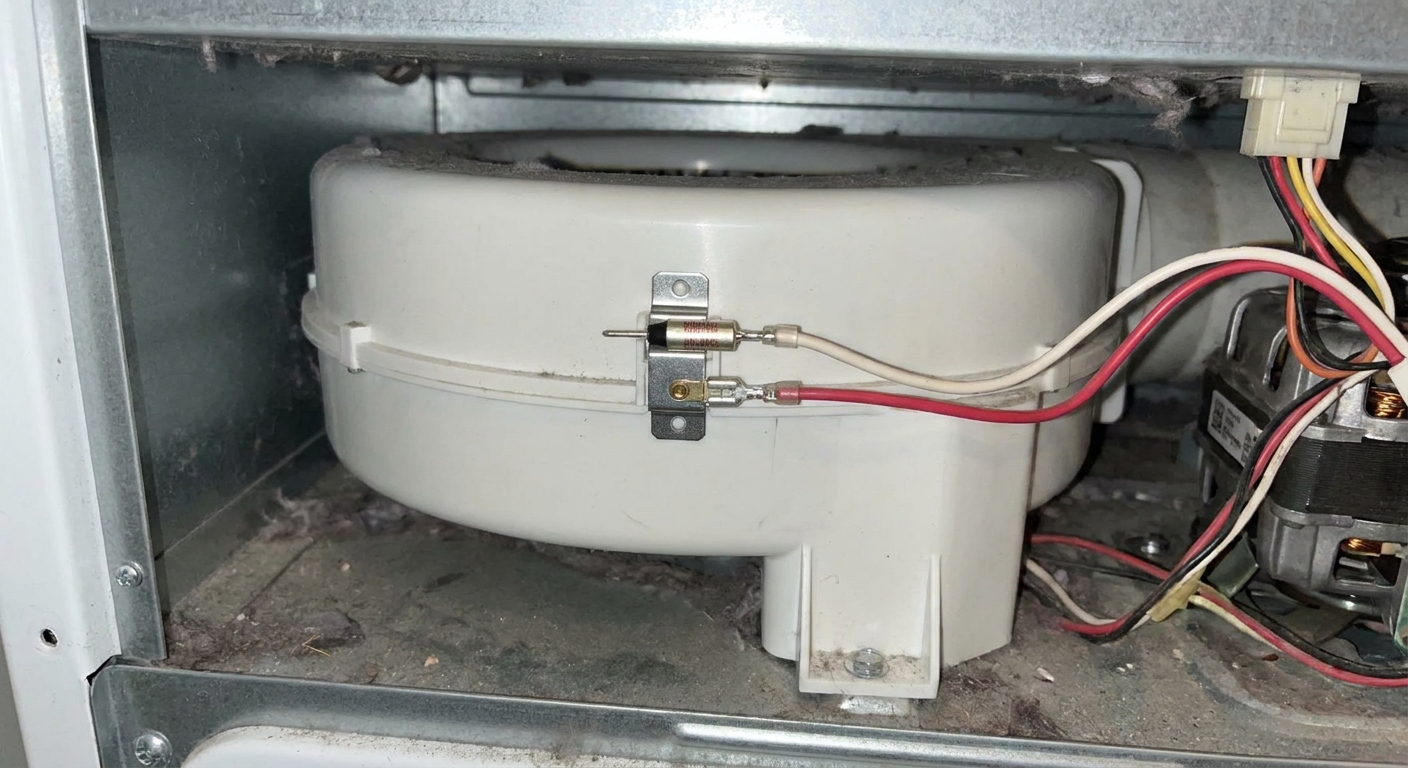
Step 3: Check the thermal fuse (and the vent that often causes it)
If your dryer has power and the door switch checks out, the next suspect is the thermal fuse. This is a one-time safety device designed to open the circuit if the dryer overheats. When it blows, many dryers will not run at all when you press Start, although some designs behave differently.
Here is the part people miss: a blown thermal fuse is often a symptom, not the root cause. The most common root cause is restricted airflow, like a clogged vent line or a lint-choked blower housing.
Where the thermal fuse usually lives
- On many dryers, it is mounted on the blower housing or the exhaust duct inside the cabinet.
- Some designs place it on the heater housing (electric) or near the burner assembly area (gas).
How to test it (unplugged)
- Unplug the dryer.
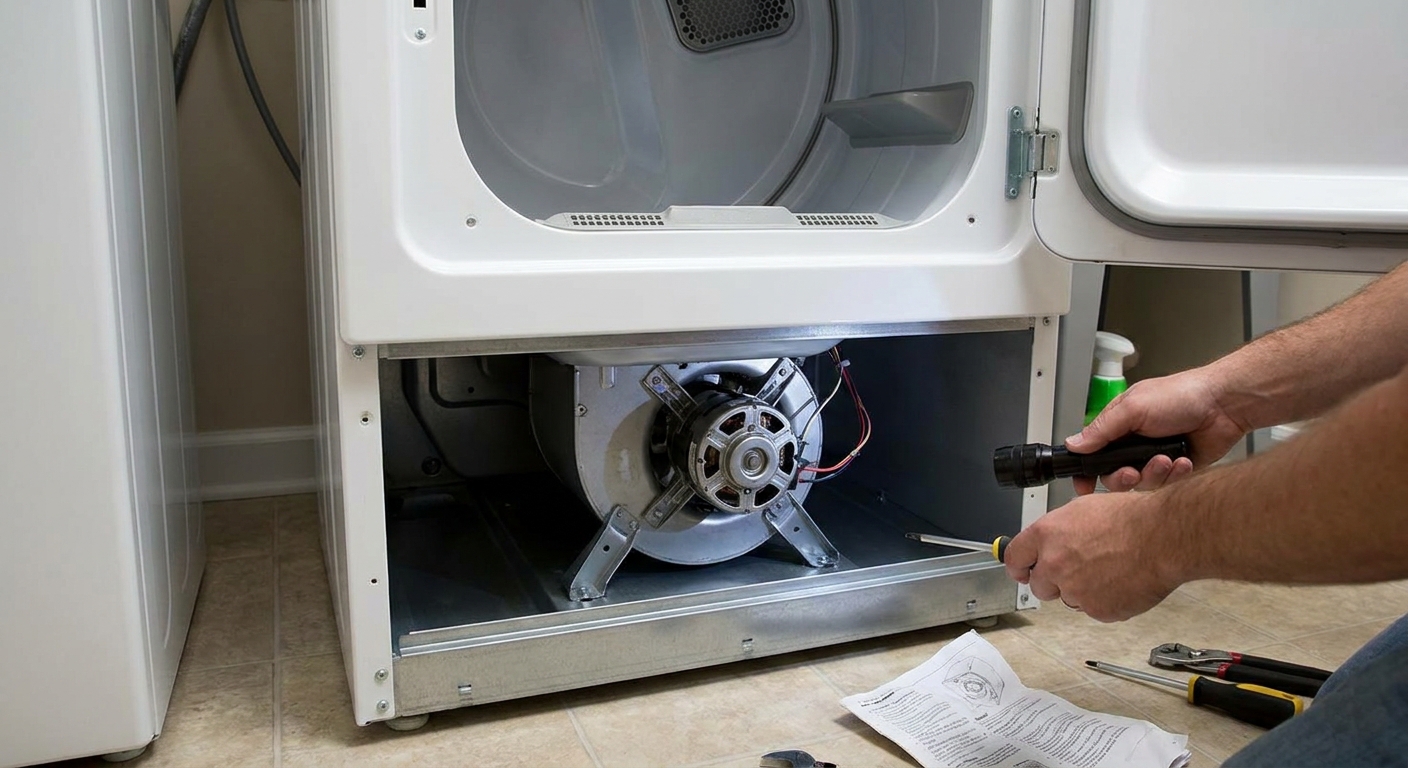
- Remove the rear panel (common on many electric models) or access the blower housing (often front access on many gas and some electric models).
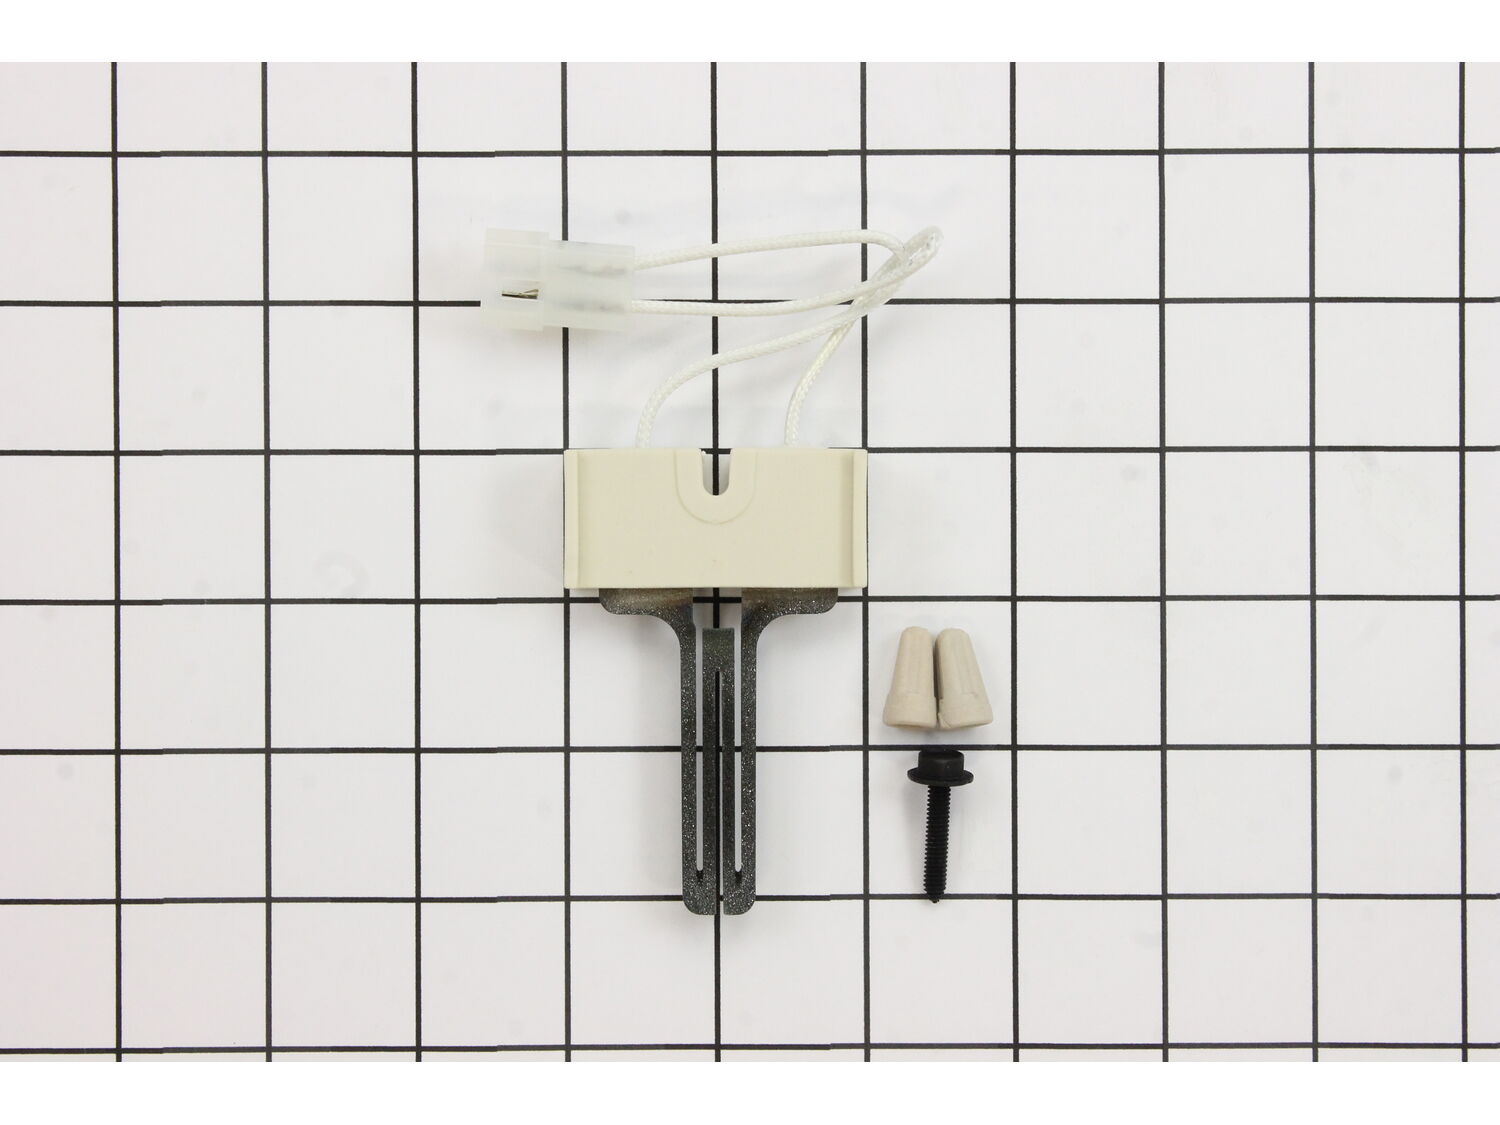
- Locate the thermal fuse, usually a small white or metal piece with two wires.
- Remove the wires and test for continuity.
If it reads open, it is blown and must be replaced. Thermal fuses are not resettable.
Do not skip this if the fuse is blown: fix the airflow
If you replace a thermal fuse without addressing the vent restriction, there is a good chance you will be doing this again. Before you button everything back up:
- Disconnect the vent from the back of the dryer and check for heavy lint buildup.
- Inspect the vent run to the outside for kinks, crushed flex duct, or long sagging sections that trap lint.
- Go outside and confirm the vent hood flap opens freely and is not packed with lint or a bird nest.
- Consider replacing old plastic or thin foil vent with rigid or semi-rigid metal where possible.
Step 4: Check the start switch
By this point you have ruled out the most common “interlock” problems that keep a dryer from starting. Next up is the start switch (the push-to-start button or start control behind the knob).
Symptoms that point here
- You press Start and feel no click or response.
- The button feels loose or stuck.
- You have intermittent starts, then eventually nothing.
Basic test (unplugged)
- Unplug the dryer.
- Access the control panel and locate the start switch.
- Remove wires (photo first), then test continuity while pressing the button.
If it does not change state, replace the switch. On many dryers, this is a simple swap once the control panel is open.
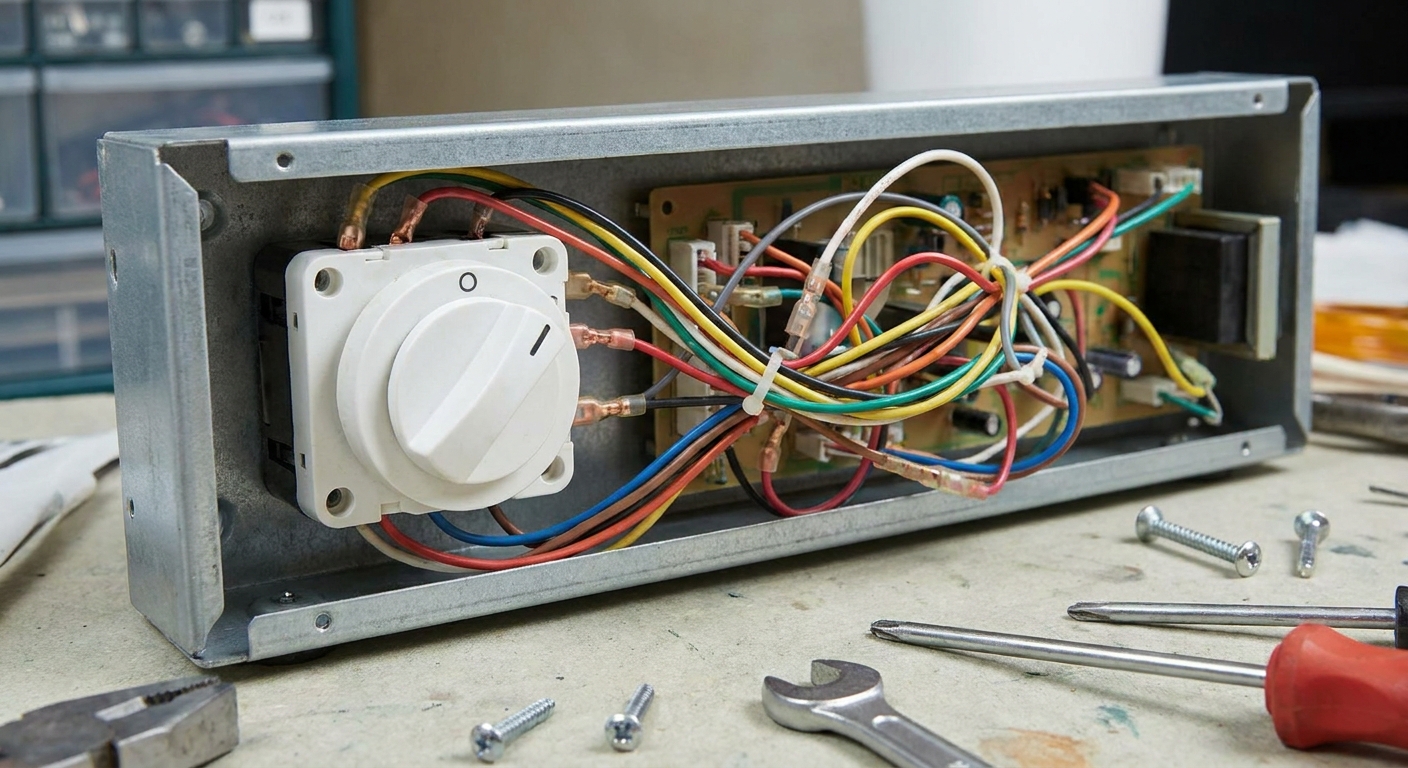
Step 5: Control settings, motor, and belt switch
If everything above checks out, you are getting into deeper territory: the control logic and motor circuit.
Two easy control checks first
- Make sure a cycle is selected. Some electronic models will not start if you have not actually chosen a cycle or time.
- Check Control Lock or Child Lock. On some dryers, lock mode makes the Start button appear dead.
Clues
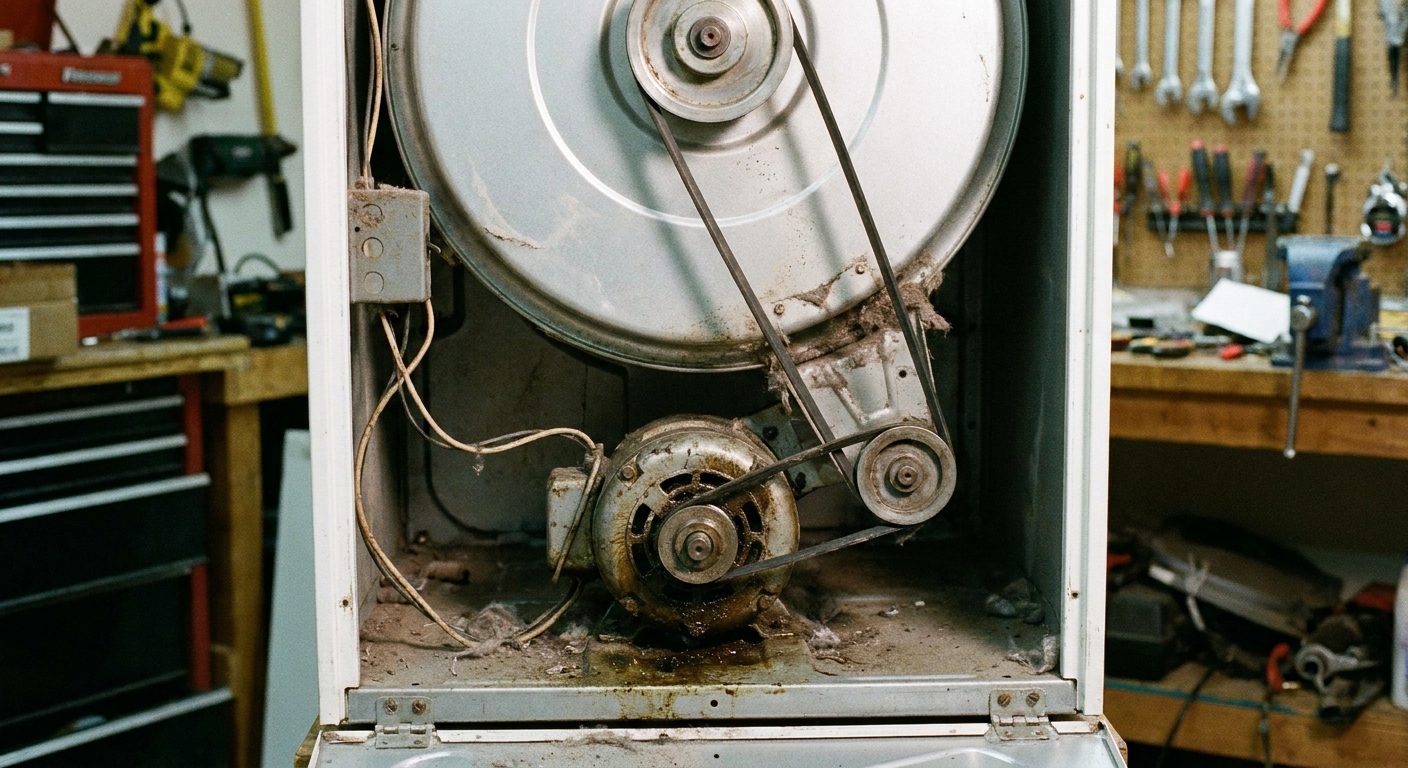
- Broken belt: some models will not start; others start but you might hear the motor run without the drum turning. (If yours truly does nothing, it may have a belt switch.)
- Motor issue: you may hear a faint hum or click, or you may get nothing at all depending on failure and design.
What I recommend
At this point, you can still DIY it, but it is more model-specific and involves more disassembly. If you are comfortable with that, look up your model’s wiring diagram (often inside the control panel or cabinet) and verify the motor circuit step-by-step. Common culprits in this layer include a belt switch (if equipped), motor, wiring connections, mechanical timer contacts on older units, or a control board relay on newer ones.
If you are not comfortable digging into the motor circuit, this is a smart place to call an appliance technician. Motors are also one of the pricier parts, so you want the diagnosis right before you spend money.
Fast checklist: no-start order
If you want the short version, here is the order I use in the field and at home:
- Power: plug seated, breaker fully reset, outlet has correct voltage.
- Door: door closes fully, strike intact, door switch has continuity.
- Thermal fuse: continuity check, then clean and correct vent restriction if blown.
- Start switch: continuity check while pressing.
- Controls and motor circuit: cycle selected, Control Lock off, then belt switch (if equipped), motor, wiring, timer or control board.
When to call for service
- Scorched plug, cord, or outlet.
- Any gas smell or you suspect a gas leak.
- You are not comfortable testing voltage or interpreting a wiring diagram.
- You have replaced a thermal fuse once already and it blows again. Something is overheating and needs a proper airflow and component check.
Dryers are very repairable, but they are also one of the most common sources of home laundry room fires when venting is neglected. If you take one thing from this page, let it be this: airflow matters.
FAQ
My dryer has lights but will not start. Is this the same problem?
Usually, yes. A no-start can happen with or without console lights depending on the model. Follow the same order: door switch and thermal fuse are still top suspects even when the panel lights up.
Can I bypass the thermal fuse to test the dryer?
I do not recommend bypassing safety devices. If you suspect the thermal fuse, test it for continuity with the dryer unplugged. If it is open, replace it and fix the airflow restriction that likely caused it.
Why would a clogged vent stop the dryer from starting?
A restricted vent can cause overheating. The thermal fuse is designed to open if temperatures go out of range. Once it opens, many dryers will not run at all until the fuse is replaced, though exact symptoms vary by design.
My dryer starts, tumbles, but there is no heat. What should I do?
That is a heating fault, not a no-start fault. Focus on the heating system troubleshooting for your dryer type.
My dryer runs but squeals loudly. Is that related?
That is usually a mechanical issue like rollers, idler pulley, belt, or motor bearings. It is a different symptom path than a dryer that will not start.