A dryer that squeaks, chirps, or squeals is basically asking for attention. The good news is the usual suspects are simple, mechanical wear parts: drum rollers, the idler pulley, and the drive belt. If you can handle a screwdriver and keep track of a few screws, you can usually fix the noise in an afternoon and save the service call.
I have pulled more than a few dryers apart where the “mystery squeak” turned out to be a roller that had worn into an egg shape or an idler pulley that sounded like a hamster wheel. Let’s get yours quiet again.
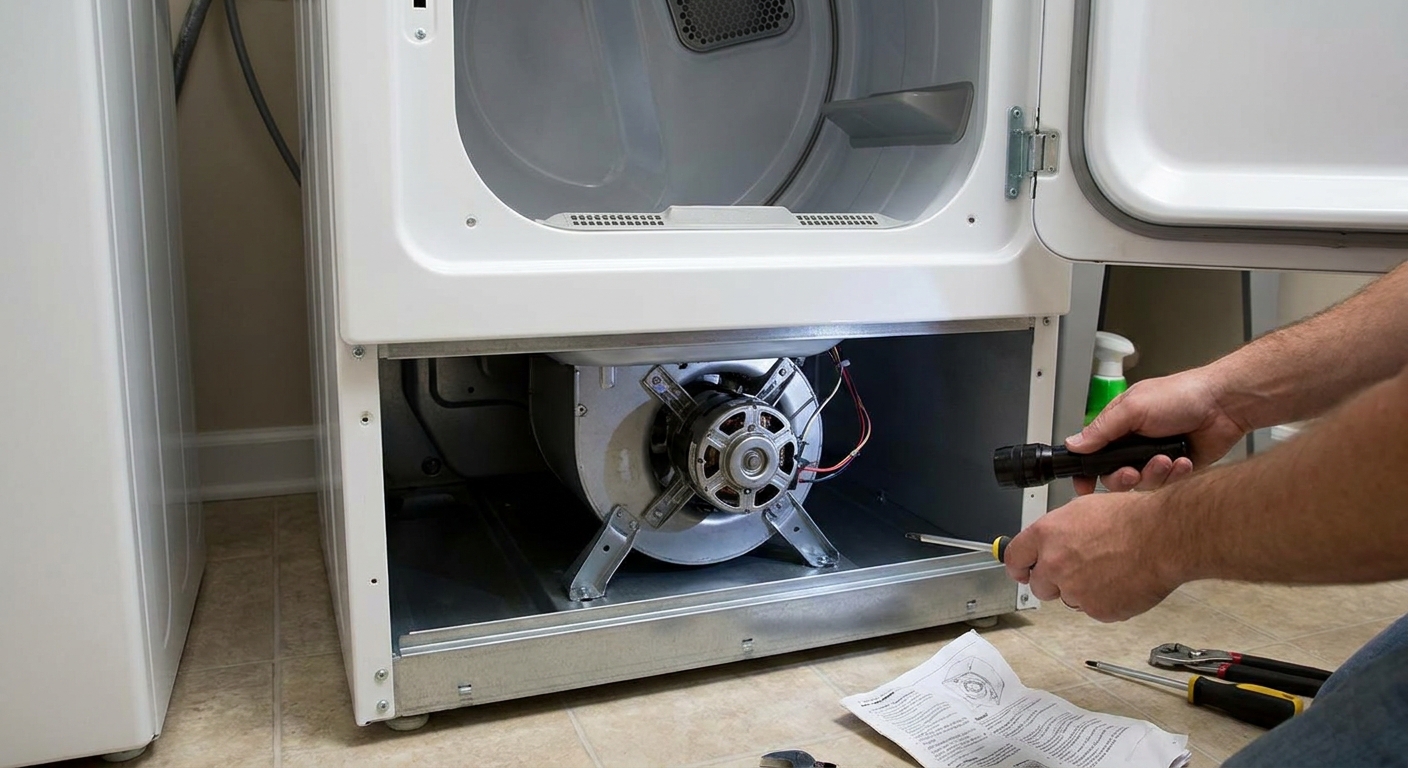
Before you start
Unplug and (if gas) shut off the gas
- Electric dryer: Unplug the cord.
- Gas dryer: Unplug and turn the gas shutoff valve to the off position. If you need to disconnect the gas line, stop and call a pro unless you are comfortable leak-testing after reassembly.
Dryers have sharp sheet metal edges inside. Gloves are not a bad idea. Also, take a couple quick photos as you go, especially of wire connectors and the belt routing.
Common squeak patterns
- Squeak that speeds up and slows down with the drum: often a roller, belt, or idler pulley.
- High-pitched squeal that starts a few minutes into the cycle: often an idler pulley or another part that complains more once it warms up (glides, rear bearing, or even belt slip can do this too).
- Thump-thump with a squeak: commonly a flat-spotted roller or something intermittently contacting the drum path (like a coin, screw, or bra wire). A blower issue is more likely to sound like a scrape, rattle, or squeal near the blower housing.
Tools and parts
- Phillips and flathead screwdrivers
- 1/4-inch and 5/16-inch nut driver (most common dryer sizes)
- Putty knife (helpful for spring clips on some tops)
- Vacuum with a crevice tool and a small brush
- Work light
- Needle-nose pliers (optional, for stubborn connectors)
Lubricant
Many modern dryer rollers and idler pulleys use sealed bearings and are not meant to be lubricated. Spraying oil everywhere usually makes a mess and can shorten belt life. If your dryer uses metal shafts with non-sealed, bushing-style rollers, some manufacturers allow a tiny amount of high-temperature light machine oil on the shaft, but check your manual or parts design first. Avoid grease unless your manufacturer specifically calls for it, because grease and lint are best friends in the worst way.
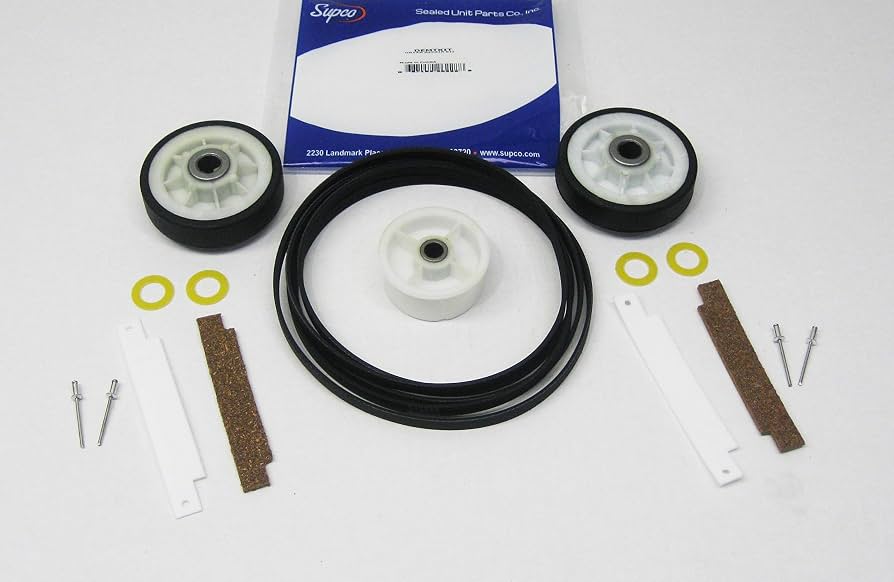
Replacement parts
If you can, look up parts by your model number (usually inside the door opening, on the frame). For many dryers, it’s smart to replace wear parts as a set:
- Drum rollers (often 2 or 4)
- Idler pulley assembly
- Drive belt
If one roller is worn, the others are usually not far behind. Kits are common and often cheaper than piecemeal parts, but pricing varies.
Parts tip: OEM parts tend to fit with less drama. Aftermarket kits can be fine, but roller diameter, shaft style, and pulley geometry can vary by model, so match by model number, not just by “looks about right.”
Confirm it is internal
Before you start pulling panels, rule out the simple stuff:
- Make sure the dryer is level and not rocking (a rocking cabinet can squeak against flooring).
- Check for items caught between the drum and front seal (coins, bra wires, small screws).
- Spin the drum by hand with the door open. If you hear the squeak or feel a rough spot, you are on the right track.
If the drum spin feels gritty or “notchy,” that’s usually rollers or the idler pulley.
Open the cabinet
Dryers vary, but most fall into one of these layouts. Pick the one that matches your machine. If you’re unsure, search your model number plus “front panel removal” and confirm screw locations before you force anything.
Design A: front panel off
- Unplug the dryer.
- Remove the lint screen.
- Remove the screws near the lint screen opening (often 2) that hold the top to the housing.
- Use a putty knife to release spring clips and lift the top.
- Remove screws securing the front panel (often inside the upper corners).
- Disconnect the door switch wire harness (note orientation).
- Lift the front panel up and off the lower tabs.
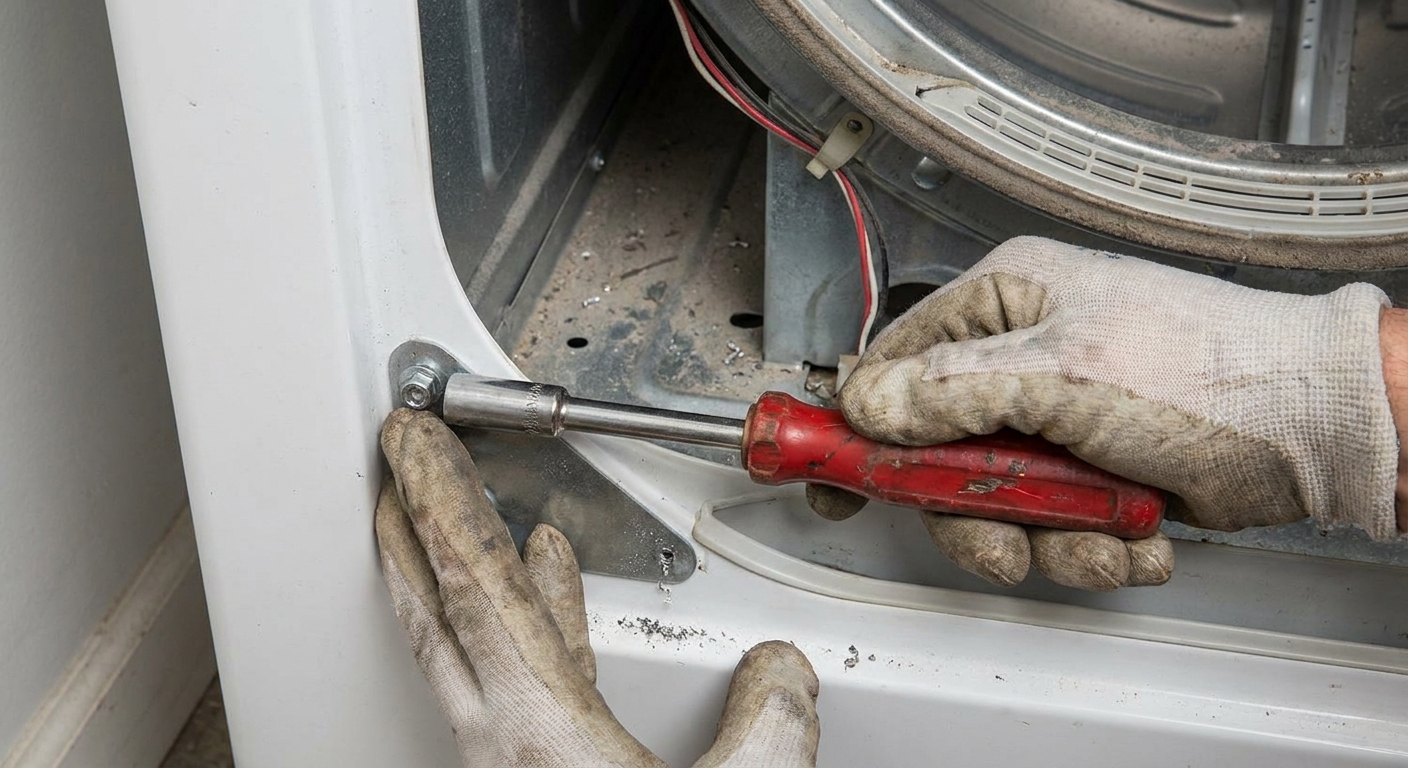
Design B: lower access panel first
- Remove the lower toe kick or access panel (clips or a couple screws).
- Release the belt tension at the idler (you can usually reach it now).
- Proceed to remove the front panel if needed for roller access.
Design C: rear panel access
Some dryers allow access to the belt and idler from the rear, but rollers are often still accessed from the front. Keep screws organized. Dryer screws love to look identical right up until you try to put them back.
Know what you are seeing
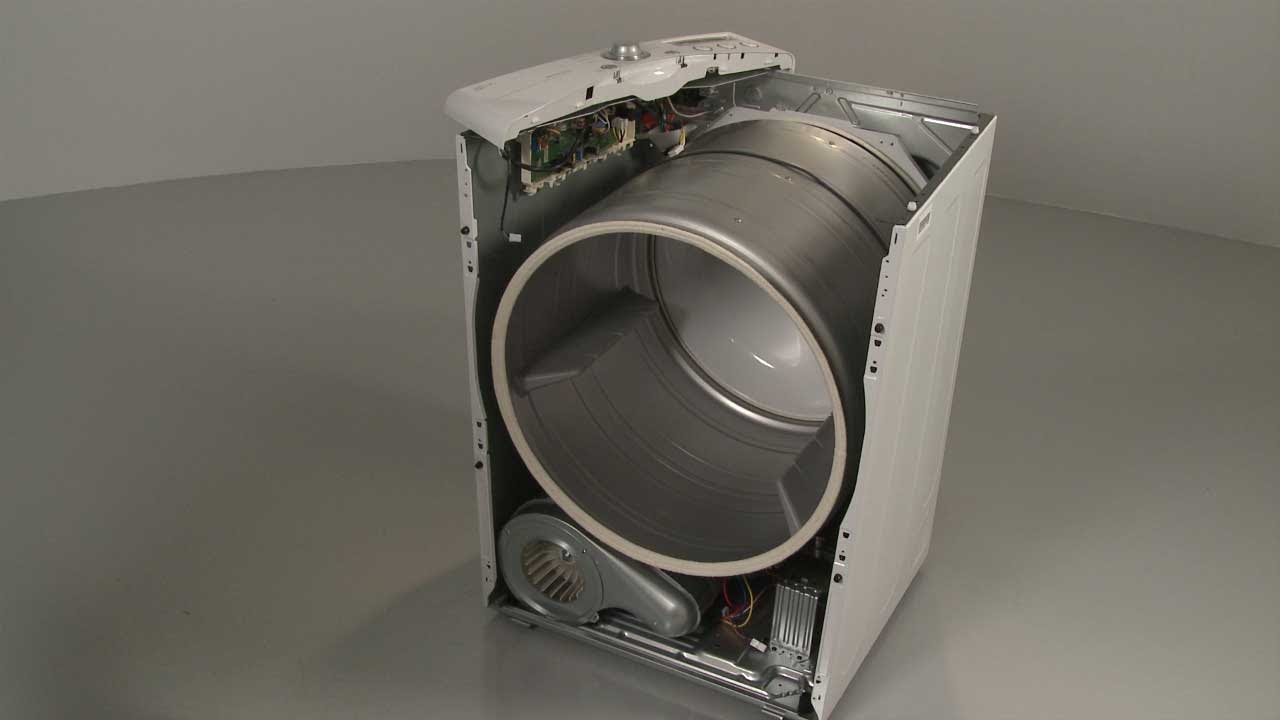
Once the front is off (or you have the drum exposed), you’ll typically see:
- Drum: the big cylinder
- Drive belt: wrapped around the drum
- Idler pulley: spring-loaded wheel that tensions the belt
- Drum rollers: usually at the back (and sometimes front) supporting the drum
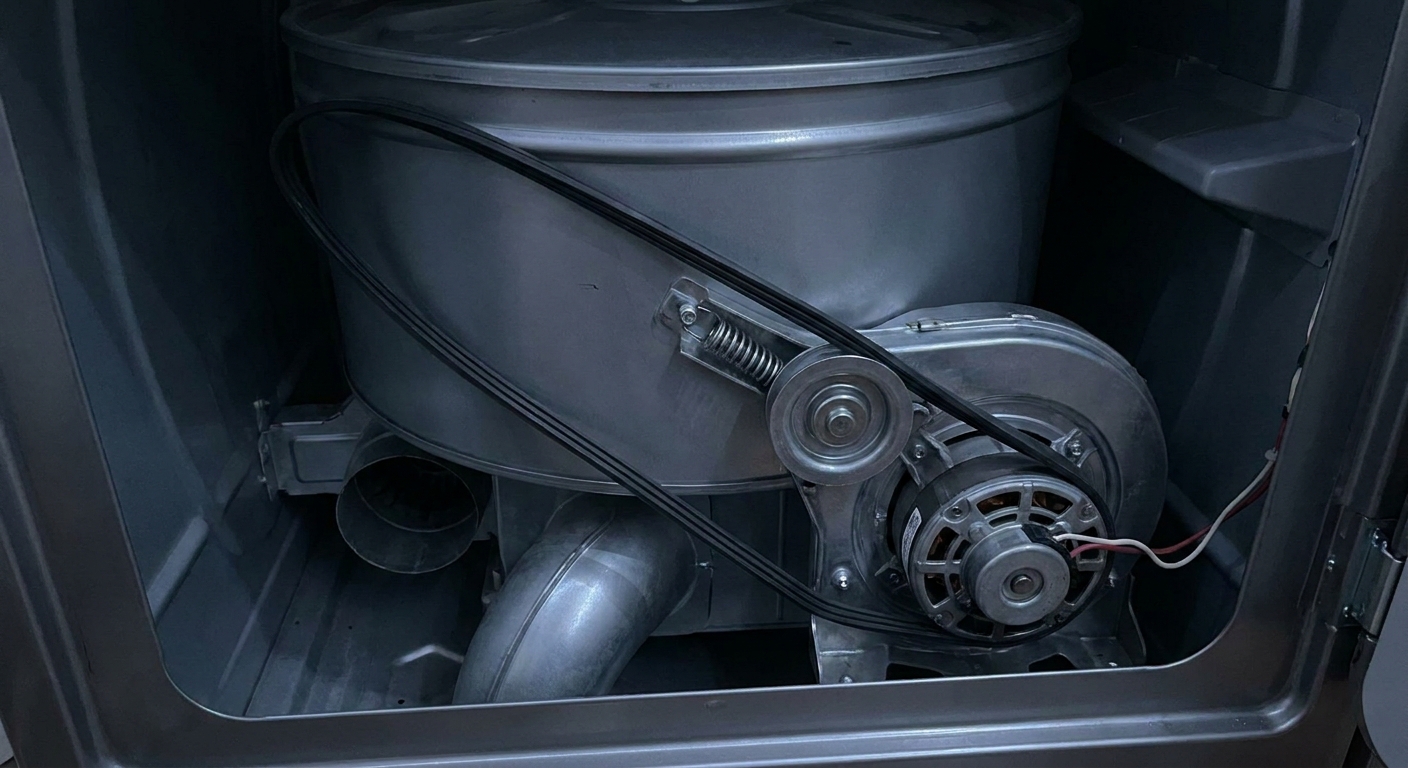
Remove the drum
- Take a photo of the belt path around the motor pulley and idler pulley.
- Reach under the drum and push the idler pulley to relieve tension.
- Slip the belt off the motor pulley, then off the idler pulley.
- Use the belt as a handle and lift the drum out carefully. It’s awkward, not heavy.
Now you have full access to the rollers and idler. This is also the perfect time to vacuum out lint. Lint buildup traps heat and makes everything work harder.
Check the drum rollers
How to tell a roller is bad
- Roller does not spin freely or feels gritty
- Roller wobbles side to side on its shaft
- Flat spot, cracks, or missing rubber
- Dark wear dust around the roller area
Quick test
Spin each roller with your fingers. A good roller spins smoothly and quietly. A bad one often squeaks right in your hand, which is oddly satisfying because it confirms you’re not imagining things.
Replace rollers
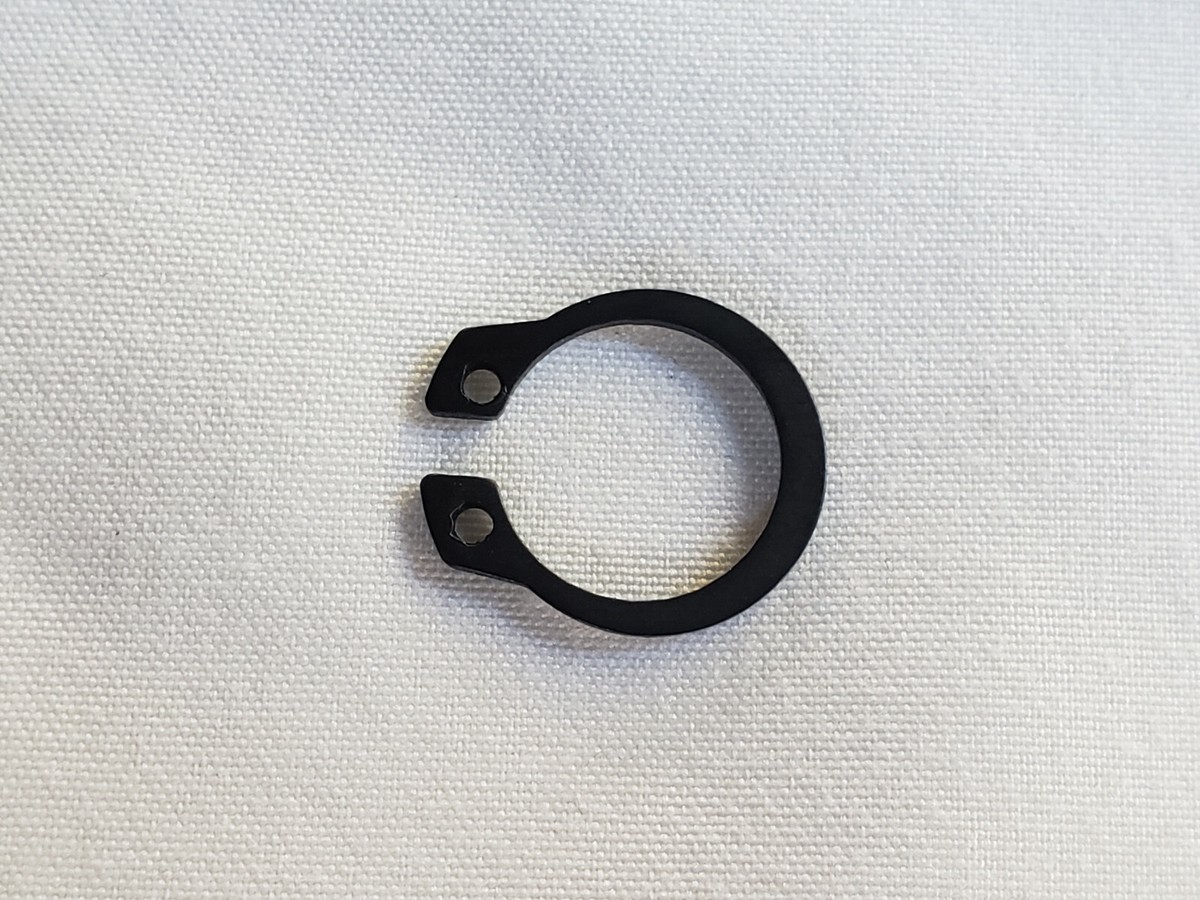
- Remove the retaining clip or triangular retainer from the roller shaft.
- Slide the old roller off.
- Clean the shaft with a rag. If there’s heavy scoring or the shaft is loose, replace the support bracket if your model allows it.
- Install the new roller and any washers or spacers in the same order.
- Reinstall the retainer clip securely.
Lubrication note: If your new roller uses a sealed bearing, do not oil it. If your model uses a bushing style roller and the manufacturer allows it, use only a drop of high-temperature light machine oil on the shaft, then wipe off excess. Oil flung onto the belt can cause slipping and noise.
Check the idler pulley
What a bad idler looks and sounds like
- Pulley squeaks or squeals when spun by hand
- Pulley has side-to-side play
- Groove is worn sharply or pulley face is shiny and uneven
- Spring arm is bent or doesn’t apply steady tension
Replace the idler pulley
On some dryers you can swap just the wheel. On others, it’s best to replace the whole idler assembly.
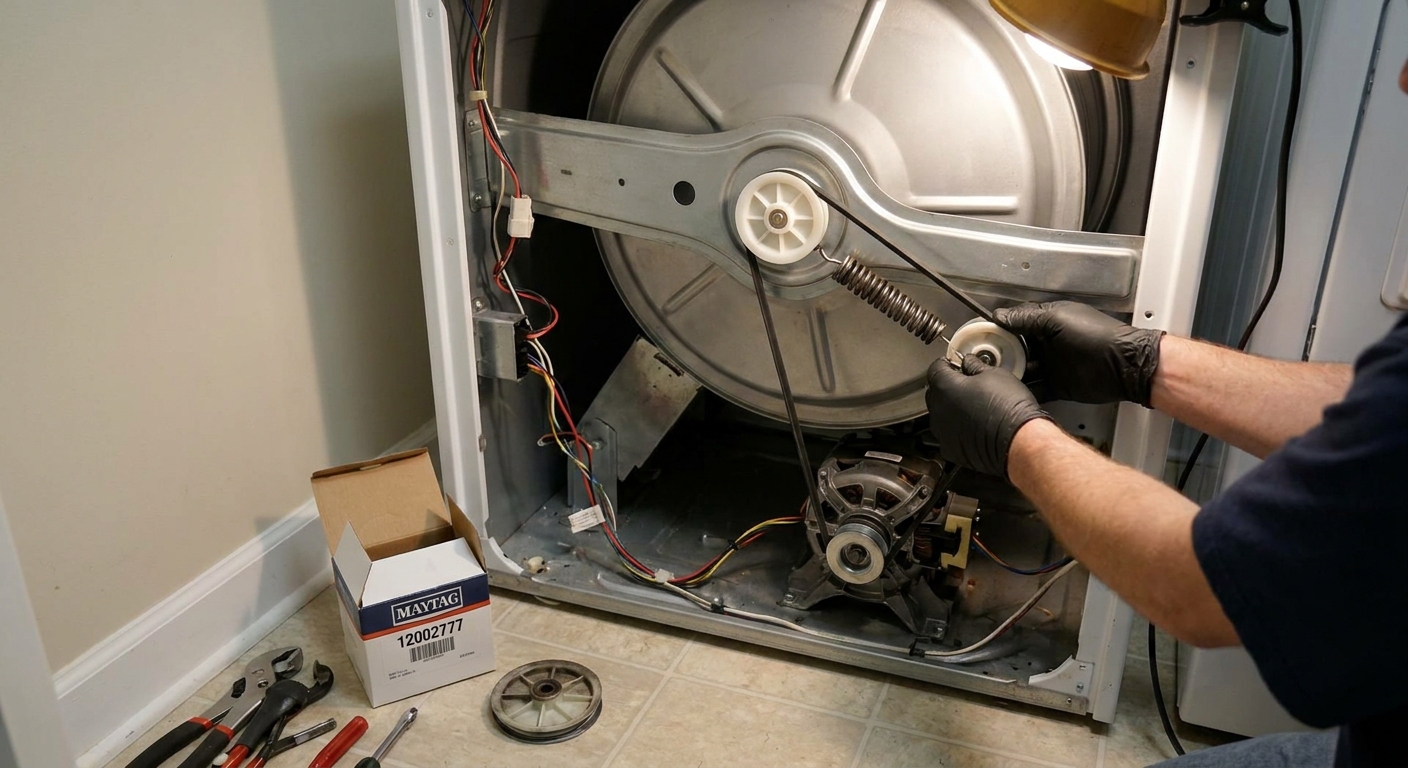
- Relieve tension and remove the belt from the idler.
- Remove the retaining fastener or clip holding the idler wheel.
- Note the order and orientation of any washers or spacers, then install the new pulley the same way.
- Tighten the fastener and confirm the pulley spins freely and sits square on the arm.
If the squeak changes pitch when you press lightly on the idler arm during operation, that’s another strong sign the idler is the culprit.
Check the drive belt
Signs the belt is worn
- Cracks, glazing (shiny surface), fraying, or missing ribs
- Belt edges look fuzzy or melted
- You see black dust under the belt path
- The belt has stretched and rides low or slips
Replace the belt
- Remove the drum (as described earlier).
- Slip the old belt off the drum.
- Place the new belt around the drum in the same position as the old wear track, usually a few inches in front of the rear edge of the drum.
- Reinstall the drum and route the belt around the motor pulley and idler pulley using your photo for reference.
Belt routing tip: Routing varies by model, including whether the belt goes over or under the idler. Use your photo, your manual, or a model-specific diagram. Wrong routing can make noise, throw the belt, or chew it up quickly.
The belt should be snug and centered in the idler and motor pulley grooves. If it’s twisted, it will squeak, wear fast, or hop off.
Clean while you are in there
This is my “since we’re already here” speech. With the drum out, take 5 to 10 minutes to:
- Vacuum lint from the cabinet base and corners
- Brush lint off the motor and around the blower housing intake
- Check the felt seals (front and rear, if equipped) for tears or bunching
Lint buildup can contribute to heat issues and makes bearings run hotter, which can make noises worse.
Reassembly and test
- Reinstall the drum, using the belt to help position it on the rear rollers.
- Route the belt correctly around the motor pulley and idler pulley.
- Spin the drum by hand several turns. It should rotate smoothly without squeaks or binding.
- Reinstall the front panel, reconnect the door switch, and lower the top.
- Reinstall lint screen screws and the lint screen.
- Plug the dryer back in (and turn gas back on if applicable).
- Run a short timed dry with the dryer empty and listen.
If the squeak is gone but you hear a light rubbing, double-check the drum is seated on the rollers and the front panel is aligned on its tabs.
If it still squeaks
Blower wheel
A loose blower wheel or a sock that made it past the lint screen can make a squeak or scrape that mimics roller noise. If you hear scraping, rattling, or squealing near the blower housing area, inspect the wheel for cracks, wobble, or debris.
Drum glides
Some dryers use plastic or felt glides at the front of the drum instead of front rollers. Worn glides can squeak and also cause a grinding sound. Look for missing glide material or plastic dust near the front rim.
Rear drum bearing
A rear bearing can squeal or rumble when it wears. If your dryer uses a rear bearing instead of rear rollers, inspect it for scoring and play. This repair is still DIY-friendly, but it’s different from roller replacement.
FAQ
Can I just spray WD-40 to stop the squeak?
I wouldn’t. WD-40 and similar sprays can attract lint and can contaminate the belt and pulley surfaces. Most squeaks are from worn parts, not dry parts. Replace the roller or idler that’s making noise.
Do I have to replace all the rollers?
You can replace only the bad one, but if your dryer has multiple rollers and one is worn enough to squeak, the others have the same age on them. Replacing them as a set is usually the best long-term play.
How long should this repair take?
For a first-timer, plan on 1 to 2 hours including cleaning. Once you have done it once, roller and idler jobs can be pretty quick.
What if the drum won’t spin by hand after reassembly?
Stop and unplug the dryer. Most often the belt is routed incorrectly, the drum is not sitting on the rear rollers, or a panel is pinching the drum. Back up a step and verify alignment and belt path for your specific model.
When to call a pro
If you find a burned wire, a melted connector, a seized motor, or you suspect a gas leak, it’s time to bring in a technician. Also, if the noise is accompanied by a strong burning smell that returns immediately after you cleaned the lint path, stop using the dryer until it’s inspected.
Quiet dryer checklist
- Unplugged and safe to work on
- Drum removed and cabinet vacuumed
- Rollers spin smooth with no wobble
- Idler pulley spins quiet and true
- Belt is not cracked or glazed and is routed correctly
- Drum spins by hand smoothly before power test
Do those things and you will fix the squeak in the vast majority of dryers I see. And you will get that satisfying moment when the dryer runs and all you hear is, well, laundry.