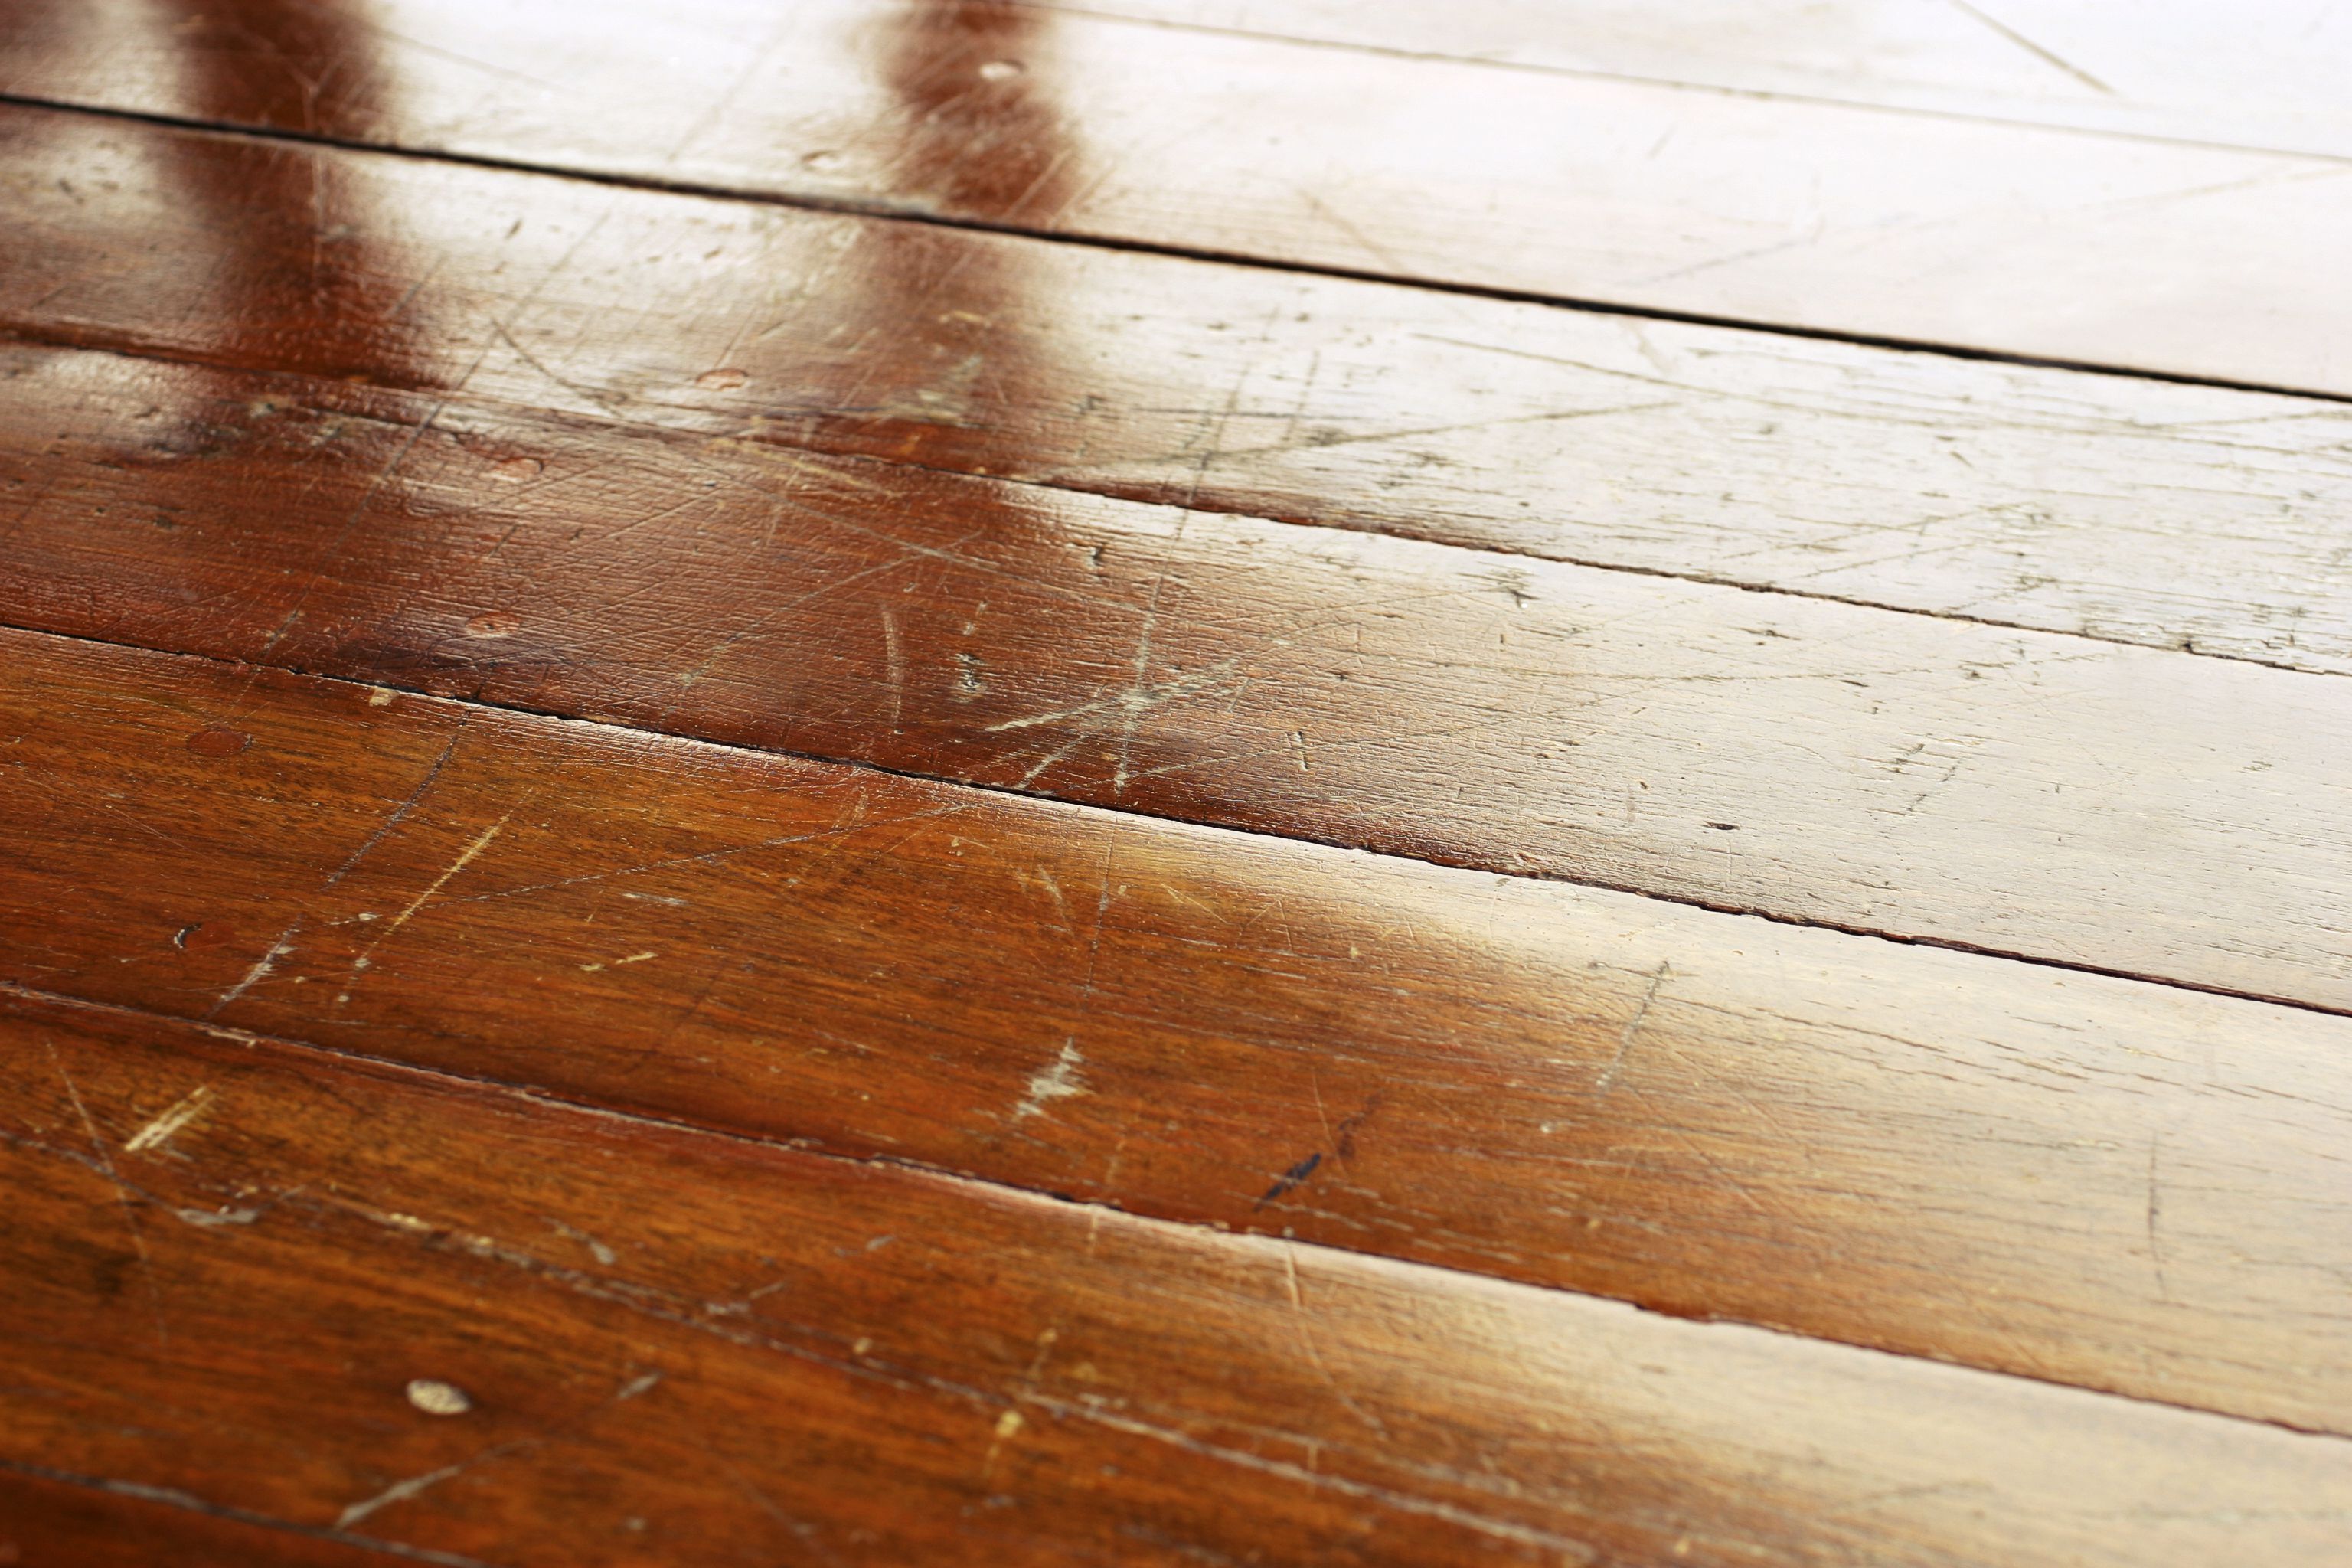
If you have hardwood floors, you probably have scratches. It is basically a law of physics, right up there with "the dog will find the one spot you forgot to put a rug." The good news is that most floor damage is cosmetic and fixable with basic tools and a little patience.
This guide walks you through seven proven DIY methods, starting with the easiest surface fixes and working up to deeper repairs. Pick the method that matches the damage, and you will get the best result with the least fuss.
First: figure out what you are fixing
Before you buy anything, do two quick checks. They prevent the most common DIY mistake I see, which is using the wrong product for the floor finish.
1) Is it a scuff, a scratch, or a gouge?
- Scuff: looks like a mark on top of the finish. Often rubber or grime. You cannot feel it with a fingernail.
- Scratch: you can feel it lightly with a fingernail. It may be in the finish only, or it may cut into the stain or bare wood.
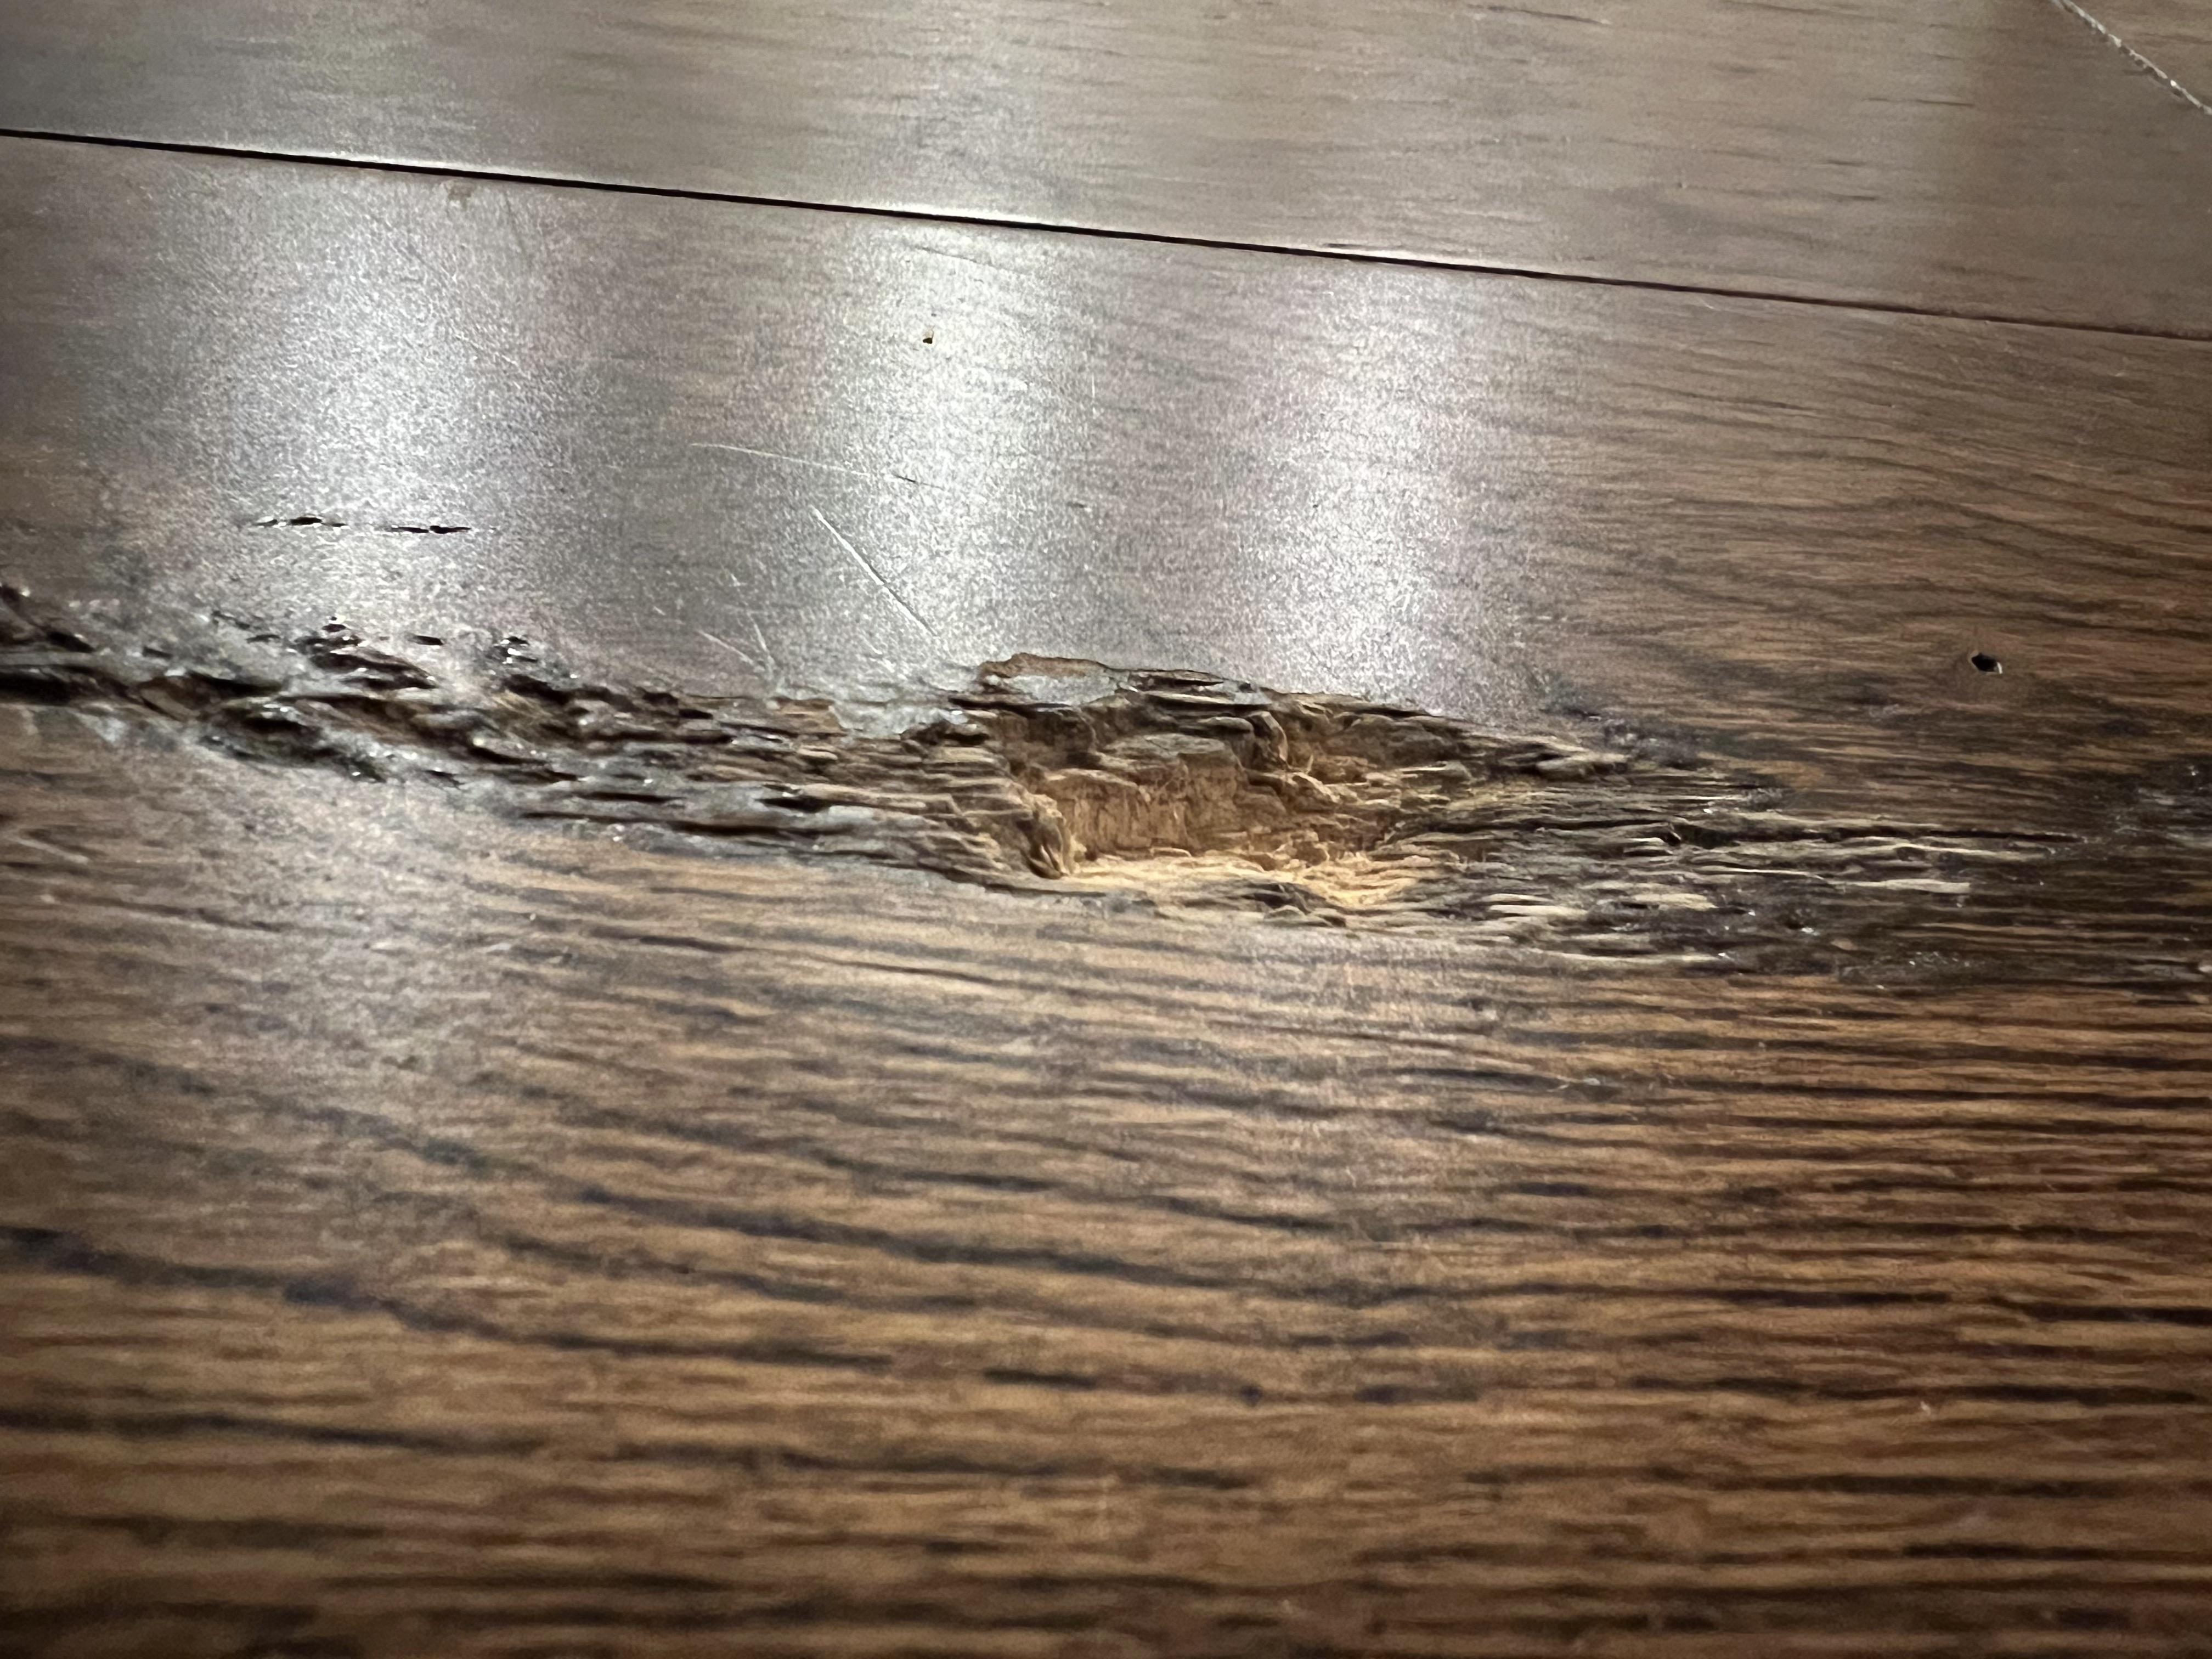
- Gouge: a dent or missing wood. Your fingernail drops into it.
2) What finish do you have?
Most modern site-finished floors are polyurethane (water-based or oil-based). Some newer and prefinished floors have UV-cured urethane or aluminum-oxide factory finishes, which can be tougher to spot-recoat seamlessly. Older homes may have wax or shellac.
If you are not sure, do this in an out-of-the-way closet corner. These are screening tests, not courtroom proof. Dirt, old polish, and past recoats can make results messy. Lacquer or varnish can also complicate the picture.
- Put a drop of mineral spirits on a rag and rub. If the rag gets a brownish waxy residue and the floor gets tacky, you likely have a waxed floor or wax contamination on top.
- Put a small dab of denatured alcohol on a rag and rub. If the finish softens or smears, it may be shellac.
If you suspect wax or shellac, skip polyurethane touch-up products and stick with wax-based methods, or plan on a more involved refinish.
Quick safety note
Work with ventilation, wear gloves for solvents and finishes, and keep rags used with mineral spirits, alcohol, stain, or polyurethane away from heat. Oily and solvent-soaked rags can be a fire risk. Lay them flat to dry outdoors, then dispose of them per your local rules.
Method 1: Buff out scuffs
If the mark is on the surface, try cleaning and buffing before you do anything else. You would be shocked how many "scratches" are just rubber, grime, or a tiny bit of finish transfer.
Best for
Rubber scuffs, dull streaks, light surface marks you cannot catch with a fingernail.
What you need
- Microfiber cloth
- Floor cleaner approved for hardwood
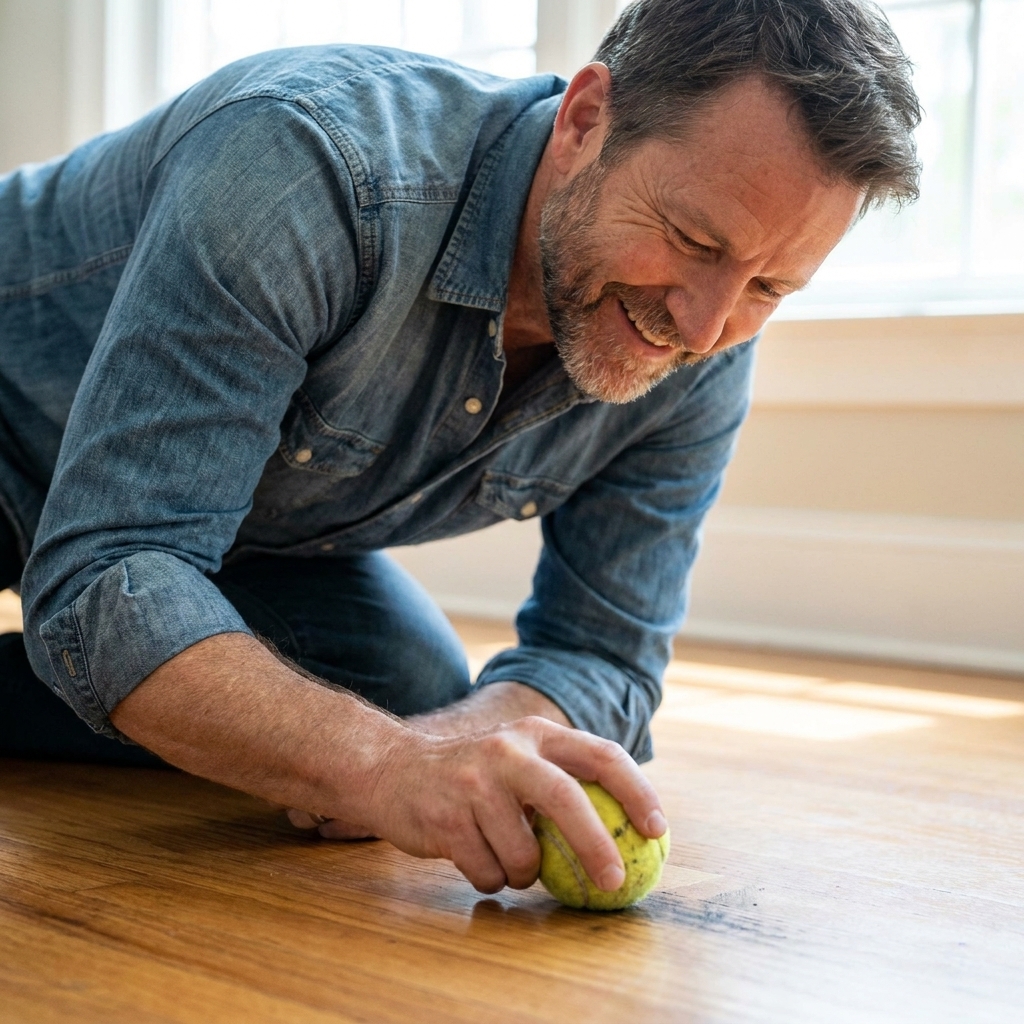
- Tennis ball (yes really) or a white nylon pad
Steps
- Vacuum or dust the area first. Grit is sandpaper.
- Mist cleaner on the cloth, not directly on the floor.
- Rub the mark with the cloth. If it is stubborn, press a tennis ball against it and twist, or use a white nylon pad with gentle pressure.
- Wipe dry.
Tip: Avoid magic erasers on polyurethane floors unless you are very careful. They are micro-abrasive and can leave a dull spot that is harder to blend than the scuff was.
Method 2: Use a stain marker
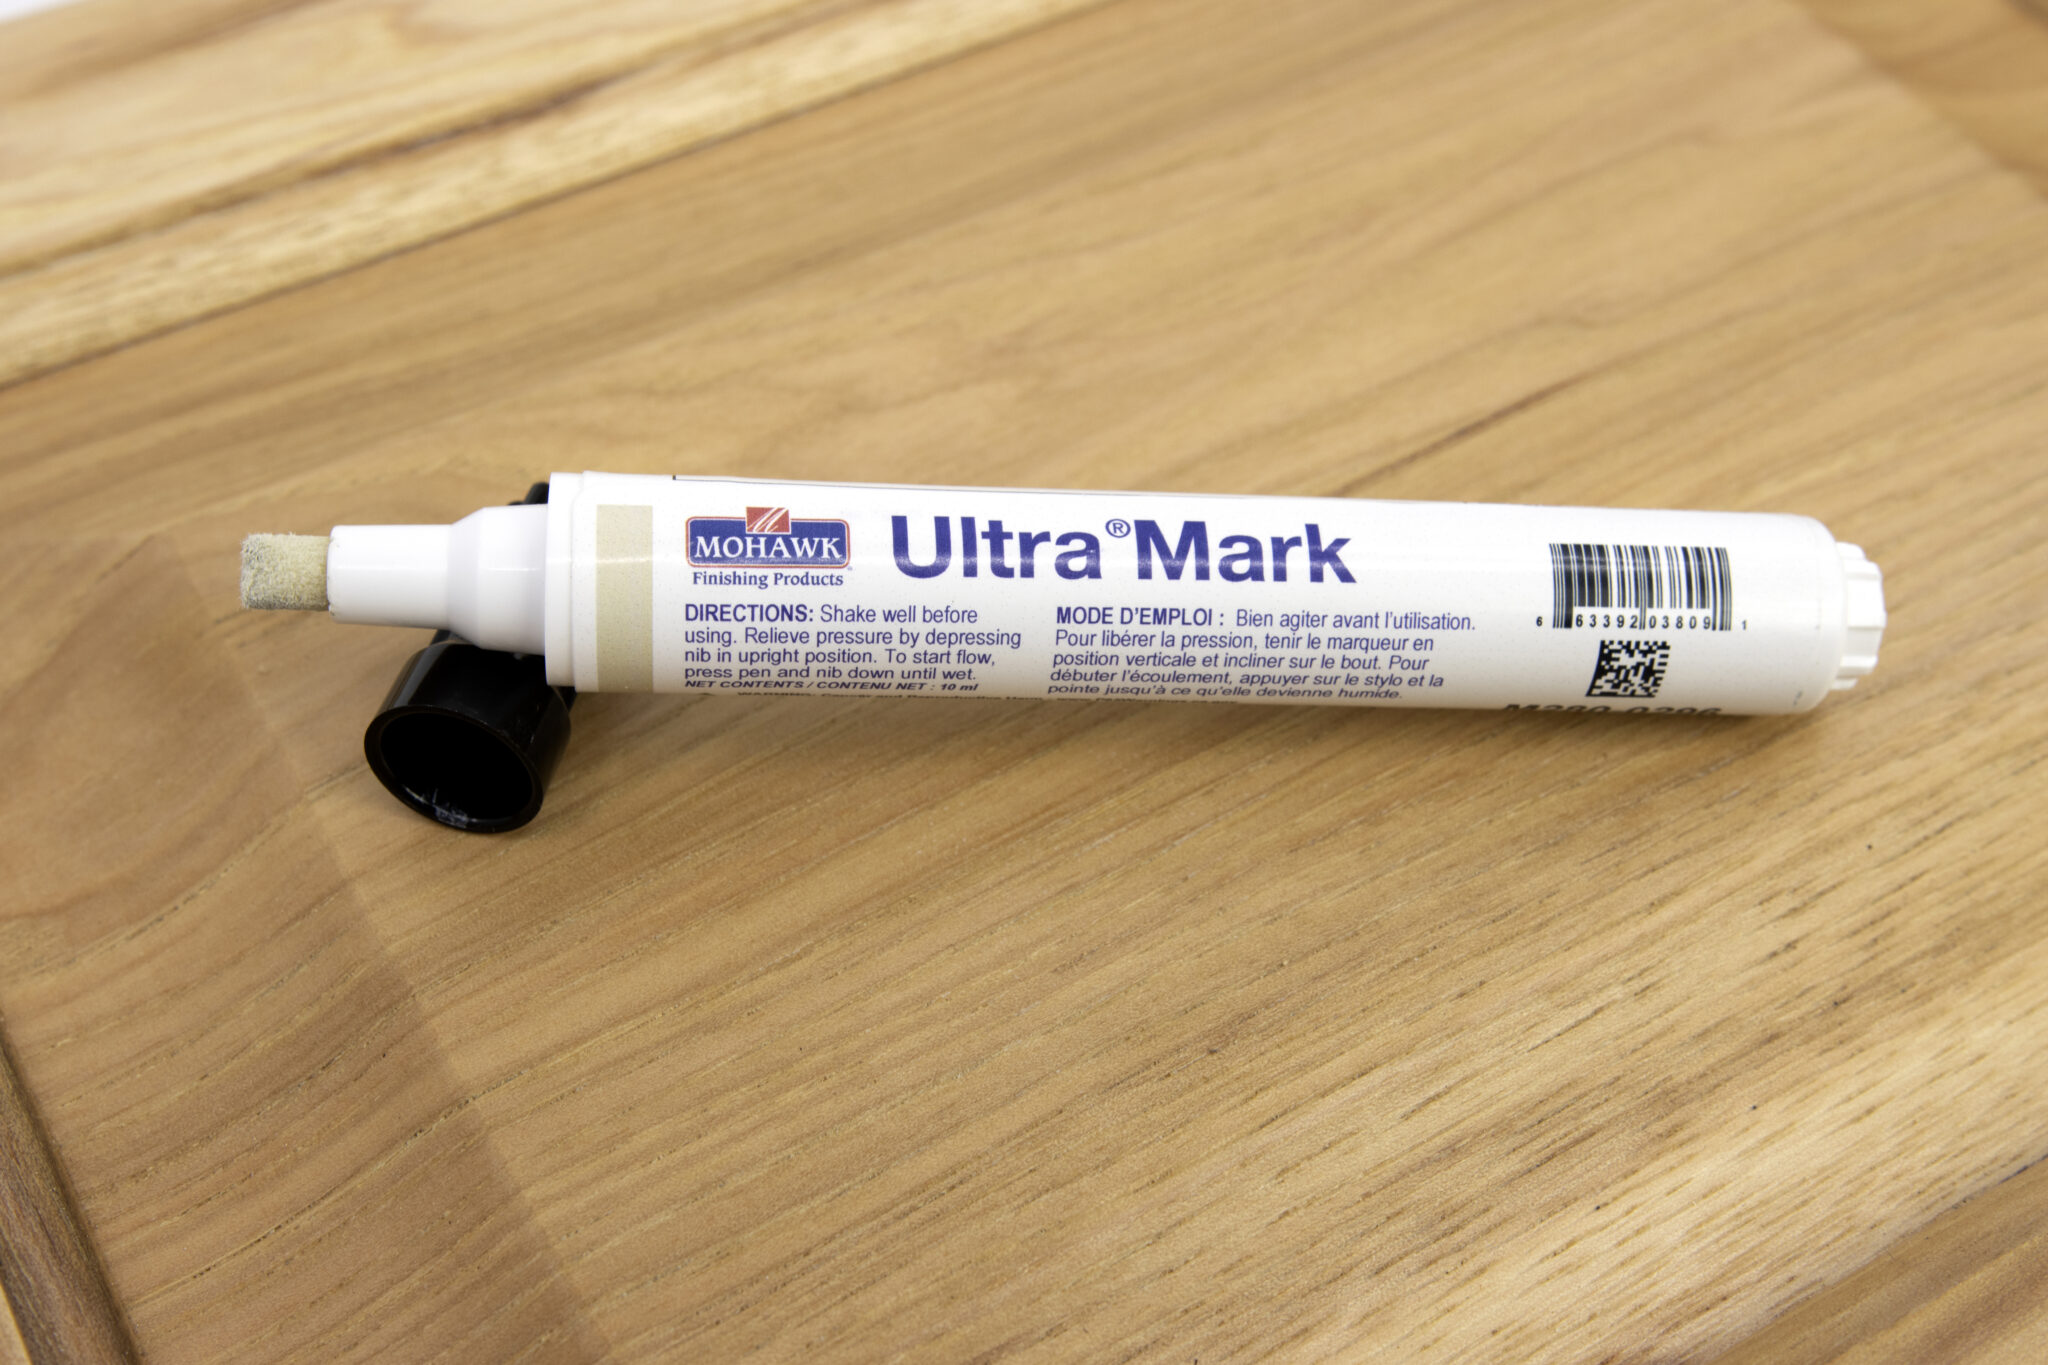
For thin scratches that look white or lighter than the surrounding area, a touch-up marker is the quickest way to make them disappear from standing height.
Best for
Hairline scratches that cut through stain color but are not deep dents.
What you need
- Hardwood floor touch-up marker or blend pencil in a close color match
- Clean rag
- Cotton swab for tight lines
Steps
- Clean the scratch and let it fully dry.
- Test the marker in a hidden spot. Color shifts as it dries.
- Run the marker along the scratch, then immediately wipe across the grain with a rag to feather the edges.
- If the scratch is still obvious, repeat with a slightly darker shade just in the center of the line, then blend.
Reality check: Markers are camouflage, not structural repair. They are great for quick wins, but they can fade with mopping and foot traffic. Keep the marker in your junk drawer for touch-ups.
Finish check: Some markers and blend pencils can look shiny from certain angles. After it dries, buff with a clean cloth and look at it in daylight and at night before you declare victory.
Method 3: Walnut or scratch cover
This is an old-school trick that works surprisingly well on certain floors. The oils and pigments can darken a light scratch and make it blend in.
Best for
Small shallow scratches on darker stained floors.
What you need
- Raw walnut (shelled) or a commercial scratch cover product
- Soft cloth
Steps
- Clean the area first.
- Rub the walnut meat directly along the scratch with firm pressure.
- Let it sit 5 minutes, then buff with a clean cloth.
Heads up: This is not ideal for very light floors and it can leave an oily spot if you overdo it. Use a tiny test area first.
Method 4: Wax fill sticks
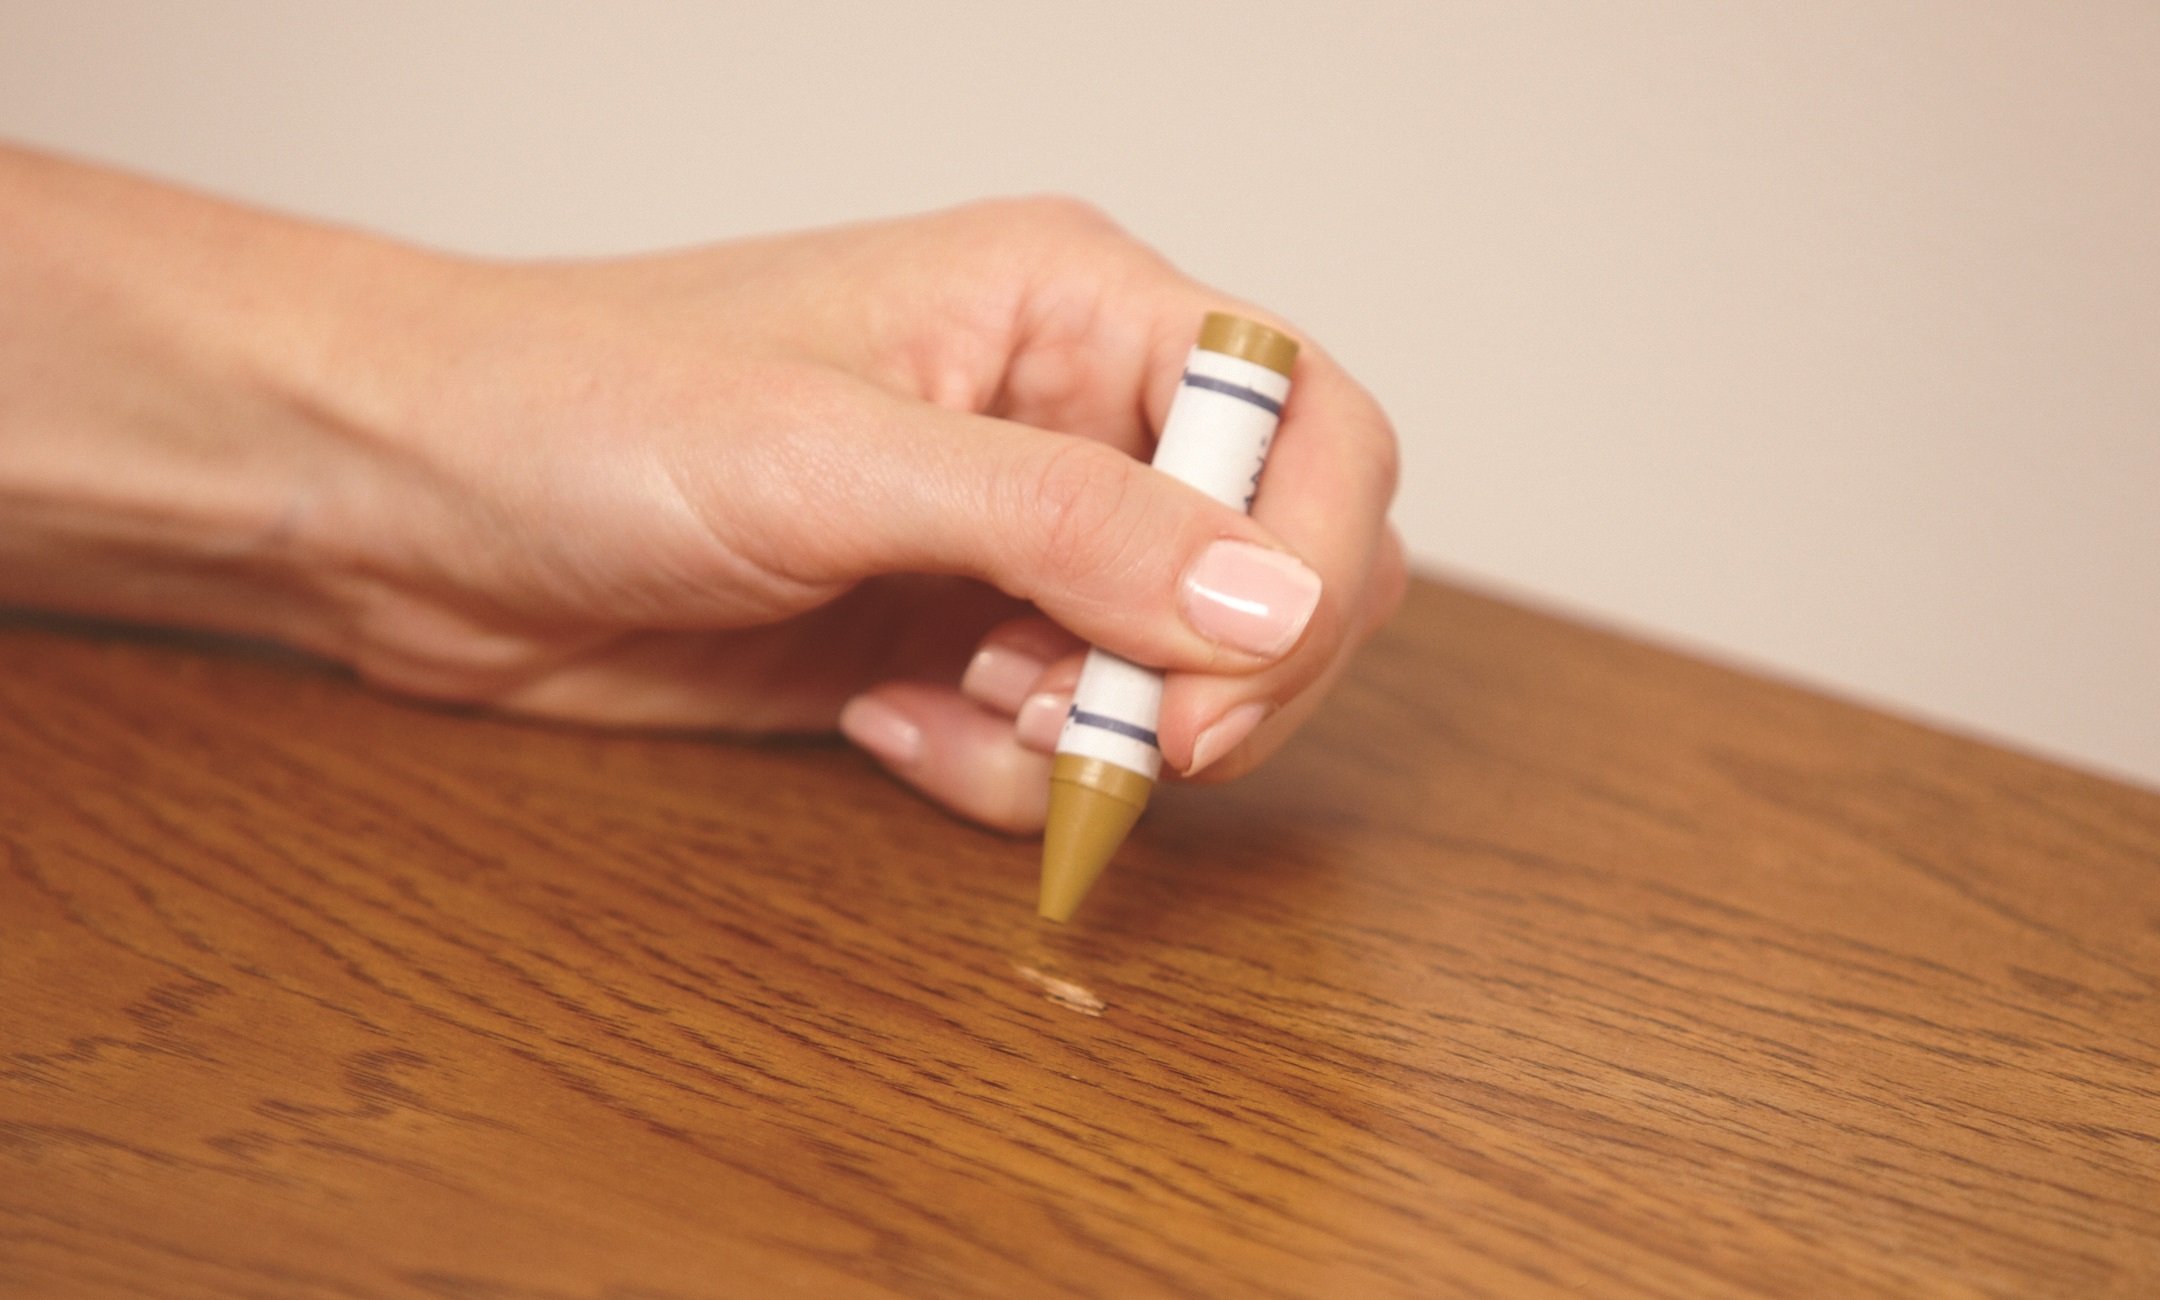
Wax fill sticks are one of my favorite homeowner tools because they are low drama. You press wax into the scratch, level it, and you are done. If you mess up, you can remove it and try again.
Best for
Scratches you can feel with a fingernail, small chips, minor gaps at board edges.
What you need
- Wax fill stick (often sold as "blend stick") in matching color
- Plastic scraper or old credit card
- Soft cloth
Steps
- Clean and dry the damaged area.
- Rub the wax stick firmly across the scratch to pack it in.
- Scrape with a plastic edge, working with the grain, to remove excess wax.
- Buff with a cloth and check the repair from a couple angles.
Pro tip: For tricky color matches, layer two colors. Use the lighter tone first, then add a touch of darker tone just in the deepest part.
Heads up: Wax can look a little glossy until it is buffed well, and it can attract dirt if you leave residue on the surrounding finish. Keep your scraping tight and your buffing thorough.
Method 5: Wood filler for gouges
Once wood is missing or crushed, wax is usually too soft long-term. That is when you step up to a hardening filler. The key is choosing the right type and not smearing it all over your floor like peanut butter.
Best for
Deep gouges, dents, and chips where you can see raw wood or feel a divot.
What you need
- For small repairs: stainable wood filler or color-matched wood putty
- For bigger gouges: two-part epoxy wood filler (hard, durable)
- Putty knife
- Razor scraper (optional but very helpful for leveling)
- 220-grit sandpaper (and a sanding block)
- Vacuum and microfiber cloth
- Matching stain (if needed) and polyurethane for topcoat (if needed)
Steps
- Clean the area and remove loose fibers. If the gouge has splinters, trim them carefully with a sharp utility knife.
- Apply filler with a putty knife, pressing it into the gouge. Slightly overfill.
- Let it cure fully. Read the label. This is where patience matters.
- Level the patch. If you can, use a razor scraper to shave the filler nearly flush before sanding. It helps you avoid scuffing a wide halo into the surrounding finish.
- Sand with 220-grit until flush. Keep the sanding tight to the repair so you do not dull a larger area than necessary.
- If you used stainable filler, test stain on the patch. Apply stain in thin coats until it blends.
- Seal with a compatible finish. For most site-finished floors, that is polyurethane. Use a small artist brush and feather the edges.
Important: Many pre-colored wood putties are meant for finished surfaces and do not accept stain. Many stainable fillers still do not match perfectly. If your floor is in a high-visibility area, practice on a scrap of wood first.
Method 6: Steam dents
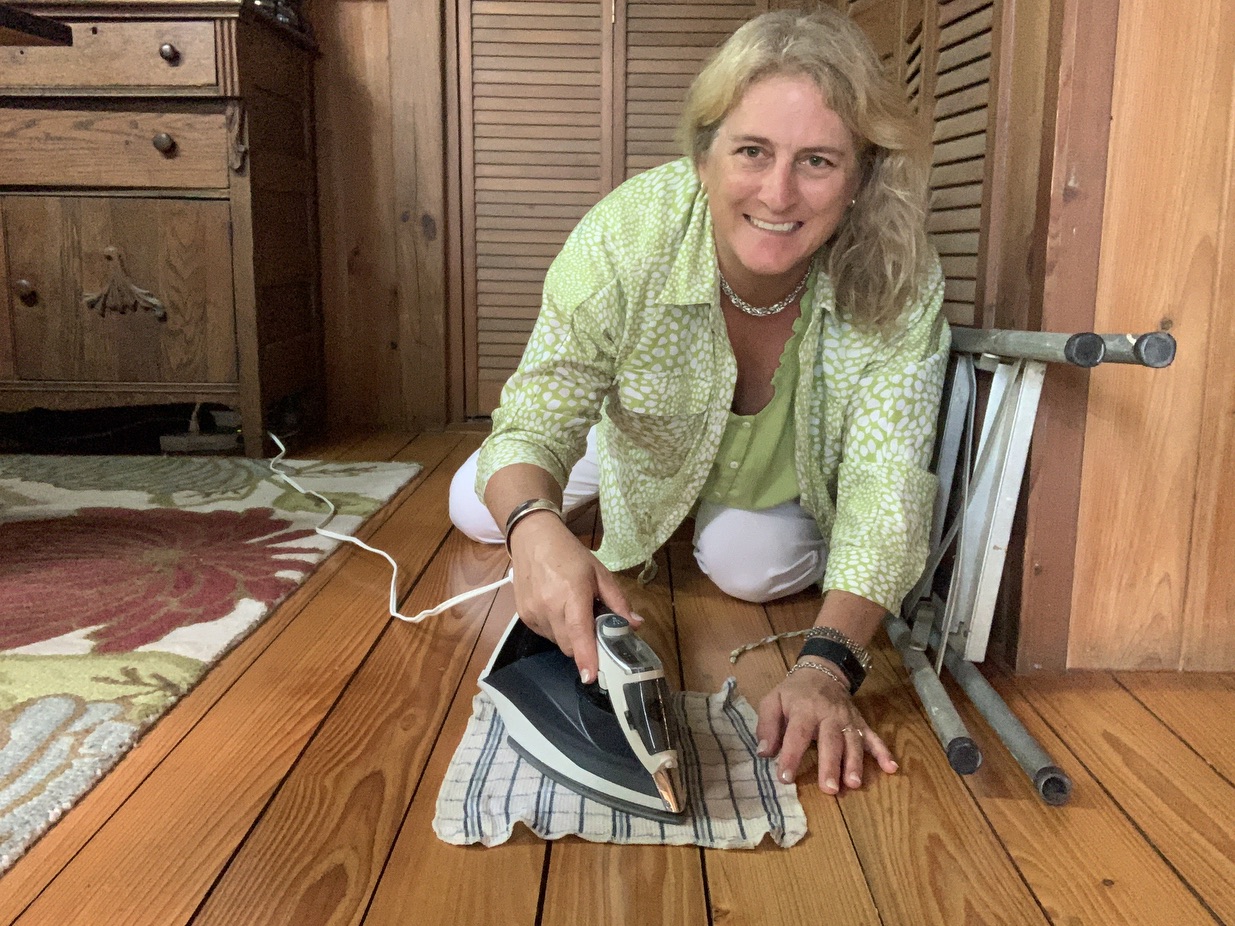
If you have a dent where the wood fibers are smashed down but not torn out, you can sometimes raise it back up with moisture and heat. This is one of those satisfying little repairs that makes you feel like a wizard.
Best for
Dents without broken fibers, especially on solid hardwood.
What you need
- Clean water
- Small rag or paper towel
- Household iron
Steps
- Put a few drops of water on the dent.
- Lay a damp rag over it.
- Touch the iron to the rag for 2 to 5 seconds. Lift, check, repeat as needed.
- Stop as soon as the dent rises close to flush. Let it dry completely.
Reality check: Results vary. This works best on unfinished wood or where the dent has cracked the finish enough for moisture to reach the fibers. On many polyurethane-finished floors, the intact clear coat can limit swelling.
Caution: Too much heat or moisture can discolor the finish or cause a cloudy white spot (blushing). Work in short bursts. If the floor is waxed or shellac, this method can get messy fast.
Method 7: Spot sand and recoat
When scratches are widespread or the finish is worn through in a traffic lane, touch-up pens will not cut it. A careful spot recoat can improve the look, but it is also the method most likely to show edges if you rush it.
Best for
Scratches and wear that are mostly in the clear coat, cloudy patches, dull high-traffic spots.
What you need
- 220-grit sandpaper and sanding block (or a fine sanding sponge)
- Vacuum and microfiber cloth
- Manufacturer-approved tack cloth (optional) or a clean, slightly damp microfiber for dust pickup
- Polyurethane that matches your floor (water-based vs oil-based)
- Small high-quality brush or foam applicator
- Painter’s tape (optional, used carefully)
Steps
- Confirm the finish type. If you are unsure, do not guess. Wax contamination and some factory UV-cured finishes can cause adhesion failure. If your floor is prefinished and the finish seems extremely hard and slick, expect spot recoats to be harder to blend.
- Clean thoroughly and let dry.
- Do a quick bond test. In a hidden area, scuff sand a small spot, apply a little finish, let it cure, then try to scrape it off with a fingernail. If it peels, stop and switch plans.
- Scuff sand the area with 220-grit until it looks uniformly dull. Think 2 to 3 passes, not a workout. You are not trying to remove stain, just rough up the clear coat for bonding.
- Vacuum, then wipe dust with microfiber. If you use a tack cloth, make sure it is compatible with your finish, especially with water-based polyurethane.
- Apply a thin coat of polyurethane with the grain, feathering outward beyond the visible damage. Thin coats blend better than thick ones.
- Let it dry, scuff sand again only if required by the product, then apply a second thin coat.
Blending tip: The hardest part is the edge. Feather your sanding and your finish beyond the visible damage so the transition fades in normal lighting.
Contractor reality check: True invisible spot repairs are tough, especially in the middle of a room under strong light. This method can absolutely improve a worn patch, but if you need perfect uniformity, a full-screen and recoat (or a full refinish) is often the cleaner path.
Quick picker
| Damage | Best method | Time |
|---|---|---|
| Rubber scuff or dull streak | Method 1 (buff) | 5 to 15 minutes |
| Hairline light scratch | Method 2 (marker) | 10 minutes |
| Small shallow scratch on dark floor | Method 3 (walnut or scratch cover) | 10 minutes |
| Scratch you can feel, but no dent | Method 4 (wax stick) | 15 to 30 minutes |
| Dent with no missing wood | Method 6 (steam) | 15 to 30 minutes plus drying |
| Deep gouge or chip | Method 5 (filler or epoxy) | 1 to 24 hours including cure |
| Worn finish area, lots of micro-scratches | Method 7 (spot recoat) | 2 to 6 hours plus dry time |
Cleaning products to avoid
If you ever plan to recoat, these are the usual troublemakers because they can leave residue that causes adhesion problems or weird shine:
- Wax-based polishes (even some that say “reviver” or “shine”)
- Oil soaps that leave a film
- Silicone-based sprays
- Steam mops (too much heat and moisture for many wood floors)
Stick with a cleaner labeled safe for hardwood and use a damp, not wet, method.
Common mistakes
- Skipping the clean step: Wax and finish do not stick to grime. Clean first, always.
- Over-sanding: It is easy to create a larger dull spot than the original scratch. Keep sanding tight and stop when the surface is uniformly dull.
- Color matching under the wrong light: Check your repair in daylight and at night. Floor color shifts a lot.
- Using too much product: With markers, wax, filler, and finish, thin and layered almost always looks better.
- Mixing wax and polyurethane: Poly does not like wax. If your floor is waxed, use wax-based repairs unless you are stripping and refinishing.
When to call a pro
DIY is great, but there are times when sanding and refinishing, or board replacement, is the cleaner solution:
- Deep gouges across many boards in a high-visibility area
- Water damage with black staining (often goes deeper than the surface)
- Cupping, crowning, or loose boards along with the scratches
- Old floors with thin wear layers (common on some engineered hardwood)
If you can see nails, staples, or tongue-and-groove edges after sanding, stop and get advice. Floors do not forgive over-sanding.
FAQ
Will these methods work on engineered hardwood?
Most cosmetic fixes like buffing, markers, and wax sticks work fine. Be cautious with sanding and spot refinishing because engineered hardwood has a thin veneer. Light scuff sanding is usually ok, aggressive sanding is not.
Can I use polyurethane over a wax fill stick?
Usually no. Polyurethane does not bond well to wax. If you need a durable topcoat repair, use a hardening filler or an epoxy-based product designed for finishing.
Why does my scratch look white?
That is usually light reflecting off a break in the clear coat, or bare wood fibers exposed. Markers, wax, or a recoat typically solves the white look, depending on depth.
How do I keep scratches from coming back?
- Felt pads on furniture legs
- Doormats at exterior doors
- Rugs in traffic lanes
- Keep pet nails trimmed
- Vacuum grit often, and avoid wet mopping