The first time a homeowner told me, “The water heater has power, but it’s only giving cold water,” my instinct was to blame the heater itself. After a few service calls (and a few moments of staring at a perfectly fine breaker panel), I learned the hard truth: most no-hot-water problems are simple, but only if you check them in the right order.
This is the diagnostic path I use when a tank heater still has power or gas, but the water coming out is cold or only lukewarm. We’ll split it into electric tanks, gas tanks, and a short note on tankless units.
Before you start: quick safety checks
- If you smell gas: do not troubleshoot. Leave the area and contact your gas utility or a licensed plumber.
- If there is active leaking at the tank, piping, or the temperature and pressure relief valve (T&P): shut off water to the heater and call a plumber. Water and electricity, or water and gas controls, is not a DIY gamble.
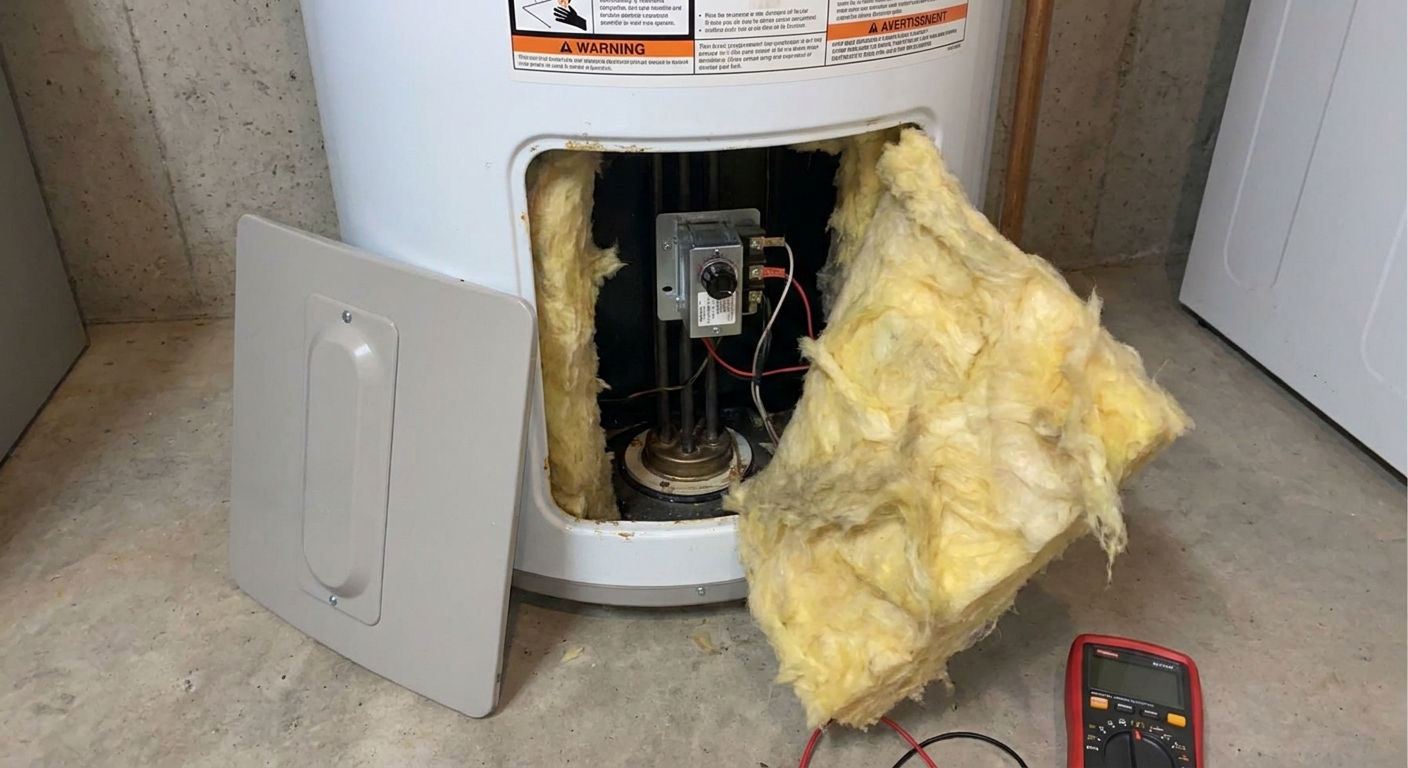
- For electric heaters: turn off the water heater breaker before removing any covers. Inside the access panels are live wires when powered.
- For gas heaters: keep combustibles away, and do not bypass safety devices.
Also confirm this is a whole-house hot water issue. If only one faucet is cold, you may be dealing with a local mixing valve, a single-handle cartridge issue, or a crossed connection, not the heater.
Start here: simple checks
1) Make sure you are not simply out of hot water
If someone took a long shower or you ran a washer, you can drain a tank. Recovery time varies by tank size and input (gas BTUs or electric kW), but a typical household tank often needs 30 to 90 minutes to get back to a solid supply after heavy use. If you get no warmth at all even after plenty of time, move on.
2) Check multiple fixtures
Test at least two hot taps in different areas of the house and note the pattern:
- Cold the whole time: heater may not be heating at all, a valve may be shut, or a mixing/tempering valve could be stuck.
- Lukewarm everywhere: thermostat may be set low, a whole-home mixing valve may be blending too much cold, or an electric element may be out.
- Hot for a short burst then quickly turns lukewarm or cold: classic sign of a broken dip tube, heavy sediment reducing usable capacity, an undersized tank, or an electric heater running on only one element.
3) Confirm valves are open
I have lost count of how many “dead” heaters were really a partially closed valve.
- Cold inlet valve: if your heater has a shutoff on the cold supply, make sure it is fully open.
- Hot outlet valve: some installs also have a valve on the hot outlet. Confirm it is open.
A mostly closed cold inlet can also make a tankless unit act like it “won’t fire” because flow never reaches the activation rate.
4) Confirm the thermostat setpoint
For most homes, 120°F is a solid target. Higher settings increase scald risk and energy use. If your heater was turned down recently, you might simply be noticing it now.
5) Consider a mixing or tempering valve
Some homes have a mixing valve at the water heater (or a whole-home tempering setup) that blends hot and cold to reduce scald risk. When those valves fail or clog, you can get lukewarm water at every fixture even when the tank is hot. If you suspect this, it is often faster to hand it to a plumber than to guess.
Electric tank water heater: diagnostic order
Electric tanks usually have two heating elements (upper and lower) and two thermostats. When you get only lukewarm water, a common culprit is a burned-out element, often the lower one.
1) Check the breaker
Go to your electrical panel and find the water heater breaker (often a 240V double-pole breaker). If it’s tripped, reset it by turning it fully off, then back on.
- If it trips again quickly: stop. That can indicate a shorted heating element or wiring issue. This is a good time for an electrician or plumber, depending on your local trade norms.
2) Optional: verify 240V power (live test)
This step requires the breaker on and the equipment energized. If you are comfortable with a multimeter and you know how to test live voltage safely without touching energized parts, you can verify you have proper voltage at the heater. If you are unsure, skip this step. You can still diagnose a lot with power off.
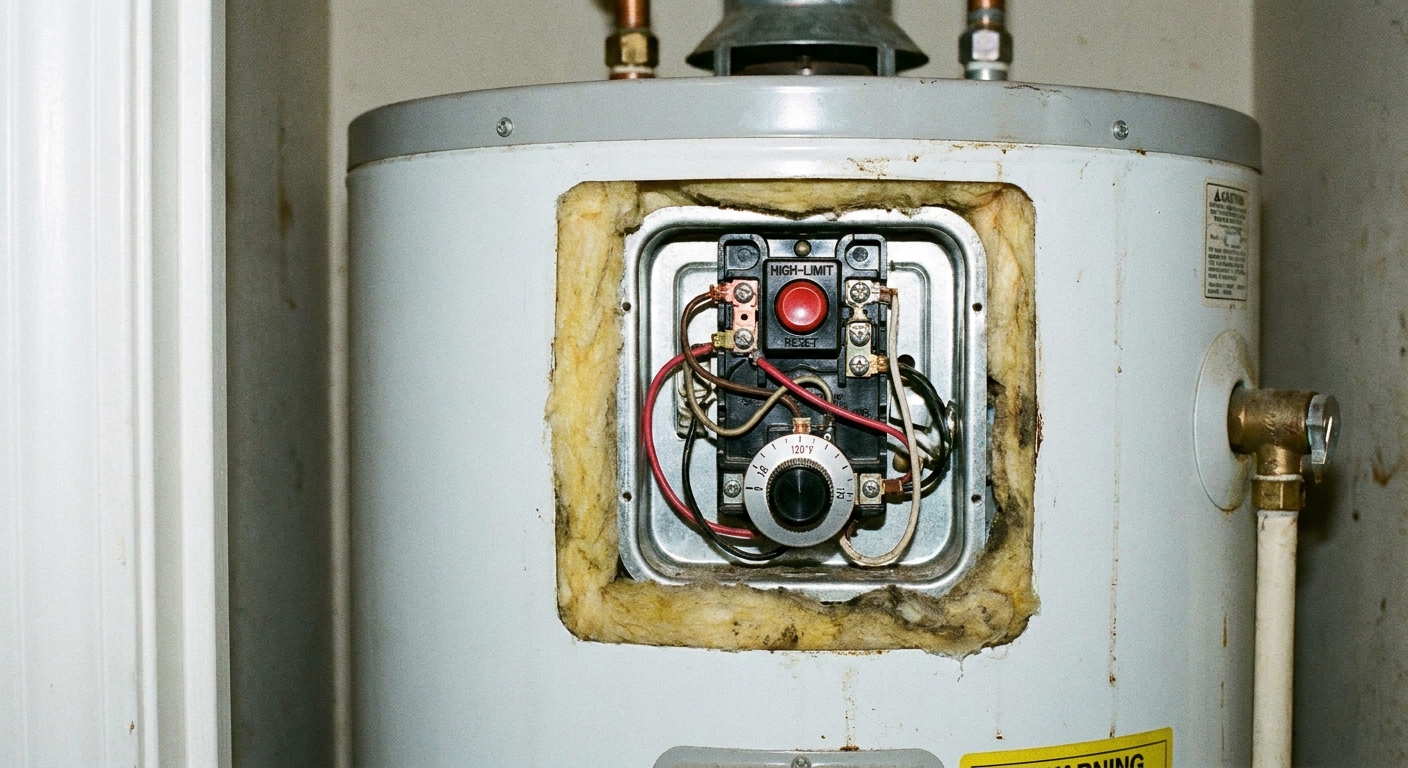
3) Press the high-limit reset button
Turn off the breaker first. Remove the upper access panel and peel back insulation. On the upper thermostat, there’s usually a red high-limit reset button.
- If it clicked when you pressed it, it had tripped. Restore the insulation, reinstall the cover, then turn the breaker back on and give the heater time to recover.
- If it trips again: the thermostat could be faulty, an element could be failing, or wiring could be loose. Repeated high-limit trips should be addressed promptly.
4) Check for a failed heating element
This is the big one for “lukewarm water” complaints. When the lower element fails, you often get some warm water, then it goes cold fast because only the upper portion heats.
At a high level, element diagnosis involves:
- Turning off the breaker
- Removing access covers and insulation
- Making sure the plastic shield (if present) is pulled back for testing
- Testing the element with a multimeter for continuity and checking for a short to ground
If an element tests open (no continuity) or shorted, it needs replacement. If you replace an element and it fails again quickly, sediment buildup or a thermostat issue may be contributing, and it is worth getting a pro involved.
5) Check thermostats and wiring connections
Loose wires, burned terminals, or a failed thermostat can prevent the elements from heating. With power off, look for:
- Discolored or melted wire insulation
- Loose screws on thermostat terminals
- Moisture inside the access area
Burned wiring is a stop sign. Turn power off and call for service.
6) Reinstall insulation and covers correctly
This sounds minor, but it matters. The thermostat is designed to sense tank temperature with insulation and the cover in place. Leaving insulation tucked back or the plastic shield mispositioned can cause odd behavior and overheating. Put everything back the way you found it before restoring power.
7) Consider a broken dip tube
The dip tube is a plastic tube attached to the cold inlet that sends incoming cold water to the bottom of the tank. If it breaks, cold water can mix near the top and head toward the hot outlet. The result is usually reduced effective hot water capacity, not always “ice cold instantly.”
Clues:
- Hot water starts out normal, then quickly turns lukewarm or cold
- You hear normal heating sounds (or measure normal current draw) but still get poor hot water volume
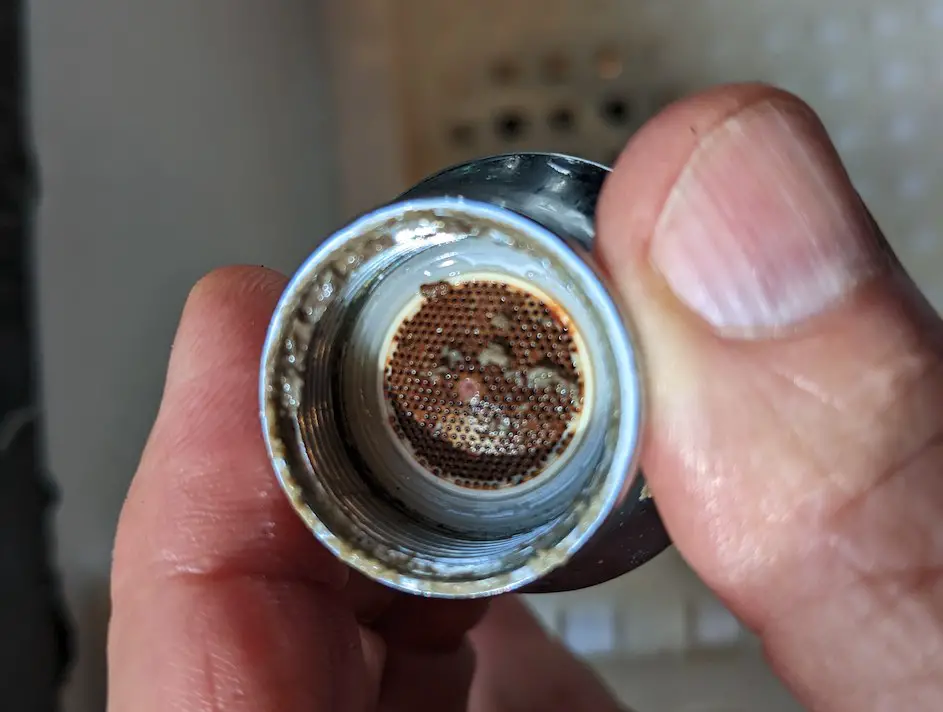
- Small white plastic bits show up in faucet aerators or showerheads
Gas tank water heater: diagnostic order
Gas heaters add a few extra checkpoints: gas supply, the pilot or ignition system, and venting. If your unit has gas available but still runs cold, start simple and move toward the controls.
1) Confirm the gas supply is on
Check the shutoff valve on the gas line near the heater. The handle should be parallel with the pipe when open. If you have other gas appliances, confirm they are working. If nothing gas-powered is working, it may be a utility issue.
2) Look for burner activity (and force a call for heat)
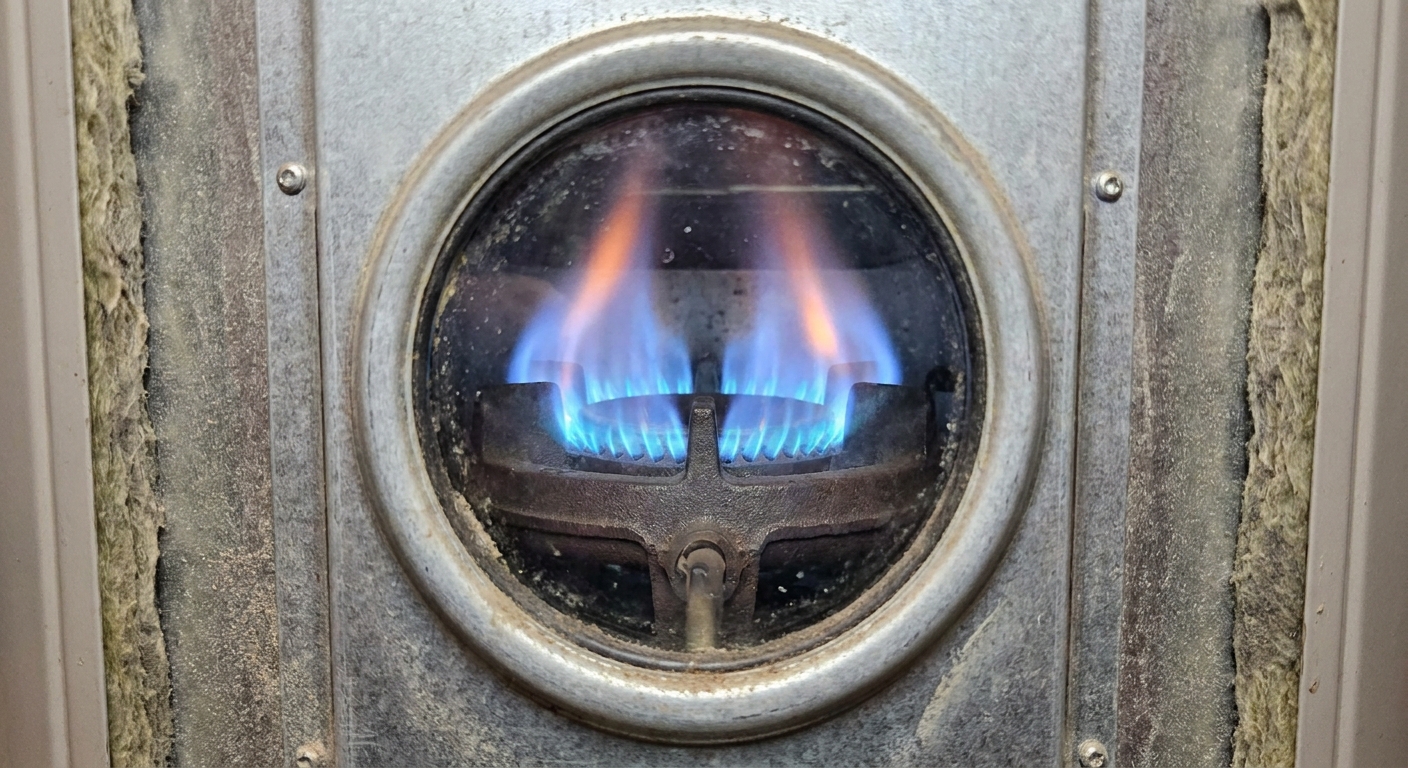
Most gas heaters have a small viewing window. To make sure the heater is actually calling for heat, run a nearby hot faucet for a minute or two. That pulls hot water out and should trigger the burner if the tank is below set temperature.
You are looking for either:
- A pilot flame (on standing pilot units), or
- Burner flame when the unit calls for heat
Some sealed-combustion or power-vent models do not give a great view. If you cannot clearly see flame, focus on status lights and error codes in the next steps.
3) Check the temperature setting
Make sure the dial is not set to “Vacation” or an extra-low setting. Many have a simple dial with temperature marks rather than exact degrees.
4) Standing pilot units: thermocouple and a few common lookalikes
If the pilot will not stay lit, a very common culprit is the thermocouple. It’s a safety device that proves flame. If it fails, the gas valve shuts off gas to prevent unburned gas from filling the area.
That said, a pilot that will not stay lit can also be caused by a dirty pilot assembly, airflow or venting problems, or safety devices on FVIR-style heaters that have tripped.
What you can safely do: follow the relighting instructions printed on the heater. If you cannot keep the pilot lit after correct relighting steps, stop there. If you are not comfortable working around gas controls, this is a good handoff point.
5) Electronic ignition units: check error codes, intake, and venting
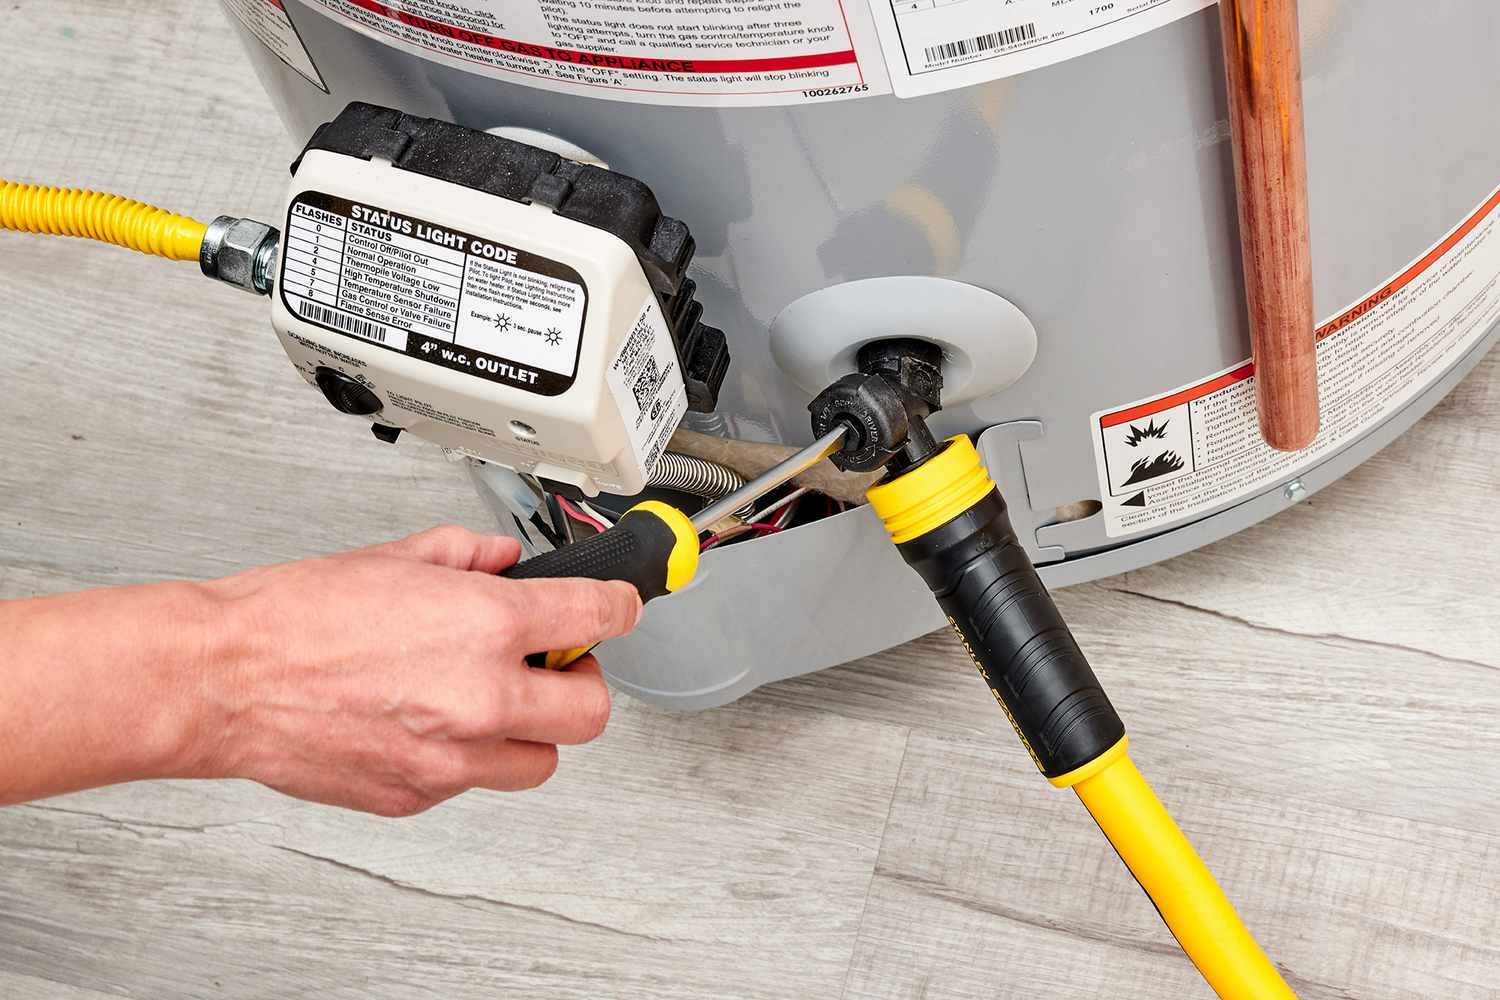
Many newer gas heaters use a control board with a status light that blinks a code. The inside of the access panel often has a legend showing what the blink pattern means.
- Make sure the air intake screen (if present) is not clogged with lint, dust, or pet hair.
- Confirm the exhaust vent is intact, properly sloped where required, and not disconnected.
- Some units have rollout switches or thermal cutoff switches that can shut the burner down if conditions are unsafe. If you suspect a venting or combustion issue, treat it as a pro-level call.
6) Know when it is a “call a plumber” gas valve problem
If diagnosis points to a gas control valve issue (no burner operation despite correct settings and proper relight attempts), call a licensed plumber. Gas valves are not a trial-and-error part, and mistakes can be dangerous.
Also call a pro if you see:
- Sooting around the burner area
- Melted plastic parts near the combustion chamber
- Any signs of backdrafting or scorch marks near the draft hood
Dip tube: a common capacity killer
If you only remember one oddball cause from this article, make it the dip tube. It doesn’t stop the heater from heating. It just messes up where cold water enters the tank, which reduces how much usable hot water you get at the tap.
What it looks like in real life: You turn on the hot tap, you get a brief burst of hot, then it slides to lukewarm or cold much faster than it used to.
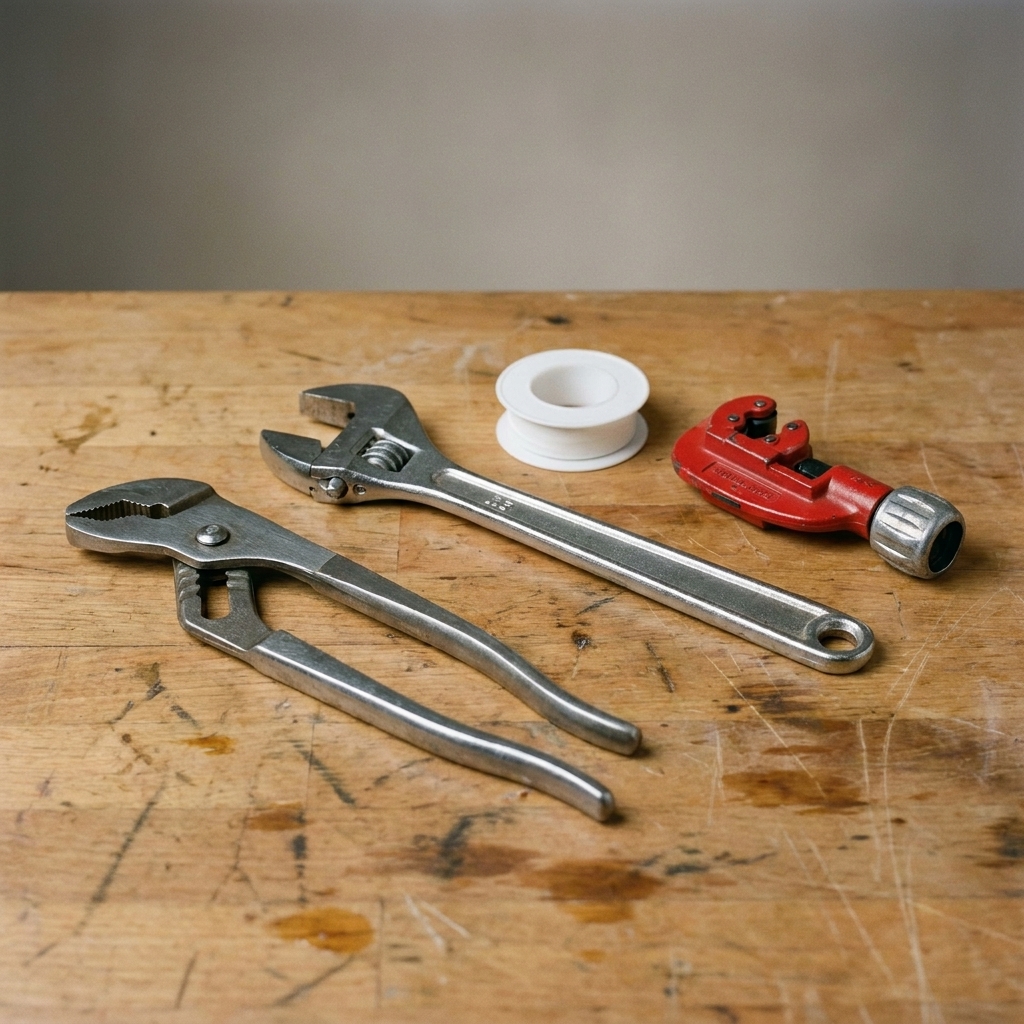
Replacing a dip tube typically means shutting off water, draining the tank down below the inlet level, disconnecting the cold inlet nipple, and pulling the broken tube out. If your plumbing is corroded, tight, or you are unsure about re-sealing threaded connections, this is a fair job to hand to a plumber.
Tankless units: quick checks
Tankless heaters tend to be more honest than tank units because they will often display an error code when something is wrong. If you have power and gas, but only get cold water, check:
- The display or indicator lights for an error code
- Water flow: many units will not fire if flow is too low. Check that the service valves are fully open, clean the inlet water filter, and make sure you are meeting the unit’s minimum activation flow rate.
- Gas supply: tankless units are picky about volume and pressure
The most productive move is usually to look up the code in your owner’s manual and address the specific cause. If the code relates to combustion, venting, gas supply, or repeated ignition failure, I consider that a pro-level service call.
When to stop and call a pro
I’m all for DIY, but water heaters are one of those appliances where a “small” problem can become unsafe fast. Call a licensed plumber (or your utility, as appropriate) if:
- You smell gas or suspect a gas leak
- The tank is leaking from the body of the heater
- The electric breaker trips repeatedly
- You see burned wiring, melted components, or signs of overheating
- Diagnosis points to a gas control valve, combustion issue, or venting problem
- You are not 100 percent comfortable working around electricity or gas
If you want to be extra helpful when you call, tell the pro: heater type (electric or gas), approximate age, whether you have any error lights, and whether the water is always cold versus briefly hot then quickly lukewarm. Those details cut a lot of time off the visit.
Fast checklist recap
- All types: verify multiple fixtures, confirm valves are open, check thermostat setting, rule out simple heavy-use recovery time.
- Electric tank: breaker, high-limit reset, failed element, thermostat or wiring issues, reinstall insulation and covers correctly, consider dip tube.
- Gas tank: gas valve open, force a call for heat, pilot or burner activity, control setting, thermocouple or ignition system issues, error lights, intake and venting, gas control valve.
- Tankless: read the error code, confirm flow and clean the inlet filter, verify gas supply and venting.
If you work through the list in order, you’ll usually find the culprit without randomly buying parts. And if it turns out you need a pro, you’ll be calling with useful information instead of “it’s broken,” which always makes for a smoother, cheaper repair.