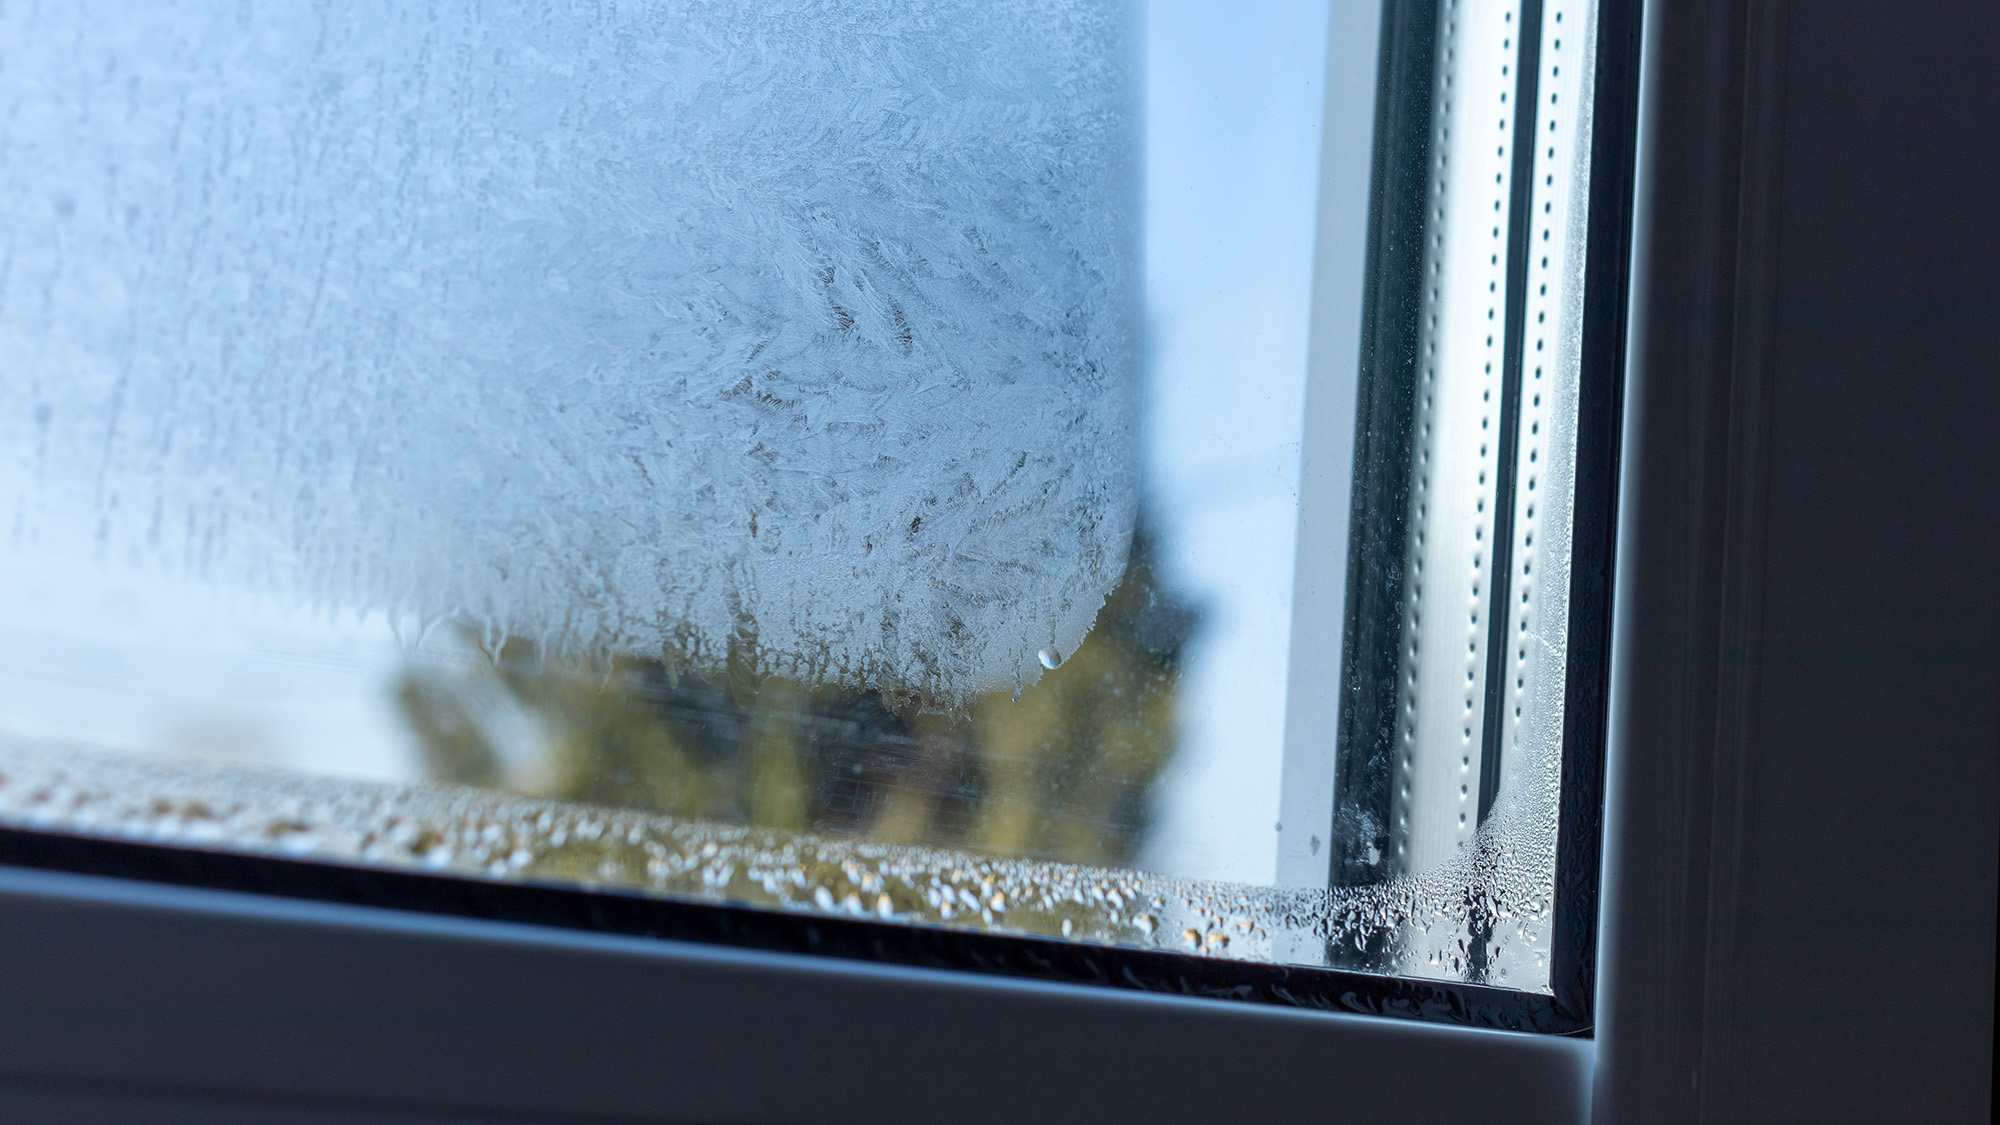
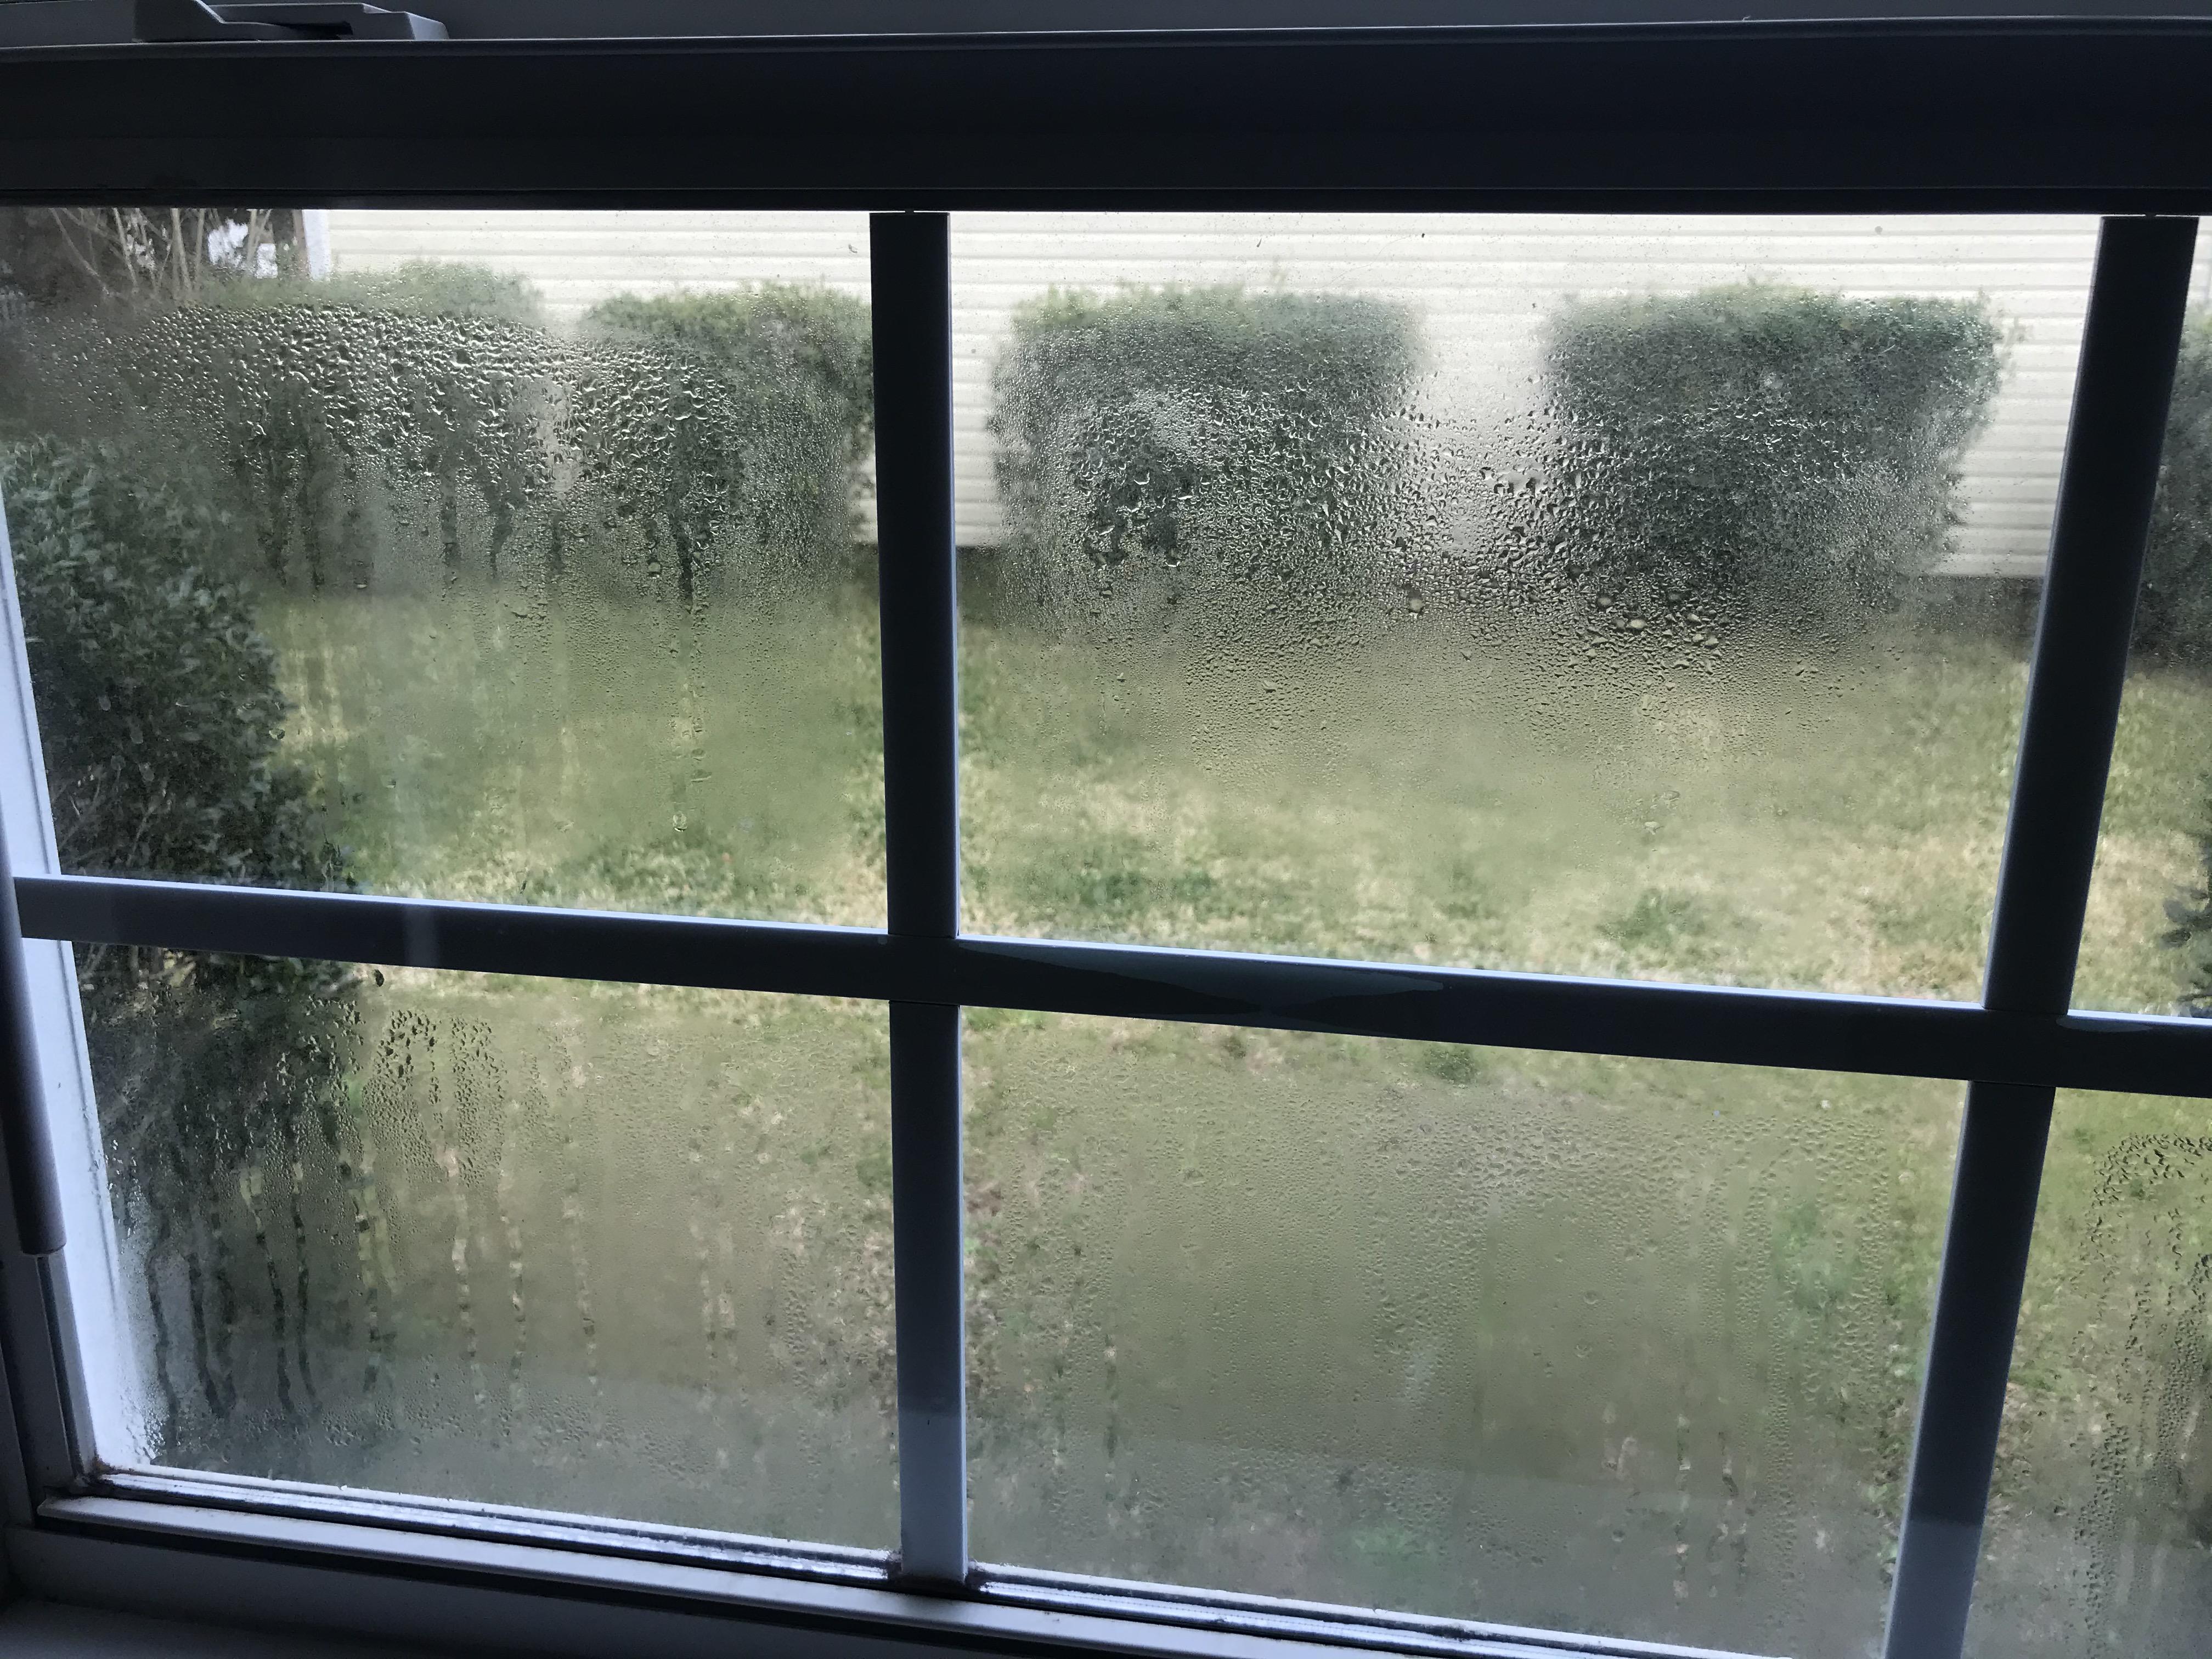
If you’re seeing fog, haze, or even water droplets between your window panes, you’re not dealing with normal indoor humidity. You’re looking at a double-pane window that has very likely lost its seal. In contractor terms, we call it a “failed” or “blown” seal. In homeowner terms, it’s the reason your view looks like someone breathed on the glass and never wiped it off.
The good news is you can diagnose this pretty confidently yourself, and you’ve got a few repair paths depending on your budget and how long you plan to stay in the home.
What causes condensation between window panes?
Modern double-pane (and triple-pane) windows are built as an insulated glass unit, or IGU. That’s two pieces of glass separated by a spacer around the perimeter, then sealed together to make a tight little sandwich. Many IGUs also contain dry air or an insulating gas like argon, plus a desiccant in the spacer to absorb trace moisture.
When the perimeter seal fails, the sealed cavity is no longer protected the way it was at the factory. Moisture can enter the space between panes over time and or the desiccant can become saturated. When temperatures swing, that moisture condenses on the inside faces of the glass where you cannot reach it, and the window starts to look foggy.
Common reasons the seal fails
- Age and UV exposure: Sealants and spacers degrade over time, especially on sunny elevations.
- Thermal expansion and contraction: Big daily temperature swings flex the frame and glass.
- Water intrusion at the frame: Failed exterior caulk, blocked weep holes, or rot can keep the edge of the IGU wet, speeding failure.
- Manufacturing defects: It happens, and it’s why checking the window warranty is always step one.
- Physical stress: House settling, slamming sashes, or an over-tightened replacement stop can put the glass unit under stress.
How to tell if it’s between the panes
Before you price out repairs, make sure the moisture is actually trapped in the IGU, not sitting on the surface.
Quick homeowner checks
- Wipe test: Clean the inside surface, then the outside surface. If the fogginess does not change, it’s likely between panes.
- Flashlight test: At night, hold a flashlight at an angle and move it around. Surface condensation will show obvious streaks when you wipe. Between-pane haze tends to look “behind” the reflection.
- Time test: Interior condensation usually comes and goes with showers, cooking, humidifier use, or overnight temperature drops. Seal failures tend to be persistent or return quickly.
- “Haze ring” at the edge: A milky film around the perimeter, especially near the bottom, is a classic IGU seal-failure look.
- Droplets that stick around: If you can see beads of water inside the glass sandwich that persist for days or keep coming back, the seal is well past “starting to fail.”
Rare but real: In unusual cases, a failing window film, coating issue, or contaminants can mimic fogging. If you’re not sure, a glass shop can usually confirm it quickly.
Is a blown window seal dangerous?
Usually, no. This is more of a comfort, efficiency, and visibility problem than a safety emergency. That said, there are a few situations where you should move it up your list:
- Wood windows or wood trim: Persistent moisture can accelerate rot around the sash or stool.
- Mold risk: Trapped moisture plus dirty frames can create musty smells and mold on the frame, even if the moisture is inside the IGU.
- Cold drafts or icy glass: Once the insulating value drops, you can get colder interior glass surfaces, which can lead to additional surface condensation and comfort issues.
Your fix options
Here’s the real-world truth: once an IGU seal is failed, you cannot truly restore it to factory condition without replacing the IGU. Some services can make it look better, but they do not recreate the original sealed, gas-filled unit.
Option 1: Do nothing
If it’s a garage window, a back bedroom with mild haze, or you’re planning a remodel soon, you can wait. You’ll lose some insulating performance, but the window still works as a window.
Do this, at minimum: keep exterior caulk and paint in good shape so water is not getting into the frame and making things worse.
Option 2: Defogging
Defogging companies typically drill tiny holes through the glass, vent the moisture, sometimes rinse the cavity, and install vents or plugs. Some also advertise desiccant or one-way valve systems. It can reduce the fog and improve clarity.
What defogging can do: improve appearance and reduce visible condensation for a period of time.
What it usually cannot do: restore the original insulating value, restore argon gas fill, or permanently prevent future fogging. Drilling glass can also affect warranties and can change how the unit handles temperature stress.
If you’re selling soon and want the glass clearer without a full IGU swap, this can be a practical compromise. If you want “fixed like new,” keep reading.
Option 3: Replace the IGU
Replacing the IGU keeps your existing window frame and sash, but swaps the glass sandwich itself. This is often the sweet spot: you get clear glass and restored insulation without paying for a full window replacement.
Most common scenario: the frame is in good shape, the window operates well, and only one or two units are fogged.
Option 4: Replace the full window
If the frame is rotted, the balances are shot, the sash is warped, or you have multiple failed units across the home, a full window replacement can make more sense.
Rule of thumb from my contractor days: if you’re chasing repeated fogging plus sticky operation plus drafts, you’re usually throwing good money after bad by swapping IGUs one at a time.
Check the warranty first
Many name-brand windows have a seal failure warranty, sometimes 10 to 20 years, sometimes “limited lifetime” for the original owner. You may get an IGU replacement for low or no cost, but labor is often excluded.
What you’ll need
- Manufacturer name and series (often etched in a corner of the glass or on a label in the jamb)
- Approximate install date
- Photos of the fogging and the full window
- Your home address and proof of ownership, if required
DIY checks around the window
Seal failure is often “just age,” but I always like to check the basics so the new glass does not get abused by the same conditions.
Exterior checks
- Caulk and paint: Look for gaps, peeling paint, or open joints where water can sit against the sash.
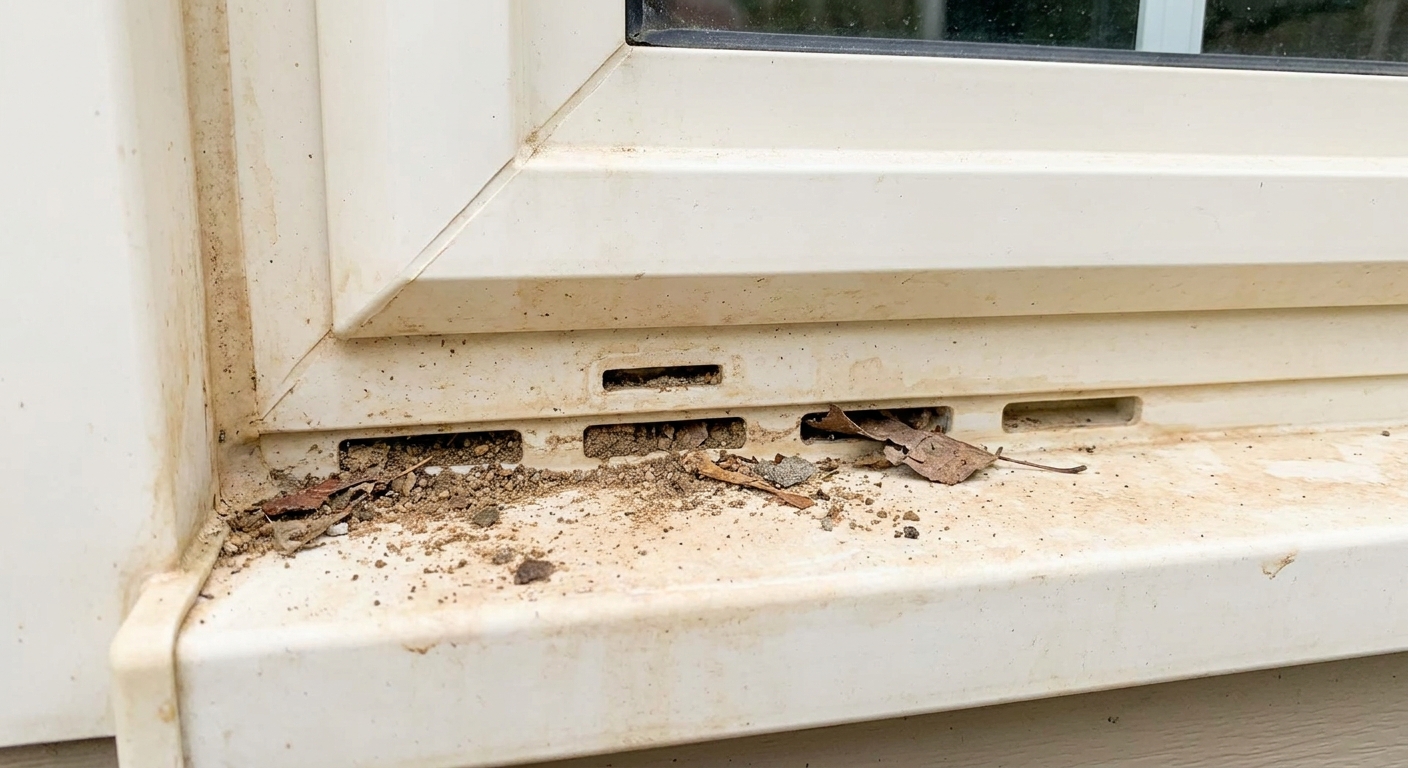
- Weep holes: Many vinyl and aluminum windows have small drain slots on the exterior. If they are clogged with dirt or paint, water can pool.
- Flashing and trim: Soft, spongy trim or staining below the sill can indicate water management problems.
Interior checks
- High humidity: Long showers, unvented dryers, lots of houseplants, or running a humidifier hard can cause surface condensation. That is separate from IGU failure, but it can make a bad window look worse.
- Air leaks: Drafts around the frame can chill the glass and invite more condensation. Weatherstripping and interior air sealing are worth doing regardless.
Replacing the IGU
IGU replacement ranges from “totally doable on a Saturday” to “call a glass shop,” depending on window type and your comfort level handling large glass.
When DIY is realistic
- The window is a common vinyl double-hung or slider with removable glazing beads
- The glass size is manageable for one or two people
- You can safely remove and reinstall trim pieces without cracking them
When to hire it out
- Large picture windows or second-story units where handling glass is risky
- Wood windows with brittle stops or historic profiles you do not want to damage
- Complex assemblies like gridded units where the grille type must match
- Any window where you suspect tempered or laminated glass requirements and you are not sure
How to order the right IGU
- Get thickness right: IGUs come in common thicknesses like 7/8 inch or 1 inch, but you need to match what your sash is designed for. Measuring the overall unit thickness is not optional.
- Match Low-E and tint: Low-E coatings are not all the same. If one window looks different from the others in certain light, a mismatch is usually the reason.
- Match the spacer and grids: If you have grids between the glass, make sure the pattern and color match. Also note the spacer color is visible on many windows.
- Confirm safety glass: Locations near doors, tubs, showers, stairs, and floors often require tempered or laminated glass, but specifics vary by local code and window location. When in doubt, ask your glass supplier what they recommend for your situation.
Common DIY mistakes
- Mismeasuring: Ordering the wrong thickness or size is the fastest way to burn money.
- Damaging glazing beads or stops: Some beads get brittle with age and can crack if you pry too aggressively.
- Missing setting blocks: The little rubber blocks at the bottom are not optional. Without them, the glass can sit on the frame and crack.
- Uneven pressure: If the IGU is pinched or twisted when you reinstall stops, you can stress the new unit.
What the basic process looks like
- Measure the existing IGU: You need width, height, and thickness. Thickness is critical. Too thick and it will not fit. Too thin and it will rattle or leak.
- Order the replacement IGU: Match Low-E coatings, tint, grille pattern, and any safety glass requirements that apply in your area.
- Remove sash (if applicable): Work on sawhorses, not in the opening.
- Remove glazing beads or stops: Take photos as you go so everything goes back in the same order.
- Remove the old IGU: Wear cut-resistant gloves. Old seals can snap loose suddenly.
- Clean the frame pocket: Get out old tape, setting block debris, and dirt.
- Set the new IGU: Use the correct setting blocks and glazing tape or sealant system for your window type.
- Reinstall beads or stops: Make sure everything seats evenly so the glass is not under point pressure.
- Reinstall sash and test: Operate the window and check for rattles.
Safety note from a guy who has learned the hard way: glass is strongest until it isn’t. Wear eye protection, use gloves, and do not try to muscle a stuck glazing bead with a screwdriver that can slip into the pane.
How much does it cost?
Prices vary a lot by size, coatings, and your location, but here are realistic ballparks you can use for planning.
- Defogging: often about $100 to $250 per window, sometimes more for large panes or second-story access.
- IGU replacement (glass only): commonly $150 to $500 per IGU for standard sizes, and $500 to $1,000+ for large picture windows or specialty glass.
- IGU replacement (installed): often $250 to $800 per window installed, and $800 to $1,500+ for large or complicated units.
- Full window replacement (installed): commonly $700 to $1,500 per window installed for typical sizes, and $1,500 to $3,000+ for large, high-end, or complex installs.
If you’re comparing quotes, ask specifically whether the quote is for glass only (IGU swap) or a full window unit (frame and all). Homeowners get burned by that confusion all the time.
Can I stop it from happening again?
You cannot “seal” a failed IGU back to factory condition, but you can improve the odds that your next unit lasts as long as possible.
Extend window life
- Keep weep holes clear: A soft brush and a quick check each spring does wonders.
- Maintain exterior caulk: Re-caulk when it cracks or pulls away. Water sitting at the frame edge is the enemy.
- Reduce indoor humidity in winter: Use bath fans, vent the dryer outdoors, and avoid cranking humidifiers when it’s cold out.
- Shade and manage heat: South and west windows take a beating. Blinds and exterior shading can reduce thermal stress.
FAQ
Why is only one window fogging up?
Seal failure is often random. One unit might have gotten more sun, more wind-driven rain, or a slightly weaker seal from the factory. If the rest are clear, it does not automatically mean you’re about to lose them all.
Is condensation between panes covered by homeowners insurance?
In most policies, no, because it’s considered wear and tear. Insurance might come into play if the window failed due to a covered event (like storm-driven impact), but fogging by itself is usually on you or the manufacturer warranty.
Can I drill my window myself to let the moisture out?
I do not recommend it. Drilling glass is risky, it can create cracks that spread later, and it may void any remaining warranty. If you want the defog approach, hire a company that specializes in it and understand it’s mainly cosmetic.
Does a failed seal make the room colder?
Often, yes. The insulating performance drops when the sealed space is compromised and the gas fill is lost. You might notice a colder surface temperature near that window and more drafts, especially if the frame also leaks air.
My recommendation
If the frame is sound and the window operates smoothly, replace the insulated glass unit. It’s the most reliable “back to normal” fix without the expense of a full replacement.
If the window is old, drafty, hard to open, or showing frame damage, put your money toward a full window replacement and be done with it.
And before you spend a dime, take five minutes to check the warranty. I’ve seen homeowners pay out of pocket for something a manufacturer would have supplied for free.