A torn window screen is one of those repairs that feels fiddly until you do it once. The good news is the process is simple: you are basically stretching new mesh over a frame and locking it in with a rubber cord called spline. Do it carefully and you will get a screen that looks factory-new, keeps bugs out, and does not have that annoying “wavy” look.
I grew up holding the flashlight while my dad wrestled screens back into place, and I can tell you the only real trick is patience. If you rush, you kink the frame or cut the mesh short. If you take your time, it is a satisfying win.
What you will need
- Replacement screen mesh (fiberglass is easiest for beginners)
- New spline (match the diameter of the old spline; common sizes are around 0.125 to 0.190 inches, but frames vary)
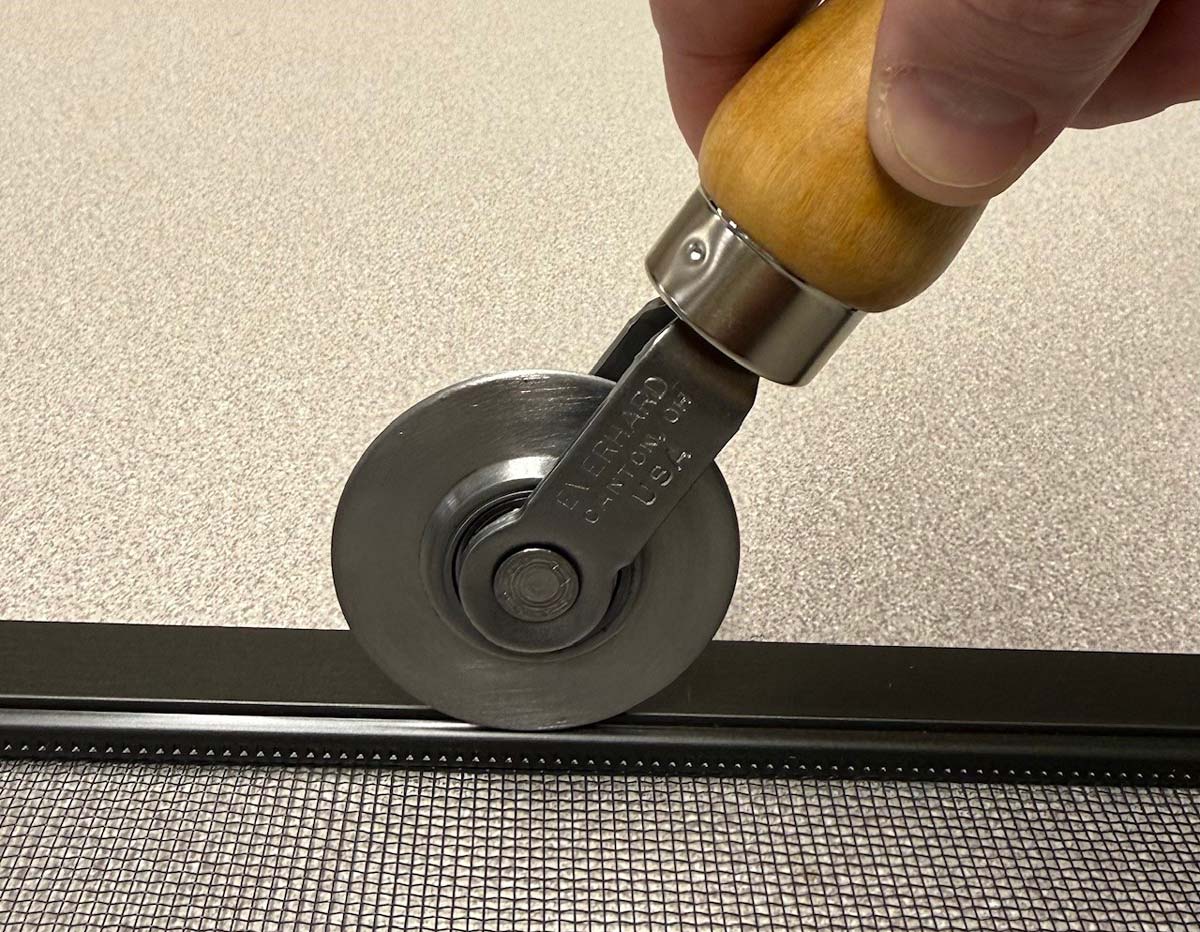
- Spline roller (most have two wheels; the grooved or concave wheel usually helps guide spline into the channel)
- Utility knife with a sharp blade
- Flat screwdriver or pick (to pry out old spline)
- Scissors (optional, for rough-cutting mesh)
- Tape measure or ruler
- Clamps or heavy objects to hold the frame steady (optional but helpful)
- Work surface that is flat and slightly forgiving, like a plywood sheet on sawhorses
Safety note: Utility knives love to find fingers. Keep your free hand on the frame, not in front of the blade. If the frame is aluminum, the cut edges can be sharp too. Eye protection is a smart idea when cutting mesh or trimming near the spline, especially if you are working with aluminum mesh.
Pick the right mesh
If you grab the wrong mesh, the screen will still work, but you may not love it. Here are the common options:
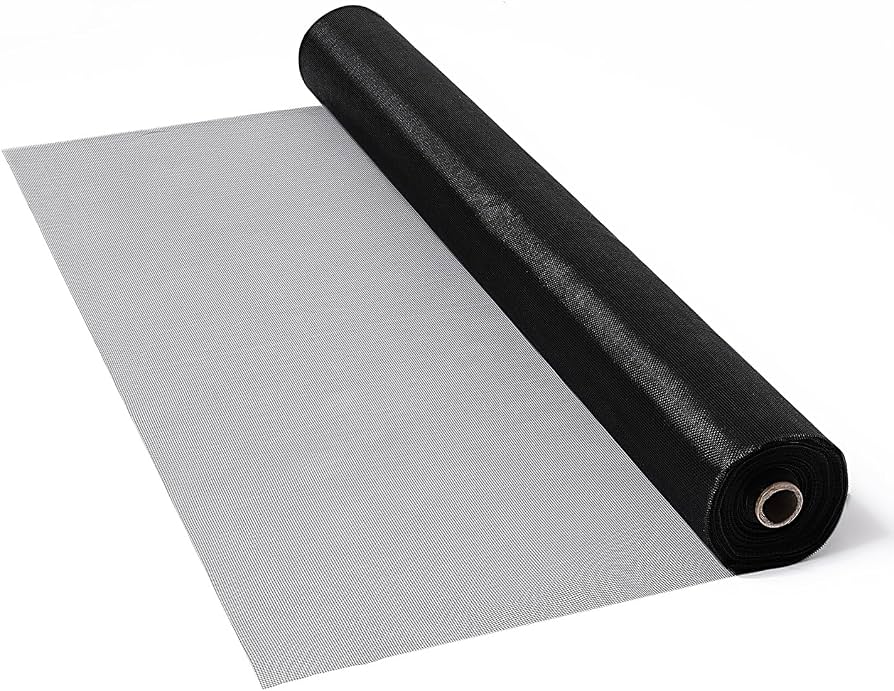
- Fiberglass mesh: The best all-around choice for most homeowners. It is flexible, forgiving, and easy to roll in without puckering. Keeping the strands square with the frame makes it look neater.
- Aluminum mesh: Stiffer and can look crisper, but it kinks easily. If you use it, handle it gently and keep it flat so you do not crease it before it is even installed.
- Pet-resistant mesh: Thicker vinyl-coated polyester. Great for dogs and cats that treat screens like a suggestion. It takes more effort to roll in and sometimes needs a different spline size.
- Solar mesh: Designed to reduce glare and heat. Many versions are darker and a bit heavier than standard fiberglass, though products vary. It may take a little more rolling pressure and, again, spline fit matters.
Quick tip: If your old screen was hard to see through, you might have had solar mesh. If it felt soft and easy to dent with a fingernail, it was probably fiberglass.
Frame types to know
This guide is for the most common aluminum (or vinyl) screen frames that use spline. If your screen is wood-framed, part of a storm window, or uses metal clips instead of a rubber spline, the fastening method can be different. The general idea is still “replace mesh and secure it,” but the steps and parts may change.
Measure the frame
For most screen repairs, you do not need the exact opening size of the window. You need enough mesh to cover the entire frame with extra around the edges. A safe rule is:
- Measure the screen frame’s outside width and height.
- Add 2 inches to each dimension (minimum) so you have 1 inch of overhang on all sides.
Example: If the frame is 24 by 36 inches, cut mesh about 26 by 38 inches.
Why the extra matters: As you roll spline in, the mesh shifts a little. Extra material lets you keep tension without coming up short.
Step-by-step: replace the mesh
1) Remove the screen frame
Pull the screen frame from the window and bring it to a work area. Most frames pop out with spring pins, tabs, or little lift handles. If it fights you, stop and look for hidden clips. Forcing it is how frames get bent.
2) Check the frame and corners
Lay the frame on a flat surface. If it rocks, it is slightly twisted. Minor twists can often be gently corrected by hand before you install new mesh.
Also check the corner connectors. If one is cracked, the frame may not hold tension well, and the screen will sag no matter how perfect your mesh job is.
If a corner connector is broken: Many hardware stores carry replacement corner keys in the screen repair section. Match the shape and thickness as closely as you can, and replace it before you re-screen the frame.
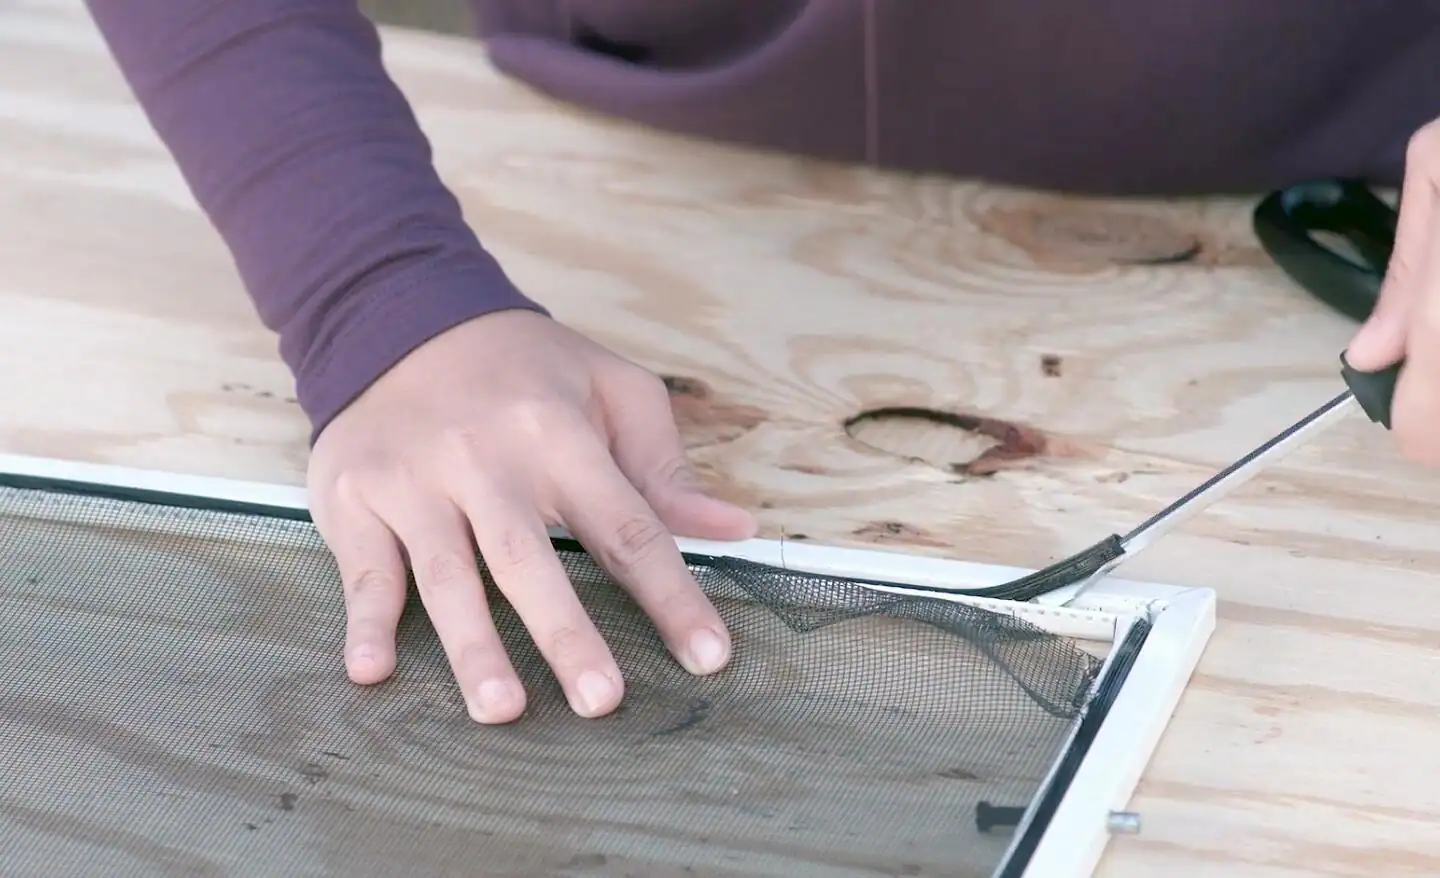
3) Pry out the old spline
Flip the screen so you can see the spline sitting in the groove around the frame. Use a small flat screwdriver or pick to lift one end, then pull the spline out as you work your way around.
Keep a small piece of the old spline if you are not sure what size to buy. Even better, bring a 2 inch piece to the hardware store and match it.
4) Remove the old mesh and clean the groove
Peel off the old mesh. Then run a dry rag or an old toothbrush around the spline groove to remove grit. Dirt in the groove makes the spline harder to seat and can cause the roller to jump out and chew up the new mesh.
If the old mesh is aluminum, handle it like a sharp cookie sheet. Fold it inward as you remove it so the cut edges are less likely to slice you, and dispose of it carefully.
5) Cut the new mesh oversized and position it
Roll out the new mesh over the frame with at least 1 inch of overhang on all sides. If the mesh has a slight “grain” (you can see the strands line up), try to keep it square with the frame so it looks neat.
If you have clamps, lightly clamp two sides of the mesh to the frame to keep it from shifting. If not, a couple of books set on the corners works fine.
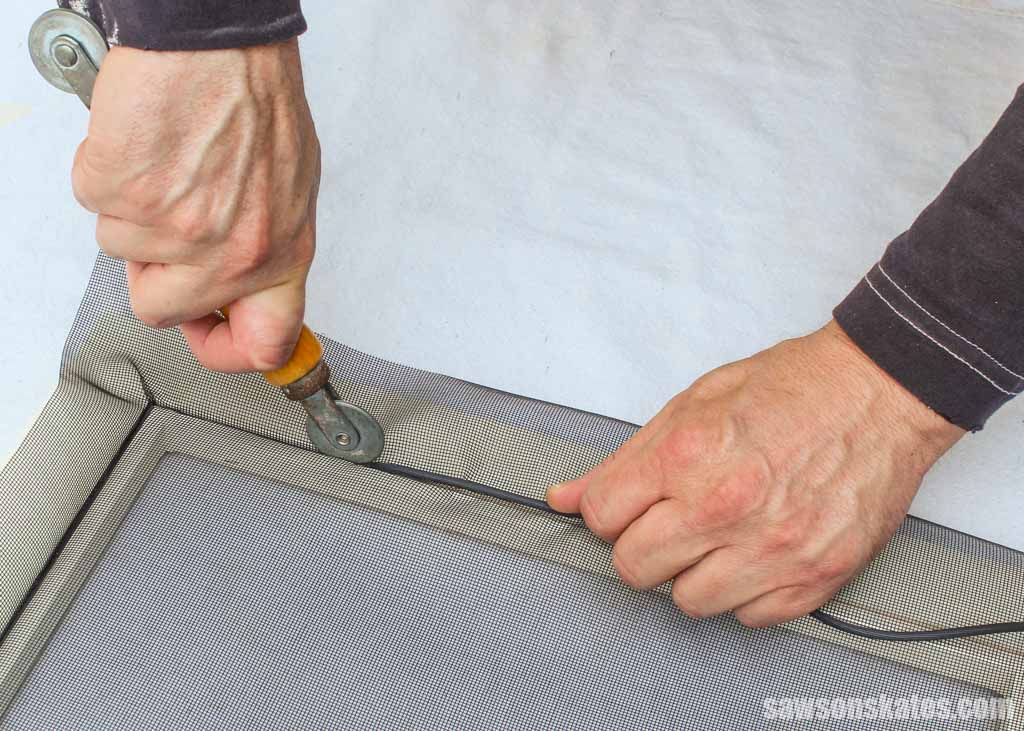
6) Start the spline in a corner
Place the spline at a corner and begin pressing it into the groove with your spline roller. Tool designs vary, but the grooved or concave wheel typically helps keep the spline centered as it drops into the channel. Some people use the flat or convex wheel first to press the mesh down into the groove, then switch to the grooved wheel to seat the spline. Either way is fine if the spline ends up fully seated and the mesh stays smooth.
My method (beginner-friendly):
- Seat 6 to 10 inches of spline on one side.
- Move to the opposite side and seat 6 to 10 inches, keeping the mesh gently taut.
- Repeat on the remaining two sides.
This “opposites” approach helps prevent the frame from bowing and keeps tension even.
7) Roll in the rest without warping the frame
Here is the part where most DIYers accidentally bend the frame. The roller gives you leverage, and it is easy to push too hard.
- Support the frame directly under the section you are rolling. If the frame hangs off the bench, it will flex.
- Use steady pressure, not brute force. If it will not seat, the spline may be too large or the groove is dirty.
- Aim for smooth, even tension. You want it flat, not drum-tight. Over-tension can bow the long rails inward.
As you approach the final corner, keep the mesh flat with your free hand and roll the spline in slowly.
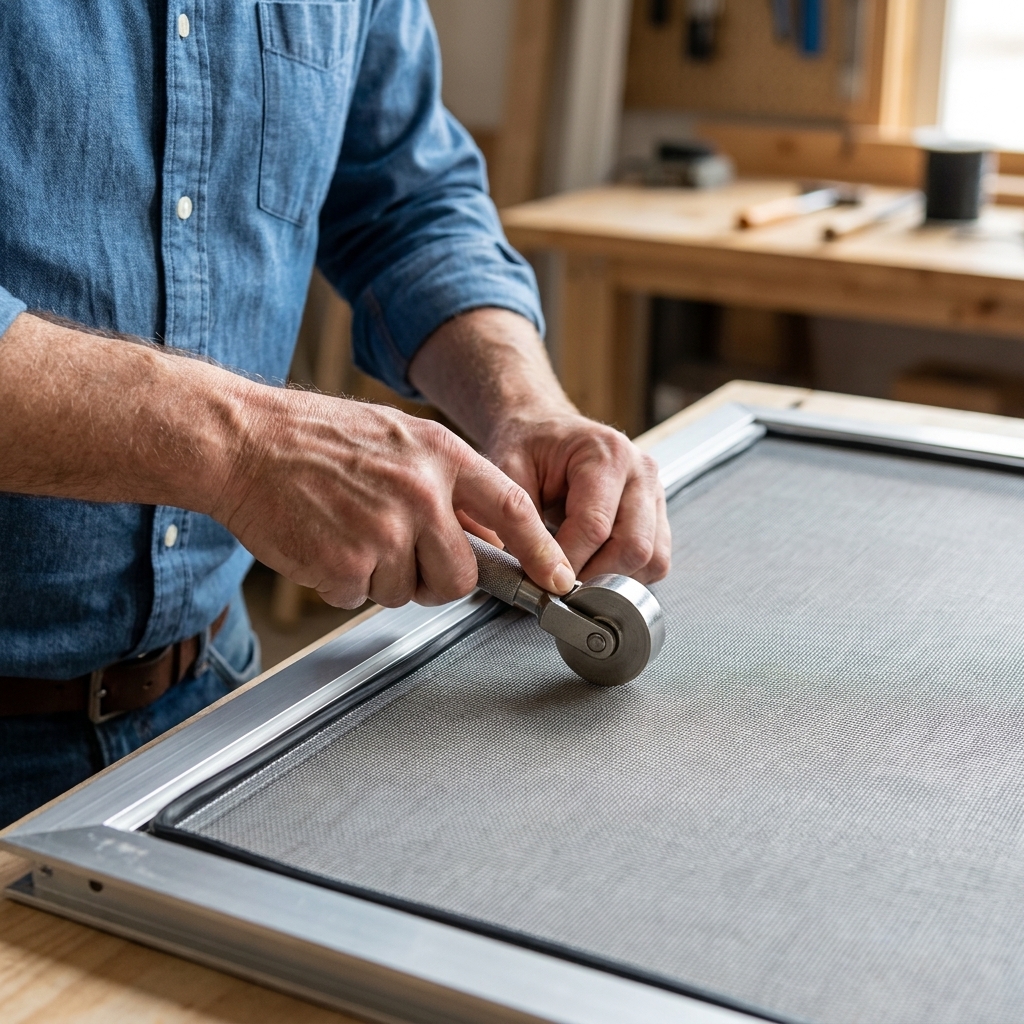
8) Fix waves before trimming
Before you cut anything, lift the frame and look across the mesh in good light. If you see wrinkles or loose spots:
- Small waves: Back out the spline just past the problem area and re-roll while gently pulling mesh taut.
- Mesh drifting out of square: Back out a longer section and re-seat, alternating sides to keep things centered.
Once you trim the mesh flush, you lose your “extra” that makes corrections easy.
9) Trim the excess mesh
With the spline fully seated, run a sharp utility knife around the outside edge of the spline, cutting the mesh flush with the frame.
Angle the blade slightly outward so you do not nick the spline or slice into the mesh inside the groove.
Tip from my own mistake file: Dull blades snag mesh and leave fuzzy edges. Use a new blade and take it slow.
10) Reinstall and test
Put the screen back in the window. Make sure it sits flat and the frame is not bowed. If it feels tight on one side, the frame may have been slightly bent earlier. Minor bends can often be corrected by gently flexing the frame back on a flat surface.
Spline size tips
Spline is not one-size-fits-all. Too small and the mesh pops out. Too large and you fight it the whole way, sometimes bending the frame.
- Best option: Match the old spline diameter.
- If you do not have the old spline: Measure the groove if you can, or buy two close sizes and test a 6 inch section. The correct size seats firmly with steady roller pressure and stays put without shredding the mesh.
- If you changed mesh thickness: You are trying to get the right compression of mesh plus spline in the groove. Thicker mesh often means you may need a slightly smaller spline so everything fits, but if your old setup was loose, a slightly larger spline can sometimes help. The reliable move is still a short test-fit before you commit to the full perimeter.
Common mistakes
Bowing the frame inward
Cause: Pulling the mesh too tight or pressing too hard with the roller while the frame is unsupported.
Fix: Support the frame directly under where you roll. Aim for smooth, even tension, not maximum tension.
Wrinkles that will not disappear
Cause: The mesh shifted as spline went in, or you rolled one side completely before touching the others.
Fix: Work in stages and alternate sides. Back out spline and re-seat before trimming.
Spline keeps popping out
Cause: Spline too small, groove dirty, or the roller wheel is riding up instead of pushing straight down.
Fix: Clean the groove, try the next size up, and roll with steady downward pressure.
Cutting the mesh too short
Cause: Trimming before you are done adjusting, or cutting the mesh too close before spline is fully seated.
Fix: Always trim last. Keep at least 1 inch overhang until everything looks perfect.
FAQ
Can I reuse the old spline?
Sometimes, but I rarely do. Old spline takes a set, dries out, and can be slightly stretched. New spline is cheap and makes the screen hold tension better.
Do I need a spline roller?
A spline roller is worth buying. You can technically press spline in with a blunt tool, but it is slower and much easier to slip and tear the mesh. The roller keeps pressure consistent, which is the whole game here.
Why does my new screen look wavy after installation?
Usually it is uneven tension. Back out the spline on the wavy side and re-roll in short sections, alternating sides. Also check that the frame itself is not bowed.
What if my frame is bent?
If it is a minor bend, you can often straighten it gently by hand on a flat surface. If the frame is badly kinked or the corners are broken, replacing the whole frame may be the better use of your time.
When to replace the whole screen
Replacing mesh is perfect when the frame is solid. Consider a full replacement if:
- The frame is creased, cracked, or will not sit flat
- Multiple corners are loose or broken
- The spline groove is damaged so spline will not stay seated
If the frame is in good shape, though, a mesh swap is one of the best bang-for-your-buck DIY repairs out there. You will spend a few bucks on materials, learn a skill you will use again, and keep the bugs where they belong: outside.