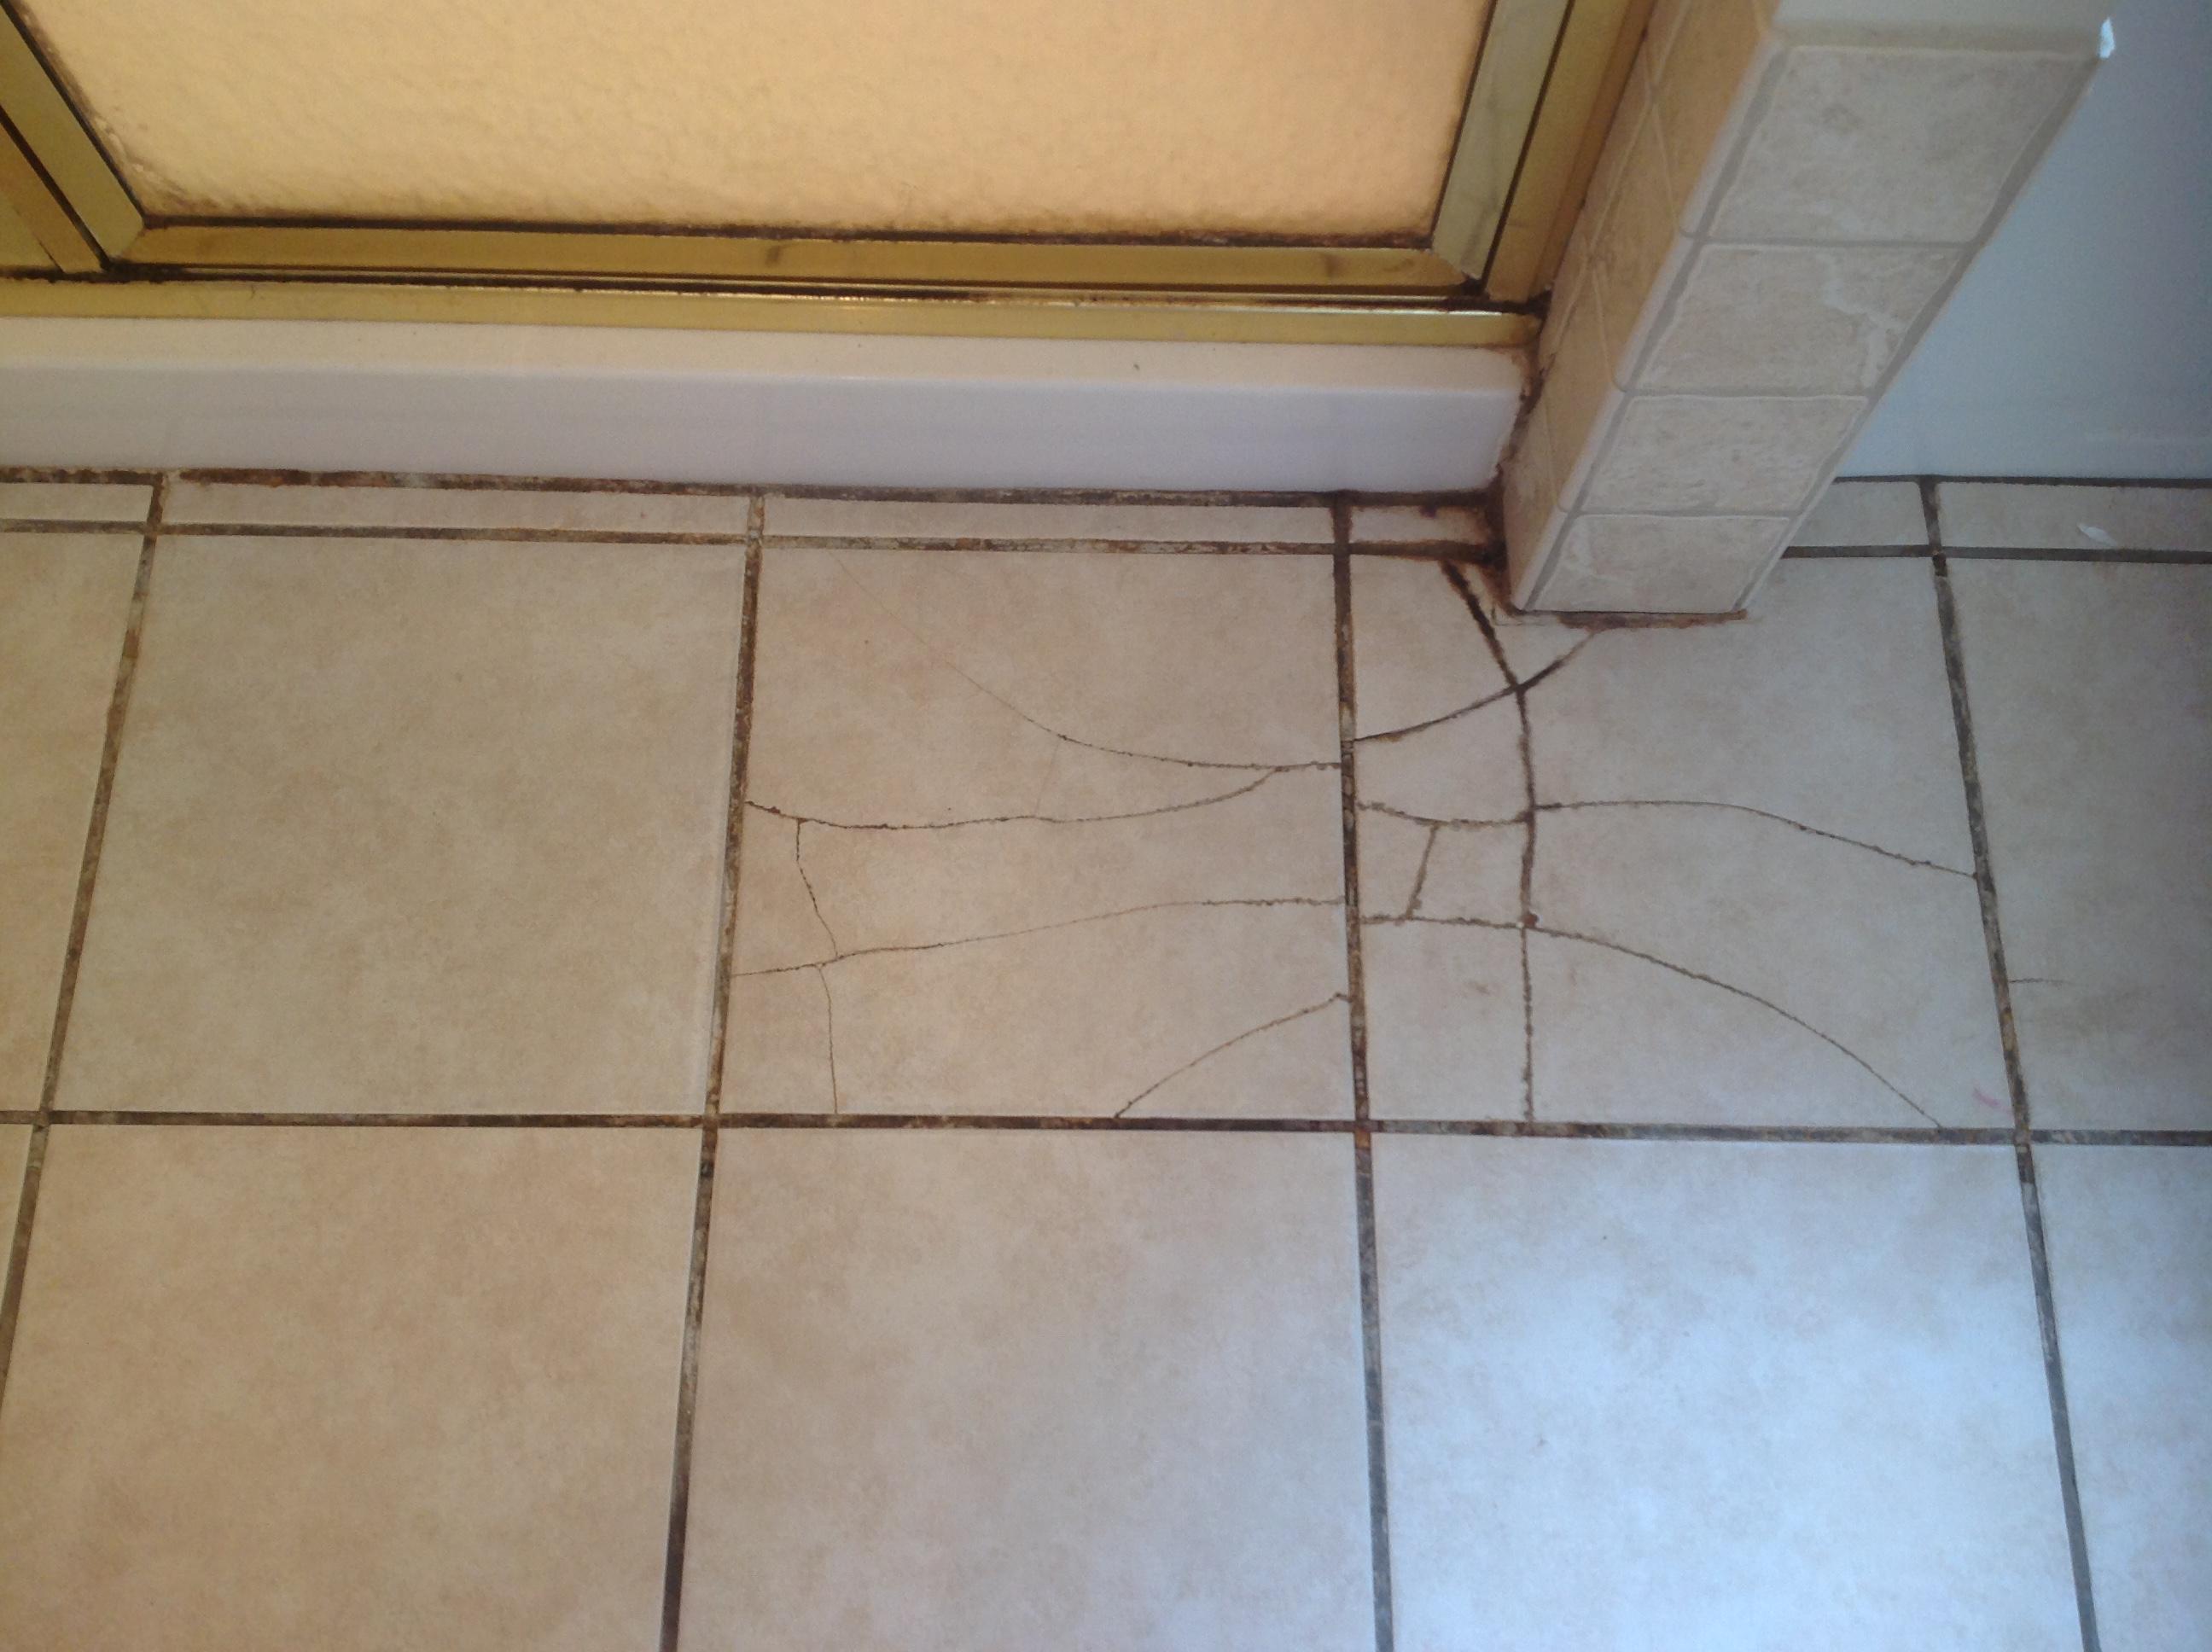
A cracked bathroom tile is one of those little problems that feels bigger than it is. You see it every day, water finds its way into it, and suddenly you are imagining hidden rot and expensive tear-outs. The good news is that replacing one ceramic or porcelain tile is very doable if you take your time and protect what is still good.
I grew up holding the flashlight while my dad “carefully” chipped tile and somehow still nicked the next one. So I learned early: the difference between a clean repair and a bigger project is patience, the right chisel, and knowing where to apply force (and where not to).
Before you start
Two quick checkpoints that save headaches:
- Confirm you have a replacement tile plan. If you do not have a spare, figure out your match strategy now. (More on that in the FAQ.) It is a lot less stressful to hunt for a match before you destroy the old tile.
- Know what is under the tile. A standard cement board or backer board repair is straightforward. If you have an uncoupling membrane (like Ditra), a topical waterproofing membrane, a mud bed, or a heated floor, you can still replace one tile, but you need to be gentler when scraping and chiseling so you do not cut a mat, nick a wire, or damage waterproofing.
Dust note: Tile and mortar dust can contain silica. Avoid dry grinding if you can, use a vacuum, and wear a proper mask or respirator.
Wall vs. floor
The steps are basically the same, but a couple details matter:
- Wall tile (shower or backsplash): Gravity works against you while the mortar cures, so you often need painter’s tape to hold the tile in place. Also watch for waterproofing membranes behind the tile.
- Floor tile: You need the replacement tile perfectly level with neighbors to avoid a toe-stubber. Floors also demand solid coverage under the tile so it does not crack again.
If the crack is part of a bigger pattern, multiple loose tiles, or the floor feels bouncy, skip to the When not to DIY section first. A single cracked tile is usually a surface issue. A bunch of them can mean movement underneath.
Tools and materials
Tools
- Safety glasses (non-negotiable)
- Work gloves
- Dust mask or respirator
- Painter’s tape
- Utility knife (fresh blade)
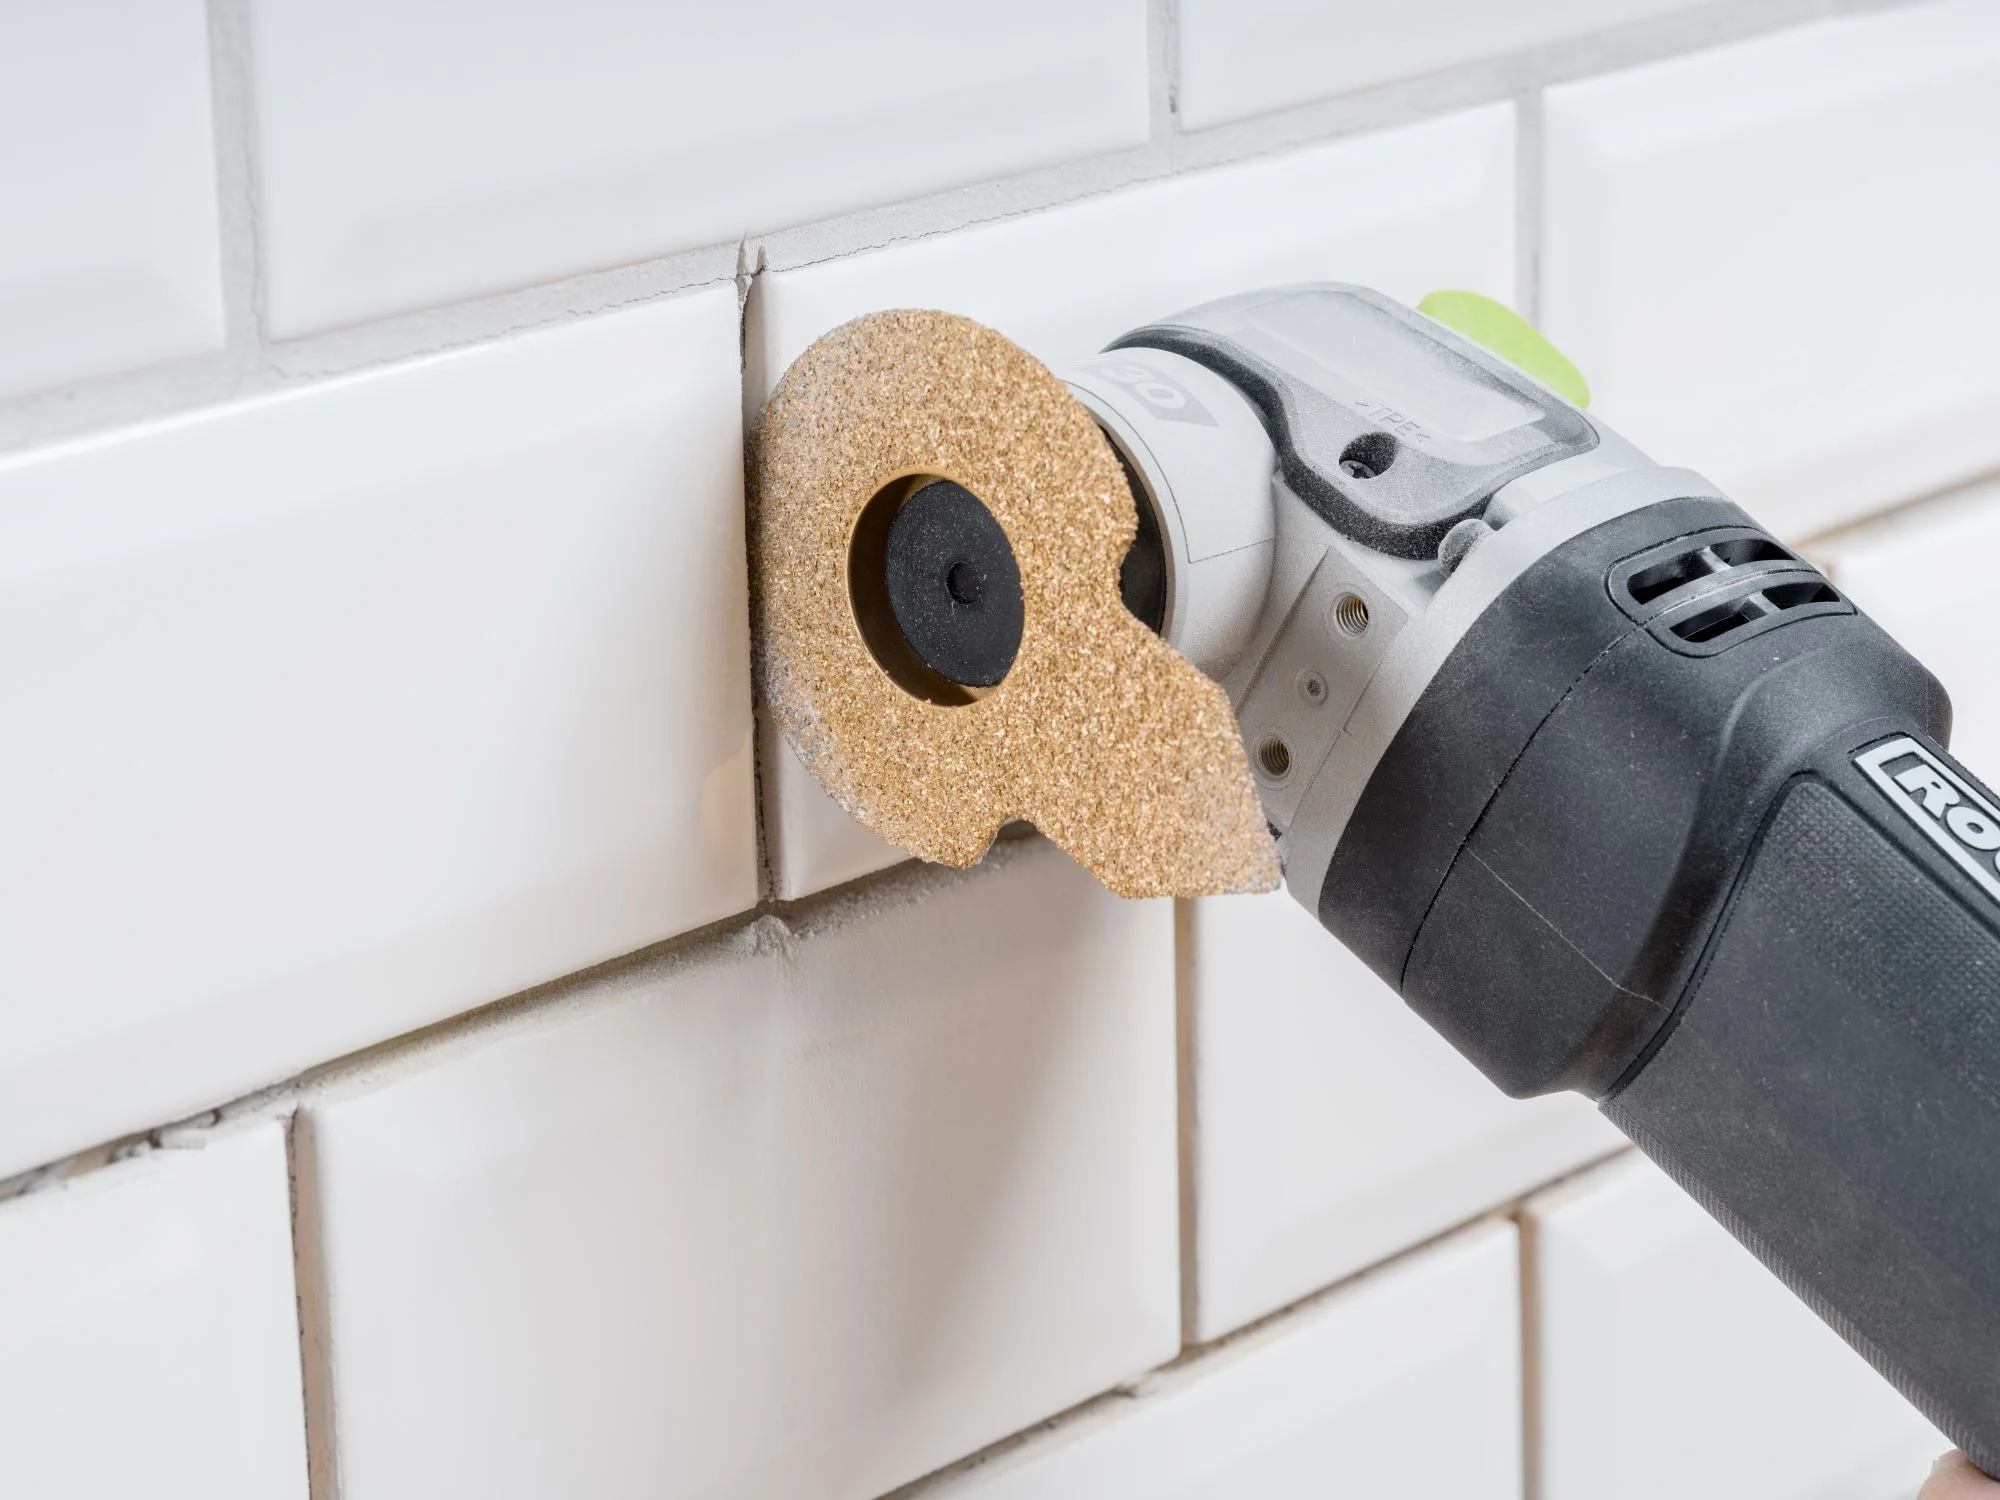
- Grout saw or oscillating multi-tool with grout removal blade
- Cold chisel (3/4 inch to 1 inch) and a small hammer
- Putty knife or stiff scraper
- Margin trowel
- Notched trowel (often 1/4 x 1/4 inch for many bathroom tiles, but match to existing)
- Level or straightedge
- Tile spacers or wedges (helpful for keeping joint width consistent)
- Tile nippers or wet saw (only if you need to trim a tile)
- Sponge and clean bucket
- Shop vac (strongly recommended)
Materials
- Matching replacement tile (same size and thickness if possible)
- Mortar or adhesive appropriate for your application (see next section)
- Grout that matches existing (and is appropriate for your joint width and tile type)
- Grout sealer (if your grout is the type that needs sealing)
- Optional: matching caulk for corners or changes of plane
Choose mortar and grout
Using the wrong product is a classic DIY pothole. Here is the simple version:
- Cementitious thinset mortar: For most bathroom wall and floor tile repairs, a polymer-modified thinset is a safe bet. If you are installing over a waterproof membrane or uncoupling membrane, follow the membrane manufacturer’s mortar requirements.
- Premixed bucket adhesives: Many premixed bucket products are mastic (not cementitious thinset) and are not appropriate for floors or wet areas. Some buckets are labeled as premixed “thin-set” alternatives with specific limitations. Read the label and use the product that matches your tile, substrate, and location.
- Mastic: Fine for some dry-area walls. In wet areas like showers, I generally avoid it and stick with a cementitious mortar unless the product and tile system specifically allow it.
- Grout: The old rule of thumb is unsanded for joints under 1/8 inch and sanded for 1/8 inch and wider. It is still a helpful starting point, but it is not universal. Some modern grouts cover a wide joint range, and some tile surfaces (like polished stone or certain glass) can scratch with sanded grout. Check the grout specs and your tile type before you buy.
If you are unsure, measure the grout joint with a tape measure or a drill bit shank held across the gap.
Replace the cracked tile
Step 1: Protect the area
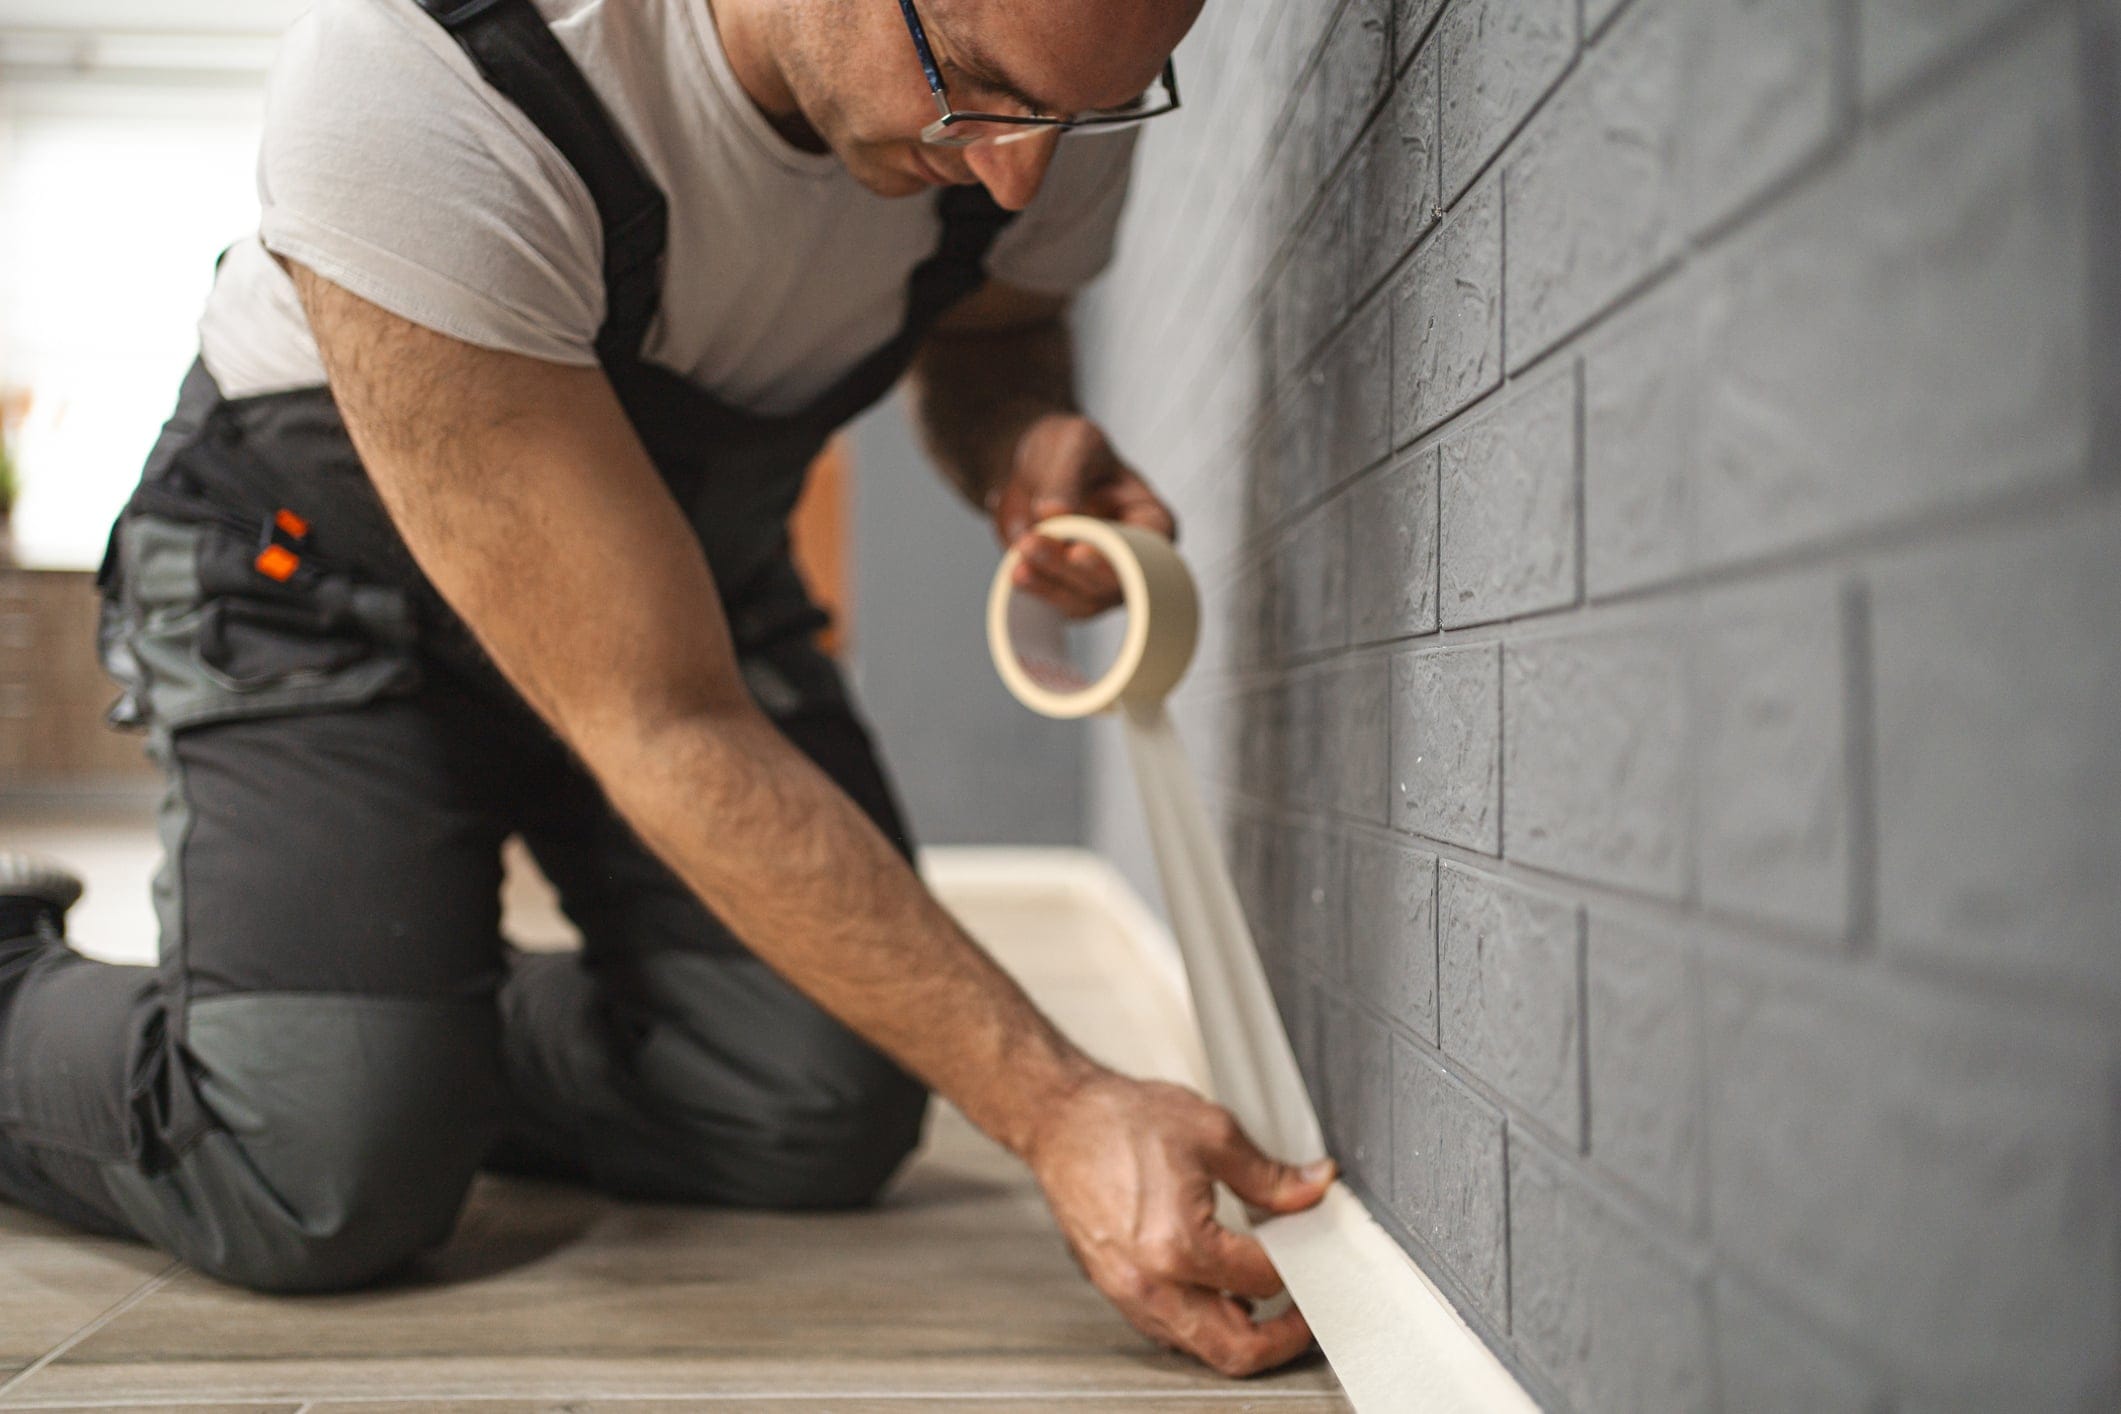
Clear the bathroom floor and cover nearby surfaces. Put painter’s tape around the tile you are removing, overlapping slightly onto the neighboring tiles. This helps prevent accidental scratches and reduces edge chipping.
- Floor: Lay down a drop cloth and keep a shop vac nearby.
- Shower wall: Plug the drain so you do not lose tile shards.
- Heated floor caution: If you suspect electric heat under the tile, keep your chisel angle shallow and avoid digging deep. A cut wire turns a tile repair into an electrical repair.
Step 2: Remove the grout around the tile
This is where most people rush, and it is also where most collateral damage happens.
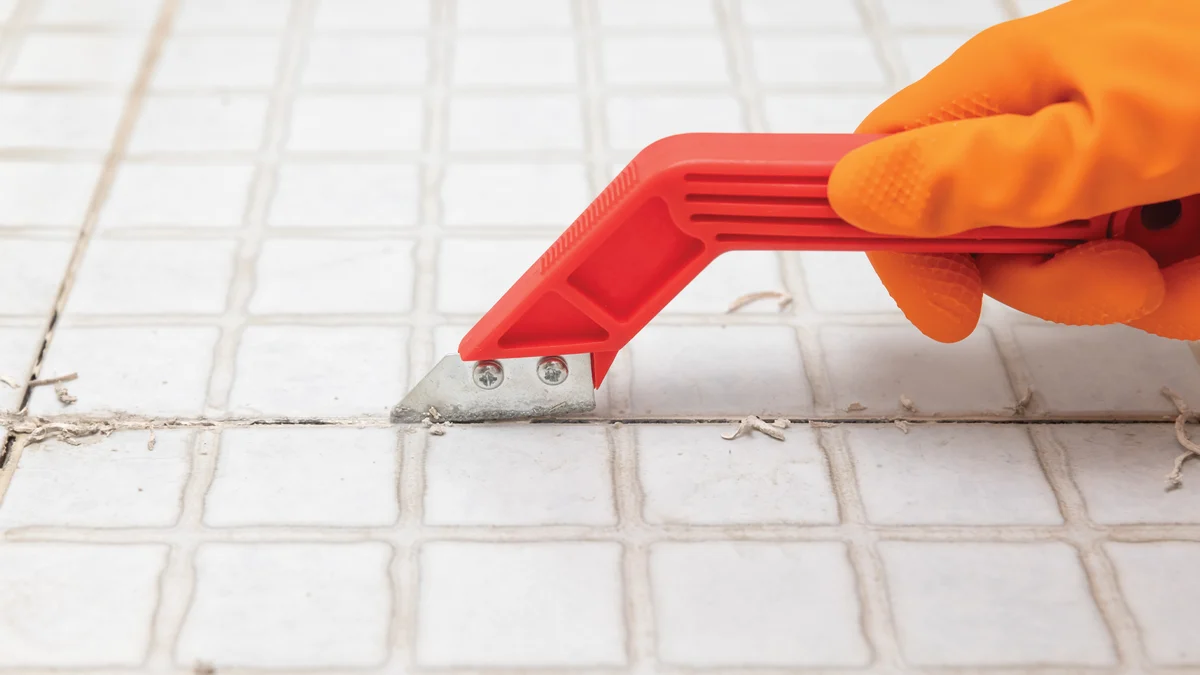
- Score the grout line with a utility knife first.
- Use a grout saw or an oscillating tool to remove grout all the way around the tile.
- Stop when you reach the tile edge, not the substrate behind it.
Tip: If you leave grout bridging the tile to its neighbors, the tile will fight you coming out and it will often chip the surrounding tile edges.
Step 3: Break inward, not outward
Put on your safety glasses. Place the cold chisel near the center of the cracked tile and tap gently to break it further. Your goal is to create a few smaller pieces you can lift out, while keeping force away from neighboring tiles.
- Start in the center.
- Work from center toward edges.
- Keep the chisel angled slightly downward so it does not skate into adjacent tile faces.
If the tile is already loose, you might be able to pop it up with a putty knife. If it is well bonded, you will be chiseling it out in chunks.
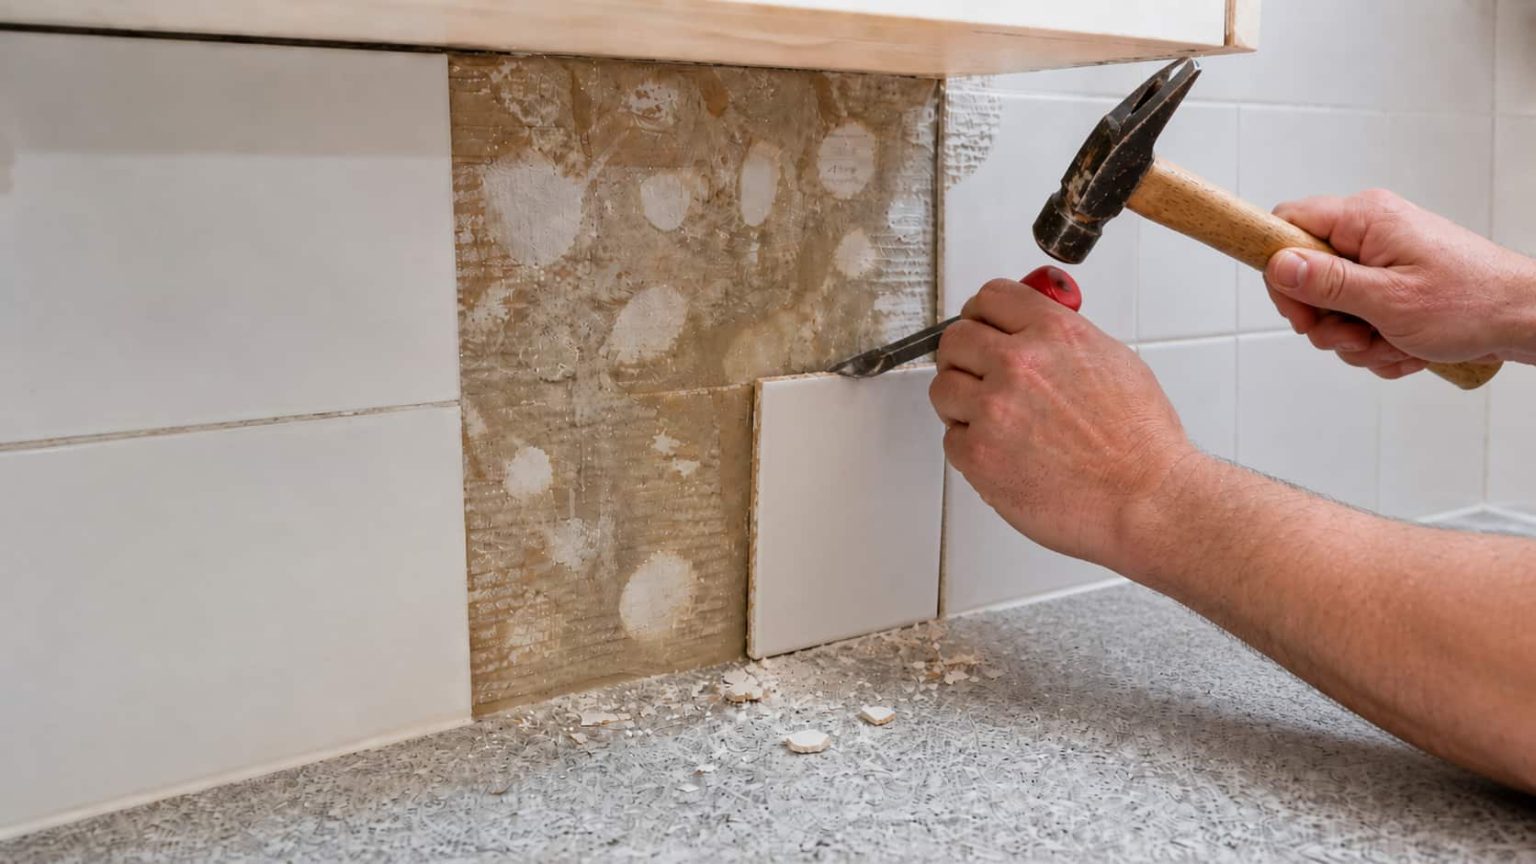
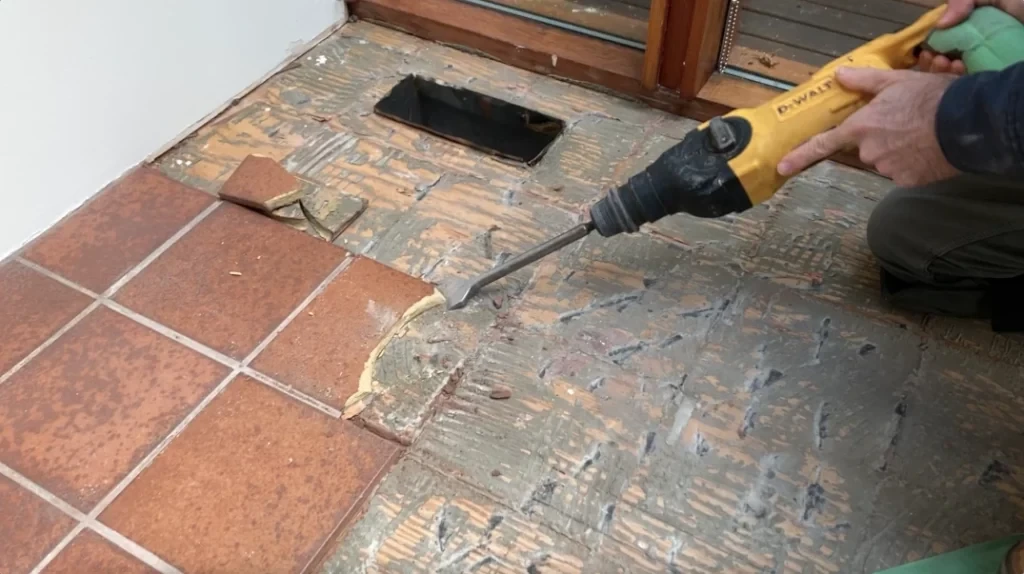
Step 4: Remove old mortar and clean the cavity
Once the tile pieces are out, you will see old mortar or adhesive. Scrape it down until the surface is flat enough that the new tile will sit flush with its neighbors.
- On cement board: Scrape firmly, but do not gouge deep valleys.
- On drywall (outside wet zones): Be extra gentle. Paper tears easily.
- On waterproof membranes or uncoupling membranes: Do not slice or puncture. Use a plastic scraper when possible and take your time.
Vacuum dust and wipe with a barely damp sponge. Mortar bonds best to clean, dust-free surfaces.
Step 5: Dry fit the new tile
Before you mix mortar, place the new tile in the opening and check:
- Fit: Even grout gaps on all sides.
- Flush: Tile face lines up with surrounding tile.
- Thickness: If the replacement tile is slightly thinner, you can build up mortar a bit. If it is thicker, you may need to remove more old mortar or find a closer match.
If the joints want to wander, this is when you grab a couple spacers or wedges. Also make sure you are not planning to fill the grout joint with mortar. Leave room for grout.
Step 6: Mix and apply mortar
Mix mortar to a peanut-butter-like consistency and let it slake per the bag directions, then remix. For one tile, you do not need much, but follow the ratios anyway.
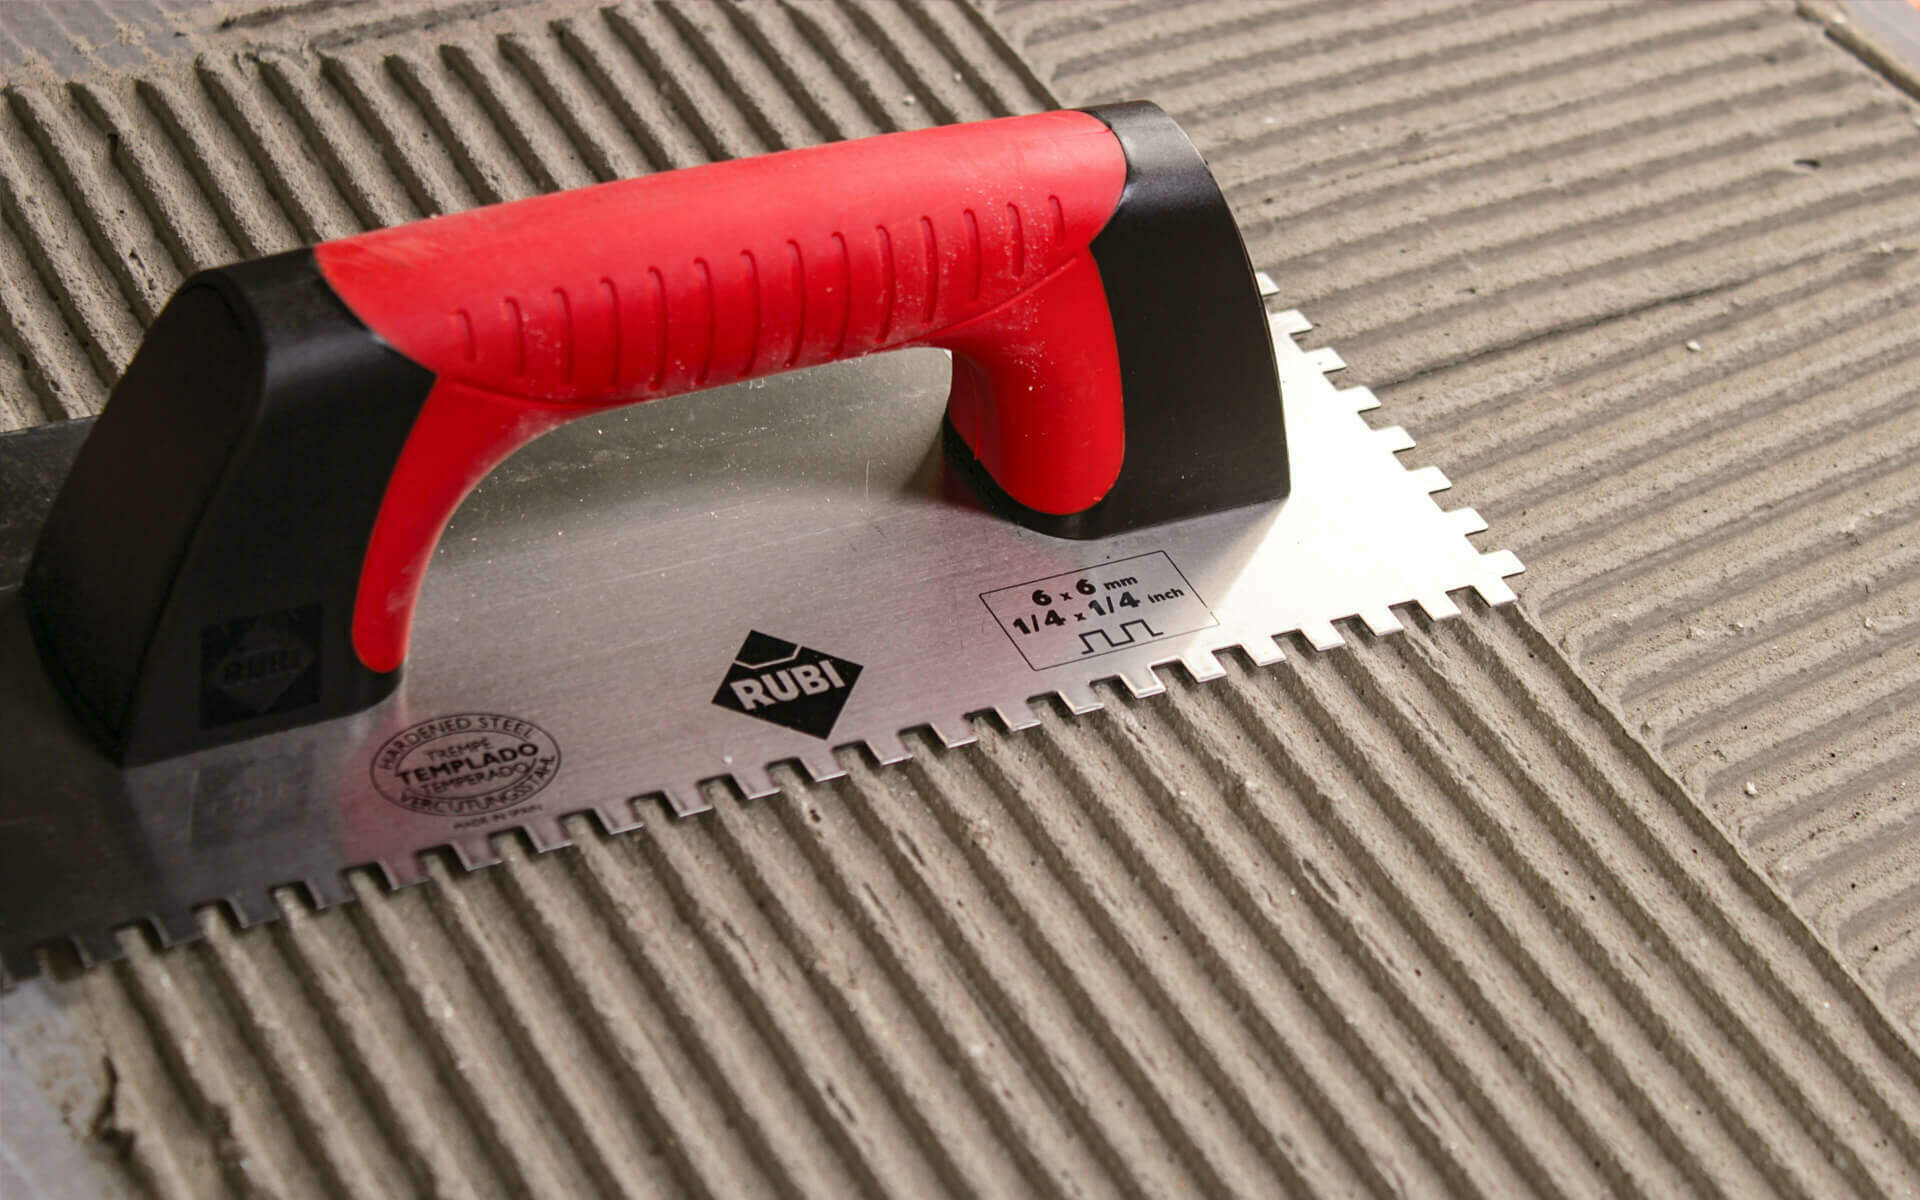
- Use a notched trowel to comb mortar on the substrate in one direction.
- Back-butter the tile (skim a thin coat on the back) for better coverage, especially on floors.
Coverage target: You want solid support under the tile. Voids can lead to future cracks.
Step 7: Set the tile flush
Press the tile into place and slide it slightly perpendicular to your trowel ridges to collapse them. Check flushness with a straightedge across adjacent tiles.
- If the tile sits low, lift it and add a touch more mortar.
- If it sits high, remove it and scrape away a bit of mortar.
Clean mortar squeeze-out from the grout joints immediately. A wooden stir stick, a plastic putty knife, or the corner of a grout float works well and is less likely to gouge a membrane or soft substrate if you slip.
Wall tile tip: Use painter’s tape from tile to tile (or tile to a temporary ledger) to keep it from sagging while it cures.
Step 8: Let it cure
Follow the mortar instructions for cure time before grouting. In many cases it is at least 24 hours, and longer if the room is cool or humid. Grouting too early can shift the tile and weaken the bond.
Step 9: Regrout
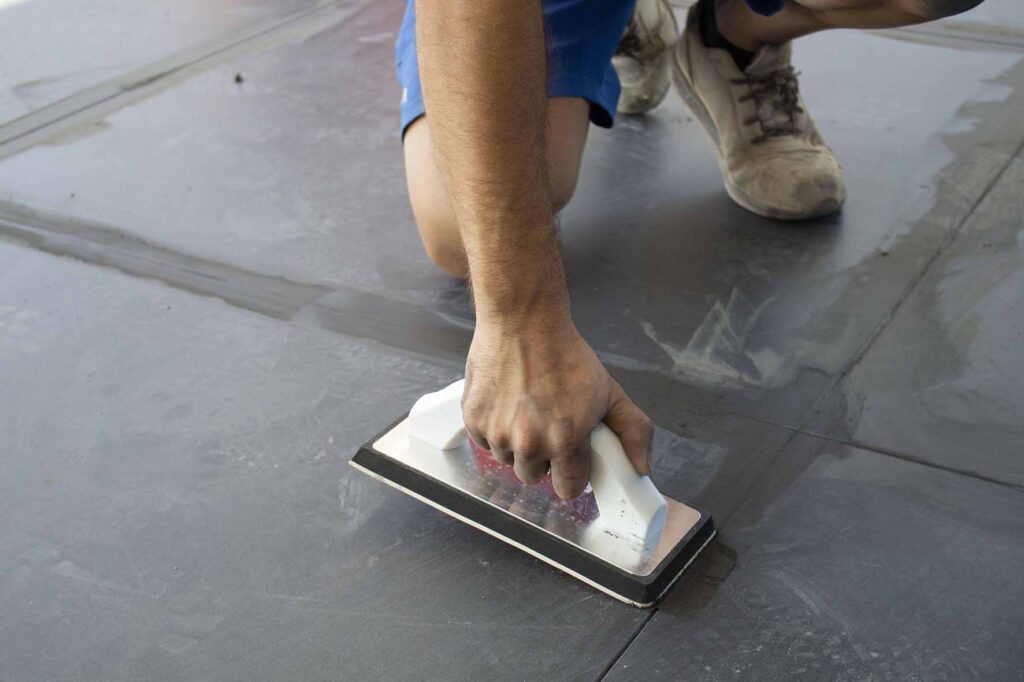
Mix grout and pack it into the joints with a rubber float, holding the float at about a 45-degree angle. Work diagonally across the joints to avoid pulling grout out.
- After the grout firms up (timing varies by product and conditions), wipe with a damp sponge.
- Rinse the sponge often. You are shaping joints, not washing them out.
- After a haze forms, buff with a dry microfiber cloth.
Step 10: Seal or caulk as needed
Some modern grouts do not require sealing. Many cement-based grouts still benefit from it, especially in bathrooms. Follow the grout manufacturer’s cure time before sealing, which is often a few days depending on the grout and conditions.
If your repair is in a shower, remember this: corners and changes of plane are typically caulked, not grouted, because those areas move. Match what is already there in your shower. If the corner is caulked, re-caulk it.
Avoid damaging nearby tile
- Remove grout fully first. This is the biggest “secret.”
- Work from the center out. Breaking inward protects edges.
- Use light taps. Let the chisel do the work. Heavy swings are how good tiles die.
- Keep the chisel bevel facing the broken tile. You want the force directed into the sacrificial tile, not into the neighbor.
- Stop and vacuum often. Grit under your tools can scratch glazed tile.
Troubleshooting
The tile will not come out
Usually you missed grout somewhere. Go back around the perimeter with the grout saw, especially in corners. If grout is fully removed and the tile is still stubborn, keep breaking it into smaller pieces and peel it out bit by bit.
I gouged the substrate
Small gouges are not the end of the world. Flatten high spots and fill low spots with mortar, then let it harden before setting the tile (or fill as you set, if shallow). If you tore the face paper on drywall outside wet zones, seal the torn paper with a suitable primer before setting tile. If this is inside a shower wet area and you damaged waterproofing, use the correct patch method for that membrane system.
The new tile sits low
Add mortar. For floors, back-butter the tile too. Check with a straightedge until it is flush. This is worth fussing over now so you do not hate the repair every time you mop.
The new tile sits high
Pull it, scrape mortar down, re-trowel, and reset. Trying to “press it down” after mortar starts to set usually just makes a mess and risks weak coverage.
The grout color does not match
Even the right grout can dry a shade off depending on water ratio, sponge technique, humidity, and the age of the surrounding grout. Measure water carefully and do not overwash. If surrounding grout is older and stained, a perfect match may be impossible. In that case, a grout colorant applied to a wider area can make everything look uniform.
When not to DIY
Replacing a single cracked tile is a great DIY project. But pause and investigate if you see any of the following:
- Multiple cracked tiles in a line or repeating pattern
- Loose tiles or hollow sounds across a larger area
- Soft subfloor near a tub, shower, or toilet
- Chronic moisture issues, mold smell, or swelling baseboards
Those can point to movement, water damage, or an installation issue that will keep breaking tiles until the root cause is fixed.
Quick FAQ
Can I replace one tile only?
Yes, as long as the surrounding tiles are well bonded and the substrate is solid. The key is removing grout around the broken tile and keeping the new tile flush.
When can I walk on it or use the shower?
Follow the mortar and grout instructions for cure times. A common baseline is no foot traffic for about 24 hours after setting, but colder or wetter conditions can push that longer. For showers and heavy water exposure, be conservative and let grout fully cure per the label.
What if I do not have a matching tile?
Check behind the toilet, under a vanity toe kick, or in leftover boxes from the original install. If none exist, take a good sample tile (or accurate measurements and photos) to a tile shop. If an exact match is impossible, consider replacing a small cluster in a less noticeable spot and moving the best-looking tile into the most visible location.
My best advice
Do the slow part well: grout removal, surface flattening, and dry fitting. Setting the tile takes five minutes. Making it look like it was never cracked is what takes the extra half hour. And that half hour is a whole lot cheaper than paying someone else to do it, plus you get to enjoy that very specific DIY satisfaction every time you walk into the bathroom.