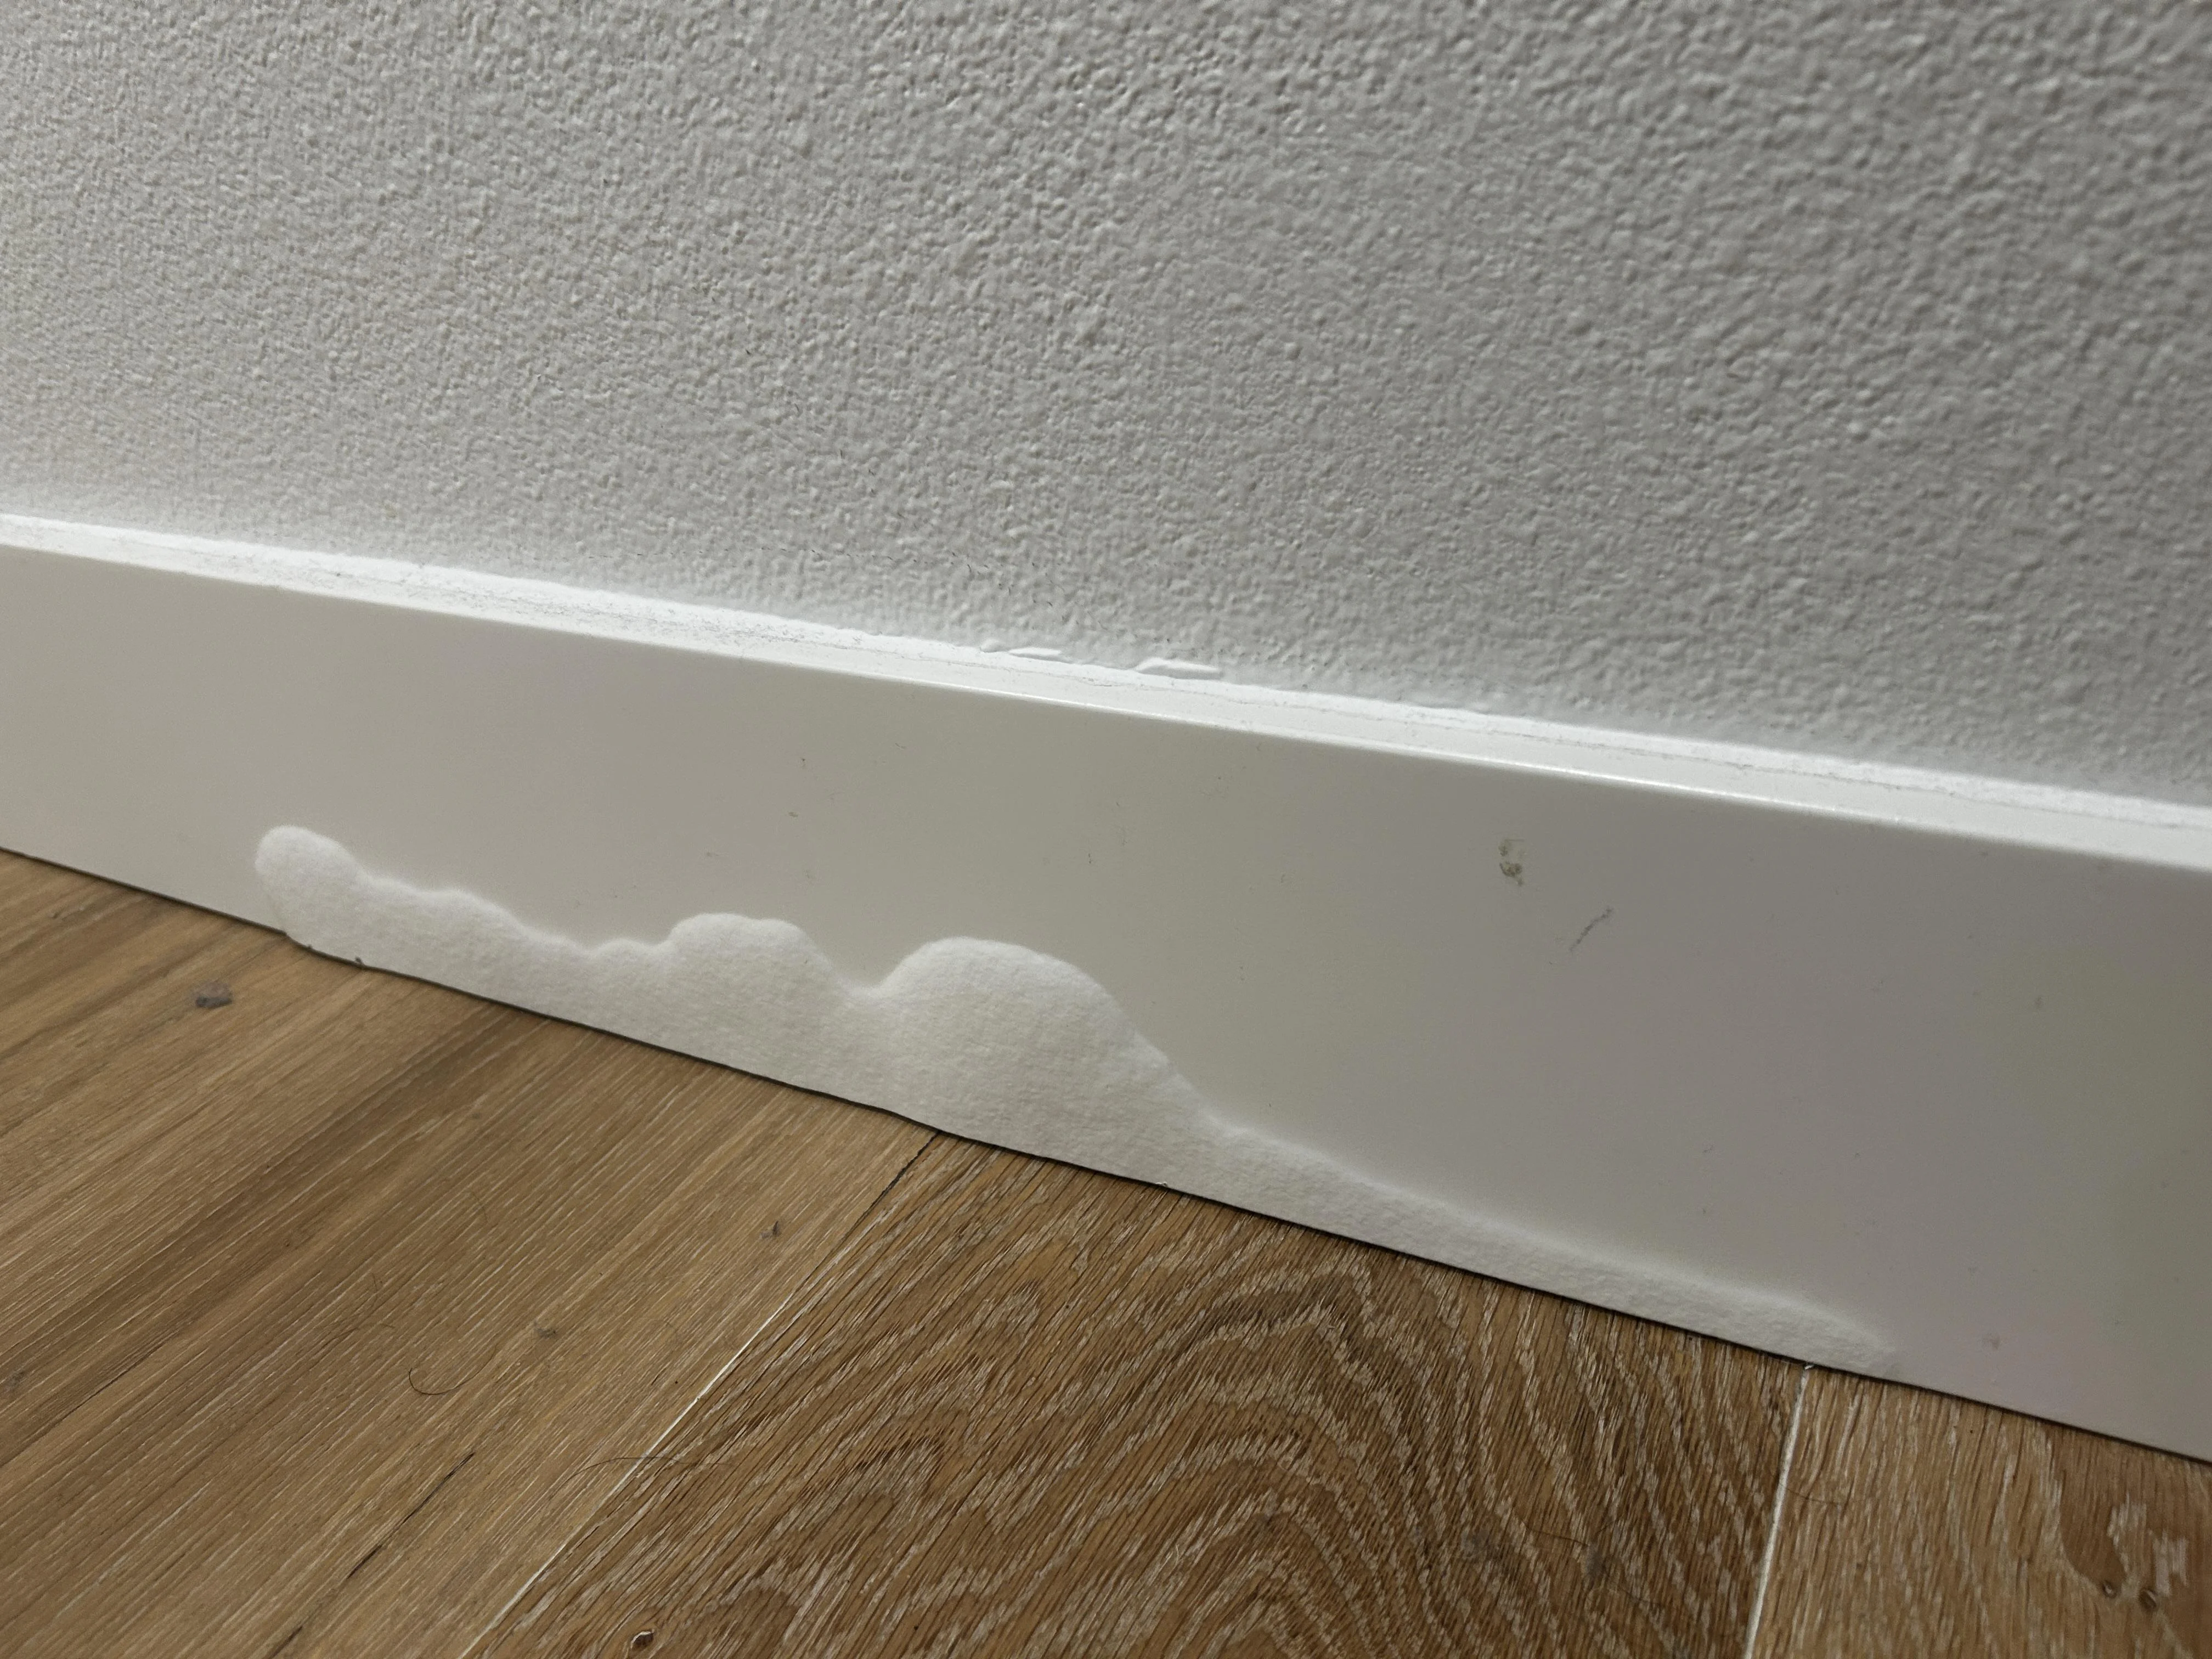
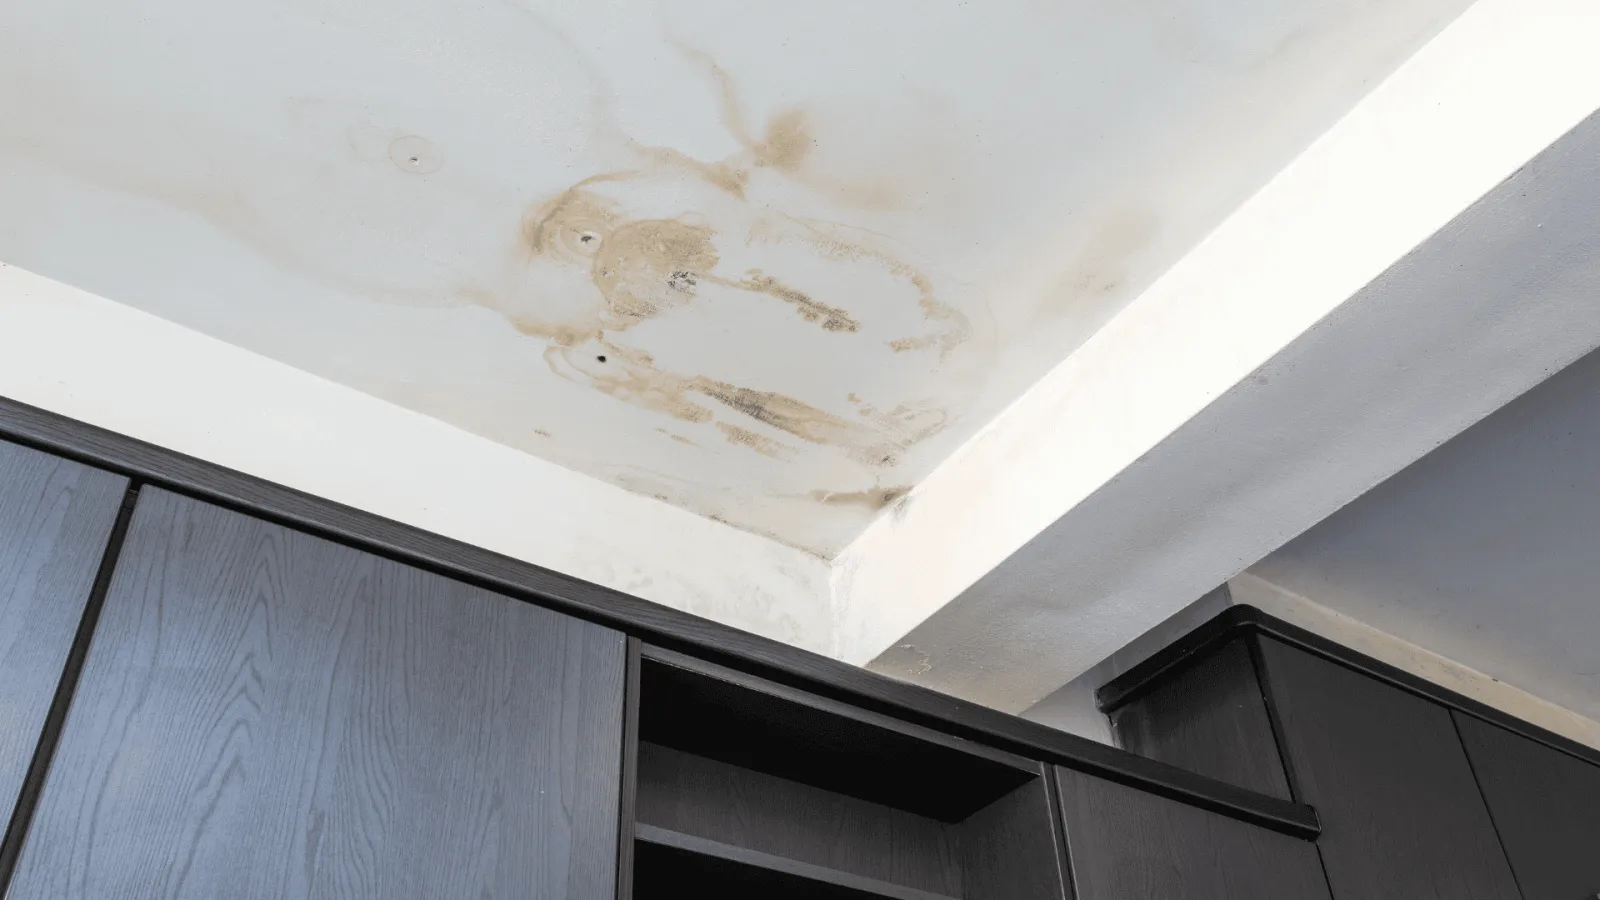
A little rot on a wood window sill looks scary, but it often is not a “replace the whole window” situation. If the rot is localized and the sill is mostly intact, epoxy wood filler can bring it back to solid, paintable shape for a fraction of the cost. I have used this approach on everything from old double-hungs to basement windows where years of tiny leaks quietly did their thing.
Quick terminology note so we are talking about the same parts: in many homes, the sill is the exterior sloped piece that sheds water, and the stool is the interior ledge. The techniques below are aimed mostly at exterior wood sills, but the same basic epoxy approach works on interior stool rot too once the moisture issue is solved.
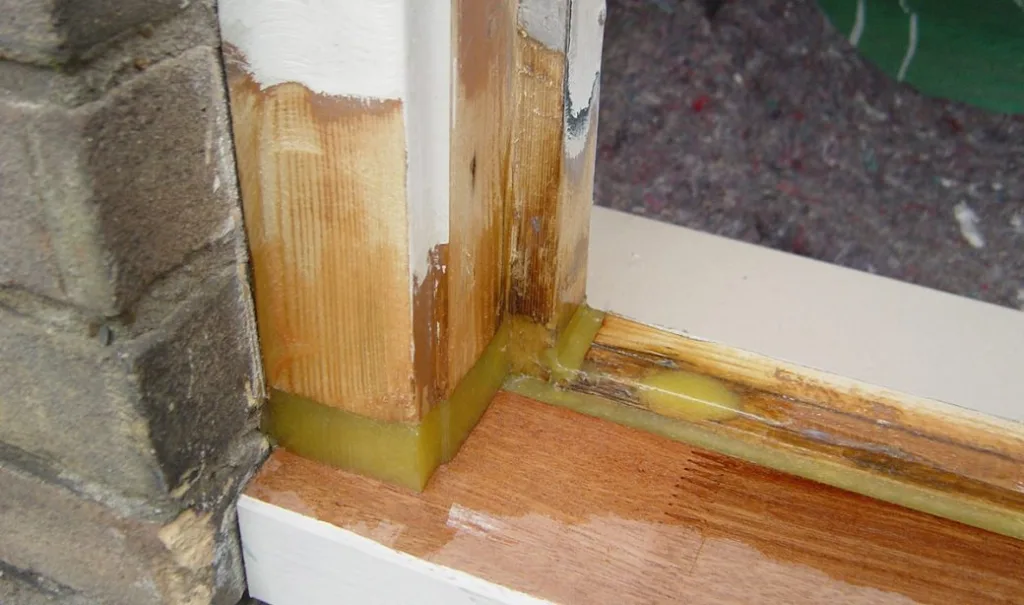
The basic idea is simple: remove all the soft stuff, stabilize what is left with liquid wood hardener, then rebuild the missing profile with a two-part epoxy filler you can sand and shape like wood. Do it right, and the repair will outlast a lot of quick fixes.
When epoxy is the right fix (and when it is not)
Epoxy wood filler is a great option when the damage is surface rot or localized soft spots and the sill is still structurally sound. It is especially useful for sills that have a decorative front lip or a slope you want to preserve without replacing trim.
Epoxy works well if:
- The rot is limited to part of the sill (often the corners, front edge, or where the stool meets the side casing).
- You can dig out the soft wood and still have solid wood around the cavity to bond to.
- The window frame and rough opening are not shifting or sagging.
Consider replacement instead if:
- The sill is rotten all the way through, or you can push a screwdriver deep into multiple areas.
- The window leaks actively and you have not identified the water source yet.
- There is significant frame damage, insect damage, or the sill is part of a structural assembly that is compromised.
Important: Epoxy repairs do not solve the cause of rot. If water keeps getting in, your “new” epoxy sill will look great while the surrounding wood continues to deteriorate.
Tools and materials
You do not need a truck full of contractor gear for this, but having the right few items makes it cleaner and faster.
Tools
- Flat screwdriver or small pry tool (for probing and initial digging)
- Putty knife and stiff scraper
- Utility knife
- Chisel (optional but helpful for crisp edges)
- Wire brush
- Shop vacuum
- Sandpaper (80, 120, 180 grit) and sanding block
- Mixing board (scrap plywood or thick cardboard) and putty knife for mixing
- Painter’s tape
Materials
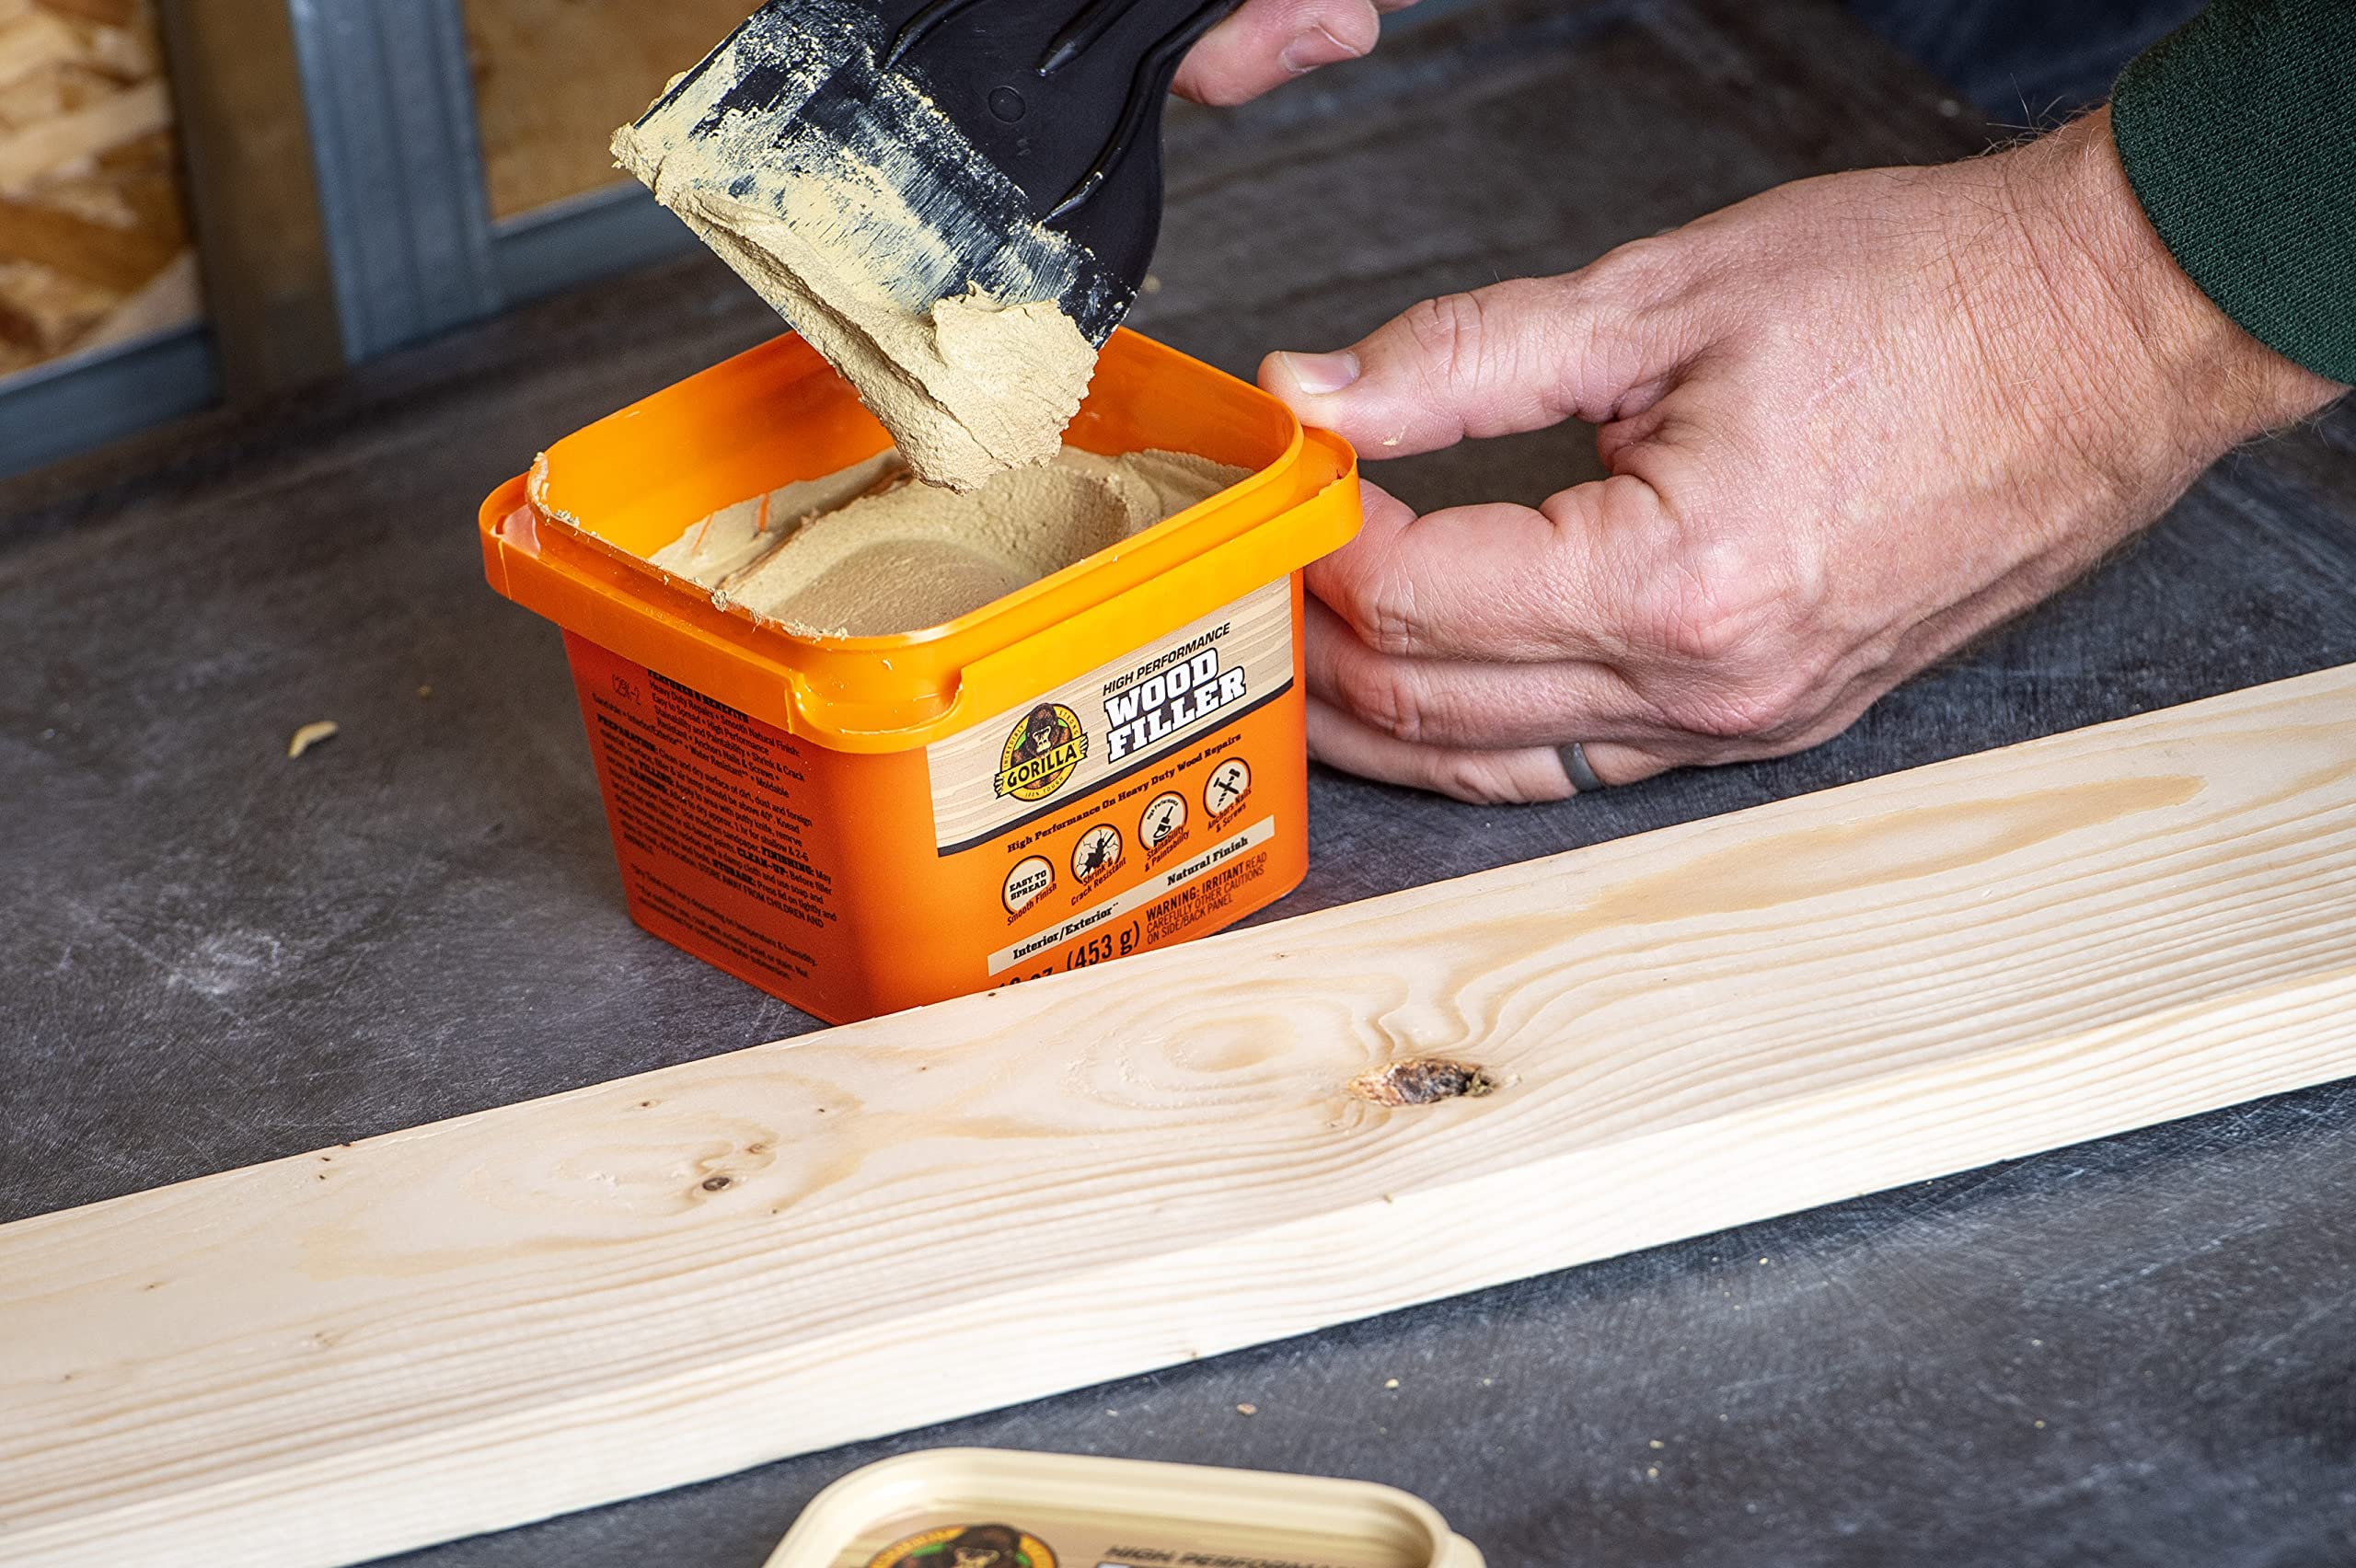
- Two-part epoxy wood filler (often sold as “wood repair epoxy” or “epoxy putty”)
- Liquid wood hardener (made to soak into punky wood)
- Exterior-rated primer and paint (or primer and a quality exterior topcoat)
- Exterior-grade caulk (paintable)
- Denatured alcohol or acetone for cleanup (check epoxy label)
- Nitrile gloves
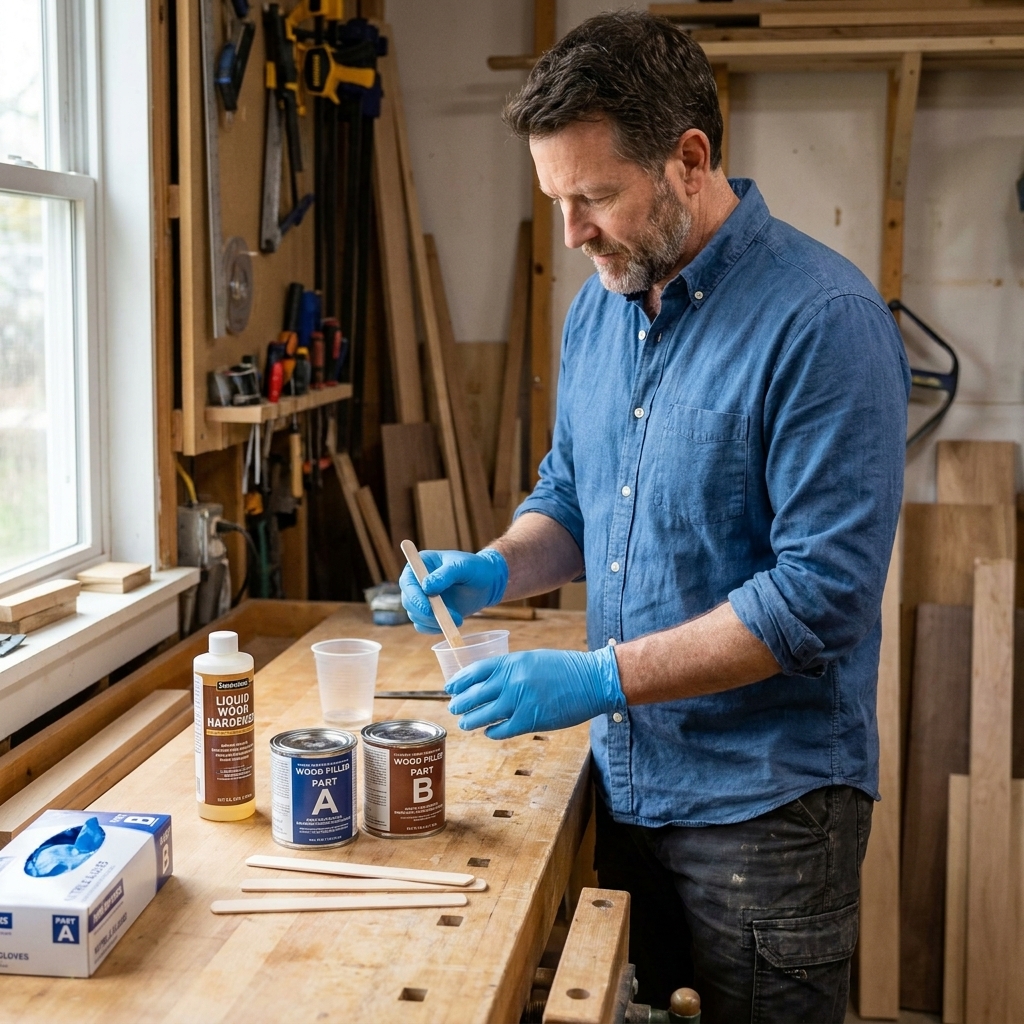
Step 1: Find and stop the water
If you skip this step, you are basically bailing a boat without plugging the hole.
Common leak points around window sills include:
- Failed caulk where the casing meets siding or masonry
- Gaps in exterior trim joints
- Missing or damaged drip cap above the window
- Peeling paint that let water sit on bare wood
- Condensation issues indoors (especially in bathrooms and kitchens)
On a dry day, look for staining, open joints, and cracked caulk. If you are not sure, lightly mist the window area with a hose while someone inside watches for water entry. Keep the spray gentle. You are simulating rain, not pressure-washing your window into leaking.
If you are dealing with recurring sill rot, also look bigger than caulk. A drip cap, proper head flashing, and intact trim joints matter. Water that gets behind siding can show up at the sill long after it entered.
Step 2: Probe, mark, and plan your dig line
Use a screwdriver to probe the sill and identify where the wood transitions from soft to solid. Rotted wood feels spongy and will crush or crumble. Sound wood will resist and feel “crisp.”
Mark the perimeter of the soft area with a pencil. Your goal is to remove all compromised wood, even if that makes the cavity bigger than you hoped. Epoxy bonds best to solid wood. Leaving a little rot behind is the fastest way to watch your repair fail later.
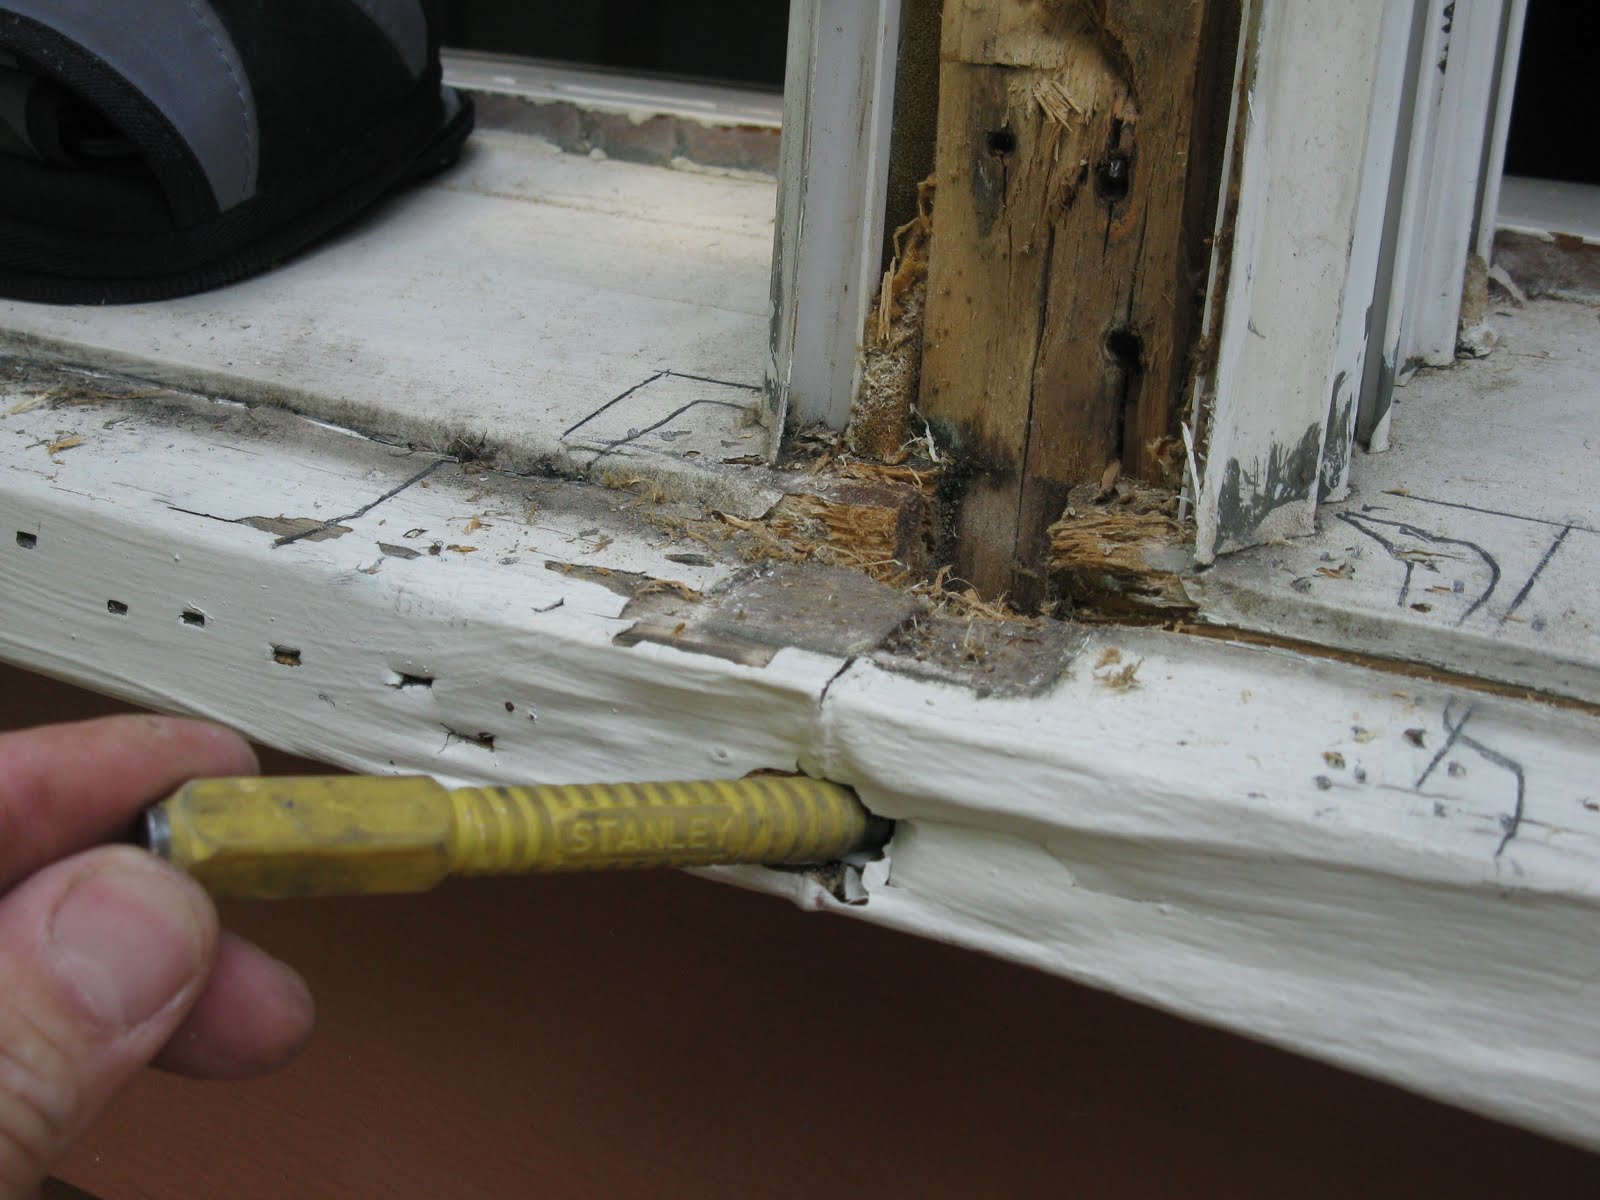
Step 3: Remove all the rotten wood
Scrape, chip, and brush out the soft wood until you are down to firm material. I like starting with a stiff scraper and finishing with a wire brush to get into pores and corners.
- Keep the edges under control: A cleaner cavity edge makes a cleaner repair. A chisel is handy here.
- Undercut if you can: If the cavity has a slight “dovetail” shape (wider inside than at the surface), it gives the epoxy more mechanical grip.
- Vacuum often: Dust and crumbs weaken bonding.
If you hit wet wood, stop and let things dry out. Epoxy products vary, but most perform best when the wood is dry. Check the label, but as a general rule, do not trap moisture and expect it to behave.
Step 4: Dry the area and prep for bonding
Let the sill dry thoroughly. If you need to speed things up, use a fan and give it time. Avoid blasting it with high heat close to glass or old paint.
Once dry, do a final vacuum and knock loose dust off the cavity edges with a dry brush. If the epoxy system you are using allows solvent wipe-down, follow the label. Some products do not want a solvent-wet substrate.
If your sill has glossy old paint right at the repair edge, scuff it with 80 to 120 grit so the epoxy has something to bite into.
Safety note: If your home was built before 1978, treat old paint as potentially lead-based. Avoid dry sanding or aggressive scraping without proper precautions and containment. Wet methods, a HEPA vacuum, and a properly fitted P100 respirator are the safer default. When in doubt, use a lead test kit and follow local safety guidance.
Temperature note: Cure time and working time change a lot with temperature and humidity. Most epoxies also have a minimum application temperature. If it is cold out, plan on longer cure times or wait for a warmer day.
Step 5: Apply wood hardener
Liquid wood hardener is designed to soak into punky wood fibers and cure them into a stronger base. It is not glue for chunks of rotten wood. Think of it as stabilizer for the last thin layer of “questionable” wood you could not realistically remove without destroying the sill profile.
If you cleaned back to fully sound, dry wood, you may not need hardener at all. Use it where fibers are marginal and you want to lock them down before you rebuild.
- Put on gloves and eye protection.
- Brush or pour hardener into the cavity and along exposed wood fibers.
- Let it soak in, then apply a bit more if the wood keeps drinking it up.
- Allow it to cure for the time listed on the product label.
When it is ready, the surface should feel hardened, not tacky or wet.
Step 6: Mask for clean lines
Painter’s tape is your best friend here, especially along the vertical face and edges where you want a crisp paint line later. Mask the wall, glass edge (if needed), and any adjacent trim you do not want to sand epoxy off of later.
If the repair is on the front lip of the sill, tape beneath it too. Epoxy drips cure into little stalactites that love to snag sleeves.
Step 7: Mix and apply epoxy wood filler
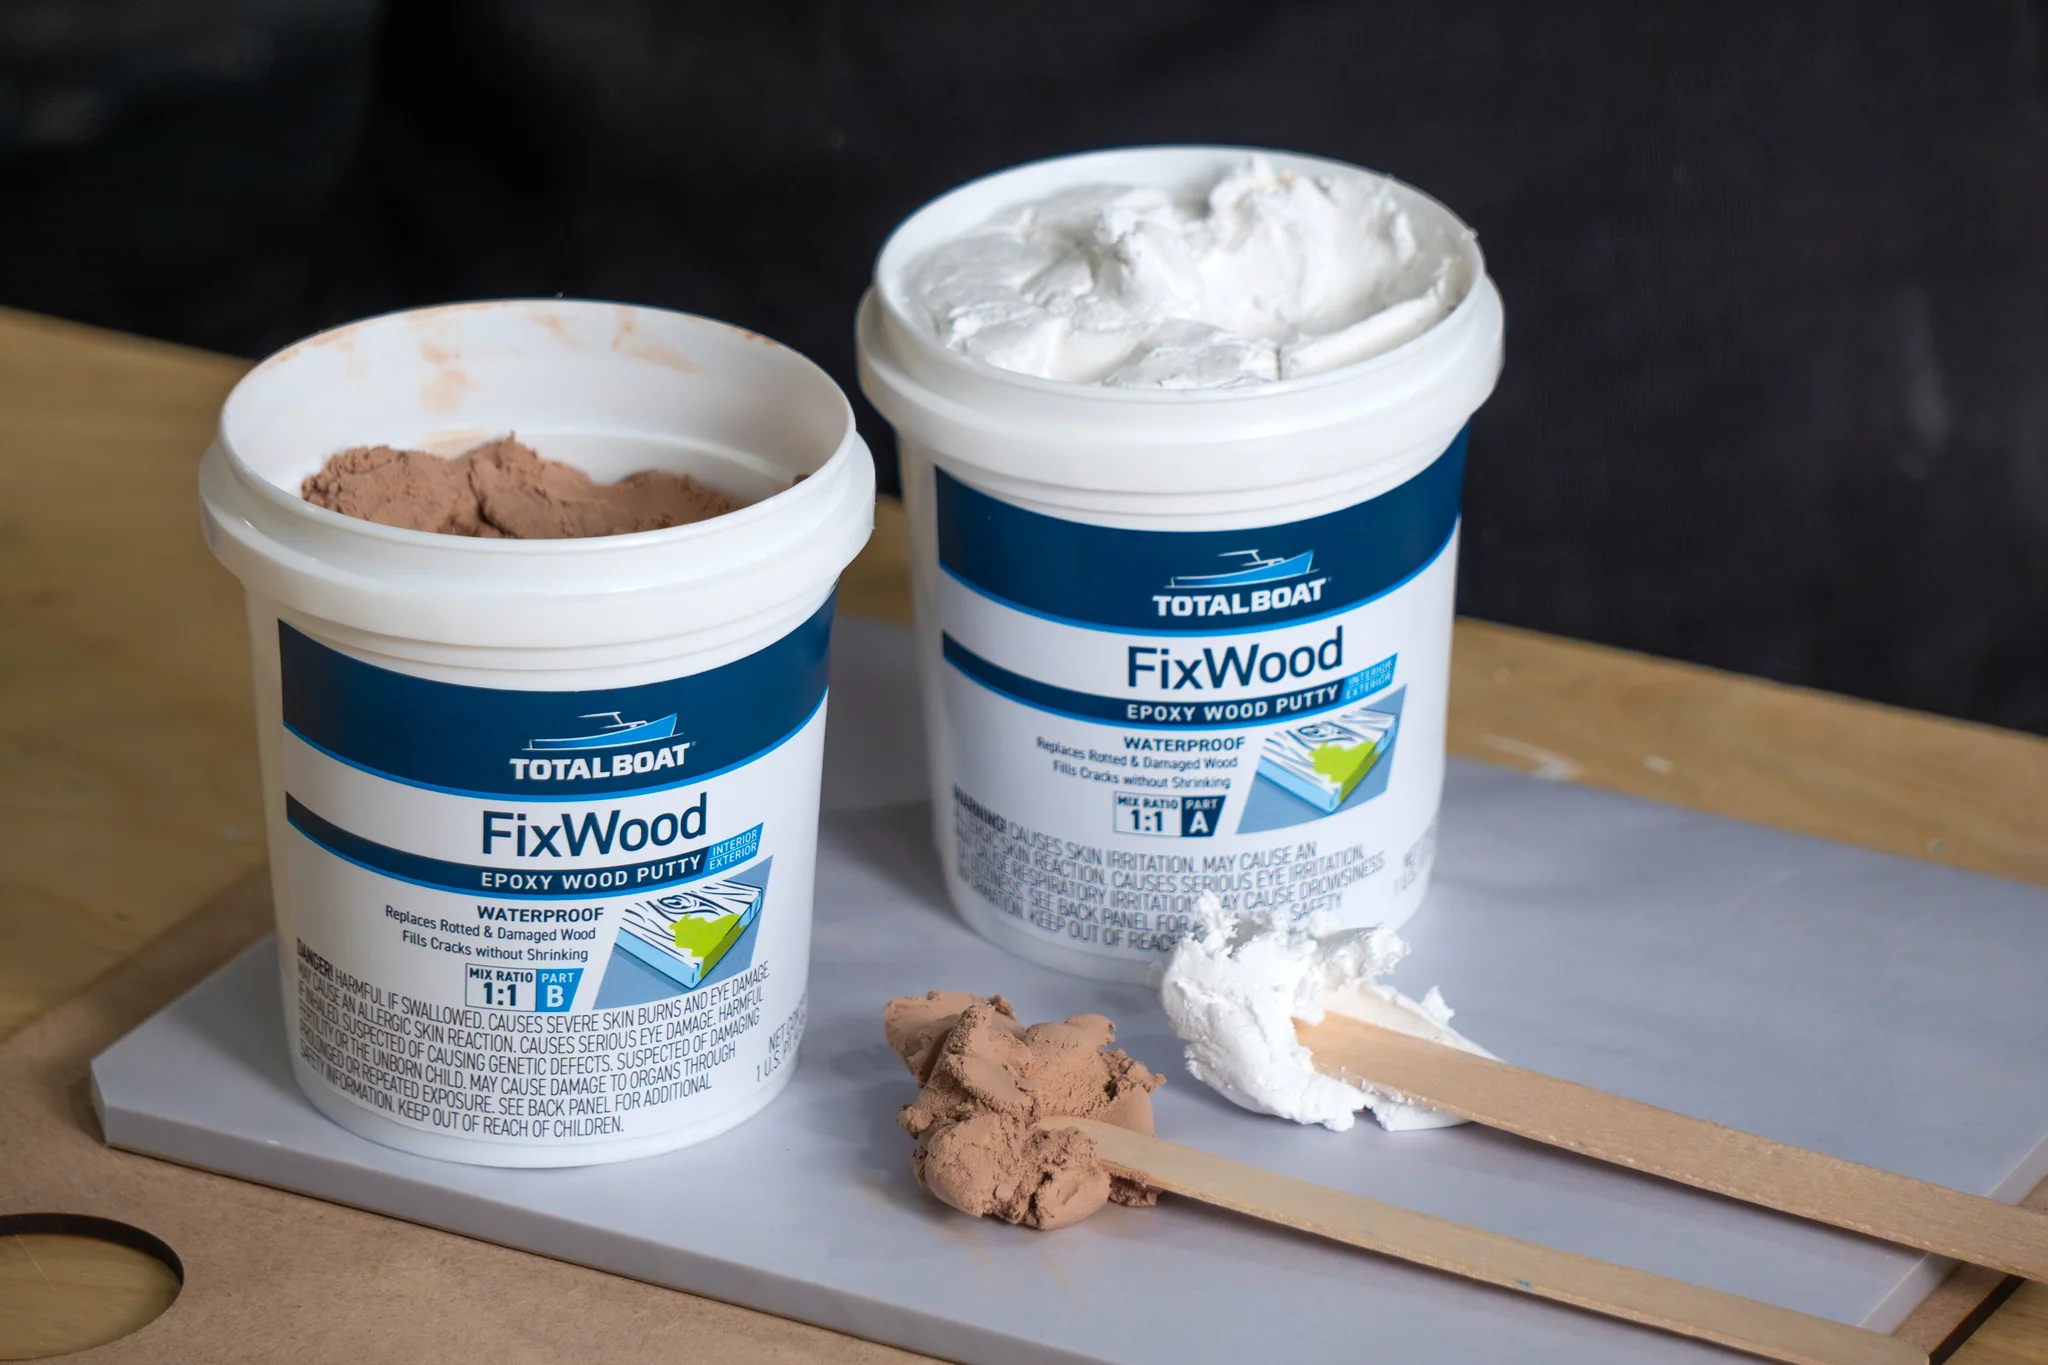
Most epoxy wood fillers are two-part systems. Some come as two cans you mix by ratio, others are “kneadable” putties. Either way, working time is limited, so have everything ready before you combine parts.
Mixing tips
- Mix small batches. You can always mix more.
- Blend until color is uniform with no streaks.
- Use a disposable mixing board and putty knife.
Application tips
- Pack it in: Press epoxy firmly into the cavity to eliminate voids.
- Slightly overfill: Leave it a little proud so you can sand it flush later.
- Shape while it is workable: A putty knife can rough in the sill slope and front edge before it cures.
If you need to rebuild a crisp corner, you can “form” the epoxy with painter’s tape as a temporary dam. Pull the tape before the epoxy fully hardens, usually when it is firm but not rock-hard, so you do not tear chunks out. If you are doing a fussy form, test your tape first and stick with quality painter’s tape so you do not leave residue behind.
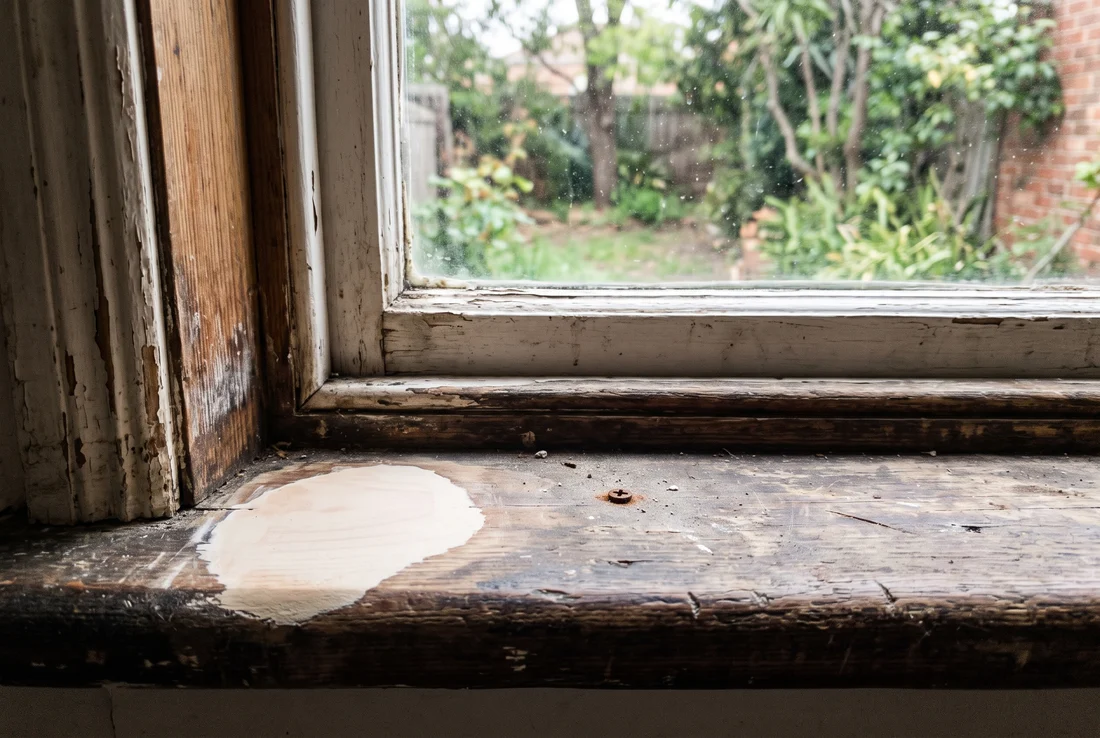
Step 8: Sand and shape the sill profile
After the epoxy cures fully, sand it to match the original sill shape. This is where patience pays off. I have absolutely gotten overconfident with super coarse paper and created a low spot I had to refill. Learn from my past self and start a little gentler.
- Start with 80 grit to knock down high spots.
- Move to 120 grit to refine the shape.
- Finish with 180 grit for a paint-ready surface.
Use a sanding block to keep surfaces flat, and check your work by running your hand along the sill. Your fingers will find dips and ridges your eyes ignore.
Step 9: Prime, caulk, and paint
Epoxy itself is tough, but the system only works if you seal it properly so water cannot get behind it.
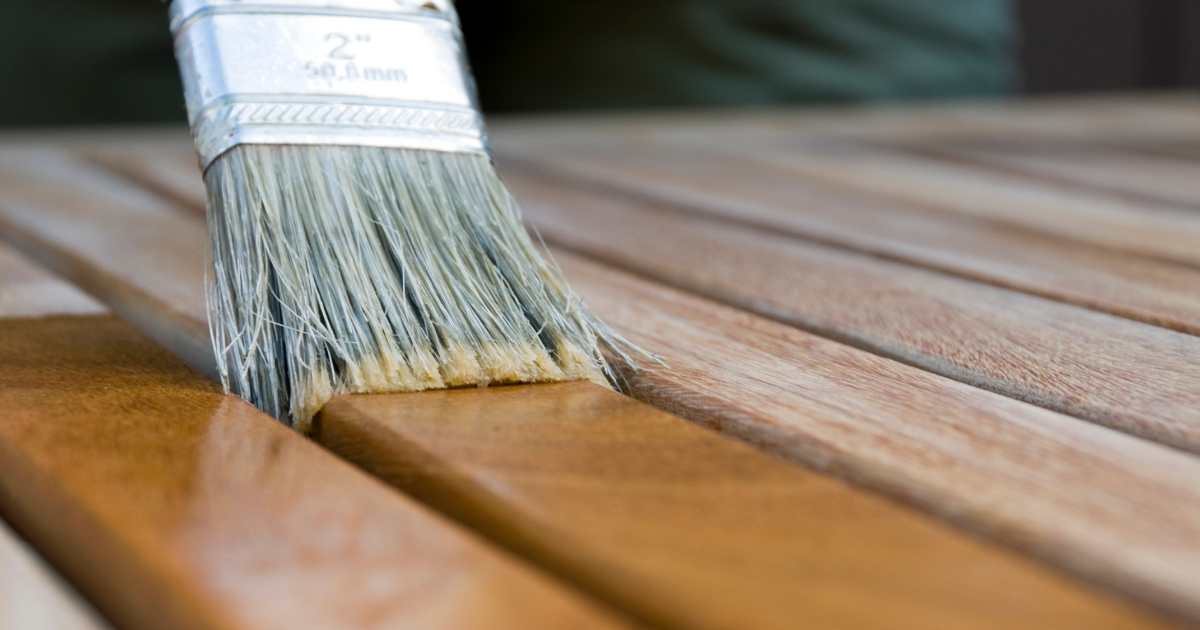
- Prime: Use a quality exterior primer rated for wood and repairs. Prime the epoxy and surrounding bare wood.
- Caulk: Caulk small gaps where the sill meets side casing and where trim joints have opened up. Avoid sealing intended drain paths like weep gaps or weep holes. On many exterior wood sills, it is also smart to avoid caulking the underside edge where water needs to drip free. When in doubt, match the original drainage details and focus on sealing top and side joints.
- Paint: Apply two topcoats of exterior paint, extending slightly beyond the repair so the sheen matches.
If your sill is exterior and gets hammered by weather, do not skimp on paint quality. Paint is not just for looks. It is your water barrier.
Common mistakes
- Leaving soft wood behind: Epoxy will not “fix” rot you did not remove. Dig until it is solid.
- Skipping hardener when you need it: Hardener helps stabilize marginal fibers and improves the bond. (If the wood is truly sound, you can skip it.)
- Overmixing a huge batch: Epoxy heats up and kicks faster in large quantities. Small batches are easier to control.
- Not overfilling: If you fill perfectly flush, sanding will make it low and you will be mixing more epoxy anyway.
- Painting without priming: Primer helps paint adhere to epoxy and seals any exposed wood.
- Ignoring the leak source: Fix the water path first, or the rot returns next season.
FAQ
How long does an epoxy window sill repair last?
If the leak source is fixed and the repair is primed and painted well, epoxy repairs can last for many years. Longevity depends on exposure (sun and wind driven rain), surface prep, movement in the joint, and whether paint and caulk get maintained.
Can I use regular wood filler instead of epoxy?
For shallow cosmetic dings, sure. For rot repair on an exterior sill, I do not recommend typical non-epoxy fillers. Many shrink, crack, or soften when they get repeatedly wet. There are tougher exterior fillers out there, but epoxy is purpose-built for this kind of abuse.
Do I have to remove the window to do this?
Almost never. This repair is typically done in place. Just protect glass and finished surfaces with tape, and work carefully around stops and trim.
What if the rot is at the very end of the sill near the casing?
That is a common spot. You can still use epoxy, but inspect adjacent casing and the lower corner of the window frame too. Rot likes to travel where water sits, and end grain soaks up moisture like a straw.
Should I add a drip edge?
If your window lacks a drip cap above it, adding one can be a big upgrade, but it is often a siding-trim detail project. At minimum, keep caulk joints maintained and paint intact. If you see water tracks above the window, address that sooner rather than later.
Wrap-up
Repairing a rotting wood window sill with epoxy is one of those jobs that looks like a big deal right up until you do it once. Take your time on the unglamorous parts, especially removing all soft wood and letting hardener cure. When you finally sand it smooth and lay down fresh primer and paint, the sill goes from “this might be a whole window situation” to “why did I put this off?”
If you want the repair to stick around, make the last step a habit: once a year, walk the exterior and check caulk, paint, and any obvious flashing details around windows. Five minutes now beats another epoxy session later.