Basement cracks have a special talent for showing up right when you are trying to ignore your to-do list. The good news is that many cracks in poured concrete walls are cosmetic or minor shrinkage cracks that can be sealed to keep water and soil gases out. With concrete block walls, cracking is often more tied to movement at mortar joints, settlement, or lateral pressure, so it deserves a closer look before you assume it is just cosmetic.
This guide will help you sort one from the other, then walk you through a solid, homeowner-friendly epoxy injection method for cracks that are appropriate to seal. I will also tell you plainly when sealing is not the right move and it is time to bring in a pro.
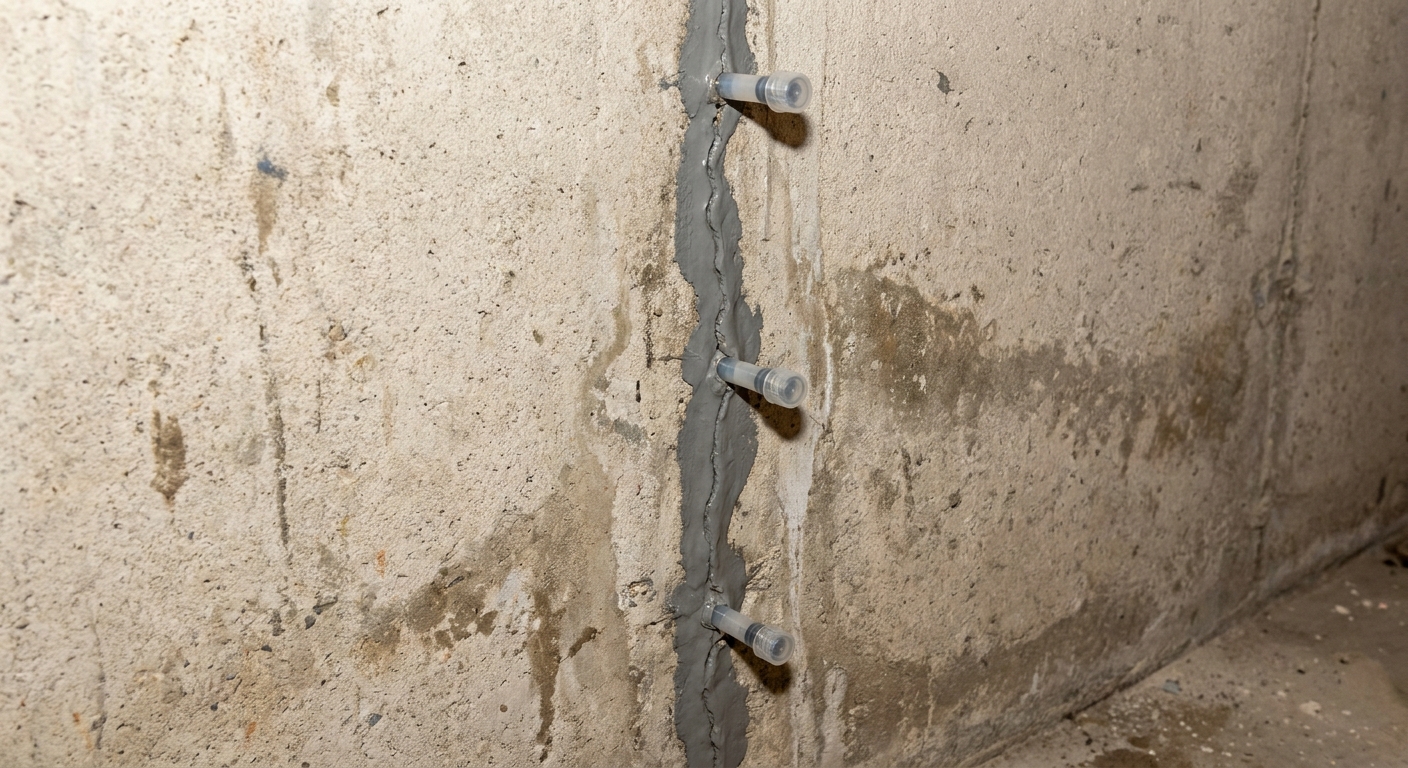
First: what kind of foundation is it?
How you evaluate and repair cracks depends on the wall type:
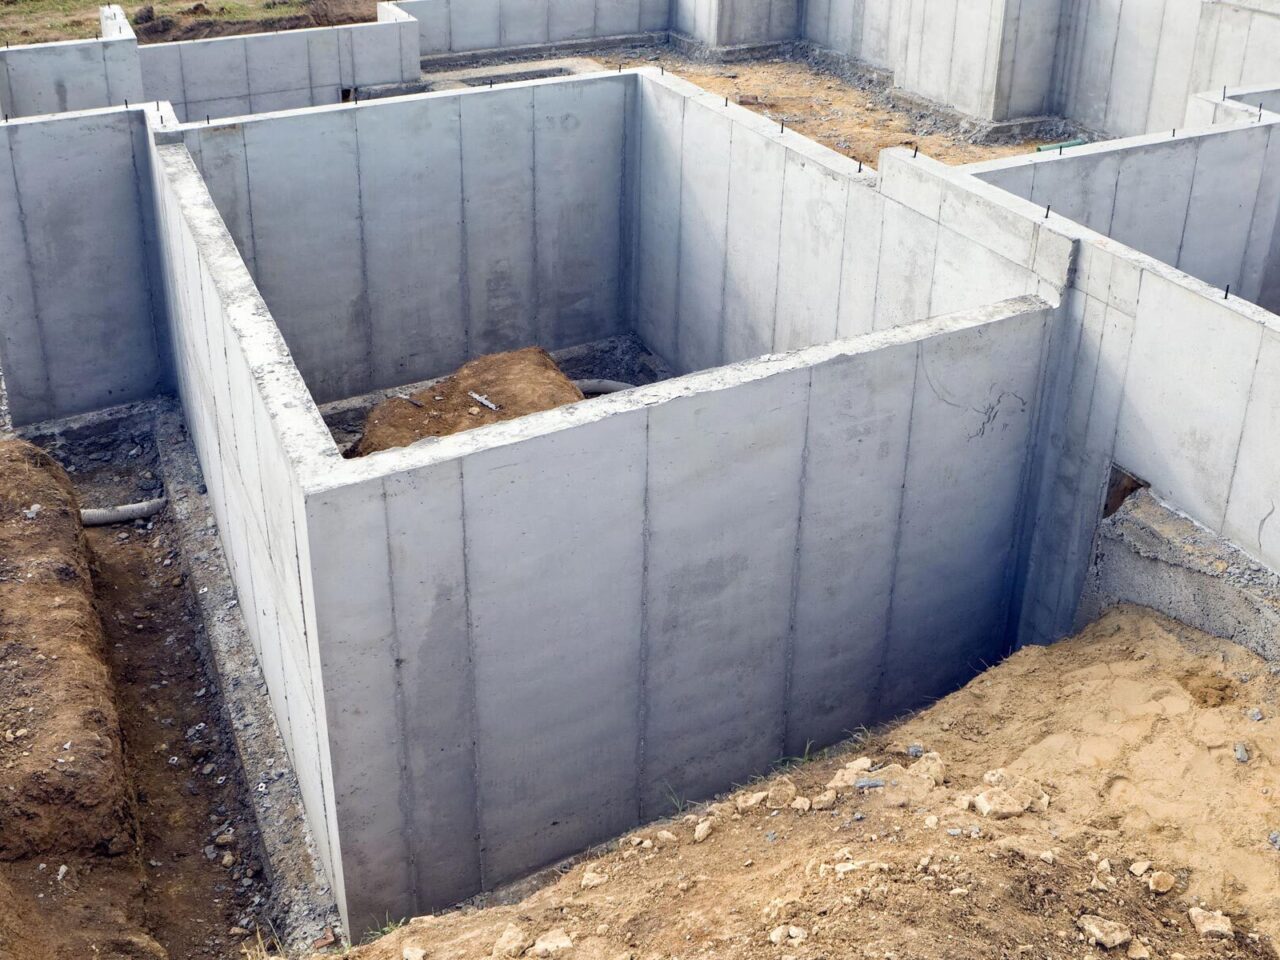
- Poured concrete walls: Smooth, solid concrete. Epoxy injection is often the go-to for stable, non-moving cracks when you want a strong bond across the crack in sound concrete.
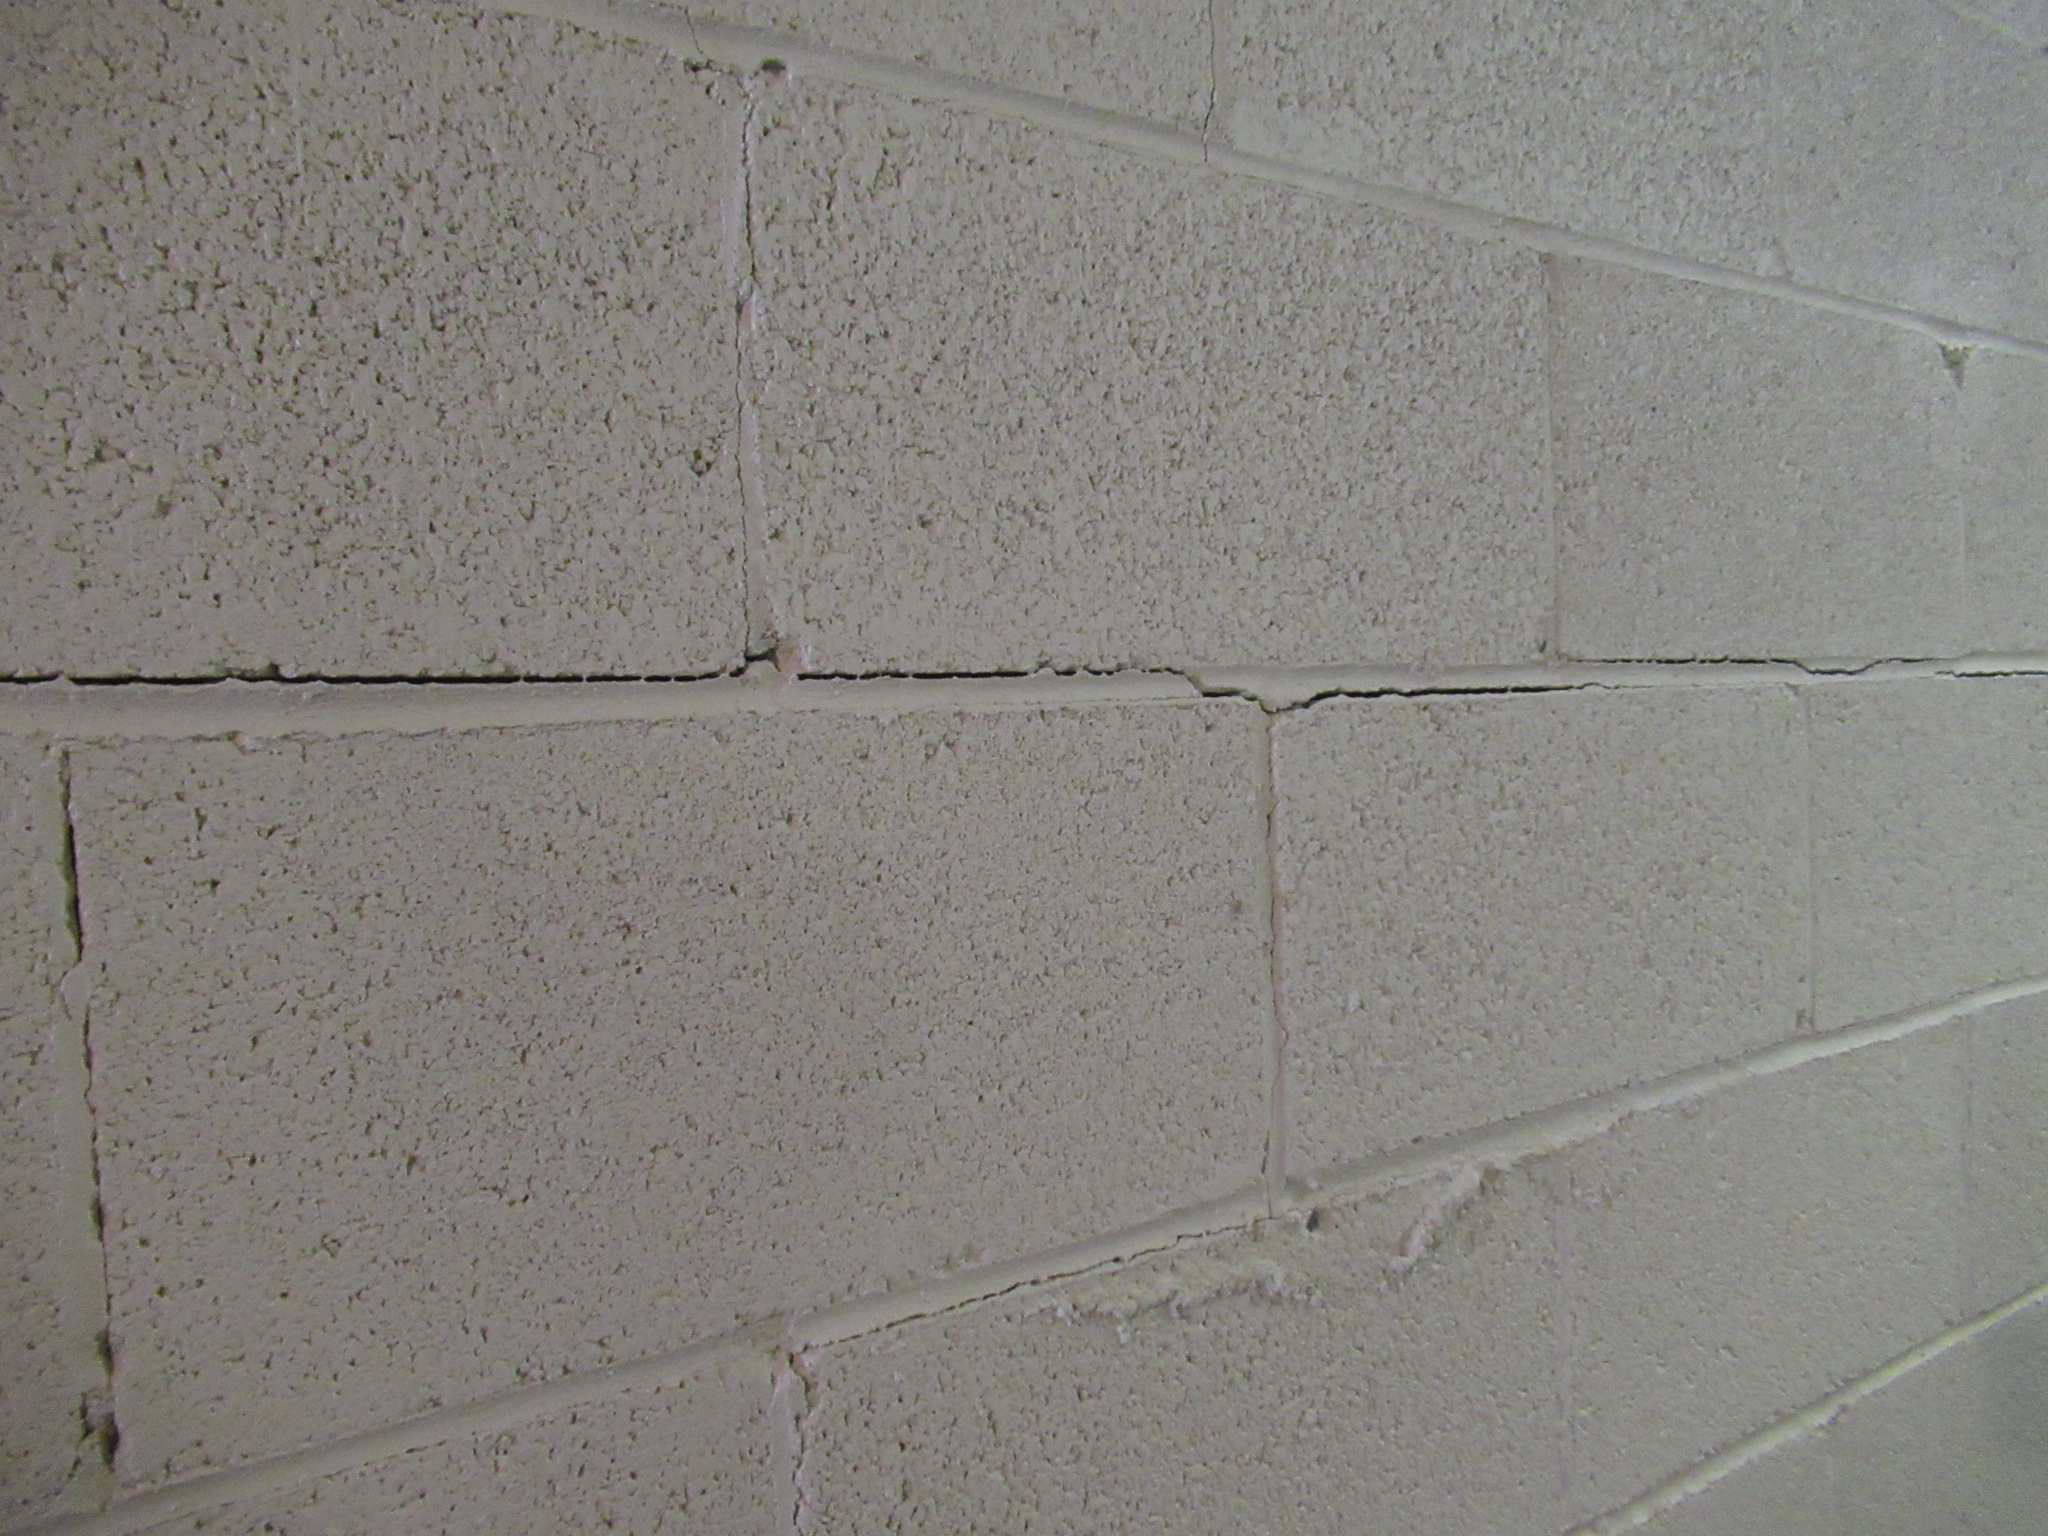
- Concrete block (CMU) walls: Visible rectangular blocks and mortar joints. Cracks often follow mortar lines or stair-step through joints. Repairs may involve reinforcing, anchoring, or addressing bowing, not just sealing a line.
- Stone or brick foundations: Common in older homes. Mortar joints and irregular materials mean “inject epoxy and call it good” is usually not the plan. These need masonry-specific evaluation and repointing, and sometimes structural work.
If you are not sure what you have, look for form tie marks and a continuous surface for poured concrete, or the unmistakable grid pattern for block.
Crack decoding: cosmetic vs structural
Homeowners get tripped up because crack width is only one clue. The bigger story is shape, direction, displacement, location, and change over time.
Common low-concern cracks
- Hairline shrinkage cracks: Very thin, often vertical, common in poured walls as concrete cures and shrinks.
- Short, random surface cracks: Little “spider” cracks that do not show displacement.
- Stable settlement cracks: A vertical crack that formed early and has not moved in years.
Cracks to take seriously
- Horizontal cracks: Often tied to lateral soil pressure pushing the wall inward. Poor drainage, expansive clay, and freeze-thaw cycles can all contribute. Sometimes a horizontal line lines up with a cold joint or form-tie line, which can be a different mechanism, but it still deserves careful evaluation.
- Stair-step cracks in block or brick: Can indicate differential settlement or lateral pressure.
- Diagonal cracks from corners: Cracks that run diagonally from window corners or foundation corners can be a sign of movement and deserve a closer look.
- Cracks with displacement: One side of the crack is higher, lower, or pushed inward compared to the other.
- Cracks that keep changing: Wider each season, new branches forming, or new water intrusion.
- Cove joint leaks: Water coming in at the wall to floor seam is often a drainage and hydrostatic pressure story, even if the wall crack is not dramatic.
Quick rule of thumb I use
If you see a horizontal crack, a wall that looks bowed, or any meaningful offset across the crack, focus on diagnosis and stabilization first. Sealing alone is like putting a bandage on a moving hinge.
How to inspect a basement crack
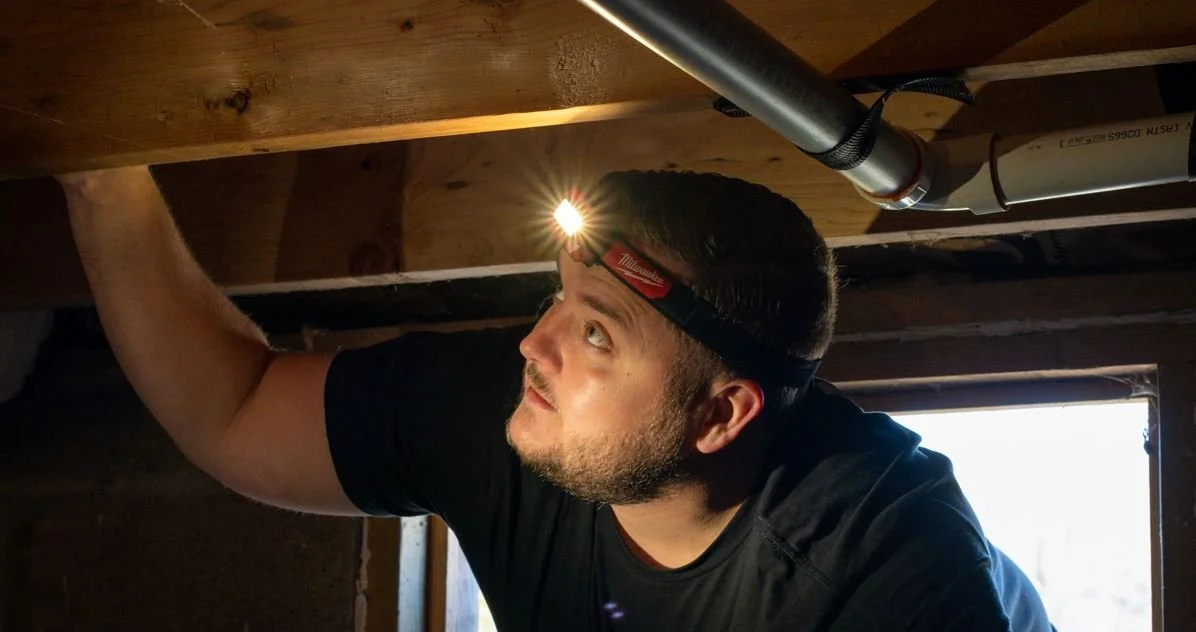
You do not need fancy tools to do a competent first pass. You need good lighting, patience, and a way to document what you see.
Tools that help
- Bright flashlight or headlamp
- Tape measure or ruler (a caliper is even better)
- Permanent marker and painter’s tape for labeling
- Phone camera
- 4-foot level or a straight board (to check for bowing)
- Small wire brush
Step-by-step crack check
- Clean the area visually: Brush off loose paint, efflorescence, and dust so you can see the crack path.
- Trace the crack: Use a pencil or marker to lightly mark both ends so you can tell later if it grows.
- Measure width in a few spots: Cracks are rarely uniform. Note the widest point.
- Check for displacement: Run your fingers across it. Shine a flashlight along the wall at a low angle. If one side “catches” light differently, that can mean offset.
- Look for location clues: Note whether it is mid-wall, at a corner, at a window corner, or at the wall to floor seam. Location helps diagnosis.
- Look for water clues: Efflorescence (white, chalky deposits), rust staining, damp trails, or peeling paint near the crack.
- Check for bowing: Put a long level or straight board vertically and horizontally against the wall. Gaps can indicate inward movement.
- Document: Take photos with a ruler in frame. Date them in your phone notes.
Simple monitoring (without guessing)
If you are unsure whether a crack is active, monitor it. Two homeowner-friendly options that are more reliable than tape:
- Stick-on crack monitor gauge: These are inexpensive, easy to install, and make movement easier to measure.
- Brittle patch witness mark: Put a small dab of patching compound or plaster across the crack, then date it. If it breaks cleanly, that is a real sign of movement.
Clear tape can still be a rough indicator, but it can also fail from humidity, dust, or adhesive issues, so do not treat it as proof that “everything is fine.”
When to call a pro
I am all for DIY, but I am even more for not gambling with your structure. Get an evaluation from a structural engineer or reputable foundation specialist if you see any of the following:
- Horizontal cracks in concrete or block walls
- Bowing, bulging, or inward displacement of the wall (even if the crack itself is not huge)
- Stair-step cracking that is growing over time
- Doors or windows sticking, new gaps at trim, or sloping floors near the cracked area
- Cracks with measurable offset across the crack faces
- Wide cracks (as a guideline: around 1/4 inch or more) especially if paired with displacement, branching, or recent change
- Any crack that widens year over year, even if it looks “small” today
- Repeated water intrusion that returns quickly after you “fix” it
Also: if your basement wall is actively leaking with flowing water during rain, address drainage and pressure. Injection products can help in certain situations, but they are not a substitute for a sump, footing drain, grading corrections, or gutter improvements when those are the real culprits.
Epoxy vs polyurethane injection
These two get mixed up constantly, and the choice matters.
| Material | Best for | What it does | Limitations |
|---|---|---|---|
| Epoxy | Stable, non-moving cracks where you want a strong bond | Bonds sound concrete together and can restore continuity across the crack in the wall section | Does not like active movement; surface prep and proper cure conditions matter |
| Polyurethane | Cracks with minor movement or leaks you want to stop | Expands and foams to fill voids and block water, including in damp conditions | Not intended to “glue” the wall back together structurally |
This article focuses on epoxy injection because it is the best choice when the crack is stable and you want a true bond. Here is the important caveat: epoxy can reinforce the concrete across a crack, but it does not fix the underlying cause of cracking, like settlement, lateral pressure, or drainage problems. If the wall is moving, the wall still needs to be stabilized.
Good candidates for DIY epoxy injection
Epoxy injection is a great DIY project when all of these are true:
- The wall is poured concrete (most straightforward)
- The crack is non-moving or very stable
- There is little to no displacement across the crack
- The crack faces are fairly tight and solid (not crumbling)
- You can access the crack end-to-end from inside
- You can keep the area dry enough for the surface seal to bond during the repair and cure
Epoxy injection is less DIY-friendly when the crack is very wide, the edges are spalled or crumbly, or multiple cracks intersect in a way that suggests broader movement. On block walls, injection into a crack line may not address what is happening inside the hollow cores. If you have a block wall crack, consider getting a pro opinion before you invest in injection.
Before you seal: reduce the pressure
Even a “cosmetic” crack can keep reappearing if water and soil pressure keep hammering your foundation. These basics solve more basement headaches than any tube of epoxy:
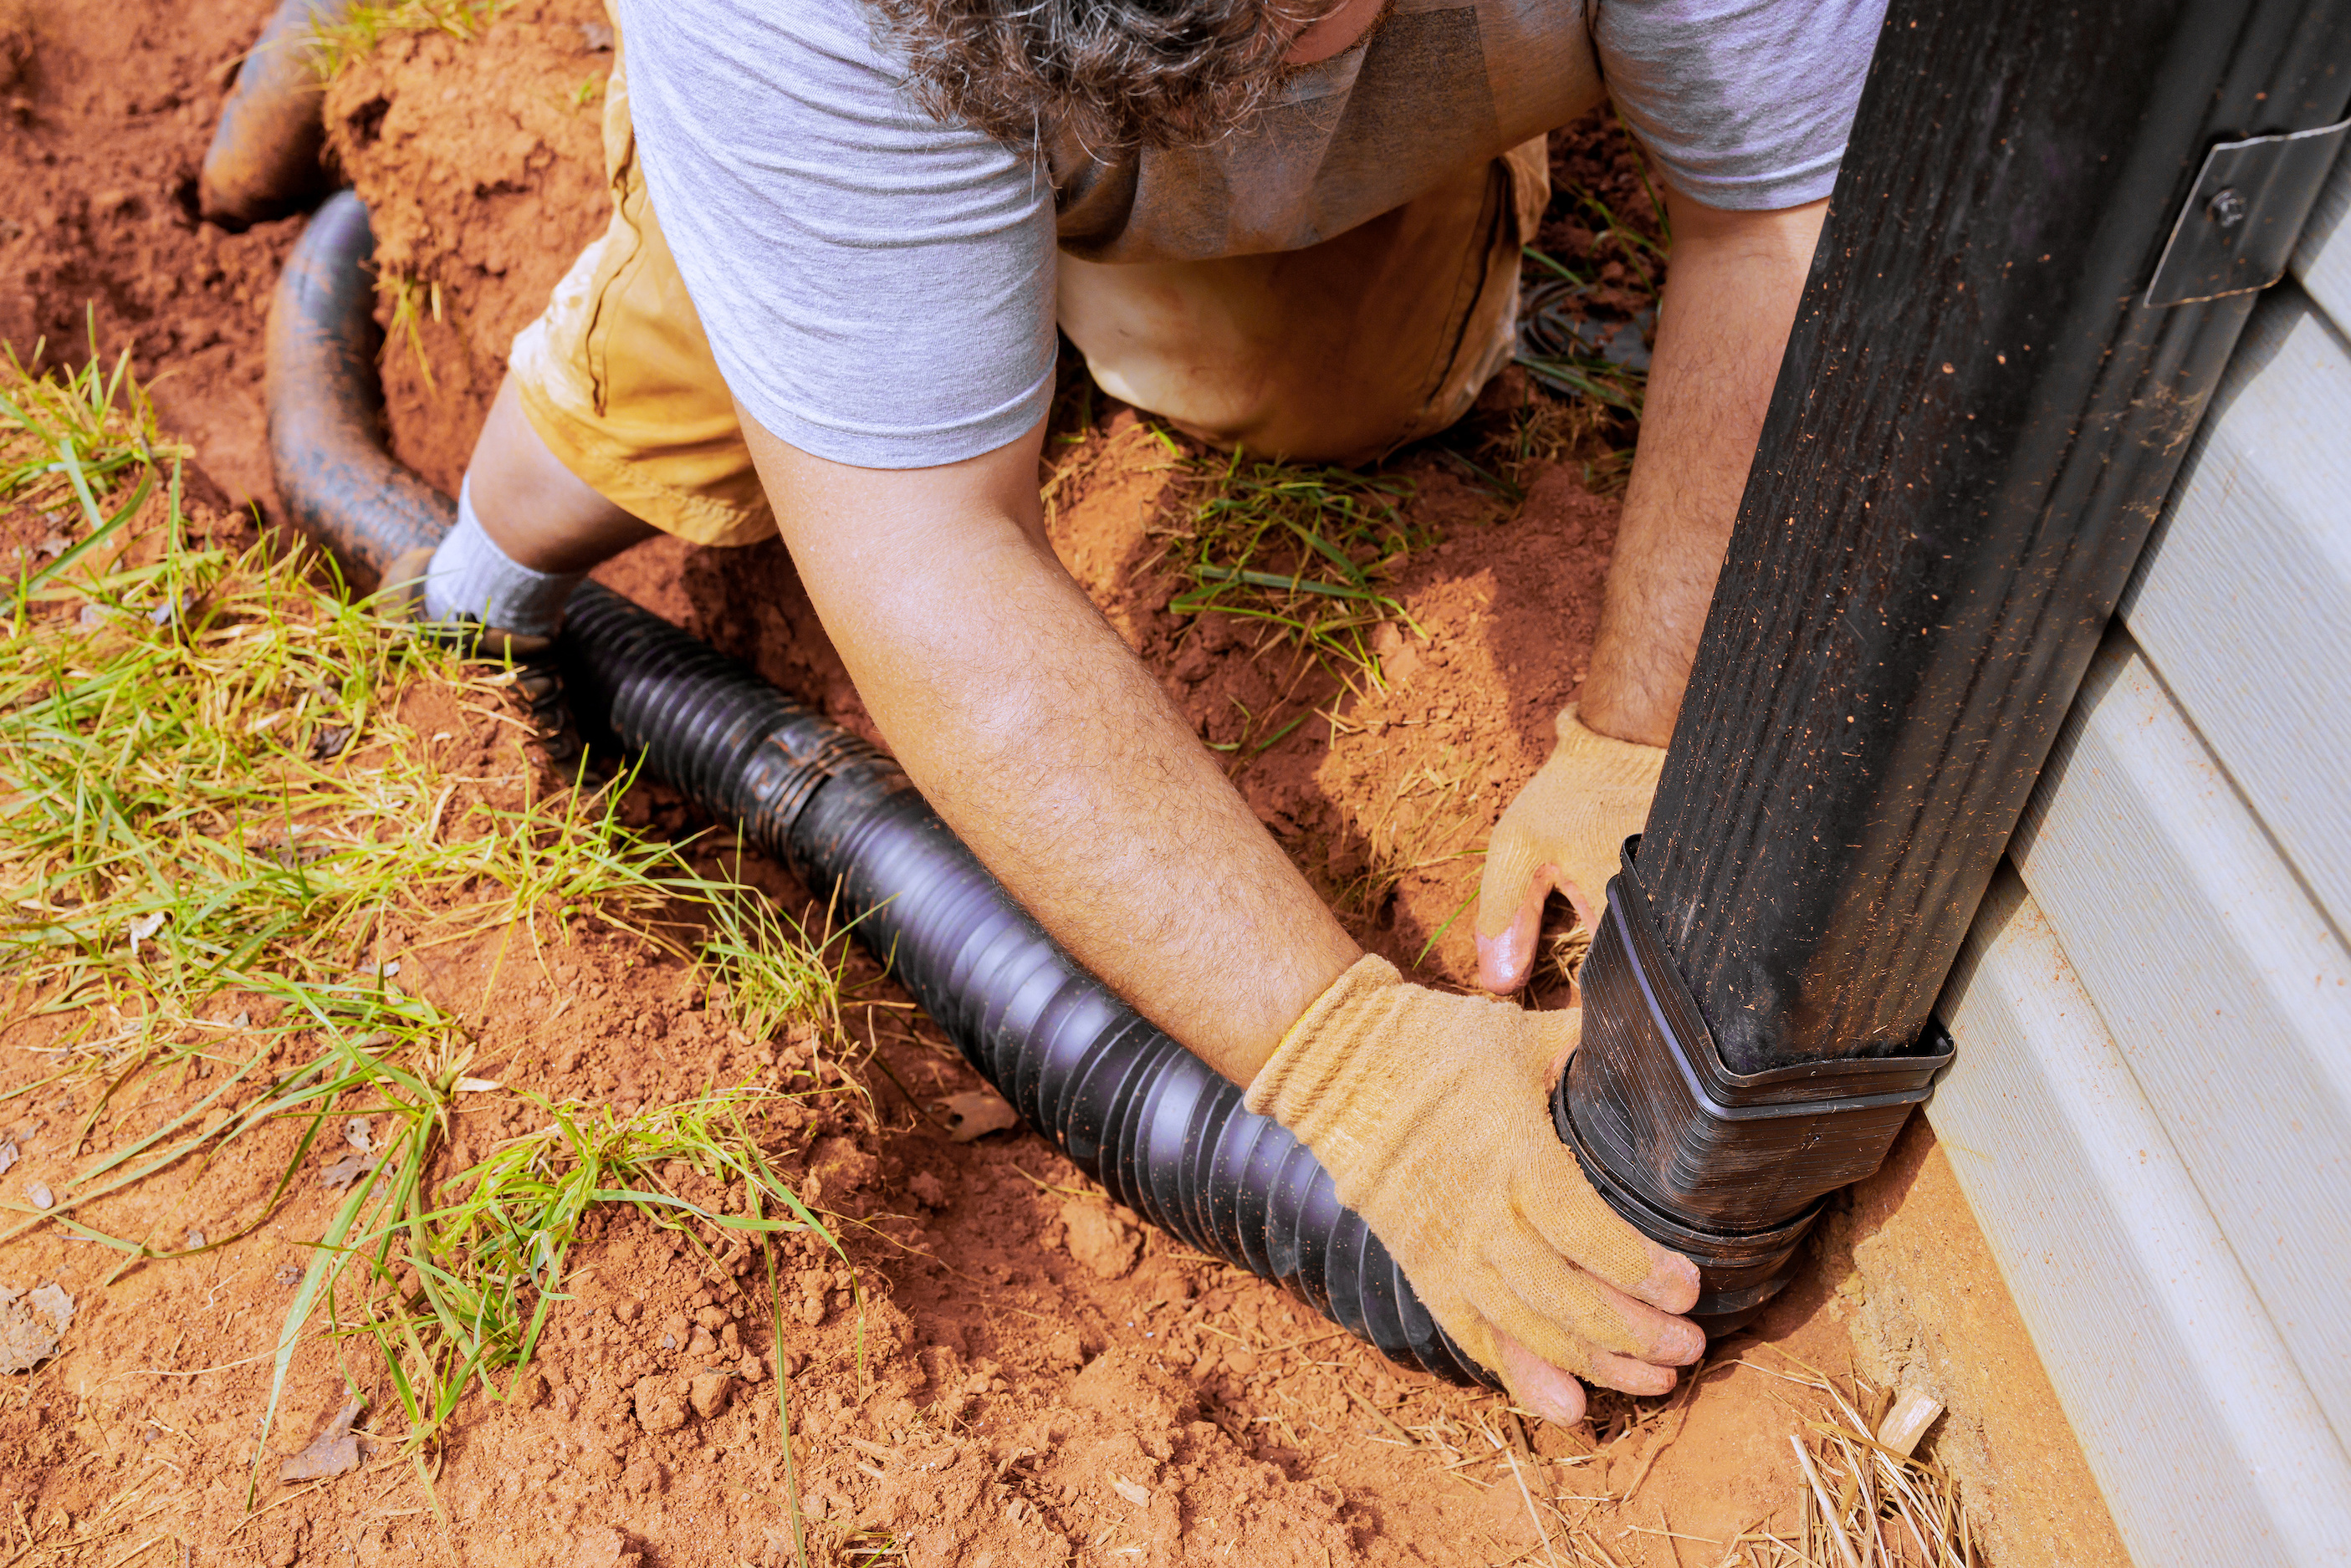
- Clean gutters and extend downspouts away from the house (often 6 to 10 feet is a good target, but local codes, lot constraints, and climate can change what is practical)
- Grade soil so it slopes away from the foundation (aim for about 6 inches over 10 feet if you can)
- Fix negative drainage spots where water pools by the wall
- Check sump pump operation if you have one
If you live in a cold climate, make sure long extensions do not turn into frozen, clogged pipes in winter. Sometimes the “right” fix is rerouting drainage or using a discharge method designed for freezing conditions.
Epoxy injection step by step
I am going to describe the common “port and paste” epoxy injection method used in many residential crack repair kits. Read your kit’s instructions too. Different epoxies have different working times, moisture tolerance, and temperature ranges, and that changes everything.
What you will need
- Epoxy injection kit (epoxy + surface seal paste + injection ports)
- Wire brush and shop vacuum
- Putty knife
- Caulk gun (if your kit uses standard cartridges)
- Nitrile gloves and eye protection
- Rubbing alcohol or acetone for cleanup (follow product label)
- Painter’s tape and plastic drop cloth
Safety first
If you are grinding, sanding, or wire-brushing concrete, treat the dust like the hazard it is. Wear eye protection and a properly rated respirator for silica dust. If your basement is older and has painted walls, assume there could be lead paint until you know otherwise and use lead-safe methods.
Step 1: Prep the wall surface
Epoxy sticks to sound concrete, not dust, paint, or damp film.
- Remove paint along the crack line if present. A wire brush works for small areas. For heavy coatings, you may need to scrape or grind.
- Vacuum thoroughly.
- Dry matters: Many injection epoxies can tolerate slightly damp concrete, but the surface seal paste is often the limiting factor. If the wall is damp, run a dehumidifier and give it time, then follow the kit’s moisture requirements.
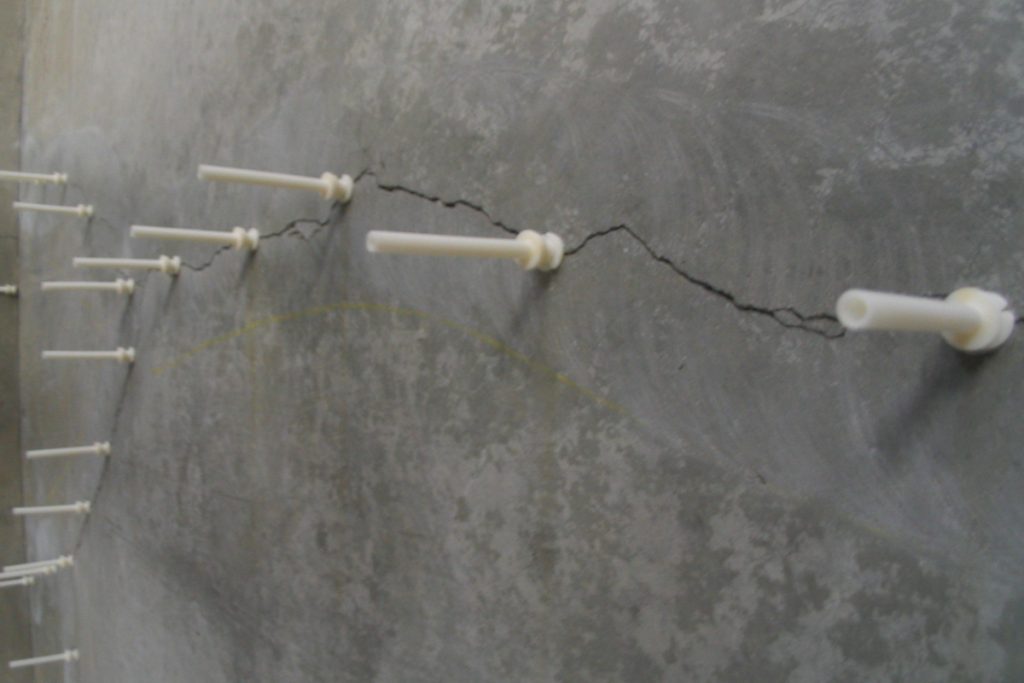
Step 2: Lay out and attach injection ports
Ports are the little nozzles you inject through. Space them according to your kit, often every 6 to 12 inches along the crack.
- Start at the lowest point of the crack. You inject from bottom to top so epoxy pushes air upward.
- Bond each port base directly over the crack line using the kit’s paste or adhesive.
- Press firmly so you get full contact with the concrete.
Step 3: Seal the crack on the surface
This is the part most DIYers rush, and then they wonder why epoxy leaks out everywhere.
- Use the surface seal paste to cover the crack between ports.
- Feather the edges with a putty knife to create a continuous, well-bonded cap.
- Seal around the base of each port too.
Let the surface seal cure for the recommended time. If you inject too early, you can blow out the seal and make a mess that would impress my younger contractor self in all the wrong ways.
Step 4: Mix epoxy and inject from bottom to top
Most kits use either a dual-cartridge system (mixing nozzle) or a measured mix in a container. Either way, follow the label exactly, including minimum application temperature. A cool basement can slow cure more than you expect.
- Start at the lowest port.
- Inject slowly until the epoxy begins to appear at the next port up.
- Cap the port you are injecting and move to the next one up.
- Repeat until the crack is filled to the top.
Go slow. Slow injection helps epoxy penetrate the full depth of the crack rather than just filling near the surface.
Step 5: Cure, remove ports, and finish
After the epoxy cures (often 24 hours, sometimes longer depending on temperature and product):
- Remove the ports by twisting or tapping them off, per kit directions.
- Grind or sand down remaining nubs if needed.
- Finish the surface with the kit’s paste or a compatible epoxy mortar first. If you use hydraulic cement, treat it as a cosmetic skim, not the main bond over the repair.
Common epoxy injection mistakes
- Injecting a moving crack: If the crack keeps opening and closing seasonally, epoxy can re-crack. Consider polyurethane for water sealing, and address movement first.
- Skipping paint removal: Surface seal paste fails on peeling paint. Remove coatings down to sound concrete.
- Not sealing the crack fully: Leaks during injection usually mean thin spots or gaps in the surface seal.
- Injecting too fast: Fast injection can trap air and leave voids deeper in the wall.
- Ignoring exterior water management: Even a perfect injection is not as satisfying when water keeps pounding the wall from outside.
- Overpromising what epoxy can do: Epoxy can bond concrete across a stable crack. It does not straighten a bowed wall or cancel out lateral soil pressure.
What if the crack leaks?
If water is actively seeping through the crack, epoxy may not be the best first choice because some systems need dry conditions to bond well, especially at the surface seal. Options depend on severity:
- Occasional dampness, no running water: You may be able to dry the area thoroughly and inject epoxy, but follow the product’s moisture requirements.
- Active seepage or recurring leaks: Polyurethane injection is often used specifically to stop water because it expands and seals, including in damp conditions.
- Heavy inflow: Treat this like a drainage problem first. Improve gutters, grading, and consider drainage systems or a sump if needed.
Inside vs outside repairs
Interior injection is popular because it is accessible and avoids digging. Exterior work can be more robust, but it is more invasive.
- Interior injection: Great for sealing a crack pathway and, with epoxy, bonding the crack faces in a stable wall.
- Exterior waterproofing: Helpful when you need to repair exterior membranes, protect the wall, and pair waterproofing with drainage improvements that actually relieve pressure, such as footing drains and proper discharge.
If you are dealing with chronic water, think bigger than the crack. Water is persistent, and it will find the next weak spot.
FAQ
How big is too big for DIY epoxy injection?
It is less about a magic width and more about movement and displacement. If the crack shows offset, if the wall is bowing, or if the crack keeps changing, do not rely on epoxy alone. As a practical guideline, a crack around 1/4 inch or wider, or any crack with displacement, branching, or ongoing movement is a good reason to pause and get a pro opinion.
Do hairline cracks mean foundation failure?
Usually, no. Hairline vertical cracks in poured concrete are often shrinkage cracks. They are still worth sealing if they leak or if you want to block moisture and soil gases, but they are not automatically a structural emergency.
Can I just fill a crack with hydraulic cement?
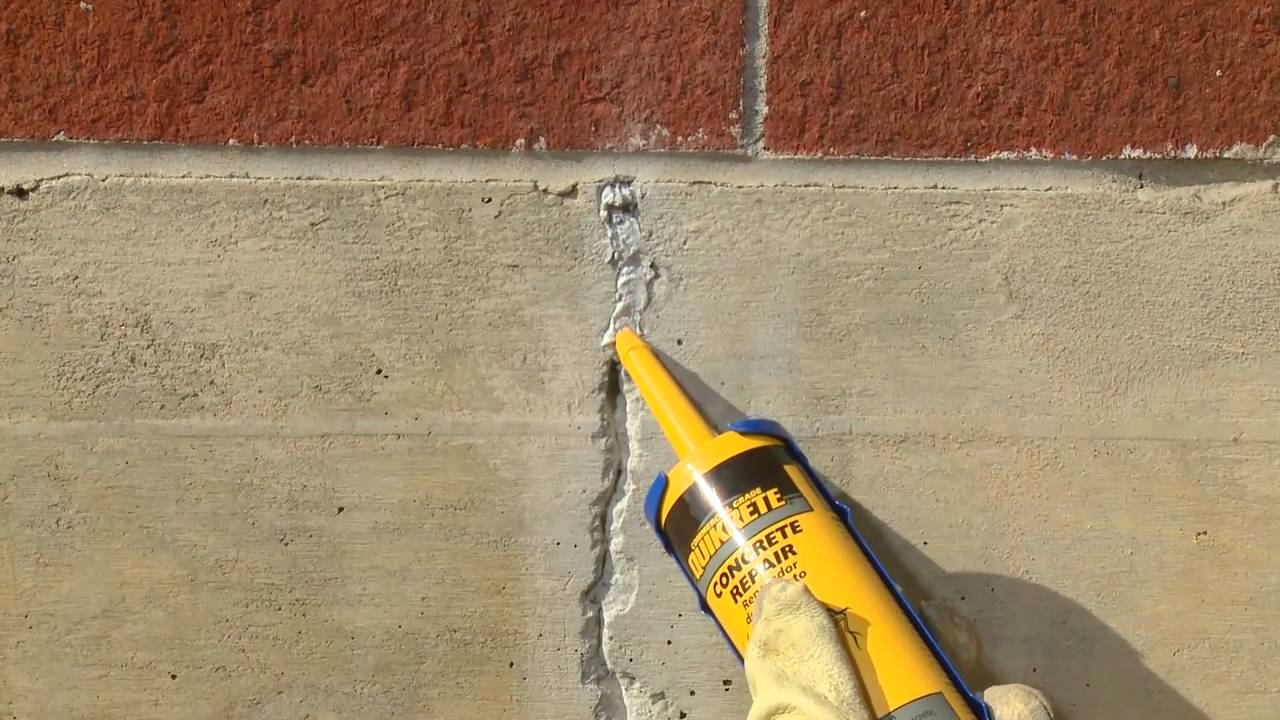
Hydraulic cement is great for certain spot patches, but it does not penetrate like injection products. It can also pop out if the crack moves or if water pressure builds behind it. Think of hydraulic cement as a surface plug, not a deep seal.
Should I paint over a foundation crack after sealing?
You can after the repair fully cures, but I like to wait long enough to confirm the crack stays dry. Also, keep photos and dates of the repair for your home records. Future-you will appreciate it.
My take: do the boring checks first
If you remember one thing, make it this: cracks are symptoms. Some are harmless shrinkage. Some point to water pressure, poor drainage, or movement that needs stabilizing.
Start with a calm inspection, document what you see, handle drainage basics, and then choose a sealing method that matches the situation. When epoxy injection is the right tool, it is one of the most satisfying basement repairs out there. It is clean, it is methodical, and it turns an ugly worry line into a sealed, solid repair you can feel good about.