The first time I dealt with a frozen pipe as a young contractor, I did what a lot of people do: I sprinted straight to “make it warm” mode. That is the right instinct, but the order matters. If you thaw the wrong spot first or you thaw with the wrong heat source, you can turn a minor freeze into a big mess fast.
This guide walks you through a safe, methodical way to get water moving again and to figure out whether the pipe already split while it was frozen.
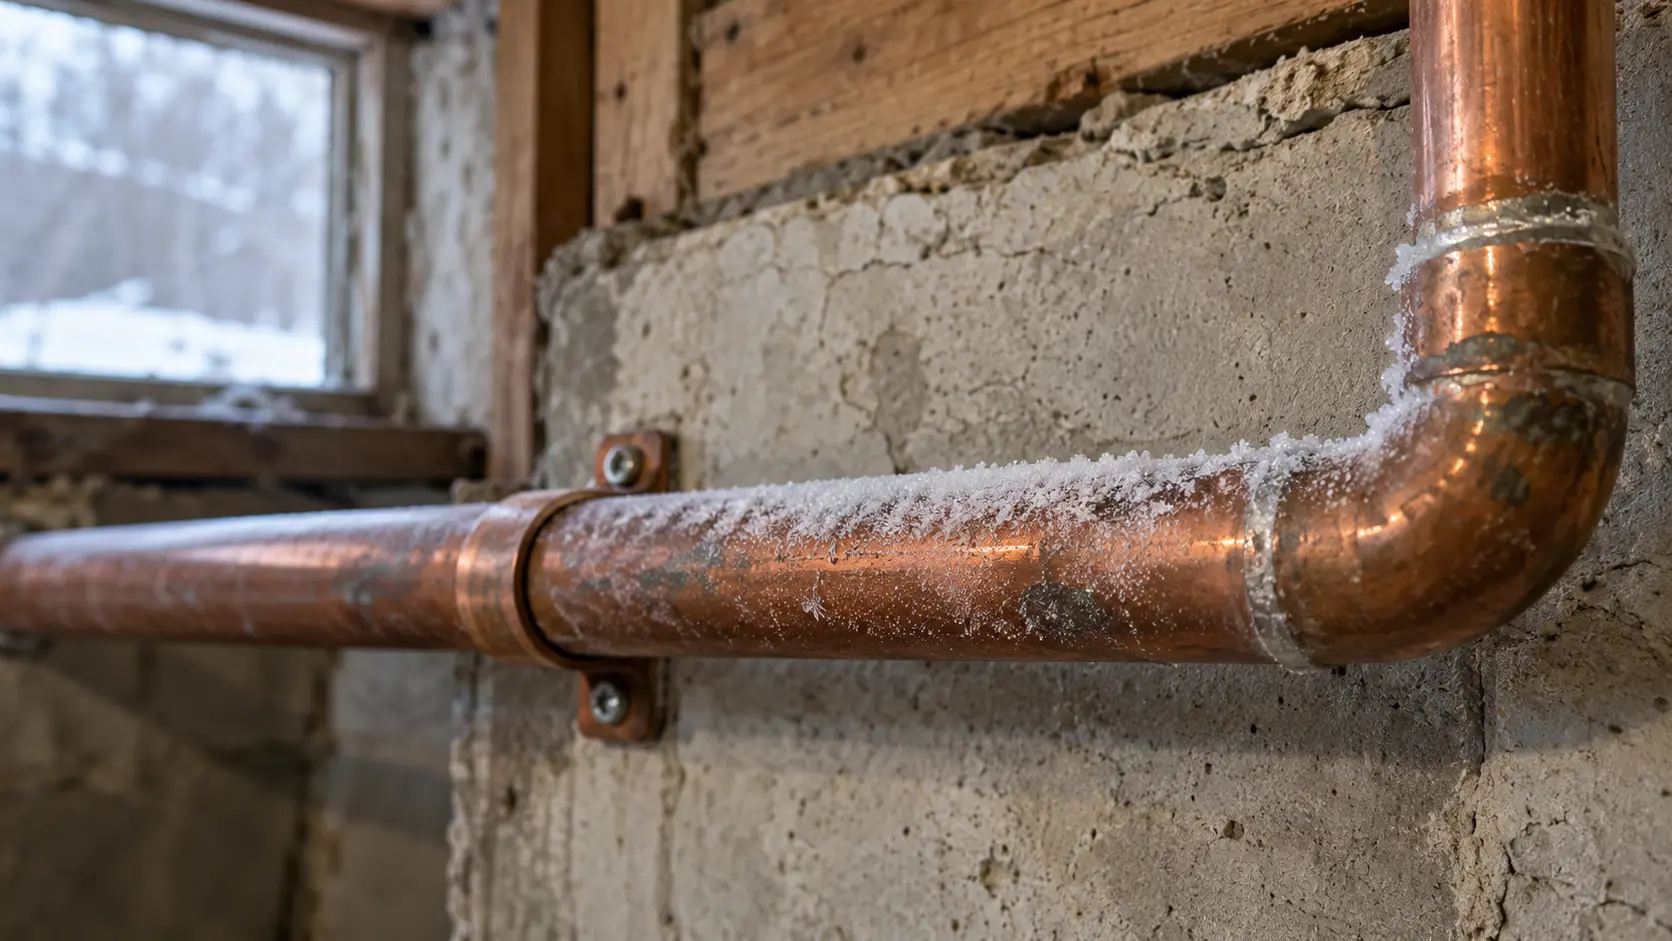
Before you start: frozen or something else?
Common frozen-pipe symptoms:
- Only a trickle from one faucet, or no water at all
- One fixture is dead but others still work (freeze is likely on that branch line)
- It happened overnight or during a cold snap
- Pipes feel very cold or have visible frost
Could be something else:
- No water anywhere, hot and cold: check for a municipal outage, a well pump issue, or a tripped breaker for the well pump
- Only hot is out: your water heater could be off or a hot line froze near it
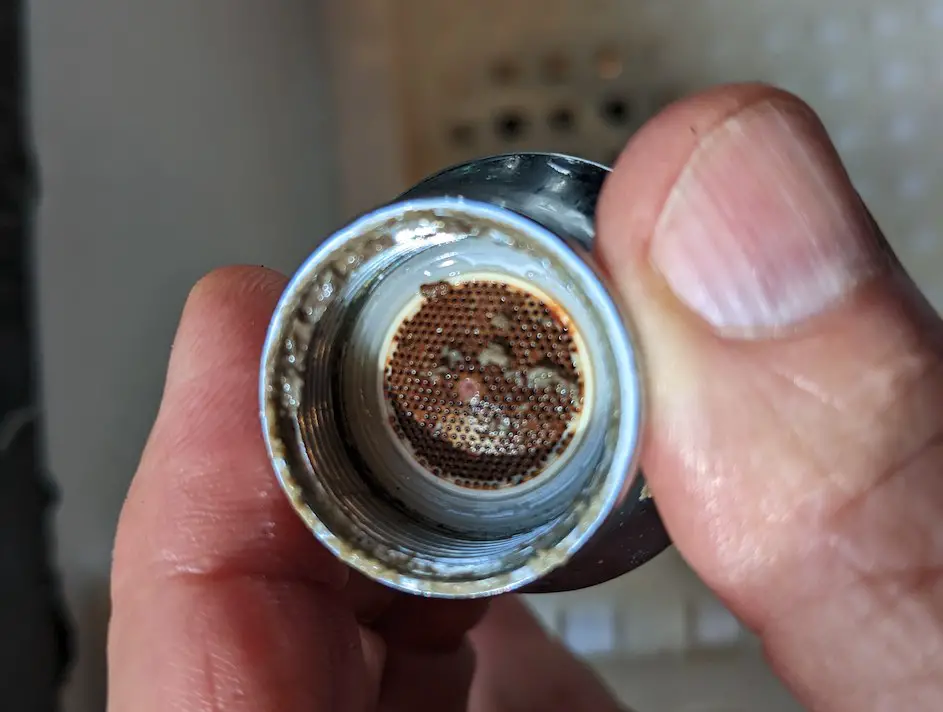
- Only one aerator is weak: the faucet aerator may be clogged with debris
If you suspect a freeze, treat it like a potential burst until you prove otherwise.
Safety first: the first 2 minutes
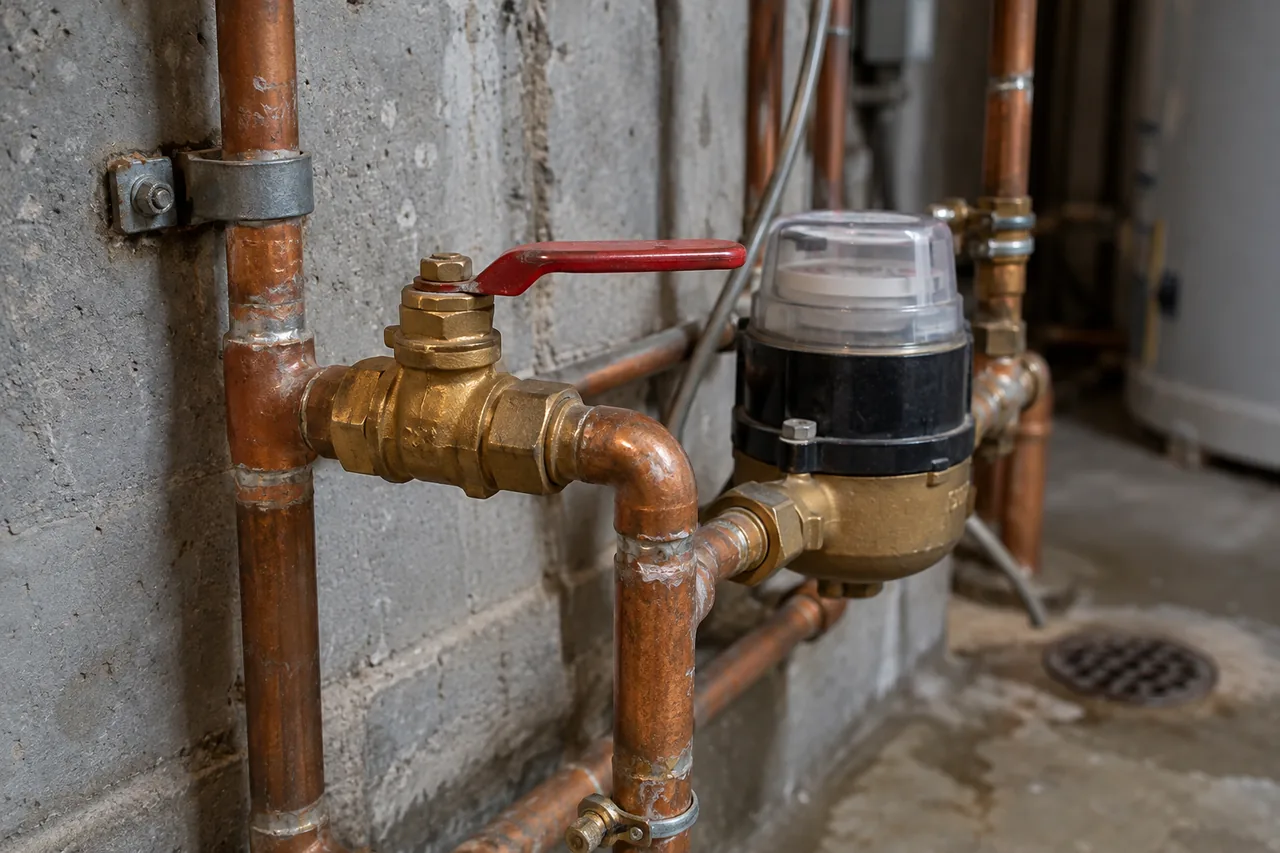
- Locate the main water shutoff for the house. If you are on a well, know where the pump power switch or breaker is too.
- Clear valuables from areas where water could show up (under sinks, around the water heater, basement perimeter).
- Grab a flashlight, towels, and a bucket. A burst can start leaking the moment ice releases.
If you already see standing water, active dripping, a bulged pipe, or a ceiling stain that is getting worse, shut off water immediately and jump to the burst section.
Stop and call a plumber if...
- You cannot locate the frozen section and it may be inside a wall or ceiling
- You see new staining, bubbling paint, or sagging drywall near the suspected run
- You thaw for 30 to 45 minutes with safe heat and get no change at all
- You have older, fragile, or unknown piping and are not comfortable applying heat (CPVC in particular can be brittle)
- Water is near outlets, fixtures, or a breaker panel and you are not sure what to shut off
And if you smell gas near an appliance, stop and deal with that first (leave the area and contact your gas utility or emergency services, depending on your local guidance).
Step 1: Open the right faucet
Pick the faucet fed by the suspected frozen line and open it to the cold side first. If the whole house is affected, choose a faucet on the lowest level of the home.
- Open it partway to a steady open position, not just a drip.
- Leave it open while you thaw. Flow gives meltwater a place to go and helps relieve pressure.
If you have a single-handle faucet: start with the handle set to cold. Once you start getting flow back, move the handle toward the middle so both hot and cold can purge air and slush (as long as you are confident the hot side is not the frozen one you are working on).
Step 2: Find the frozen section
Frozen spots usually happen where pipes lose heat the fastest:
- Along exterior walls
- In unheated crawlspaces, attics, garages, and rim joist areas
- Near foundation vents
- Under kitchen sinks on outside walls
- Where a pipe passes through a drafty hole in framing
How to narrow it down
- Work backward from the dead faucet. Follow the pipe as far as you can access it.
- Feel for temperature change. A frozen section often feels noticeably colder. Sometimes you will see frost or condensation right before the ice plug.
- Listen for clues. With the faucet open, you may hear a faint hiss or creak near the blockage when you warm it.
If you cannot see the pipe (finished walls or ceiling), look for the last accessible point before it disappears into the wall, especially on exterior sides of the home. That hidden run is your prime suspect.
Step 3: Decide whether to shut off the main
There are two defensible approaches here, and the right one depends on whether you can watch the pipe.
- If the frozen pipe is hidden (inside a wall, ceiling, or chase), shutting off the main is often the safest move. If the pipe split, it can spray the moment the ice lets go, and you might not see it right away.
- If the frozen pipe is fully exposed and you can monitor it the whole time (unfinished basement, open crawlspace with good access), many pros keep the main on so water can start moving the moment the plug melts and you know you are making progress.
My default for homeowners is: if you are not 100 percent sure you can see and control what happens when it thaws, shut the main off, keep the affected faucet open, and relieve pressure at a low point if you have one.
Step 4: Thaw the pipe safely
Your goal is to apply gentle, controlled heat starting near the faucet end and working toward the colder section. Heating from the open end helps air and meltwater escape instead of building pressure behind the ice.
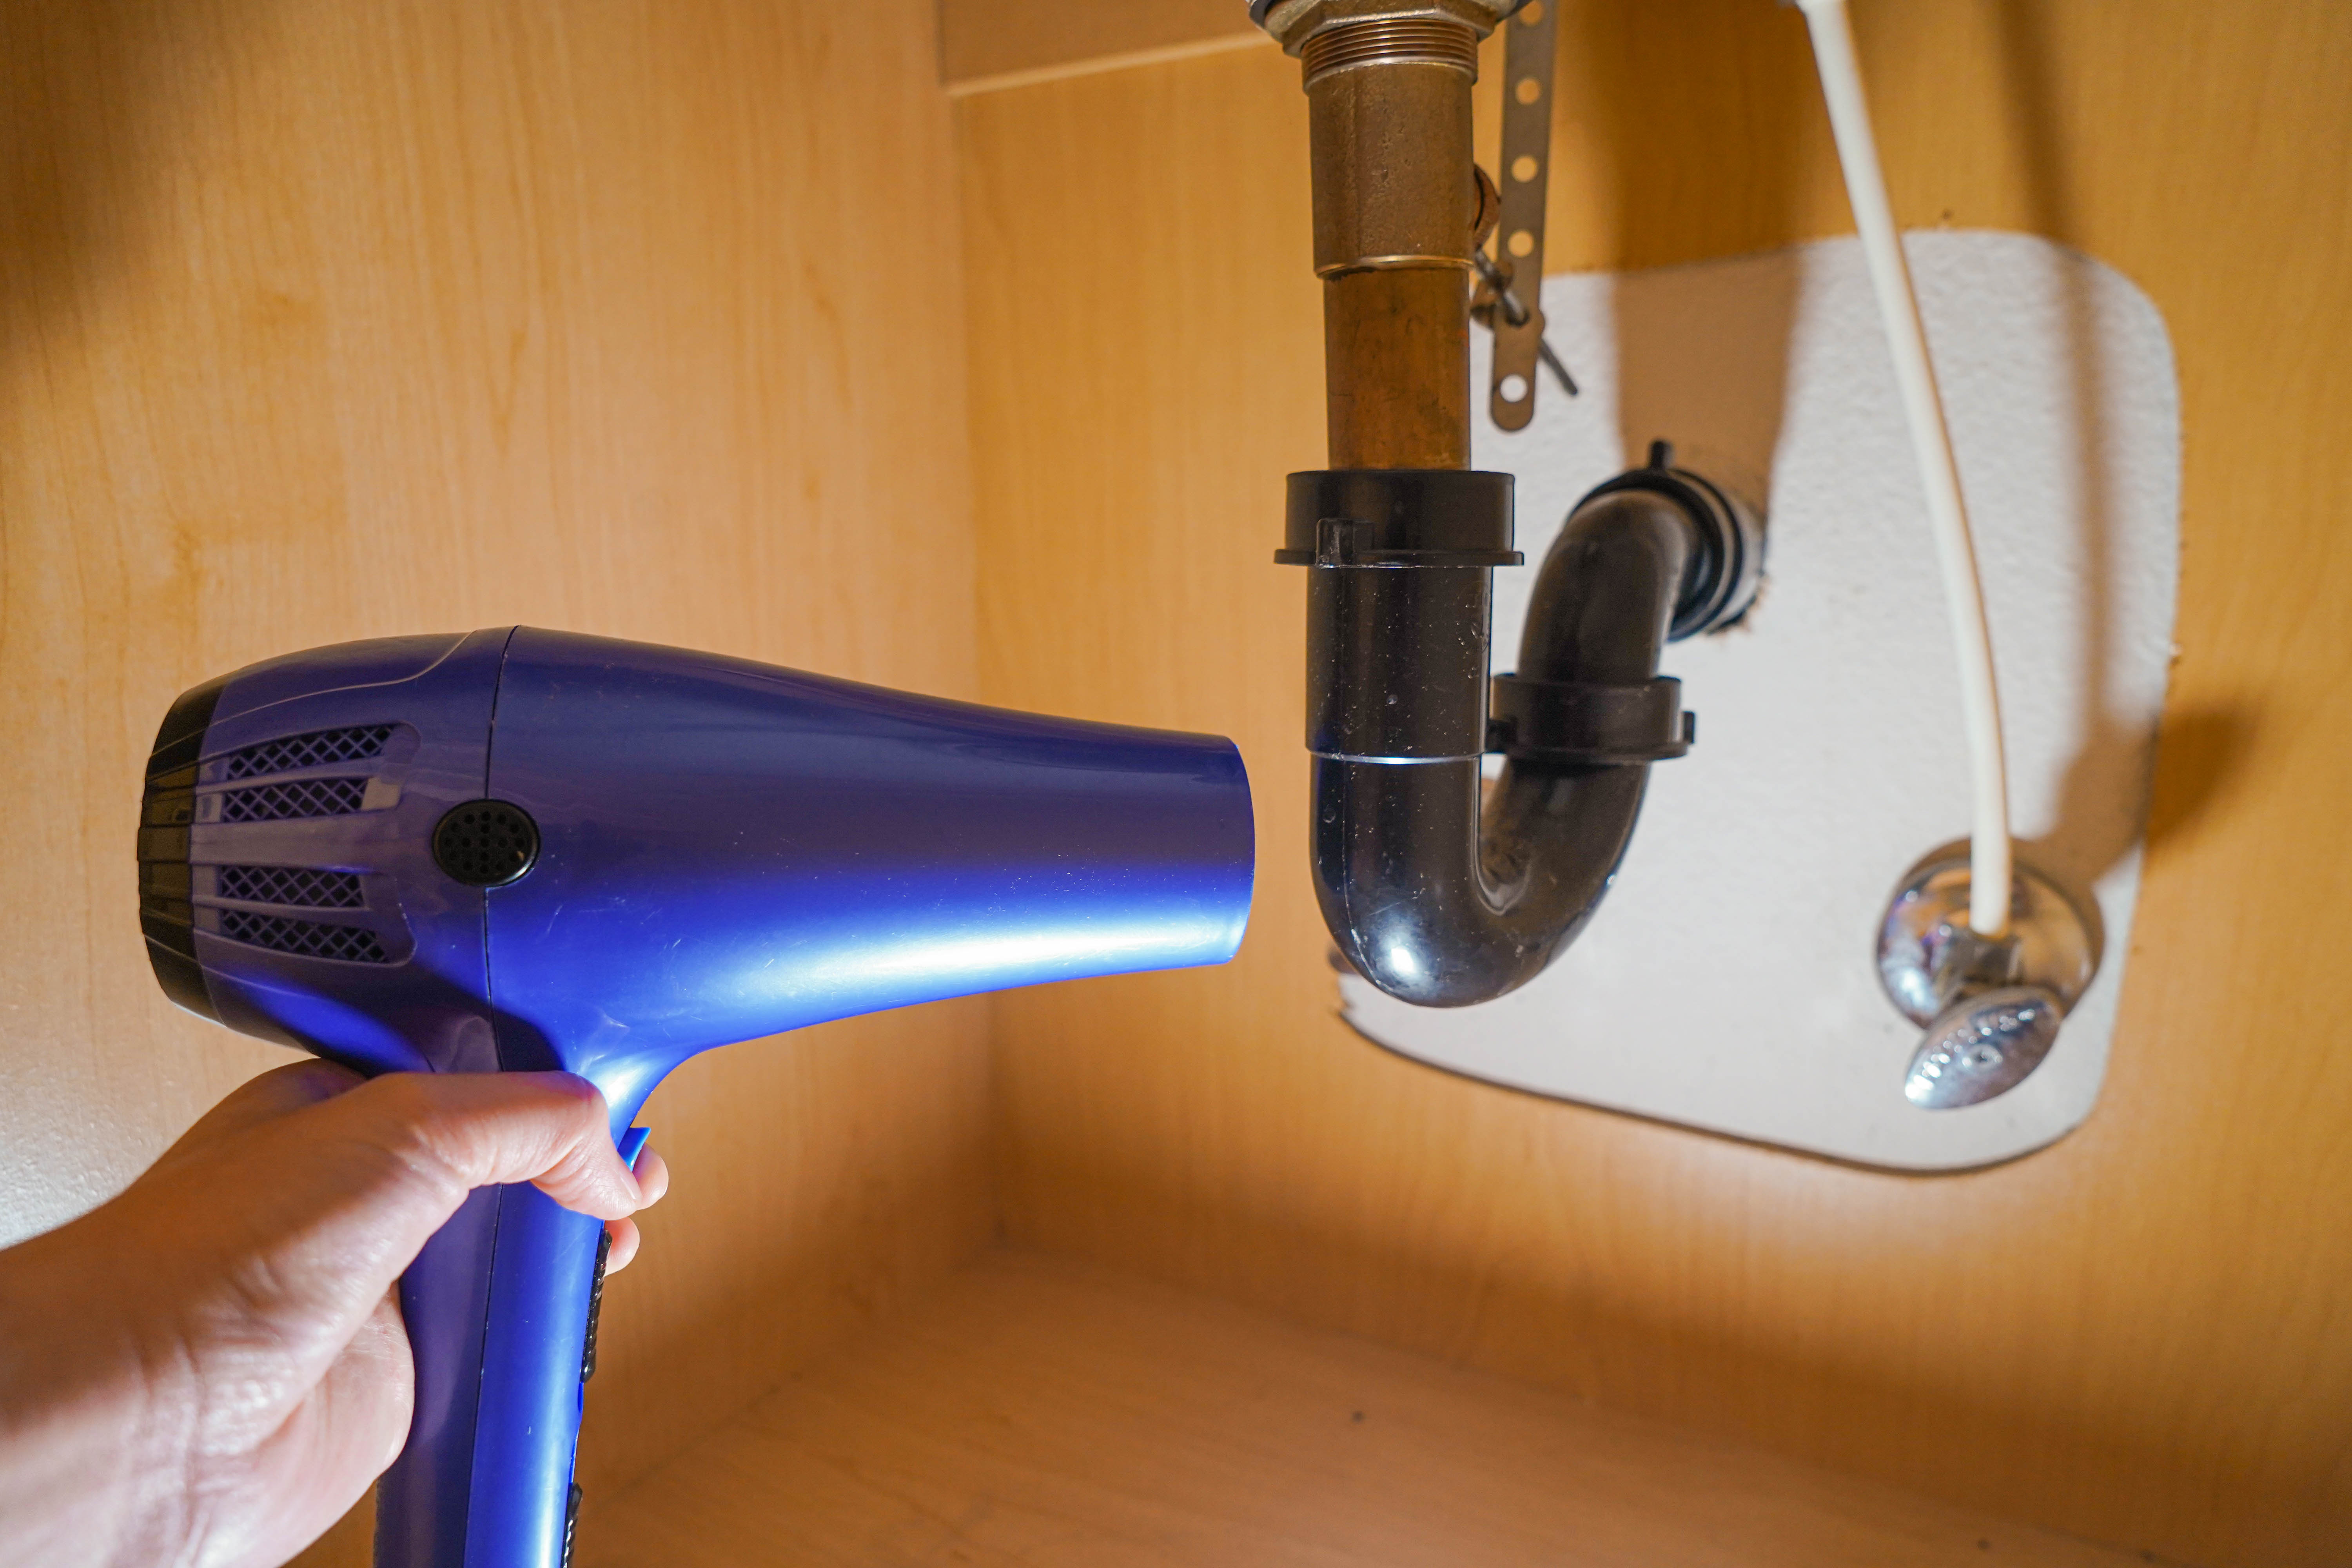
Method A: Hair dryer (my go-to)
- Set the dryer to high heat, high fan.
- Hold it 2 to 6 inches away from the pipe.
- Keep it moving slowly, like you are painting with heat.
- Start near the faucet side of the freeze and work along the pipe.
Tip: Focus on fittings and valves too. Ice likes to form where the pipe diameter changes.
Method B: Heat tape (only if it is in good condition)
Heat tape is great for controlled warming and prevention, but use it correctly.
- Read the heat tape’s label for whether it is approved for plastic, metal, or both.
- Confirm it is intended for freeze protection and that the manufacturer allows temporary use for thawing. Some products are not meant for rapid thawing.
- Inspect the cord for cuts, scorch marks, or brittle insulation. If it looks questionable, do not use it.
- Wrap it according to the manufacturer’s instructions. Do not overlap unless the product specifically allows it.
- Plug it into a GFCI-protected outlet if possible.
If you are thawing a pipe in a damp area (crawlspace, under-sink cabinet with condensation), keep connections off the wet floor and avoid extension cords if you can.
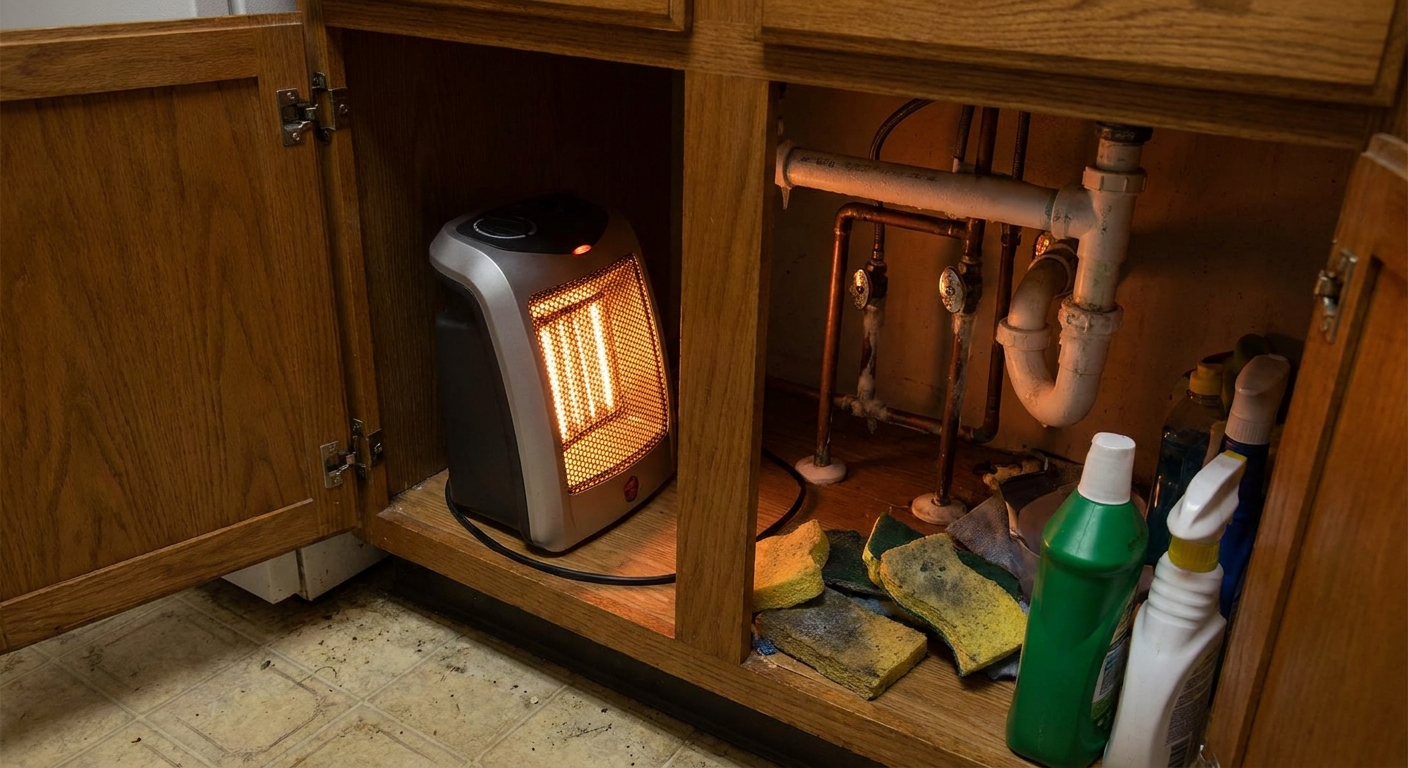
Method C: Space heater (for areas, not point heat)
A space heater works well when the pipe is inside a cabinet, a small bathroom, or a utility room, especially if the freeze is caused by a cold room rather than a single icy plug.
- Place the heater on a stable, nonflammable surface.
- Aim it so warm air circulates around the pipe area.
- Keep it at least 3 feet away from anything that can burn (towels, cardboard boxes, cleaners, insulation).
- Do not leave it unattended.
Open cabinet doors under sinks to let warm air reach the plumbing.
Method D: Warm towels (slow but safe)
This is the safest option when you are nervous about electricity near plumbing, or you are dealing with a plastic pipe you do not want to overheat.
- Soak towels in hot tap water.
- Wring them so they are not dripping everywhere.
- Wrap them around the frozen section.
- Re-warm and re-wrap as they cool.
Put a small bucket or pan under the pipe if it is above a finished surface.
A quick note on pipe materials
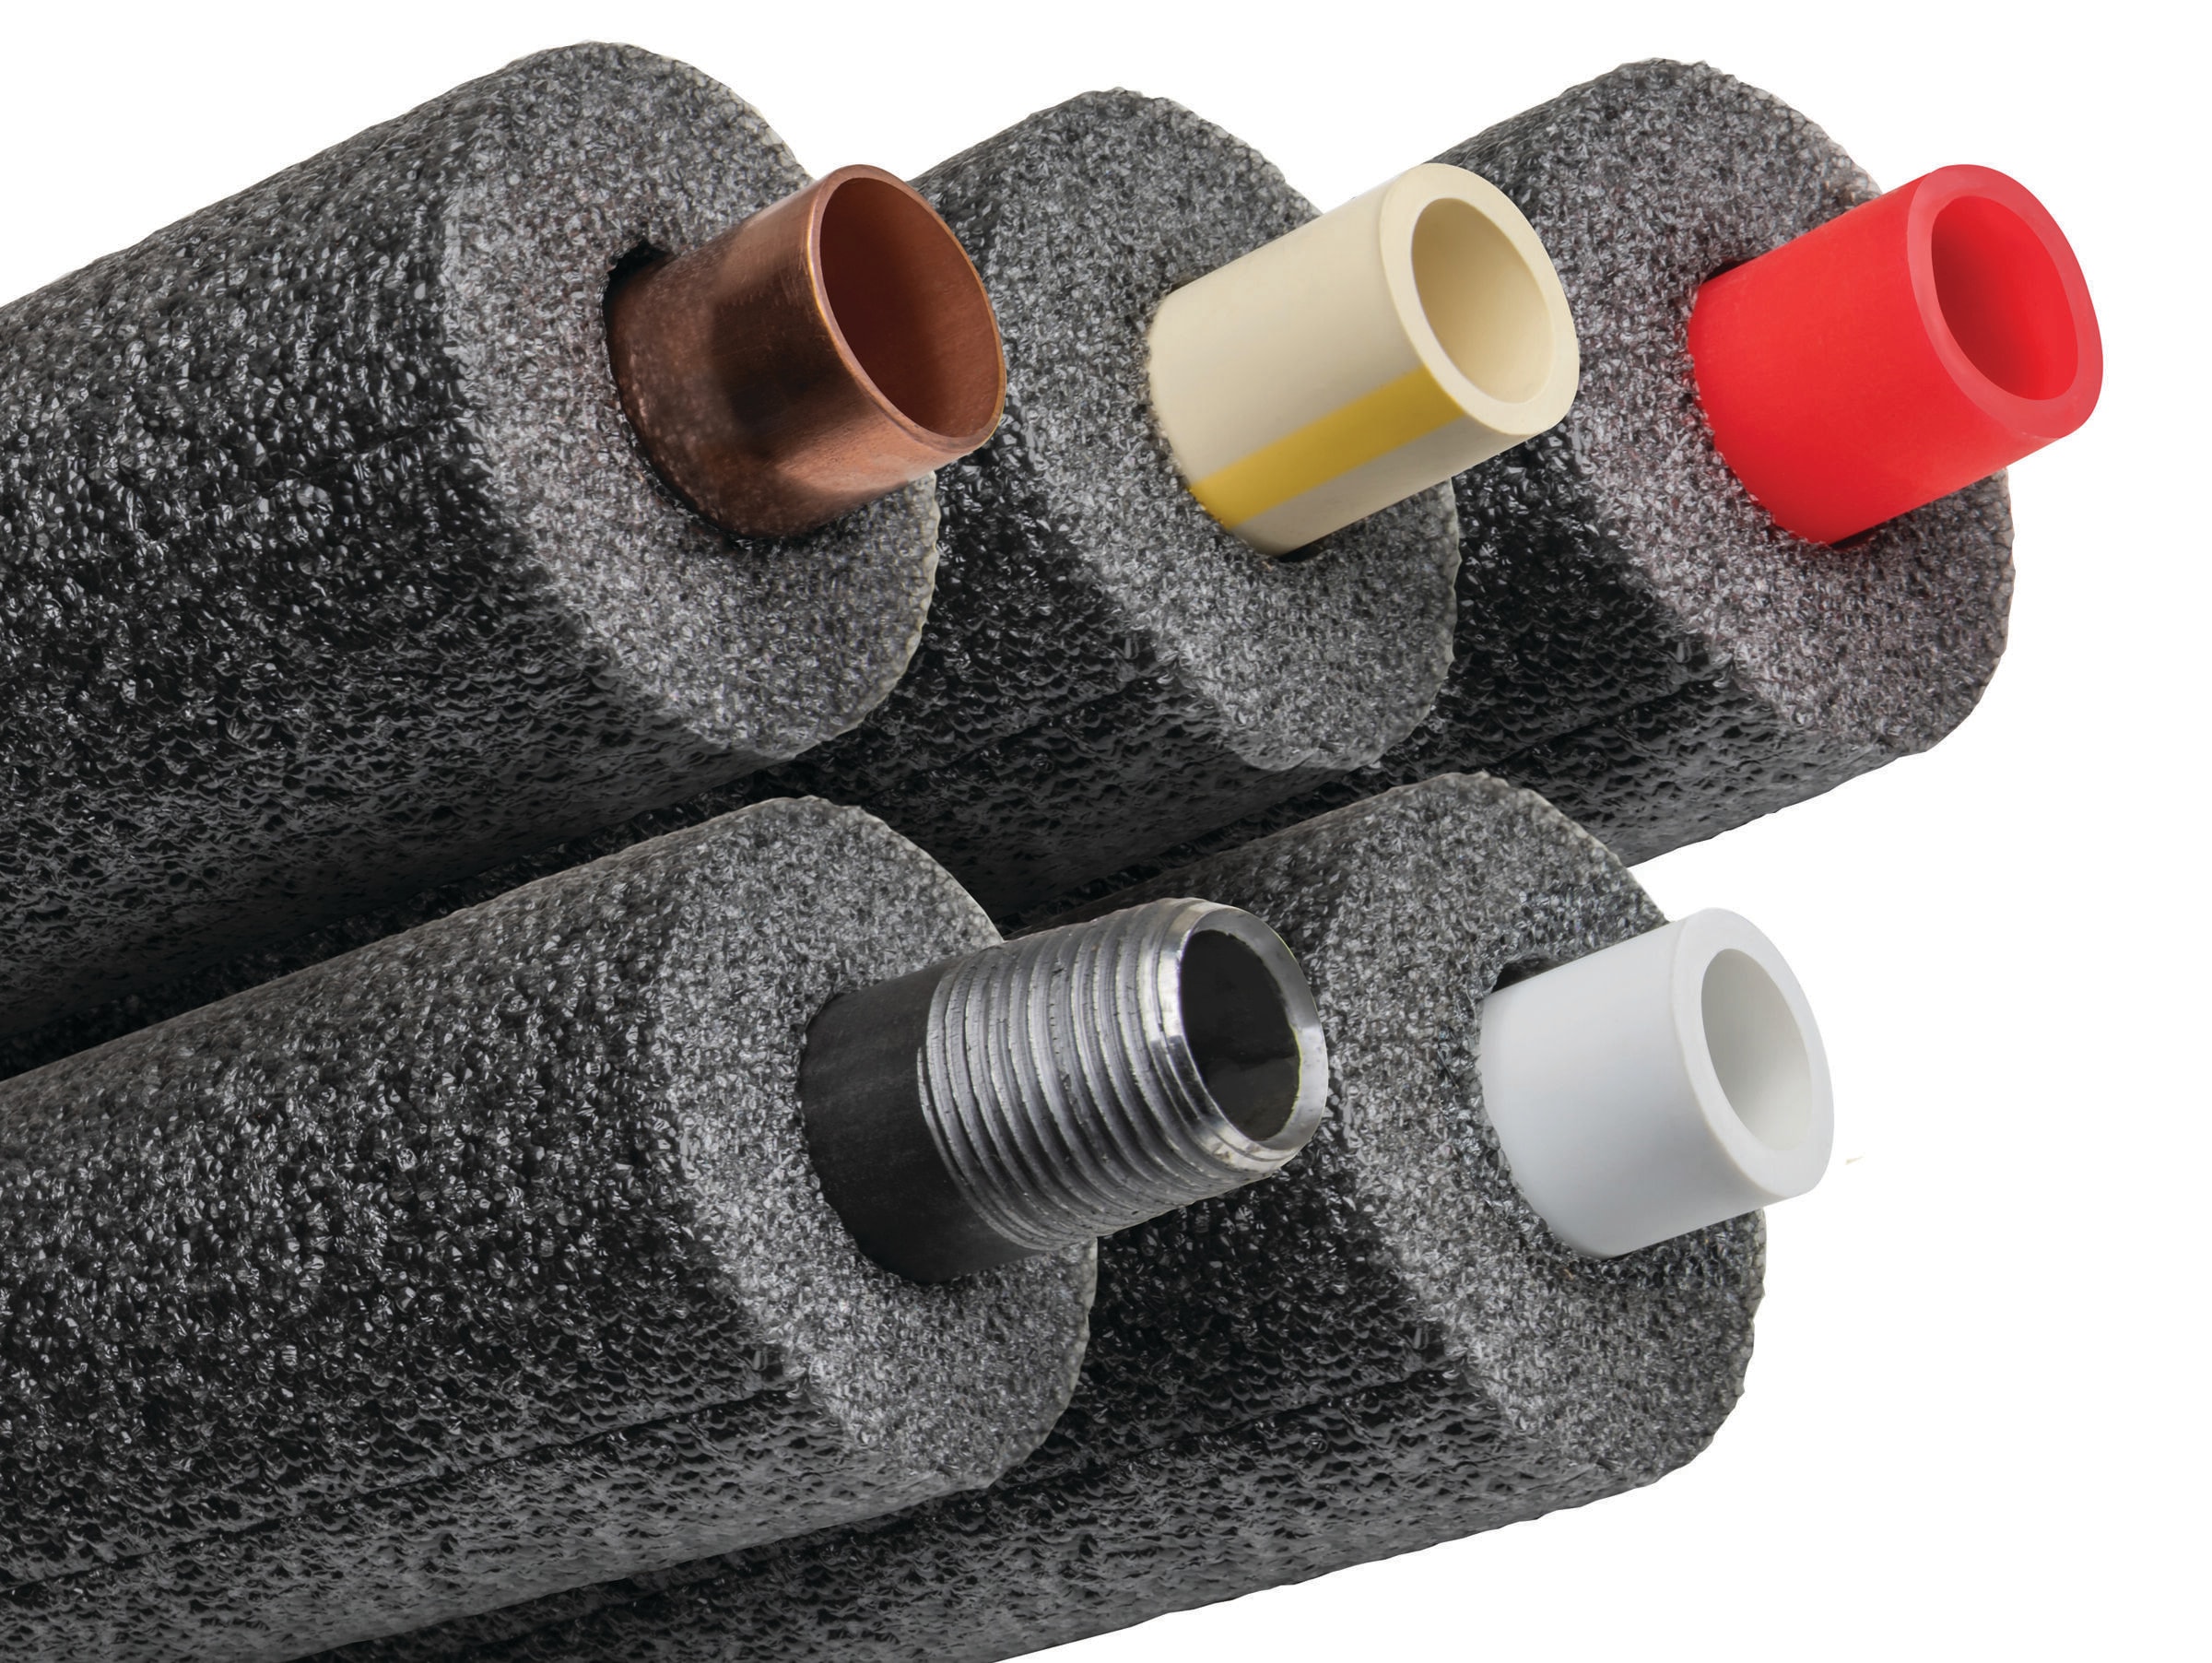
- Copper: Common, and it can split when frozen. Thaw gently and watch joints and fittings.
- PEX: Often tolerates freezing better than rigid pipe, but it can still burst, especially at fittings or if it is constrained.
- CPVC: More brittle in the cold. Avoid aggressive heat and do not “spot cook” it with a high-output heat source.
Never use these methods
- Open flame of any kind (torch, lighter, candles). This is how houses catch fire, and it can also weaken or melt pipe materials and nearby joints.
- Charcoal grill, propane heater, or kerosene heater indoors. Carbon monoxide risk is real.
- Boiling water dumped on a pipe if you cannot control where it goes. It can scald you and damage cabinets, flooring, or electrical components.
- Heat gun use in tight spaces, especially near wiring, insulation, or plastic pipe. Too much heat can do damage fast.
When water starts flowing again
If you shut the main water off, you will eventually need to re-pressurize the system. Take a minute first.
- Keep the faucet open where you were thawing. This lets air escape.
- Visually inspect the exposed pipe you warmed. Look for a hairline split, bulge, or fitting that has shifted.
- Have someone else listen near the suspected area, if possible. Sometimes you can hear a leak before you see it.
Then, slowly turn the main water back on.
- Turn the valve on one-quarter turn.
- Wait 15 to 30 seconds and watch for leaks.
- Open it the rest of the way if all looks good.
How to tell if the pipe burst
A pipe can split while frozen and not leak until it thaws. That is why people wake up to a mess hours after “fixing” the no-water problem.
Obvious signs
- Water spraying or pouring from a pipe or fitting
- A new puddle forming quickly under a sink, in the basement, or near the water heater
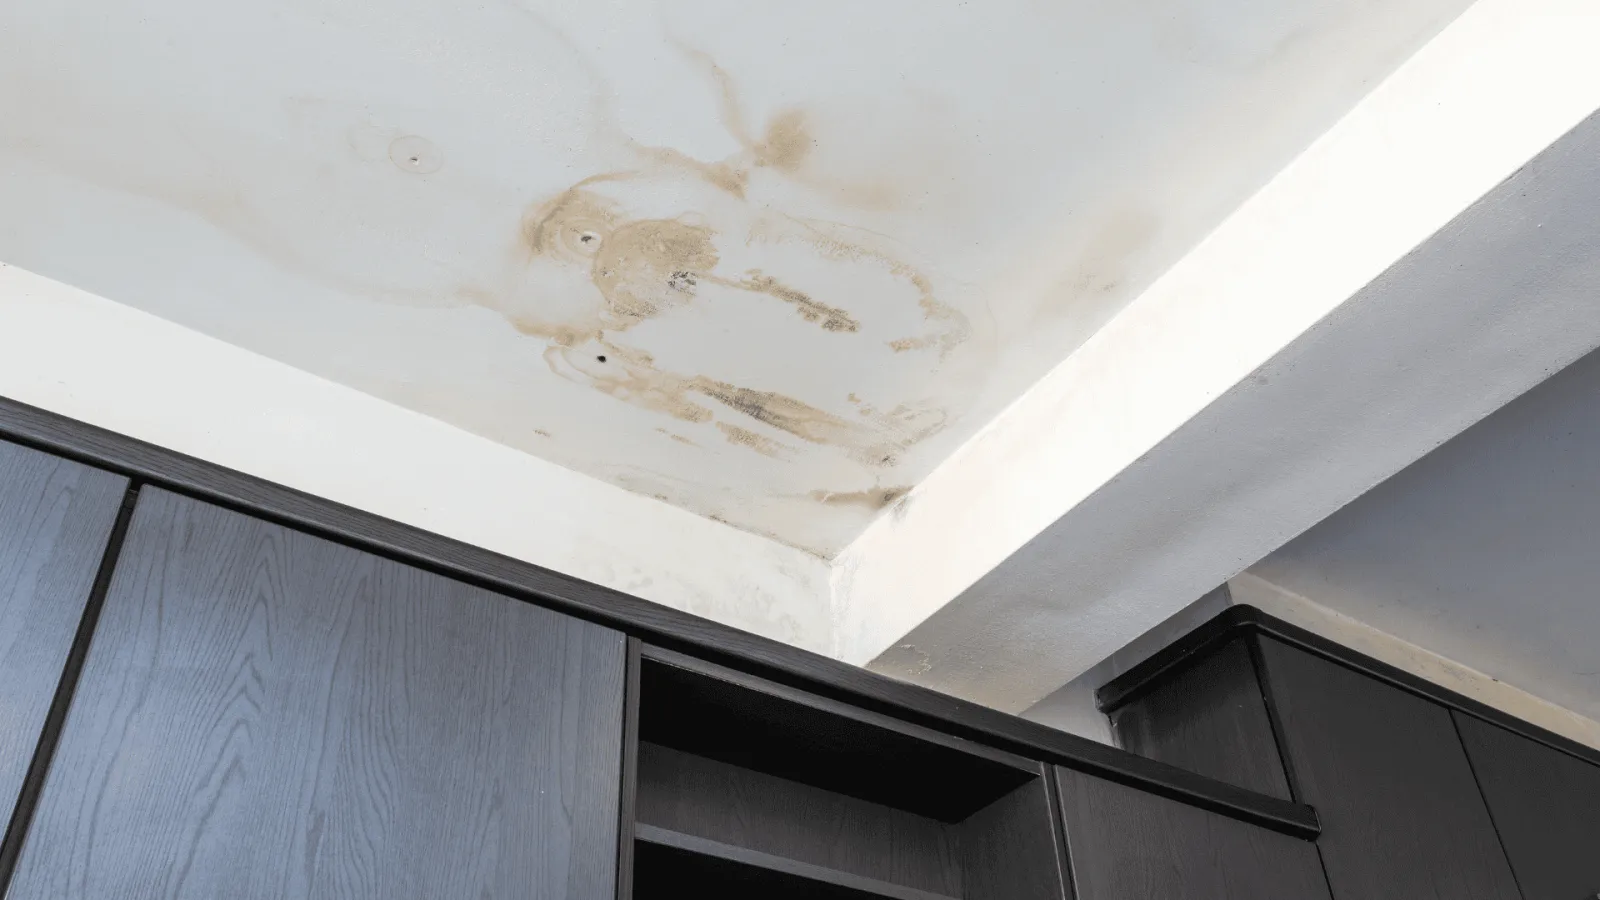
- Ceiling drip, bubbling paint, or a sudden stain on drywall
Sneaky signs after flow returns
- Intermittent dripping that starts 10 to 30 minutes later as remaining ice finishes melting
- Musty smell or damp insulation in a basement rim joist or crawlspace
- Unexplained drop in water pressure when multiple fixtures run
- Water meter movement when all fixtures are off (many meters have a small leak indicator dial, but designs vary)
Quick check for hidden leaks
- Turn everything off (no faucets, no dishwasher, no washing machine).
- Look at your water meter. If the leak indicator or dial moves, water is going somewhere.
- If you are on a well, listen for the pump cycling when no one is using water. Frequent cycling can indicate a leak.
If you suspect a leak inside a wall or ceiling, shut the water back off and call a plumber or a leak detection company. Drywall and insulation hide damage until it gets expensive.
If you find a burst: what to do now
- Shut off the main water immediately.
- Open faucets (lowest level first) to drain residual water and relieve pressure.
- Kill power to any outlets or devices near standing water. If water is near a breaker panel, do not approach it. Call an electrician.
- Contain the water with towels, buckets, and a wet-dry vacuum if you have one.
- Document damage with photos for insurance.
Temporary repairs (like a rubber and hose-clamp patch) can buy time on an exposed pipe, but if the burst is inside a wall, the priority is stopping water and limiting damage.
Keep it from freezing again tonight
- Warm the area: raise the thermostat a few degrees and open interior doors for airflow.
- Open cabinet doors under sinks on exterior walls.
- Keep garage doors closed if there is plumbing in or above the garage.
- Disconnect hoses and, if you have them, close interior shutoffs to exterior hose bibs and open the outside faucet to drain.
- Seal drafts around pipe penetrations with foam or caulk once things are dry.
- Add pipe insulation on vulnerable runs in basements, crawlspaces, attics, and garages.
- Consider heat tape on known trouble spots, installed per instructions.
And yes, in extreme cold, letting a faucet drip can help. It is not magic, but moving water is harder to freeze than still water, especially on long exterior runs.
FAQ
How long does it take to thaw a frozen pipe?
It depends on how long the frozen section is and how cold it got. A small ice plug in an exposed pipe might thaw in 15 to 30 minutes with a hair dryer. A long freeze inside a wall can take a couple of hours. If you have been safely heating for 30 to 45 minutes with no improvement, re-check that you are heating the right spot.
Can I thaw a pipe if I cannot access it?
Sometimes you can warm the space around it (space heater for the room, open cabinets, raise thermostat). If the frozen section is in a finished wall and you cannot locate it, it is often faster and safer to call a plumber than to guess and risk a hidden burst.
Is it safe to use a heat gun?
I do not recommend it for most homeowners. Heat guns get hot enough to damage plastic pipe, scorch wood, or overheat wiring and insulation. A hair dryer is slower but much safer.
What if only one bathroom or one sink is out?
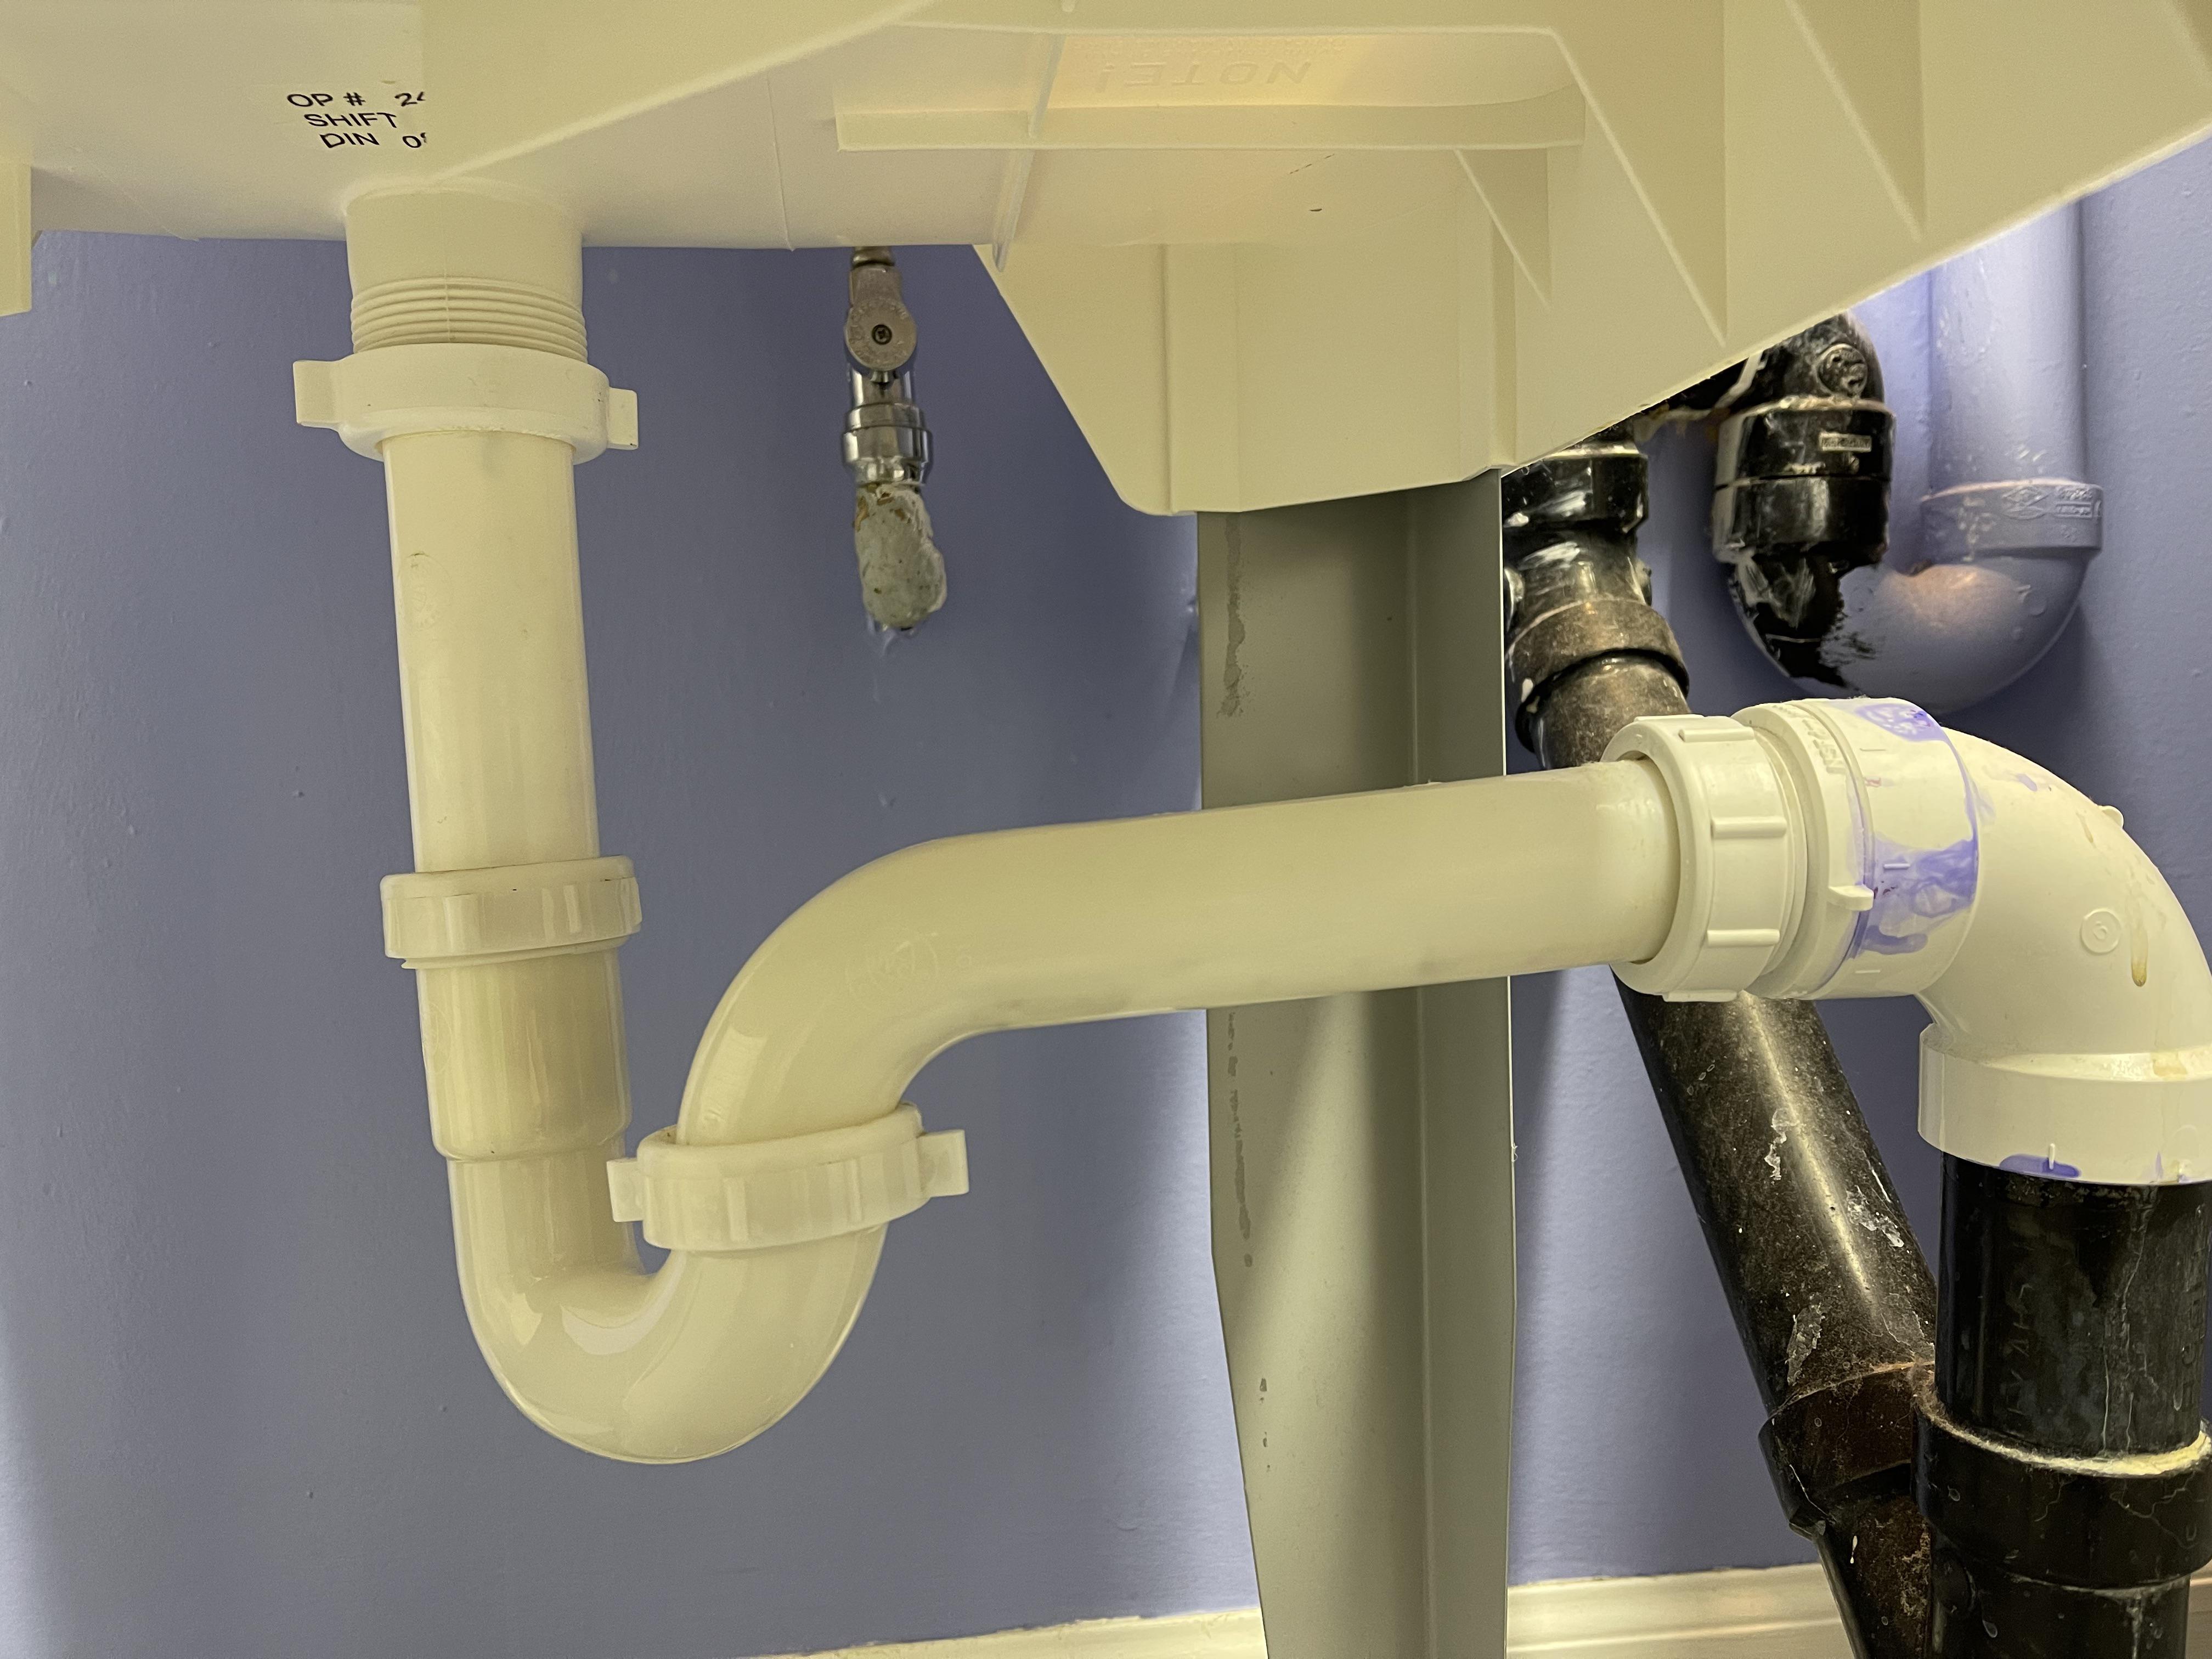
That is usually a localized freeze on that branch line. Start by opening the dead fixture, then check the supply lines and shutoffs under the sink, and work back toward where that pipe runs through an exterior wall or an unheated area.