A faucet that drips from the spout after you shut it off is one of those problems that feels bigger than it is. I used to treat it like a mysterious plumbing curse. Turns out, it is usually just a worn washer, seal, or cartridge surface inside the valve. Replace the right little part, put it back together carefully, and you are back to a quiet sink and a smaller water bill.
This guide stays focused on leaks that come out of the spout. If you have water pooling in the cabinet or dripping from a supply line connection, that is a different repair.
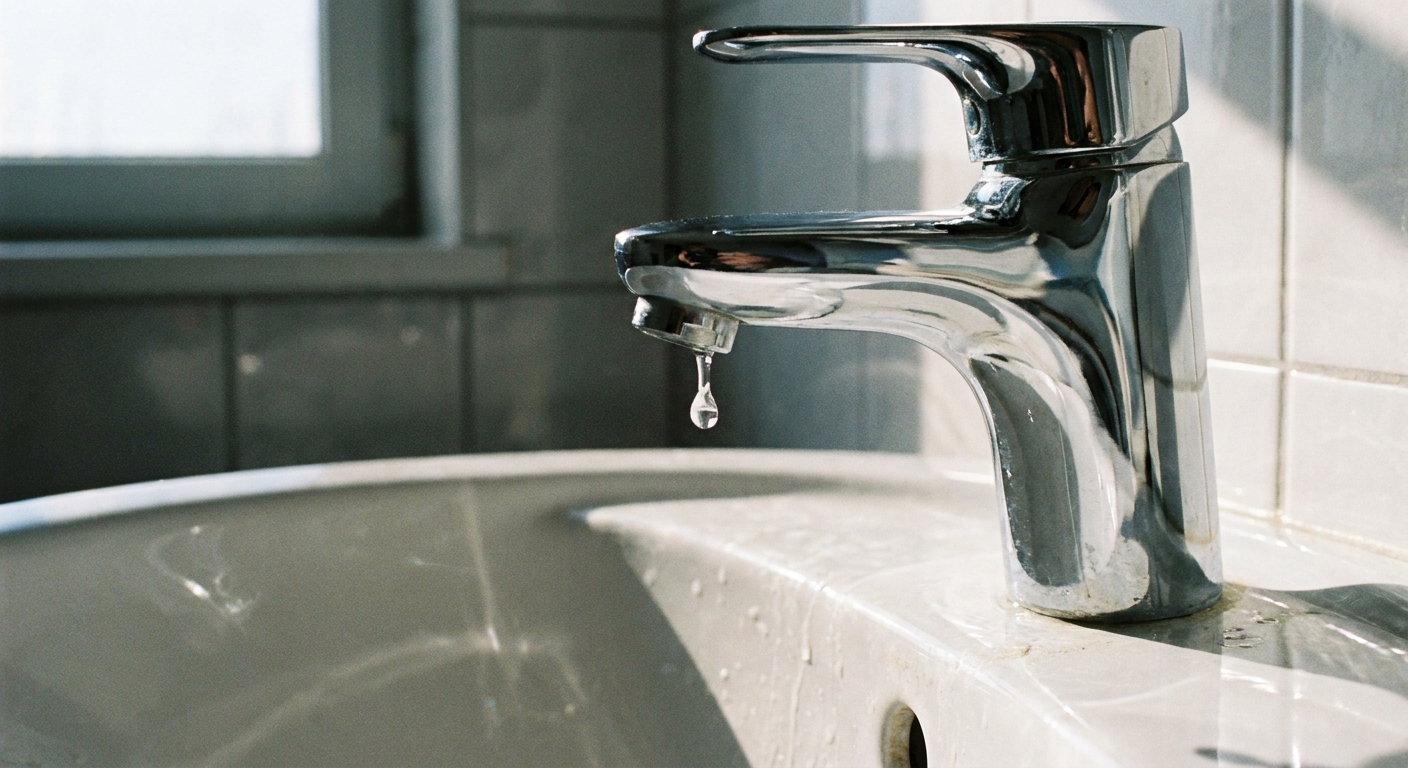
Why a spout drip happens
When a faucet is off, something inside is supposed to seal water pressure. Over time, the sealing parts wear, mineral buildup roughs up the surfaces, or a rubber piece gets nicked during a previous repair. The result is a slow drip that can start as “once in a while” and turn into “all night long.”
- Compression faucets usually drip because the rubber washer at the end of the stem is worn or the valve seat is pitted.
- Cartridge faucets drip when the cartridge or its seals wear out.
- Ceramic-disk faucets drip when the disk cartridge is damaged or debris scratches the sealing faces.
Quick ID: what kind of faucet do you have?
You do not need to be a faucet historian. A couple clues get you close enough to buy the right parts.
Compression
- Usually two handles labeled hot and cold.
- Handle turns several full rotations to open and close.
- Inside: a stem with a rubber washer that presses down onto a metal seat.
Cartridge
- Handle movement feels smoother than compression.
- Single-handle versions typically lift and rotate.
- Two-handle versions often turn about a quarter-turn to half-turn.
Ceramic-disk
- Usually single-handle, very smooth operation.
- Often a wider, modern faucet body.
- Inside: a disk cartridge with ceramic sealing faces.
Ball-type (common older single-handle)
- Often found on older single-handle kitchen faucets.
- Inside: a ball assembly with cam/packing, plus small rubber seats and springs on many models.
- Drips are often from worn seats/springs or O-rings rather than a single “cartridge.”
If you are unsure, the safest move is to take the old part with you to the hardware store. Also snap a quick photo of any brand markings on the stem or cartridge and note the faucet brand (Moen, Delta, Pfister, and friends tend to be brand-specific on parts).
Tools and parts to gather
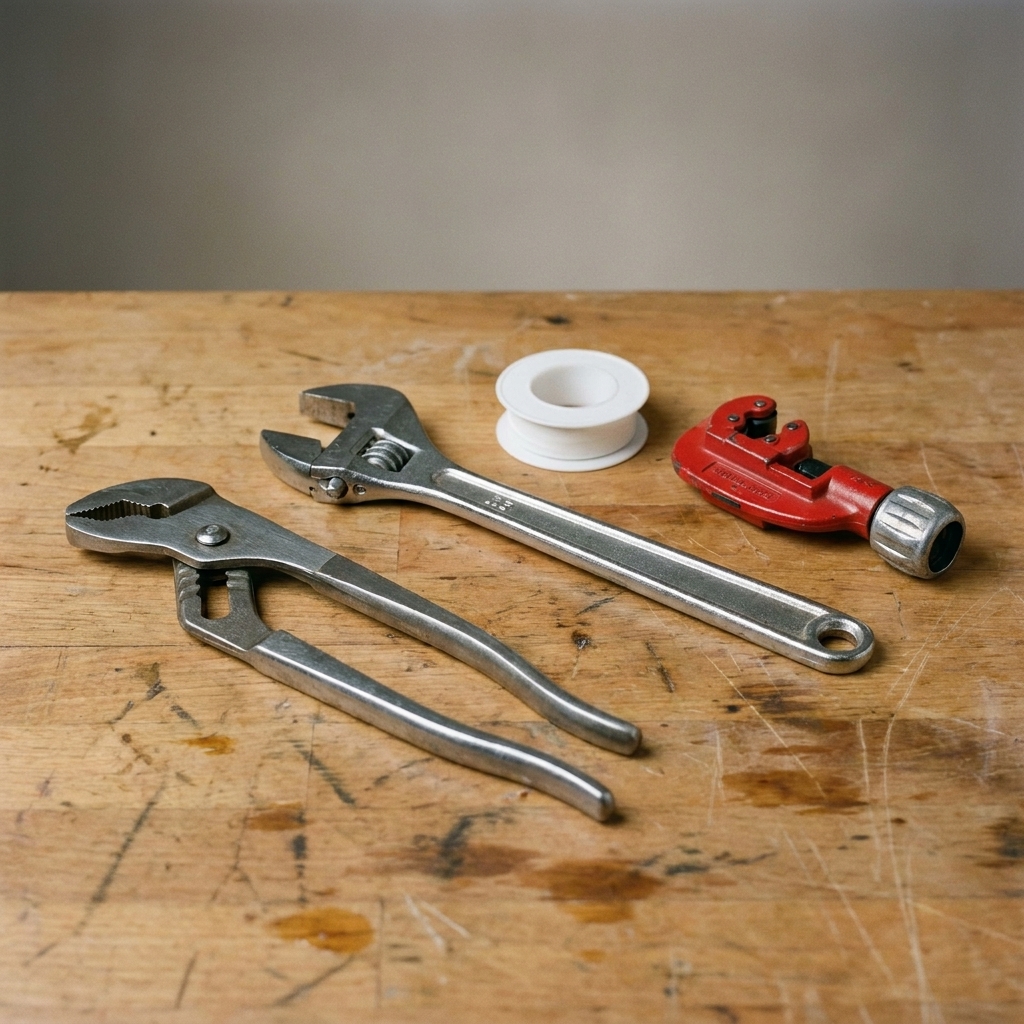
- Adjustable wrench or tongue-and-groove pliers
- Phillips and flat screwdriver
- Hex key (common on many single-handle faucets)
- Utility knife or pick (for stubborn O-rings)
- Needle-nose pliers (helpful for clips, seats, and springs)
- Clean rag and small bowl for screws
- Plumber’s grease (silicone faucet grease, not petroleum jelly)
- Replacement parts: washer and screw, cartridge, or seats and springs depending on faucet type
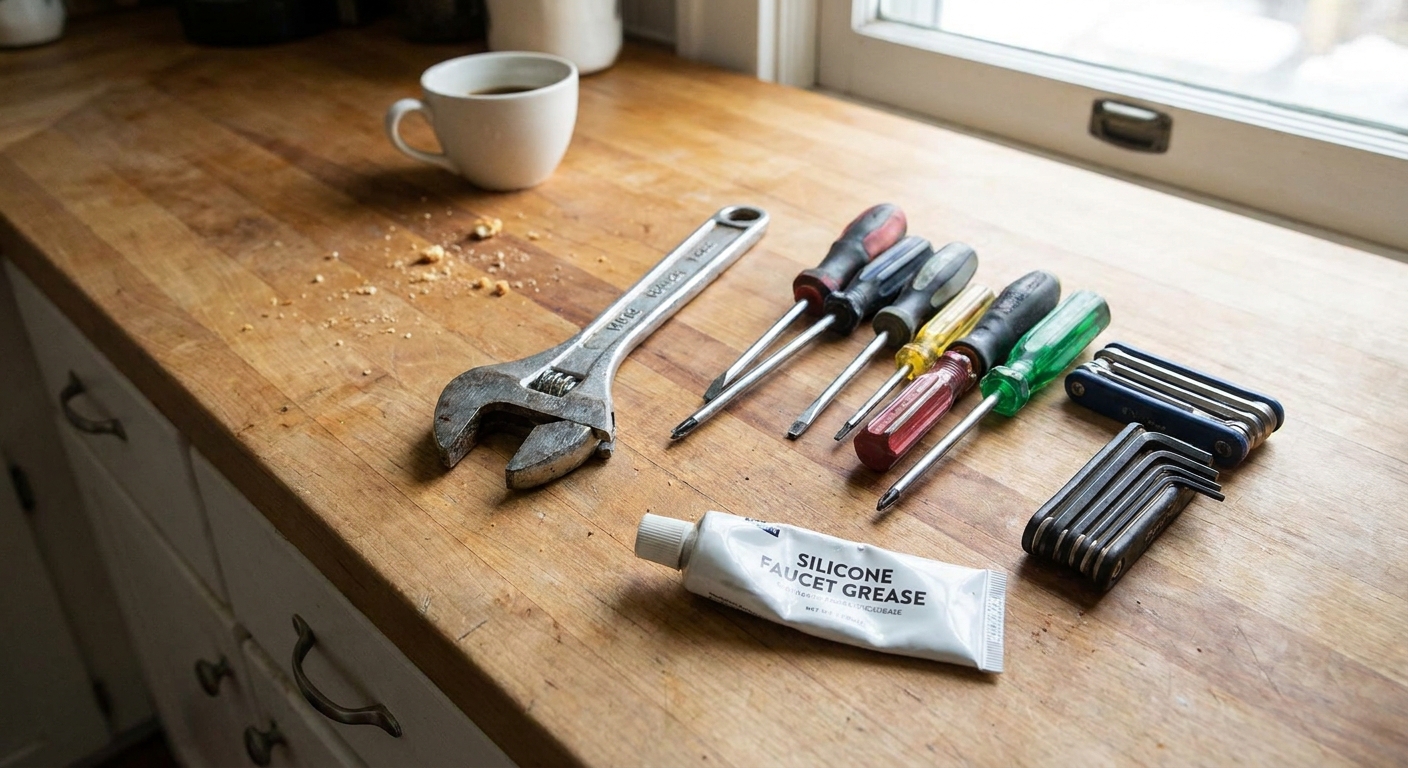
Tip from my contractor days: Put a towel in the sink to protect the finish and to keep tiny screws from bouncing into the drain. Those little guys are Olympic-level escape artists.
Finish-saving tip: If you must use pliers on chrome, wrap the jaws with tape or use a rag as a buffer. It takes two seconds and saves you from permanent tooth marks.
Step 1: Shut off the water
- Turn off the shutoff valves under the sink. Hot and cold both go off. Turn clockwise until they stop.
- Open the faucet to relieve pressure and confirm water stops.
- Plug the drain or cover it with a rag.
If your shutoff valves will not turn or they seep around the stem when you touch them, that is a separate issue. You can still proceed if they shut off fully, but keep an eye on them.
Step 2: Take it apart cleanly
The basics are similar for most faucets.
- Find the handle fastener. Look for a small set screw (often on the back or underside of the handle) or a decorative cap hiding a Phillips screw.
- Remove the handle. If it is stuck, wiggle gently. Do not pry against chrome with a screwdriver. Use a rag and your hands, or a strap wrench if you have one.
- Remove the retaining nut or cap that holds the cartridge or stem in place. (You will hear this called a bonnet nut, and sometimes a packing nut on older styles. Either way, it is the “keeper” that holds the guts in.)
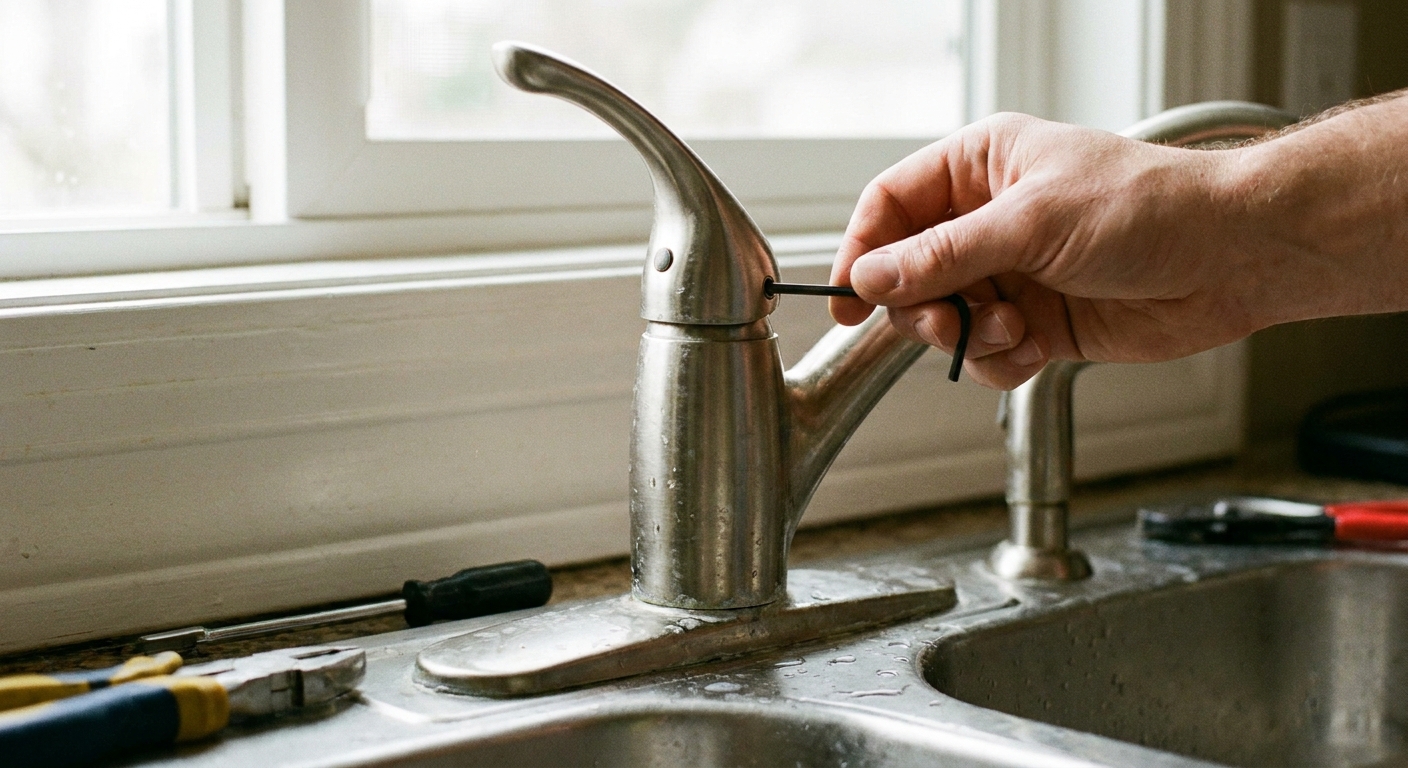
Take a photo as you go. I still do this. It turns reassembly from a puzzle back into a recipe.
Fix 1: Compression faucet
Compression faucets are the classic “tighten it harder” type. Ironically, over-tightening is what often ruins the washer and makes the drip worse.
Replace the washer
- After removing the handle and bonnet (packing) nut, pull out the stem.
- At the bottom of the stem is a rubber washer held by a small screw.
- Remove the screw, replace the washer with the same size, and reinstall the screw snugly.
- Add a thin wipe of silicone faucet grease to the threads and O-ring areas, if present.
Check the valve seat
If a new washer does not solve the drip, the washer may be sealing against a rough or pitted valve seat inside the faucet body.
- If the seat looks rough, you can often remove it with a valve seat wrench and replace it.
- If the seat is fixed and badly pitted, the faucet body may be too far gone for an easy repair.
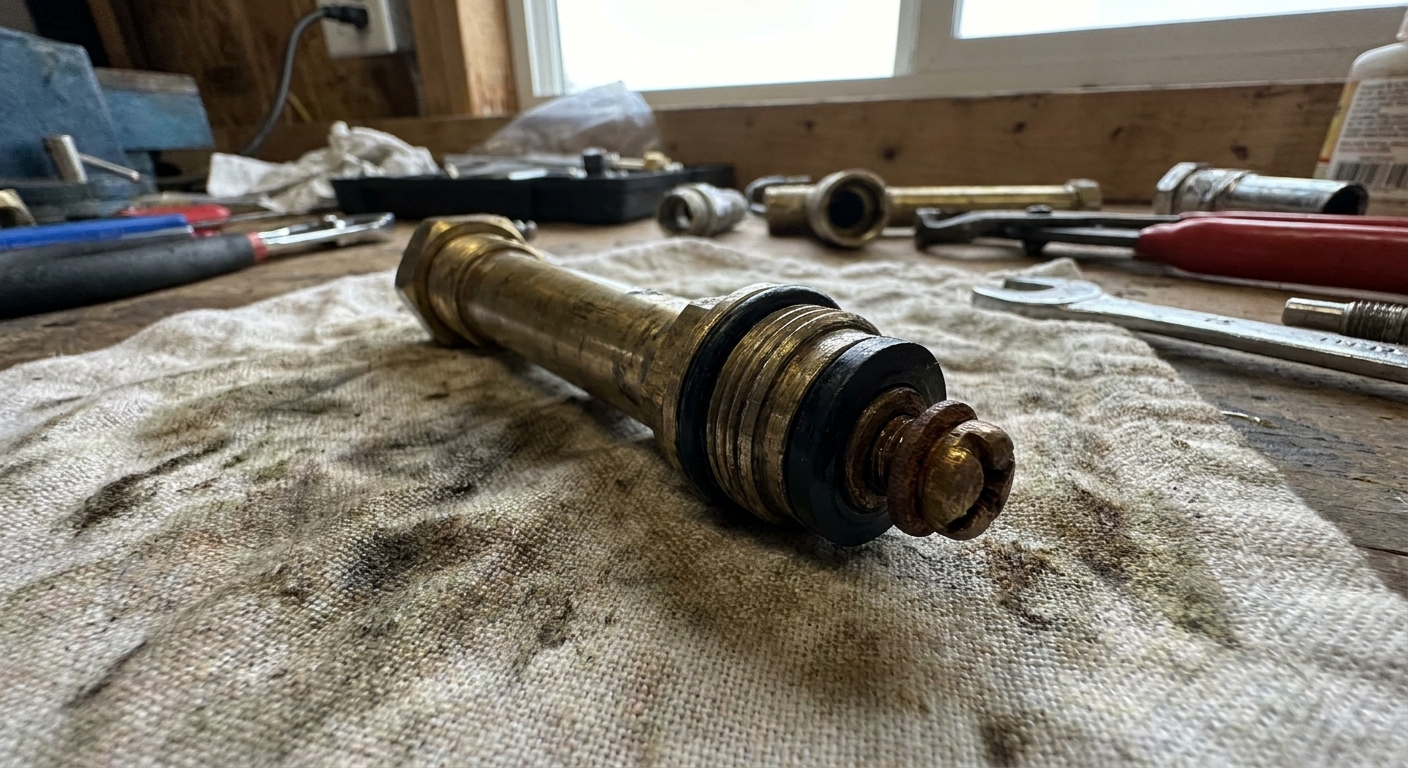
Reassembly note: Tighten the handle the way you would close a jar of pickles, not the way you would tighten a lug nut. A compression faucet should shut off firmly, not brutally.
Fix 2: Cartridge faucet
If your faucet uses a cartridge, replacing it is usually faster and more reliable than trying to rebuild individual seals, unless your model specifically sells seal kits.
Pull the cartridge
- With the handle off, look for a retaining clip or retaining nut.
- Remove the clip with needle-nose pliers, or unthread the retaining nut.
- Pull the cartridge straight out. Some are stubborn. Wiggle gently side to side. Do not twist aggressively unless the manufacturer design clearly allows it.
Install the new cartridge
- Match the new cartridge to the old one. Same length, same tabs, same ports.
- Lightly grease O-rings with silicone faucet grease.
- Seat it fully and align tabs with the body slots before reinstalling the clip or nut.
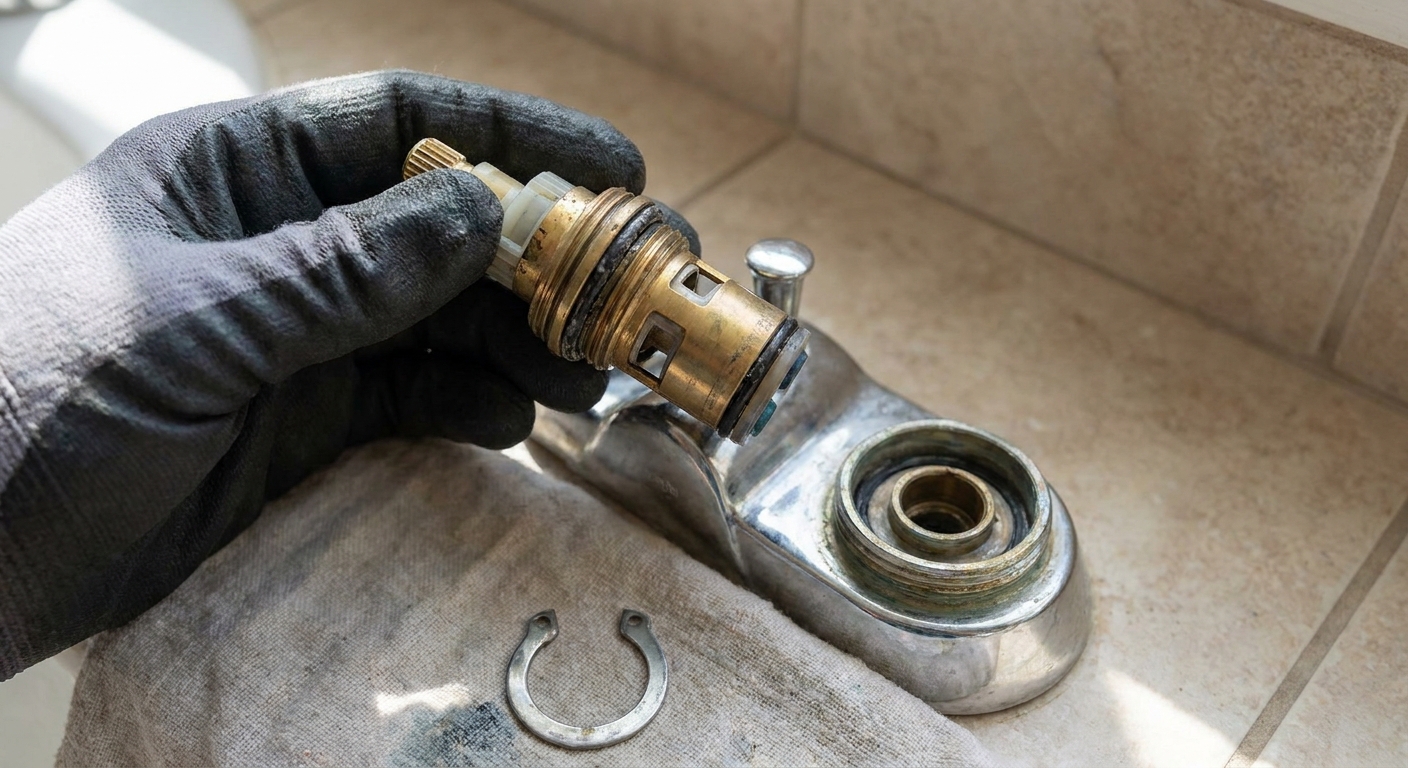
Avoid this common mistake: Pinching an O-ring during insertion. If you feel the cartridge hang up halfway, stop, back it out, re-grease, and try again aligned. Forcing it is how you create a brand-new leak.
Fix 3: Seats and springs
Some faucets use a small rubber seat held against the valve by a spring. This shows up a lot in certain ball-type designs and some cartridge valves, and sometimes in two-handle cartridges depending on brand. When the rubber hardens or the spring corrodes, you get a drip.
- Disassemble the handle and pull the stem, ball assembly, or cartridge according to your faucet style.
- Look down into the valve body for a rubber seat and small spring.
- Use a small pick or needle-nose pliers to remove them.
- Install new springs first, then press new seats on top.
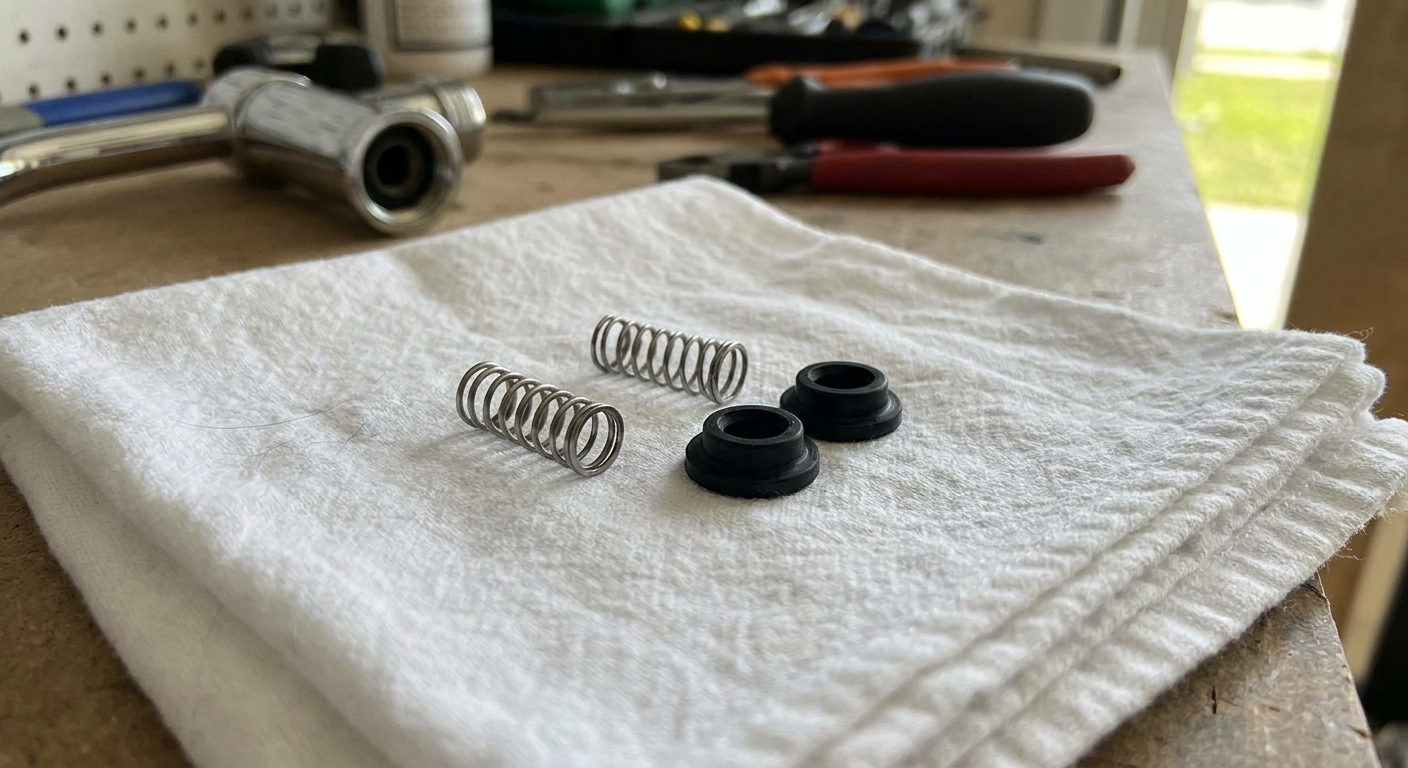
Small-parts warning: Seats and springs love to drop into the drain or disappear into the sink trap. Keep that drain covered and work over a towel.
Fix 4: Ceramic-disk faucet
Ceramic-disk faucets are tough, but grit can damage the sealing surfaces. If the faucet started dripping after plumbing work or a water shutoff, debris is a prime suspect.
- Remove the handle and retaining hardware, then lift out the disk cartridge.
- Inspect for cracks and obvious damage. If cracked, replace it.
- Rinse the faucet body and cartridge area to remove debris. Wipe the sealing surfaces with a clean rag.
- Lightly grease O-rings and reinstall, making sure it seats flat.
If cleaning does not solve it, replacement is the dependable fix. Ceramic faces do not “re-seat” the way old-school washers sometimes do.
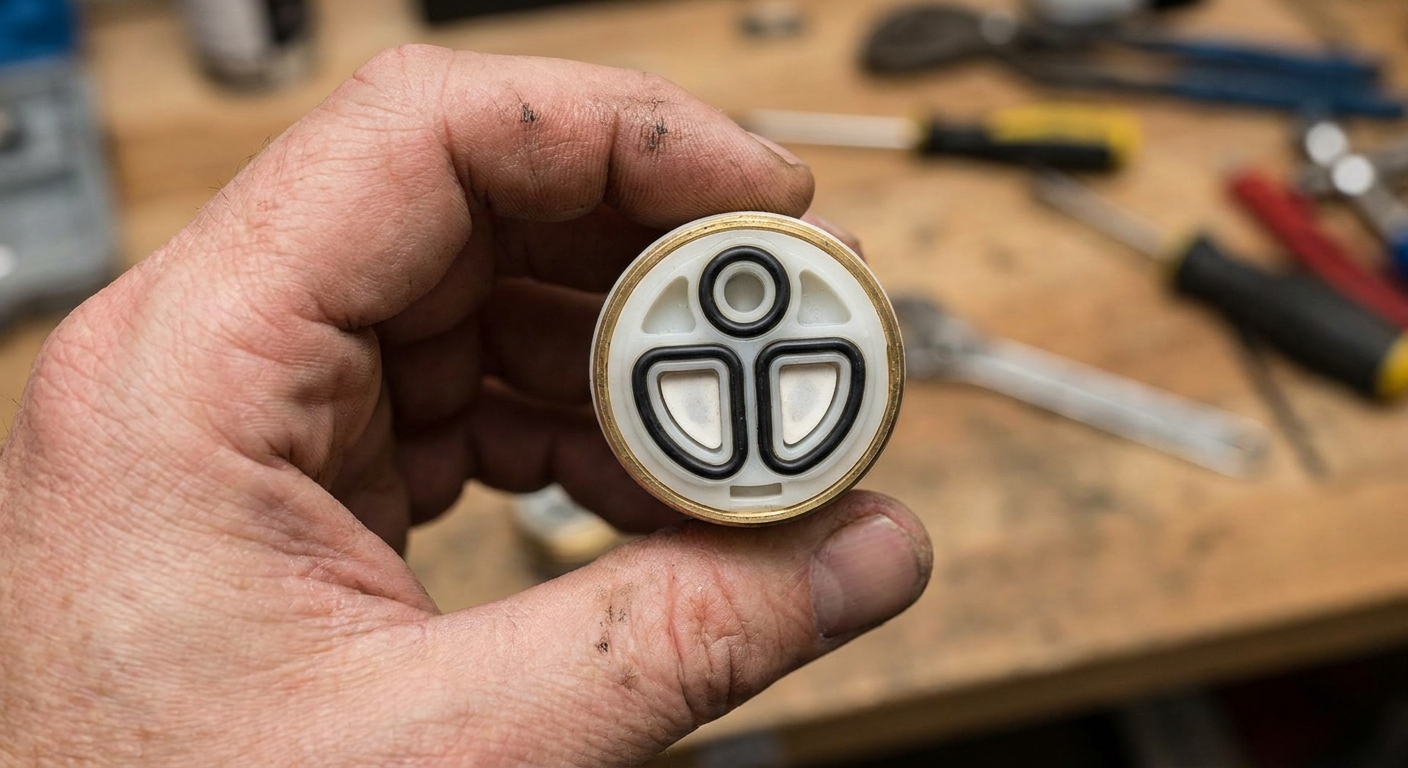
Important: Do not sand ceramic parts. If the sealing faces are scratched, replace the cartridge.
Reassemble and test
- Reinstall the retaining clip or nut snugly, not over-tightened.
- Reinstall the handle and set screw.
- Turn the shutoff valves back on slowly. This reduces the chance of a pressure surge that can stir up debris.
- Run water for 30 seconds, hot and cold, to flush any grit.
- Shut off and watch the spout for at least a minute.
A couple drips right after you shut it off can be normal as residual water drains from the spout and aerator. What you are trying to eliminate is the ongoing drip that continues.
If it still drips
- Wrong part or wrong orientation: Cartridges can be installed misaligned. Pull it back out and verify tabs and guides.
- Debris on a sealing surface: Especially on ceramic-disk designs. Remove and rinse again.
- Worn valve seat (compression faucets): Replace the seat if your faucet uses a removable one.
- Over-tightening: Compression faucets can deform washers quickly when cranked down hard.
- Hot/cold mismatch: If you replaced one side on a two-handle faucet, consider replacing both sides so wear is consistent.
If you have replaced the correct internal parts and the faucet still drips, the sealing area may be too worn or corroded. At that stage, faucet replacement becomes the more time-effective option.
FAQ
Do I need to turn off water to the whole house?
Usually no. Under-sink shutoff valves are enough for a kitchen or bathroom faucet repair. If you do not have working shutoffs, then a main shutoff is the safer move.
Why does my faucet drip only at night?
Often it is just quieter so you notice it. Temperature and pressure changes can also make a marginal seal leak a little more, but the root cause is still worn internal parts.
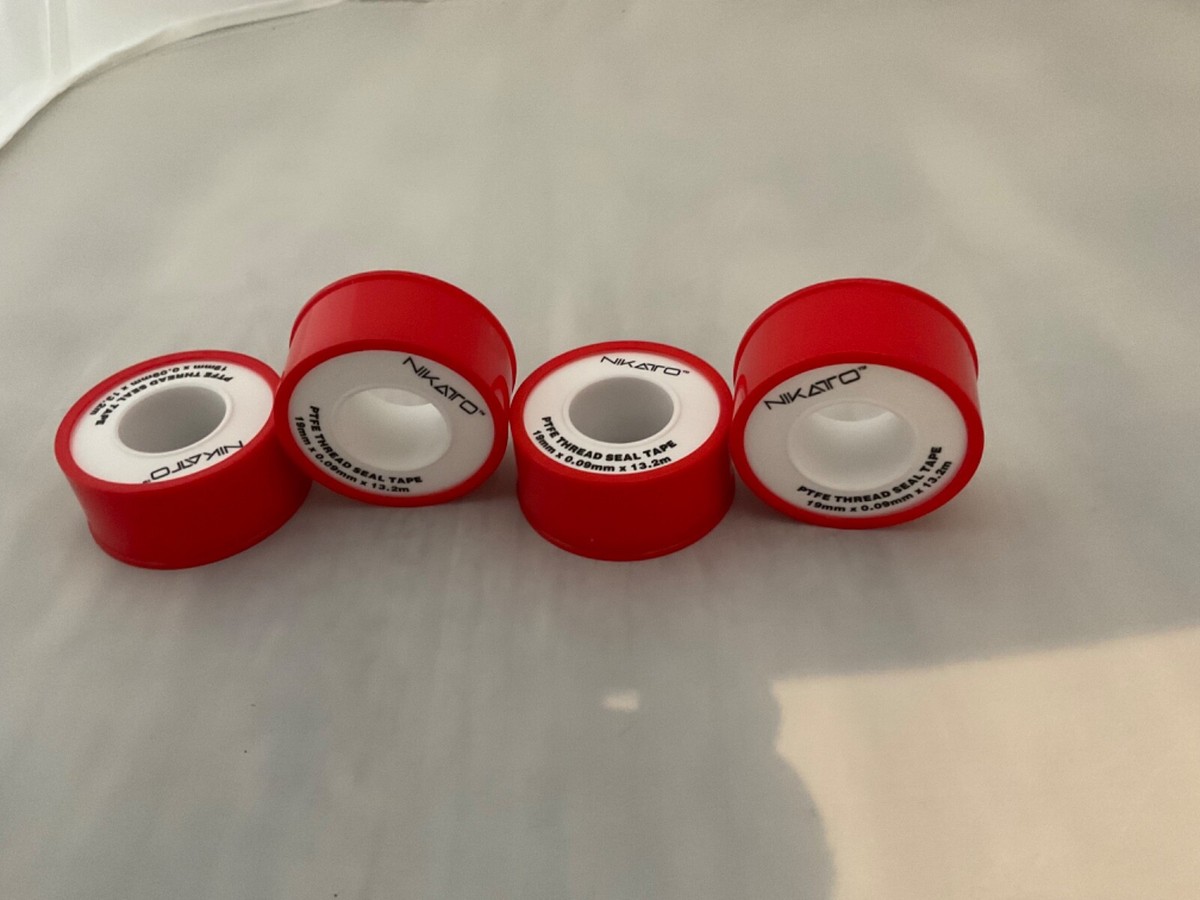
Should I wrap threads with plumber’s tape inside the faucet?
Generally no for cartridge retainers and bonnet nuts, because the seal is made by O-rings and mating surfaces, not tape. Tape is for pipe threads that are designed to seal on the threads.
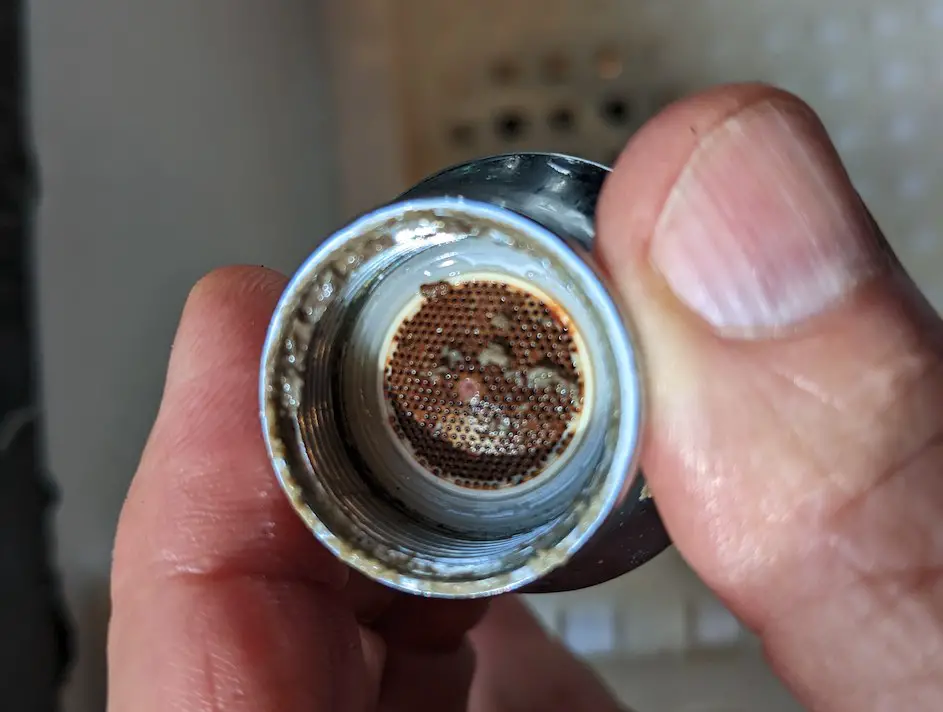
Can a clogged aerator cause a spout drip?
A clogged aerator usually causes poor flow or spray, not a drip after shutoff. That said, removing and cleaning the aerator is a quick win if you have mineral buildup, and it helps flush debris after your repair.
How long should this repair take?
If you have the parts in hand, most dripping-spout fixes take 30 to 90 minutes. The first time always takes longer because you are learning your faucet’s “personality.”