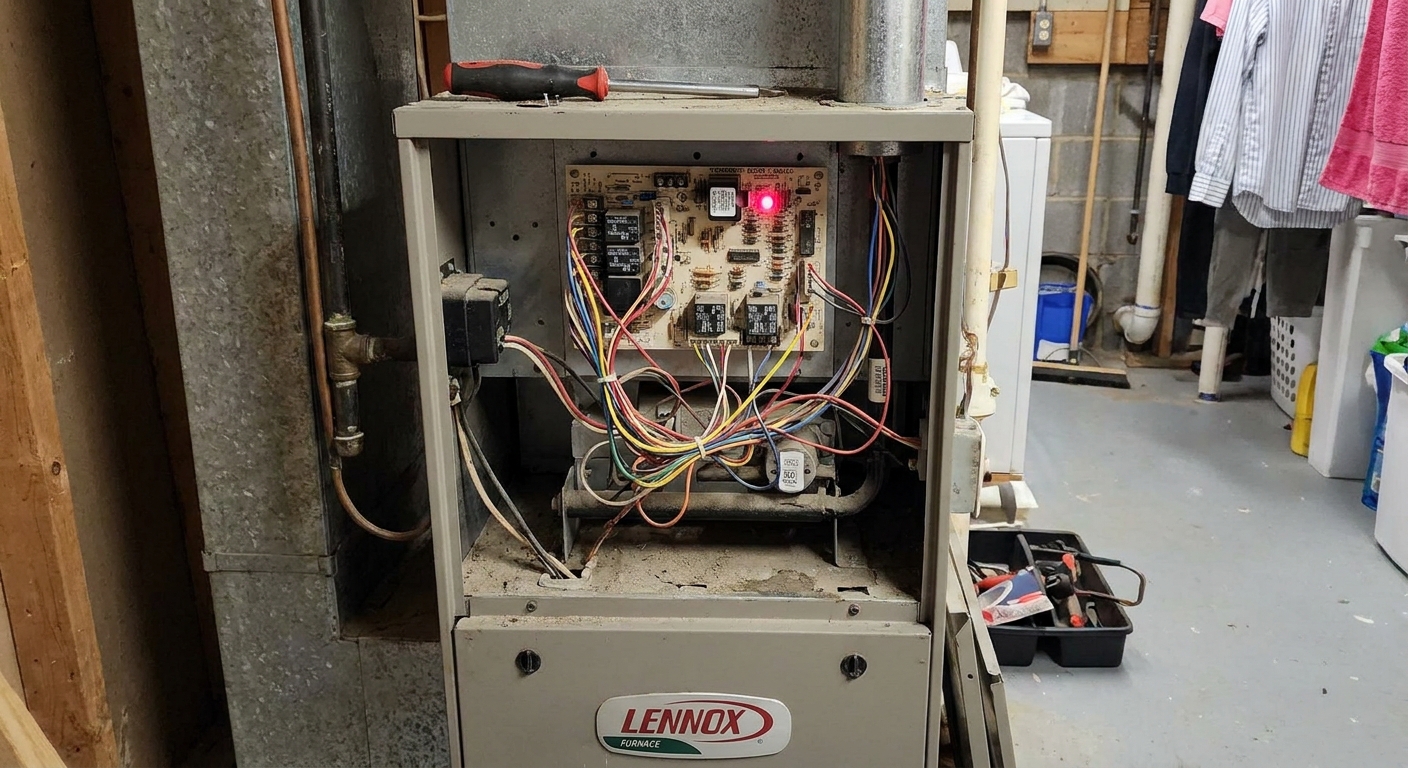
I grew up as the kid holding the flashlight while my dad crawled around the utility room. If there was one job he never skipped, it was changing the furnace filter. It is not glamorous, but it is one of the easiest ways to keep your system breathing, your bills reasonable, and your indoor air noticeably cleaner.
Below is exactly how I change a furnace filter, how I pick the correct size, and how I choose a MERV rating that improves air quality without choking airflow.
Why the furnace filter matters
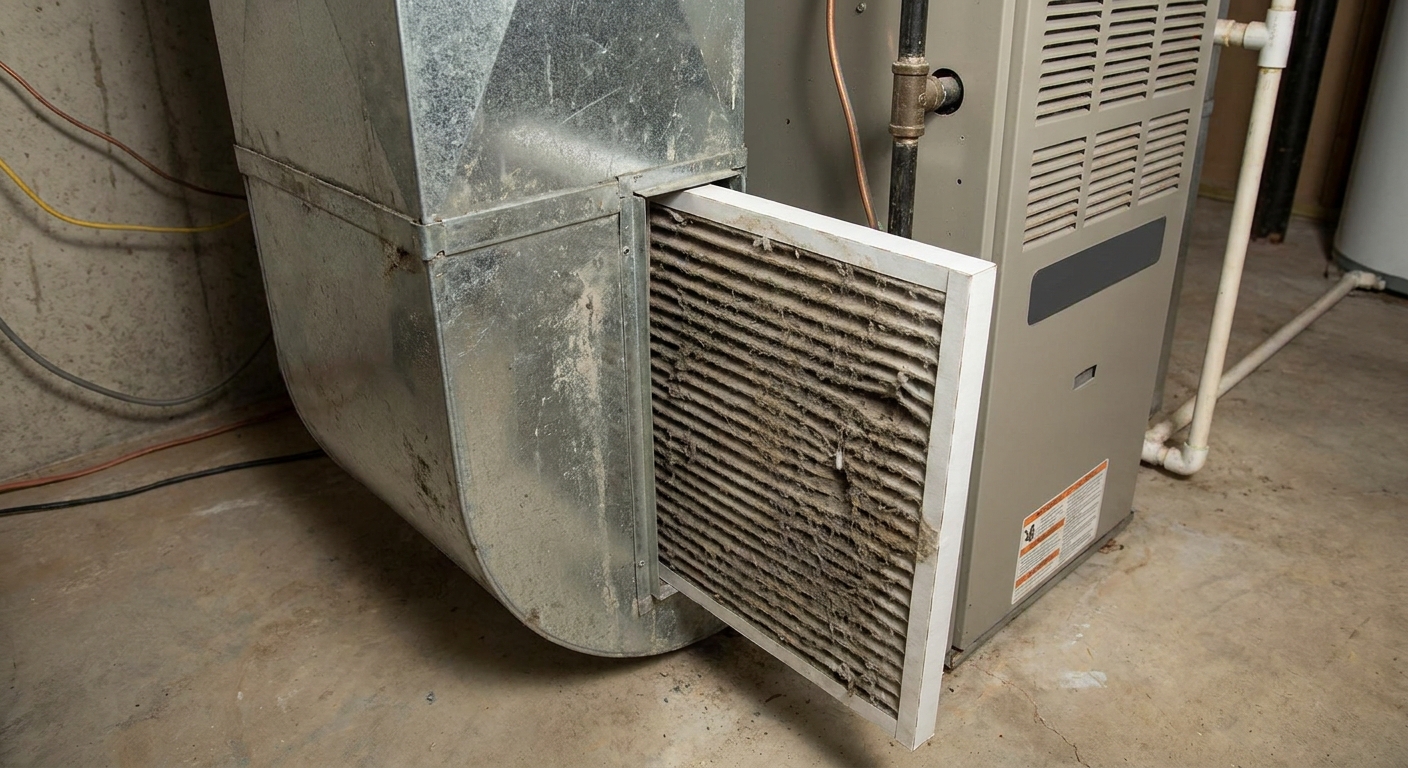
Your furnace filter is there to catch dust and debris before it coats your blower wheel. And if you have central A/C or a heat pump, it also helps keep the evaporator coil (the indoor A/C coil) from getting matted over with dust.
When the filter clogs, the system has to work harder to pull air through, and that can set off a chain reaction:
- Higher energy bills: restricted airflow makes the blower run longer to move the same amount of air.
- More wear and tear: the system can run hotter or longer than it should.
- Overheating or high-limit trips: poor airflow can cause a furnace to run too hot and shut itself down for safety, and sometimes that shows up as frequent on and off cycling.
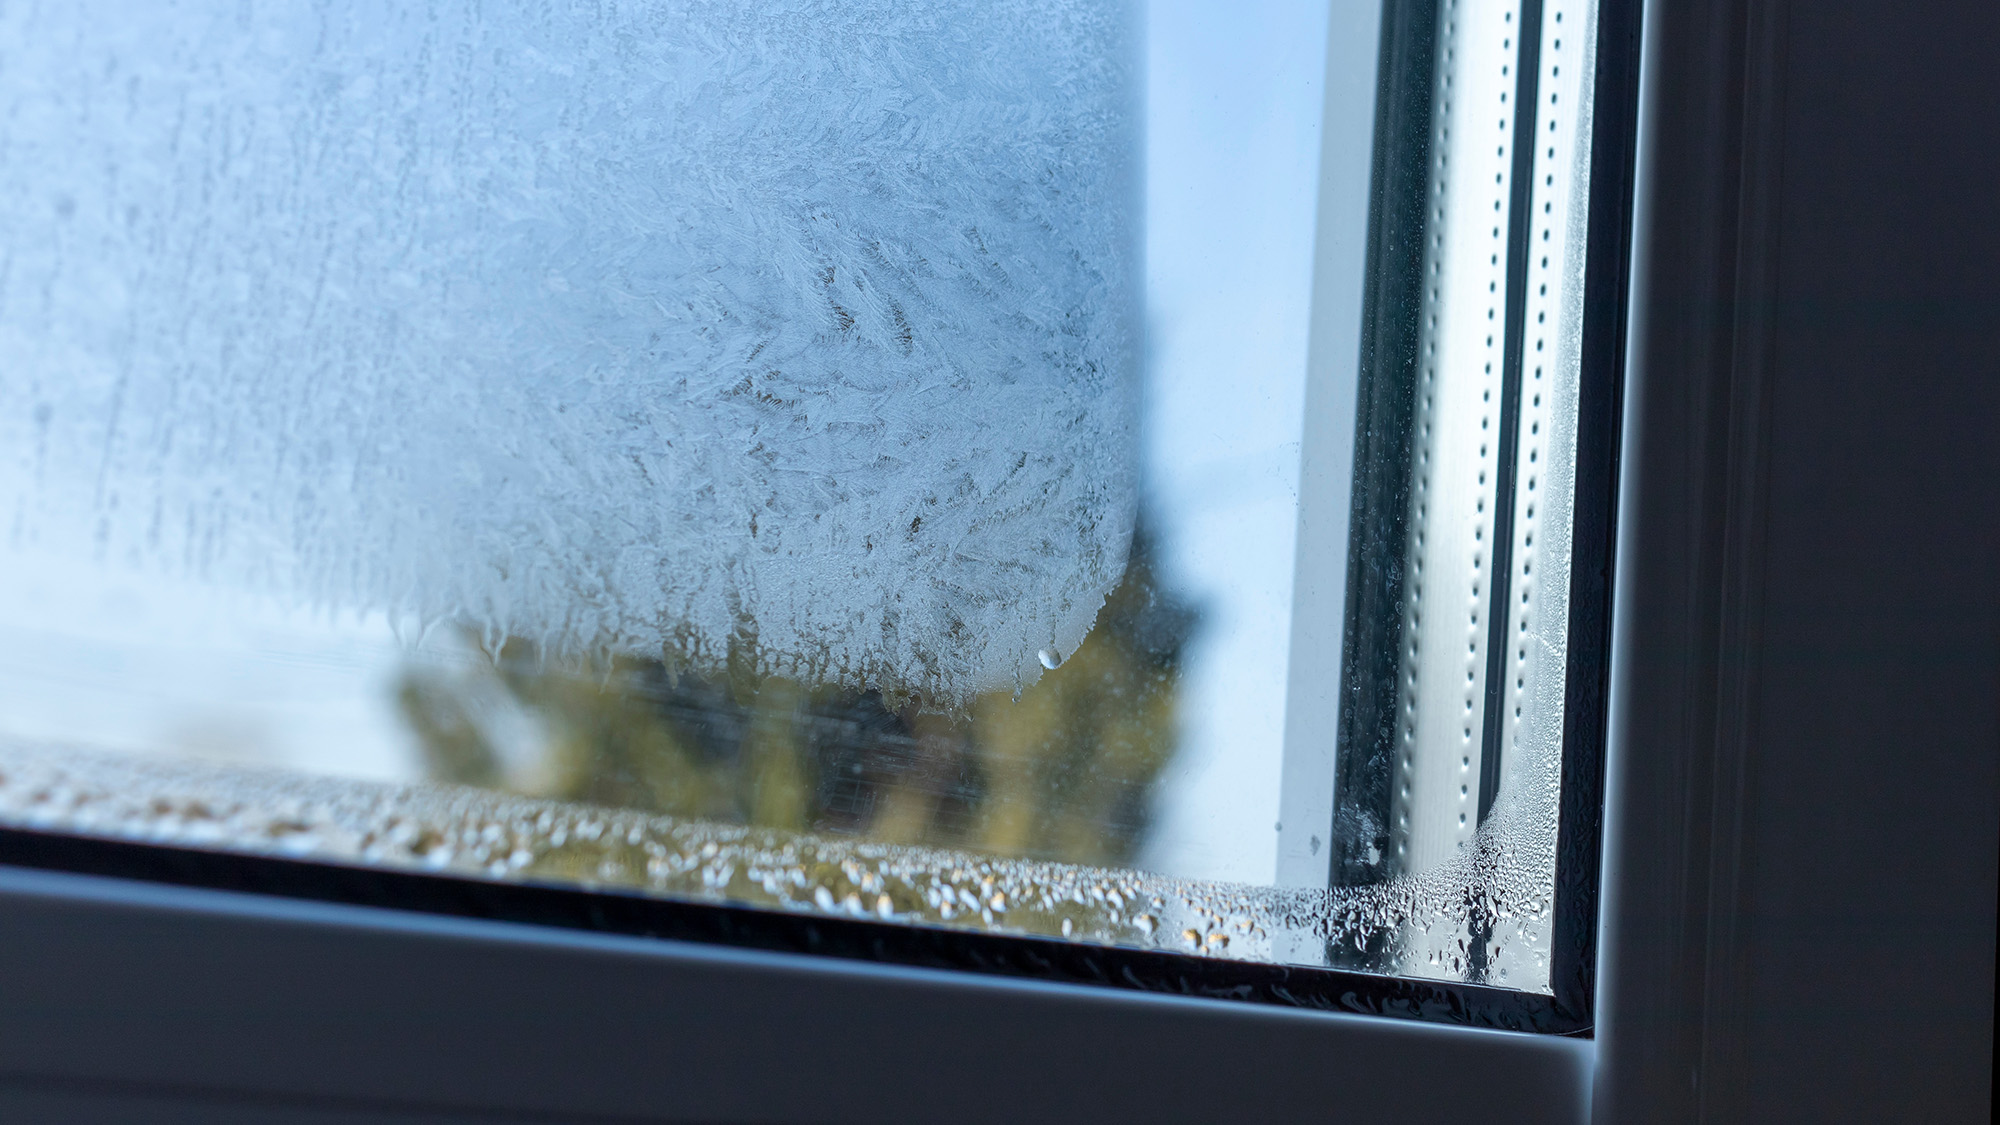
- Frozen coils (for systems with A/C or heat pumps): low airflow across the evaporator coil can allow it to get too cold and ice over.
This article stays focused on filter replacement and selection. If your furnace will not start at all, that is usually a different troubleshooting path than “dirty filter,” even though a badly clogged filter can make performance worse.
Where to find your furnace filter
Most homes have the filter in one of these places:
- In a slot at the furnace or air handler: typically on the return side, where the big return duct connects to the unit.
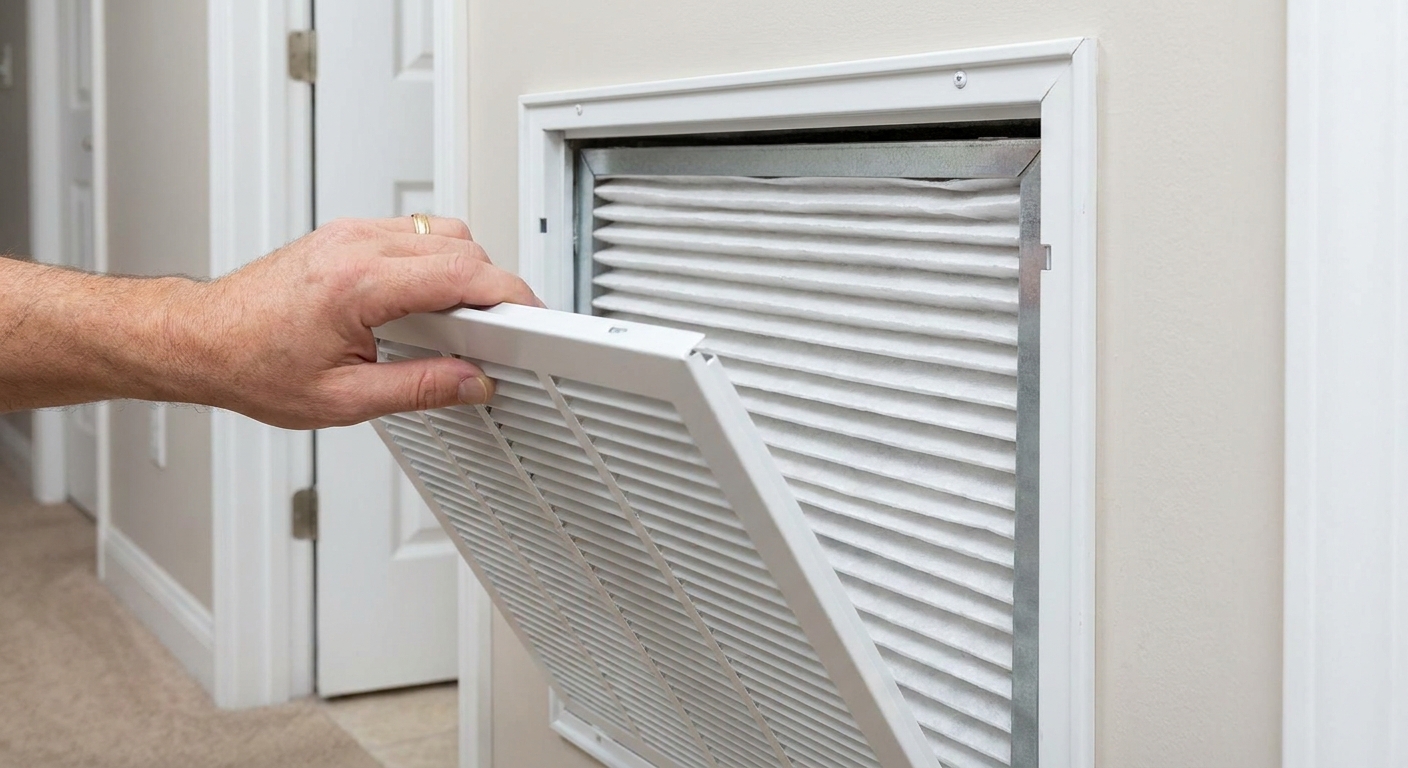
- Inside a return grille: often a large grille in a hallway wall or ceiling that opens to reveal the filter.
- In a filter cabinet: a dedicated box attached to the furnace with a removable door.
If you have multiple return grilles, you might have multiple filters. Do a quick walk-through and check each large return.
What you need
- New filter of the correct size and MERV rating
- Vacuum or microfiber rag (optional, for dust around the slot)
- Flashlight (optional, but it helps)
That’s it. If a job needs more tools than this, something is off.
How to change a furnace filter
1) Turn the system off
Set the thermostat to Off. If you want to be extra cautious, shut the furnace switch off too. The goal is to keep the blower from kicking on while the filter is out.
2) Locate the filter and slide it out
Open the filter slot door or the return grille, then slide the old filter out slowly. If it is very dirty, keep it level so you do not dump dust into the furnace or down the wall cavity.
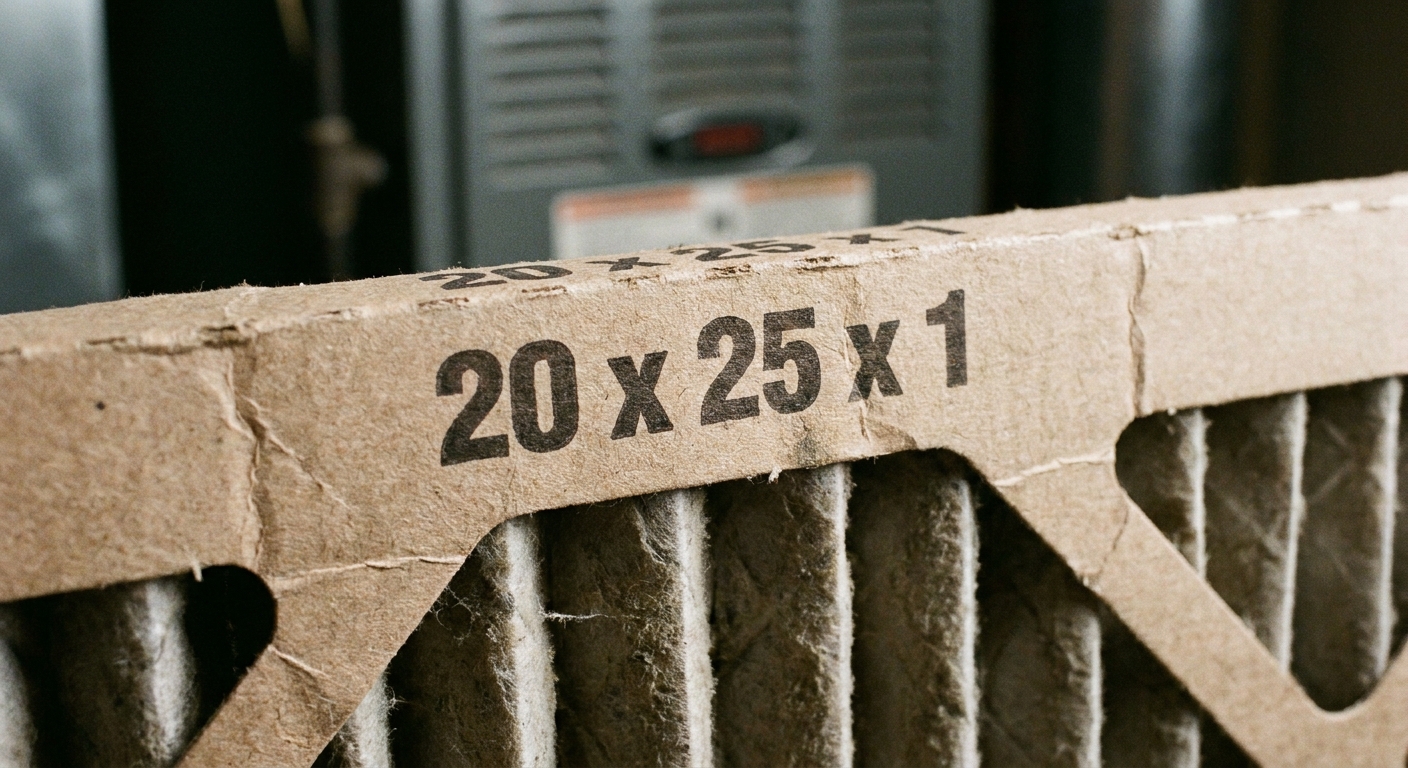
3) Read the size printed on the old filter
On the cardboard frame, you will usually see something like 16x25x1 or 20x20x4.
- The first two numbers are the height and width.
- The last number is the thickness (commonly 1 inch, sometimes 2 to 5 inches).
My tip: write the size on the furnace cabinet with a marker or stick a note on the inside of the filter door. Future-you will thank you.
Actual size vs nominal size
Filters are sold by nominal size, but the real measurement is usually a bit smaller. How much smaller depends on the brand and the style of filter.
- A “16x25x1” filter is often around 15.5x24.5 inches, and many “1 inch” filters are closer to about 0.75 to 0.875 inches thick.
- A “20x25x4” is often slightly under those measurements so it slides into the cabinet.
If your old filter has both nominal and actual size printed on it, match the nominal size when you buy replacements. If nothing is printed or the last owner played mix-and-match, measure the opening and bring the old filter to the store.
How to install the new filter
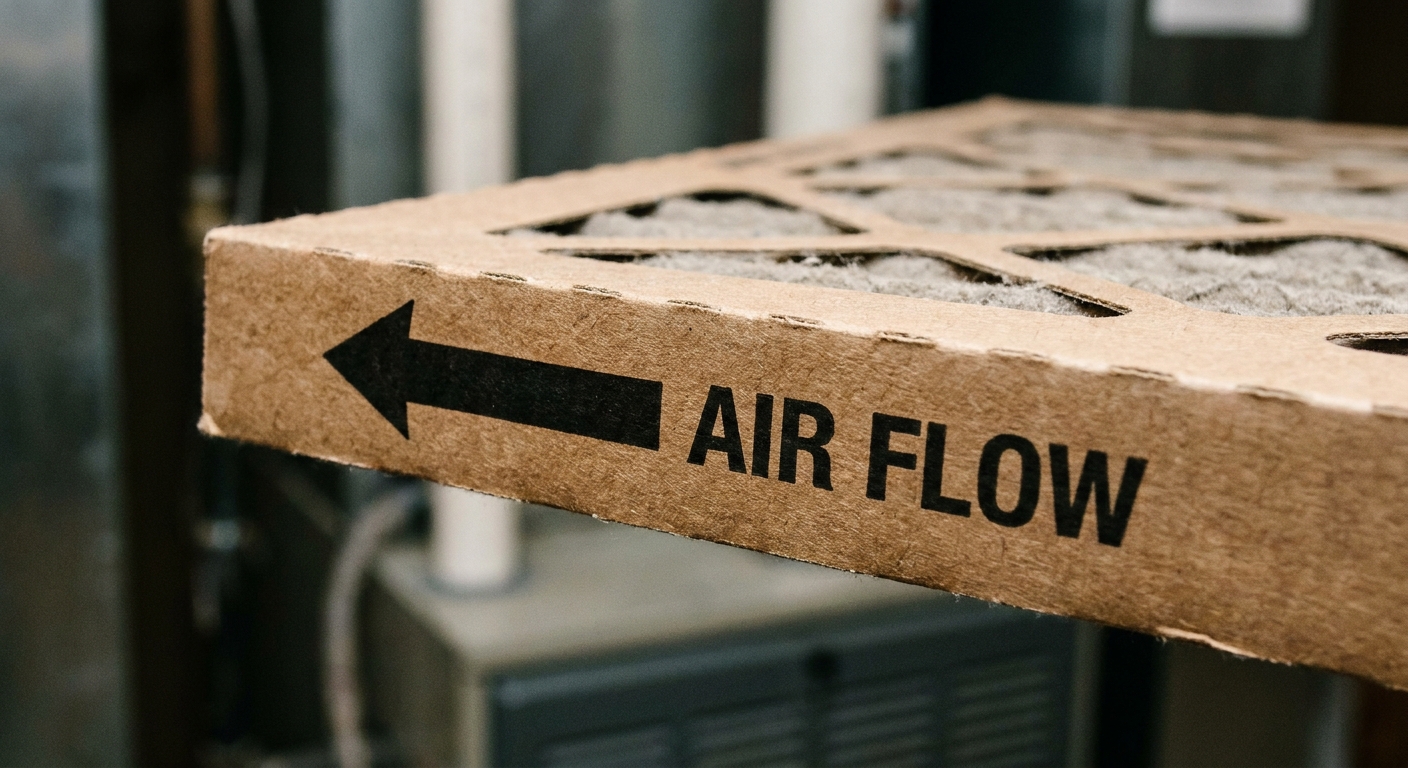
4) Check the airflow arrow
Every filter has an airflow arrow on the frame. That arrow must point in the direction the air flows, which is toward the blower, furnace, or air handler.
- If the filter is in a return grille, the arrow usually points into the duct (away from the room).
- If the filter is at the furnace, the arrow points into the furnace (toward the blower).
If you are unsure, trace it: air goes from your return grilles to the furnace or air handler, then out to the supply vents.
Install it backward and it will still catch some dust, but it can reduce performance and, in some cases, lead to the filter media flexing the wrong way.
5) Slide it in and seal it up
Slide the new filter in gently so you do not crush the pleats. Make sure it seats fully in the track and is not bowed or pinched.
On filter cabinets, take an extra second to make sure the door is on tight. A loose door or a gap around the rack lets air bypass the filter, which defeats the whole point.
Close the slot door or grille, then turn the thermostat back to Heat or Auto.
If you have a smart thermostat that tracks runtime, it is a great moment to reset the filter reminder based on what you actually installed.
Picking the right MERV rating
MERV stands for Minimum Efficiency Reporting Value. Higher MERV filters capture smaller particles, but they also tend to have more resistance to airflow, especially in 1 inch thickness.
Here is a practical way to choose:
Most homes: MERV 8 to MERV 11
- MERV 8 is a solid everyday choice for dust and lint while keeping airflow friendly.
- MERV 11 is a good step up for better fine-particle capture in many systems, as long as airflow stays strong.
Allergies or smoke sensitivity: often MERV 11 to MERV 13
MERV 13 can capture smaller particles that matter for allergies, but it can be too restrictive for some systems when used as a 1 inch filter. If your system is designed for thicker filters (like 4 or 5 inches), MERV 13 is often much more reasonable because there is more surface area for air to pass through.
Pets: MERV 8 to 11, replaced more often
Pet hair itself is easy to catch, but the dander is finer. I usually start pet households at MERV 8 or 11 and focus on changing it on schedule. A moderately efficient filter that gets changed regularly beats a high-MERV filter that plugs up.
A simple rule I use
- 1 inch filter: stay around MERV 8 to 11 unless you know your system can handle higher resistance.
- 4 to 5 inch filter: you can often run MERV 11 to 13 with less airflow penalty.
If you move up in MERV and notice weaker airflow at registers, more whistle at the return, or the system seems to run longer than normal, drop back a notch and prioritize regular replacement.
How often to change your furnace filter
The honest answer is: it depends on thickness, pets, dust, and how much the system runs. Also check what your filter manufacturer recommends. The intervals below are starting points that work for a lot of homes.
During heating season
- 1 inch filters: check monthly, replace about every 30 to 60 days while the furnace is running regularly.
- 2 to 5 inch filters: check every 2 months, replace about every 3 to 6 months depending on dust and runtime (some media filters can go longer in low-dust homes).
Homes with pets
- 1 inch filters: plan on every 30 days in heavy shedding seasons.
- Thicker filters: often every 2 to 4 months, but still check visually.
Allergy households
- Run an appropriate MERV rating, but do not stretch the interval. Many allergy households do best checking monthly and replacing every 30 to 60 days for 1 inch filters.
The best habit: check it. Hold the filter up to a light. If you cannot see much light through the media, it is time.
Signs your filter needs changing sooner
- Visible gray “blanket” of dust on the filter
- Musty or dusty smell when the system runs
- Less airflow from vents than usual
- More dust settling on furniture shortly after cleaning
- Filter looks bowed, sucked in, or collapsed (often from being overly restrictive or overdue)
None of these automatically means “something is broken.” They just mean the filter is not doing its job anymore, or it is working too hard.
Common mistakes I see
Buying the wrong thickness
A 4 inch filter will not work in a 1 inch slot, and a 1 inch filter rattling around in a 4 inch cabinet lets air bypass the filter. Match the thickness printed on the old filter or on the cabinet label.
Installing it backward
Always follow the arrow toward the blower or furnace.
Going too high on MERV for a 1 inch setup
Higher MERV is not always better if it causes airflow issues. A MERV 8 changed regularly can outperform a neglected, clogged MERV 13 in real life.
Forgetting there may be more than one filter
Check return grilles and any filter cabinet at the furnace. Some systems have both, but that is less common.
Quick FAQ
Can I run the furnace without a filter for a day?
I would not. Even a short time without a filter can pull dust into the blower and, if you have one, the indoor A/C coil. If you are in a pinch, buy a basic filter in the correct size and upgrade later.
What if my filter has no size printed on it?
Measure the opening and the old filter’s frame (height, width, thickness). Then buy the closest nominal size that matches. If the fit is sloppy or too tight, switch brands or confirm the cabinet size.
Is a washable filter a good idea?
Washable filters can work, but in my experience they are often forgotten, poorly cleaned, or reinstalled damp. A quality disposable pleated filter changed on schedule is simpler and more consistent for most homeowners.
Do I need the most expensive filter?
No. Your goal is balanced: cleaner air and protected equipment without restricting airflow. Pick the right size, a reasonable MERV, and replace it on time.
What about heat pumps or A/C-only systems?
Same process. Whether it is a furnace or an air handler, the filter is there to protect the blower and help keep the indoor coil cleaner.
My simple game plan
- Match the exact size printed on the old filter.
- Install with the arrow pointing toward the blower or furnace.
- Use MERV 8 to 11 for most 1 inch filters.
- Check monthly during heavy use and replace before it becomes a dust blanket.
If you do just those four things, you will prevent a lot of avoidable HVAC stress and keep your air noticeably cleaner.