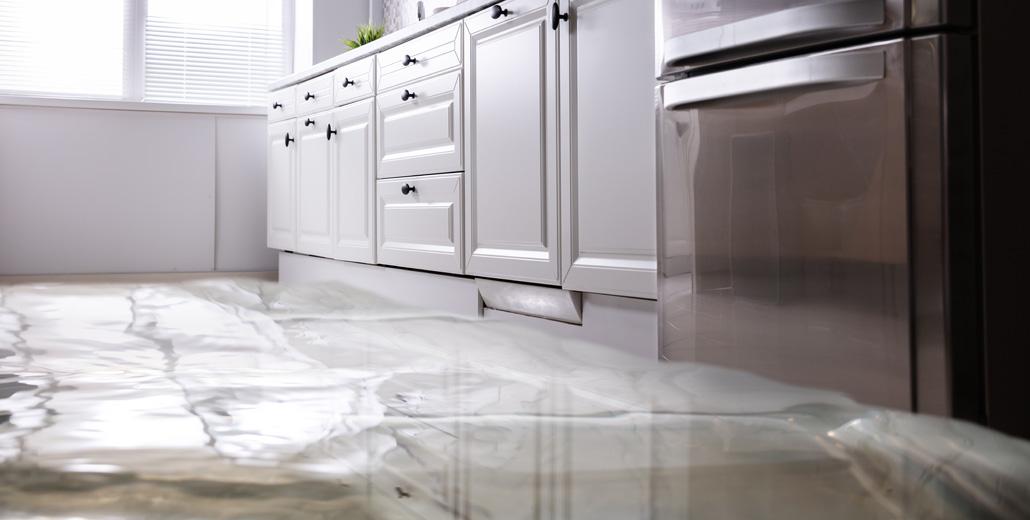
A puddle under the refrigerator is one of those household mysteries that feels way bigger than it usually is. The good news is most fridge leaks come from a short list of causes, and you can often narrow them down with a flashlight and a little patience.
I grew up being the kid holding the flashlight while my dad grumbled at appliances, and I can tell you this: refrigerators are predictable. Water only gets to your floor a few ways. Let’s find yours and stop it.
Safety and quick triage
Before you start poking around, do these two things:
- Shut off the water supply (usually a valve behind the fridge or under the sink) if your fridge has an ice maker or water dispenser.
- Unplug the fridge if you will be removing panels or reaching near wiring, fans, or the compressor area.
You can keep the fridge plugged in for simple observation (like watching a connection while the ice maker fills), but keep hands clear of moving parts and unplug again before you remove any covers.
Tools you might want nearby: flashlight, paper towels, a small level, a turkey baster or squeeze bottle, a hair dryer (low heat), and a towel.
Now, do a quick read on the puddle:
- Water only in front of the fridge: Often door seal, leveling, condensation, or an ice maker fill issue.
- Water under the middle or toward the back: Commonly a water supply line, filter housing, inlet valve, or drain pan issue.
- Water shows up after defrost cycles or heavy use: Defrost drain clogs are a prime suspect.
Pro tip: Dry everything, then slide a few paper towels under the front and along both sides. Check in an hour. The wettest towel usually marks the “edge” of the problem.
One more sanity check: Make sure it is actually water. Clear, odorless puddles are usually condensation or a water line. Sticky puddles can be spills. Oily residue near the back by the compressor is not normal and is a good reason to call a pro.
1) Clogged defrost drain
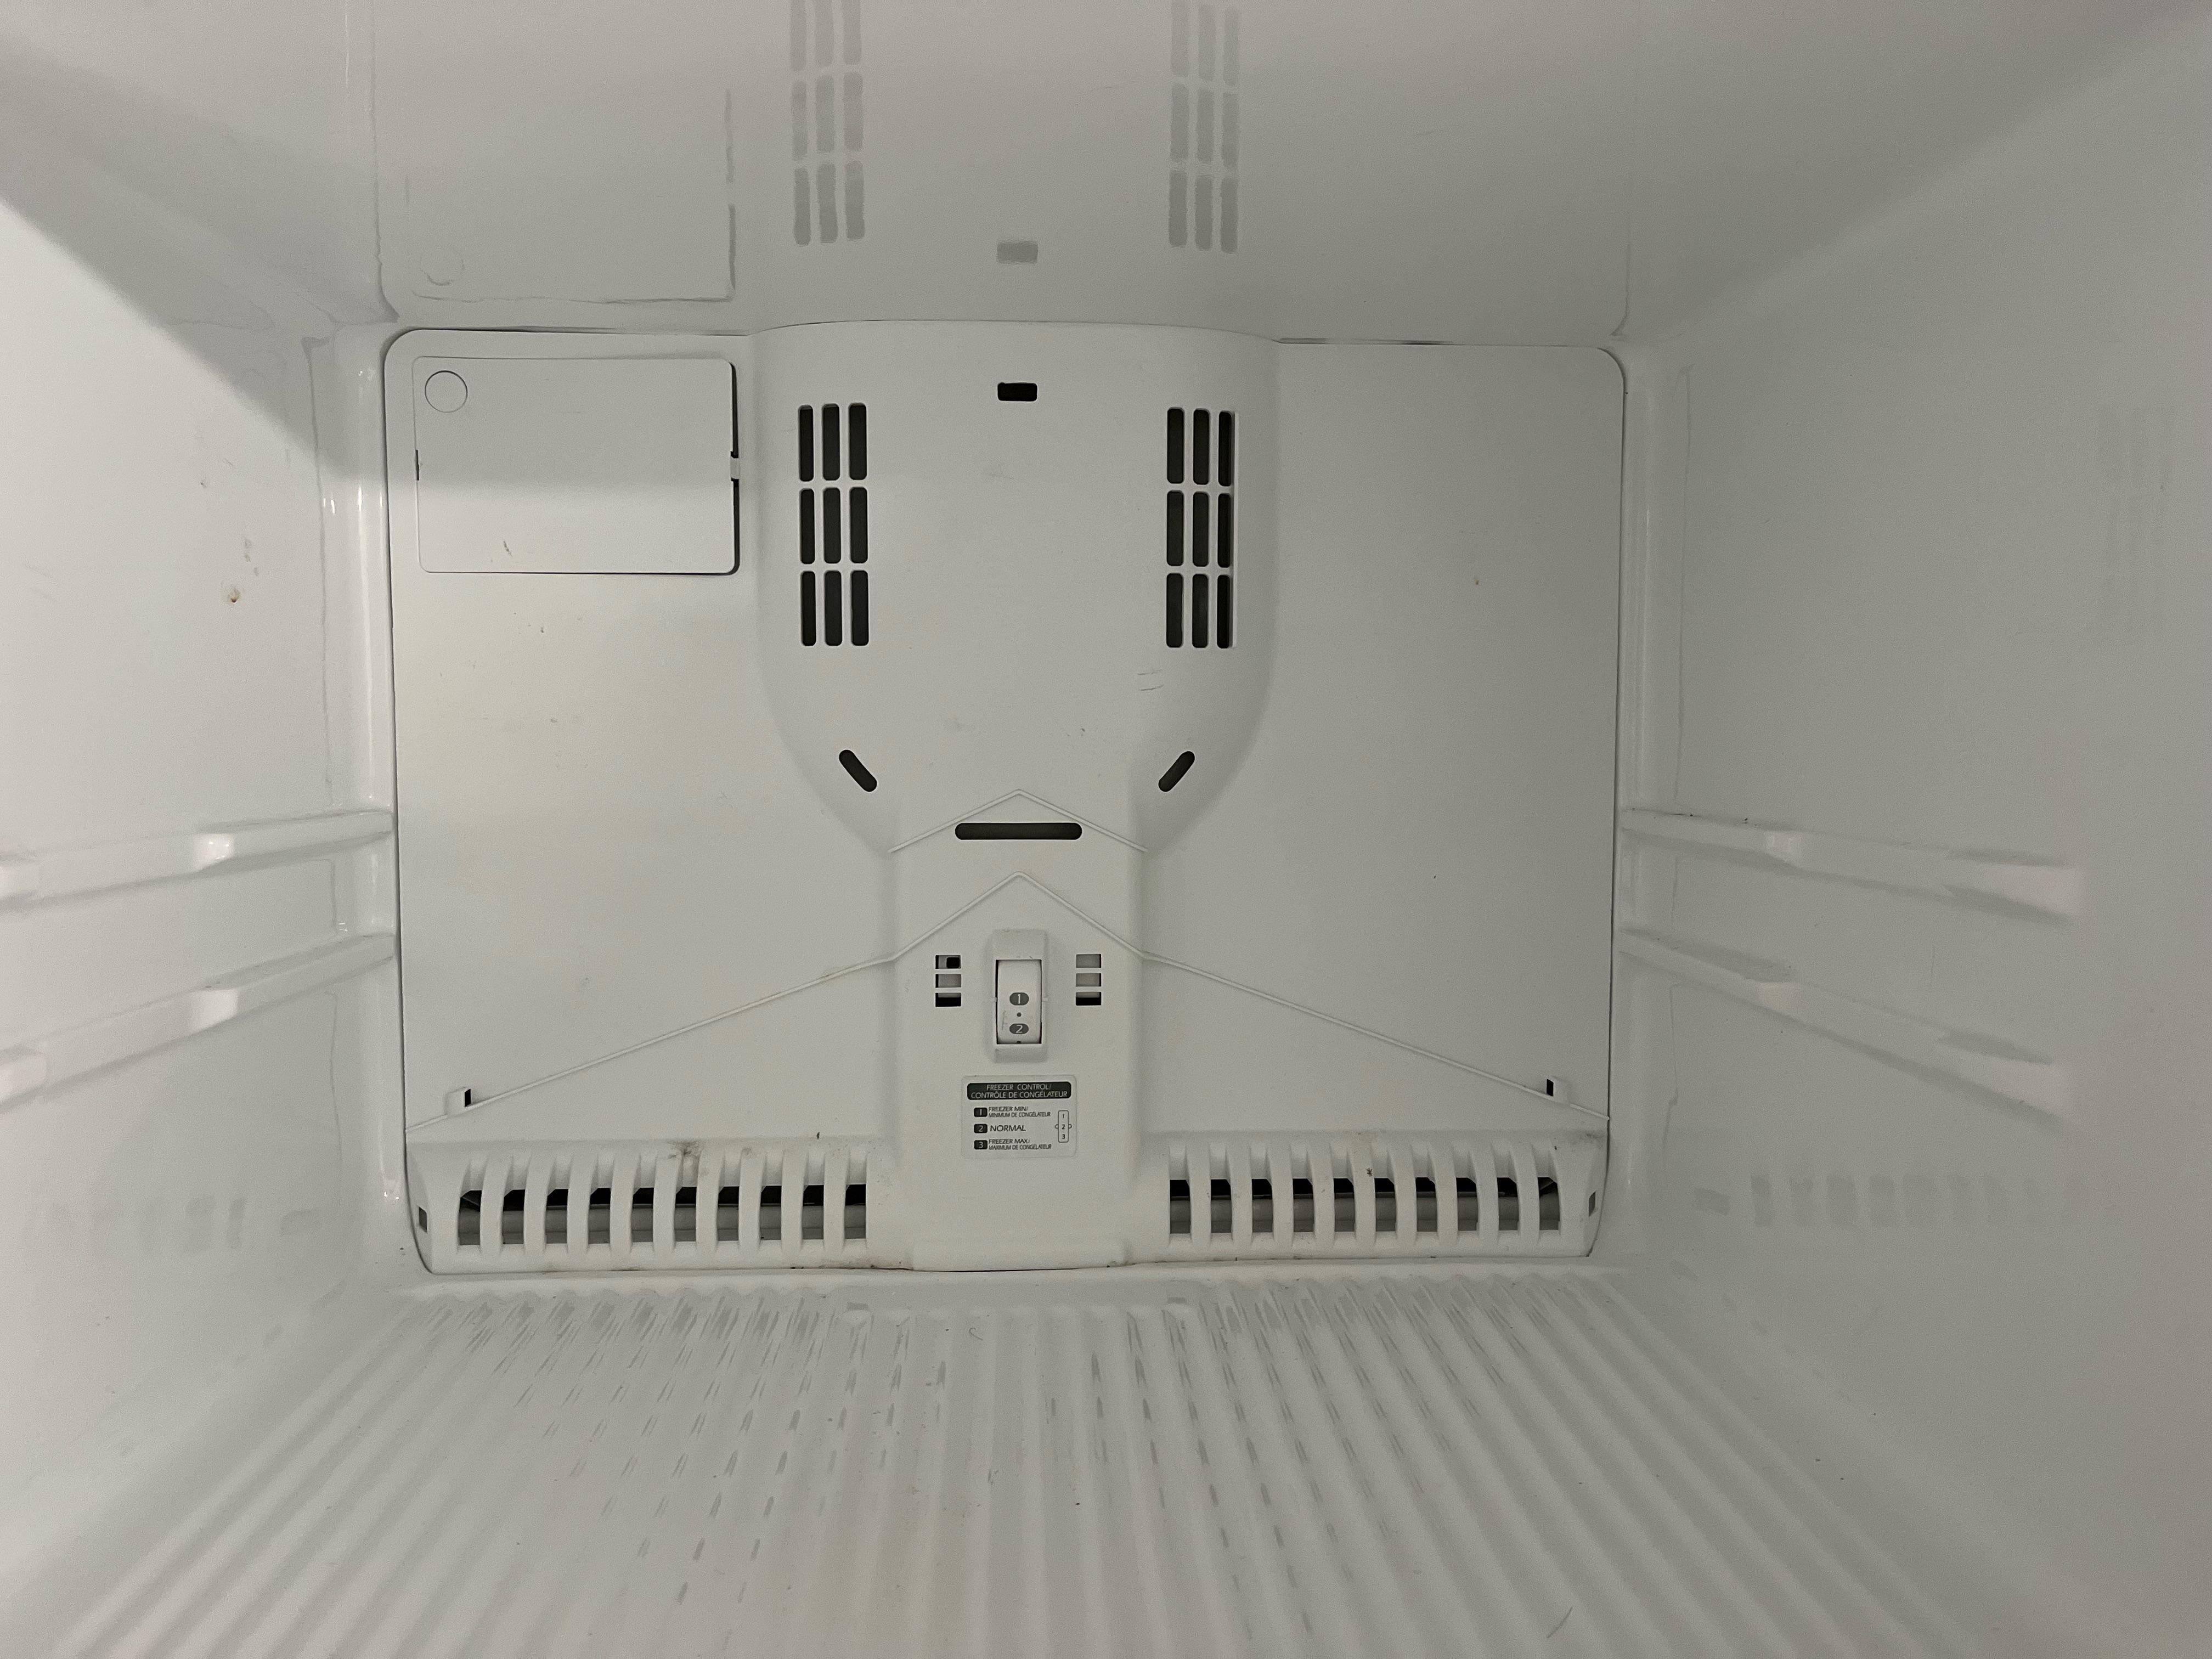
If your fridge is frost-free, it periodically melts frost off the evaporator coil. That meltwater is supposed to run through a small drain hole, down a tube, and into a drain pan underneath where it evaporates. When the drain clogs with food bits, dust, or ice, the water backs up and ends up inside the fridge or onto your floor.
Signs it’s the defrost drain
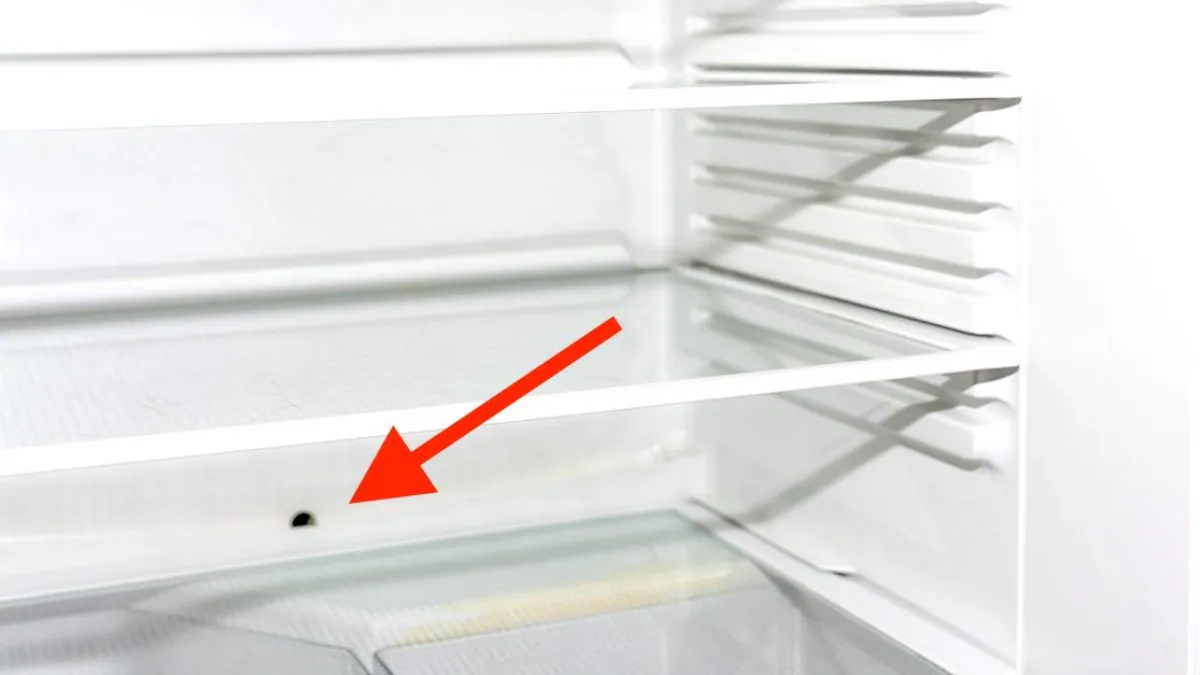
- Water collecting inside the fridge under the crisper drawers
- Thin sheet of ice on the freezer floor (especially bottom-freezer models)
- Leak happens intermittently, often after a defrost cycle
How to clear it
- Empty the area (crispers or freezer bin) so you can access the drain trough.
- Find the drain opening, usually at the back of the fridge compartment or on the freezer floor near the back panel.
- Melt any visible ice with a hair dryer on low heat, moving constantly, or by pouring a small amount of warm water over it. Do not park the heat in one spot on plastic.
- Flush the drain with warm water using a turkey baster or squeeze bottle. If it backs up, you still have a clog.
- Clear the tube: If you can access the drain tube from the back (service panel area), gently work a flexible plastic tube or weed-whacker line into it. Avoid metal wire that can puncture the tube.
If you clear the drain and the leak returns soon after, the drain can be refreezing. Some models use a small heat probe or heater extension into the drain. If yours is missing, out of position, or failed, you may need a replacement part.
2) Cracked or loose water supply line
If your refrigerator has an ice maker or water dispenser, it has a pressurized water line feeding it. A tiny split in that line can make a surprising puddle, especially when the ice maker refills.
Signs it’s the water line
- Puddle forms near the back or slowly spreads from behind
- You notice dripping mainly when the fridge is making ice or using the dispenser
- The line looks kinked, flattened, or chafed where it meets the wall
How to fix it
- Shut off the water at the valve.
- Pull the fridge out carefully so you do not worsen a kink.
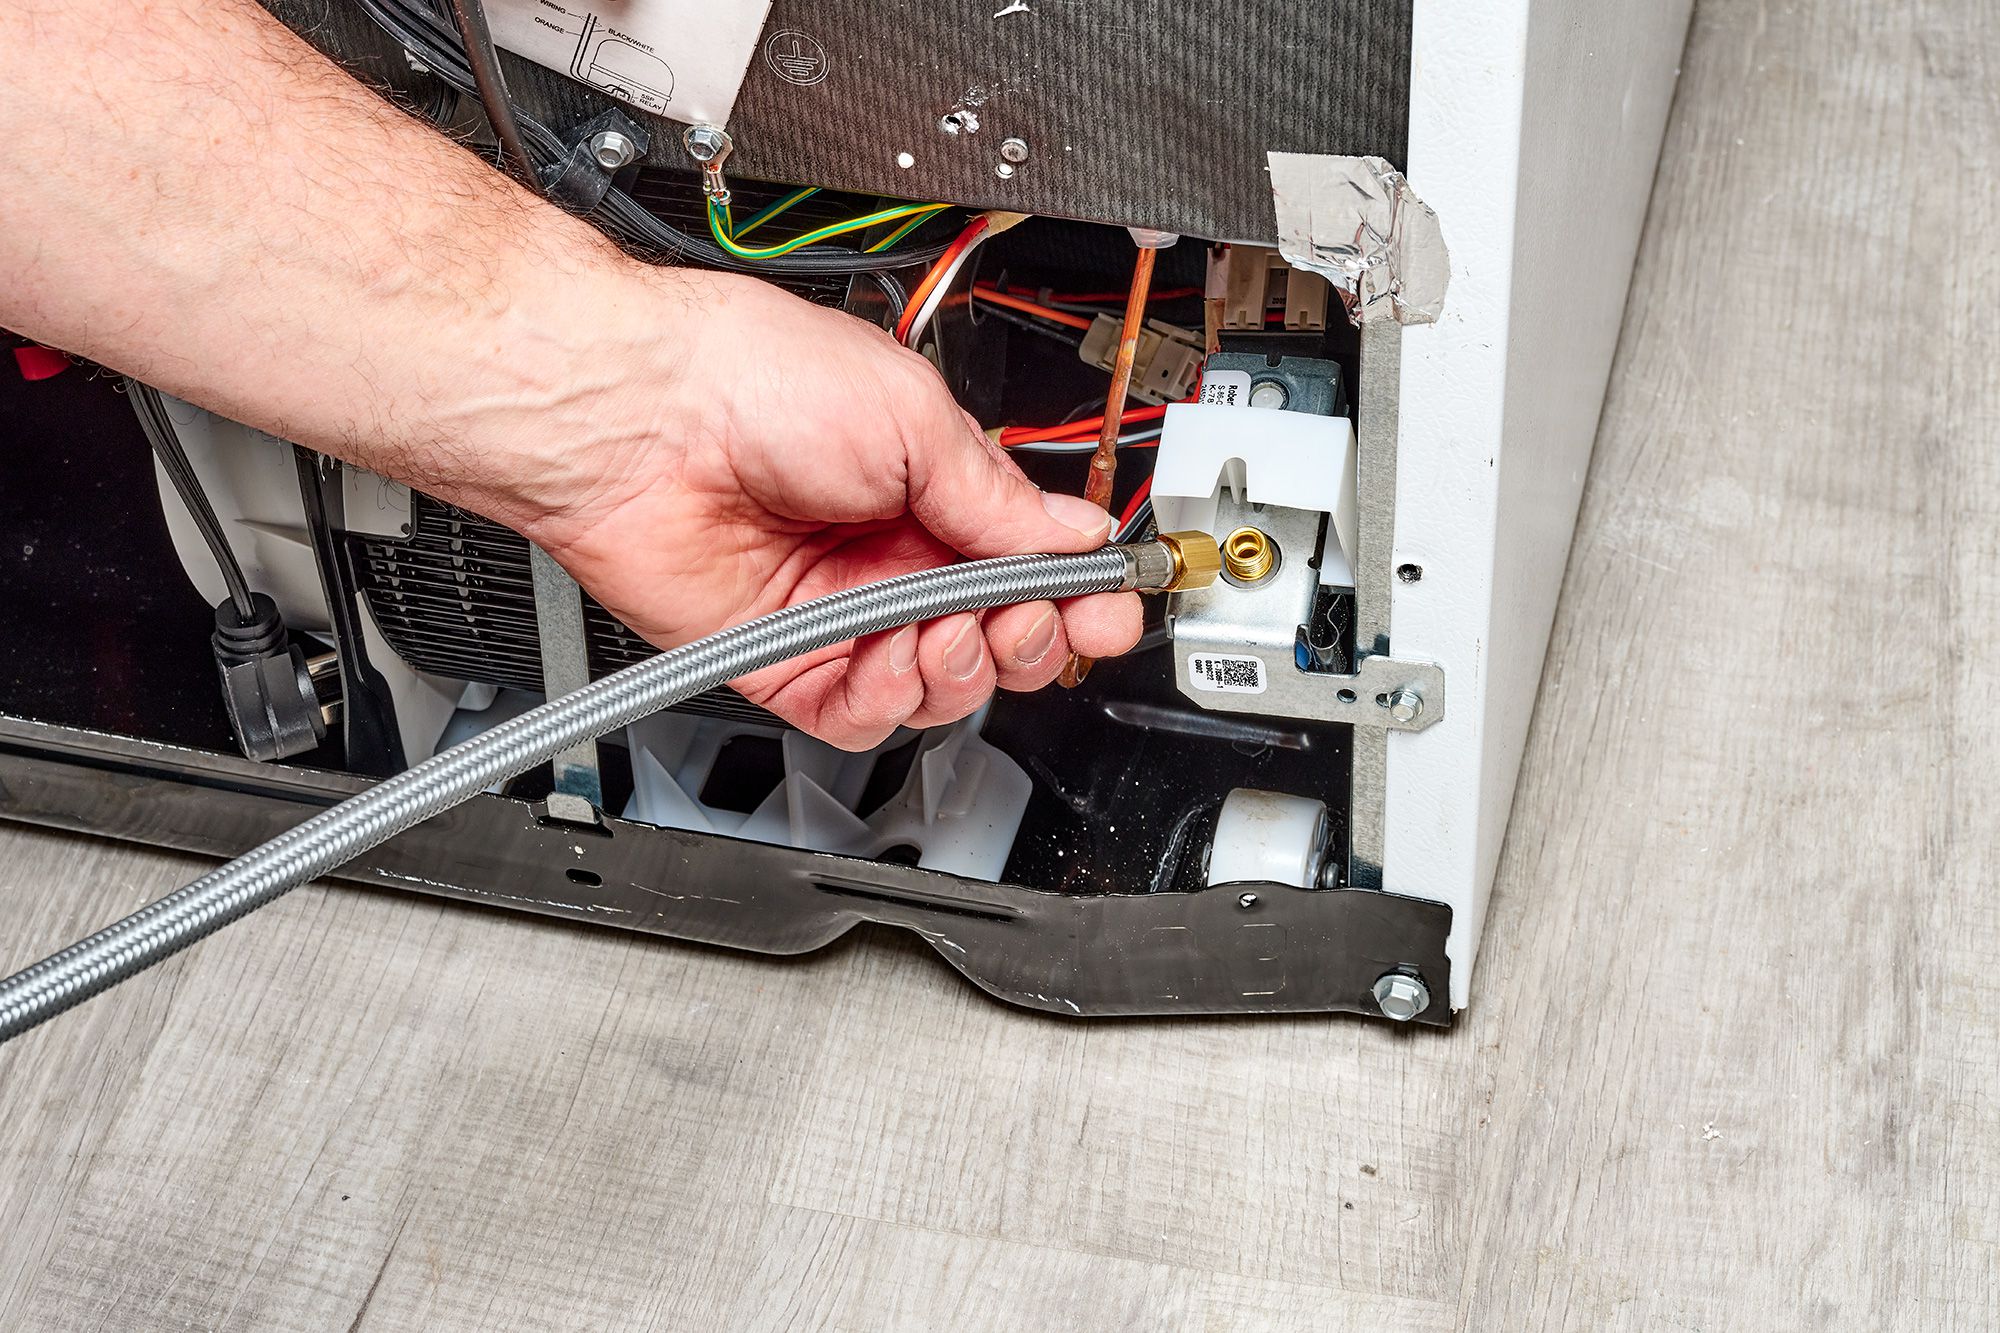
- Inspect the entire line from valve to fridge. Look for cracks, abrasions, corrosion, or a loose compression nut.
- Tighten connections gently if you see seepage at a fitting. Do not over-tighten.
- Replace the line if it is plastic, brittle, or kinked. I strongly prefer a braided stainless steel line for durability.
After any work, turn the water back on and watch the connection points for 2 to 3 minutes with a dry paper towel. If it stays dry, you are in good shape.
3) Leaking filter housing or internal tubing
Many fridges hide water connections in places that drip down and only show up as a puddle underneath. A slightly mis-seated filter, a cracked filter head, or a loose push-to-connect fitting can leak slowly and consistently.
Signs it’s the filter area
- Leak started right after you changed the water filter
- You see water trails or mineral deposits near the filter housing
- Puddle forms even when nobody is using the dispenser
What to do
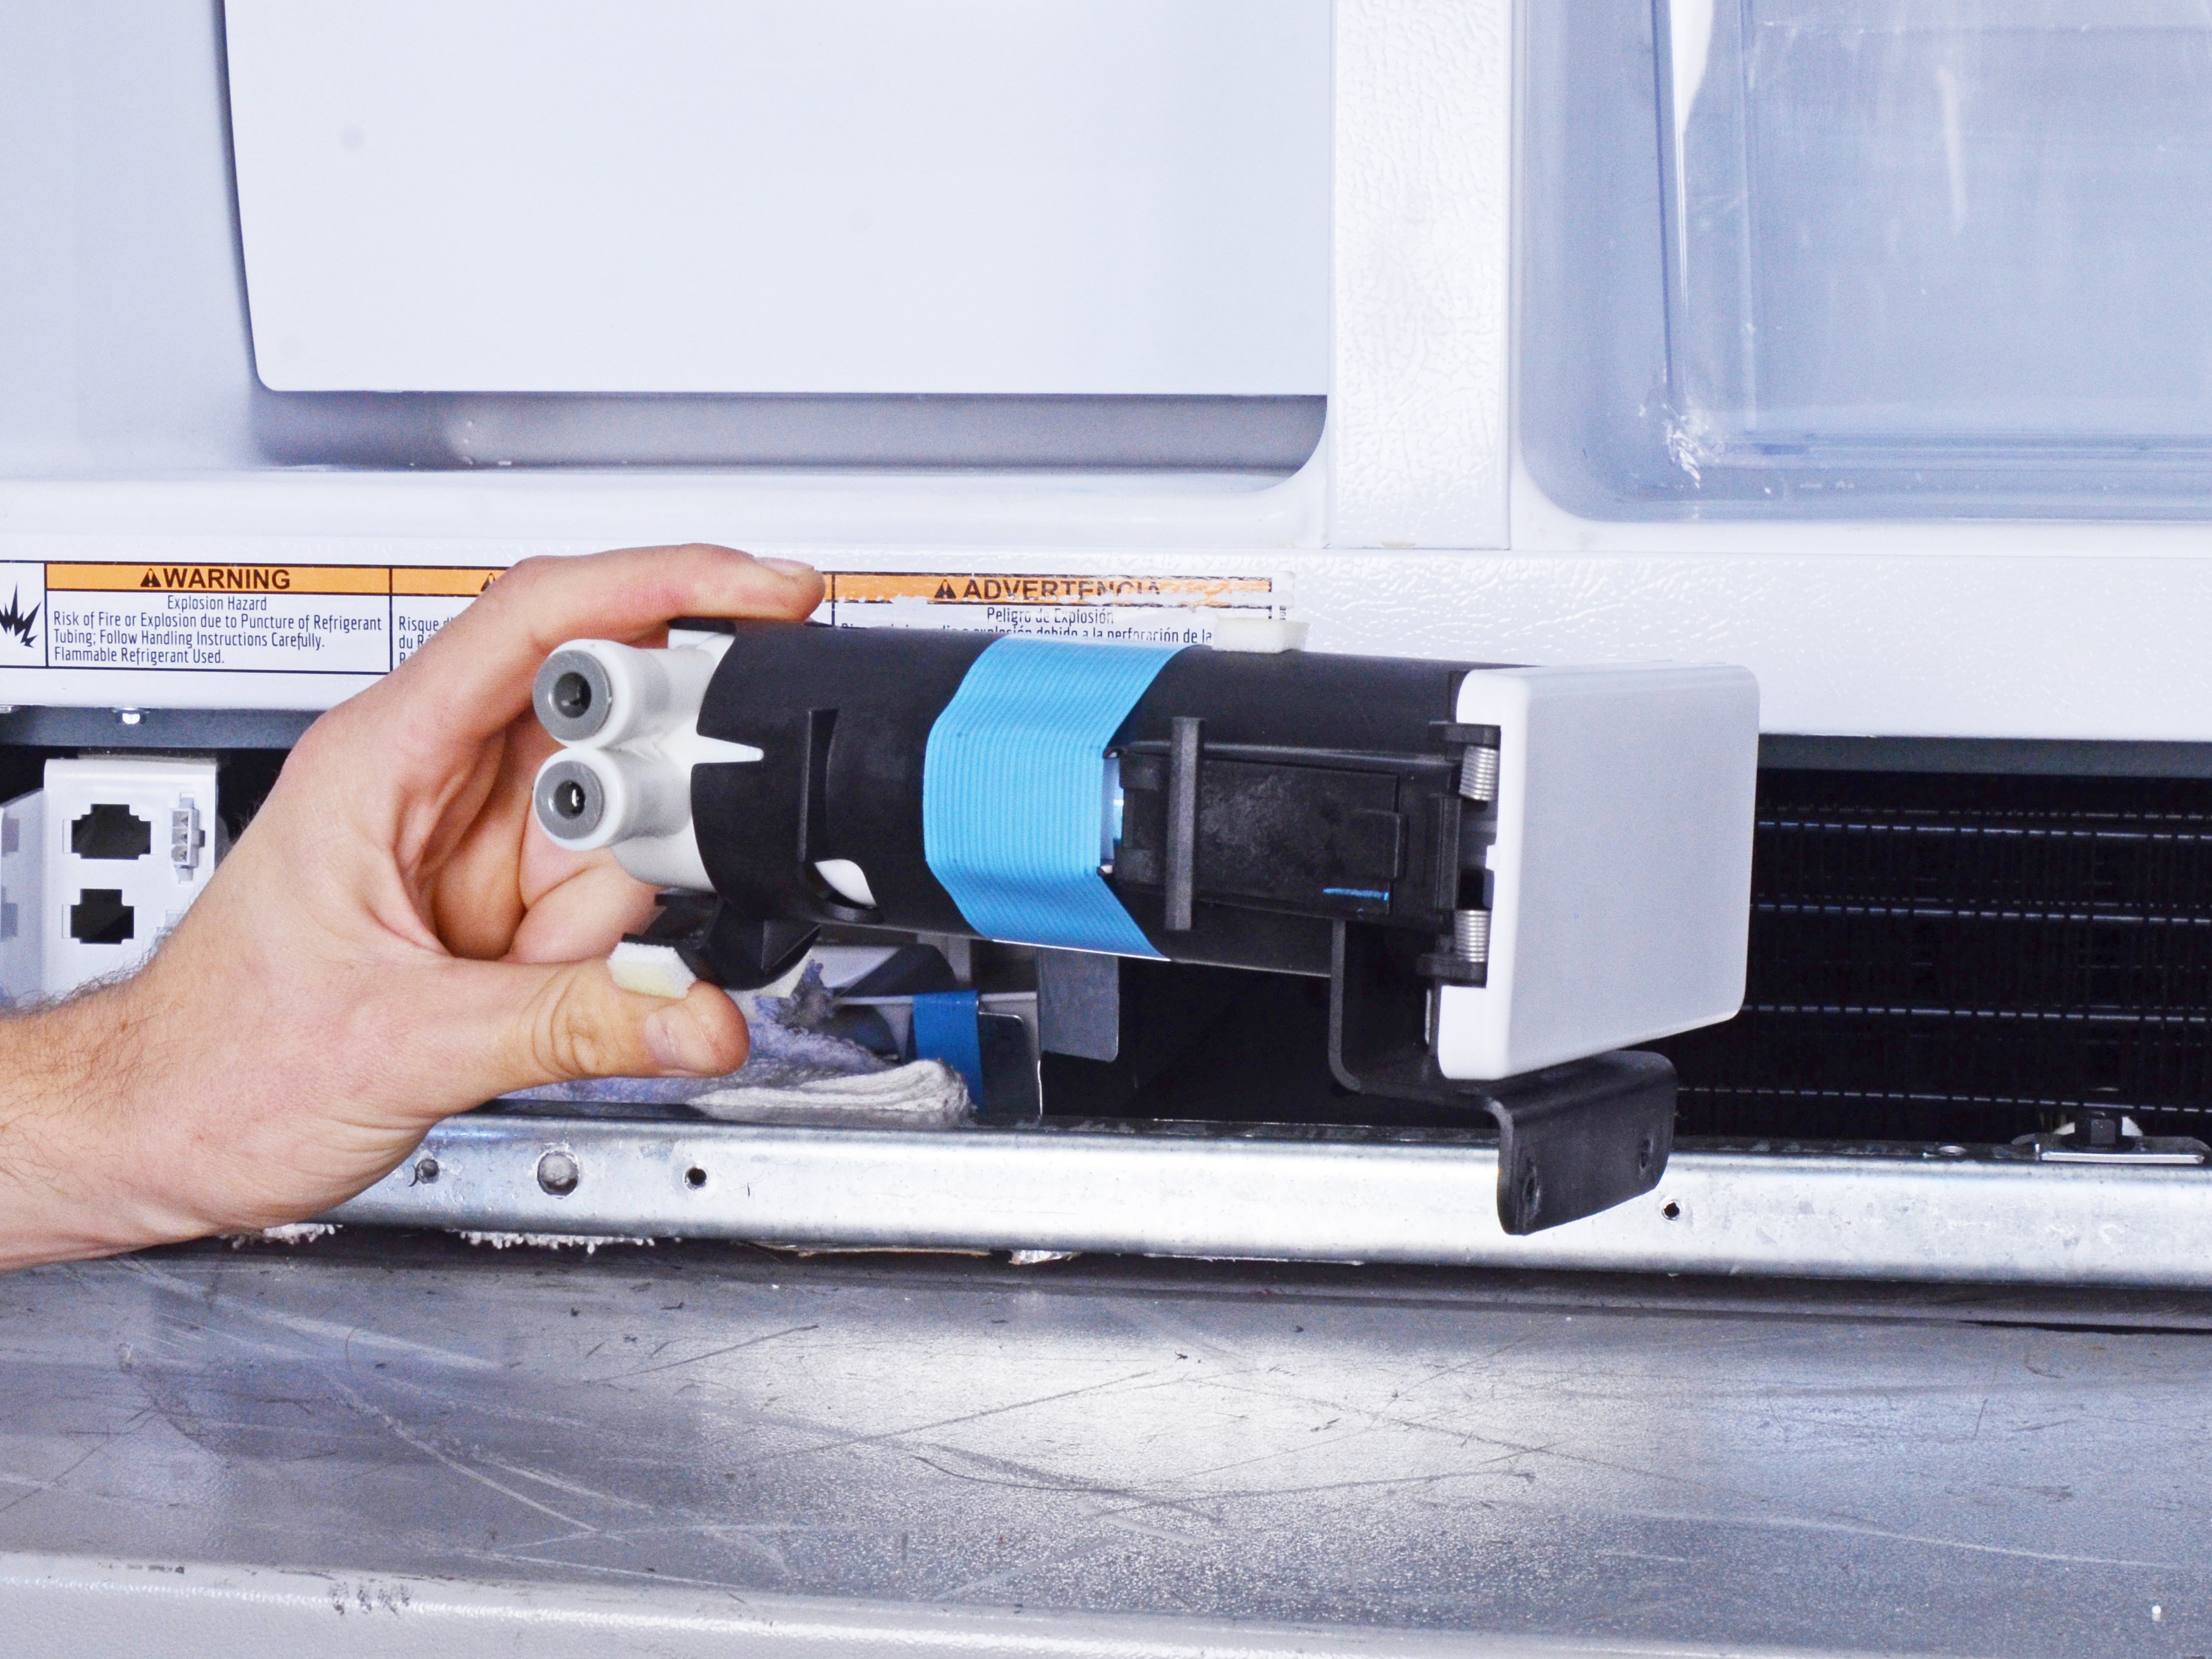
- Remove and re-seat the filter. Make sure it locks fully into place. A half-click is a leak waiting to happen.
- Check the O-rings on the filter for nicks, twisting, or debris.
- Inspect the housing for cracks. If it is cracked, replacement is the real fix, not glue.
- Look for damp push fittings and re-seat tubing if accessible (usually by pushing the collar in and removing the tube, then re-inserting fully).
If your filter is aftermarket, try an OEM filter as a troubleshooting step. Some off-brand filters fit “almost” right, and that last little bit matters when it is under pressure.
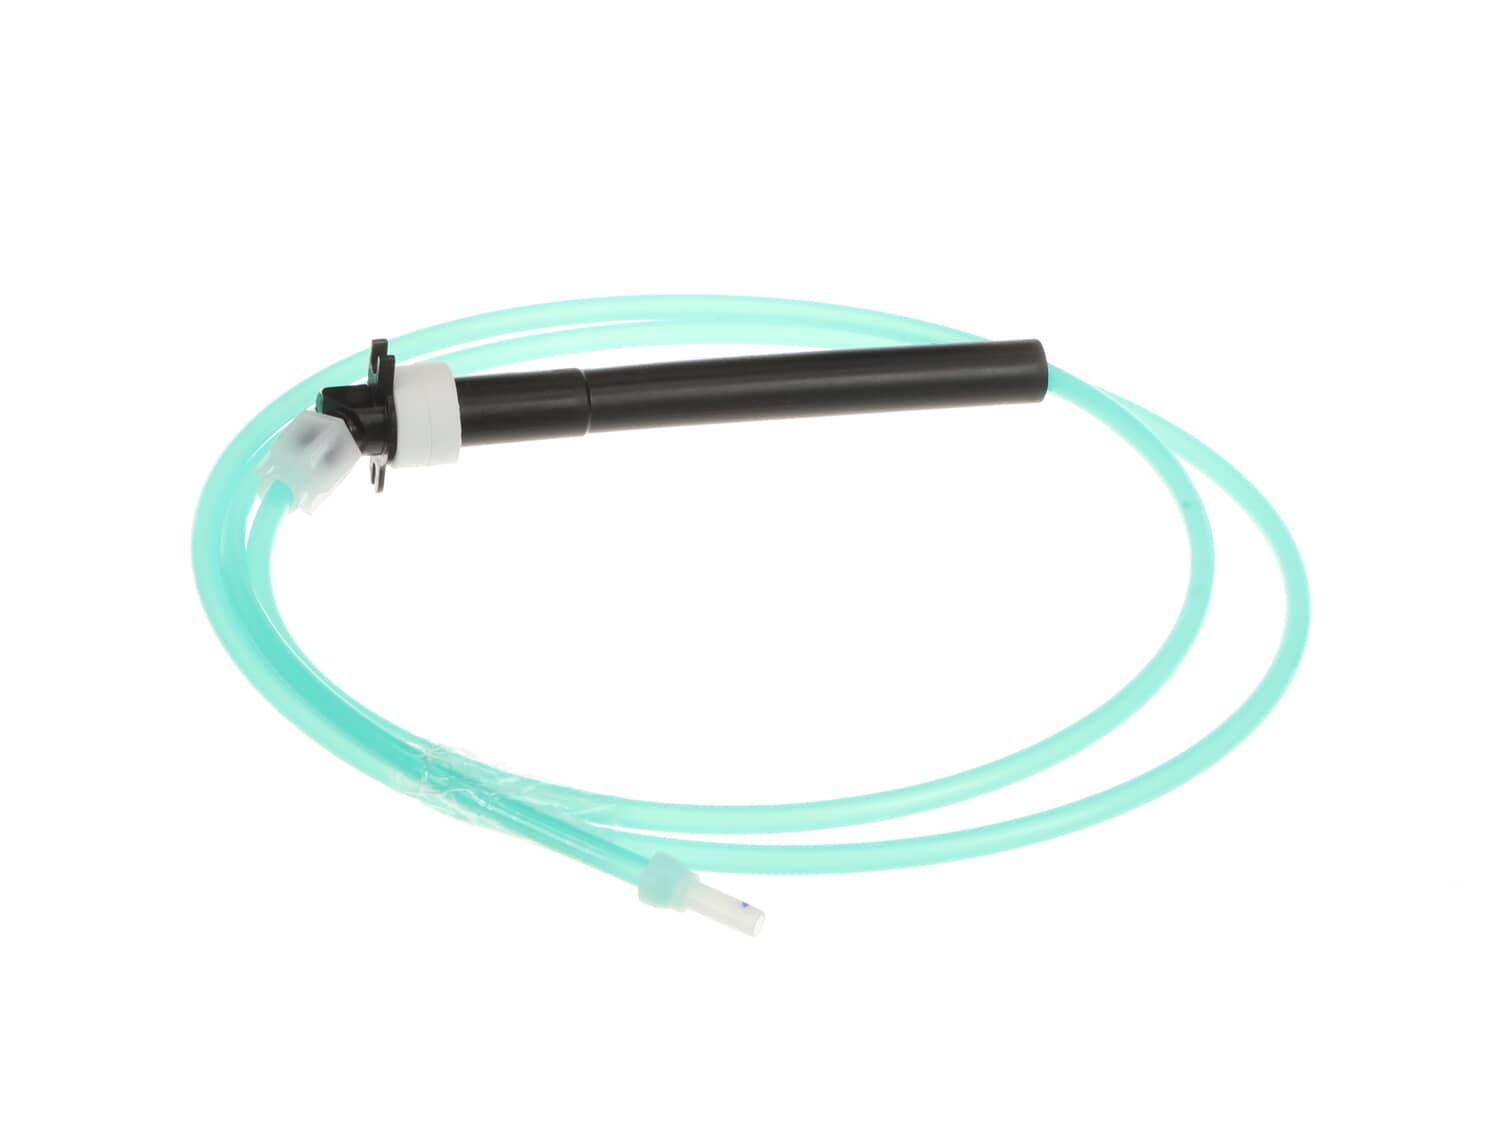
4) Ice maker fill tube or inlet valve leak
If the puddle seems tied to ice production, zoom in on the fill area. The ice maker fill tube can freeze up and cause water to splash or overflow during a fill. And a worn inlet valve can weep or not fully shut off, leading to slow drips that become ice, then water.
Signs it’s the fill tube or valve
- Icicles or a ridge of ice on the back wall near the ice maker
- Water or a slab of ice under the ice maker, or clumped ice in the bin
- A drip you can spot at the fill tube right after a fill
What to check
- Look for a frozen fill tube. If it is iced over, gently thaw it with a hair dryer on low heat, moving constantly.
- Check alignment. Make sure the tube is aimed into the fill cup, not spraying the back wall.
- Watch one fill cycle (hands off, panels in place). If you see dripping after the fill stops, the inlet valve may not be sealing.
If you suspect the inlet valve, replacing it is often straightforward, but it does involve water connections and access panels. If you are not comfortable with that, this is a good handoff to an appliance tech.
5) Unlevel fridge and door closing issues
This one surprises people: a refrigerator that is out of level can make doors sit slightly open or seal unevenly, which invites humid air in. More humid air inside means more condensation, more frost, and more water that has to go somewhere. On some designs, a poor tilt can also make meltwater drain less cleanly.
Signs it’s a leveling issue
- Doors swing open or do not self-close
- Water appears after you move the fridge for cleaning
- Puddle is small but persistent and you cannot find a clear drip source
How to level it
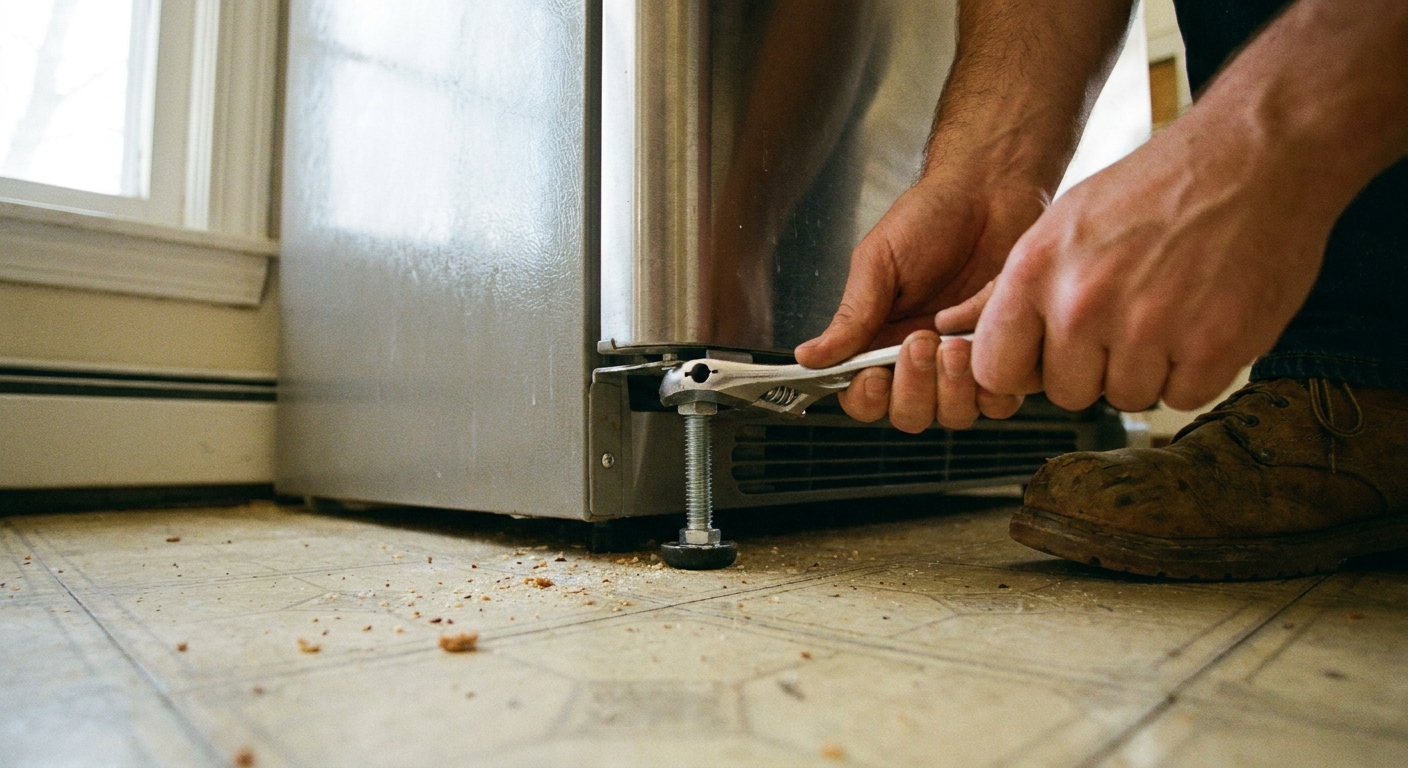
- Place a bubble level on a shelf inside the fridge (front-to-back and side-to-side).
- Adjust the front leveling legs so it is level side-to-side and slightly higher in front than the back (that slight tilt-back helps many doors close).
- Re-check door swing. The door should close easily without needing a shove.
If your model uses rollers with leveling feet, make sure the feet are actually contacting the floor and carrying weight. A fridge riding on rollers can creep and drift out of position over time.
6) Door gasket leaks and condensation
Sometimes the “leak” is not a plumbing leak at all. It is moisture from warm air getting inside, condensing, and running down to the floor. A dirty, torn, or warped door gasket is usually to blame, especially in humid weather or if the door gets left ajar during busy days.
Signs it’s the gasket
- Moisture or droplets along the inside edge of the door
- Frost build-up in the freezer (warm air intrusion)
- You can feel cool air leaking around the door perimeter
How to fix it
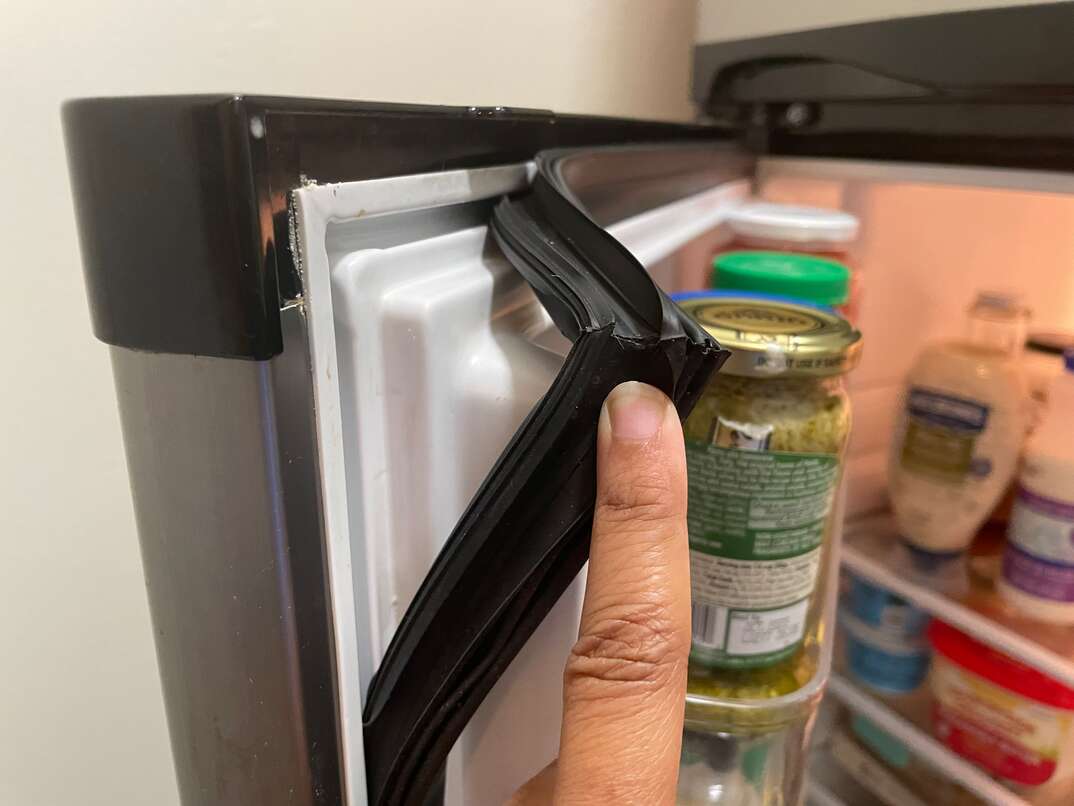
- Clean the gasket with warm soapy water and a rag. Grime can prevent a full seal.
- Do the paper test: Close the door on a dollar bill or sheet of paper. If it pulls out easily, the seal is weak at that spot.
- Try a flashlight check: In a dark kitchen, put a flashlight inside the fridge and close the door. Light leaking out around the perimeter points to a gap.
- Warm and reshape minor gasket warps with a hair dryer on low heat, then close the door for a few minutes to help it set.
- Replace the gasket if it is torn, brittle, or permanently deformed.
If the gasket seems fine but the door still does not seal, look for overstuffed door bins or a fridge that needs leveling. A slightly twisted cabinet can make a good gasket behave like a bad one.
Drain pan basics
Your fridge has a drain pan that catches defrost water. Most of the time it quietly evaporates, but the evaporation rate depends on room temperature, humidity, airflow, and how often the fridge is cycling. In a muggy kitchen or a cold basement, the pan can hold water longer than you expect.
- Unplug the fridge and remove the lower rear access panel if your model has one.
- Locate the drain pan and check for cracks, tipping, or the drain tube missing the pan.
- Clean it if it is grimy. A pan full of sludge can hold water longer and smell.
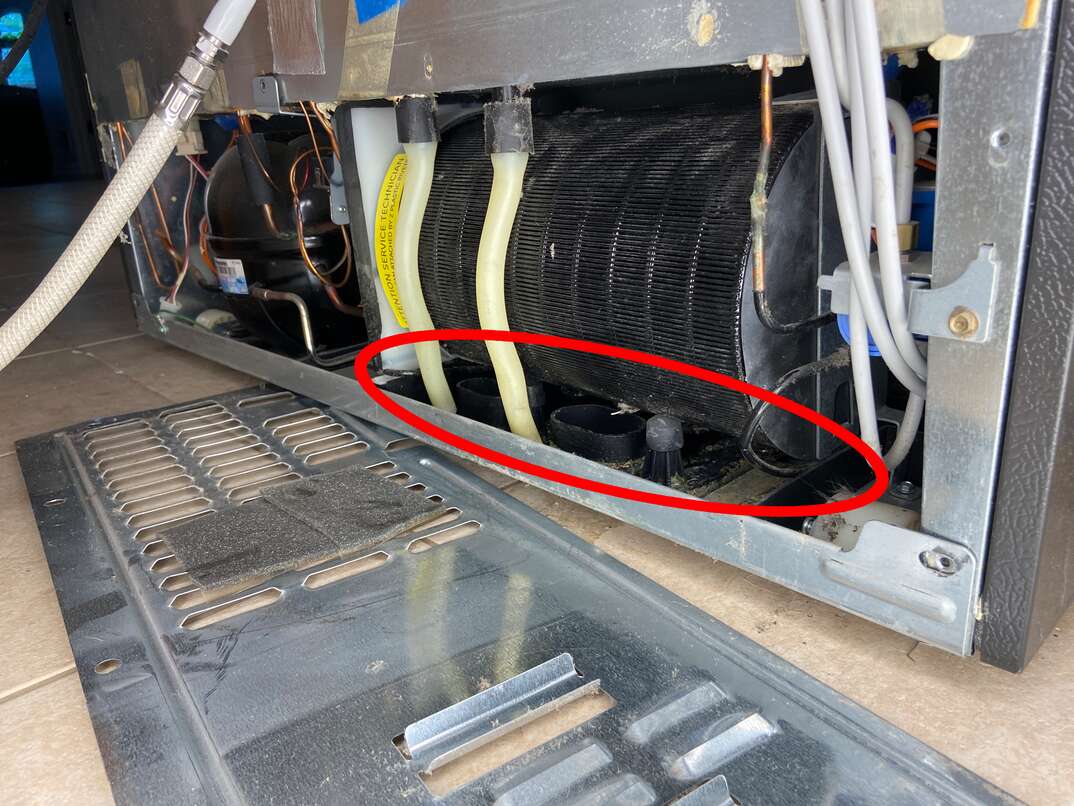
If water is clearly dripping into the pan correctly and it is not cracked, the pan itself is rarely the root problem. It is usually a drain clog upstream, a door sealing issue creating excess moisture, or a water supply leak.
Quick checklist
- No ice maker or dispenser? Focus on defrost drain, door gasket, leveling, and drain pan position.
- Has ice maker or dispenser? Check water supply line and fittings first, then filter housing, then the ice maker fill tube and inlet valve, then the defrost drain.
- Water inside fridge under crispers? Defrost drain clog is likely.
- Water mainly during ice making? Supply line, inlet valve, or ice maker fill tube area.
- Leak started after moving the fridge? Kinked water line or leveling legs out of adjustment.
When to call a pro
I am all for DIY, but a few situations are worth handing off:
- You see water near electrical components and you cannot clearly trace it
- The leak seems to be coming from inside insulated cabinet walls (hidden tubing issues)
- You suspect a sealed-system problem (cooling issues plus unusual icing patterns)
For everything else, you can usually fix a fridge puddle with basic tools and a little detective work. Start with the defrost drain and the water line, then move to the filter area and ice maker fill. That sequence solves the majority of leaks without buying a new appliance.