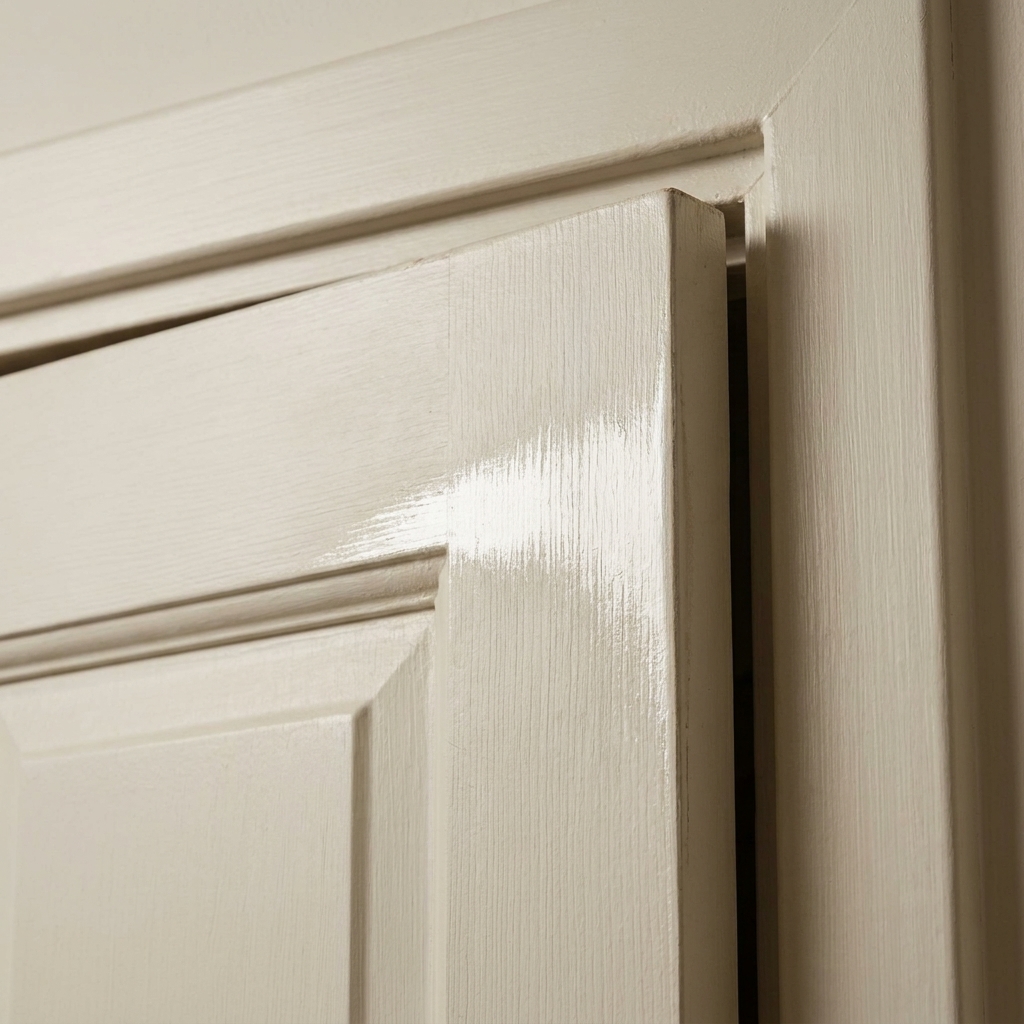
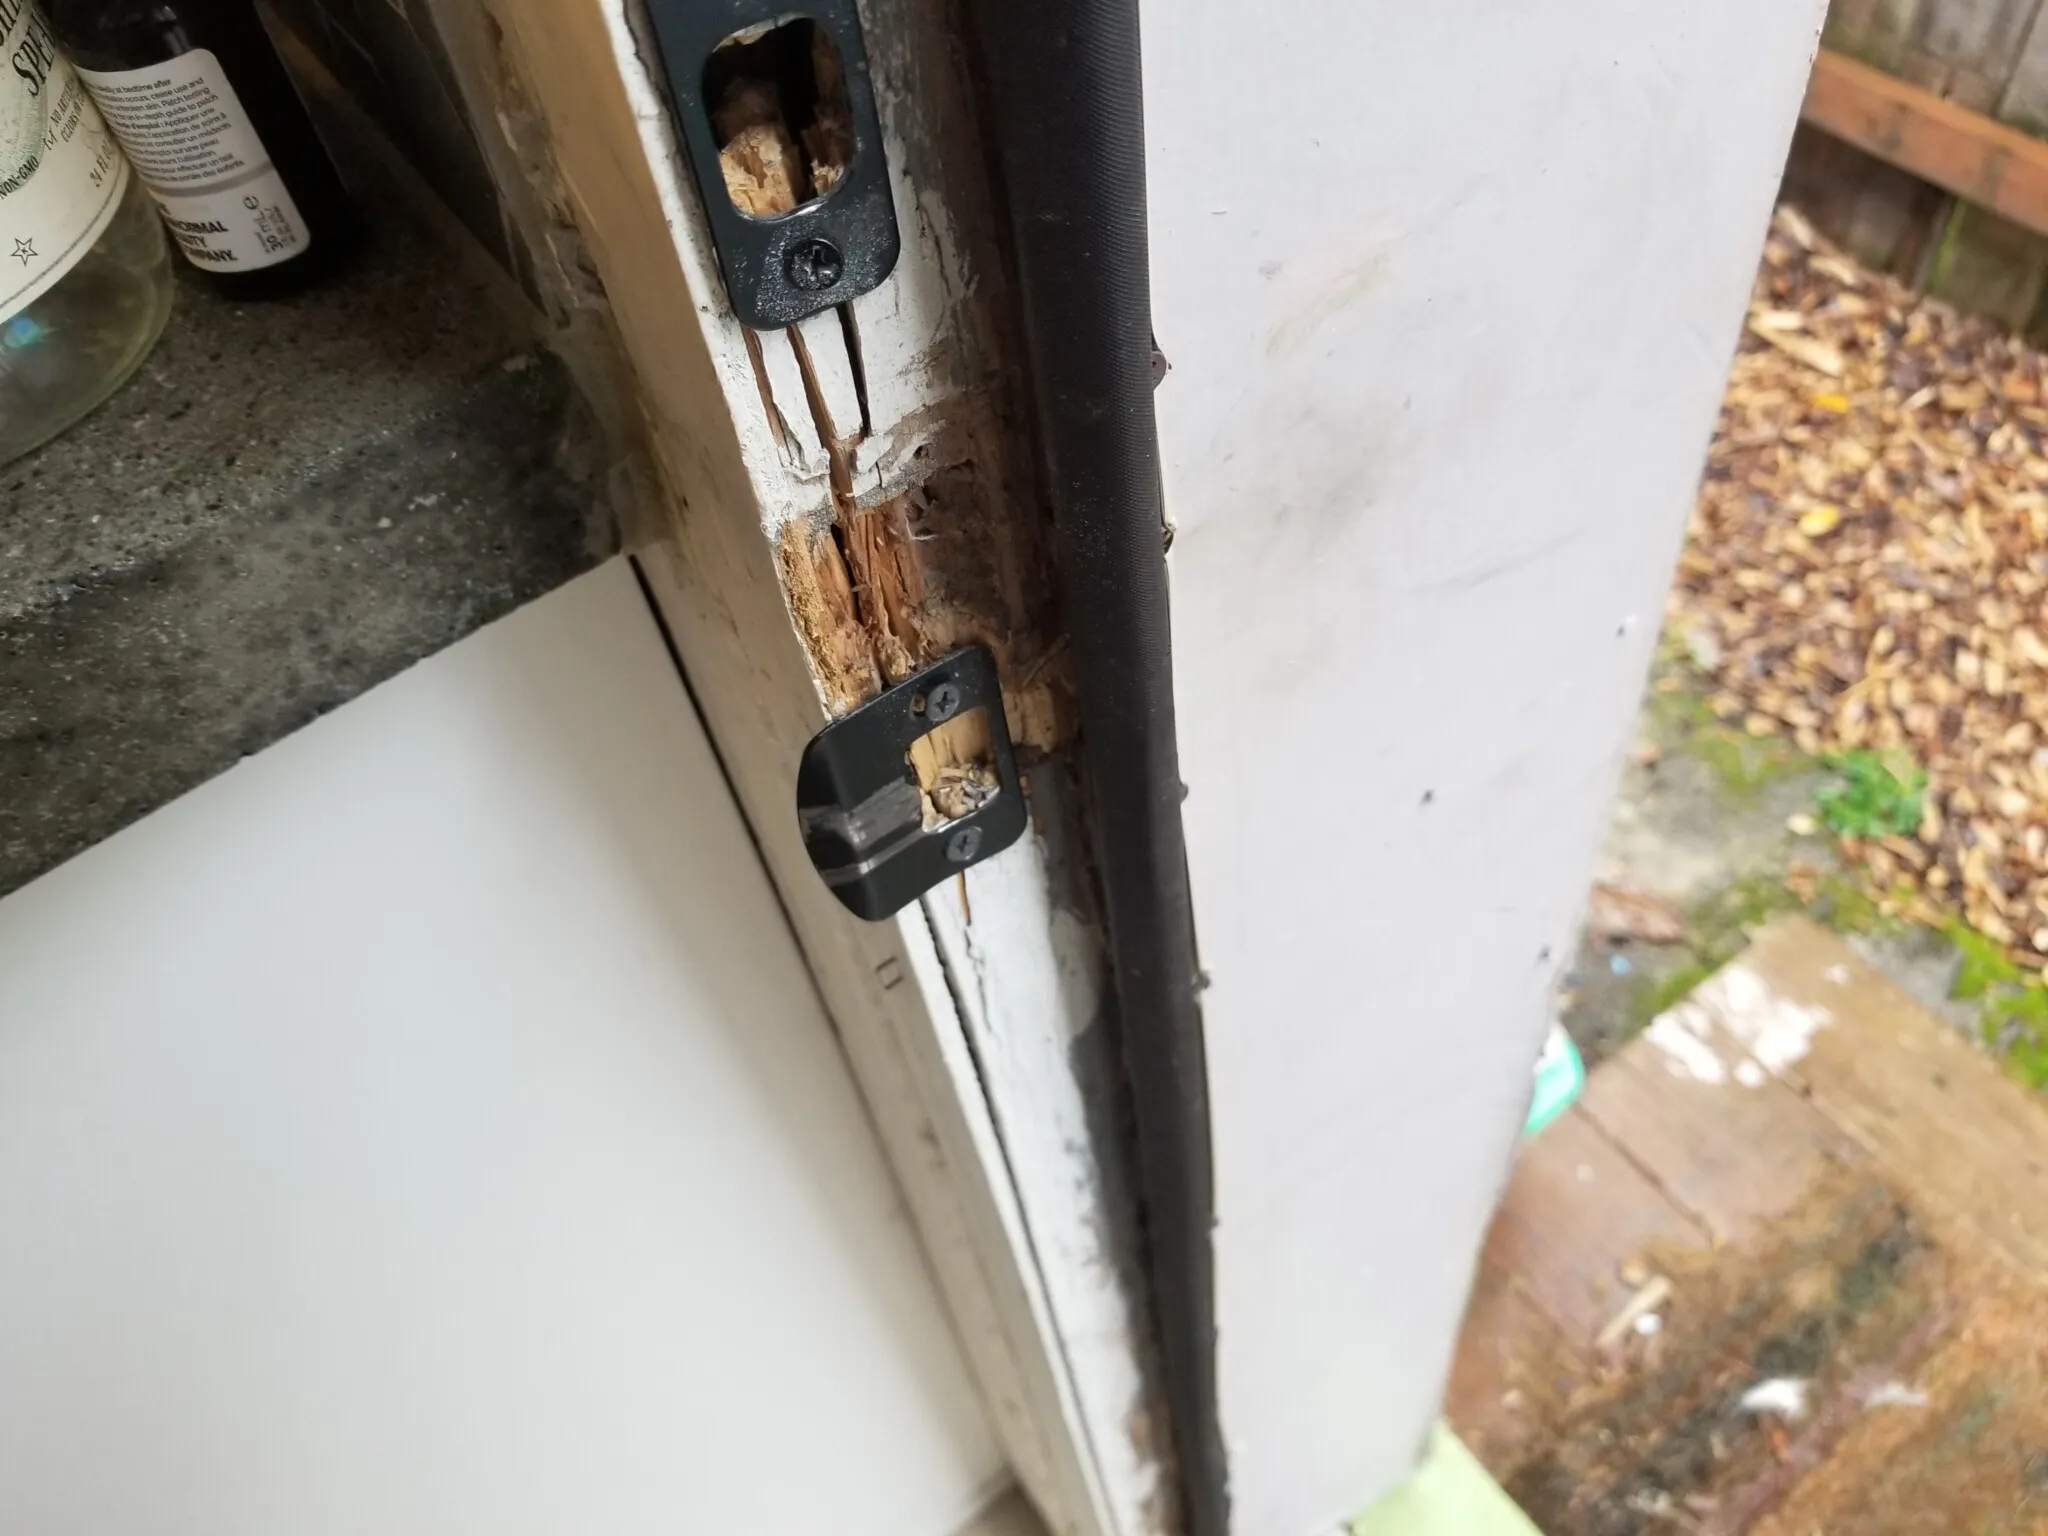
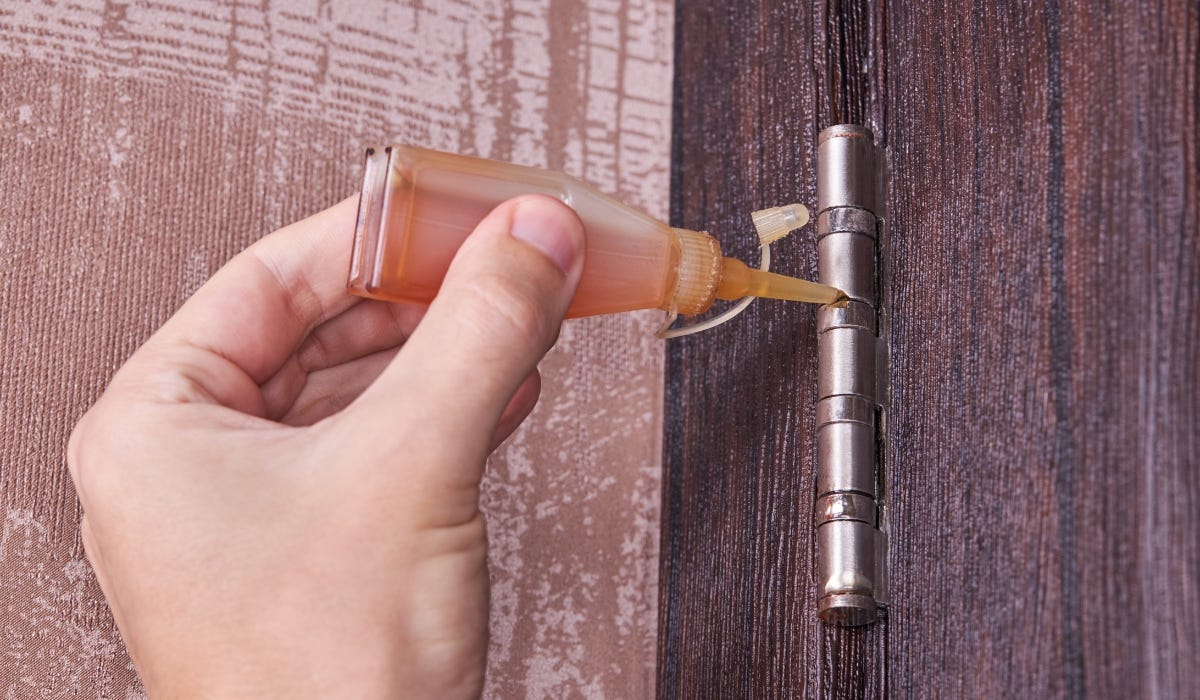
If your door is sagging, rubbing, or “clicking” when you open it, odds are the hinge screws are no longer gripping the wood. That clicking is often the hinge leaf shifting slightly as a loose screw moves in an enlarged hole. I’ve seen homeowners chase the symptom by planing the door or shimming hinges, when the real issue is simpler: the screw holes in the jamb are stripped.
The good news is you can usually fix this with basic tools and minimal hands-on time. Below are three methods I use constantly, from a quick toothpick fill to a sturdy dowel plug repair that will hold up to a heavy door.
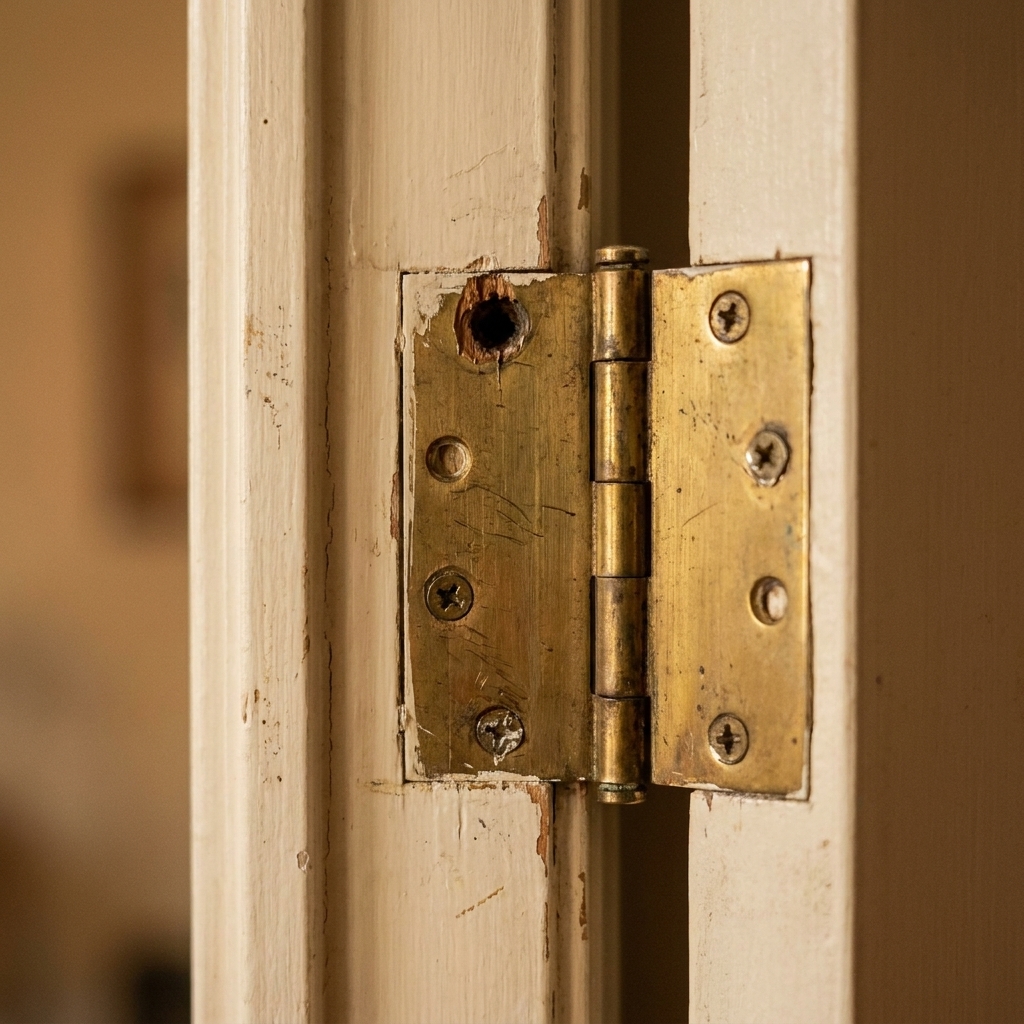
Before you start: confirm the problem
Here’s how to tell you’re dealing with stripped holes, not a different door issue:
- Screws spin without tightening and the hinge leaf can wiggle.
- Hinge-side gap changes as you lift the door by the knob.
- Top hinge is the worst offender. That one carries the most load and fails first.
Quick check: open the door a few inches and lift up on the handle. If you feel movement at the top hinge, you’re in the right place.
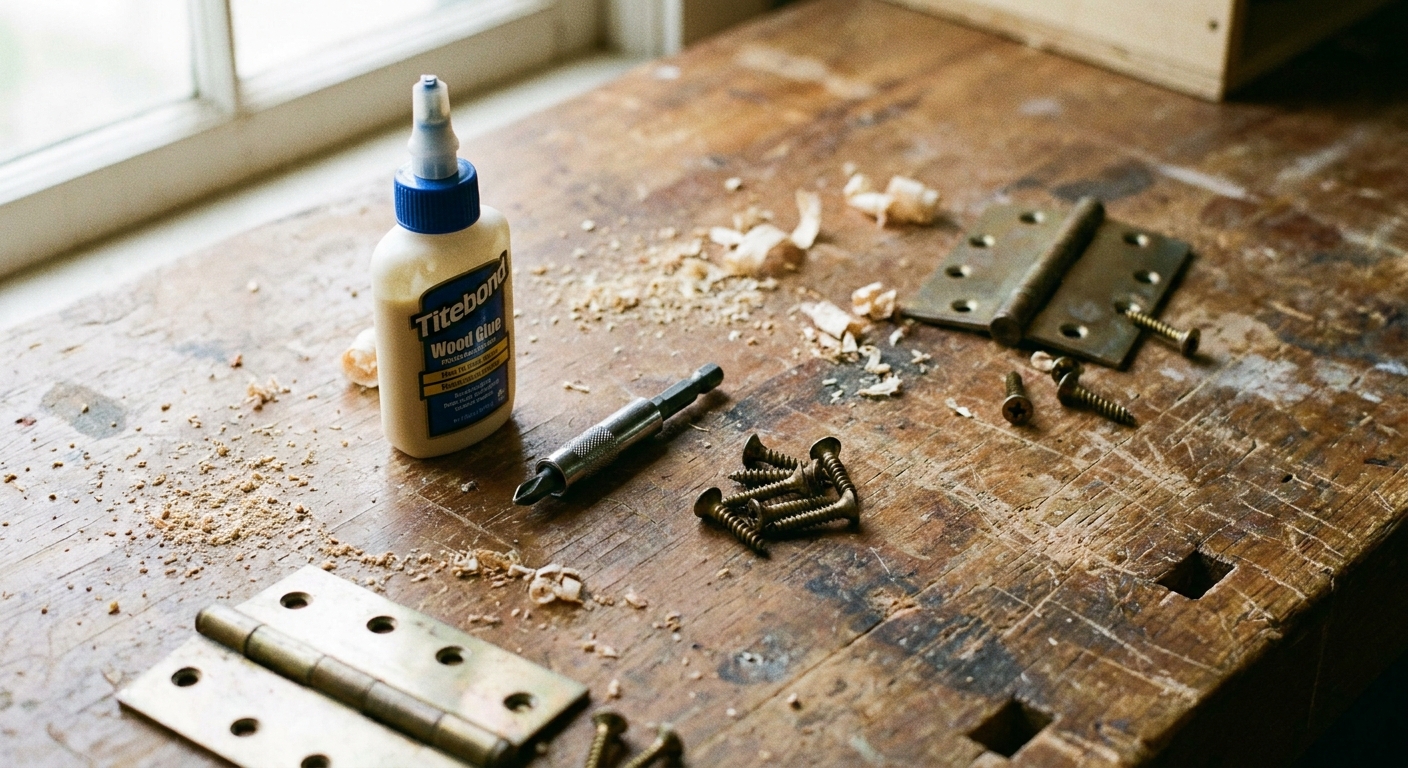
Tools and materials
- #2 Phillips screwdriver or drill/driver
- Wood glue (yellow carpenter’s glue works great)
- Utility knife or flush-cut saw (optional)
- Sandpaper (optional)
- Toothpicks or wooden matchsticks (Method 1)
- Wooden dowel and drill bit (Method 2)
- Longer screws (Method 3)
Note: The repairs below assume a standard wood jamb. If you have a metal frame or a composite jamb that is not solid wood, use the manufacturer’s hardware and method. Wood-only fixes like toothpicks and dowels will not apply.
Method 1: Toothpicks and wood glue
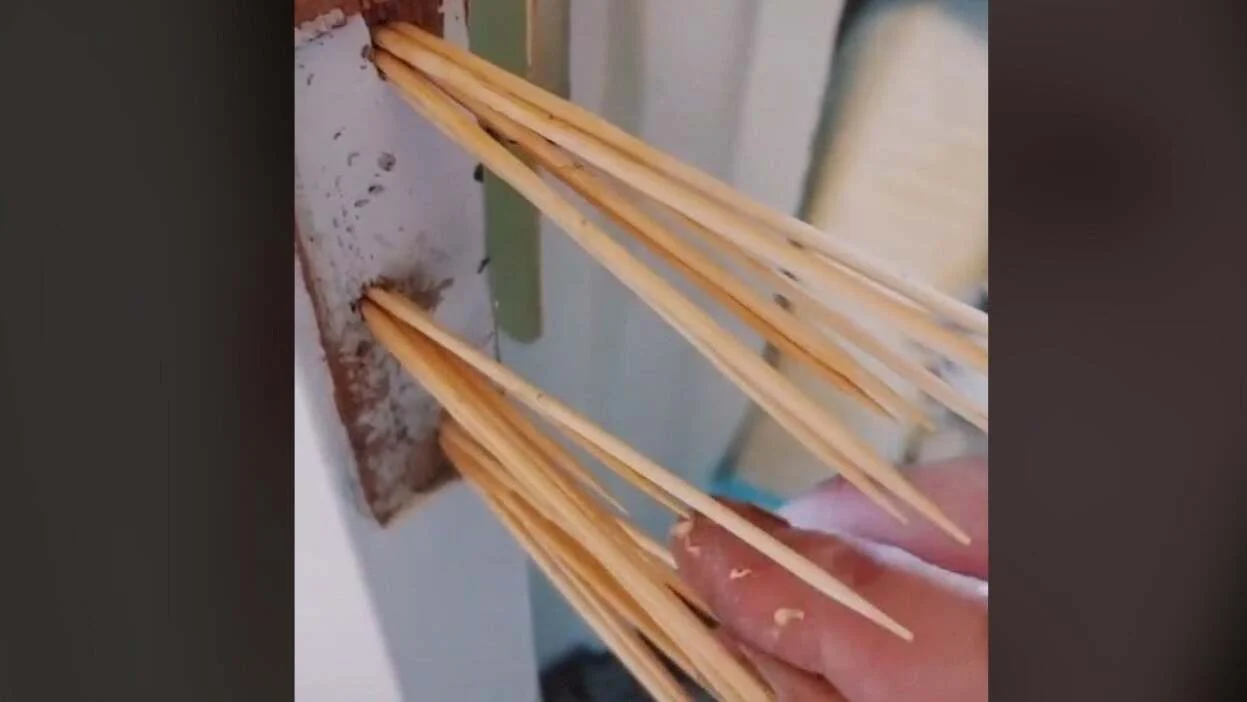
This is my go-to when the hole is only moderately stripped and I want a quick, clean fix. The toothpicks act like new wood fibers for the screw threads to bite into.
When to use it
- The screw hole is enlarged but not completely blown out
- You want a quick fix without special tools
- You are repairing one or two screws, often at the top hinge
Steps
- Remove the loose screw. If the hinge is really floppy, remove the other screws one at a time so the hinge stays aligned.
- Pack the hole with toothpicks or matchsticks (wood only). Dry-fit a few first so you know how many it takes to fill the hole snugly.
- Add wood glue. Put a few drops into the hole and on the toothpicks. Do not flood it. Too much glue can make a slippery mess and reduce bite.
- Tap them in with the handle of your screwdriver until they bottom out.
- Trim flush. Snap them off or cut them flush with a utility knife.
- Reinstall the screw. Drive it in straight. Stop when snug. Over-tightening is how these holes get stripped in the first place. Wipe off any glue squeeze-out.
Dry time: You can reinstall the screw right away and let the glue cure around it, but treat it gently until it sets. For the strongest hold, wait 30 to 60 minutes before putting the door through heavy use, and give it a full cure overnight if you can.
Method 2: Glue-in dowel plug
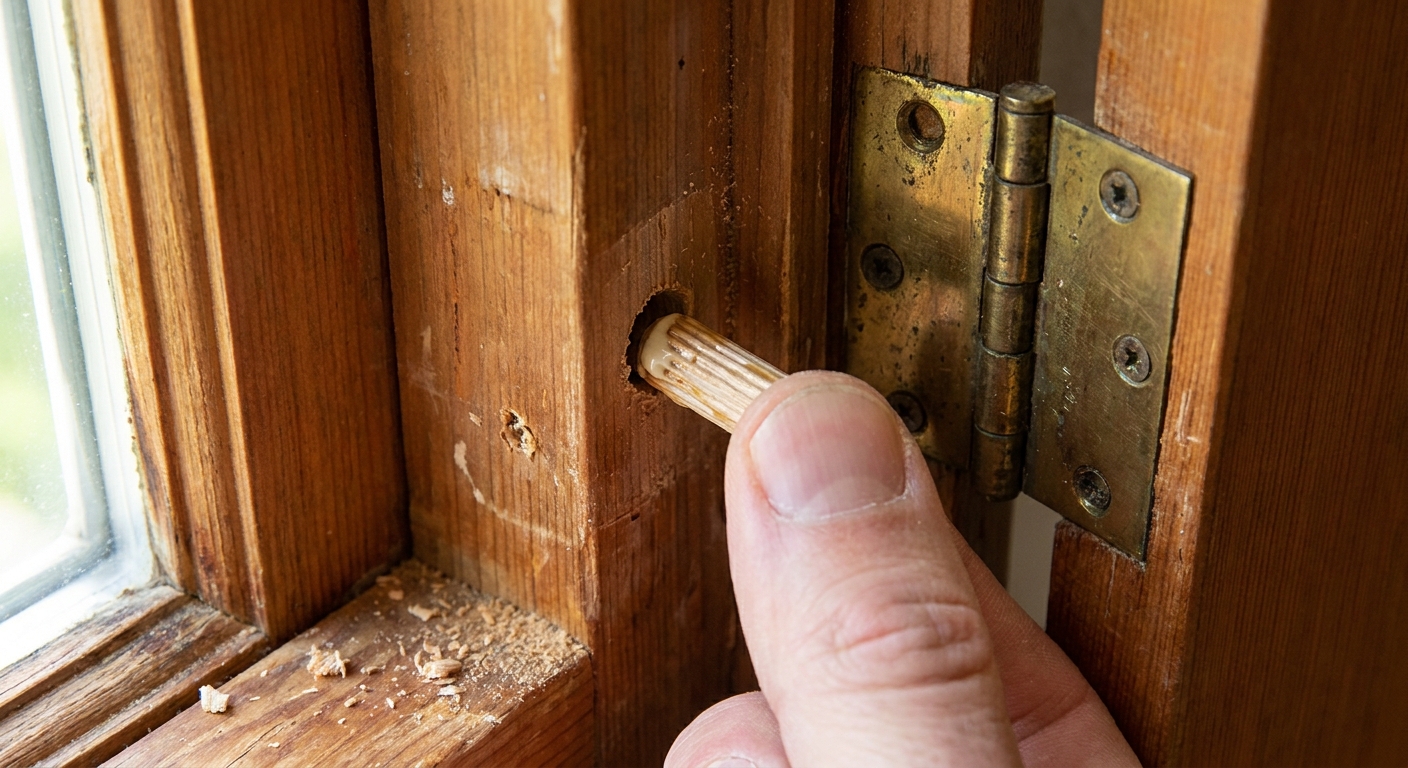
If the hole is severely wallowed out, or you want a repair that feels like new wood, this is the one. You drill out the damaged hole cleanly, glue in a dowel, then re-drill a pilot hole for the hinge screw.
Time reality check: The hands-on work is quick, but you will be waiting on glue. Plan for an hour or more if you want the strongest result.
When to use it
- The screw hole is badly enlarged or crumbly
- The screw won’t catch at all
- You have a heavy door that keeps working the hinge loose
Pick the dowel size
A 1/4 inch to 3/8 inch dowel is a common range for hinge screw repairs. Use what fits the damage while staying inside the hinge mortise footprint, and drill a matching, clean hole so the dowel makes full contact.
Steps
- Support the door. Slip wood shims under the door near the latch side to take weight off the hinge. If you use a pry bar, protect the floor and the door edge with a scrap of wood.
- Remove the problem screw(s). If the hinge leaf is shifting, remove and fix one screw hole at a time to keep alignment.
- Drill out the stripped hole using a bit that matches your dowel diameter. Drill straight and only as deep as the original screw penetration. Avoid drilling through the jamb into the open gap behind it. Wrap tape around the bit as a depth marker if you like.
- Cut a dowel plug slightly shorter than the hole depth so it sits below or flush with the surface.
- Glue it in. Coat the dowel with wood glue and press it into the hole. Tap gently with a hammer if needed.
- Let it set. I like to wait at least 1 hour before drilling, and longer if the jamb wood is very dry and thirsty.
- Drill a pilot hole for your hinge screw. As a rule, the pilot bit should be slightly smaller than the screw’s shank (the solid core, not counting the threads). This helps the screw drive straight and reduces splitting.
- Reinstall the screw and snug it up.
Pro tip: If the hinge is slightly out of position from the sag, close the door gently and look at the reveal (the gap around the door). Adjust the hinge leaf by hand before you tighten the screws fully.
Method 3: Longer screws into the framing
Sometimes the jamb wood is chewed up because the door has been sagging for years. Even a perfect toothpick or dowel repair is still relying on the jamb, which is usually thinner wood. A longer screw can sometimes reach through the jamb and bite into the wall framing behind it, which is much more solid.
When to use it
- The door is heavy and keeps sagging
- The top hinge keeps loosening
- You want a structural improvement, not just a patch
What screws to buy
Use 3 inch wood screws (sometimes 2-1/2 inch works) with a similar head style to your hinge screws. Many hinges use a flat or slightly tapered head that sits nicely in the countersink. If you use a screw head that doesn’t match, it can keep the hinge from closing flat.
Avoid most structural screws here unless they are specifically made with a hinge-friendly head. A great screw with the wrong head shape can create a new problem.
Steps
- Replace one screw at a time so the hinge stays aligned.
- Start with the top hinge, top hole. That spot usually delivers the biggest improvement.
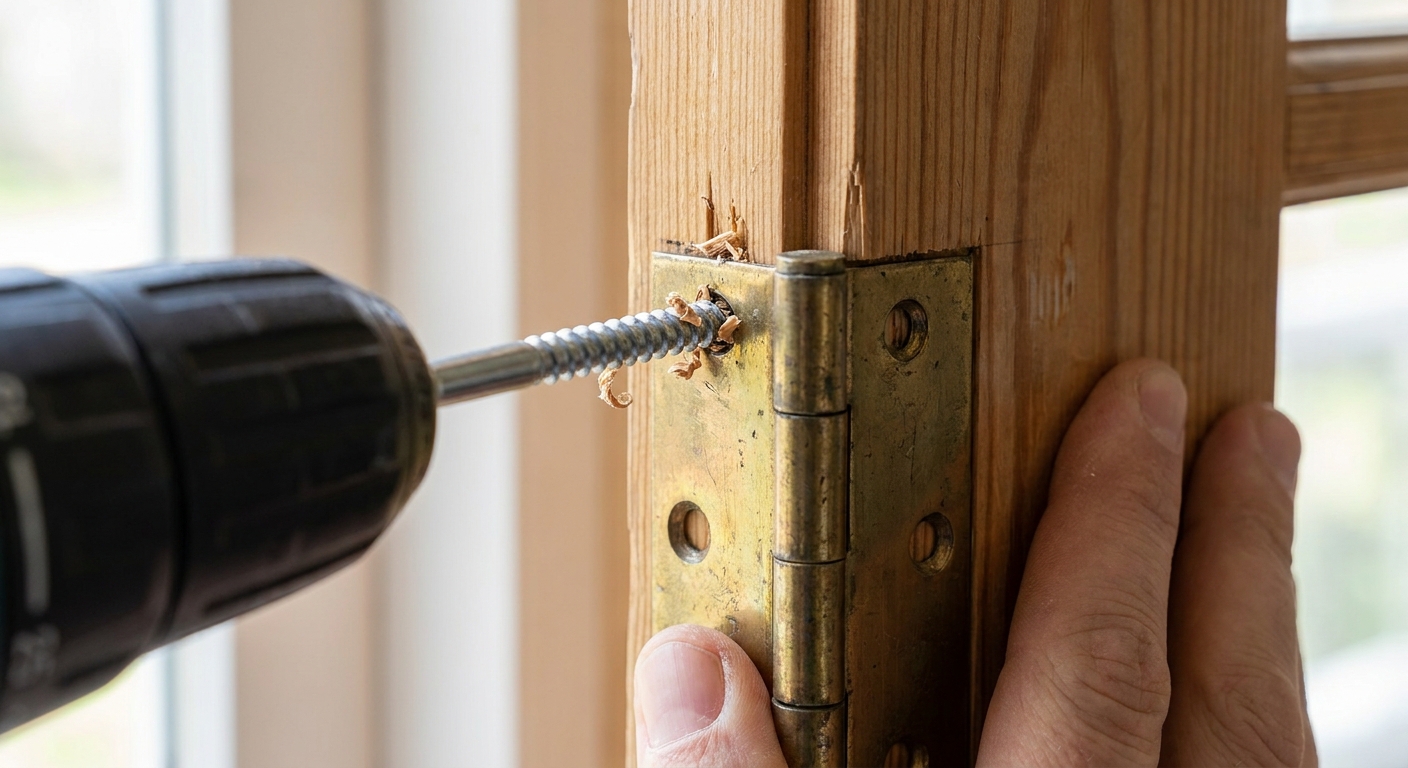
- Drive the longer screw in by hand at first if you can, to make sure it’s threading straight. Then finish with a driver.
- Stop when snug. If you crank it too hard, you can pull the hinge leaf into the wood and slightly twist the door alignment.
Important: A long screw only helps if it actually finds solid wood behind the jamb. In some openings there is a wider shim gap, blocking, masonry, or a frame that does not give you a stud where you expect it. If the screw does not start biting after about 1 to 1-1/2 inches, stop and switch to the dowel method, or combine methods below.
If the screw just spins: Combine methods. Do toothpicks and glue first, then install the longer screw after the glue sets. That gives the threads something to start in before the screw reaches framing.
Which method should you choose?
| Situation | Best fix | Why it works |
|---|---|---|
| Hole is slightly stripped, screw still grabs a little | Toothpicks + glue | Fast, fills gaps, adds fresh wood fibers |
| Hole is blown out or crumbly | Dowel plug | Creates a solid new block of wood |
| Door keeps sagging, top hinge loosens repeatedly | Longer screws into framing | Transfers load into the stud, not just the jamb |
Safety and quality tips
- Support the door before pulling multiple hinge screws. A hollow-core door can still surprise you when it shifts.
- Drill pilot holes anytime you add wood (dowels) or go to longer screws. It reduces splitting and makes alignment easier. The pilot bit should be slightly smaller than the screw’s shank.
- Use wood screws for wood jambs. Sheet metal screws are not designed for this job.
- Keep the hinge leaf flat. If debris or a lifted screw head holds the hinge open even slightly, the door will never hang right.
- Do not use drywall anchors in a wooden jamb. They are for gypsum, not for hinge loads.
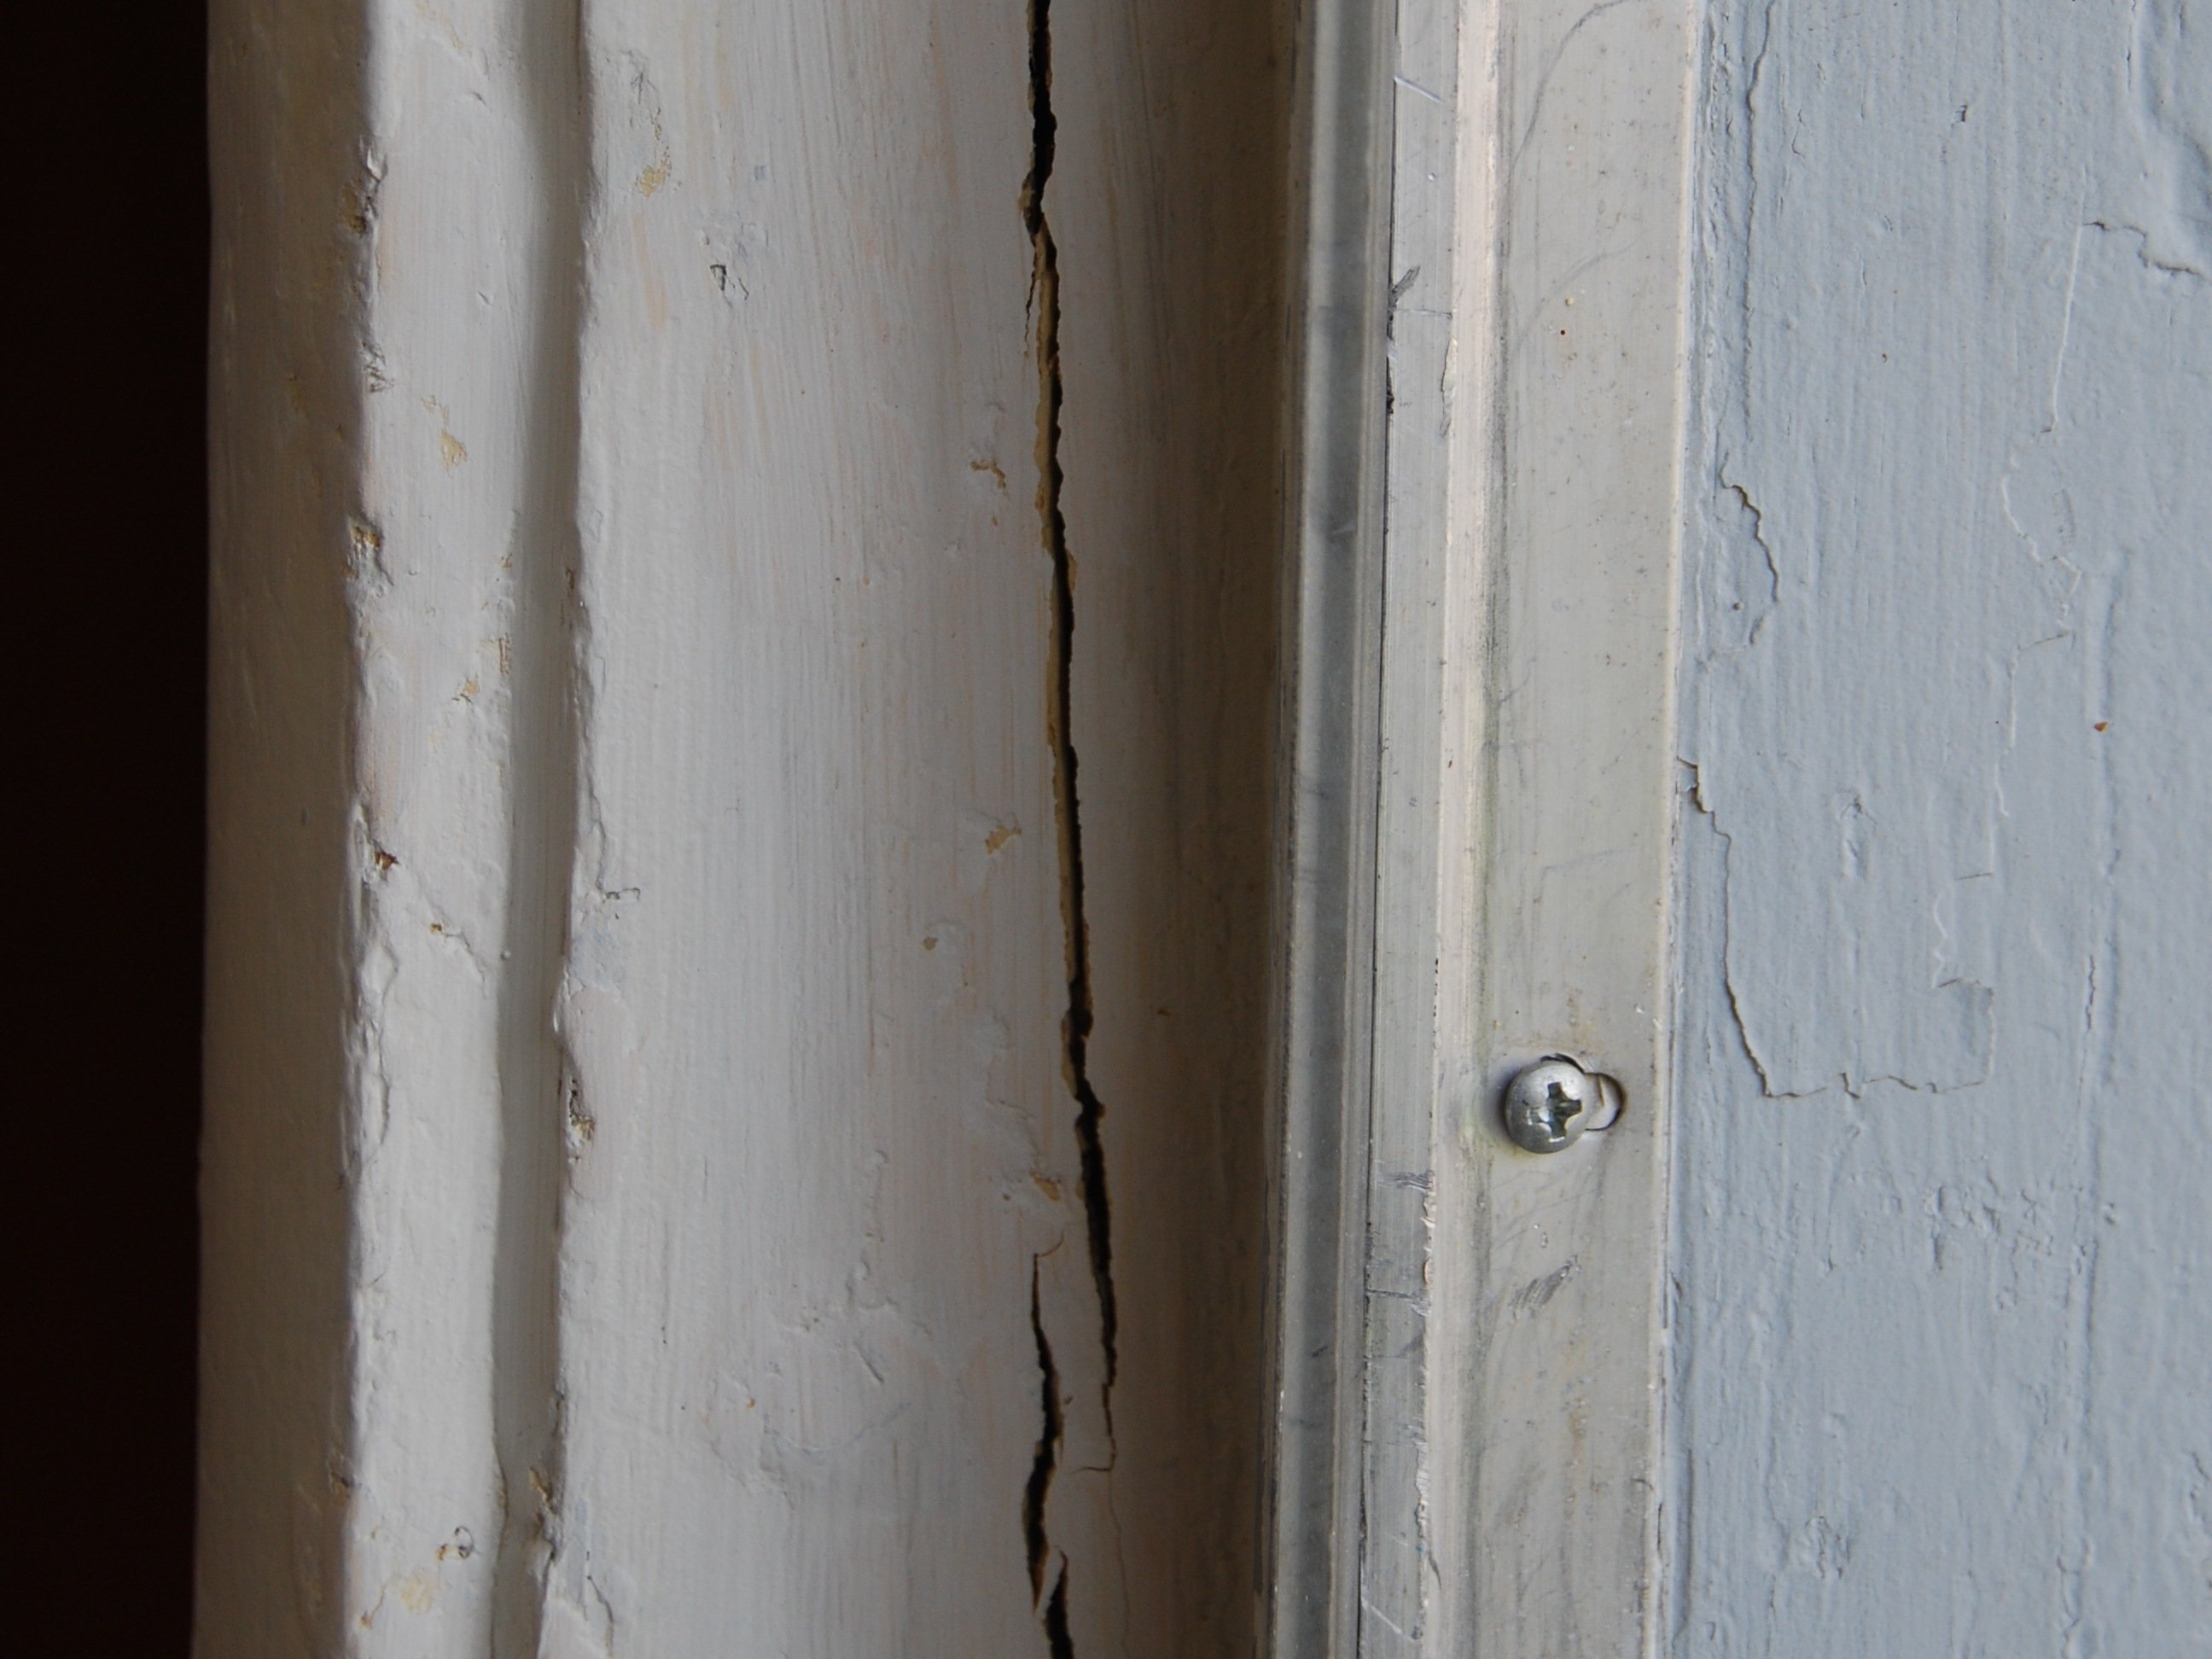
- If the jamb is cracked near the hinge, repair the crack first (wood glue and clamp), then fix the stripped holes.
FAQ
Can I use golf tees instead of toothpicks?
Yes. A wooden golf tee plus wood glue works great, especially for larger holes. Trim it flush, let the glue set, and re-drive the screw. I still reach for toothpicks first because they pack tightly and are easy to size.
Do I need to remove the hinge to fix stripped holes?
Not always. For toothpicks and longer screws, you can often replace one screw at a time without removing the hinge. For the dowel method, you may need a little more access, but you can still usually do it one hole at a time.
Why does the top hinge always seem to fail first?
Most of the door’s weight and leverage shows up at the top hinge. When the top screws loosen even a little, the door drops and starts scraping, which makes everything worse.
My screws are tight but the door still sags. What next?
Check for bent hinges, a cracked jamb, or a hinge mortise that has been crushed deeper over time. Also look at the strike side. Sometimes the latch side is binding, making it feel like a hinge problem.
My simple game plan
If you want the no-drama approach I use on service calls: start with Method 3 on the top hinge (one 3 inch screw) if you can get solid bite, then use Method 1 for any other screws that feel spongy. If a hole is totally blown out, step up to the dowel plug and you will only do it once.
When you’re done, open and close the door slowly a few times. If it swings smooth and the reveal looks even, you just saved yourself a service fee and a whole lot of daily annoyance.